Home>Types of Gardening>Ornamental Gardening>How To Plant Hibiscus Seeds
Ornamental Gardening
How To Plant Hibiscus Seeds
Modified: January 22, 2024
Learn how to plant hibiscus seeds and add a beautiful touch to your ornamental gardening. Step-by-step guide for successful seed planting.
(Many of the links in this article redirect to a specific reviewed product. Your purchase of these products through affiliate links helps to generate commission for Chicagolandgardening.com, at no extra cost. Learn more)
Table of Contents
Introduction
Welcome to the world of ornamental gardening, where beauty flourishes and nature’s wonders come to life in the form of vibrant flowers and lush greenery. And at the heart of this enchanting landscape, one plant stands out with its captivating blooms and striking presence – the hibiscus.
Whether you’re an experienced gardener or just starting your gardening journey, learning how to plant hibiscus seeds is a rewarding and fulfilling experience. From selecting the perfect seeds to caring for your seedlings and nurturing them into flourishing plants, every step in the process is filled with anticipation and joy.
Hibiscus plants are renowned for their stunning flower petals, which come in a wide range of colors, including fiery reds, sunny yellows, gentle pinks, and elegant whites. These blossoms not only add a touch of beauty to any garden but also attract butterflies, hummingbirds, and bees, making your outdoor space a haven for pollinators.
In this article, we will guide you through the process of selecting and planting hibiscus seeds, providing you with valuable tips and insights to ensure your gardening efforts yield fruitful results. So let’s dive in and discover the secrets of growing these magnificent ornamental plants.
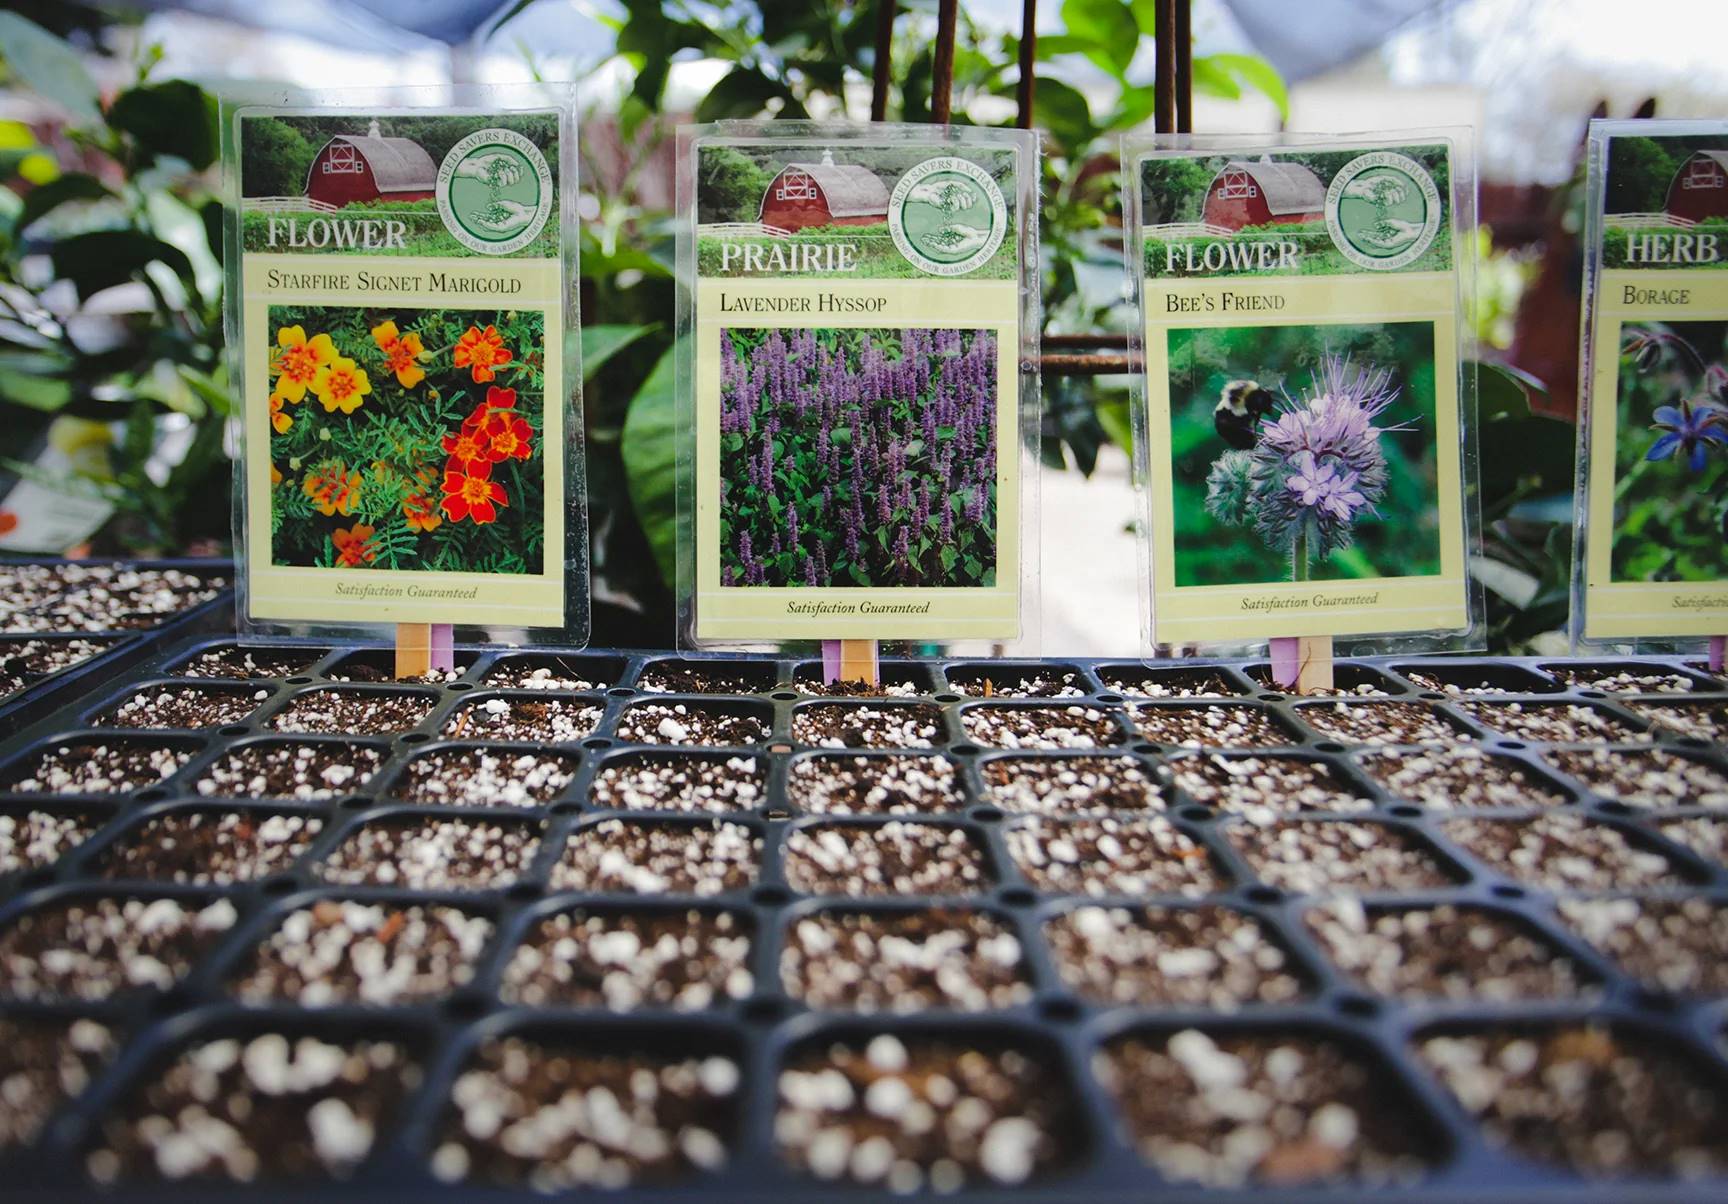
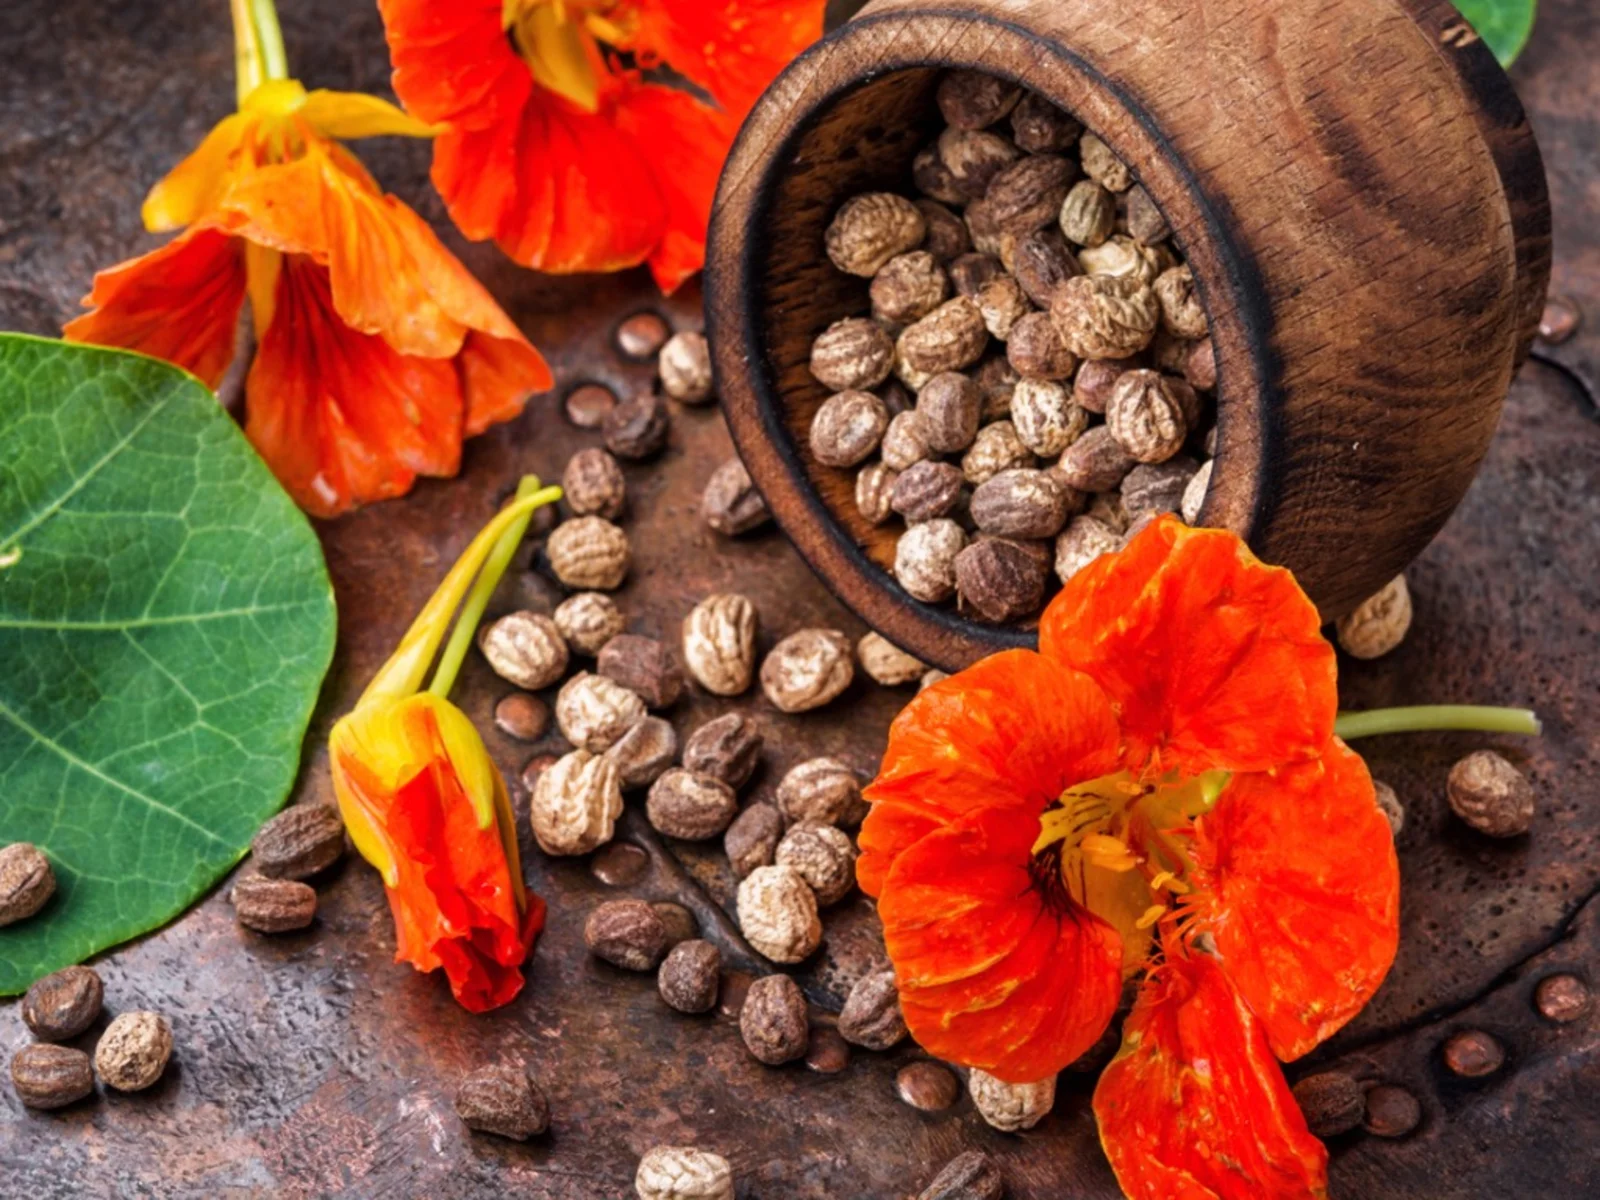
Choosing Hibiscus Seeds
Choosing the right hibiscus seeds is the first step towards a successful gardening endeavor. With numerous hibiscus varieties available, it’s important to select seeds that align with your preferences and the specific growing conditions of your area.
When it comes to hibiscus seeds, you have several options. You can choose to purchase them from reputable nurseries or specialized seed suppliers. Another option is to collect mature seeds from existing hibiscus plants in your garden or from friends and neighbors who have healthy hibiscus specimens.
Consider these factors when selecting hibiscus seeds:
- Variety: Hibiscus plants come in a wide range of varieties, each with its own unique characteristics. Take some time to research and explore the different types available, such as the classic Hibiscus rosa-sinensis or the tropical Hibiscus tiliaceus. Consider factors like flower color, size, and shape to find the variety that resonates with your personal taste.
- Climate Suitability: Hibiscus plants thrive in warm and tropical climates. However, some varieties are more cold-hardy than others and can tolerate cooler temperatures. If you live in a region with harsh winters, look for hibiscus seeds that are specifically adapted to your climate to ensure successful growth.
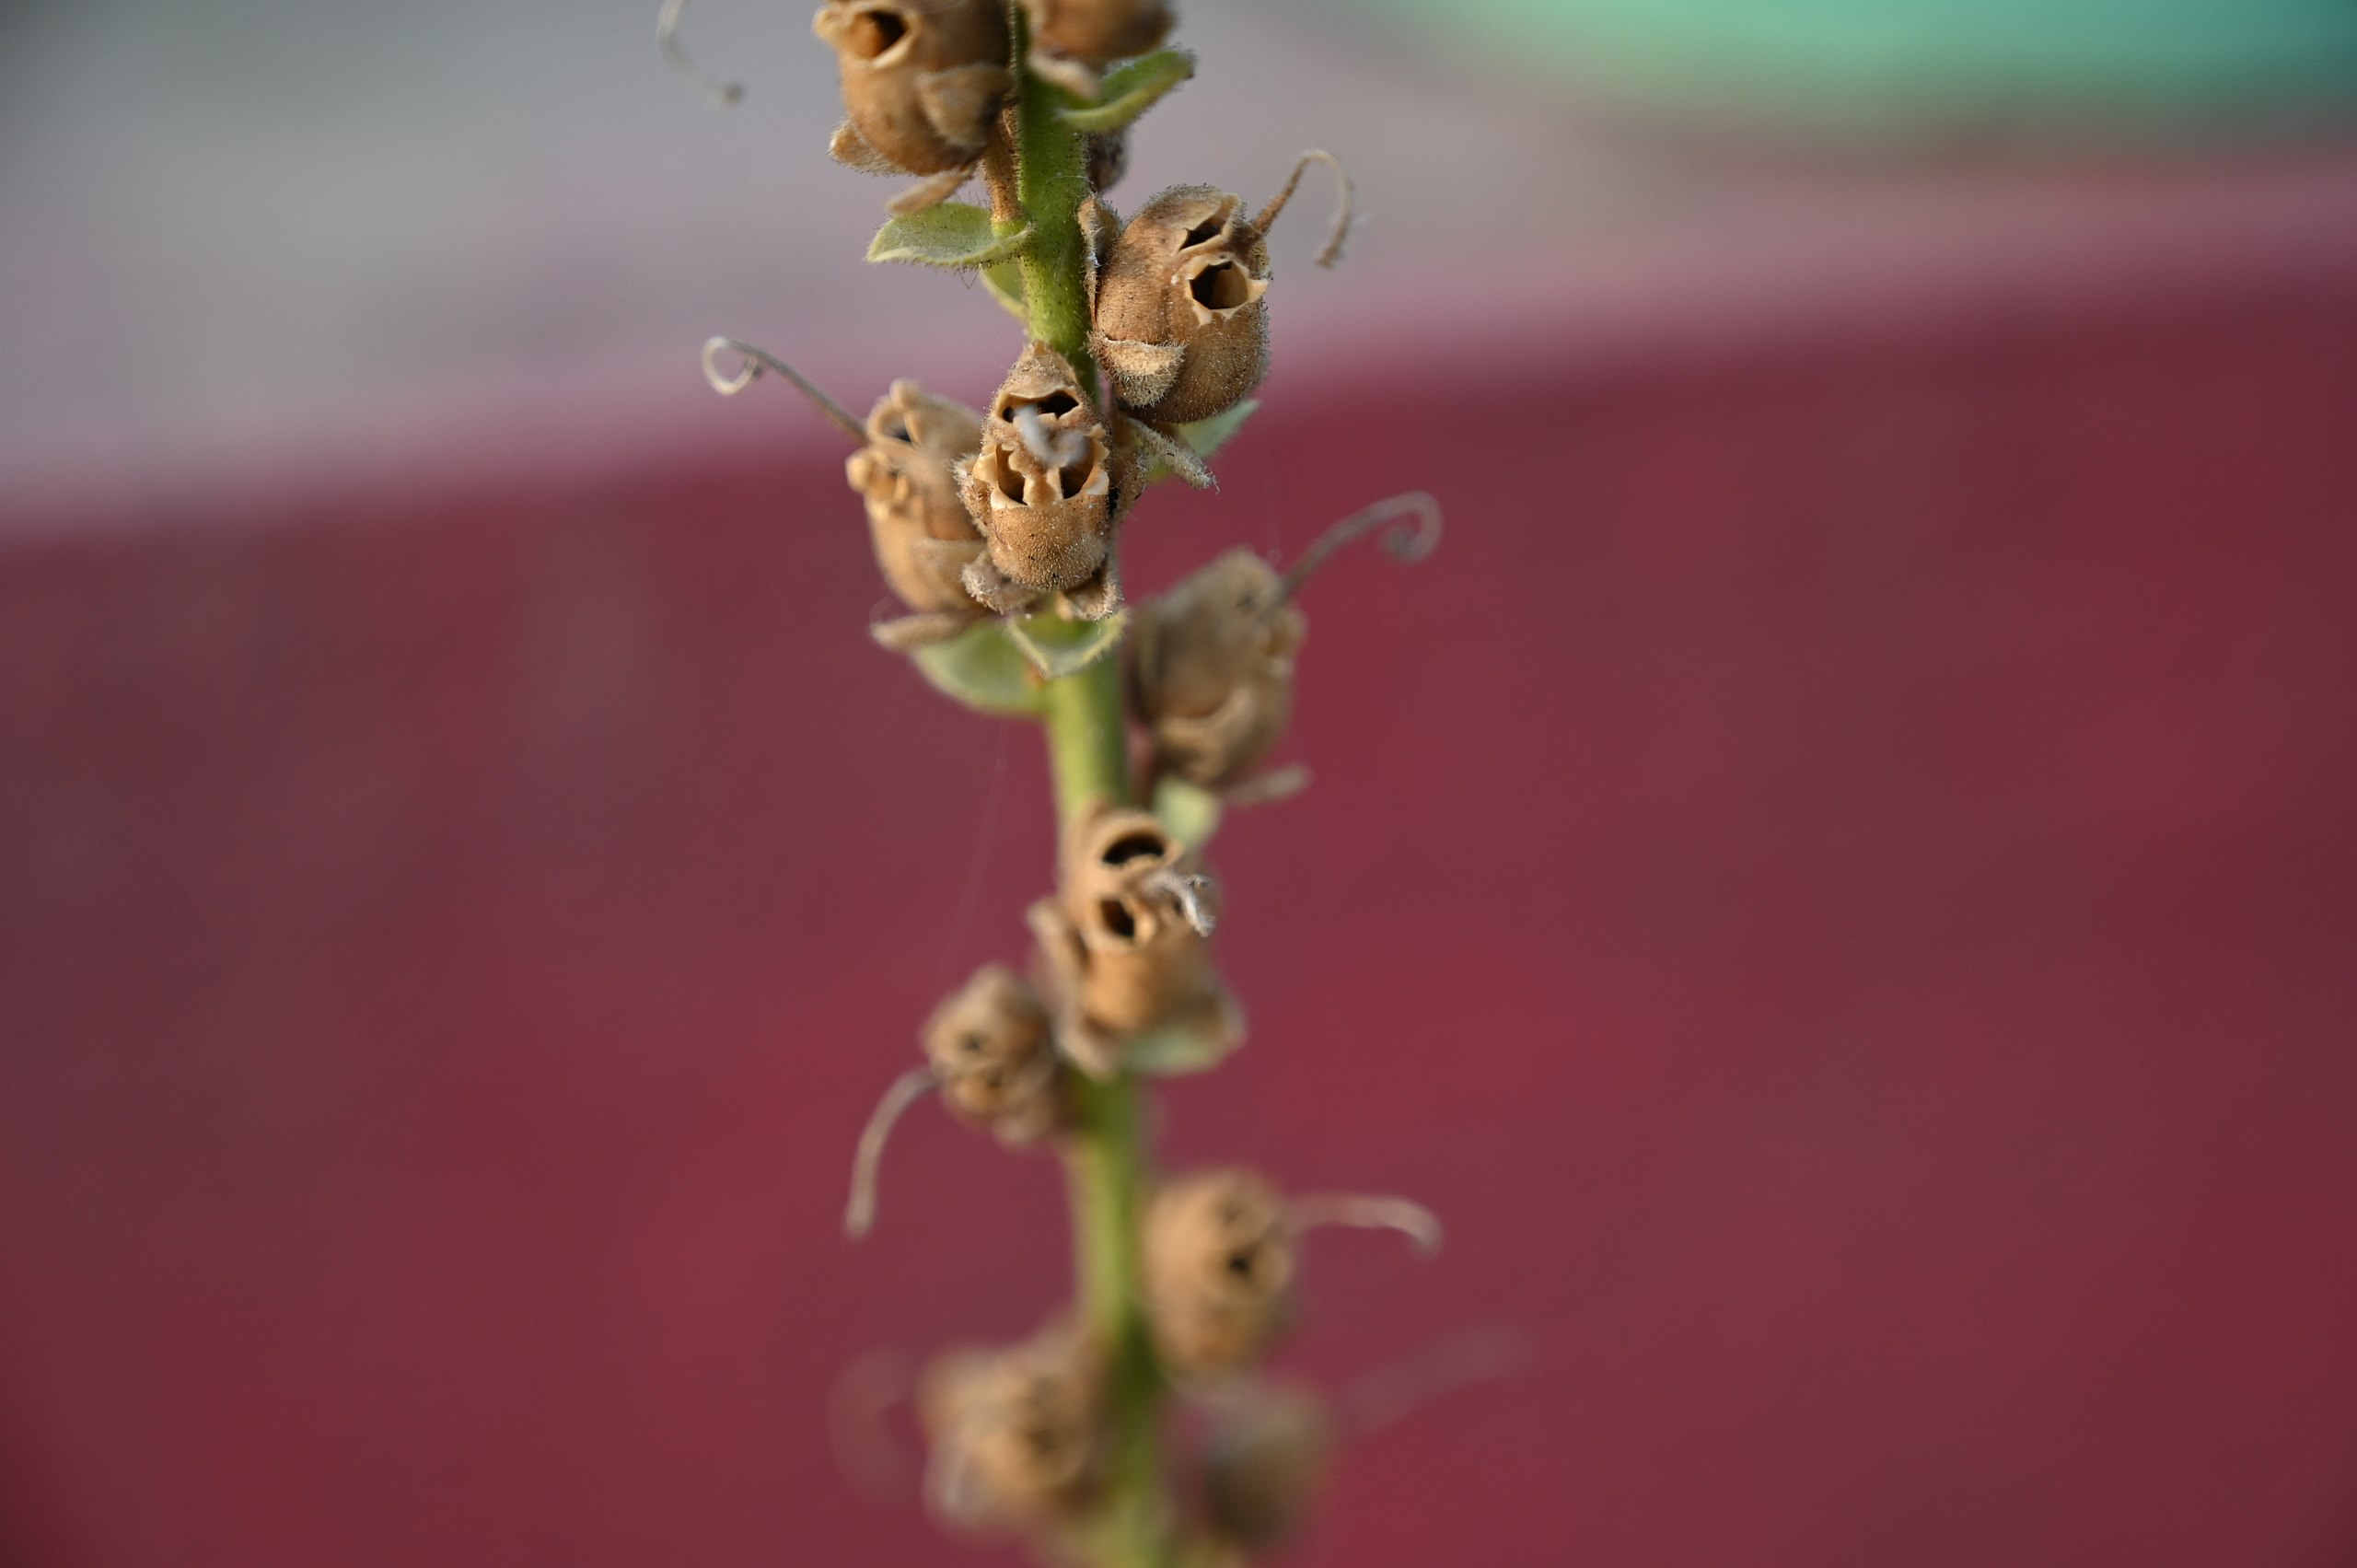
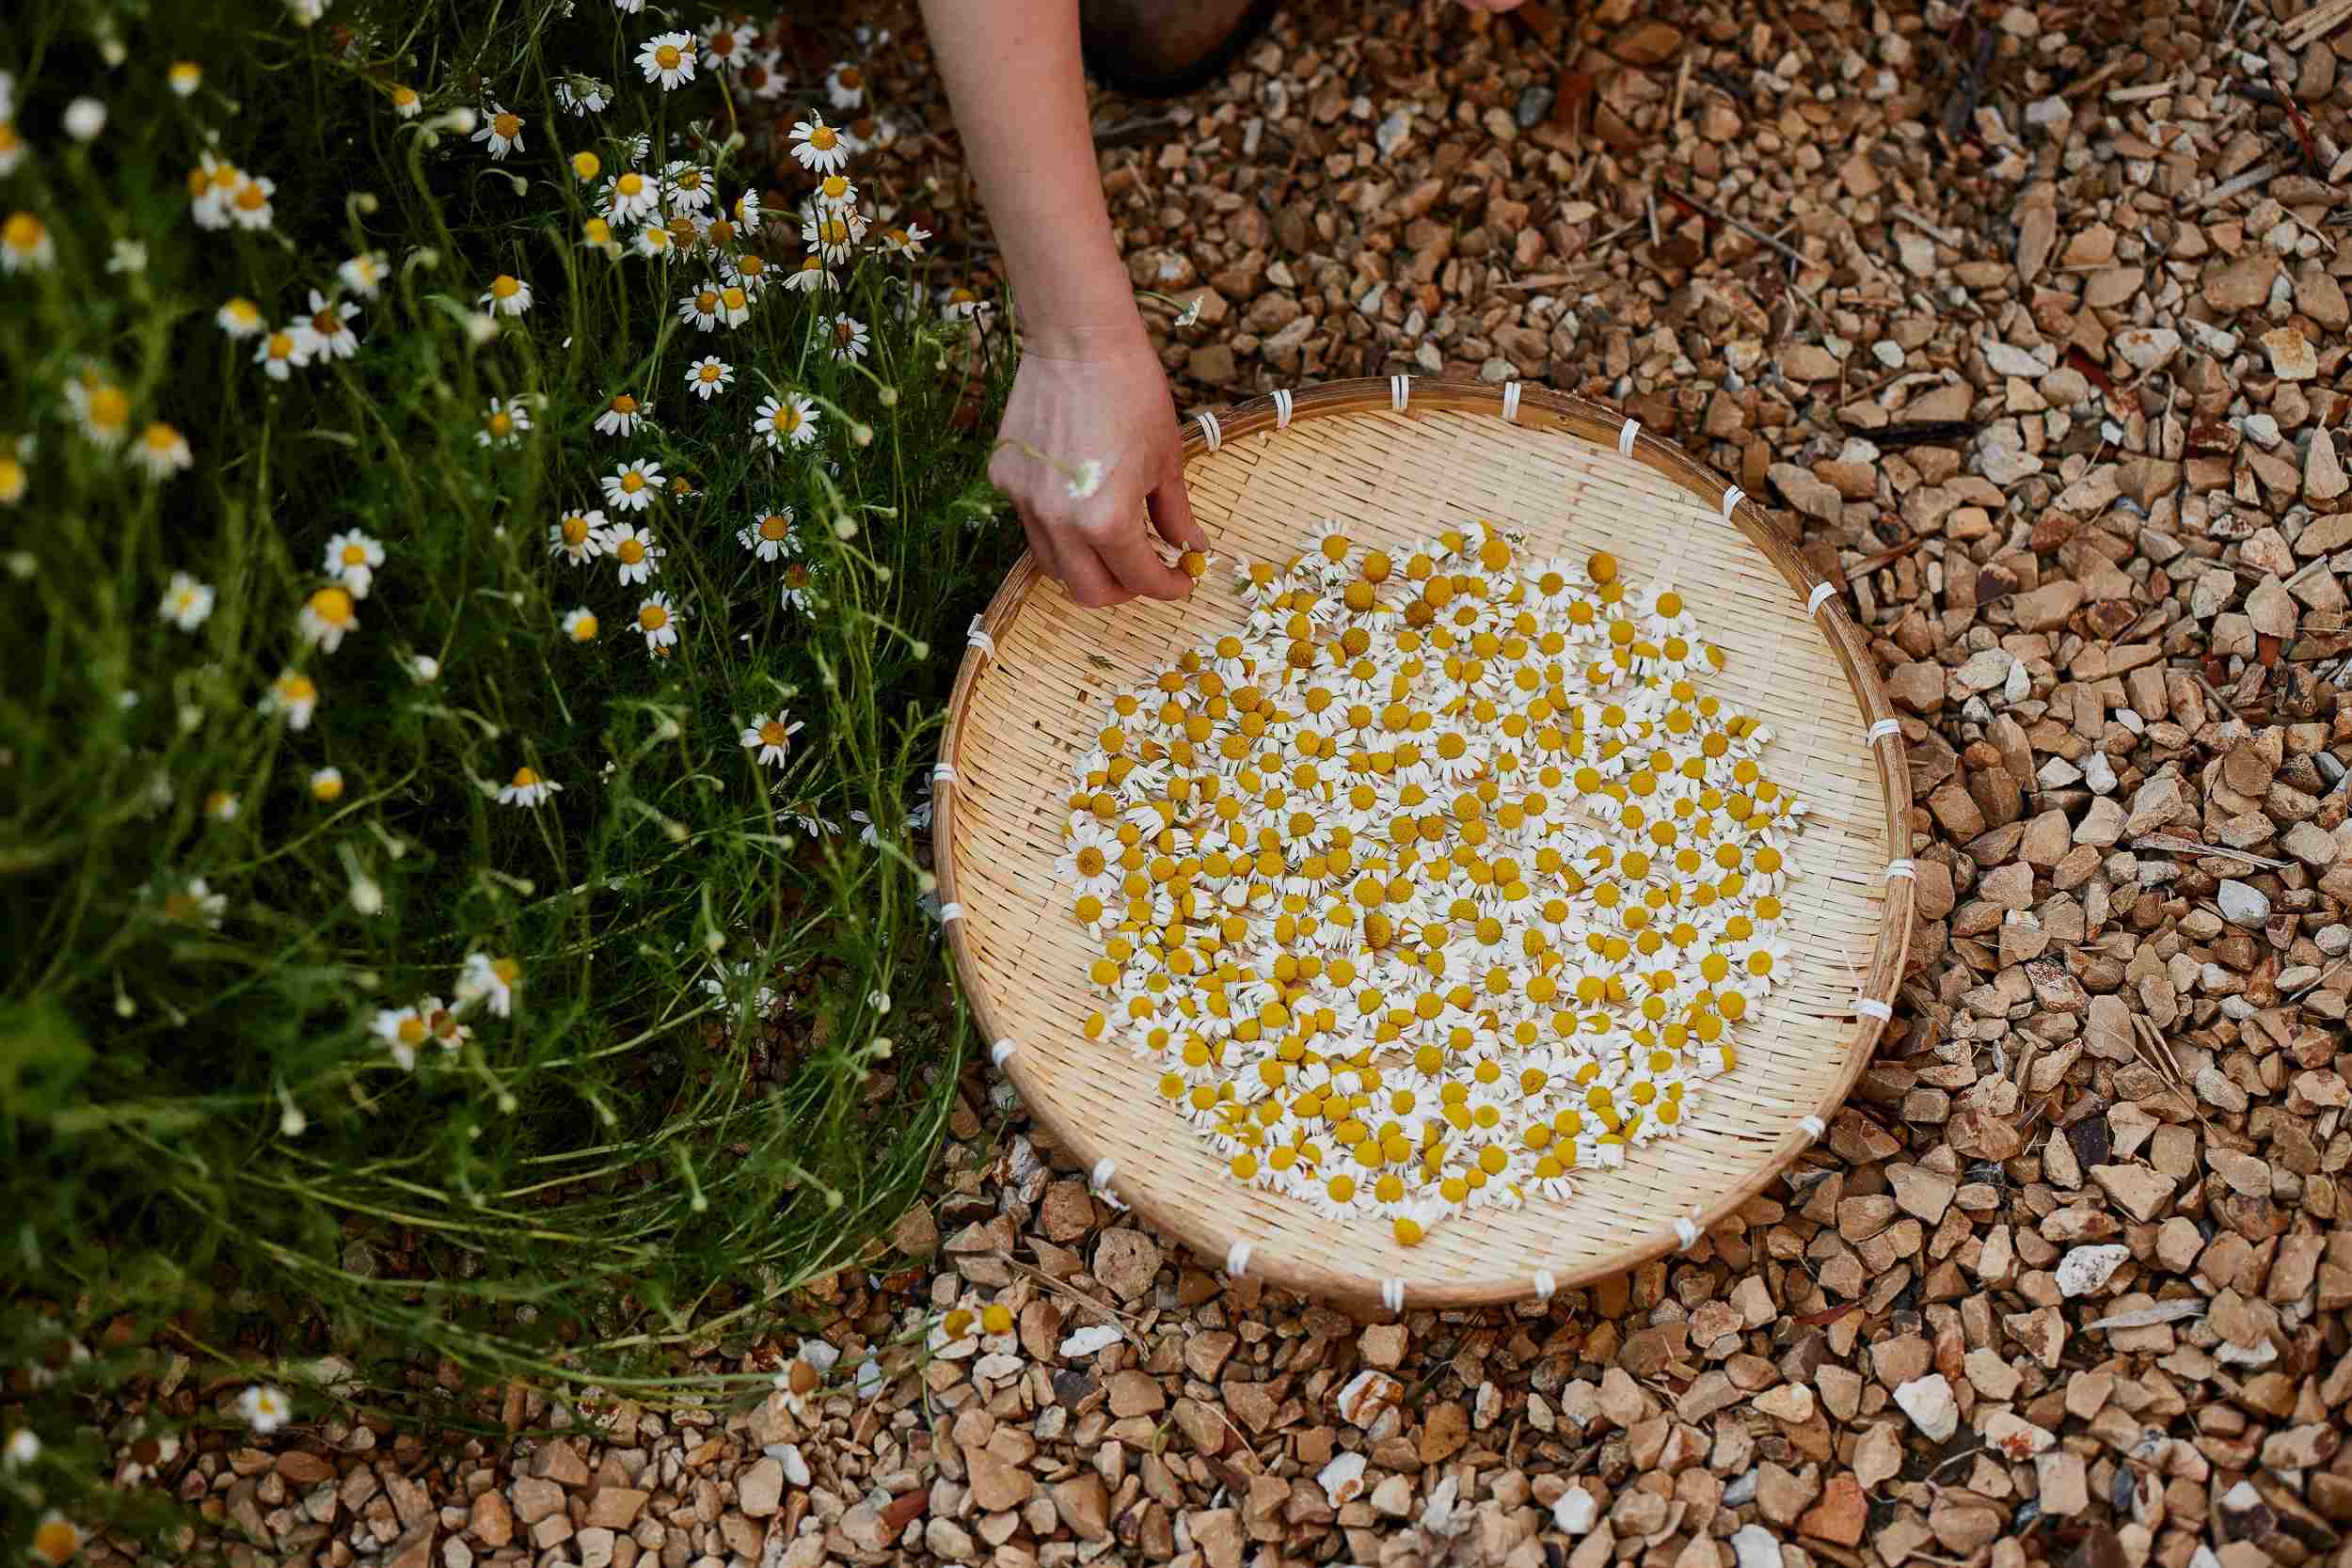
- Seed Freshness: Fresh seeds have a higher germination rate, so it is best to choose recently harvested seeds. Check for the “packed on” or “harvested on” date when buying seeds, and if collecting seeds from existing plants, make sure they are fully mature and have not been exposed to excessive moisture or extreme temperatures.
- Quality and Source: Purchase hibiscus seeds from reputable sources to ensure you are getting high-quality seeds that are true to the variety mentioned. Look for trusted nurseries or suppliers who specialize in ornamental plants and have positive customer reviews.
By considering these factors, you can find hibiscus seeds that are well-suited to your preferences and growing conditions, setting the stage for a successful and thriving hibiscus garden. Once you have chosen the perfect seeds, it’s time to prepare the planting environment to give them the best possible start.
Preparing the Planting Environment
Creating the ideal planting environment is crucial for the successful growth of hibiscus seeds. These plants thrive in well-draining soil and require ample sunlight to flourish. Follow these steps to prepare the perfect planting environment for your hibiscus seeds:
- Choose the Right Location: Hibiscus plants love the sun, so select a location that receives at least 6 to 8 hours of direct sunlight. Avoid areas with excessive shade or competition from other large plants.
- Prepare the Soil: Hibiscus prefers well-draining soil enriched with organic matter. Amend the soil by adding compost or well-rotted manure to improve its texture, drainage, and nutrient content. Avoid heavy clay soils that retain moisture and can lead to root rot.
- Test the Soil pH: Hibiscus thrives in slightly acidic to neutral soil with a pH range of 6.0 to 7.0. Test the soil pH using a soil testing kit available at garden centers or through soil testing laboratories. Adjust the pH if necessary by adding amendments like sulfur for lowering pH or lime for raising pH.
- Clear the Area: Remove any weeds, rocks, or debris from the planting area. Ensuring a clean and clutter-free space will prevent competition for nutrients and allow the hibiscus seeds to establish their roots easily.
- Provide Drainage: Ensure proper drainage by adding a layer of gravel or small stones at the bottom of the planting hole or raised bed. This helps prevent waterlogging and allows excess water to drain away.
- Consider Container Planting: If you have limited garden space or live in a colder climate, consider planting your hibiscus seeds in containers. Choose a container that is at least 12-16 inches in diameter and fill it with a well-draining potting mix specifically formulated for container gardening.
- Water the Soil: Before sowing the hibiscus seeds, thoroughly water the soil to ensure proper moisture levels. This will provide a conducive environment for seed germination and early root development.
By following these steps, you are setting the stage for optimal growth and development of your hibiscus seeds. After preparing the planting environment, it’s time to move on to the next step – soaking the seeds to enhance germination.
Soaking the Seeds
Soaking hibiscus seeds before planting is a beneficial technique that can enhance germination rates and accelerate the growth process. The process of soaking helps soften the seed coat, allowing water and nutrients to penetrate more easily and promoting faster seedling emergence. Follow these steps to soak your hibiscus seeds:
- Gather Your Materials: You will need a container, preferably shallow and wide, and clean water. Avoid using chlorinated tap water, as the chlorine content can inhibit germination. Instead, use filtered or distilled water.
- Place the Seeds in the Container: Place your hibiscus seeds in the container and add enough water to fully submerge them. Make sure the water level is at least 1 inch above the seeds to allow for proper absorption.
- Soak the Seeds: Allow the seeds to soak for 24 to 48 hours. During this time, the water will penetrate the seed coat, helping to break dormancy and kickstart the germination process.
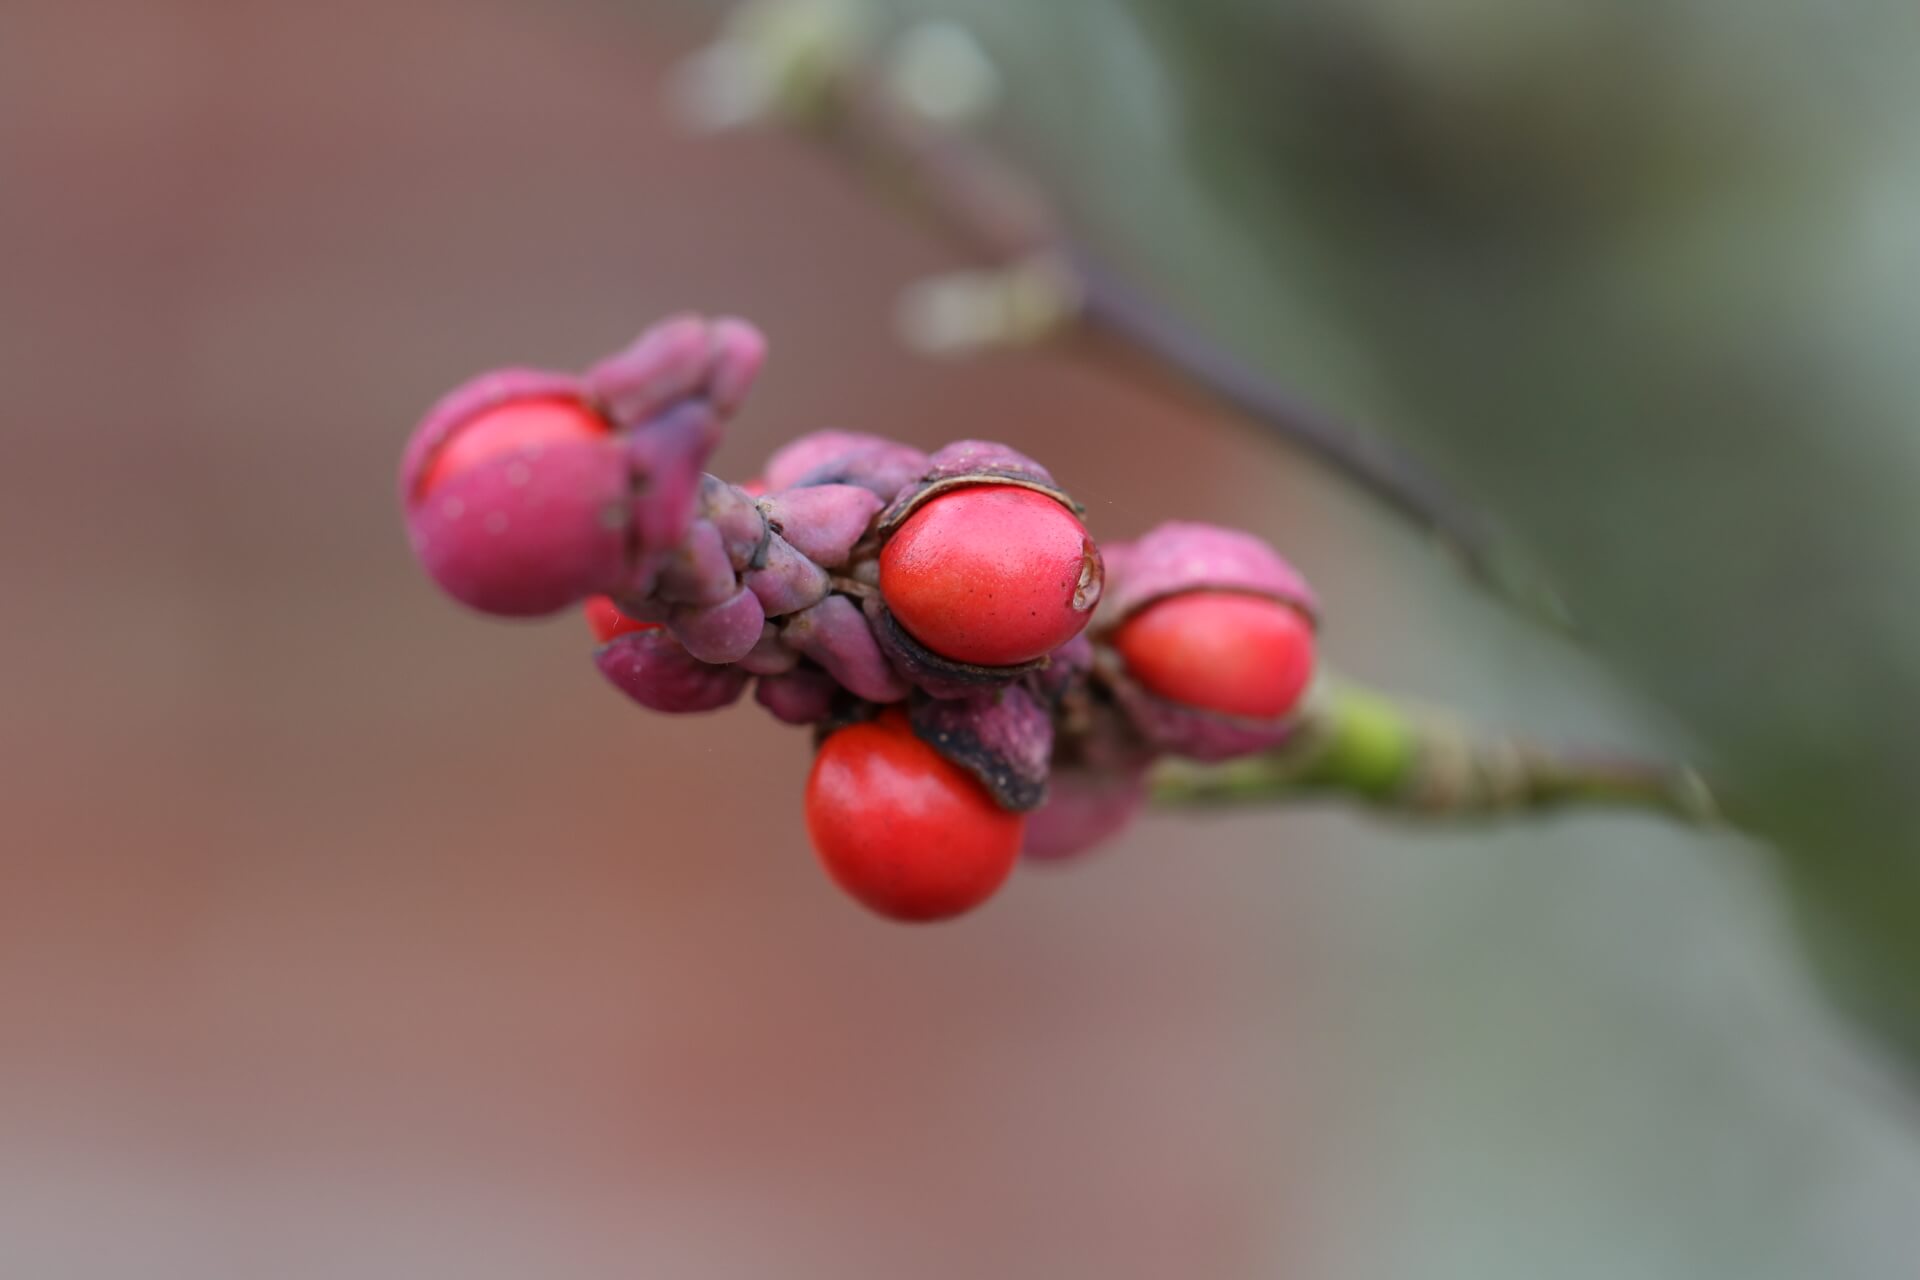
- Check for Swollen Seeds: After soaking, carefully examine the seeds. Swollen or plump seeds indicate successful absorption of water and are ready for planting. Discard any seeds that appear shriveled or show no signs of soaking.
- Drain the Seeds: Once the soaking period is complete, carefully drain the water from the container. Allow the seeds to sit in the container for a few minutes to ensure excess water has drained away.
- Prepare for Planting: After draining, the soaked seeds are ready for planting. Avoid letting the seeds dry out, as this may impede germination. Plant them immediately after the soaking process to maximize their viability.
Soaking hibiscus seeds can give them a head start in the germination process, leading to quicker and more uniform sprouting. This technique helps ensure a higher success rate and ultimately contributes to the overall health and vitality of your hibiscus plants. Once you have soaked the seeds, it’s time to sow them and embark on the thrilling journey of nurturing your hibiscus seedlings.
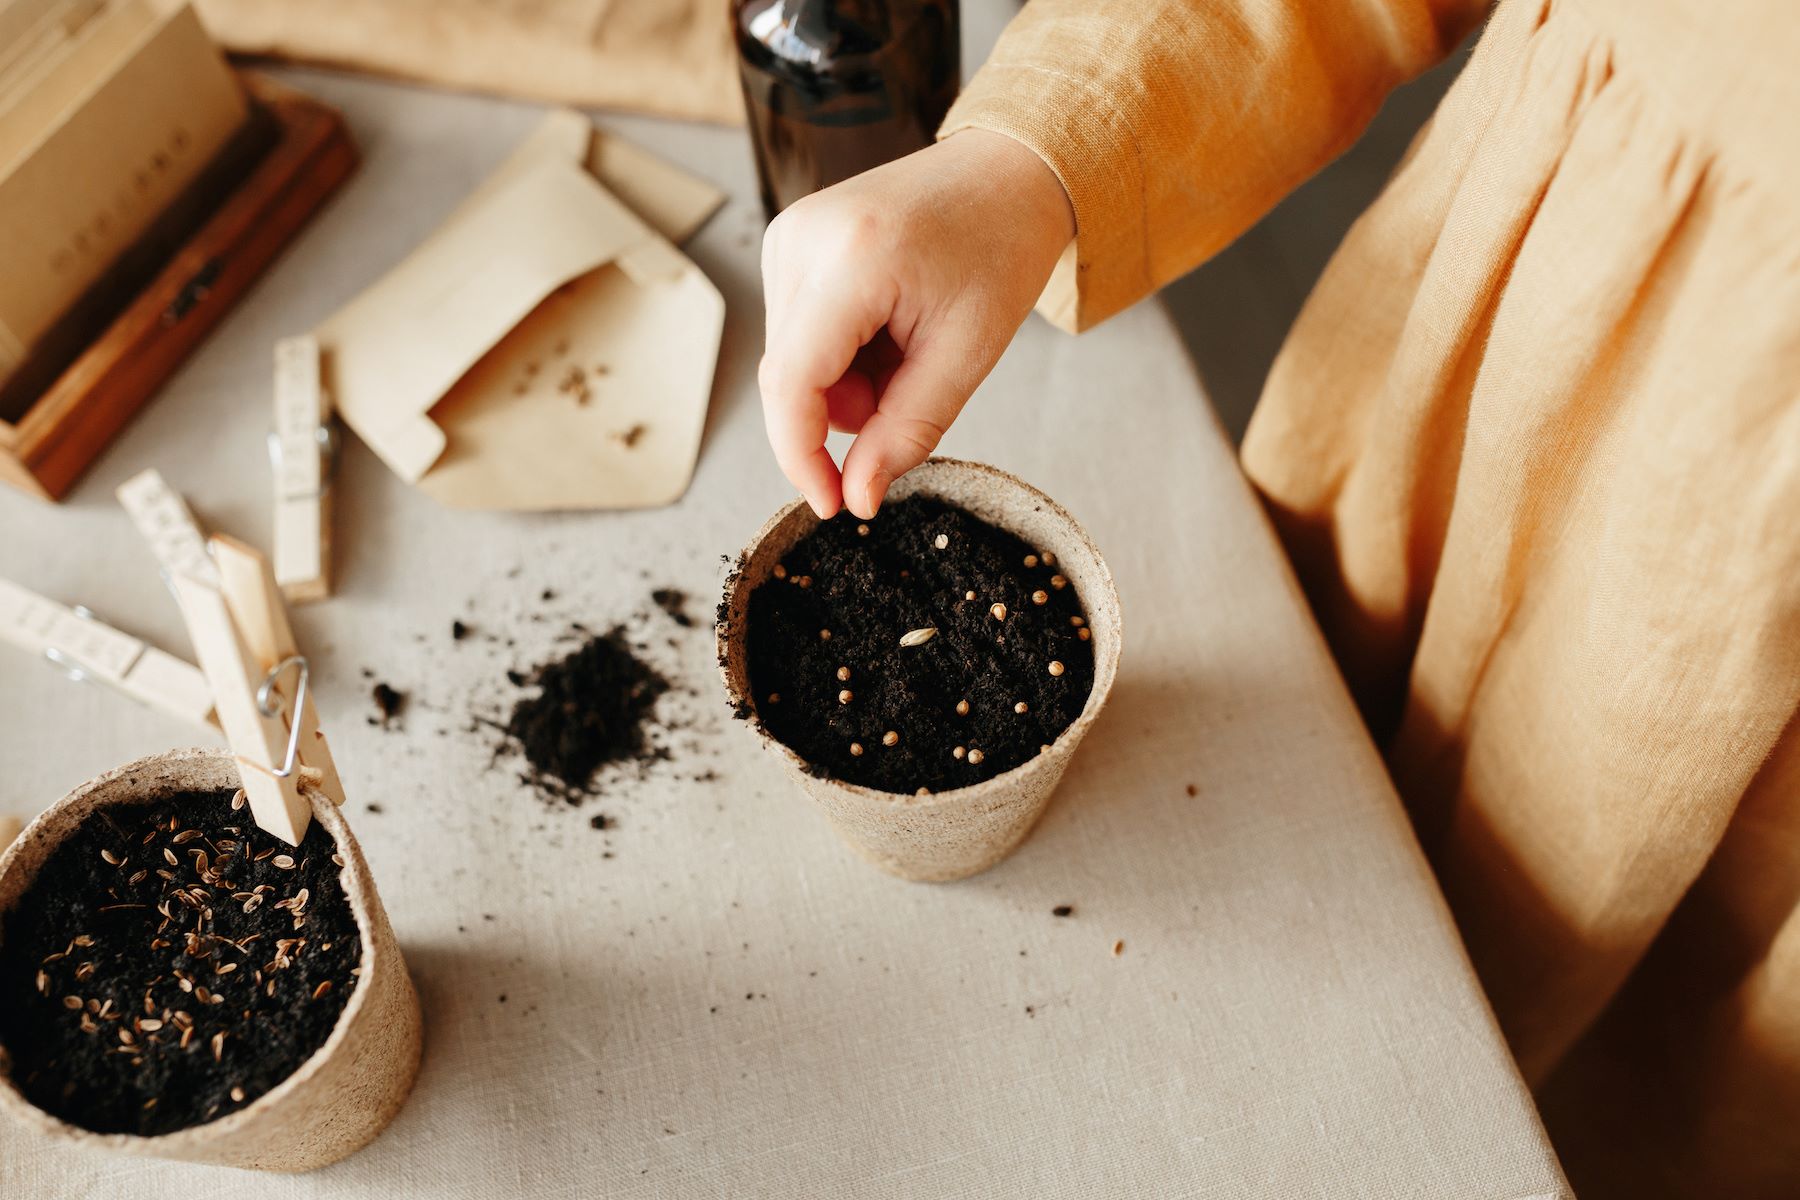
Sowing the Seeds
With your hibiscus seeds soaked and ready, it’s time to sow them and begin the exciting process of growing your own hibiscus plants. Follow these steps to sow your hibiscus seeds:
- Select the Planting Method: There are two common methods for sowing hibiscus seeds – direct sowing and starting them indoors. Direct sowing involves planting the soaked seeds directly in the outdoor garden, while starting them indoors allows for better control and protection in the early stages.
- Prepare the Planting Hole or Container: If you choose the direct sowing method, dig small holes in the prepared soil, ensuring a spacing of approximately 12 to 18 inches between each hole. For indoor sowing, use seed trays or individual pots filled with well-draining potting mix.
- Plant the Seeds: Place one soaked seed into each planting hole or pot. Gently cover the seeds with soil, ensuring they are not buried too deeply. A depth of approximately ¼ to ½ inch is sufficient for hibiscus seeds.
- Provide Moisture: After planting, water the soil lightly to moisten it. Avoid overwatering, as excessive moisture can lead to seed rot. Maintain a consistently moist environment by lightly misting the soil or using a spray bottle.
- Choose the Ideal Location: If you’re direct sowing outdoors, select a location with ample sunlight and protection from strong winds. For indoor sowing, place the trays or pots in a warm, well-lit area, such as a sunny window sill.
- Monitor and Care: Keep a close eye on the planted seeds and monitor their progress. Maintain the moisture level, ensuring the soil doesn’t dry out. Additionally, protect the seedlings from extreme temperature fluctuations and pests.
- Be Patient: Hibiscus seeds can take anywhere from 10 days to several weeks to germinate, so patience is key. Keep providing the necessary care and attention until the seedlings emerge.
By following these steps, you are giving your hibiscus seeds the best chance for successful germination and growth. Remember to adjust your approach based on the specific hibiscus variety you are planting and the climate conditions in your region. Once your hibiscus seedlings have emerged and started to grow, it’s time to provide them with the proper care to ensure their healthy development.
Providing Proper Care for Seedlings
Once your hibiscus seedlings have emerged, it’s crucial to provide them with the proper care to ensure their healthy development. From watering to fertilizing and protecting from pests, here are essential steps to follow:
- Watering: Keep the soil consistently moist but not waterlogged. Water the seedlings regularly, allowing the top inch of soil to dry out slightly before watering again. Avoid overwatering, as it can lead to root rot.
- Light and Temperature: Hibiscus seedlings thrive in bright, indirect sunlight. Place them in a location that receives 6-8 hours of sunlight per day. Protect them from harsh midday sun and ensure the temperature stays between 65-80°F (18-27°C) for optimal growth.
- Fertilizing: As the seedlings grow, provide them with a balanced, water-soluble fertilizer formulated for flowering plants. Follow the instructions on the fertilizer package, but typically, applying a diluted solution every 2-4 weeks will promote healthy growth.
- Supplementing with Nutrients: Hibiscus plants benefit from additional nutrients, especially micronutrients like iron and magnesium. Consider using a foliar spray or a slow-release granular fertilizer that includes these essential elements, following the recommended dosage.
- Pruning: Once the seedlings reach a height of 6-8 inches, pinch back the tips to encourage branching and bushier growth. Regular pruning also helps shape the plant and promotes the development of more flower buds.
- Pest Control: Keep a watchful eye for common pests like aphids, spider mites, and whiteflies. Inspect the seedlings regularly and take appropriate measures, such as using organic insecticidal soap or natural predators, to control any infestations.
- Transplanting: When the seedlings have grown a few sets of true leaves and are 4-6 inches tall, they can be transplanted into larger pots or individual garden beds. Ensure the new containers or planting holes provide enough space for the root ball to grow and establish.
By providing proper care for your hibiscus seedlings, you are setting the stage for their healthy development into mature plants. Remember to observe any signs of stress or nutrient deficiencies and make adjustments accordingly. With time, patience, and attentive care, your hibiscus seedlings will grow into vibrant and beautiful plants, ready to adorn your garden with their stunning blooms.
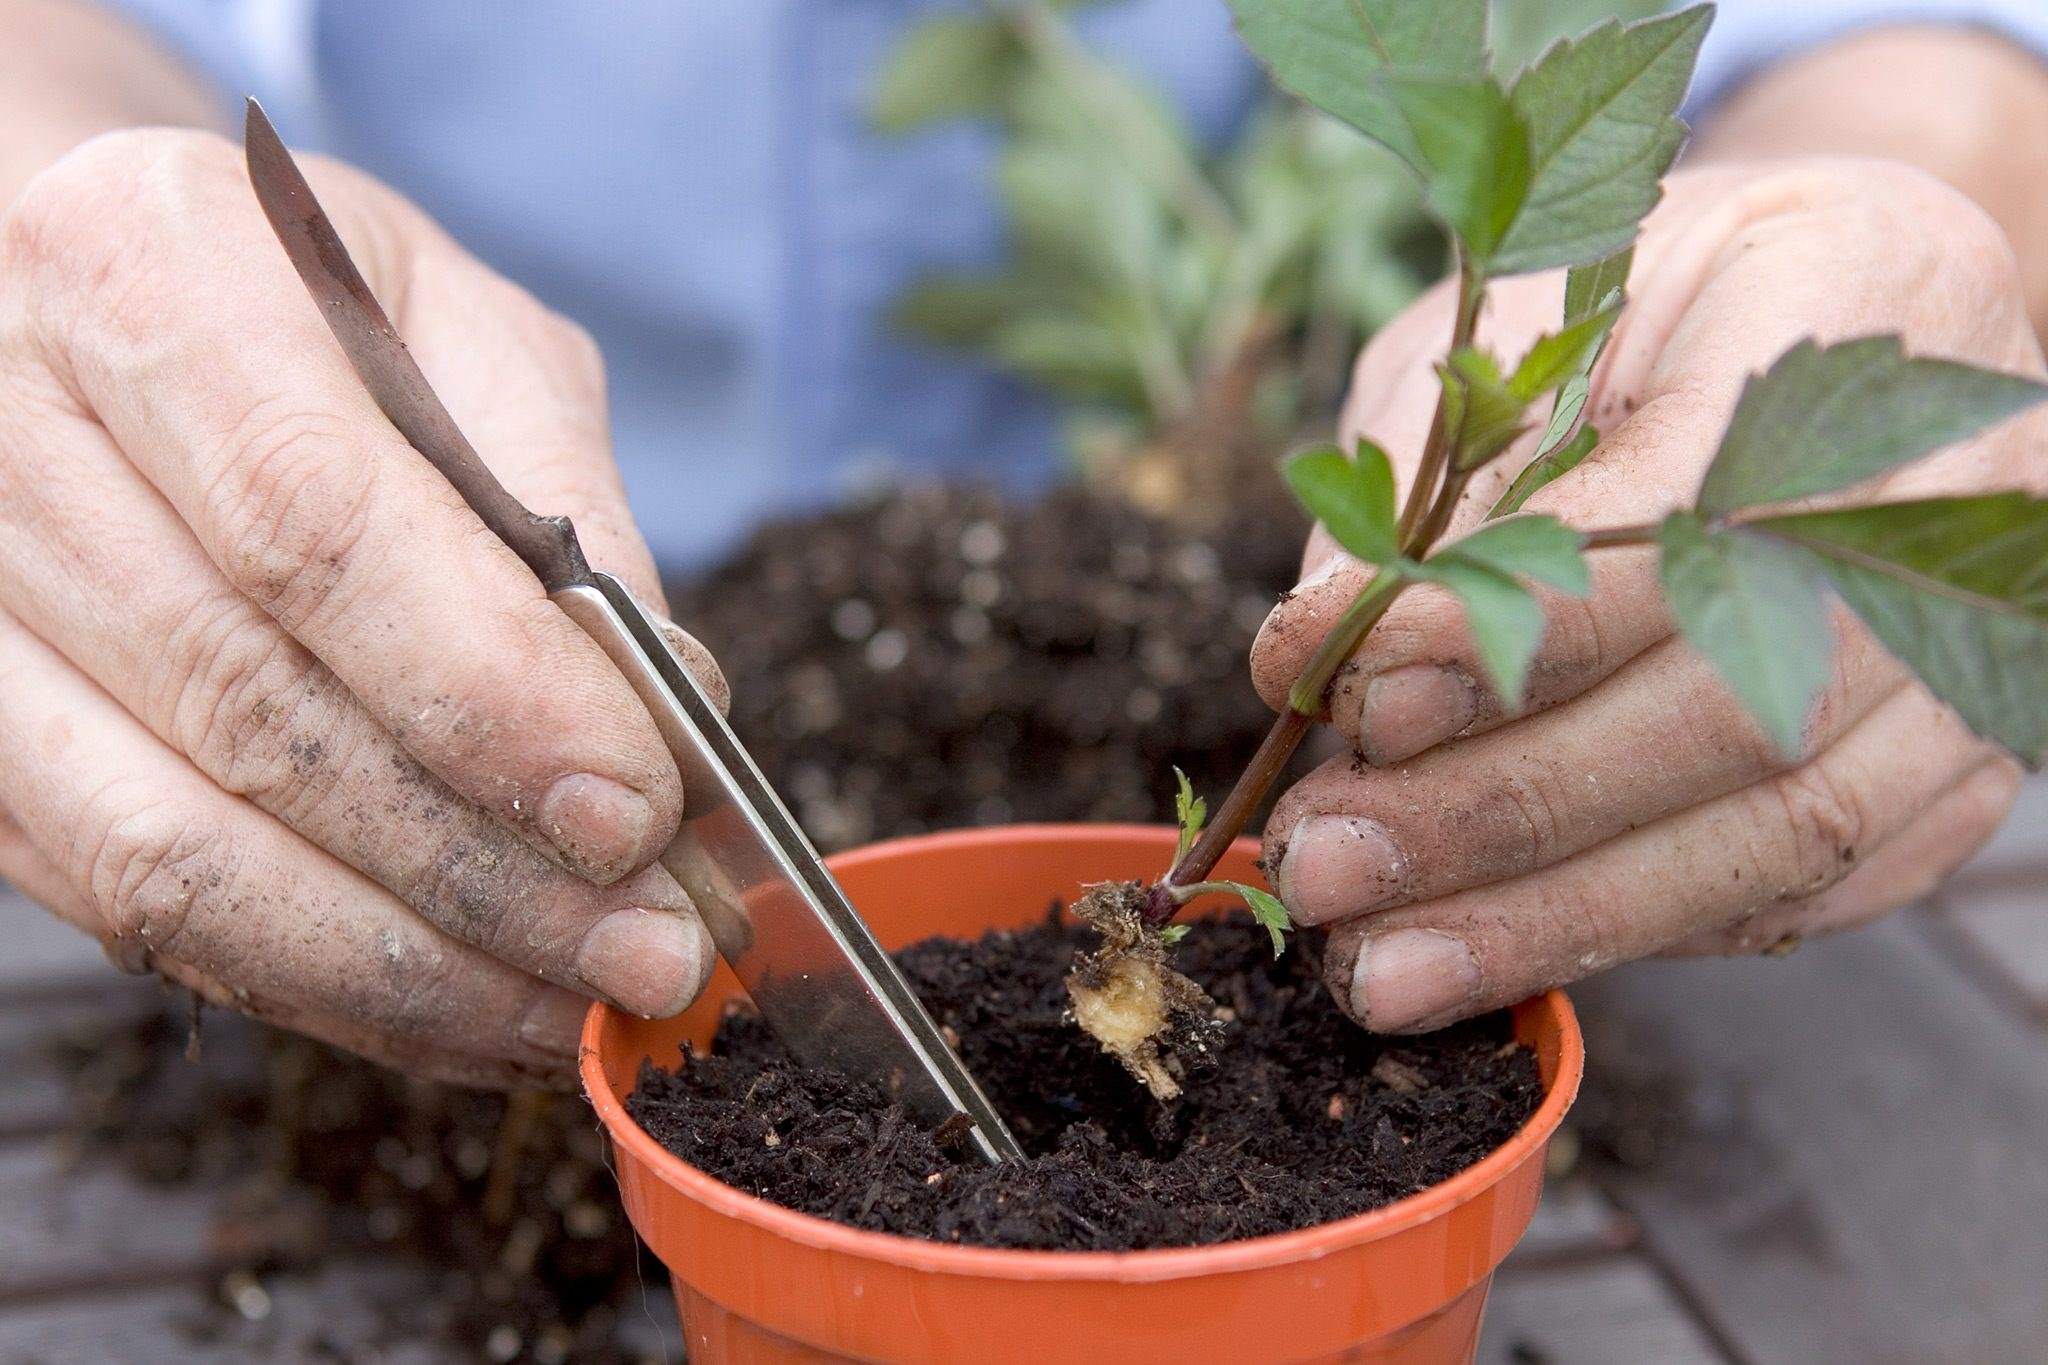
Transplanting the Seedlings
Once your hibiscus seedlings have grown a few sets of true leaves and reached a height of 4-6 inches, it’s time to transplant them into their permanent growing location. Transplanting helps provide the seedlings with more space for root growth, allowing them to establish themselves and thrive. Here’s a step-by-step guide on how to transplant hibiscus seedlings:
- Choose the Right Time: Transplant your hibiscus seedlings during the early spring or late summer when the weather is mild and conducive to plant growth. Avoid transplanting during extreme weather conditions or when the seedlings are flowering.
- Prepare the New Planting Hole or Container: Dig a hole in the ground or prepare a new container that is larger and deeper than the previous one. Ensure the new hole is at least twice the size of the root ball to accommodate the growing roots.
- Water the Seedlings: Before transplanting, water the seedlings thoroughly. Moist soil helps keep the root ball intact and reduces stress during the transplanting process.
- Remove the Seedling from the Container: If the seedlings were grown in containers, gently tap the container’s sides to loosen the root ball. Carefully remove the seedling, being mindful not to disturb or damage the delicate roots.
- Place the Seedling in the New Hole or Container: Position the seedling in the center of the new hole or container, ensuring the top of the root ball is level with the soil surface. Backfill the hole or container with soil, gently firming it around the roots.
- Water and Mulch: After transplanting, water the seedling thoroughly to help settle the soil and remove any air pockets around the roots. Apply a layer of organic mulch around the base of the plant to help retain soil moisture and suppress weed growth.
- Provide Proper Care After Transplanting: In the days following transplanting, monitor the seedlings closely and provide adequate moisture to ensure they adjust to their new environment. Protect them from strong winds, extreme heat, or heavy rainfall during this vulnerable period.
- Maintain Regular Care: Once the seedlings have settled into their new home, continue to provide proper care, including regular watering, as needed, and ongoing fertilization. Monitor the plants for any signs of stress or nutrient deficiencies and take appropriate action.
Transplanting hibiscus seedlings is a critical step in their growth journey, enabling them to establish a stronger root system and thrive in their permanent location. By following these guidelines and giving your transplanted seedlings the care they require, you are setting the stage for healthy growth, abundant flowering, and the long-term success of your hibiscus plants.
Maintaining and Growing Mature Hibiscus Plants
Once your hibiscus plants have reached maturity, they require ongoing care and attention to ensure their continued health, vigor, and beauty. Follow these essential maintenance steps to keep your mature hibiscus plants thriving:
- Watering: Hibiscus plants require regular watering to thrive, especially during hot and dry spells. Water deeply and thoroughly, allowing the top inch of soil to dry out slightly between waterings. Avoid overwatering or creating waterlogged conditions.
- Fertilizing: Regular fertilization is crucial for the optimal growth and flowering of hibiscus plants. Use a balanced, slow-release fertilizer or a water-soluble fertilizer specific to flowering plants. Apply according to the instructions on the package, typically every 4-6 weeks during the growing season.
- Pruning: Pruning plays a significant role in maintaining the shape and health of hibiscus plants. Regularly trim back overgrown or weak branches to promote bushier growth and increase flower production. Prune in early spring or late winter before new growth emerges.
- Deadheading: Removing spent flowers, a process known as deadheading, not only maintains the plant’s appearance but also encourages continuous blooming. Pinch or trim off faded flowers regularly to promote the development of new buds.
- Pest and Disease Control: Stay vigilant for common pests like aphids, whiteflies, and spider mites, as well as diseases like powdery mildew or root rot. Take prompt action at the first sign of infestation or disease, using organic or chemical controls as necessary.
- Protecting from Cold Temperatures: If you live in a region with cold winters, take steps to protect your hibiscus plants from frost or freezing temperatures. Cover them with frost blankets or move potted plants indoors during extreme cold spells.
- Monitoring Nutrient Levels: Regularly monitor the nutrient levels of your hibiscus plants to ensure they have an adequate supply of essential nutrients. Adjust fertilization as needed based on soil tests or the appearance of nutrient deficiencies.
- Providing Adequate Sunlight: Hibiscus plants require ample sunlight to produce vibrant blooms. Ensure they receive at least 6-8 hours of direct sunlight each day. If necessary, prune nearby plants or structures that may create excessive shade.
- Mulching: Apply a layer of organic mulch around the base of hibiscus plants to conserve soil moisture, control weeds, and maintain a more stable root temperature. Keep the mulch a few inches away from the main stem to prevent moisture-related issues.
By following these maintenance practices, you can ensure the continued health and beauty of your mature hibiscus plants. Regular care, including watering, fertilizing, pruning, and pest control, will contribute to their longevity and reward you with a vibrant display of stunning blooms year after year. Enjoy the joys of nurturing your hibiscus plants and the beauty they bring to your garden.
Conclusion
Congratulations! You are now equipped with the knowledge and skills to successfully plant, grow, and maintain hibiscus plants from seeds. Whether you’re a seasoned gardener or just starting out, the process of nurturing hibiscus from seeds is a fulfilling and rewarding experience.
Remember the key steps we’ve covered: choosing the right hibiscus seeds, preparing the planting environment, soaking the seeds for optimal germination, sowing them in the right location, providing proper care for the seedlings, transplanting them when they are ready, and maintaining mature hibiscus plants.
Hibiscus plants offer a splash of vibrant colors, elegant blooms, and a touch of exotic beauty to any garden or landscape. Their enticing flowers attract pollinators and bring a tranquil ambiance to outdoor spaces. With their impressive range of colors and varieties, there’s a hibiscus plant to suit every aesthetic taste.
Remember to pay attention to the specific needs of the hibiscus variety you choose and consider the unique climate conditions in your region. Regular watering, fertilizing, pruning, and pest control are vital for the health and longevity of your hibiscus plants.
As you embark on your ornamental gardening journey with hibiscus plants, don’t forget to take a moment to appreciate the beauty of nature and the joy that comes from tending to your garden. Watching your hibiscus seeds sprout, grow into seedlings, and eventually flourish into mature plants is a gratifying experience that connects you with the wonders of the natural world.
Now, gather your supplies, select your favorite hibiscus seeds, and let the magic of gardening unfold as you bring the beauty and elegance of hibiscus into your own backyard. Happy gardening!