Home>Types of Gardening>Ornamental Gardening>How To Plant Foxglove Seeds
Ornamental Gardening
How To Plant Foxglove Seeds
Published: September 23, 2023
Learn how to plant foxglove seeds in your ornamental garden and enjoy the beautiful blooms of this stunning flower. Enhance your gardening skills with our step-by-step guide!
(Many of the links in this article redirect to a specific reviewed product. Your purchase of these products through affiliate links helps to generate commission for Chicagolandgardening.com, at no extra cost. Learn more)
Table of Contents
Introduction
Welcome to the world of ornamental gardening, where the beauty and charm of flowers can transform any landscape into a work of art. Among the myriad of stunning flowering plants, the foxglove (Digitalis purpurea) stands out as a true garden gem. With its striking tall stalks adorned with bell-shaped flowers, the foxglove is a perfect addition to any garden or flower bed.
Known for its elegant and vibrant blooms, the foxglove is a perennial plant that can be easily grown from seeds. Whether you are a novice gardener or an experienced horticulturist, planting foxglove seeds is a rewarding endeavor that allows you to witness the growth and beauty of these enchanting plants right from the start.
In this article, we will guide you through the process of planting foxglove seeds, from choosing the right seeds to caring for the seedlings until they are ready to be transplanted into your garden. Whether you have a sunny spot in your backyard or a cozy balcony, foxgloves can add a touch of elegance and whimsy to any space.
So, put on your gardening gloves, grab your trowel, and let’s dive into the wonderful world of planting foxglove seeds.
Choosing the Right Foxglove Seeds
When it comes to selecting foxglove seeds, there are a few key factors to consider. Firstly, decide on the variety of foxglove you want to grow. There are numerous cultivars available, each with its own unique characteristics, such as flower color, height, and bloom time. Popular varieties include ‘Dalmatian Purple’, ‘Foxy’, and ‘Excelsior Hybrid’.
Next, ensure that the seeds you choose are fresh and of high quality. Look for reputable seed suppliers or nurseries that specialize in ornamental plants. Check the expiration date on the seed packet and opt for seeds that have been recently harvested for the best germination rates.
Consider the climate and growing conditions in your area. Foxgloves prefer cool and temperate climates with moderate sunlight. If you live in a region with hot summers, choose foxglove varieties that are more tolerant to heat, such as ‘Summer King’ or ‘Mertonensis’.
Additionally, take note of the height and spacing requirements of the foxglove variety you intend to grow. Some varieties can grow up to 4-6 feet tall, so make sure you have enough vertical space and provide support such as stakes or trellises if needed.
Lastly, consider the overall aesthetic of your garden and how the foxglove will complement other flowers and plants. Foxgloves are known for their vertical structure and striking flowers, which can create a stunning backdrop or add height to a flower bed.
Preparing the Planting Area
Before sowing foxglove seeds, it is important to prepare the planting area to ensure optimal growing conditions for your seedlings. Here are a few steps to follow:
- Choose a suitable location: Foxgloves thrive in moist, well-draining soil and prefer partial shade. However, they can also tolerate full sun as long as the soil remains consistently moist. Select a location in your garden that meets these requirements.
- Prepare the soil: Foxgloves prefer slightly acidic to neutral soil with a pH range of 6.0 to 7.0. Amend the soil with organic matter such as compost or well-rotted manure to improve drainage and fertility. Remove any weeds or debris from the planting area.
- Loosen the soil: Use a garden fork or tiller to loosen the soil to a depth of about 6-8 inches. This will help create a loose, well-aerated soil structure for the foxglove roots to grow and spread.
- Add organic fertilizer: Incorporate a balanced, slow-release organic fertilizer into the soil. This will provide the necessary nutrients for the seedlings as they establish themselves.
- Water the soil: Give the planting area a good, thorough watering to ensure the soil is evenly moist. This will provide a favorable environment for the seeds to germinate and the seedlings to establish.
- Create a mulch layer: Apply a layer of organic mulch, such as wood chips or straw, around the planting area. Mulch helps retain soil moisture, suppresses weeds, and regulates soil temperature, creating a favorable growing environment for the foxglove seedlings.
By preparing the planting area beforehand, you are providing the ideal foundation for your foxglove seeds to thrive and grow into healthy and vibrant plants.
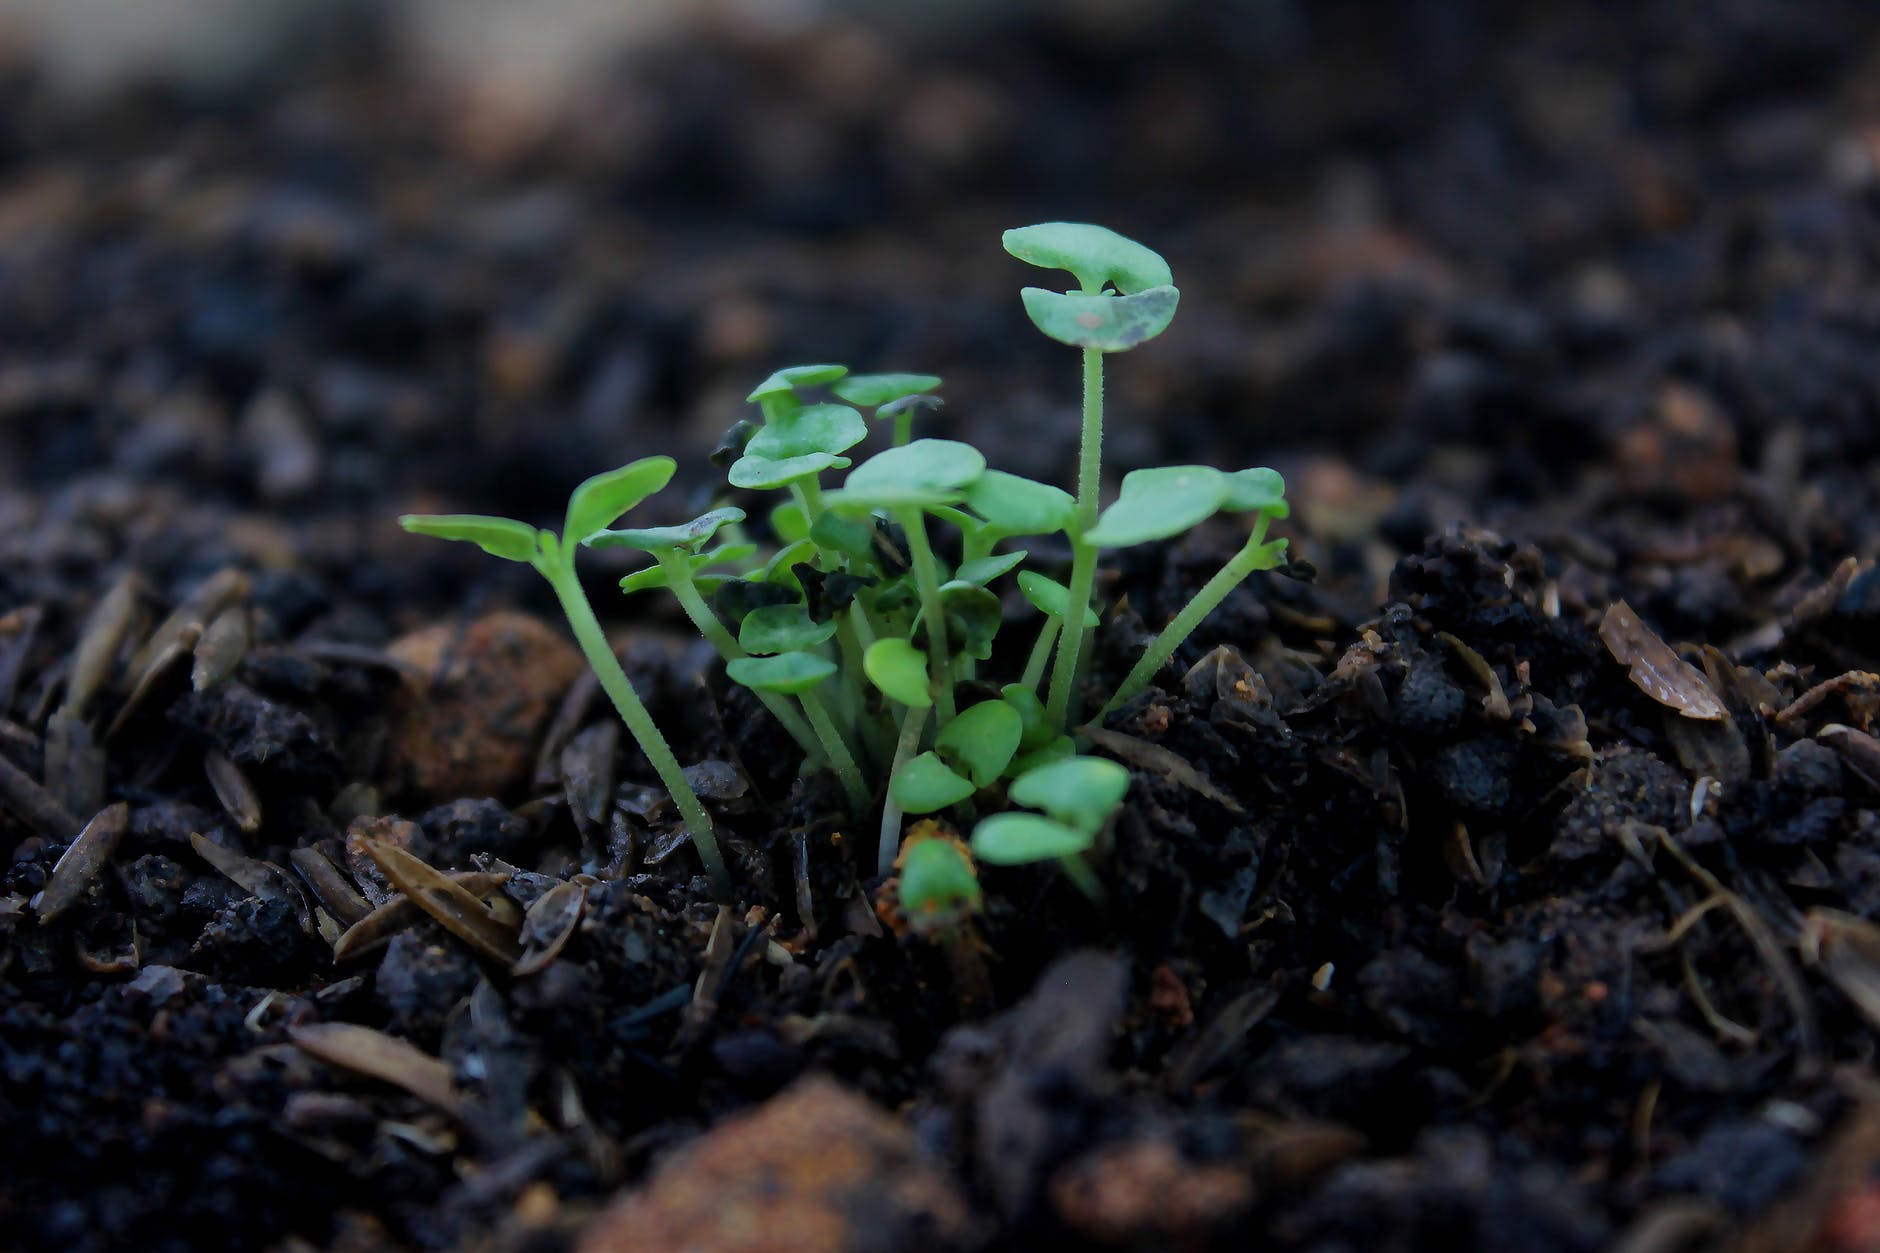
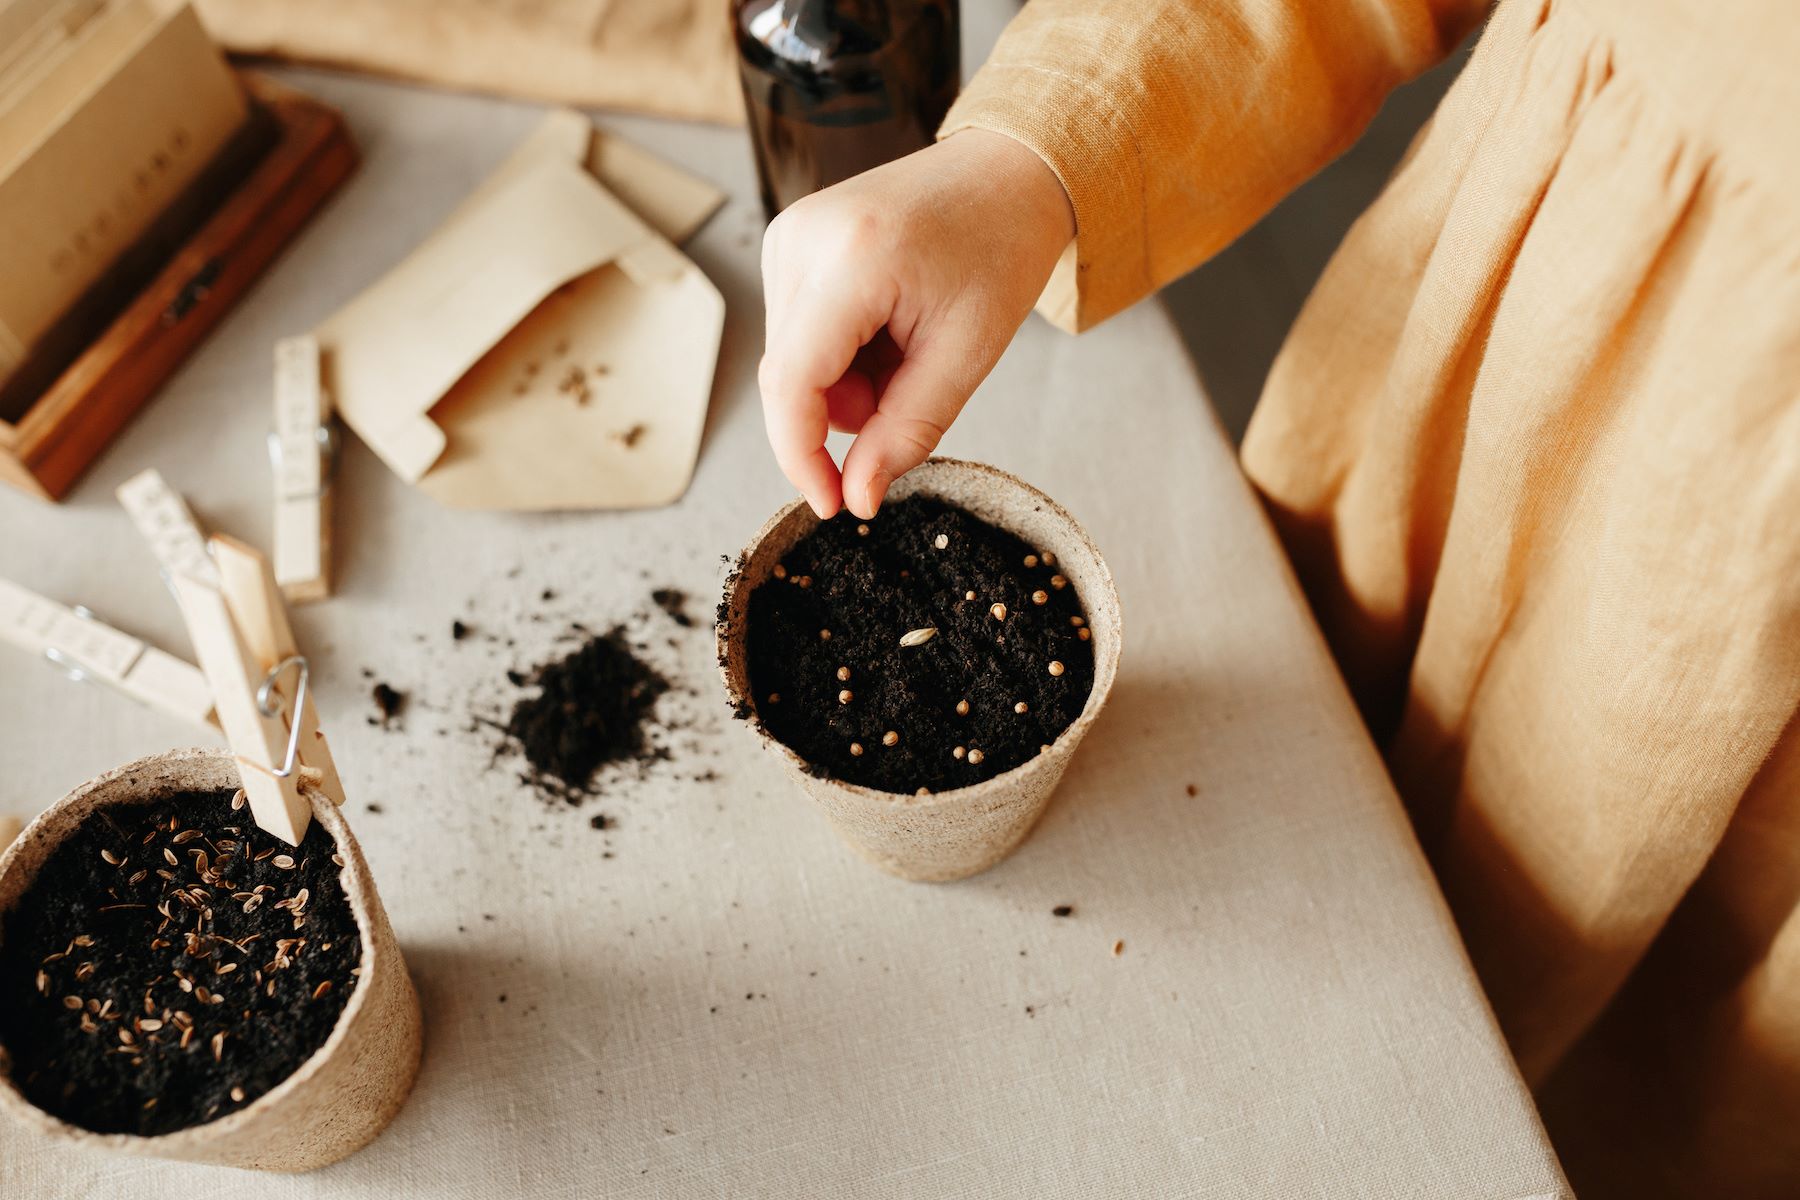
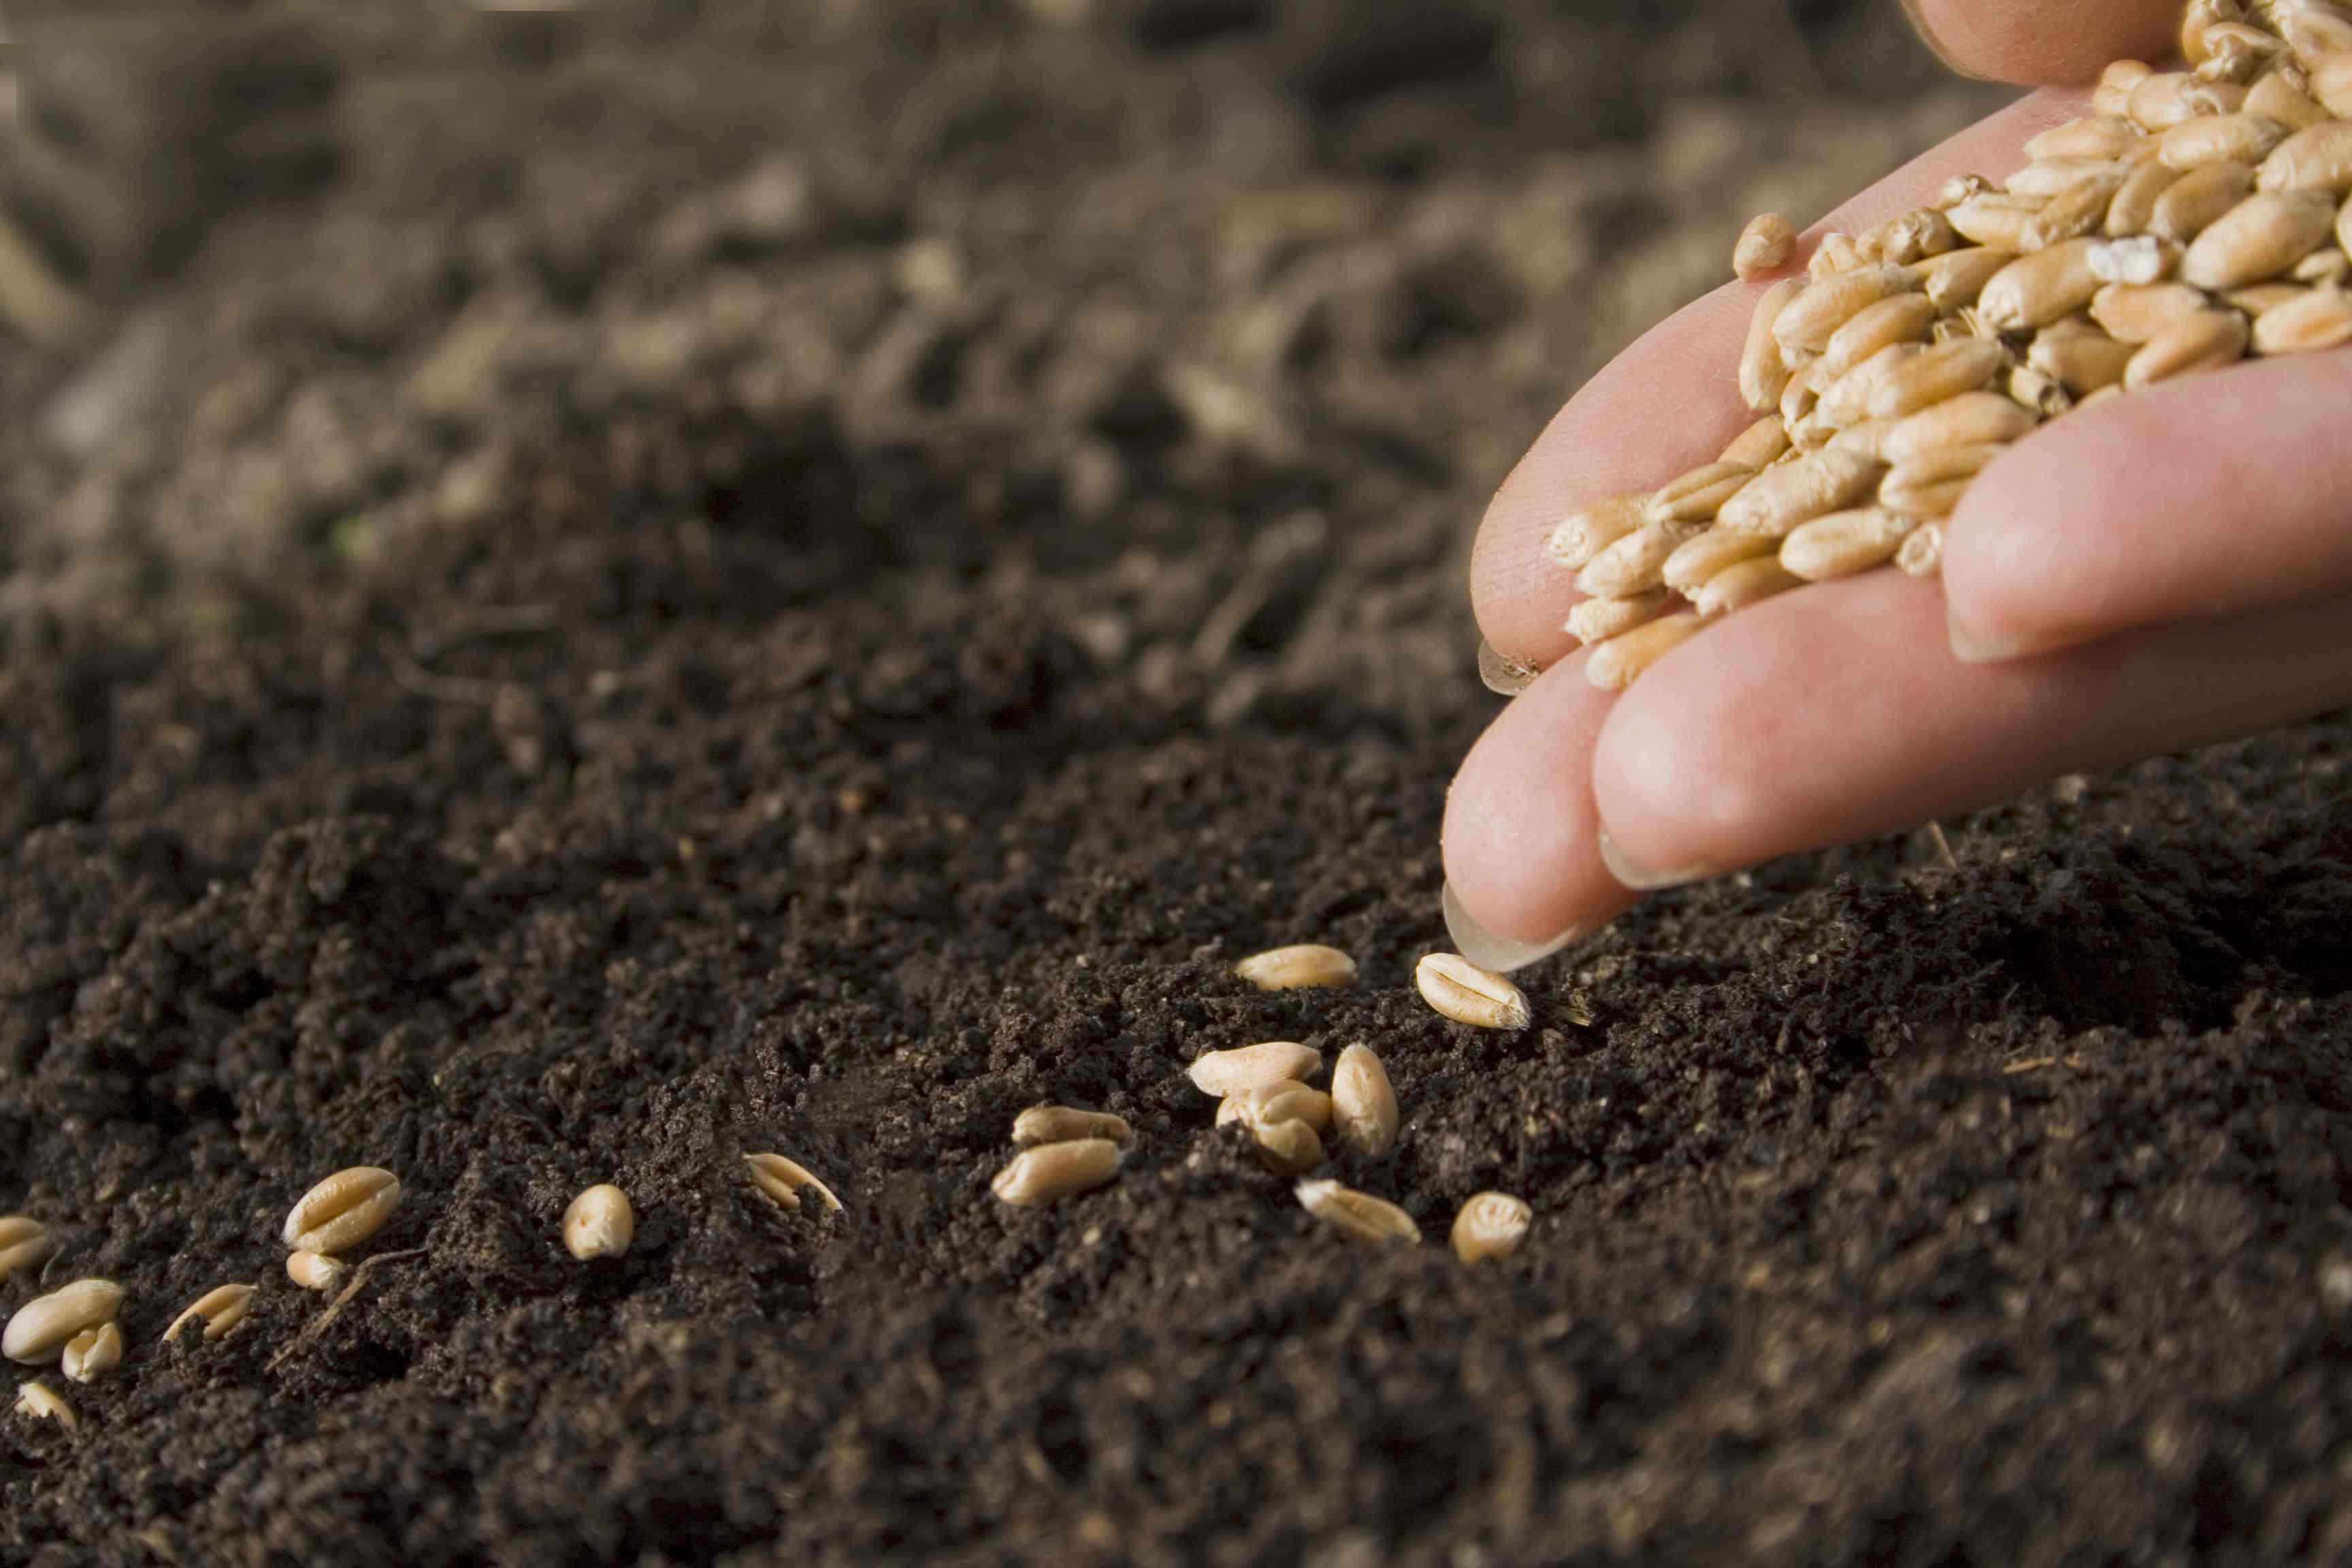
Sowing Foxglove Seeds
Now that you have prepared the planting area, it’s time to sow your foxglove seeds. Follow these steps to ensure successful germination and healthy seedlings:
- Choose the right time: Foxglove seeds can be sown in early spring or late summer. Sowing in early spring allows for a longer growing season, while sowing in late summer can result in earlier blooming the following year. Select the timing that suits your gardening goals.
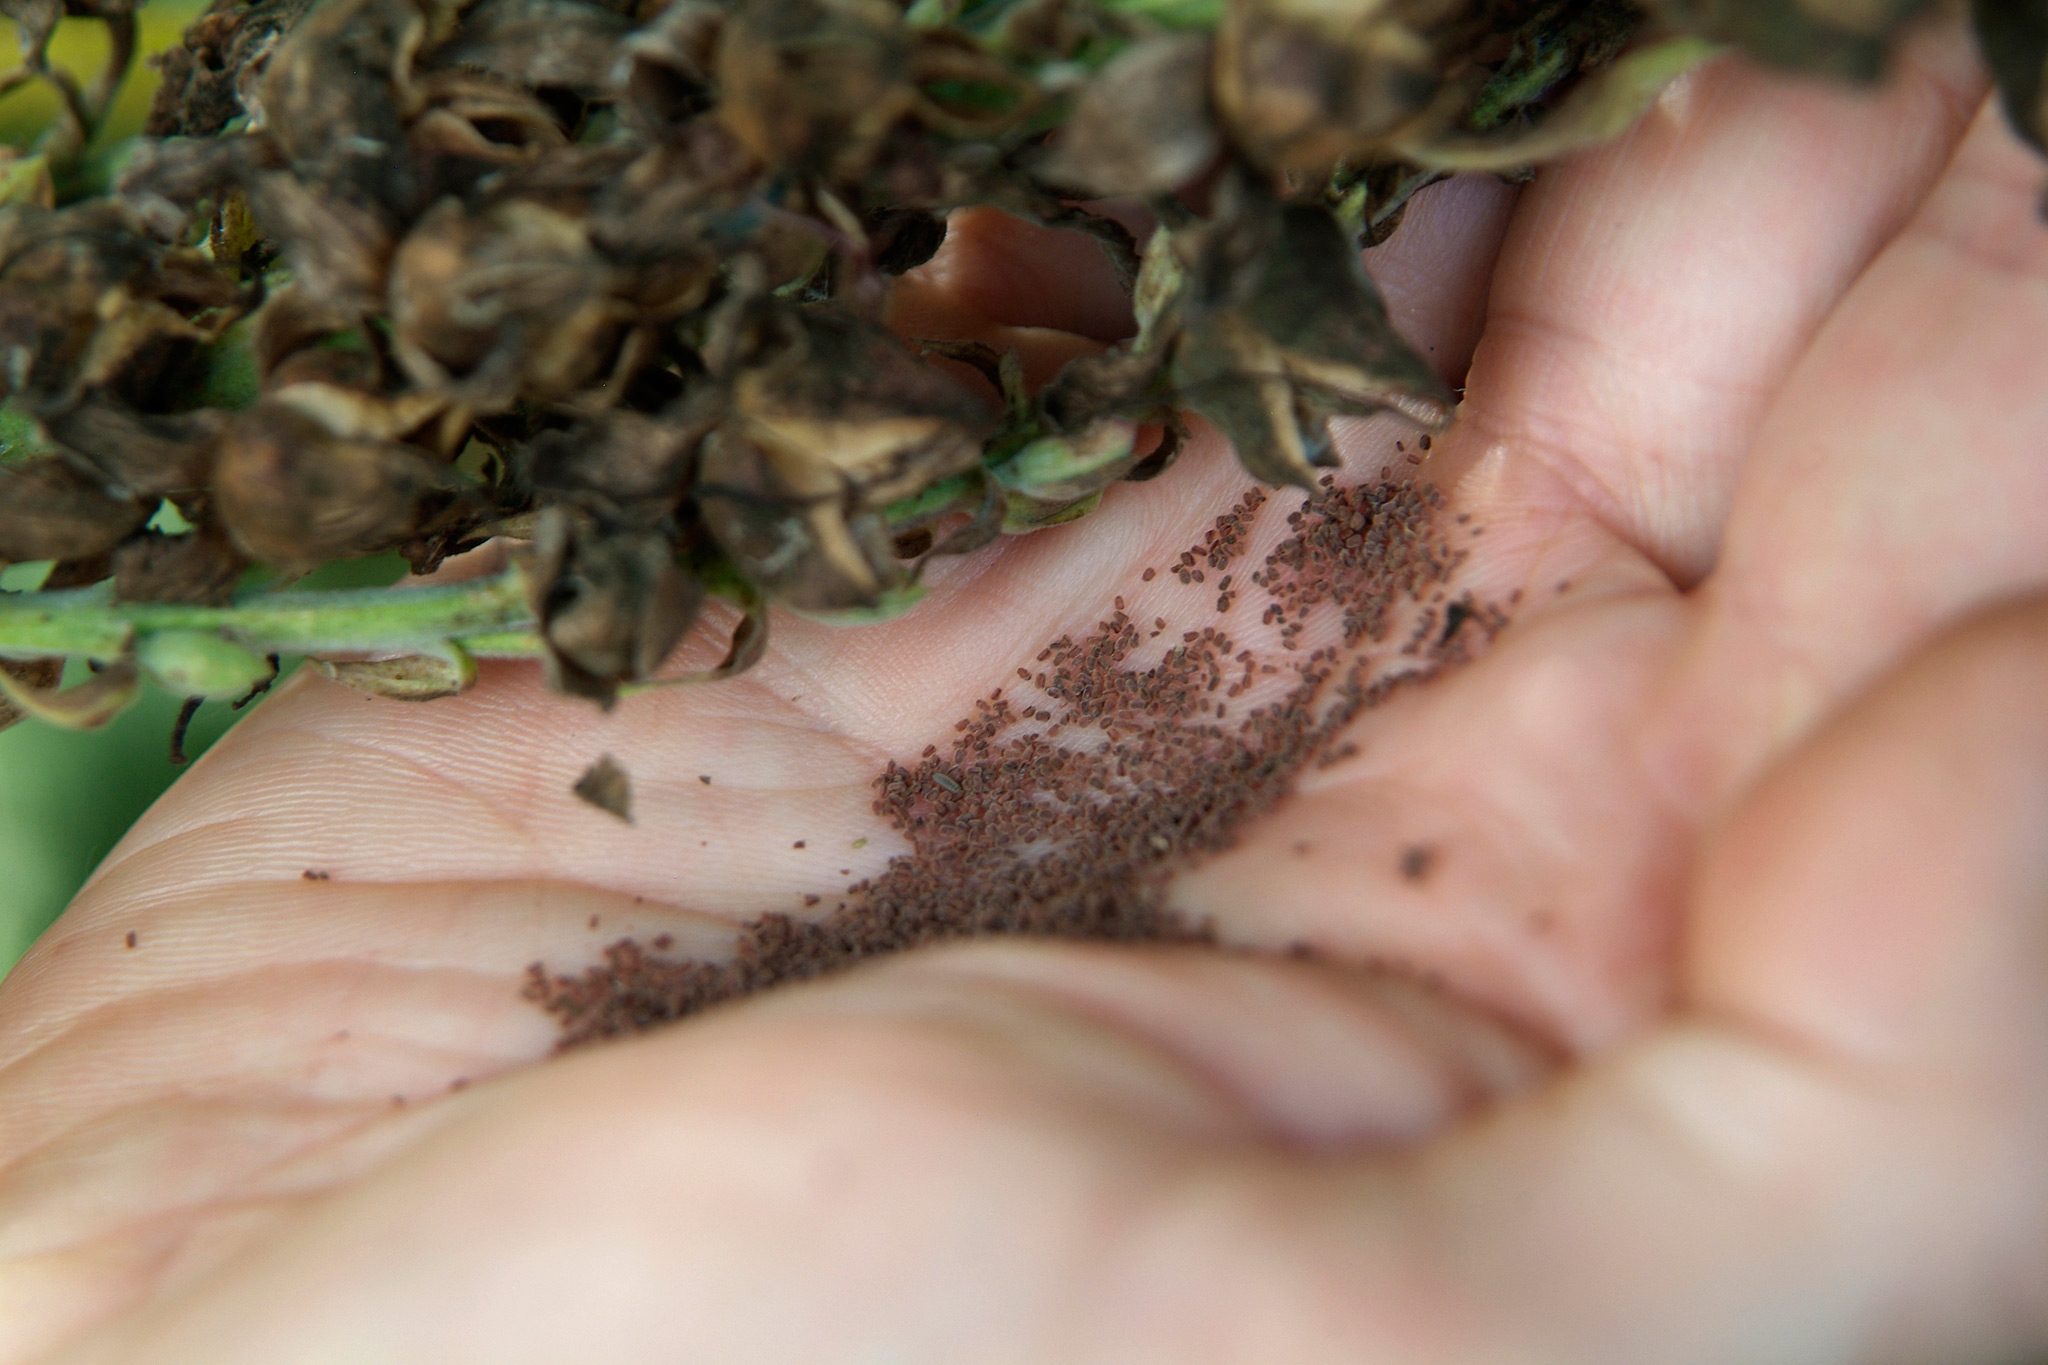
- Prepare the seeds: Gently rub the foxglove seeds between your fingers to slightly scarify the seed coat. This can help improve germination rates by allowing moisture to penetrate the seed more easily.
- Sow the seeds: Scatter the scarified seeds evenly over the prepared soil surface. As a general guideline, sow the seeds at a depth of about 1/8 inch. Avoid burying the seeds too deeply, as they require light to germinate.
- Water the seeds: After sowing, lightly water the seeds using a fine mist or a gentle spray. Be careful not to dislodge the seeds or wash them away. Maintain consistent moisture throughout the germination period.
- Cover the seeds: To retain moisture and protect the seeds, cover the planting area with a thin layer of vermiculite or finely sifted compost. This helps create a microclimate favorable for seed germination.
- Provide the right temperature: Foxglove seeds germinate best at a temperature between 60-70°F (15-21°C). Keep the planting area warm and ensure a consistent temperature for successful germination.
- Be patient: Foxglove seeds can take anywhere from 14 to 21 days to germinate. During this time, be patient and monitor the moisture levels in the soil. Avoid overwatering to prevent rotting of the seeds.
By following these steps, you are well on your way to nurturing your foxglove seeds into healthy and vibrant seedlings. The next section will cover how to care for the foxglove seedlings as they grow.
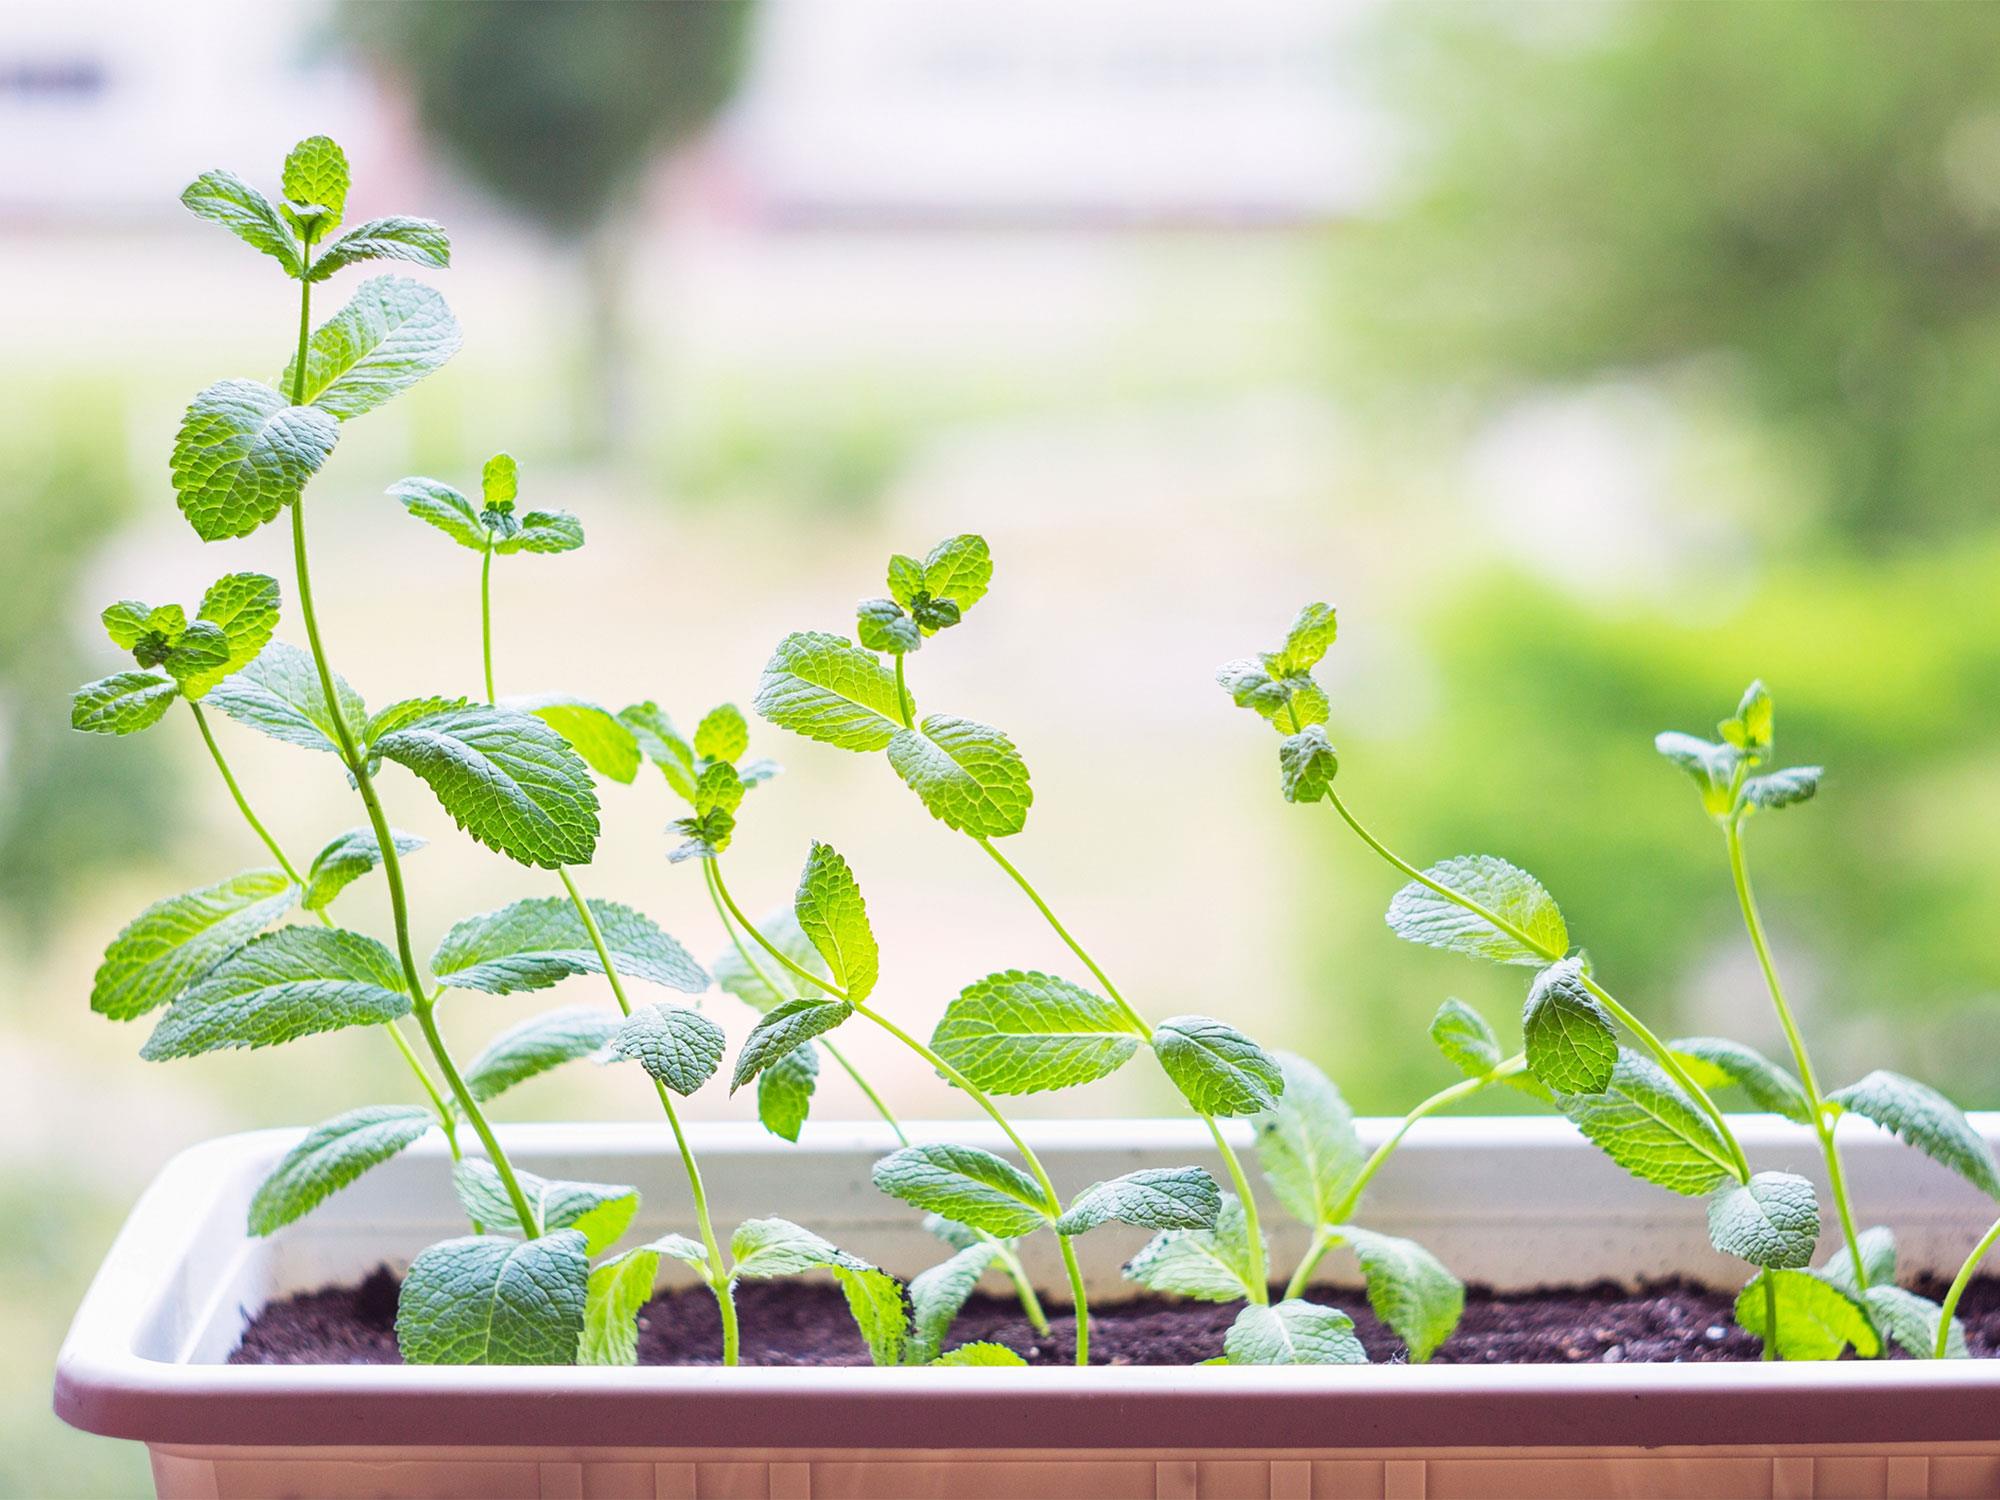
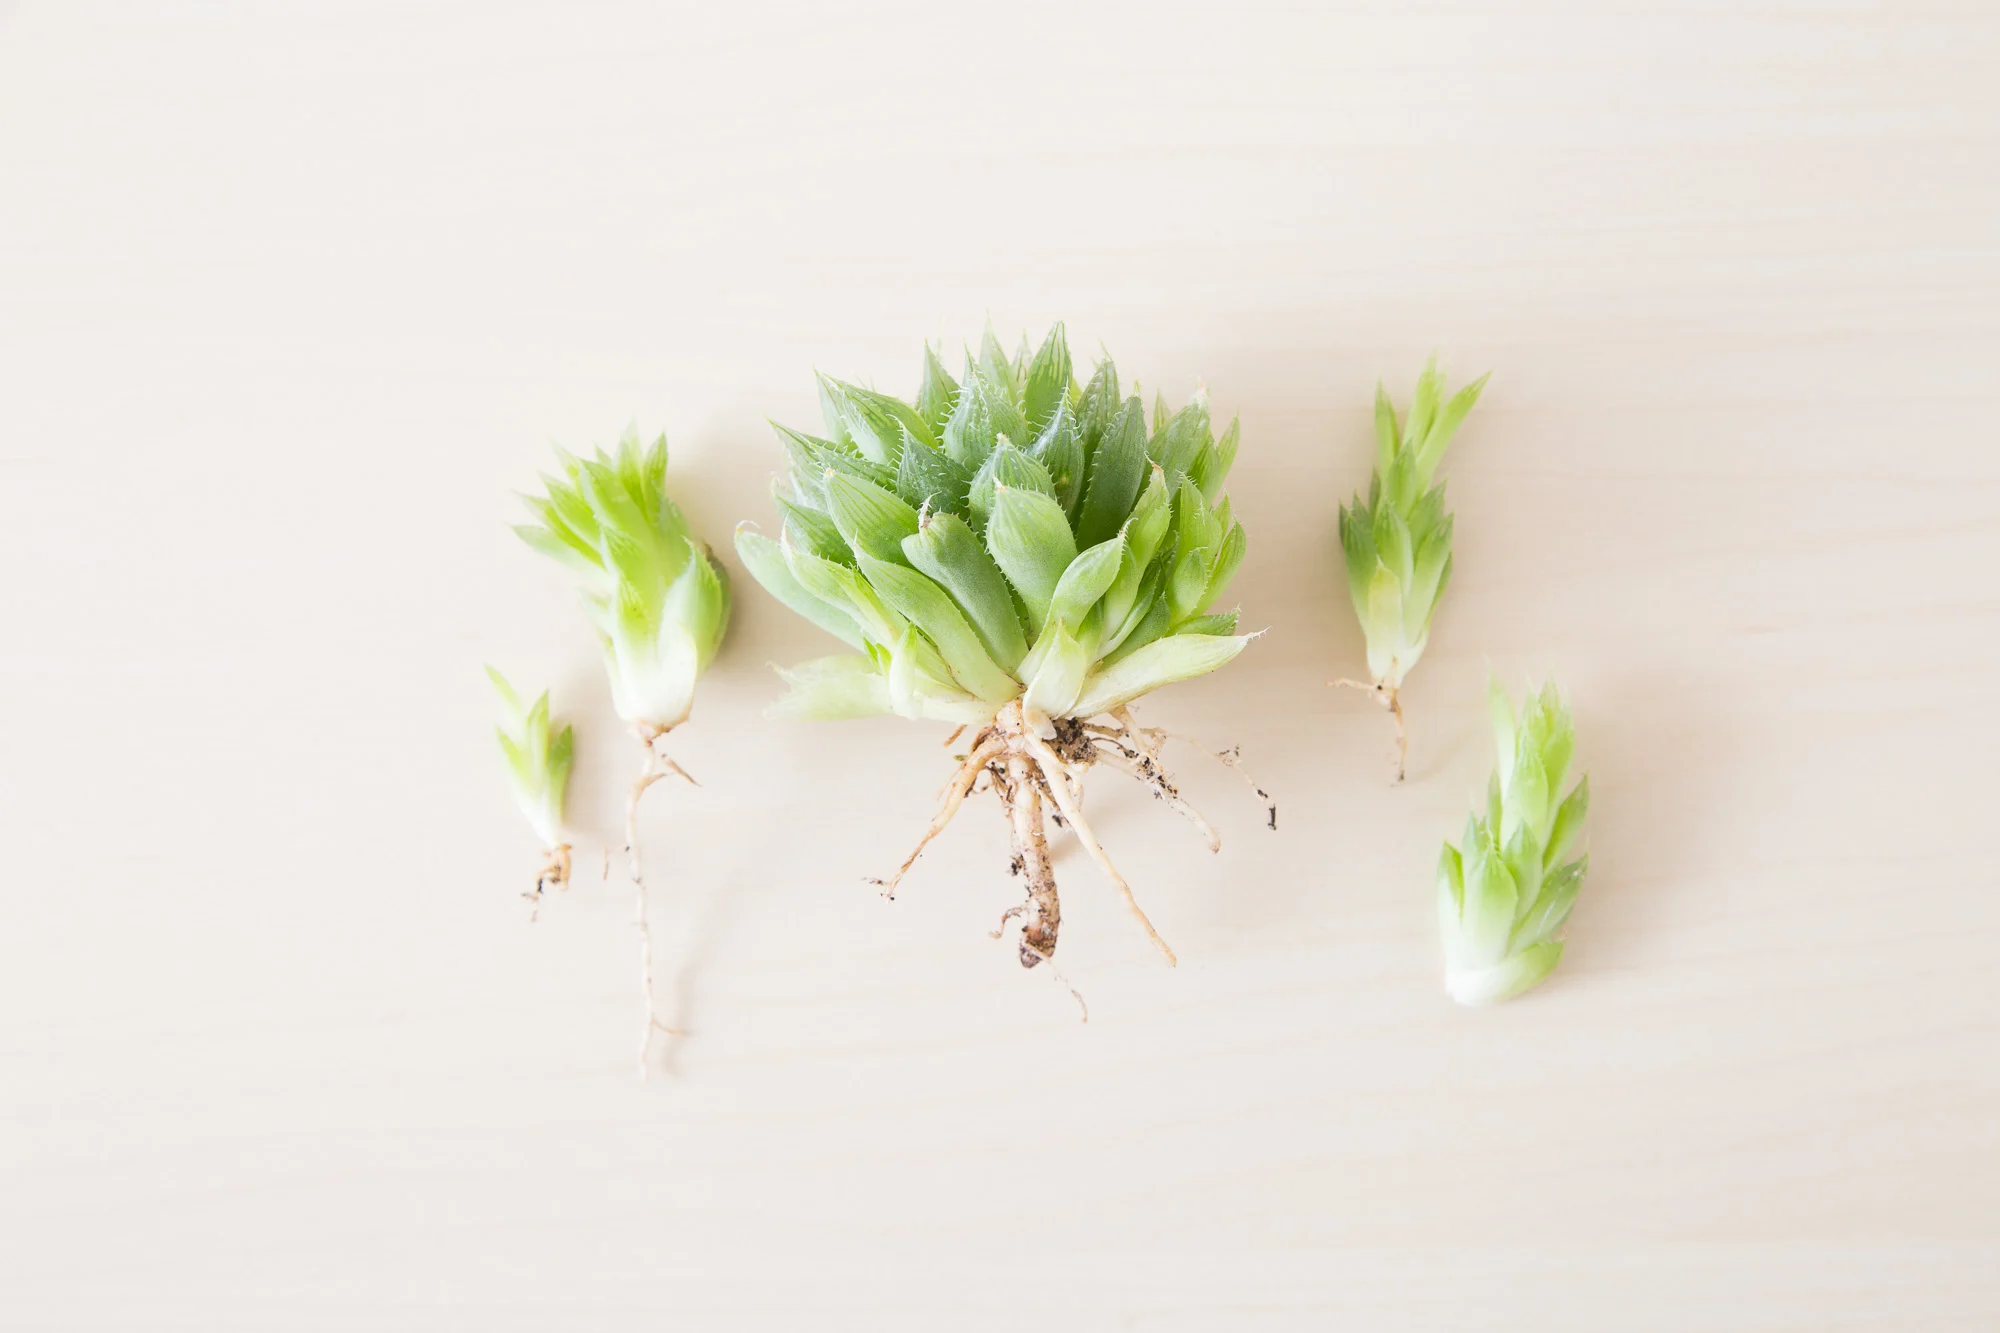
Watering and Caring for Foxglove Seedlings
Once your foxglove seeds have germinated and the seedlings have emerged, it is important to provide proper care to ensure their healthy growth. Follow these guidelines for watering and caring for your foxglove seedlings:
- Watering: Foxglove seedlings prefer consistently moist soil, so it is important to water them regularly. Keep the soil evenly moist, but avoid overwatering, as wet conditions can lead to rotting. Water at the base of the plants to prevent water from sitting on the leaves, which can promote fungal diseases.
- Thinning: As the seedlings grow, they will become crowded. To ensure healthy growth, thin them out by gently removing the weaker or overcrowded seedlings. This will allow more space for the remaining seedlings to develop properly.
- Fertilizing: After the seedlings have grown their first true leaves, you can begin to fertilize them. Use a balanced, water-soluble fertilizer at half the recommended strength. Apply the fertilizer once every two to three weeks during the growing season to provide the necessary nutrients for robust growth.
- Provide support: As your foxglove seedlings grow taller, they may require additional support to prevent them from toppling over. Install stakes or small plant supports around the seedlings to provide stability and prevent damage caused by strong winds or heavy rain.
- Manage pests and diseases: Keep an eye out for common pests such as aphids, slugs, and snails, which can damage the seedlings. Regularly inspect the plants and take appropriate measures to control pests, such as handpicking or using organic pest control methods. Additionally, monitor the plants for signs of fungal diseases like powdery mildew or leaf spot and take prompt action if needed.
- Monitor sun exposure: Foxglove seedlings prefer partial shade and can tolerate some sunlight. Monitor the sun exposure in your garden and make sure the seedlings are not subjected to intense afternoon sun, which can cause sunburn or wilting. Providing shade during the hottest part of the day can help prevent stress and promote healthy growth.
By consistently providing water, proper nutrition, and protection from pests and diseases, you can ensure the healthy development of your foxglove seedlings. Once they have grown stronger, it will be time to transplant them into your garden, as we will discuss in the next section.
Transplanting Foxglove Seedlings
After your foxglove seedlings have grown stronger and have a few sets of true leaves, it’s time to prepare them for their permanent location in your garden. Follow these steps to successfully transplant your foxglove seedlings:
- Choose the right time: The ideal time to transplant foxglove seedlings is in early spring or late summer, when the weather is cool and there is less stress on the plants. Avoid transplanting during hot summer months, as the heat can cause transplant shock.
- Prepare the planting holes: Dig holes in your garden that are slightly larger than the root ball of each seedling. Space the holes based on the mature size of the foxglove variety, typically 12-18 inches apart.
- Amend the soil: Before placing the seedling in the hole, amend the soil with organic matter such as compost or well-rotted manure. This will improve the soil’s fertility and drainage to support healthy growth.
- Transplant the seedlings: Carefully lift the seedlings from their pots or the ground, preserving as much of the root system as possible. Place each seedling in a planting hole, ensuring the crown of the plant is level with the soil surface.
- Backfill and firm the soil: Gently backfill the hole with soil, ensuring that there are no air pockets around the roots. Lightly firm the soil around the base of the plant to provide stability.
- Water thoroughly: After transplanting, give the newly transplanted seedlings a good watering to settle the soil and help the roots establish. Ensure that the soil is evenly moist in the following weeks as the plants acclimate to their new environment.
- Provide post-transplant care: Protect the newly transplanted seedlings from intense sun and strong winds for the first few days. Consider using shade cloth or temporary windbreaks to shield the plants. Continue to monitor water needs, and apply mulch around the base of the plants to conserve moisture and suppress weeds.
By following these steps, you can successfully transplant your foxglove seedlings into their permanent spots in your garden. With proper care and maintenance, they will continue to grow and reward you with their stunning blooms.
Common Problems and Solutions
While foxgloves are generally hardy plants, they can occasionally encounter some common problems. Here are a few issues you may encounter with your foxgloves and some solutions to address them:
- Poor germination: If you notice low germination rates with your foxglove seeds, it could be due to factors like improper scarification, colder soil temperatures, or poor seed quality. Ensure that you scarify the seeds properly, provide optimal temperature conditions for germination, and purchase fresh, high-quality seeds.
- Damping off: Damping off is a fungal disease that can affect young seedlings and cause them to wither and die. To prevent damping off, ensure proper air circulation by not overcrowding the seedlings, avoid overwatering, use sterile seed starting mix, and keep the growing area clean and free from debris.
- Pests: Foxgloves can attract pests like slugs, snails, and aphids. These pests can damage the foliage and flowers. Use organic pest control methods like handpicking or using natural repellents to manage these pests. Creating barriers like copper tape around the plants can also deter slugs and snails.
- Fungal diseases: Foxgloves can be susceptible to fungal diseases like powdery mildew and leaf spot. To prevent fungal diseases, avoid overhead watering, provide proper air circulation, plant in well-draining soil, and space the plants adequately to reduce humidity. If needed, apply organic fungicides as a preventive measure.
- Wilting: Wilting can occur due to various reasons such as underwatering, overwatering, or heat stress. Monitor the moisture levels of the soil and adjust watering accordingly. Provide shade during hot summer days to protect the plants from excessive heat.
- No flowers: If your foxgloves are not producing flowers, it could be due to insufficient sunlight or lack of nutrients. Make sure the plants receive adequate sunlight, at least 4-6 hours of direct or dappled sunlight per day. Fertilize the plants with a balanced organic fertilizer to provide the necessary nutrients for flower production.
By being vigilant and taking appropriate measures to address common problems, you can help your foxgloves thrive and overcome any hurdles they may encounter. With proper care and attention, you will be rewarded with the stunning blooms of these elegant and enchanting plants.
Conclusion
Congratulations! You have now learned how to successfully plant foxglove seeds and care for the seedlings until they are ready to be transplanted into your garden. By choosing the right seeds, preparing the planting area, sowing the seeds, and providing proper care, you can grow healthy and vibrant foxglove plants that will add beauty and charm to your outdoor space.
Remember to select the appropriate foxglove variety for your climate, prepare the soil with organic matter, and provide consistent moisture and fertilization. Keep an eye out for common problems such as pests, diseases, and poor germination, and take prompt action to address them.
Transplant your foxglove seedlings with care, ensuring they receive proper post-transplant care and protection. By being attentive to their needs, you can encourage vigorous growth and the development of the iconic tall stalks and bell-shaped flowers that foxgloves are known for.
Now it’s time to enjoy the beauty of your foxglove plants as they bloom and attract pollinators to your garden. Watch as hummingbirds, bees, and butterflies are drawn to the nectar-rich flowers, creating a vibrant ecosystem in your garden.
Continue to provide regular care, including watering, maintaining proper sunlight, and managing pests and diseases, to ensure the longevity and health of your foxglove plants. With their tall spires and colorful blossoms, foxgloves will surely become a beloved addition to your ornamental garden.
So, grab your gardening tools, put on your gloves, and start planting foxglove seeds to experience the joy of growing these enchanting flowers in your very own garden.