Home>Types of Gardening>Edible Gardening>How To Plant Pawpaw Seeds
Edible Gardening
How To Plant Pawpaw Seeds
Modified: January 22, 2024
Learn how to plant pawpaw seeds in your edible garden and enjoy the delicious fruits! A comprehensive guide for successful cultivation.
(Many of the links in this article redirect to a specific reviewed product. Your purchase of these products through affiliate links helps to generate commission for Chicagolandgardening.com, at no extra cost. Learn more)
Table of Contents
Introduction
Welcome to the world of edible gardening! If you have a love for nature and a passion for growing your own food, you’ve come to the right place. One plant that deserves a special spot in your garden is the pawpaw tree. Known for its delicious tropical fruit, the pawpaw tree is a fantastic addition to any edible garden.
Native to North America, the pawpaw tree (Asimina triloba) boasts large, sweet, and custard-like fruits. Its unique flavor has been compared to a mix of banana, mango, and melon. Growing your own pawpaw tree from seeds is a rewarding project that allows you to experience the joys of watching a plant bloom, thrive, and produce delicious fruits right in your backyard.
In this article, we will guide you through the process of planting pawpaw seeds. Whether you’re a seasoned gardener or a beginner, we’ll provide you with the knowledge and tips you need to successfully grow pawpaw seedlings. From choosing the right seeds to caring for the plant, you’ll have everything you need to embark on your edible gardening journey with the pawpaw.
So, grab your gardening tools and let’s dive in!
Choosing Pawpaw Seeds
When it comes to planting pawpaw seeds, selecting the right seeds is crucial for a successful gardening experience. Here are some key factors to consider when choosing pawpaw seeds:
- Source: Look for reputable seed suppliers or nurseries that specialize in pawpaw trees. Ensure that the seeds are fresh and of good quality.
- Variety: Pawpaw trees come in different varieties, each with its own unique characteristics. Consider what type of pawpaw fruit you desire and choose a variety that suits your taste preferences.
- Hardiness: Consider the hardiness zone in which you live. Look for pawpaw varieties that are known to thrive in your specific climate and growing conditions.
- Genetic Diversity: It’s beneficial to select seeds from different pawpaw trees to promote genetic diversity in your garden. This can help with better fruit production and overall plant health.
- Storage Conditions: If purchasing pawpaw seeds online, check how they have been stored. Seeds should be stored in cool and dry conditions to maintain their viability.
Remember, patience is key when it comes to growing pawpaw trees. It can take several years for a pawpaw tree to start bearing fruit, so choose your seeds wisely to ensure a rewarding experience in the long run.
Preparing the Planting Medium
In order to give your pawpaw seeds the best chance of germinating and growing into healthy seedlings, it’s essential to prepare the right planting medium. Here are some steps to follow:
- Choose the Right Soil: Pawpaw trees prefer well-draining soil that is rich in organic matter. Aim for a pH level of around 5.5 to 7.0, which is slightly acidic to neutral. If your soil is heavy or clay-like, you can improve drainage by adding compost or sand.
- Clear the Area: Clear the planting area of any weeds, grass, or other vegetation. This will prevent competition for nutrients and ensure that the pawpaw seedlings have enough space to grow.
- Amend the Soil: Prior to planting, enrich the soil with organic matter such as compost or well-rotted manure. This will provide essential nutrients and improve the overall soil structure.
- Loosen the Soil: Use a garden fork or tiller to loosen the soil in the planting area. This will help the young roots to penetrate the soil easily and establish a strong foundation.
- Remove Debris: Remove any rocks, sticks, or large clumps of soil from the planting area. This will create a smooth and clean surface for the seeds to be planted.
- Level the Soil: Use a rake to level the soil surface, ensuring that it is evenly distributed across the planting area. This will provide a uniform base for the seeds to be sown.
By taking the time to prepare the planting medium, you are setting the stage for healthy and vigorous pawpaw seedlings. Remember to periodically check the moisture levels and provide adequate water to support their growth.
Soaking the Seeds
Before planting pawpaw seeds, it’s beneficial to soak them. Soaking the seeds helps to soften the outer seed coat and can improve their chances of germination. Here’s how to properly soak pawpaw seeds:
- Clean the Seeds: Start by cleaning the pawpaw seeds with water. Remove any pulp or debris that may be attached to the seeds, as this can impede the soaking process.
- Choose a Soaking Container: Select a container that is large enough to accommodate the seeds and allows for water to cover them completely. Use a glass jar or a plastic container with a lid.
- Add Water: Fill the container with lukewarm water. Make sure there is enough water to fully submerge the seeds. You can add a drop of liquid seaweed or a root-stimulating solution to promote germination.
- Soak the Seeds: Place the pawpaw seeds into the container of water and ensure they are fully submerged. Cover the container with a lid or plastic wrap to prevent evaporation.
- Leave to Soak: Allow the seeds to soak for 24 to 48 hours. During this time, check the water level periodically and top up if needed.
- Check for Swelling: After soaking, check the seeds for any signs of swelling. Swollen seeds indicate that water has penetrated the seed coat, initiating the germination process.
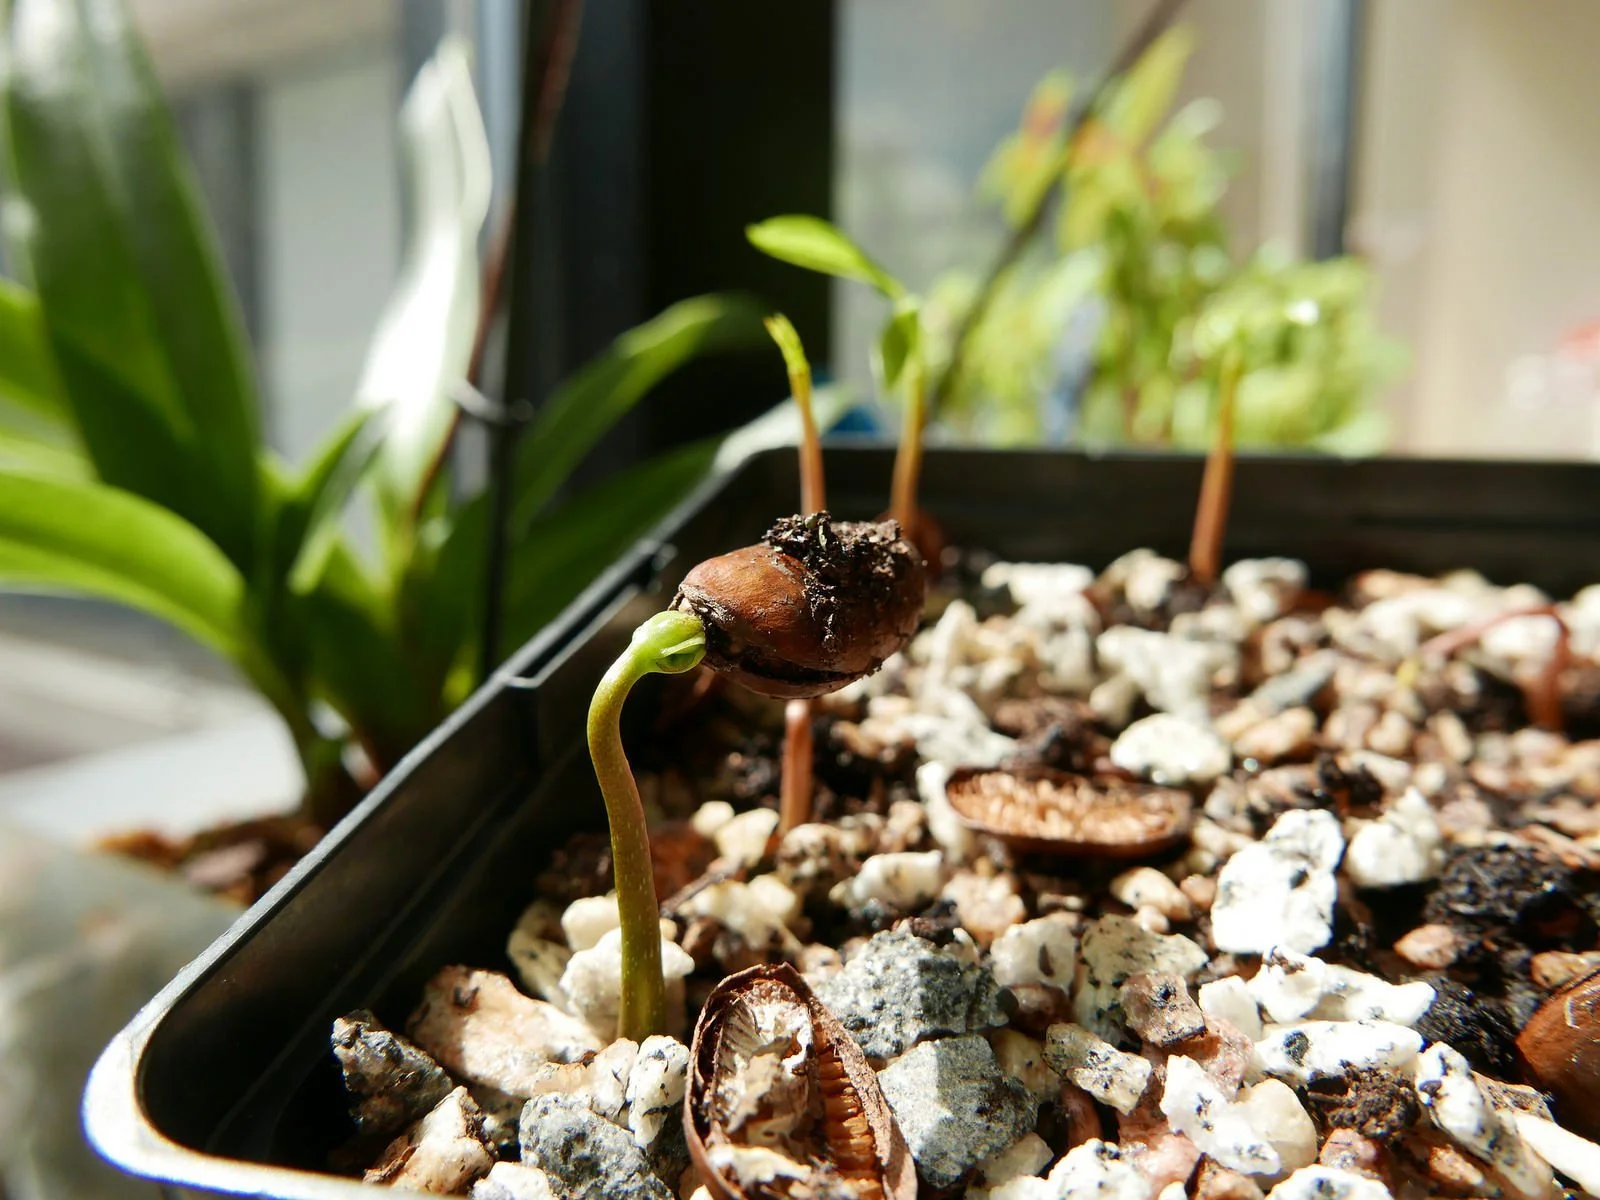
- Plant Immediately: Once the seeds have swollen, it’s time to plant them. Avoid leaving the seeds soaked for too long, as they may become waterlogged and lose their viability.
Soaking the pawpaw seeds before planting can help to break the seed dormancy and increase the chances of successful germination. Remember to handle the swollen seeds with care, as they can be fragile. Now that your seeds are ready, it’s time to move on to the next step: planting them in containers or directly in the ground.
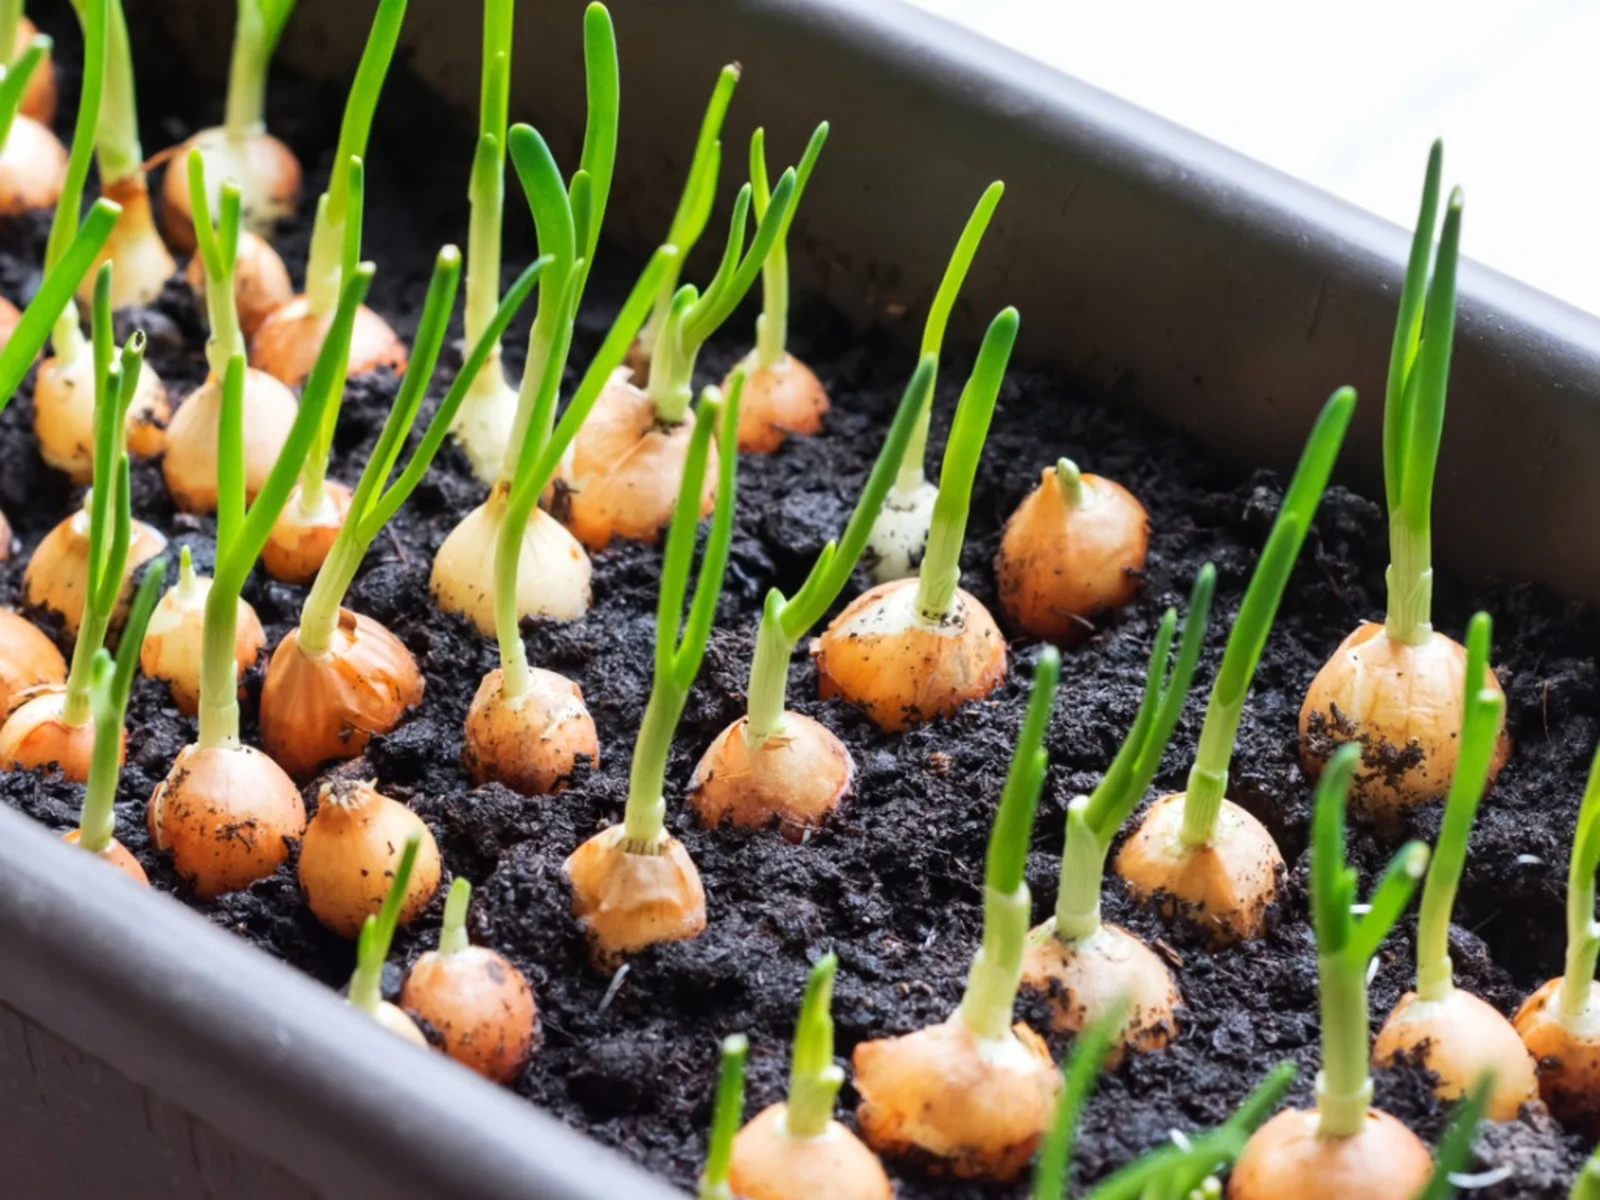
Planting Pawpaw Seeds in Containers
Planting pawpaw seeds in containers is a popular method, especially if you have limited space or want more control over the growing conditions. Follow these steps to successfully plant pawpaw seeds in containers:
- Choose the Right Container: Select a container that is at least 10-12 inches deep and has drainage holes at the bottom. This will ensure proper drainage and prevent waterlogged soil.
- Fill the Container: Fill the container with a well-draining potting mix. You can make your own mix by combining equal parts of peat moss, perlite, and compost.
- Plant the Seeds: Make a small hole in the soil, about 1 inch deep. Place the swollen pawpaw seed in the hole, ensuring that it is not planted too deep. Gently cover the seed with soil.
- Water the Seeds: Give the newly planted seeds a thorough watering, making sure that the soil is evenly moist. Avoid overwatering, as it can lead to fungal diseases or root rot.
- Provide Optimal Conditions: Place the container in a location that receives partial sunlight or dappled shade. Pawpaw seedlings prefer a warm and humid environment.
- Monitor Moisture Levels: Regularly check the moisture levels in the container. Keep the soil consistently moist but not soggy. Water whenever the top inch of soil feels dry.
- Patience is Key: It may take several weeks or even a couple of months for the pawpaw seeds to sprout. Be patient and provide the necessary care during this time.
- Transplanting Seedlings: Once the seedlings have grown to a size of 6-8 inches and have developed a strong root system, they can be transplanted into larger pots or directly into the ground.
Planting pawpaw seeds in containers allows you to closely monitor and nurture the seedlings. Remember to provide them with the appropriate care, including regular watering, balanced fertilization, and protection from extreme weather conditions.
Planting Pawpaw Seeds in the Ground
If you have ample space and suitable outdoor conditions, planting pawpaw seeds directly in the ground can be a great option. Follow these steps to successfully plant pawpaw seeds in the ground:
- Select the Planting Location: Choose a sunny spot in your garden with well-draining soil. Pawpaw trees prefer a location that receives at least 6 hours of direct sunlight each day.
- Prepare the Soil: Clear the planting area of any weeds, grass, or debris. Loosen the soil using a garden fork or tiller to a depth of about 12 inches. Remove any rocks or large clumps of soil.
- Amend the Soil: If your soil is heavy or clay-like, add organic matter such as compost or well-rotted manure to improve drainage and enrich the soil.
- Dig Planting Holes: Dig holes that are larger and wider than the root ball of the seedling. Make sure the holes are deep enough to accommodate the roots and provide room for proper growth.
- Plant the Seeds: Place the swollen pawpaw seed in the planting hole, ensuring that the seed is not planted too deep. The top of the seed should be level with or slightly above the soil surface.
- Backfill the Hole: Gently backfill the hole with soil, firming it around the seedling’s roots. Make sure there are no air pockets around the roots.
- Water the Seedling: Immediately after planting, water the seedling thoroughly. This will help the soil settle and provide necessary moisture for the roots to establish.
- Mulch and Protect: Apply a layer of organic mulch, such as wood chips or straw, around the base of the seedling. This will help conserve moisture, suppress weeds, and regulate soil temperature.
Remember that pawpaw seeds planted in the ground may take longer to establish and show signs of growth compared to container-grown seedlings. Patience and consistent care, including regular watering and protection from pests, are key to their success.
Caring for Pawpaw Seedlings
Once you have planted your pawpaw seeds and they have germinated into young seedlings, it’s important to provide them with proper care to ensure their healthy growth and development. Here are some essential care tips for pawpaw seedlings:
- Watering: Keep the soil consistently moist but not waterlogged. Water deeply and thoroughly, allowing the soil to dry slightly between waterings. Avoid overwatering, as this can lead to root rot.
- Fertilization: Apply a balanced organic fertilizer in early spring and early summer to provide essential nutrients. Follow the instructions on the fertilizer package to avoid overfeeding. Avoid using high nitrogen fertilizers, as they can promote excessive vegetative growth.
- Pruning: Prune any damaged or diseased branches to maintain the overall health of the plant. You can also selectively prune to encourage air circulation and shape the tree as it grows.
- Weed Control: Keep the area around the pawpaw seedlings free from weeds. Weeds can compete for nutrients and water, hindering the growth of the seedlings. Regularly pull out weeds or use a layer of mulch to suppress weed growth.
- Protection from Pests: Monitor the seedlings for any signs of pests, such as aphids or caterpillars. Use organic pest control methods or natural remedies to keep the pests at bay and protect your seedlings.
- Protection from Extreme Weather: Pawpaw seedlings are sensitive to extreme weather conditions, such as strong winds or frost. Provide them with appropriate protection, such as wind barriers or frost covers, when necessary.
- Regular Monitoring: Keep a close eye on the seedlings and monitor their growth progress. Look for signs of stress, nutrient deficiencies, or diseases. Address any issues promptly to prevent further damage.
By providing consistent care and attention to your pawpaw seedlings, you are setting them up for success. Remember, it may take a few years for your seedlings to mature and start bearing fruits, so be patient and enjoy the journey of cultivating your own pawpaw tree.
Transplanting Pawpaw Seedlings
Once your pawpaw seedlings have grown to a size of 6-8 inches and have developed a strong root system, they can be transplanted into their permanent growing location. Transplanting pawpaw seedlings is an important step in their journey towards becoming mature trees. Here’s how to successfully transplant your pawpaw seedlings:
- Choose the Right Time: The best time to transplant pawpaw seedlings is in the early spring, before new growth begins. This allows the seedlings to establish their roots before facing the heat of summer.
- Prepare the Planting Hole: Dig a hole in the ground that is slightly larger and deeper than the root ball of the seedling. Ensure that the hole is wide enough to accommodate the spread-out roots.
- Carefully Remove the Seedling: Gently dig around the seedling, taking care not to damage the roots. Use a garden fork or shovel to lift the seedling out of the ground, keeping as much of the root system intact as possible.
- Planting in the New Location: Place the seedling in the prepared planting hole, making sure that it is at the same level as it was in its previous location. Backfill the hole with soil, firmly pressing it around the roots to eliminate any air pockets.
- Watering: Immediately after transplanting, water the seedling thoroughly to settle the soil and provide hydration to the roots. Continue to water regularly for the next few weeks to help the seedling establish in its new location.
- Mulching: Apply a layer of organic mulch around the base of the seedling, leaving a small space around the trunk to prevent moisture buildup. The mulch will help to conserve moisture, suppress weeds, and moderate soil temperature.
- Provide Support: If the seedling is tall or likely to be affected by wind, provide support by staking it with a sturdy stake. Use soft ties to secure the seedling gently, ensuring not to damage the trunk or branches.
- Monitor and Care: Regularly monitor the transplanted seedling for signs of stress or nutrient deficiencies. Continue to provide appropriate care, such as watering, fertilizing, and protection from pests and extreme weather conditions.
Transplanting pawpaw seedlings may cause temporary stress to the plants, but with proper care and attention, they will adapt and thrive in their new location. Be patient and allow the seedlings time to establish their roots and settle into their permanent growing spot.
Conclusion
Congratulations on embarking on your pawpaw seed planting journey! Growing pawpaw trees from seeds can be a rewarding and fulfilling experience, allowing you to enjoy the tasty fruits of your labor right in your own backyard. By following the steps outlined in this guide, you can successfully plant and care for pawpaw seedlings, ultimately watching them grow into mature trees.
Remember to choose high-quality seeds, prepare the planting medium with care, and provide the necessary conditions for germination. Whether you choose to plant the seeds in containers or directly in the ground, ensure proper watering, nutrition, protection from pests, and maintenance. Pawpaw seedlings may take some time to establish, but with patience and attentive care, they will flourish.
As your pawpaw trees mature, you will be rewarded with an abundance of delicious fruits. Harvesting and enjoying the tropical-flavored pawpaw fruits will make all your efforts worthwhile. Plus, you can take pride in growing your own fresh and organic produce. So why wait? Start your pawpaw seed planting adventure and enjoy the beauty and bounty of these unique and flavorful trees.