Home>Types of Gardening>Edible Gardening>How To Plant Onion Seeds
Edible Gardening
How To Plant Onion Seeds
Modified: February 8, 2024
Learn how to plant onion seeds and start your own edible gardening project. Follow our step-by-step guide for successful onion seed planting.
(Many of the links in this article redirect to a specific reviewed product. Your purchase of these products through affiliate links helps to generate commission for Chicagolandgardening.com, at no extra cost. Learn more)
Table of Contents
Introduction
Welcome to the exciting world of edible gardening! If you’re looking to grow your own fresh and flavorful onions, you’ve come to the right place. Planting onion seeds can be a rewarding experience that yields delicious results. From choosing the right seeds to nurturing them into mature plants, this comprehensive guide will walk you through the process step by step.
Onions are a versatile and essential ingredient in many culinary dishes. Not only do they add depth and flavor to savory recipes, but they also provide a range of health benefits. Rich in antioxidants, vitamins, and minerals, onions are known for their potential immune-boosting and anti-inflammatory properties.
By growing your own onions, you can have a ready supply of these nutritious bulbs at your fingertips. Whether you have a small yard, a balcony, or even just a windowsill, you can successfully cultivate onion seeds and enjoy a bountiful harvest.
In this guide, you’ll learn the key steps needed to plant and grow onions from seeds. We’ll cover everything from selecting the right onion seeds and preparing the soil to watering, caring for the plants, and eventually harvesting your homegrown onions.
Before we start digging in the dirt, it’s important to note that onion seeds are best planted during specific seasons depending on your climate. Check with your local extension office or consult a gardening calendar to determine the optimal time for planting onions in your area.
Now, let’s dive into the world of onion seeds and get ready to embark on a rewarding edible gardening adventure!
Step 1: Choosing the Right Onion Seeds
When it comes to selecting onion seeds for your garden, there are a few important factors to consider. From variety to quality, choosing the right seeds will set the foundation for a successful onion-growing journey.
Variety: Onions come in various shapes, sizes, flavors, and colors. Some popular onion varieties include yellow onions, white onions, red onions, and sweet onions. Each variety has its own unique taste and culinary uses. Consider your preference and the purpose for which you plan to use the onions when selecting a variety.
Growing Season: Onions can be classified into two main categories: long-day onions and short-day onions. Long-day onions require 14 to 16 hours of daylight to bulb properly, making them suitable for northern regions. Short-day onions, on the other hand, thrive in regions with milder winters and require 10 to 12 hours of daylight. Choose the appropriate variety based on your geographic location and the length of daylight during the growing season.
Seed Quality: Ensure you choose high-quality onion seeds from reputable sources. Look for seeds that are fresh, viable, and free from diseases or pests. Check the expiration date on the seed packet or purchase seeds from trusted nurseries or online suppliers.
Hybrid vs. Heirloom: When selecting onion seeds, you’ll come across both hybrid and heirloom varieties. Hybrid onions are a crossbreed of different onion varieties, resulting in specific characteristics such as disease resistance or improved yield. Heirloom onions, on the other hand, are open-pollinated and have been passed down through generations. Consider your preferences and gardening goals when deciding between hybrid and heirloom varieties.
Seed Storage: Proper seed storage is essential to maintain seed viability. Onion seeds should be kept in a cool, dry place away from direct sunlight. Consider storing the seeds in airtight containers or resealable bags to protect them from moisture or pests. Label your seeds with the variety and date of purchase to keep track of their freshness.
By carefully selecting the right onion seeds, you’ll give your garden a head start and increase the chances of a successful harvest. Now that you have chosen your seeds, it’s time to prepare the soil for planting.
Step 2: Preparing the Soil
Before you can plant your onion seeds, it’s crucial to prepare the soil properly. Onions thrive in well-draining soil that is rich in organic matter and has a slightly acidic pH level. Follow these steps to ensure your soil is ready for planting:
1. Choose the Right Location: Select a sunny spot in your garden for planting onions. They prefer full sun exposure, which helps promote healthy growth and bulb development. Additionally, ensure that the chosen location has good air circulation to prevent fungal diseases.
2. Clear the Area: Remove any weeds, grass, or debris from the selected planting area. Onions need space and competition-free soil to grow properly, so clear the surface thoroughly.
3. Test the Soil: Use a soil testing kit to check the pH level of your soil. Onions prefer a slightly acidic pH between 6.0 and 6.8. If your soil is too acidic, you can add lime to raise the pH, and if it’s too alkaline, you can use elemental sulfur or organic matter like compost to lower the pH.
4. Amend the Soil: Add organic matter, such as compost or well-rotted manure, to improve soil fertility and drainage. Spread a layer of compost over the planting area and work it into the top 6-8 inches of soil using a garden fork or tiller. This will help create a loose and nutrient-rich soil environment for your onions.
5. Break Up Clumps: Onions prefer loose soil, so break up any large clumps and remove rocks or debris. This will provide a loose and friable texture, allowing the onion roots to penetrate easily and expand as they grow.
6. Level the Soil: Use a rake to level the soil surface and create a smooth, even bed for planting. This will promote uniform growth and make it easier for you to maintain the garden as your onions develop.
7. Address Drainage Issues: Ensure that the soil has good drainage to prevent waterlogging, which can lead to rotting of the onion bulbs. If your soil tends to retain water, consider adding organic matter or raised beds to improve drainage.
By taking the time to properly prepare the soil, you’ll create an ideal growing environment for your onion seeds. The next step is to sow the seeds and start the exciting journey of watching them grow into mature onion plants.
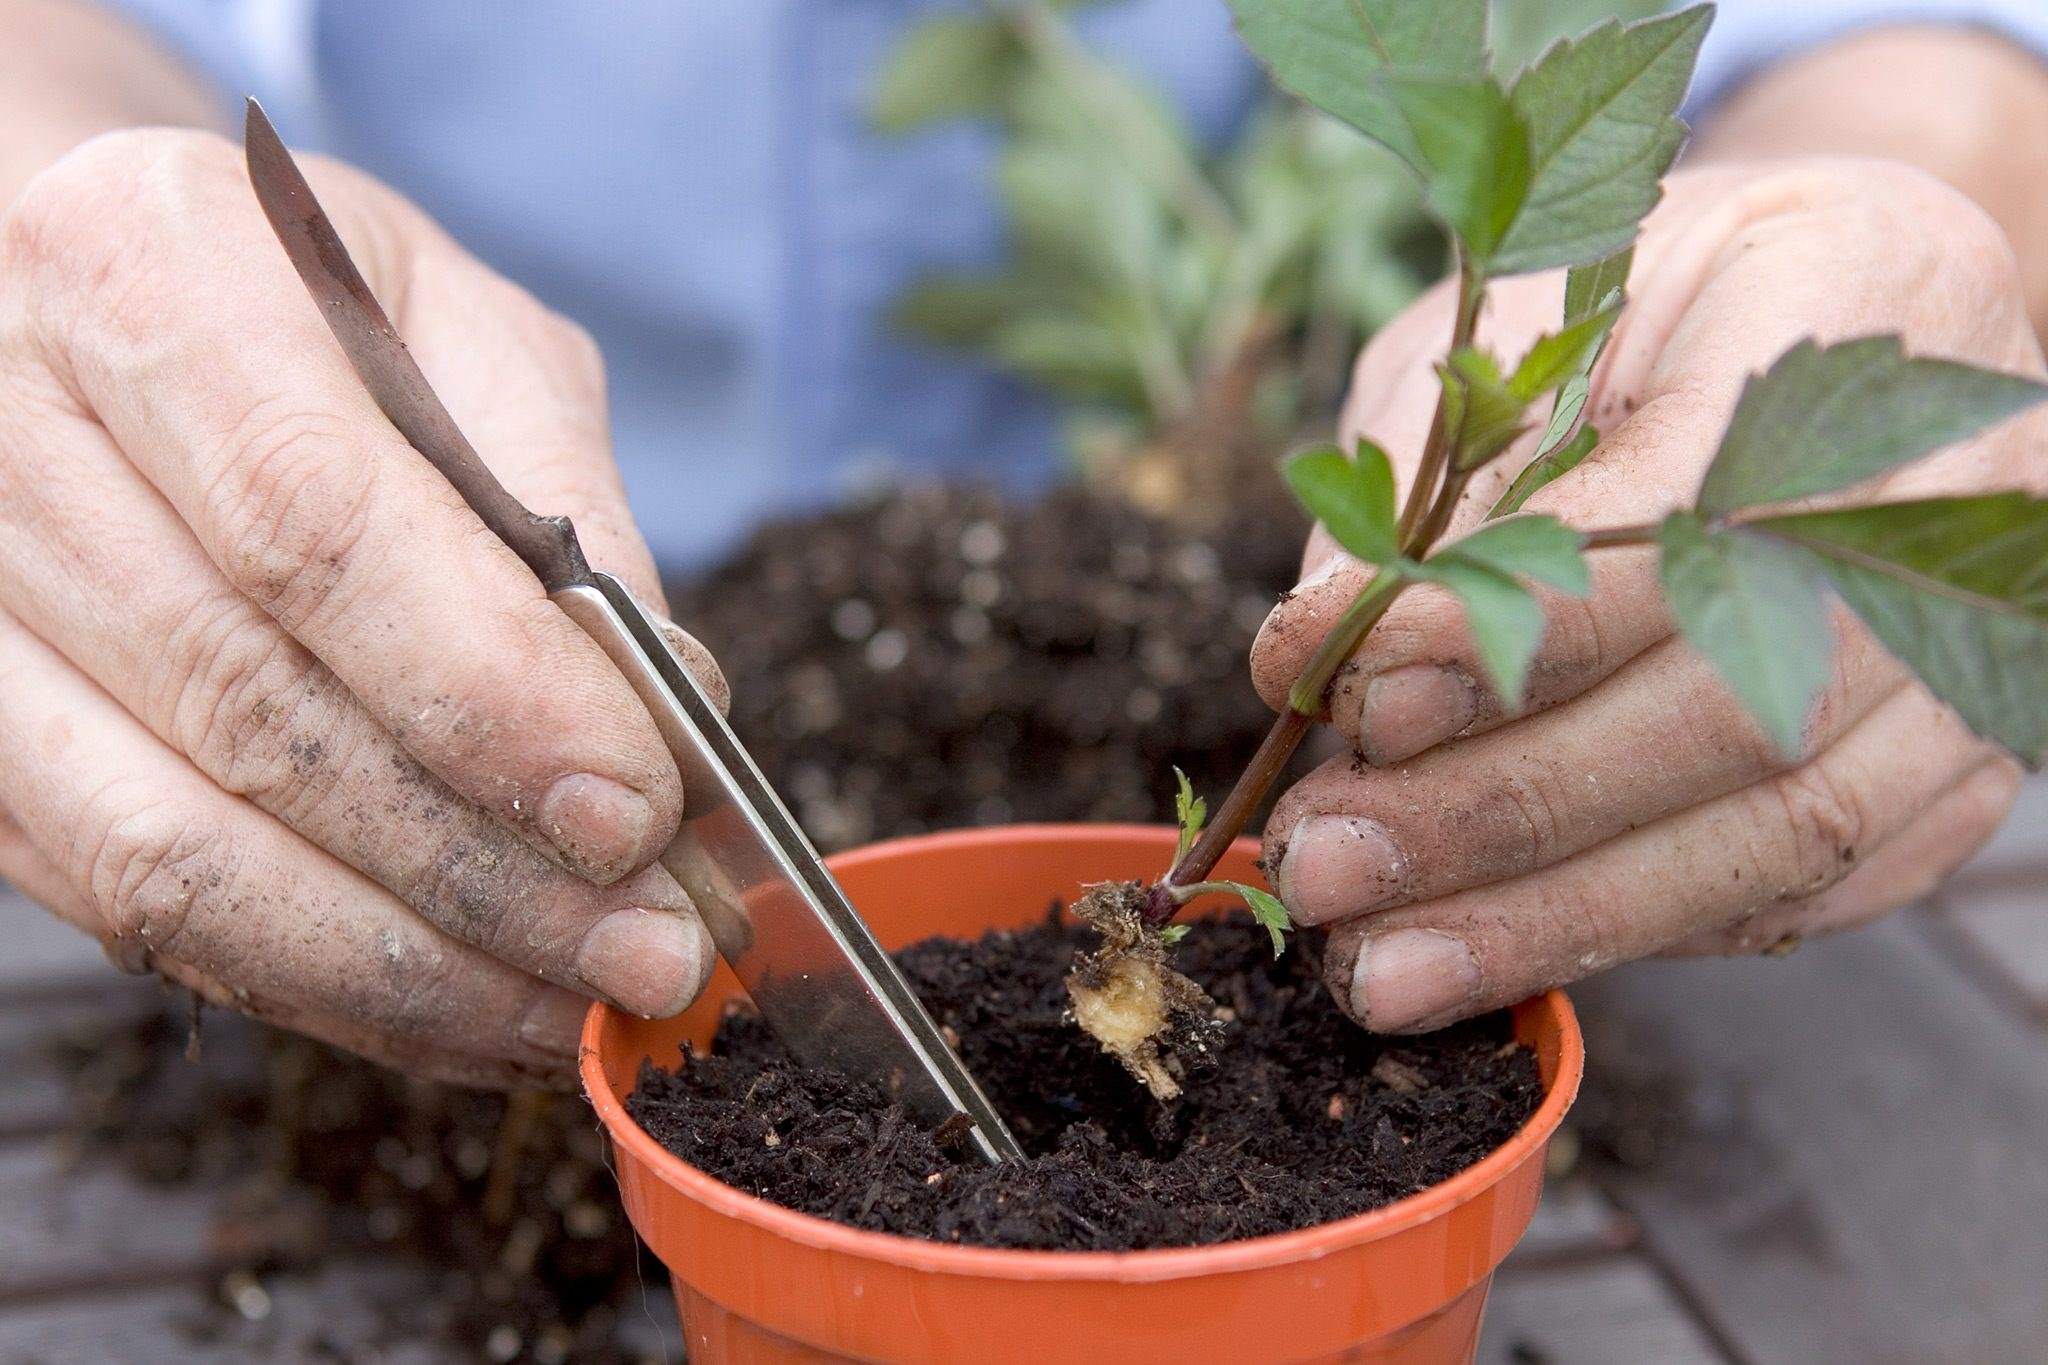
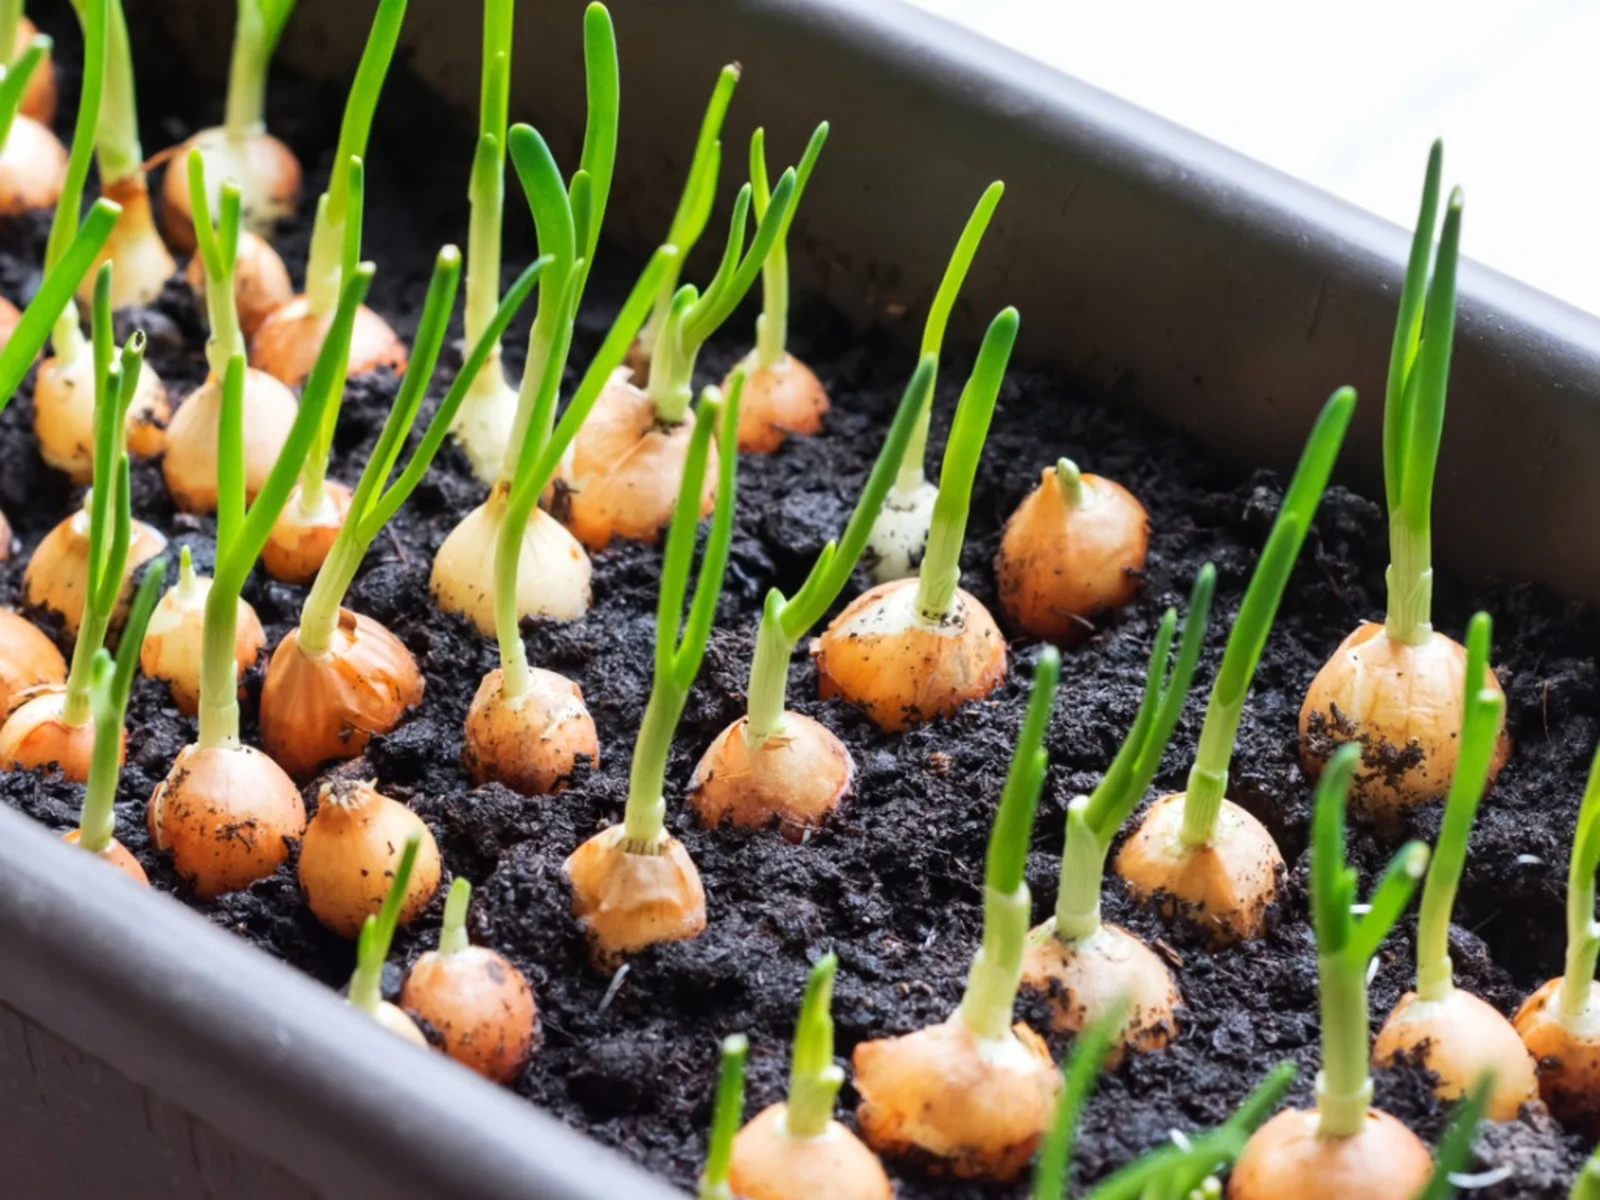
Step 3: Planting the Onion Seeds
Now that you have prepared your soil, it’s time to plant the onion seeds. Follow these steps to ensure successful germination and healthy growth of your onion plants:
1. Choose the Planting Method: You have two options when it comes to planting onion seeds: direct sowing or starting seeds indoors. Direct sowing involves planting the seeds directly in the garden bed, while starting seeds indoors allows you to get a head start on the growing season.
2. Sow the Seeds: If you choose to direct sow the seeds, create furrows in the soil with a depth of about ¼ to ½ inch. Space the furrows about 12 to 18 inches apart to allow ample room for the onion bulbs to grow. Carefully sow the seeds along the furrows, spacing them about ½ to 1 inch apart. If you are starting seeds indoors, fill seed trays or pots with seed-starting mix and sow one seed per cell or pot.
3. Cover and Water: After sowing the seeds, cover them with a thin layer of soil or seed-starting mix. Gently press down to ensure good seed-to-soil contact. Water the seeds thoroughly, making sure the soil is evenly moist but not waterlogged. This initial watering will kickstart the germination process.
4. Provide Adequate Light: If you have started the seeds indoors, place them in a bright location where they can receive 12 to 16 hours of bright light each day. If natural light is limited, you can use fluorescent grow lights to supplement the lighting.
5. Maintain Optimal Temperature: Onion seeds require a consistent temperature of around 70 to 75°F (21 to 24°C) for successful germination. Keep the seeds in a warm area or use a seedling heat mat if necessary to maintain the desired temperature.
6. Thin the Seedlings: Once the seedlings emerge, you may notice that they are crowded. If this happens, thin them out by gently removing the weaker seedlings, leaving only the strongest ones spaced about 2 to 4 inches apart. Thinning ensures that each onion plant has enough space to grow and develop a full-sized bulb.
7. Mulch the Seedlings: Apply a thin layer of organic mulch, such as straw or shredded leaves, around the base of the onion seedlings. This helps to retain moisture, regulate soil temperature, suppress weed growth, and prevent the soil from drying out too quickly.
8. Water Regularly: Onions require consistent moisture, especially during the germination and growth stages. Water the seedlings regularly, keeping the soil evenly moist but not overly saturated. Avoid overwatering, as this can lead to rotting.
By following these steps and providing optimal growing conditions, your onion seeds will germinate and develop into sturdy and healthy seedlings. In the next step, we’ll explore how to care for your onion plants as they continue to grow.
Step 4: Watering and Caring for the Seeds
Proper watering and care are essential for the healthy development of your onion plants. Paying attention to their needs will ensure optimal growth and a bountiful harvest. Here are some tips for watering and caring for your onion seeds:
1. Watering: Onions require consistent moisture, especially during the early stages of growth. Water the plants regularly, aiming to keep the soil evenly moist but not waterlogged. Avoid overhead watering, as it can lead to fungal diseases. Instead, use a soaker hose or drip irrigation to deliver water directly to the base of the plants.
2. Mulching: Apply a layer of organic mulch, such as straw or shredded leaves, around the base of the onion plants. Mulching helps to conserve moisture, regulate soil temperature, suppress weed growth, and prevent soil erosion. Make sure the mulch is not piled too high around the seedlings to avoid suffocating them.
3. Weeding: Keep the planting area free from weeds to minimize competition for nutrients and water. Regularly remove any weeds that may pop up around the onion plants, being careful not to disturb the shallow root system. Mulching also helps in suppressing weed growth.
4. Fertilizing: Onions benefit from a balanced fertilizer application throughout their growth. Incorporate organic fertilizer into the soil before planting or use a slow-release granular fertilizer according to the package instructions. Avoid over-fertilizing, as this can lead to excessive foliage growth rather than bulb development.
5. Thin the Plants: As the onion plants continue to grow, you may notice overcrowding. To ensure proper bulb development, thin the plants by delicately removing the weaker ones, leaving only the healthiest and largest plants spaced 4 to 6 inches apart. Thinning allows sufficient space for the remaining plants to reach their full potential.
6. Pest and Disease Control: Keep an eye out for common pests and diseases that can affect onions, such as onion maggots, thrips, and fungal infections. Monitor your plants regularly and take appropriate measures, such as practicing crop rotation, using organic insecticides, or applying fungicides, if necessary.
7. Managing Bolting: Bolting refers to premature flowering of the onion plant, which can reduce bulb development. To prevent bolting, ensure consistent moisture, provide adequate spacing, and choose appropriate onion varieties for your climate. Harvest any bolting plants promptly to prevent them from diverting energy away from bulb formation.
8. Supporting Tall Varieties: If you’re growing tall or top-setting onion varieties, consider using stakes or cages to support the plants as they grow. This will prevent them from bending or falling over, ensuring that the bulbs develop properly.
By following these watering and caring practices, you’ll provide the necessary support for your onion plants to thrive. Next, we’ll discuss the exciting task of harvesting your homegrown onions.
Step 5: Harvesting the Onions
After patiently nurturing your onion plants, it’s time to reap the rewards of your hard work by harvesting your homegrown onions. Harvesting at the right time is crucial to ensure maximum flavor, storage longevity, and optimal bulb size. Here’s how you can harvest your onions:
1. Observing Maturity Signs: Pay attention to the foliage of the onion plants as they approach maturity. When the foliage turns yellow and starts to flop over, it indicates that the bulbs are nearing maturity. This typically occurs 90 to 120 days after planting, depending on the variety and growing conditions.
2. Timing the Harvest: It’s important to strike the right balance when deciding on the ideal time for harvesting. Harvest too early, and the bulbs may not have reached their full size. Wait too long, and the bulbs might start to deteriorate or become susceptible to disease. Use your judgment based on the appearance and feel of the bulbs.
3. Loosening the Soil: Prior to harvesting, gently loosen the soil around the onion bulbs using a garden fork or hand trowel. This will make it easier to lift the bulbs without damaging them.
4. Lifting the Bulbs: Carefully lift the bulbs from the soil by grasping the foliage near the base and gently pulling them out. Avoid yanking or tugging, as this can cause bruising or breakage. Shake off any excess soil and remove any loose outer layers of dry, papery skin.
5. Curing the Onions: To enhance their flavor and prolong their storage life, onions need to be cured. This involves allowing the bulbs to dry in a well-ventilated area for a few weeks. Spread them out in a single layer or hang them in bunches in a cool, dry location. The drying process will help the outer layers dry and become crisp.
6. Trimming and Storage: Once the bulbs have been cured, trim the foliage down to about an inch above the bulb. Remove any remaining soil or loose skin. Store the onions in a cool, dry, and well-ventilated area. Mesh bags, crates, or braiding are popular storage methods that promote good airflow and keep the onions in excellent condition.
7. Enjoying Your Homegrown Onions: Your efforts have paid off, and now it’s time to savor the fruits of your labor! Use your freshly harvested onions in a variety of delicious recipes, whether it’s sautéing them for a tasty stir-fry, caramelizing them for a savory soup, or adding them to your favorite salads and sandwiches.
By following these steps, you’ll ensure a successful and rewarding onion harvest. Don’t forget to save some of your homegrown onion bulbs for next year’s planting, so you can continue to enjoy the satisfaction of growing your own delicious and nutritious onions.
Conclusion
Congratulations on completing your journey from planting onion seeds to harvesting your own homegrown onions! By following the steps outlined in this guide, you have gained the knowledge and skills necessary to successfully grow onions in your edible garden.
From selecting the right onion seeds and preparing the soil to caring for the plants and harvesting the bulbs, each step is vital in ensuring a bountiful harvest of flavorful and nutritious onions. Remember to consider factors such as variety, growing season, seed quality, and seed storage when choosing your onion seeds.
Additionally, proper soil preparation, including clearing the area, testing the soil, amending it with organic matter, and ensuring good drainage, will create an optimal environment for onion growth.
Planting the onion seeds, whether by direct sowing or starting them indoors, is a crucial step that requires gentle handling and proper spacing to allow the bulbs to develop fully. Careful attention to watering, mulching, and weeding will ensure the plants receive adequate moisture and nutrition.
As the onion plants continue to grow, thinning, pest and disease control, and providing support for tall varieties are important aspects of caring for the plants. Finally, by observing maturity signs, timing the harvest, and properly curing and storing the harvested onions, you’ll be able to enjoy the fruits of your labor for months to come.
Growing your own onions not only provides you with a fresh and delicious ingredient for your culinary creations but also gives you the satisfaction of knowing exactly where your food comes from. Incorporating homegrown onions into your meals adds a special touch and enhances the flavors of your dishes.
Remember, gardening is a continuous learning experience, and each year brings new opportunities to refine your skills and try different onion varieties. As you gain more experience, you can experiment with different planting techniques, explore unique onion varieties, and share your knowledge and harvests with others.
So, get your hands dirty, enjoy the process, and revel in the joy of cultivating your own onions. Happy gardening and happy onion harvesting!