Home>Gardening Techniques>Plant Care>How To Cut A Blooming Onion

Plant Care
How To Cut A Blooming Onion
Published: January 11, 2024
Learn how to cut a blooming onion and enhance your plant care skills with this step-by-step guide. Discover expert tips and techniques for a stunning and healthy garden.
(Many of the links in this article redirect to a specific reviewed product. Your purchase of these products through affiliate links helps to generate commission for Chicagolandgardening.com, at no extra cost. Learn more)
Table of Contents
Introduction
Welcome to the world of plant care, where the beauty and vitality of your indoor and outdoor plants are nurtured and cherished. Whether you are an experienced gardener or a beginner with a green thumb, this comprehensive guide will provide you with essential insights and techniques to help you cultivate healthy and thriving plants.
Plants play a vital role in our lives, not only by providing us with oxygen but also by enhancing the aesthetics of our surroundings. They add freshness, color, and a touch of nature to any space, creating a sense of tranquility and well-being. However, maintaining plants can be challenging without the proper knowledge and care.
In this article, we will explore various aspects of plant care, including watering, lighting, fertilizing, pruning, and pest control. We will delve into each topic, offering practical tips and expert advice to ensure that your plants receive optimal care throughout their life cycle.
Whether you have houseplants, a small garden, or a sprawling landscape, understanding the needs of your plants is crucial for their survival and growth. By uncovering the secrets of proper plant care, you will be able to create an environment where your plants can flourish and thrive.
We will also delve into specific plant care routines for different types of plants, such as succulents, orchids, ferns, and roses. Each plant requires a unique set of caring techniques, and we will provide you with the knowledge to tailor your care regimen accordingly.
Moreover, we will cover troubleshooting common plant problems, such as yellowing leaves, drooping stems, and pests infestation. By identifying the underlying issues and implementing appropriate solutions, you will be able to nurse your plants back to health and prevent future occurrences.
Whether you are an aspiring plant parent or a seasoned horticulturalist, this article will serve as your go-to resource for all things related to plant care. So, grab your gardening gloves and let’s embark on this green journey together, exploring the art and science of nurturing our leafy companions.
Step 1: Gather the Ingredients and Tools
Before you embark on your plant care journey, it’s essential to gather all the necessary ingredients and tools. Having everything on hand will make the process smoother and more efficient. Here’s a list of what you’ll need:
- Water: Good quality water is essential for plant growth. Make sure you have access to clean, filtered water.
- Potting Soil: Choose a nutrient-rich potting soil that is appropriate for the type of plants you have. Different plants have different soil requirements, so make sure to choose accordingly.
- Pots and Containers: Select pots and containers that are suitable for your plants’ size and growth habits. Ensure that they have drainage holes to prevent waterlogging.
- Fertilizer: Plants require essential nutrients for healthy growth. Choose a fertilizer that is appropriate for the type of plants you have and follow the recommended dosage.
- Pruning Shears: Pruning shears are essential for trimming and shaping your plants. Invest in a high-quality pair that is sharp and comfortable to use.
- Watering Can or Sprayer: Depending on the size of your plants and their watering needs, choose a watering can or sprayer that allows for easy and precise watering.
- Plant Labels: It’s helpful to label your plants to keep track of their names and care requirements. Use reusable plant labels or markers for this purpose.
- Plant Support: Some plants may require support as they grow taller. Bamboo stakes or trellises can be used to provide support and prevent sprawling.
- Cleaning Supplies: To maintain plant health, it’s important to keep your tools and containers clean. Have some mild soap, a scrub brush, and clean cloths or paper towels on hand for cleaning purposes.
Having these ingredients and tools ready will enable you to tackle any plant care task with confidence and ease. It’s always better to be prepared and organized before you start caring for your plants.
Step 2: Preparing the Onion
Before you can cut a blooming onion, you need to properly prepare the onion itself. Here’s how to get started:
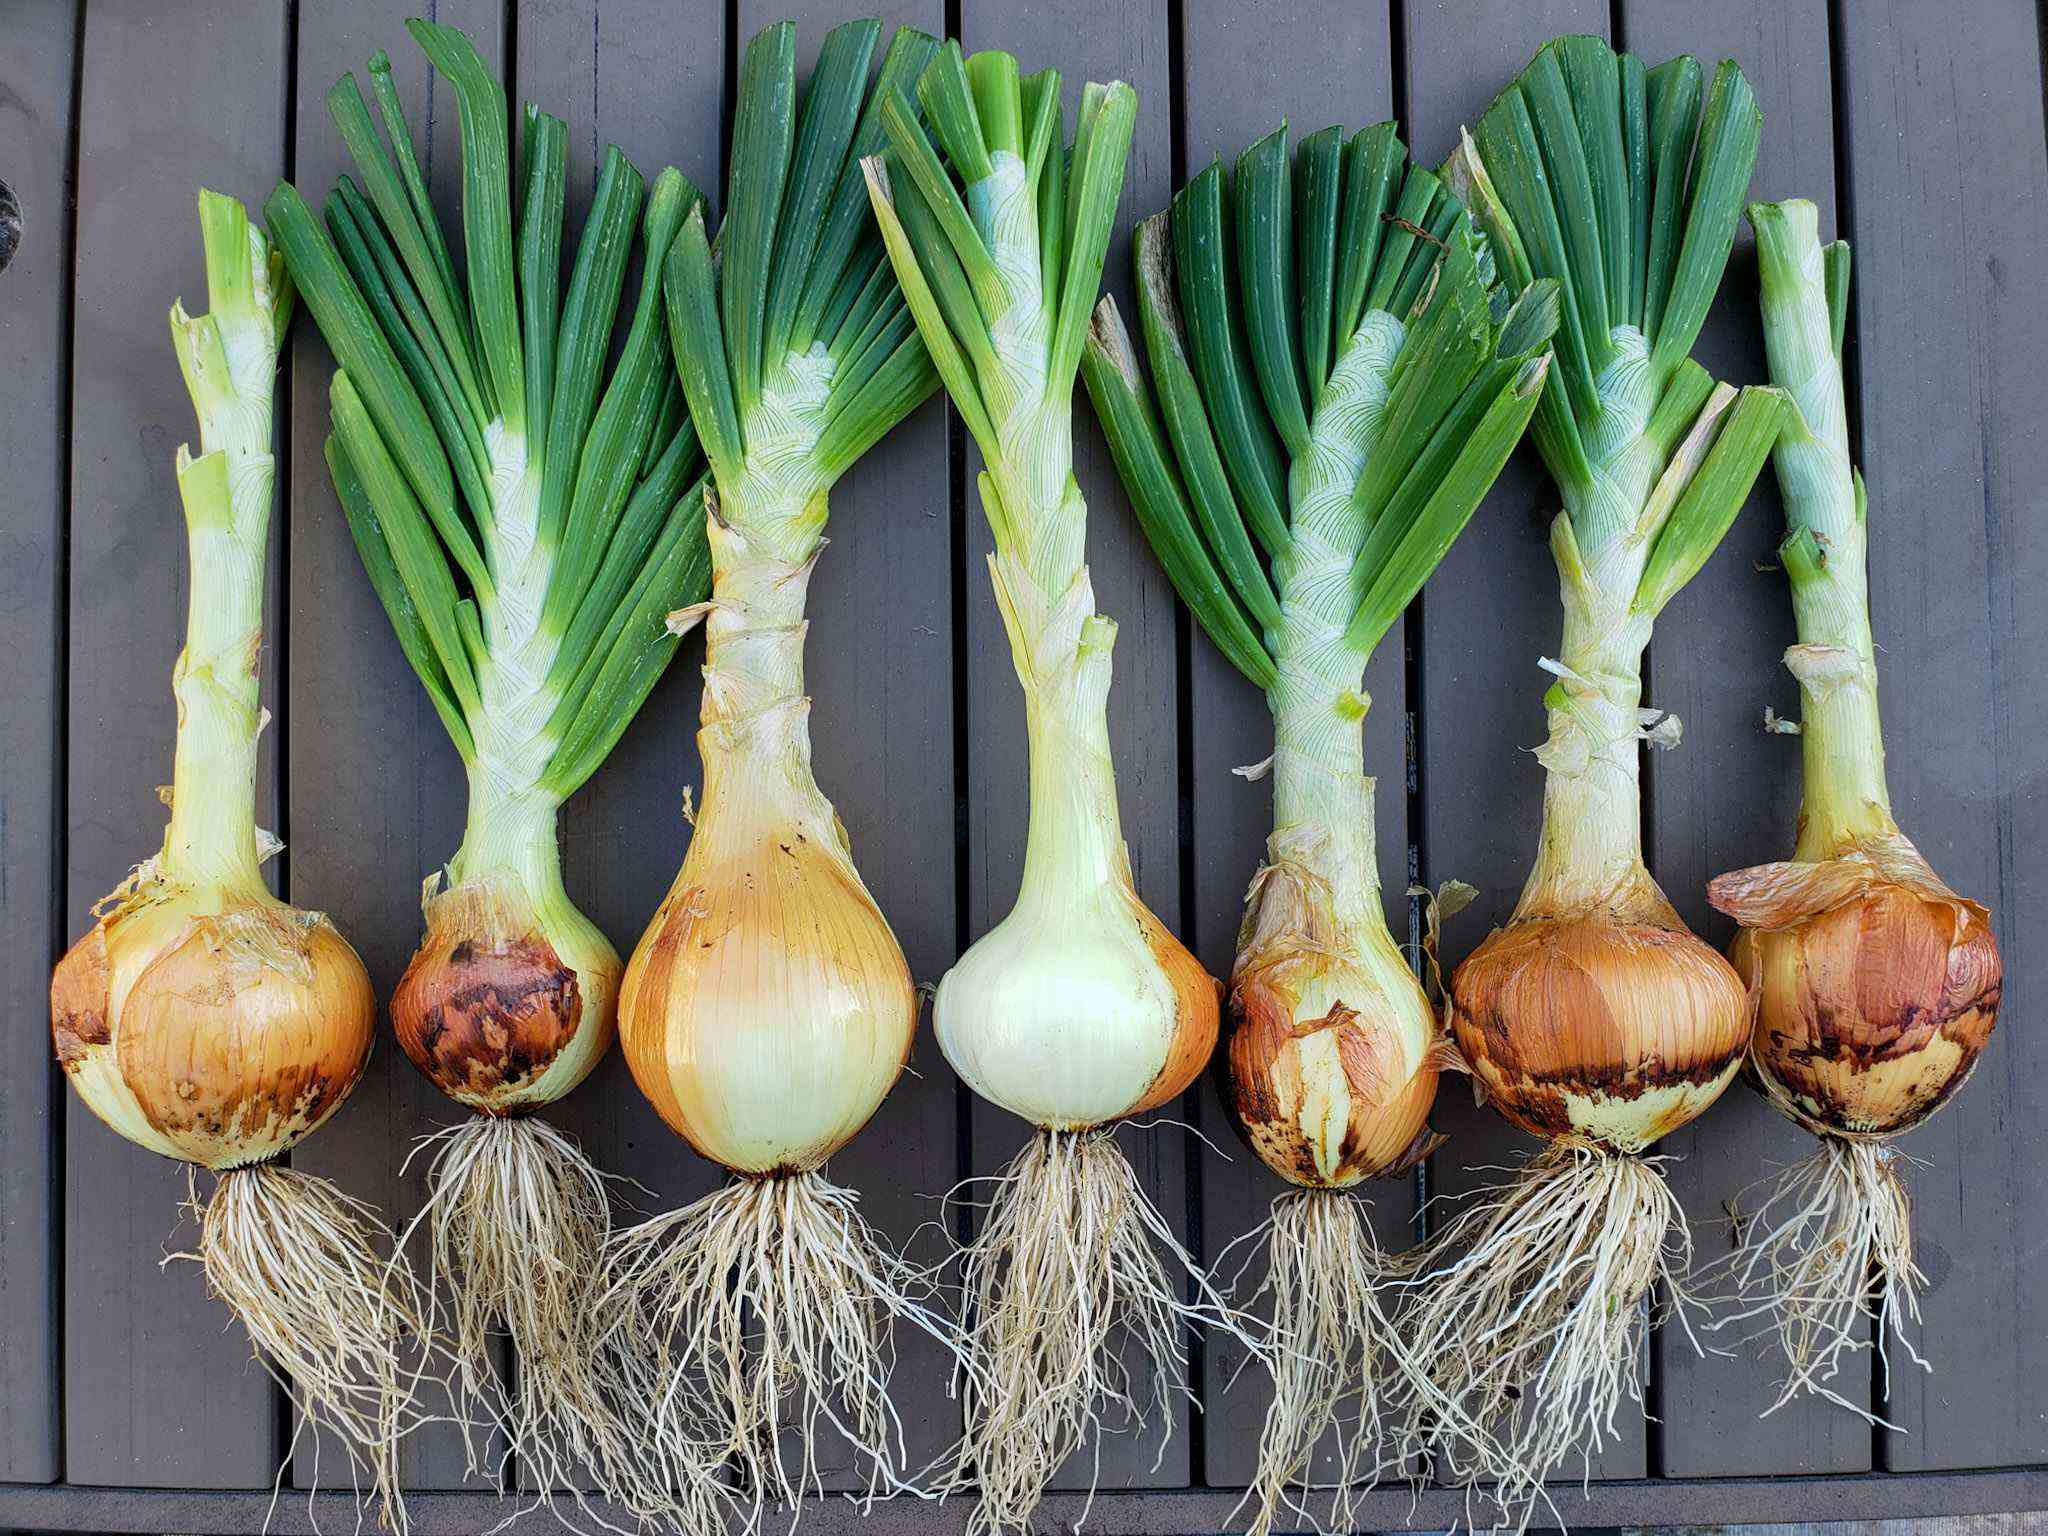
- Selecting the right onion: Choose a large, round onion with firm and tight layers. The ideal onion for a blooming onion is typically a sweet onion, such as a Vidalia or Walla Walla onion, as they have a milder flavor.
- Removing the outer skin: Start by cutting off the top and bottom ends of the onion. Then, using a sharp knife, carefully remove the outer skin, making sure to leave the root end intact. The root end will help hold the onion together when cutting.
- Coring the onion: To create the distinctive “bloom” shape, you need to core the onion. Insert a coring knife or a small spoon into the top of the onion, at the center where the root end is. Gently twist and scoop out the core, creating a hollow space in the center of the onion.
- Slicing the onion: Once the onion is cored, make vertical cuts from the top towards the root end, about 1/2 inch apart. Make sure to stop just short of the root end so that the onion stays intact. These cuts will create “petals” for the blooming effect.
- Soaking the onion: To help the petals separate and create that signature blooming effect, place the onion in a bowl of ice water and let it soak for about 10-15 minutes. This will help to crisp up the onion and make it easier to separate the petals when frying.
Preparing the onion properly is crucial to achieve the desired blooming effect when you start cutting. Make sure to follow these steps carefully to ensure a beautifully bloomed onion that will impress your guests.
Step 3: Cutting the Onion
Now that you have prepared the onion, it’s time to cut it into a blooming shape. Follow these steps to create a visually stunning and delicious blooming onion:
- Flaring out the petals: Start by gently flaring out the onion petals. Carefully separate each petal from the center, making sure not to detach them completely. This will create the beautiful blooming effect when the onion is cooked.
- Breading the onion: To bread the onion and add a crispy coating, prepare a mixture of flour, breadcrumbs, and your choice of seasonings. Dip the bloomed onion into the mixture, ensuring that the petals are fully coated. Gently press the coating onto the onion to ensure it adheres well.
- Shaking off excess coating: After coating the onion, shake off any excess breading. This will help the onion cook evenly and prevent the coating from becoming too thick and overpowering the taste.
- Separating the petals: Carefully separate the petals once again, ensuring they are spaced apart. This will allow the onion to bloom fully when it’s fried.
- Refrigerating the onion: Before frying, it’s best to refrigerate the breaded onion for about 30 minutes. This will help the coating set and adhere better to the onion, resulting in a crispier texture.
- Repeat the breading process: If you prefer a thicker coating, you can repeat the breading process by dipping the refrigerated onion again in the flour mixture and shaking off any excess coating.
- Ready for frying: Your onion is now ready to be deep-fried or air-fried. Follow the cooking instructions and recommended temperature for your chosen cooking method, ensuring that the onion is cooked through and the coating is golden brown and crispy.
By following these steps, you will achieve a beautifully cut and breaded blooming onion that is both visually appealing and delicious. Get ready to impress your friends and family with this tasty appetizer or snack!
Step 4: Breading the Onion
After cutting the onion into a blooming shape, it’s time to bread it and add a flavorful and crispy coating. Follow these steps to create a tantalizing breading for your blooming onion:
- Prepare the coating mixture: In a large bowl, combine flour, breadcrumbs, and your choice of seasonings. You can add herbs, spices, or even grated cheese to enhance the flavor. Mix well until all the ingredients are evenly incorporated.
- Dip the onion into the coating mixture: Take the bloomed onion and carefully dip it into the coating mixture. Use your hands to coat the onion thoroughly, ensuring that every petal is covered in the breading mixture. Press the mixture onto the onion to make sure it adheres well.
- Shake off excess coating: After coating the onion, gently shake off any excess breading mixture. This will prevent the coating from becoming too thick and ensure even cooking.
- Additional breading step (optional): For a thicker and crunchier coating, you can repeat the dipping and shaking off process. This will give the onion an extra layer of breading for a more indulgent experience.
- Refrigerate the onion: Place the breaded onion in the refrigerator for at least 30 minutes. This will help the coating set and adhere better to the onion, resulting in a crispier texture when fried.
Remember, the breading step is where you can get creative and customize the flavor of your blooming onion. Feel free to experiment with different seasonings and spices to suit your taste preferences. Whether you prefer a mild and savory flavor or a spicier kick, the choice is yours!
Once the onion is breaded and refrigerated, it will be ready for the next step: frying. Get ready to enjoy a delectable blooming onion with its savory and crispy exterior, revealing tender and flavorful petals inside.
Step 5: Deep-Frying the Onion
After breading the onion, it’s time to bring out the deep fryer and give the blooming onion its signature crispy texture. Follow these steps to achieve perfectly fried goodness:
- Preheat the oil: Fill a deep fryer or a large pot with enough oil to submerge the onion completely. Heat the oil to a temperature of around 350°F (175°C). Use a deep-fry thermometer to ensure accuracy.
- Lower the onion into the hot oil: Gently lower the breaded onion into the hot oil, petal-side facing up. Be cautious to avoid any splattering or hot oil spills. Allow the onion to fry for about 3-4 minutes.
- Flip the onion: With the help of tongs or a slotted spoon, carefully flip the onion over to fry the other side. Ensure that it cooks evenly and develops a golden brown color.
- Fry until crispy: Continue frying the onion until it is golden brown and crispy. The exact time will depend on the size of the onion and the temperature of the oil. Avoid overcooking, as it can result in a burnt or overly crispy exterior.
- Remove and drain: Once the onion is perfectly fried, carefully lift it out of the oil using tongs or a slotted spoon. Allow any excess oil to drain off before placing it on a paper towel-lined plate or wire rack to cool.
- Optional: Keep warm in the oven: If you’re making multiple blooming onions or want to keep the first one warm while you prepare others, you can place the fried onion in a low-temperature oven (around 200°F or 95°C) for a short time to keep it warm and maintain its crispiness.
Deep-frying the blooming onion will result in a crunchy and irresistible appetizer or snack. The combination of the crispy coating and tender, flavorful petals inside is sure to impress your taste buds.
Remember to exercise caution when working with hot oil to prevent any accidents or burns. Enjoy your delicious creation with your favorite dipping sauce, and get ready to savor the delightful flavors of the blooming onion.
Step 6: Serving and Enjoying the Blooming Onion
After all the hard work and anticipation, it’s time to serve and enjoy the delicious blooming onion that you have created. Follow these steps to make the most of your culinary masterpiece:
- Presentation is key: Place the blooming onion on a serving platter or a wooden cutting board. Arrange it in a way that showcases its beautiful blooming shape and golden brown color.
- Add garnishes: You can enhance the visual appeal and flavor of the blooming onion by adding some garnishes. Consider sprinkling freshly chopped parsley, grated cheese, or a drizzle of sauce on top for an extra touch of sophistication.
- Choose your dipping sauce: Serve the blooming onion with your favorite dipping sauce. Classic options include tangy barbecue sauce, zesty ranch dressing, or spicy aioli. Feel free to get creative and experiment with different flavors to find your perfect pairing.
- Share and enjoy: Gather your friends and family around the table and invite them to dig into the mouthwatering blooming onion. Encourage them to pull apart the petals and savor the combination of the crispy coating and tender onion inside.
- Enjoy leftovers: If you have any leftovers, you can store them in an airtight container in the refrigerator. To reheat, place the blooming onion in a preheated oven at 350°F (175°C) until warmed through. Note that the crispiness of the coating may not be the same when reheating.
Whether you’re hosting a gathering, impressing your family, or simply indulging yourself, serving and enjoying the blooming onion is a delightful experience. The combination of flavors, textures, and the visual appeal of this appetizer will surely leave a lasting impression.
Treat yourself and your loved ones to this culinary delight and relish in the satisfaction of creating a restaurant-worthy dish right in your own kitchen.
Tips and Variations
As you explore the world of plant care, here are some tips and variations to consider that will help you enhance your plant care routine:
- Watering: Observe your plants and water them according to their specific needs. Overwatering can lead to root rot, while underwatering can cause dehydration. Finding the right balance is crucial for plant health.
- Lighting: Different plants have different lighting requirements. Some prefer direct sunlight, while others thrive in partial shade. Understand the lighting needs of your plants and place them accordingly in your indoor or outdoor space.
- Fertilizing: Fertilize your plants regularly using a balanced fertilizer or organic alternatives. Follow the instructions on the fertilizer packaging, considering the specific needs of your plants. Avoid over-fertilizing, as it can harm the plants.
- Pruning: Prune your plants regularly to remove dead or damaged foliage, promote better airflow, and shape the plant. Use sharp pruning shears and make clean cuts just above a leaf node to encourage new growth.
- Pest control: Monitor your plants for any signs of pests, such as aphids, spider mites, or mealybugs. Take appropriate measures to control pests, such as using natural remedies or insecticidal soaps, to prevent infestations and keep your plants healthy.
Here are some variations you may consider to add diversity and excitement to your plant care routine:
- Vertical gardening: If you have limited space, explore vertical gardening techniques using hanging baskets, wall-mounted planters, or trellises. This allows you to maximize space and create a stunning green wall.
- Container gardening: Experiment with container gardening by using unique and creative containers, such as repurposed items or decorative pots. This adds a touch of personality and style to your plant displays.
- Indoor plantscaping: Create lush indoor plant displays by arranging different types of plants with varying heights, textures, and colors. This adds visual interest and brings a sense of nature indoors.
- Seasonal gardening: Embrace seasonal gardening by planting flowers, herbs, or vegetables that thrive during specific times of the year. This allows you to enjoy a variety of plants and flavors throughout different seasons.
Remember, plant care is a continuous learning process. Keep exploring and experimenting with different techniques, plants, and variations to find what works best for you and your plants. With time and experience, you will develop a green thumb and create a thriving and beautiful oasis in your home or garden.
Conclusion
Caring for plants is a rewarding endeavor that brings beauty, freshness, and a sense of tranquility into our lives. By understanding the fundamentals of plant care and implementing the tips and techniques shared in this article, you can create an environment where your plants thrive and flourish.
Remember to tailor your care routine to the specific needs of each plant, including watering, lighting, fertilizing, pruning, and pest control. Give them the attention and care they deserve, and they will reward you with their vibrant growth and stunning beauty.
As you embark on your plant care journey, continue to expand your knowledge and try new things. Explore different plant varieties, experiment with various gardening techniques, and express your creativity through unique plant displays.
Remember that plant care is not just a science but also an art. It’s about nurturing and connecting with nature, finding joy in the process, and taking a moment to appreciate the wonders of the natural world.
So, whether you’re a seasoned gardener or just starting out, embrace the joy of plant care. Let the greenery surround you, bringing a sense of serenity and vitality to your home and garden.
Now, it’s time to roll up your sleeves, get your hands dirty, and immerse yourself in the world of plant care. Happy gardening!