Home>Gardening Tips and Tricks>Maximizing Yield>Where To Cut Syngonium Propagation

Maximizing Yield
Where To Cut Syngonium Propagation
Published: February 3, 2024
Looking to maximize your yield in Syngonium propagation? Discover where to cut for optimal results in this comprehensive guide.
(Many of the links in this article redirect to a specific reviewed product. Your purchase of these products through affiliate links helps to generate commission for Chicagolandgardening.com, at no extra cost. Learn more)
Table of Contents
Introduction
Syngonium, also known as arrowhead vine or goosefoot plant, is a popular houseplant prized for its attractive foliage and easy care requirements. Whether you’re a seasoned plant enthusiast looking to expand your collection or a beginner looking to try your hand at plant propagation, learning how to propagate Syngonium can be an exciting and rewarding endeavor.
Propagating Syngonium allows you to create new plants from existing ones, giving you the opportunity to multiply your collection and share the joy of growing with others. Additionally, propagating Syngonium can be a cost-effective way to obtain new plants, especially if you have limited access to nurseries or prefer to grow your plants from scratch.
In this article, we will explore the different methods of Syngonium propagation and provide you with practical tips to increase your success rate. Whether you prefer stem cuttings, leaf cuttings, rhizome division, or air layering, we’ve got you covered. By understanding and applying the right techniques, you can confidently embark on your journey of multiplying and expanding your Syngonium collection.
Before we dive into the various propagation methods, it’s essential to mention that successful propagation requires careful attention to detail and adherence to proper techniques. Syngoniums are vigorous growers, but they still require the right environmental conditions and care to ensure that the propagated plants thrive.
Now that you’re armed with the excitement and knowledge to propagate Syngonium, let’s explore the different tools and techniques you’ll need to maximize your yield and achieve successful results.
Understanding Syngonium Propagation
Before diving into the various methods of propagating Syngonium, it’s important to understand the biology behind it. Syngonium belongs to the Araceae family, which is known for its diverse and fascinating plant species. This tropical plant is native to Central America and South America, where it thrives in the warm and humid conditions of the rainforests.
When it comes to propagation, Syngonium has several characteristics that make it an ideal plant to propagate. One important feature is its ability to produce new shoots from multiple types of plant tissues, including stems, leaves, and rhizomes. This versatility allows for different propagation techniques, giving you the flexibility to choose the method that suits you best.
Another interesting aspect of Syngonium propagation is its ability to develop new root systems quickly. Once you provide the right conditions and care, Syngonium plants will readily produce roots, allowing them to establish themselves and grow into healthy plants. This rapid root development is one of the reasons why Syngonium propagation is often successful.
Furthermore, Syngonium plants are known for their ability to adapt and acclimate to various indoor environments. This resilience makes them less prone to transplant shock and allows propagated plants to thrive in different potting mixes and light conditions.
Understanding the biology and characteristics of Syngonium is the first step towards successful propagation. By leveraging the plant’s natural growth patterns and adaptability, you can create new plants with ease. Now that we have a solid foundation of knowledge, let’s move on to the next step: choosing the right tools for propagation.
Choosing the Right Tools
When it comes to propagating Syngonium, having the right tools can greatly increase your chances of success. Here are some essential tools you will need:
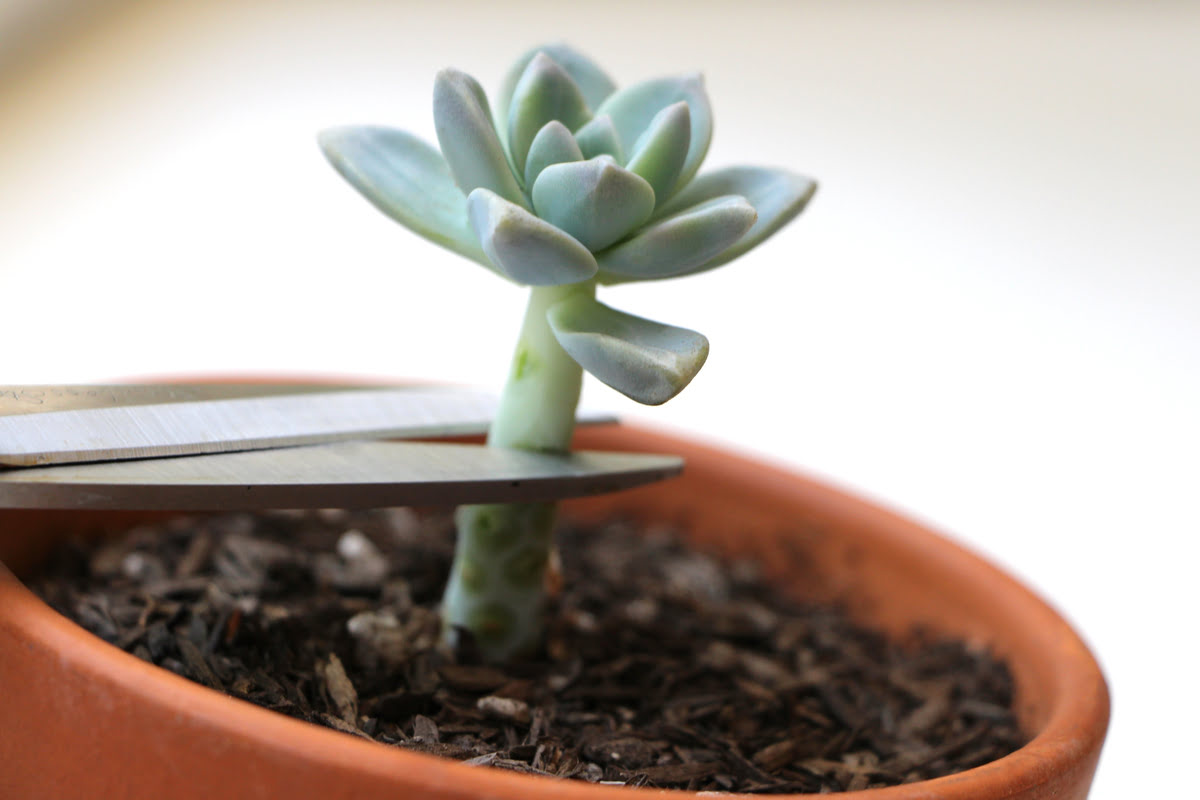
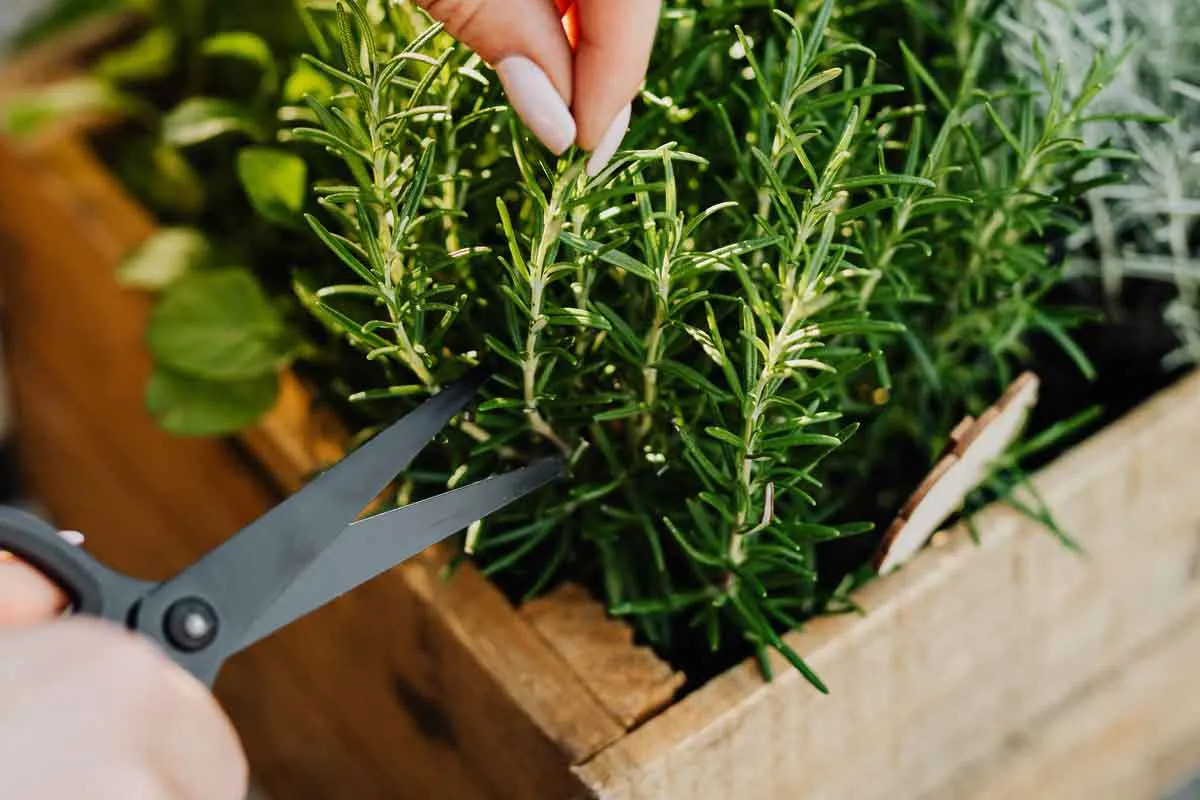
- Sharp and clean pruners or scissors: A pair of sharp pruning shears or scissors will ensure clean cuts, reducing the risk of damage or infection to the plant.
- Rooting hormone: While not always necessary, using a rooting hormone can promote the development of roots on your cuttings, increasing their chances of successful propagation.
- Planting medium: Choose a well-draining and fertile planting medium for your propagated Syngonium. A mixture of perlite, peat moss, and vermiculite or a commercial potting mix specially formulated for rooting will work well.
- Clean containers: Use clean pots or containers to house your newly propagated Syngonium. Clear plastic containers with drainage holes are ideal for monitoring root development and ensuring proper drainage.
- Misting bottle or propagator: Syngoniums thrive in high humidity environments, so a misting bottle or a propagator can help maintain the moisture levels necessary for successful root development.
It’s important to note that cleanliness is crucial when it comes to propagation tools. Before using your pruners or scissors, ensure they are clean and sterilized to prevent the spread of diseases or pests. Wiping the tools with rubbing alcohol or dipping them in a solution of 1 part bleach to 9 parts water will effectively sterilize them.
By having the right tools on hand and ensuring they’re clean and sharp, you’ll be well-prepared for the next steps in the Syngonium propagation process.
Sterilizing Your Cutting Tools
One crucial step in the Syngonium propagation process is sterilizing your cutting tools. This step ensures that any potential pathogens or diseases are eliminated, reducing the risk of infection to both the parent plant and the cuttings. Here’s how you can effectively sterilize your cutting tools:
- Clean the tools: Start by removing any dirt or debris from your pruning shears or scissors. Use a clean cloth or a brush to wipe away any residue, ensuring that the tools are free from any contaminants.
- Soak in disinfectant solution: Prepare a disinfectant solution by mixing 1 part bleach with 9 parts water. Submerge the cutting tools in this solution and let them soak for at least 5 minutes. This will effectively kill any bacteria or fungi that may be present.
- Rinse with clean water: After the soaking period, rinse the cutting tools thoroughly with clean water to remove any traces of the disinfectant solution.
- Dry the tools: Once rinsed, use a clean towel or allow the tools to air dry completely before using them. Ensuring that the tools are dry will prevent any water-borne pathogens from contaminating the plants.
- Repeat as necessary: It’s important to repeat this sterilization process each time you make a new cut or switch between plants. This practice will minimize the risk of cross-contamination and maintain a healthy propagation environment.
By following these simple steps, you can ensure that your cutting tools are clean and sterilized, providing a safe and healthy environment for your Syngonium propagation.
Selecting the Parent Plant
Choosing the right parent plant is an important step in Syngonium propagation. The health and vitality of the parent plant will greatly influence the success of your propagation efforts. Here are some key factors to consider when selecting a parent plant:
- Health and vigor: Look for a parent plant that is healthy and vibrant. Avoid plants that show signs of disease, pest infestation, or nutrient deficiencies. A strong and healthy parent plant will pass on these desirable traits to its offspring.
- Mature plant: Select a parent plant that is well-established and has reached maturity. Younger plants may not have developed enough energy reserves to support the propagation process successfully.
- Variegation or desired traits: If you’re specifically looking to propagate a Syngonium with variegated leaves or any other specific trait, choose a parent plant that exhibits those traits. This will increase the chances of obtaining offspring with similar characteristics.
- Propagation history: If possible, choose a parent plant that has a history of successful propagation. This indicates that the plant is more genetically predisposed to propagate easily, increasing your chances of success.
- Size and pruning: Consider the size and pruning requirements of the parent plant. Choose a plant that can tolerate pruning and has enough healthy stems or leaves to provide suitable cuttings for propagation.
It’s important to note that you should never take cuttings from a sick or stressed plant. Propagating from an unhealthy parent plant will likely result in weak or diseased offspring. Additionally, avoid taking too many cuttings from a single parent plant, as it can weaken the plant and hinder its ability to recover.
By carefully selecting the right parent plant, you lay the foundation for successful Syngonium propagation. Choose a healthy, mature plant with desirable traits, and you’ll be on your way to growing a thriving new generation of Syngoniums.
Methods of Syngonium Propagation
Syngonium can be propagated through several different methods, each offering its own advantages and challenges. Let’s explore the four main methods of Syngonium propagation:
- Stem Cuttings: Stem cuttings are a popular and straightforward method of propagating Syngonium. Choose a healthy stem with at least two leaves and make a clean cut just below a leaf node. Remove the lower leaves, leaving only two or three at the top. Dip the cut end in rooting hormone and plant it in a well-draining rooting medium. Keep the cutting warm and moist until roots develop.
- Leaf Cuttings: Leaf cuttings are another viable option for propagating Syngonium. Select a healthy leaf and make a clean cut along the petiole. Place the leaf in a container with water or a moist rooting medium, making sure the bottom end is submerged. Roots will develop in a few weeks, and you can transplant the rooted cutting into a pot with the proper soil mix.
- Rhizome Division: Rhizome division is a method best suited for Syngonium plants that have grown into clumps or have multiple stems originating from a central point. Gently dig up the plant and separate the rhizomes, ensuring that each division has at least one stem with roots attached. Plant each division in its own pot with fresh potting mix, and provide proper care to encourage root establishment.
- Air Layering: Air layering is a more advanced propagation technique but can yield excellent results. Select a healthy stem and make a small cut through the bark. Apply rooting hormone to the exposed area and wrap it with moist sphagnum moss or a rooting medium. Cover the moss with plastic wrap to create a sealed environment. Roots will develop within a few weeks, and the rooted section can be cut away from the parent plant and potted up.
Each of these methods has its own requirements and success rates, so it’s essential to choose the one that suits your preferences and skills. Experimenting with different propagation methods can also be a fun and educational experience.
Remember to provide proper care and attention to the propagated cuttings, ensuring they receive adequate light, moisture, and nutrition. With patience and the right techniques, you’ll soon have a collection of thriving Syngonium plants to enjoy.
Stem Cuttings
Stem cuttings are a popular and effective method of propagating Syngonium. This method involves taking a section of the stem from a healthy parent plant and growing it into a new plant. Here’s how you can successfully propagate Syngonium using stem cuttings:
- Choose the right stem: Select a healthy stem from the parent plant that is at least 4-6 inches long and has two or more leaves. Ideally, choose a stem that is not too soft or too woody.
- Make a clean cut: Use sharp, sterilized pruning shears or scissors to make a clean cut just below a leaf node. This node is where new roots will develop, so ensure that it’s intact.
- Remove lower leaves: Remove the lower leaves from the cutting, leaving only two or three leaves at the top. This will help conserve energy and redirect it towards root development.
- Apply rooting hormone (optional): To increase the success rate of root development, you can choose to dip the cut end of the stem in rooting hormone. This hormone stimulates root growth and increases the chances of successful propagation.
- Plant the cutting: Fill a small pot or container with a well-draining rooting medium, such as a mixture of perlite and peat moss, or a commercial potting mix formulated for rooting. Make a hole in the medium and insert the cut end of the stem, gently pressing the medium around it to provide stability.
- Provide the right environment: Place the potted cutting in a warm and bright location, but keep it away from direct sunlight. Maintain a consistently moist environment by misting the leaves and soil regularly or by covering the cutting with a clear plastic bag to create a mini greenhouse effect.
- Monitor and care for the cutting: Check the cutting regularly to ensure that the soil remains moist but not waterlogged. After a few weeks, you should start to see new roots forming. Once the roots have developed, you can transplant the cutting into a larger pot with the appropriate soil mix for Syngonium plants.
Stem cuttings provide a reliable and straightforward method for propagating Syngonium. With proper care and attention, you can successfully grow new plants from healthy stem cuttings, expanding your Syngonium collection or sharing them with fellow plant enthusiasts.
Leaf Cuttings
Leaf cuttings are an alternative method of propagating Syngonium and can be a fun and rewarding way to create new plants. Here’s how you can successfully propagate Syngonium using leaf cuttings:
- Choose a healthy leaf: Select a mature and healthy leaf from the parent plant that is free from any damage or disease. Ensure that the leaf is fully grown and has a long petiole (leaf stem).
- Make a clean cut: Use sharp, sterilized pruning shears or scissors to make a clean cut along the petiole. Aim for a cut that is about 2-3 inches long, ensuring that the portion of the petiole attached to the leaf is intact.
- Prepare the rooting medium: Fill a container with water or a well-draining rooting medium, such as a mixture of perlite and peat moss. If using water, make sure that the bottom end of the leaf cutting is submerged in the water, but the leaf itself should not be touching the water to prevent rotting.
- Maintain the right conditions: Place the container with the leaf cutting in a warm and well-lit location, but away from direct sunlight. Maintain a consistently moist environment by regularly refreshing the water or misting the rooting medium if using a soil mix.
- Root development: After a few weeks, you should start to see new roots emerging from the bottom of the petiole. These roots will eventually develop into a new plant.
- Transplant and care: Once the roots have grown to a sufficient length, carefully transplant the rooted leaf cutting into a small pot with a well-draining potting mix. Provide proper care, including regular watering and indirect sunlight, to support the growth of the new plant.
- Patience is key: Leaf cuttings can take longer to establish compared to stem cuttings, so it’s important to be patient and allow the roots to develop fully before transplanting. It may take several months for the new plant to grow.
Leaf cuttings offer a unique and fascinating way to propagate Syngonium. It allows you to witness the development of roots and the growth of a new plant from just a leaf. With proper care and patience, you can successfully grow new Syngonium plants from leaf cuttings.
Rhizome Division
Rhizome division is a suitable method for propagating Syngonium plants that have multiple stems originating from a central point or have grown into clumps. This method allows you to separate the rhizomes and create new individual plants. Here’s how you can successfully propagate Syngonium through rhizome division:
- Prepare the parent plant: Carefully dig up the parent plant from its pot or the ground, ensuring that you preserve the root system as much as possible. Gently remove excess soil to expose the rhizomes.
- Separate the rhizomes: Identify the individual rhizomes, which are thick, horizontal stems that often have small roots and buds. Use clean and sharp gardening shears or a knife to carefully separate the rhizomes, ensuring that each division has at least one stem with intact roots.
- Plant the divisions: Fill small pots with a well-draining potting mix. Plant each rhizome division in its own pot, making sure that the roots are spread out and covered with soil. Press the soil gently to provide stability.
- Provide suitable conditions: Place the newly potted divisions in a warm and bright location, but away from direct sunlight. Keep the soil consistently moist, but avoid overwatering to prevent root rot. Mist the leaves regularly to maintain humidity.
- Care for the new plants: Monitor the newly divided plants closely, ensuring that they receive proper care and attention. Water the plants when the top inch of soil feels dry and provide indirect sunlight to promote healthy growth.
- Establishment and growth: Over time, the rhizome divisions will establish their own root systems and begin growing into individual plants. Be patient and provide regular care, including proper watering, light, and occasional fertilizing.
Rhizome division is an effective method to multiply your Syngonium collection and rejuvenate older or overcrowded plants. By separating the rhizomes and creating new individual plants, you can ensure healthier growth and promote a more robust and vibrant Syngonium collection.
Air Layering
Air layering is a more advanced technique used to propagate Syngonium and is particularly useful for plants with thick stems or hard-to-root varieties. This method involves inducing root development on a specific section of the stem while it is still attached to the parent plant. Here’s how you can successfully propagate Syngonium through air layering:
- Select the section: Choose a section along the stem of the parent plant where you want to induce root growth. Make a small, upward slanted cut through the bark, ensuring that it is about one-third to halfway through the stem.
- Apply rooting hormone: Apply a layer of rooting hormone to the exposed area of the stem. This hormone will stimulate root formation and increase the chances of successful propagation.
- Wrap the stem: Take a handful of moist sphagnum moss or a rooting medium and wrap it around the cut section of the stem. Secure the moss in place by wrapping plastic wrap around it, creating a close and sealed environment for root development.
- Maintain moisture: It’s essential to keep the moss consistently moist throughout the air layering process. Check the moisture levels regularly and mist the moss or add water as needed to maintain humidity.
- Inducing root growth: Over time, roots will begin to develop within the moss. You may gently press on the moss periodically to check for root development. It’s important to be patient, as this process can take several weeks or even months.
- Cutting and potting: Once a sufficient amount of roots has formed, you can make a clean cut below the rooted section and carefully remove it from the parent plant. Plant the rooted section in a pot with a well-draining potting mix, ensuring that the roots are covered and supported.
- Caring for the new plant: Provide the newly potted plant with proper care, including water, light, and regular misting to maintain humidity. Monitor the plant closely, ensuring that the soil remains moist but not waterlogged.
Air layering can be a more time-consuming and involved method of propagating Syngonium, but it can yield excellent results, especially for harder-to-propagate varieties. With patience and proper care, you can successfully grow new plants through air layering and expand your Syngonium collection.
Tips for Successful Syngonium Propagation
Propagation can be an exciting and rewarding experience, and here are some tips to increase your success rate when propagating Syngonium:
- Choose healthy plants: Select healthy and disease-free parent plants for propagation. Healthy plants have a better chance of producing strong and viable offspring.
- Timing is key: Propagate Syngonium during the spring or summer months when the plant is actively growing. This ensures optimal conditions for root development and overall growth.
- Use proper sterilization techniques: Always use clean and sterilized cutting tools to prevent the spread of diseases between plants. Clean the tools before each use to maintain a healthy propagation environment.
- Provide the right environmental conditions: Syngoniums prefer bright, indirect light. Place your propagated cuttings in a location that receives bright but filtered light to promote healthy growth.
- Maintain adequate humidity: Syngoniums thrive in high humidity environments. To boost humidity levels, mist the leaves regularly or use a humidifier in the vicinity of your plants.
- Choose the right potting mix: Use a well-draining potting mix that retains moisture without becoming waterlogged. A mixture of perlite, peat moss, and vermiculite is ideal for Syngonium propagation.
- Water properly: Keep the soil consistently moist but not overly saturated. Avoid letting the soil completely dry out between waterings, as it may hinder root development.
- Give room for growth: As your propagated plants grow, periodically repot them into larger pots to provide enough space for their expanding root systems. This allows them to continue thriving.
- Be patient and observant: Successful propagation takes time. Be patient and monitor the progress of your cuttings regularly. Adjust care and conditions as needed to promote healthy growth.
- Experiment and learn: Don’t be afraid to experiment with different propagation methods and variations. Each plant may respond differently, so learning from your experiences will help you refine your techniques.
By following these tips and observing your plants closely, you can maximize your success in propagating Syngonium and enjoy the satisfaction of growing a thriving new generation of plants.
Conclusion
Propagating Syngonium can be a rewarding and fulfilling experience, allowing you to multiply your plant collection and share the joy of growing with others. Whether you choose stem cuttings, leaf cuttings, rhizome division, or air layering, each method offers its own advantages and challenges. By understanding the biology of Syngonium and following proper techniques, you can maximize your success in propagating this beautiful houseplant.
Remember to choose healthy parent plants, use clean and sterilized cutting tools, and provide the right environmental conditions for your propagated cuttings. Patience and attention to detail are key, as successful propagation takes time and care. Monitor your plants closely, adjust their care as needed, and be prepared for the joy of witnessing new roots and growth.
As you embark on your journey of Syngonium propagation, don’t be afraid to experiment and learn from your experiences. Each plant may respond differently, and by being observant and adapting your techniques, you can refine your skills and increase your success rate.
Whether you’re a seasoned gardener or a beginner, propagating Syngonium gives you the opportunity to nurture new life and expand your botanical adventures. So roll up your sleeves, gather your tools, and let the journey of Syngonium propagation begin!