Home>Gardening Tips and Tricks>Maximizing Yield>Where To Cut Money Plant For Propagation

Maximizing Yield
Where To Cut Money Plant For Propagation
Published: February 3, 2024
Learn the secrets to maximizing yield with money plant propagation. Find out where to cut your money plant for optimal growth and success.
(Many of the links in this article redirect to a specific reviewed product. Your purchase of these products through affiliate links helps to generate commission for Chicagolandgardening.com, at no extra cost. Learn more)
Table of Contents
- Introduction
- Understanding Money Plants
- Importance of Propagation
- Best Time for Propagation
- Tools and Materials Needed
- Step 1: Selecting a Healthy Money Plant
- Step 2: Choosing the Right Stem to Cut
- Step 3: Preparing the Cutting
- Step 4: Rooting the Cutting
- Step 5: Transplanting the Rooted Cutting
- Step 6: Caring for the New Plant
- Common Mistakes to Avoid
- Conclusion
Introduction
Welcome to the world of money plants! If you’re a plant enthusiast looking to expand your collection, or even someone just starting out in the world of gardening, money plants are a fantastic choice. Not only are they aesthetically pleasing with their vibrant green leaves, but they are also incredibly easy to propagate, making them a popular choice among plant lovers.
Money plants, scientifically known as Epipremnum aureum, are native to the Solomon Islands in the South Pacific. They are part of the arum family and are prized for their ability to purify the air and bring positive energy to a space. In addition to their air-purifying qualities, they can also bring good luck and abundance, hence the name “money plant.”
Propagation plays an integral role in expanding your money plant collection. It allows you to create new plants from existing ones, ensuring a steady supply of greenery to brighten up your home or office. Not only does propagation save you money by eliminating the need to purchase new plants, but it also gives you the satisfaction of nurturing new life and watching it thrive.
Before diving into the specifics of cutting a money plant for propagation, it’s important to understand when the best time to propagate is. While money plants can be propagated year-round, they tend to grow faster and establish roots more quickly during the warmer months. Therefore, spring and summer are ideal seasons to undertake this task.
Now that you have a basic understanding of money plants and the importance of propagation, let’s delve into the step-by-step process of cutting a money plant for propagation. Grab your gardening gloves and get ready to start growing!
Understanding Money Plants
Money plants, also known as Devil’s Ivy or Golden Pothos, are popular houseplants known for their attractive trailing vines and heart-shaped leaves. They are not only visually appealing but also have several benefits that make them a favorite among plant enthusiasts.
One of the most notable characteristics of money plants is their ability to purify the air. They effectively absorb and remove harmful pollutants, such as formaldehyde, benzene, and xylene, from indoor spaces, making them an excellent choice for improving indoor air quality. This makes money plants a great addition to homes, offices, and other indoor environments.
Money plants are also known for their resilience and adaptability. They can tolerate a wide range of light conditions, from bright indirect light to low-light areas. However, they thrive best in moderate to bright indirect light. They are also relatively forgiving when it comes to watering, making them a low-maintenance choice for both novice and experienced gardeners.
In addition to their air-purifying properties and low-maintenance nature, money plants are believed to bring good luck and abundance. According to Feng Shui, placing a money plant in the southeast corner of your home or office can attract wealth and prosperity. It is also said to promote positive energy and create a harmonious environment.
Money plants are native to the tropical forests in the Solomon Islands, where they climb up trees using their aerial roots. This natural climbing behavior makes them ideal for growing in hanging baskets or allowing them to cascade down from shelves or bookcases. Their trailing vines can grow several feet long, creating a lush and beautiful display.
With their versatility, resilience, and aesthetic appeal, money plants have become a must-have for indoor gardeners. Whether you’re looking to improve the air quality in your home or simply add a touch of greenery to your living space, money plants are an excellent choice that will bring beauty and positive energy to any environment.
Importance of Propagation
Propagation is an essential process in the life cycle of plants, including money plants. It involves creating new plants from existing ones, either through seeds or vegetative methods. While money plants can be grown from seeds, propagating them through stem cuttings is the most common and efficient method.
One of the main benefits of propagation is the ability to expand your money plant collection without having to spend additional money on purchasing new plants. By propagating from healthy and well-established parent plants, you can ensure the continuity of desirable traits and characteristics in the new plants.
Propagation also allows you to share the joy of gardening with others. You can gift the propagated money plants to friends and family, spreading the beauty and benefits of these green wonders. It’s a rewarding experience to see your efforts in propagating plants bring happiness and greenery to others.
Another advantage of propagation is the opportunity to experiment with different growing conditions and techniques. You can try out different soil mixes, watering schedules, and lighting conditions to see which methods yield the best results. By propagating and caring for multiple plants, you can observe and learn from their growth patterns, helping you become a better gardener in the process.
Propagation also provides a sense of accomplishment and satisfaction. Seeing the new roots forming on a cutting and successfully growing into a healthy plant is a rewarding experience. It gives you a deeper appreciation for the wonders of nature and the process of life.
Furthermore, through propagation, you can rescue and revive sick or struggling money plants. If you notice that a parent plant is showing signs of decline or disease, you can take cuttings from healthy parts of the plant and root them to create new, thriving plants. This not only helps to save the plant from potential demise but also allows you to maintain a healthy and vibrant collection.
Overall, propagation is a vital practice for any plant enthusiast, and it holds significant importance when it comes to money plants. It offers a cost-effective way to expand your collection, share the joy of gardening, experiment with different techniques, and rescue struggling plants. So, roll up your sleeves and get ready to propagate your money plants to enjoy the many benefits it brings!
Best Time for Propagation
Timing is crucial when it comes to propagating money plants. While money plants can be propagated year-round, there are certain times that are more favorable for successful propagation. Generally, the best time to propagate money plants is during the spring and summer months.
During the spring and summer, money plants experience a period of active growth. The warm temperatures and longer daylight hours provide optimal conditions for the development of new roots and the establishment of the cuttings. This period of rapid growth enhances the chances of success when propagating money plants.
Another reason why spring and summer are the best times for propagation is the availability of ample sunlight. Money plants thrive in bright indirect light, and the increased sunlight during these seasons promotes healthy growth and provides the necessary energy for the development of new roots.
In addition to favorable weather conditions, the higher humidity levels during spring and summer also contribute to successful propagation. Money plants thrive in humid environments, and the increased humidity during these seasons creates an ideal setting for the cuttings to root and establish themselves.
Propagating money plants during the spring and summer also aligns with their natural growth cycle. In their native habitat, money plants experience increased growth during these seasons, making it the most suitable time to replicate their growth pattern through propagation.
It’s important to note that while spring and summer are the most optimal times for propagation, money plants can still be propagated successfully during other seasons. However, it may take longer for the cuttings to root and establish themselves in cooler or drier conditions, so it’s important to provide adequate care and attention during these periods.
In summary, the best time to propagate money plants is during the spring and summer months when the plants are experiencing active growth. The warm temperatures, longer daylight hours, increased sunlight, and higher humidity levels create the perfect conditions for successful propagation. However, with proper care and attention, money plants can still be propagated throughout the year. So, gather your tools and get ready to propagate your money plants during the ideal time to ensure the best chances of success!
Tools and Materials Needed
Before you delve into the process of cutting a money plant for propagation, it’s important to gather all the necessary tools and materials. Having these items on hand will ensure that you can proceed smoothly and efficiently with the propagation process. Here are the essential tools and materials you’ll need:
1. Pruning shears: A sharp pair of pruning shears will be needed to make clean cuts on the money plant stems. Ensure that your pruning shears are clean and sterilized to prevent the spread of any diseases or infections.
2. Clean and sharp knife: In addition to pruning shears, you’ll need a clean and sharp knife to make precise and clean cuts when preparing the cuttings. A sharp knife will minimize damage to the plant and increase the chances of successful rooting.
3. Rooting hormone: Rooting hormone is an optional but highly recommended tool for increasing the success rate of cuttings. It contains natural or synthetic hormones that stimulate root growth and increase the chances of successful propagation.
4. Small pots: You’ll need small pots or containers to plant the cuttings. Ensure that the pots have proper drainage holes to prevent waterlogging which can lead to root rot. Ceramic or plastic pots are both suitable options.
5. Well-draining potting mix: A well-draining potting mix is crucial for the healthy development of the rooted cuttings. Choose a mix that provides good aeration and drainage, promoting root growth and preventing waterlogged conditions.
6. Watering can or misting bottle: You’ll need a watering can or misting bottle to provide water to the newly potted cuttings. It’s important to keep the soil moist but not overly saturated to avoid root rot.
7. Clear plastic bags or a propagator: Clear plastic bags or a propagator can create a humid environment for the cuttings, which aids in successful rooting. They help maintain moisture levels and create the optimal conditions for root development.
8. Clean and sterile scissors: Clean and sterile scissors will be needed for cutting any excess foliage or damaged leaves from the money plant cuttings. This ensures that the energy of the plant is directed towards root development rather than maintaining unnecessary foliage.
9. Optional: Grow lights or a bright, indirect light source: While not necessary, grow lights or a bright, indirect light source can provide additional light for the cuttings, especially when propagating during winter or in low-light conditions.
By having these tools and materials ready, you’ll be well-prepared to successfully cut and propagate your money plants. Proper preparation is key to ensure the smooth progression of each step in the propagation process. So gather your tools, sterilize when necessary, and create an ideal environment for your money plant cuttings to thrive!
Step 1: Selecting a Healthy Money Plant
The first step in the process of cutting a money plant for propagation is selecting a healthy parent plant. Choosing a healthy money plant ensures that you have a strong and viable source for your cuttings. Here are some factors to consider when selecting a healthy money plant:
1. Look for vibrant and lush foliage: Choose a money plant that has vibrant, green leaves. Avoid plants with yellowing or wilted leaves, as this could indicate poor health or insufficient care.
2. Check for signs of pests or diseases: Inspect the plant carefully for any signs of pests, such as aphids or mealybugs, or diseases like powdery mildew or leaf spot. Select a plant that is free from any visible signs of infestation or disease.
3. Examine the stems for signs of rot: Check the stems of the money plant for any soft or mushy spots, which could indicate rot. A healthy stem should be firm and sturdy.
4. Assess the root system: If possible, gently remove the money plant from its pot to examine the root system. Look for thick and healthy roots that are white or light-colored. Avoid plants with root rot or overcrowded and root-bound roots.
5. Consider the overall plant health: Observe the overall growth and vigor of the money plant. Choose a plant that appears robust, with multiple vines and healthy growth patterns.
6. Check for new growth: Look for signs of new growth, such as fresh leaves or buds. This indicates that the plant is actively growing and would be more likely to produce successful cuttings for propagation.
When selecting a money plant for propagation, it’s important to choose a plant that meets these criteria to ensure the best chances of success. A healthy parent plant will provide strong and viable cuttings, resulting in vigorous new plants.
Remember, always handle the money plant with care to avoid causing damage during the selection process. By choosing a healthy and thriving parent plant, you’re setting yourself up for success as you proceed with propagating your money plant.
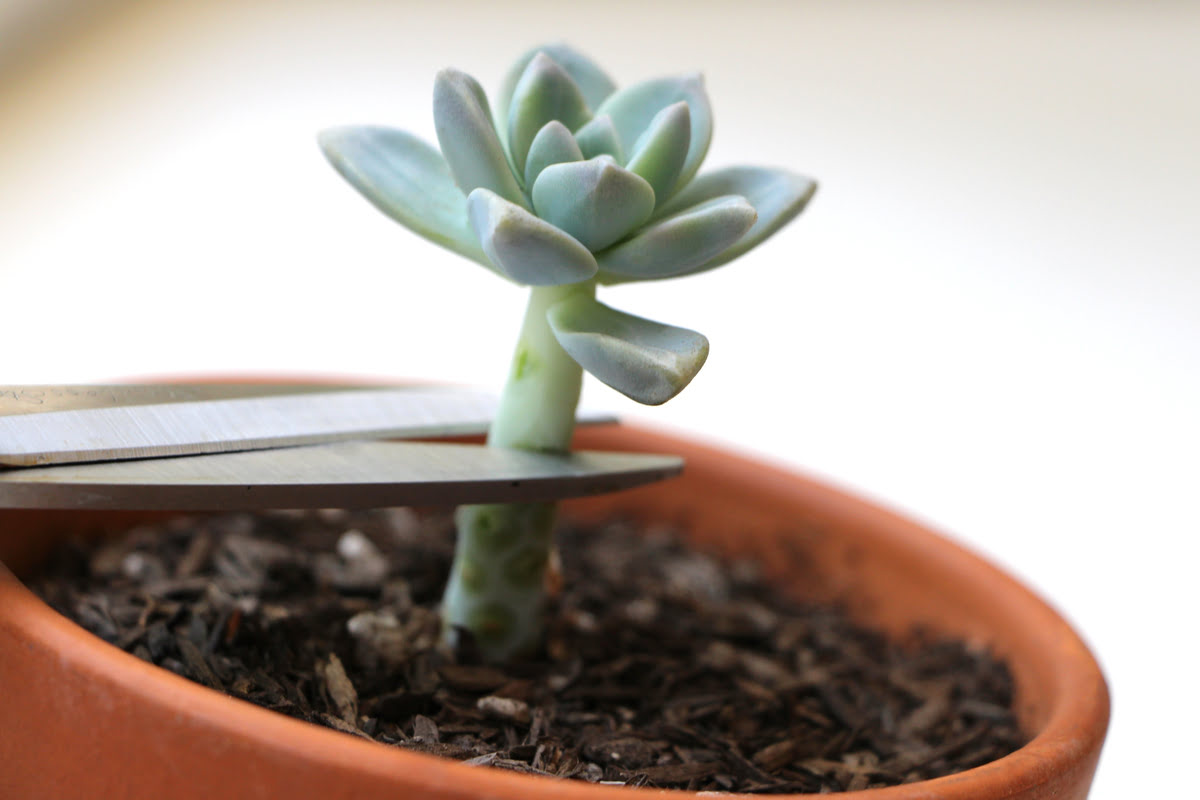
Step 2: Choosing the Right Stem to Cut
Once you have selected a healthy money plant for propagation, the next step is to choose the right stem to cut. Selecting the right stem is crucial as it determines the success of rooting and the development of a new plant. Follow these guidelines to choose the best stem for cutting:
1. Select a mature stem: Look for a stem that is mature, meaning it has thickened and hardened. Mature stems are more likely to root successfully compared to soft, new growth.
2. Choose a stem with multiple nodes: Nodes are the points on the stem where leaves emerge. Select a stem that has multiple nodes as they are the key locations for root development. Aim for a stem that has at least two to three nodes.
3. Opt for a healthy and undamaged stem: Ensure that the stem you choose is free from any signs of damage, such as cuts or wounds. A healthy and undamaged stem has a higher chance of successful rooting.
4. Look for a lateral stem: Lateral stems are stems that grow from the side of the main stem rather than the top. These side shoots tend to root more easily compared to the main stem. Choose a lateral stem if possible.
5. Consider the length of the stem: Ideally, choose a stem that is 4 to 6 inches long. This provides enough space for multiple nodes and allows for a good balance between flexibility and stability during the propagation process.
6. Prepare to make a clean cut: Once you have identified the right stem, use a clean and sharp knife or pruning shears to make a clean and angled cut just below a node. This will encourage the new roots to form from the cut end.
By carefully choosing the right stem to cut, you increase the likelihood of successful propagation. A mature, healthy, and undamaged stem with multiple nodes provides the best opportunity for the development of strong and thriving new plants.
Remember to handle the money plant with care and ensure that your tools are clean and sterilized before making the cut. With the right stem in hand, you’re ready to move on to the next step of preparing the cutting for rooting.
Step 3: Preparing the Cutting
After choosing the right stem for cutting, it’s time to prepare the cutting for propagation. Proper preparation is crucial to ensure the successful rooting and development of a new money plant. Follow these steps to prepare the cutting:
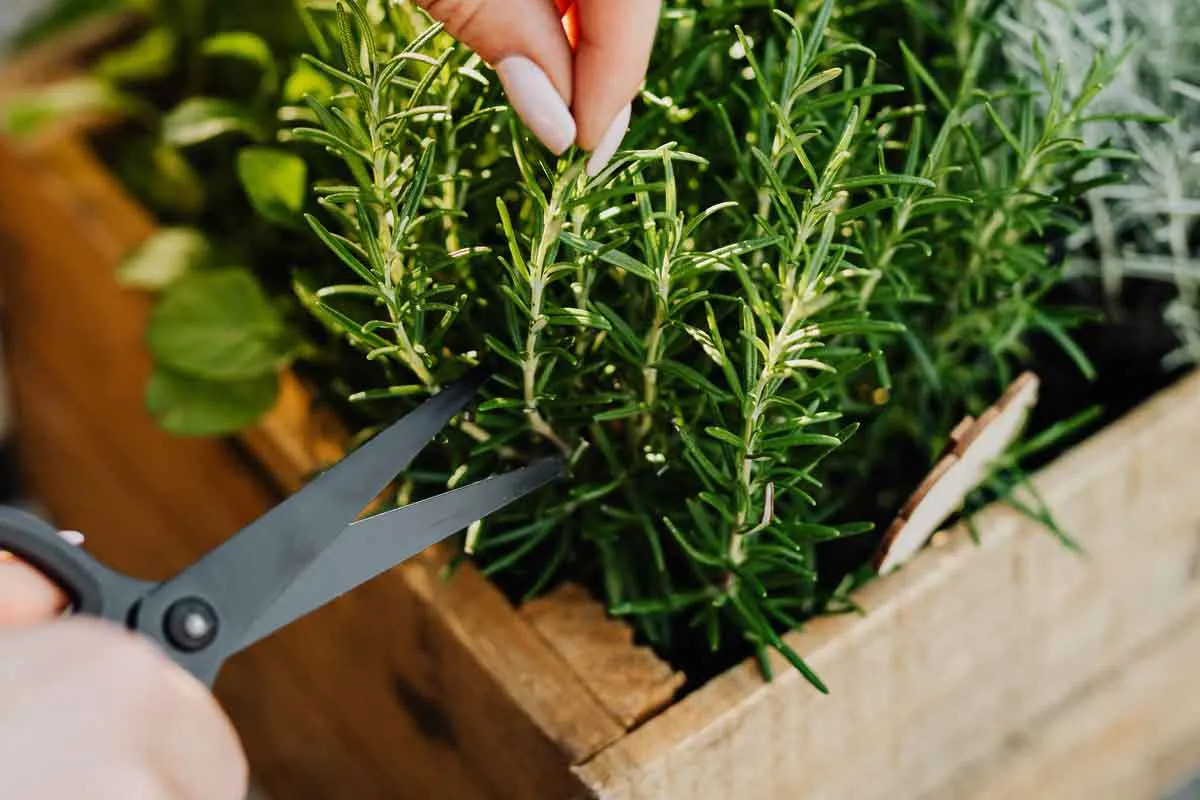
1. Trim the leaves: Using clean and sterile scissors, carefully trim off any excess foliage from the stem. Leave a few leaves at the top of the cutting to allow for photosynthesis, but remove any leaves near the bottom of the stem that may come in contact with the rooting medium.
2. Optional: Apply rooting hormone: If desired, you can dip the cut end of the stem in a rooting hormone powder or gel. Rooting hormone contains growth-promoting substances that can increase the chances of successful rooting. Gently tap off any excess rooting hormone to avoid excessive amounts on the stem.
3. Prepare the rooting medium: Choose a well-draining potting mix or a mix specifically designed for propagation. Fill a small pot or container with the rooting medium, leaving enough space to insert the cutting without overcrowding. Mist the rooting medium lightly with water to moisten it.
4. Make a hole and plant the cutting: Using a pencil or your finger, create a small hole in the rooting medium. Insert the cut end of the stem into the hole, ensuring that at least one or two nodes are buried in the medium. Gently press the soil around the stem to secure it in place.
5. Mist the cutting: After planting the cutting, lightly mist the leaves and the surrounding rooting medium with water. This helps to increase humidity and prevent excessive moisture loss from the plant during the rooting process.
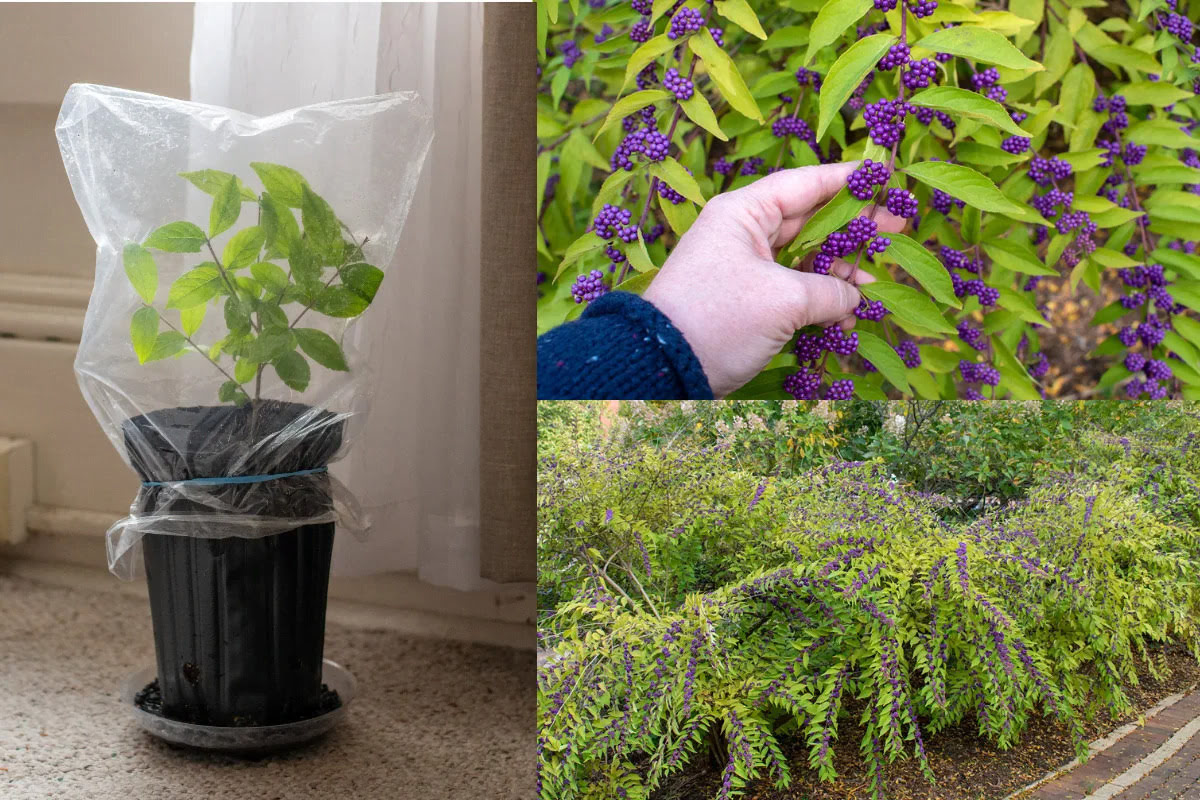
6. Provide the right environment: Place the potted cutting in a warm and bright location with indirect sunlight. Avoid placing it in direct sunlight as it may scorch the delicate cutting. You can cover the cutting with a clear plastic bag or use a propagator to create a humid environment.
By properly preparing the cutting, you provide the necessary conditions for successful rooting and the development of a healthy new money plant. Remember to handle the cutting with care to avoid damaging the delicate stem. With the cutting prepared and potted, you can move on to the next step of rooting the cutting.
Step 4: Rooting the Cutting
Now that you have prepared the cutting and planted it in the rooting medium, it’s time to focus on rooting the money plant cutting. Rooting is a critical stage in the propagation process as it allows the cutting to develop a strong root system. Follow these steps to encourage successful rooting:
1. Maintain optimal moisture: It’s important to keep the rooting medium consistently moist but not waterlogged. Check the moisture level regularly and mist the cutting and the surrounding soil lightly with water when it starts to dry out. Avoid overwatering as it can lead to rotting of the cutting.
2. Provide warmth and humidity: Money plants root best in warm and humid environments. Ensure that the cutting is placed in a warm location with temperatures around 70-75°F (21-24°C). You can create humidity by covering the cutting with a clear plastic bag or using a propagator to retain moisture.
3. Avoid direct sunlight: While money plants thrive in bright indirect light, direct sunlight can be harmful to the delicate cutting. Place the cutting in a location with bright, indirect light to promote growth without risking sunburn or heat stress.
4. Be patient: Rooting can take several weeks, so be patient and resist the temptation to check for root development too frequently. It’s normal for the cutting to initially focus on establishing roots before new growth becomes visible.
5. Monitor for signs of progress: After a few weeks, gently tug on the cutting to check for resistance. If you feel resistance, it’s a positive sign that the roots are developing. Be cautious not to disturb the cutting too much, as it may disrupt root growth.
6. Provide support (optional): If the cutting seems unstable or is leaning to one side, you can insert a small stake to provide support. Be careful not to damage the developing roots when inserting the stake into the soil.
By following these steps and providing the optimal environment for rooting, you increase the chances of successful propagation. Remember that each cutting may root at a different pace, so don’t be discouraged if they don’t all progress at the same rate. Patience and proper care will eventually lead to the development of a well-rooted money plant.
Once you observe significant root development, it’s time to move on to the final step of transplanting the rooted cutting into its own pot for continued growth and care.
Step 5: Transplanting the Rooted Cutting
Congratulations! Your money plant cutting has successfully rooted and developed a healthy root system. It’s now time to transplant the rooted cutting into its own pot, providing it with the space and nutrients it needs to continue growing. Follow these steps to ensure a successful transplant:
1. Select a suitable pot: Choose a pot that is slightly larger than the current container holding the rooted cutting. Ensure that the pot has proper drainage holes to prevent waterlogging. Ceramic or plastic pots are both suitable options.
2. Prepare the new pot: Fill the new pot with a well-draining potting mix, leaving enough space for the rooted cutting to be positioned at the appropriate depth. Make sure the potting mix is moist but not saturated.
3. Gently remove the rooted cutting: Carefully loosen the soil around the rooted cutting without damaging the fragile roots. Try not to pull on the stem, focusing instead on gently lifting the cutting by holding onto the base.
4. Position the cutting in the new pot: Place the rooted cutting in the center of the new pot, ensuring that the level of the soil in the new pot matches the level of the soil in the previous pot. Avoid burying the stem too deep, as it can lead to rotting.
5. Fill the remaining space with potting mix: Fill the spaces around the rooted cutting with the potting mix, gently pressing it in to provide support and stability. Be careful not to over-pack the soil as it can compress and impede drainage.
6. Water the transplanted cutting: After transplanting, water the cutting thoroughly, allowing the water to soak through the potting mix and drain out of the bottom. This settles the soil around the roots and helps the plant adjust to its new environment.
7. Provide the right care: Place the transplanted cutting back in its ideal location with bright, indirect light. Maintain regular watering, ensuring that the soil remains slightly moist but not overly saturated. Continue to monitor the plant for any signs of pests or diseases.
By following these steps, you provide the necessary care and support for the rooted cutting as it establishes itself in its new pot. Proper transplanting techniques minimize stress and ensure a smooth transition for the money plant to continue growing and thriving in its new home.
Remember to monitor the plant’s progress and adjust care accordingly. With time and proper care, your transplanted money plant will grow into a beautiful, full plant, contributing to the greenery and positive energy in your space.
Step 6: Caring for the New Plant
Congratulations on successfully transplanting your rooted money plant cutting! Now, it’s essential to provide the right care to ensure the continued growth and well-being of your new plant. Follow these steps to properly care for your money plant:
1. Watering: The key to watering a money plant is to maintain a balance. Allow the top inch of the soil to dry out between waterings, then water thoroughly until water drains out of the drainage holes. Avoid overwatering, as it can lead to root rot.
2. Light: Money plants thrive in bright indirect light. Place your plant in a location where it receives moderate to bright light but is protected from direct sunlight, which can scorch the leaves. Rotate the plant occasionally to ensure even growth.
3. Temperature and Humidity: Money plants prefer temperatures between 65-85°F (18-29°C). They adapt well to average room humidity, but they appreciate slightly higher humidity levels. If the air becomes excessively dry, consider using a humidifier or placing a tray of water near the plant.
4. Fertilizing: Feed your money plant with a balanced liquid fertilizer every 4 to 6 weeks during the growing season (spring and summer). Follow the instructions on the fertilizer package for recommended dilution and frequency of application.
5. Pruning: Regular pruning helps to maintain the shape and appearance of your money plant. Trim back any overgrown or leggy stems to promote bushier growth. Remove any dead or yellowing leaves to maintain a neat and healthy plant.
6. Support: As your money plant grows, you may need to provide support in the form of stakes or trellises. This helps the plant climb and prevents the stems from drooping or trailing excessively.
7. Monitor for pests and diseases: Regularly inspect your plant for signs of pests, such as aphids or spider mites. Treat any infestations promptly using organic insecticides or natural remedies. Keep an eye out for common diseases like root rot or leaf spot and take necessary action if needed.
By following these care guidelines, you’ll provide an optimal environment for your money plant to thrive. Remember that each plant’s specific needs may vary, so observe your money plant closely and adjust care accordingly. With proper care, your money plant will grow into a lush and vibrant addition to your home or office.
Common Mistakes to Avoid
While propagating and caring for money plants is generally straightforward, there are a few common mistakes that can hinder the success of your plant propagation efforts. By being aware of these mistakes, you can take proactive steps to avoid them. Here are some common mistakes to avoid when propagating and caring for money plants:
1. Overwatering: One of the most common mistakes is overwatering. Money plants prefer slightly moist soil but can suffer from root rot if the soil remains consistently wet. Ensure that the soil has proper drainage and allow the top inch of soil to dry out before watering again.
2. Insufficient lighting: Money plants thrive in bright indirect light. Insufficient lighting can lead to leggy growth or poor overall health. Place your money plant in a location where it receives sufficient bright, indirect light to ensure proper growth and development.
3. Using poor quality soil: Money plants require well-draining soil to prevent waterlogging. Using low-quality or heavy soil can lead to root rot. Choose a well-draining potting mix or amend the soil with perlite or sand to improve drainage.
4. Neglecting pest control: Money plants can be susceptible to pests like spider mites or aphids. Neglecting regular pest control measures can allow infestations to take hold and damage your plant. Inspect your plant regularly and treat any pests promptly using organic insecticides or natural remedies.
5. Over-fertilizing: Excessive fertilization can lead to fertilizer burn or nutrient imbalances in money plants. Follow the recommended dosage and frequency of fertilizer application to avoid over-fertilization. Remember, it’s better to under-fertilize than to over-fertilize.
6. Not providing support for climbing: Money plants are natural climbers and benefit from support as they grow. Neglecting to provide support can lead to trailing vines or damaged stems. Use stakes, trellises, or decorative structures to support your money plant as it grows.
7. Ignoring plant care signs: Pay attention to your money plant and address any signs of distress promptly. Yellowing leaves, limp stems, or stunted growth can indicate underlying issues such as overwatering, insufficient light, or nutrient deficiencies. Take action and adjust care accordingly.
8. Not using clean tools: Using dirty or unsterilized tools can introduce infections or diseases to your money plants. Make sure your pruning shears, knife, and other tools are clean and sterilized before use to minimize the risk of transferring pathogens.
By avoiding these common mistakes, you’ll set the stage for successful money plant propagation and care. Remember to observe your plants closely, address any issues promptly, and provide optimum growing conditions. With proper care, your money plants will thrive and bring beauty and positive energy to your space.
Conclusion
Congratulations, you have now learned the step-by-step process of cutting a money plant for propagation. By following these guidelines and avoiding common mistakes, you can successfully propagate and care for your money plants, expanding your green collection and enjoying the numerous benefits they offer.
Remember, selecting a healthy money plant, choosing the right stem, preparing and rooting the cutting, and transplanting it properly are key steps in the process. Additionally, caring for the new plant by providing adequate watering, light, temperature, and humidity will ensure its continued growth and health.
Propagation not only allows you to expand your money plant collection but also provides the opportunity to share the joy of gardening with others. Propagated plants make wonderful gifts and help spread the beauty and positive energy that money plants bring into any space.
Throughout this journey, it is important to stay mindful of the needs of your money plants. Observe their growth, adjust care accordingly, and address any issues promptly to ensure they thrive in their new environment.
With their air-purifying qualities, resilience, and aesthetic appeal, money plants have become a favorite among plant enthusiasts. Whether you’re a seasoned gardener or just starting your green journey, money plants are sure to bring a touch of vibrant greenery and positive energy to your home or office.
So, gather your tools, select a healthy money plant, and begin your journey of propagating and caring for these wonderful plants. Enjoy the satisfaction of nurturing new life and watching your money plants grow and thrive. Happy gardening!