Home>Gardening Tips and Tricks>Maximizing Yield>Where To Cut Prayer Plant For Propagation

Maximizing Yield
Where To Cut Prayer Plant For Propagation
Published: February 3, 2024
Learn the best techniques for cutting your prayer plant to maximize yield and successful propagation. Find out where to cut and how to encourage healthy growth.
(Many of the links in this article redirect to a specific reviewed product. Your purchase of these products through affiliate links helps to generate commission for Chicagolandgardening.com, at no extra cost. Learn more)
Table of Contents
**
Introduction
**
Are you a plant enthusiast looking to expand your collection? Perhaps you've been eyeing the stunning Prayer Plant (Maranta leuconeura) and are eager to propagate it to enjoy its beauty in multiple locations. Propagating plants can be a rewarding and cost-effective way to grow your indoor garden. In this comprehensive guide, we will delve into the art of propagating Prayer Plants through stem cuttings. By understanding the intricacies of this process, you can successfully expand your plant collection and share the joy of nurturing these captivating species.
The Prayer Plant, known for its striking foliage and unique leaf movements, is a popular choice among plant lovers. Its vibrant, patterned leaves and low-maintenance nature make it an ideal addition to any indoor space. Propagating this plant through stem cuttings offers an opportunity to multiply its presence in your home or share it with friends and family.
Throughout this guide, we will explore the various stages of the propagation process, from identifying the ideal nodes for cutting to caring for the new plant. By the end, you will have a comprehensive understanding of how to propagate Prayer Plants and nurture them into thriving new specimens. Let's embark on this green-fingered journey and unlock the secrets of multiplying the beauty of Prayer Plants through propagation.
Understanding Prayer Plants
Before delving into the propagation process, it’s essential to grasp the unique characteristics of Prayer Plants. The Maranta leuconeura, commonly known as the Prayer Plant, is revered for its ornate, patterned leaves that fold up in the evening, resembling hands in prayer. This distinctive foliage, coupled with its adaptability to indoor environments, has made the Prayer Plant a sought-after choice for plant enthusiasts.
The Prayer Plant belongs to the Marantaceae family and is native to the tropical regions of the Americas. Its natural habitat under the forest canopy has endowed it with a preference for indirect light and consistent moisture, making it well-suited for indoor cultivation. The plant’s striking leaves, featuring intricate patterns and hues of green, red, and purple, add a touch of elegance to any space.
One of the most intriguing aspects of the Prayer Plant is its nyctinastic behavior, where the leaves respond to light changes by opening and closing. This daily dance of the leaves, known as nyctinasty, is a captivating sight that adds an interactive element to the plant’s allure. Understanding these unique traits is crucial in providing the optimal environment for both the parent plant and its propagated offspring.
As a low-maintenance plant, the Prayer Plant thrives in moderate humidity and well-draining soil. Its preference for warmth and humidity mirrors its native habitat, making it an excellent fit for terrariums and indoor gardens. By comprehending the natural inclinations of the Prayer Plant, you can create an environment conducive to successful propagation and sustained growth.
Now that we’ve gained insight into the captivating attributes of the Prayer Plant, it’s time to explore the next step in the propagation process: identifying nodes for cutting.
Identifying Nodes for Cutting
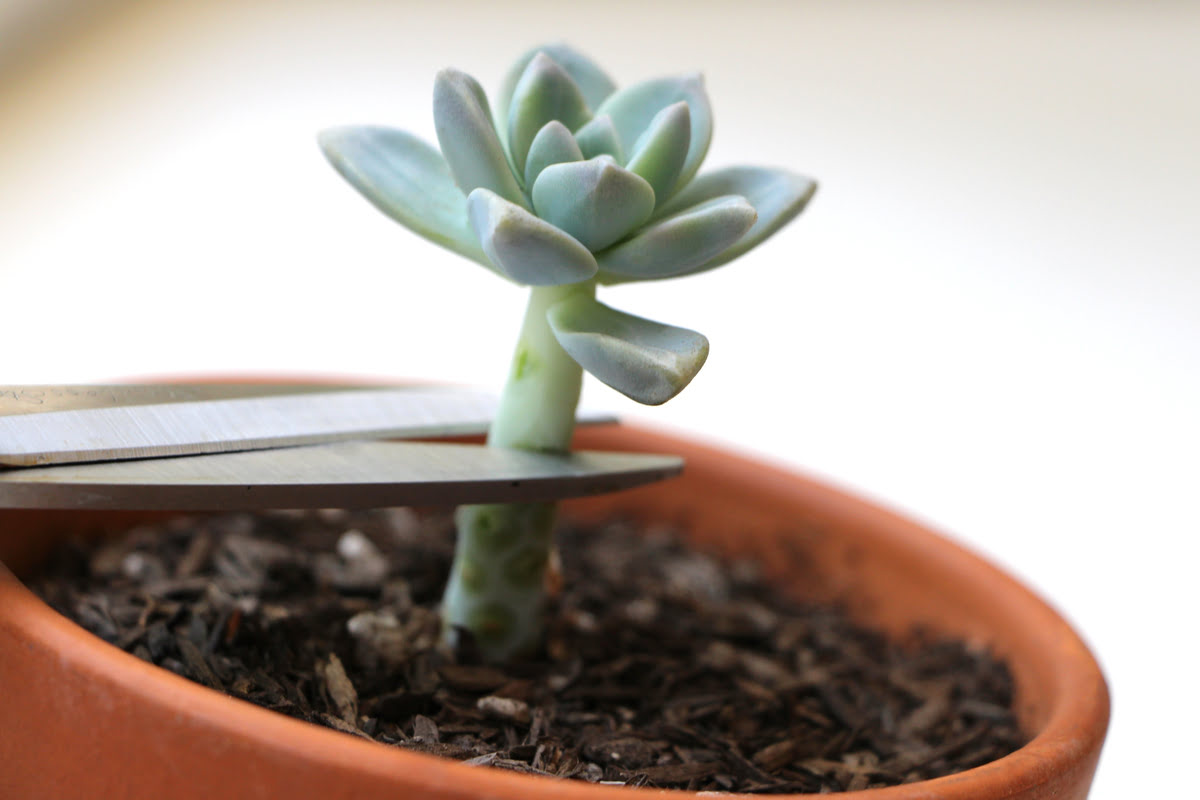
When propagating Prayer Plants through stem cuttings, identifying the right nodes is crucial for successful root development. Nodes, the small, protruding areas on the stem where leaves, branches, or roots emerge, are the key sites for initiating new growth. To identify suitable nodes for cutting, closely examine the parent plant’s stems, focusing on areas that exhibit robust growth and vitality.
Nodes are typically located at intervals along the stem and are identifiable by the presence of small buds or aerial roots. These sites serve as the starting points for new roots to emerge, enabling the cutting to establish itself as an independent plant. When selecting nodes for cutting, prioritize those that are actively producing new leaves and exhibit signs of vigor, as these indicate optimal conditions for root development.
It’s important to choose a healthy, mature stem for the cutting, ensuring that it possesses the necessary nutrients and energy reserves to support the growth of new roots. Look for stems that are free from signs of disease or damage, as these can impede the propagation process. Additionally, selecting a stem with multiple nodes allows for the possibility of producing multiple cuttings from a single parent stem, maximizing the potential for successful propagation.
Once you’ve identified the nodes for cutting, carefully prepare the cutting to ensure the best chances of root establishment. The next section will guide you through the essential steps for preparing the cutting in readiness for propagation.
Preparing the Cutting
As you embark on the propagation journey, preparing the cutting with precision is vital for laying the groundwork for successful root development. With the selected node in mind, it’s time to execute the cutting with care and attention to detail. Here are the essential steps to prepare the cutting for propagation:
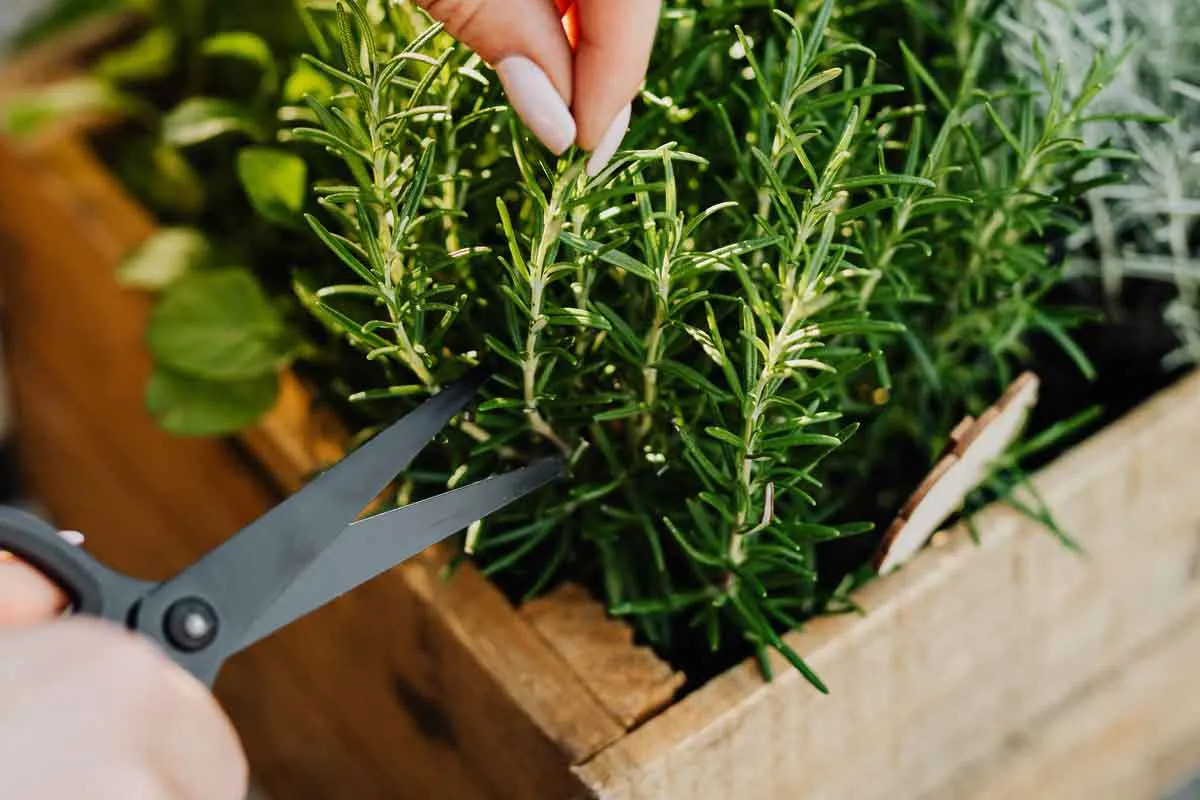
1. Pristine Tools: Before making the cut, ensure that your pruning shears or scissors are clean and sharp. Sterilizing the cutting tools with rubbing alcohol minimizes the risk of introducing pathogens to the cutting, promoting a healthy start to its propagation journey.
2. Selecting the Node: Identify the node from which you will take the cutting. Position the cutting tool just below the node, ensuring a clean, diagonal cut to maximize the surface area for root initiation.
3. Removing Lower Leaves: Trim away the lower leaves from the cutting, leaving a few leaves at the top to support photosynthesis. This directs the plant's energy towards root development rather than sustaining excess foliage.
4. Hormone Application (Optional): While not mandatory, applying a rooting hormone to the cut end of the stem can expedite the formation of roots. Rooting hormones stimulate the growth of new roots, enhancing the cutting's ability to establish itself as an independent plant.
5. Potting Medium: Prepare a suitable potting medium, such as a well-draining mix of peat and perlite, to accommodate the cutting. Moisten the medium to provide a conducive environment for root development.
6. Planting the Cutting: Gently insert the prepared cutting into the potting medium, ensuring that the node and cut end are in contact with the medium. Firmly press the medium around the cutting to provide stability and promote initial root contact with the soil.
By meticulously preparing the cutting, you set the stage for robust root development and the emergence of a thriving new plant. The next section will delve into the propagation process, guiding you through the steps to nurture the cutting into a flourishing Prayer Plant specimen.
Propagating the Cutting
With the cutting meticulously prepared for propagation, the next phase involves nurturing it through the critical stages of root establishment and initial growth. As you embark on this journey, it’s essential to provide the optimal conditions for the cutting to thrive and develop into a robust new plant. Here are the key steps to propagate the cutting successfully:
1. Ideal Environment: Place the potted cutting in a warm, humid environment with indirect sunlight. Shield it from direct sun exposure, as excessive light can stress the cutting during the initial rooting phase.
2. Consistent Moisture: Maintain a consistent level of moisture in the potting medium, ensuring that it remains evenly moist but not waterlogged. Regularly check the soil’s moisture level and adjust your watering frequency accordingly to create a conducive environment for root development.
3. Patience and Observation: Throughout the propagation process, exercise patience and keen observation. It’s normal for the cutting to undergo an adjustment period as it acclimates to its new environment. Monitor the cutting for signs of new growth, such as emerging leaves or the appearance of fresh roots.
4. Root Development: As the cutting establishes itself, focus on the development of a healthy root system. This stage is crucial for the cutting to gain stability and access essential nutrients for sustained growth. Avoid disturbing the cutting unnecessarily, allowing the roots to develop undisturbed.
5. Transitioning to Larger Pot: Once the cutting has developed a robust root system and exhibits significant top growth, consider transitioning it to a larger pot to accommodate its expanding root mass. This step supports the plant’s continued growth and ensures ample space for its root development.
By diligently tending to the cutting and providing the necessary care and attention, you pave the way for its successful transition into a thriving Prayer Plant specimen. The upcoming section will delve into the crucial aspects of caring for the new plant, guiding you through the ongoing maintenance required to nurture it to maturity.
Caring for the New Plant
As the propagated cutting evolves into a burgeoning Prayer Plant, ongoing care is essential to ensure its continued health and vitality. By providing attentive maintenance and creating an environment that mirrors its natural habitat, you can foster the optimal conditions for the plant to flourish. Here are the key aspects of caring for the new plant:
1. Light and Temperature: Maintain a balance of indirect light and shade for the plant, mimicking its native understory environment. Avoid exposing it to harsh, direct sunlight, as this can scorch the delicate foliage. Additionally, ensure that the ambient temperature remains within the plant’s preferred range of 65-75°F (18-24°C).
2. Humidity and Moisture: Create a humid microclimate around the plant by misting its surroundings regularly. Alternatively, placing a tray of water near the plant can elevate the ambient humidity. Keep the potting medium consistently moist, but avoid overwatering, as excessive moisture can lead to root rot.
3. Fertilization: Feed the plant with a balanced, water-soluble fertilizer diluted to half strength during the growing season. Apply the fertilizer every 4-6 weeks to provide the necessary nutrients for robust growth. During the dormant winter months, reduce fertilization to once every 8 weeks.
4. Pruning and Maintenance: Regularly inspect the plant for any yellowing or withering leaves, removing them to maintain its aesthetic appeal and prevent the spread of disease. Additionally, periodically trim leggy growth to encourage a compact, bushy form.
5. Pest Management: Monitor the plant for signs of common pests such as spider mites or aphids. If detected, treat the plant with a gentle insecticidal soap or neem oil to mitigate pest infestations without harming the plant.
6. Repotting: As the plant outgrows its current container, consider repotting it into a slightly larger pot with fresh, well-draining potting mix. Repotting provides the plant with renewed space for root expansion and access to fresh nutrients.
By attending to these essential care practices, you can nurture the propagated cutting into a flourishing Prayer Plant, enriching your indoor space with its captivating foliage and graceful movements. The following section will summarize the key insights and steps covered in this propagation guide, empowering you to propagate and care for Prayer Plants with confidence.
Conclusion
Embarking on the journey of propagating Prayer Plants through stem cuttings unveils a world of horticultural wonder, allowing you to witness the miraculous transformation of a humble cutting into a thriving, ornate specimen. By understanding the unique attributes of the Prayer Plant and meticulously executing each stage of the propagation process, you can multiply its beauty and share the joy of nurturing these captivating plants.
From identifying the nodes for cutting to preparing the cutting with precision, every step plays a pivotal role in ensuring the successful establishment of the propagated plant. Nurturing the cutting through the critical stages of root development and initial growth demands patience, keen observation, and a nurturing touch. As the cutting evolves into a burgeoning Prayer Plant, ongoing care and maintenance are essential to sustain its health and vitality, creating an environment that mirrors its natural habitat.
Through the art of propagation, you not only expand your plant collection but also cultivate a deeper appreciation for the resilience and beauty of nature. The journey from a single cutting to a flourishing plant is a testament to the wonders of life and the nurturing care that fosters growth and abundance.
As you apply the insights and techniques gleaned from this guide, may your propagation endeavors yield bountiful, thriving Prayer Plants that bring joy and tranquility to your indoor oasis. Embrace the journey of nurturing and multiplying the allure of Prayer Plants, and may each propagated cutting blossom into a testament of your green-fingered passion and dedication.