Home>Gardening Tips and Tricks>Maximizing Yield>Where To Cut Rubber Tree For Propagation

Maximizing Yield
Where To Cut Rubber Tree For Propagation
Published: February 3, 2024
Learn the best techniques for maximizing yield when propagating rubber trees. Discover where to cut the rubber tree to ensure successful propagation and healthy growth.
(Many of the links in this article redirect to a specific reviewed product. Your purchase of these products through affiliate links helps to generate commission for Chicagolandgardening.com, at no extra cost. Learn more)
Table of Contents
Introduction
Welcome to the fascinating world of rubber tree propagation! Whether you’re a seasoned gardener or a novice enthusiast, learning how to propagate rubber trees can be a rewarding and fulfilling experience. Not only does it allow you to expand your collection of rubber plants, but it also offers an affordable way to share the beauty and benefits of these resilient plants with others.
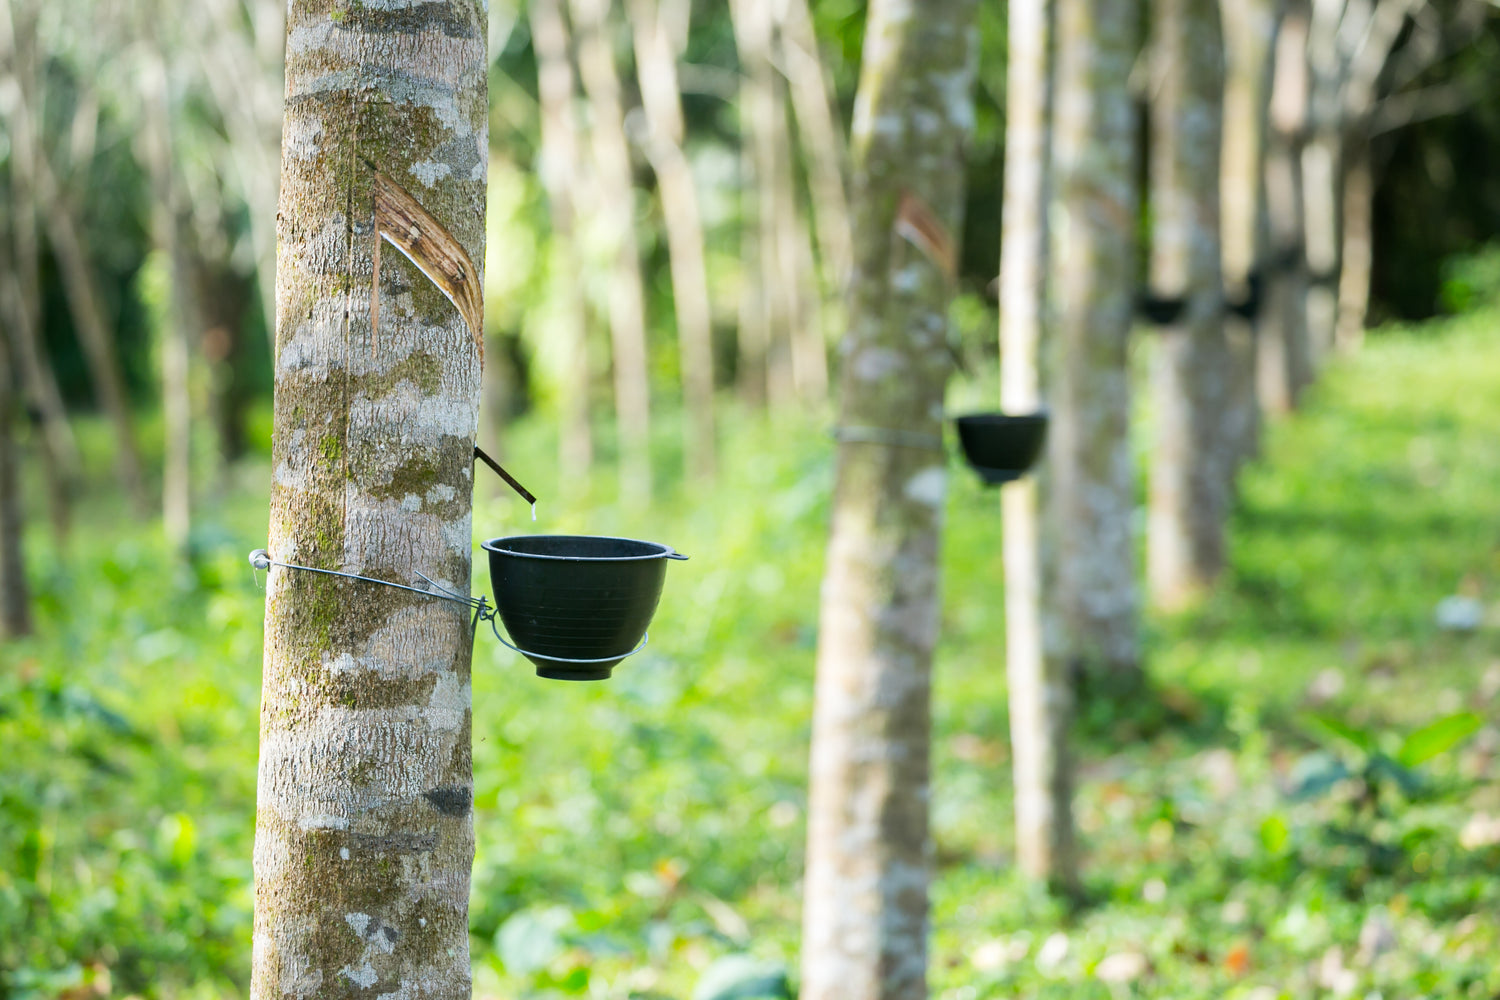
Rubber trees, scientifically known as Ficus elastica, are popular houseplants known for their large, glossy leaves and their ability to purify the air. They are native to Southeast Asia and have long been admired for their aesthetic appeal and low-maintenance nature. While purchasing new rubber plants is certainly an option, propagation provides an exciting opportunity to multiply your plant collection and engage in the satisfying process of watching a new plant grow from a single cutting.
Propagation is the act of producing new plants from existing ones, and it can be achieved through various methods, such as seeds, division, and cuttings. In the case of rubber trees, stem cuttings are the most common and effective method of propagation.
In this article, we will explore the benefits of rubber tree propagation, discuss the factors to consider when choosing where to cut the rubber tree for propagation, and provide a step-by-step guide on how to successfully propagate your rubber plants. So, grab your gardening tools and let’s dive into the wonderful world of rubber tree propagation!
Benefits of Rubber Tree Propagation
Rubber tree propagation offers a multitude of benefits, making it an attractive option for both experienced and novice plant enthusiasts. Here are some of the key advantages of propagating rubber trees:
- Cost-effectiveness: One of the main benefits of propagation is that it allows you to expand your rubber plant collection without breaking the bank. Instead of purchasing new plants, you can simply take cuttings from an existing rubber tree and grow new ones, saving you money in the long run.
- Preserving favorite cultivars: Rubber trees come in various cultivars, each with its own unique characteristics and aesthetic appeal. Through propagation, you can ensure that you preserve your favorite cultivars and share them with others, preventing them from going out of stock or becoming difficult to find.
- Learning experience: Propagating rubber trees provides an exciting opportunity to learn and enhance your horticultural skills. From understanding the right timing for cutting to mastering the art of caring for young plantlets, the propagation process allows you to deepen your knowledge and gain hands-on experience in plant cultivation.
- Gift-giving: Propagating rubber trees allows you to create heartfelt gifts for friends and family. Whether it’s for a housewarming, birthday, or “just because” occasion, a propagated rubber plant serves as a unique and meaningful present that reflects your time, effort, and affection.
- Sustainable gardening: By propagating rubber trees, you contribute to sustainable gardening practices. Instead of relying solely on commercial nurseries and plant suppliers, you can propagate your own plants, reducing the demand for new plants and minimizing the environmental impact associated with production and transportation.
- Emotional connection: Watching a newly propagated rubber plant grow and flourish can create a special emotional bond between you and the plant. As you witness its growth milestones, from the emergence of new leaves to its eventual maturity, you’ll feel a sense of accomplishment and pride in nurturing a plant from its early stages.
As you can see, propagating rubber trees has numerous benefits that extend beyond the satisfaction of expanding your plant collection. From cost savings to learning opportunities and sustainable practices, propagation allows you to connect with nature and share the beauty of rubber plants with others. So, let’s dive into the factors to consider when choosing where to cut the rubber tree for propagation.
Factors to Consider When Choosing Where to Cut the Rubber Tree
When it comes to propagating rubber trees, selecting the right spot to make your cut is crucial for the success of the propagation process. Consider the following factors to ensure you choose the optimal location:
- Maturity of the plant: It is important to select a mature rubber tree for propagation, as younger plants may not have fully developed root systems or the ability to support new growth. Choose a plant that has been growing for at least two years to increase the chances of success.
- Healthy and disease-free: Prioritize plants that are in good health and free from any signs of disease or pests. Cutting from a healthy parent plant reduces the risk of transferring any potential issues to the propagated plant.
- Vigorous growth: Look for rubber trees that display vigorous growth and have produced multiple healthy and vibrant leaves. These characteristics are indicative of a strong and resilient plant, which will increase the likelihood of successful propagation.
- Pruning considerations: When selecting a branch to cut, choose one that is not a major structural part of the tree. Opt for branches that are secondary or tertiary, as this will minimize the impact on the overall shape and structure of the parent tree. Additionally, ensure that the branch you select has at least three to four nodes to promote healthy root development.
- Season and weather conditions: Timing is crucial when it comes to cutting a rubber tree for propagation. The best time to take cuttings is during the plant’s active growing season, typically in spring or early summer. Aim for a day with mild weather conditions to prevent stress to the parent plant and ensure the cutting has a higher chance of successful rooting.
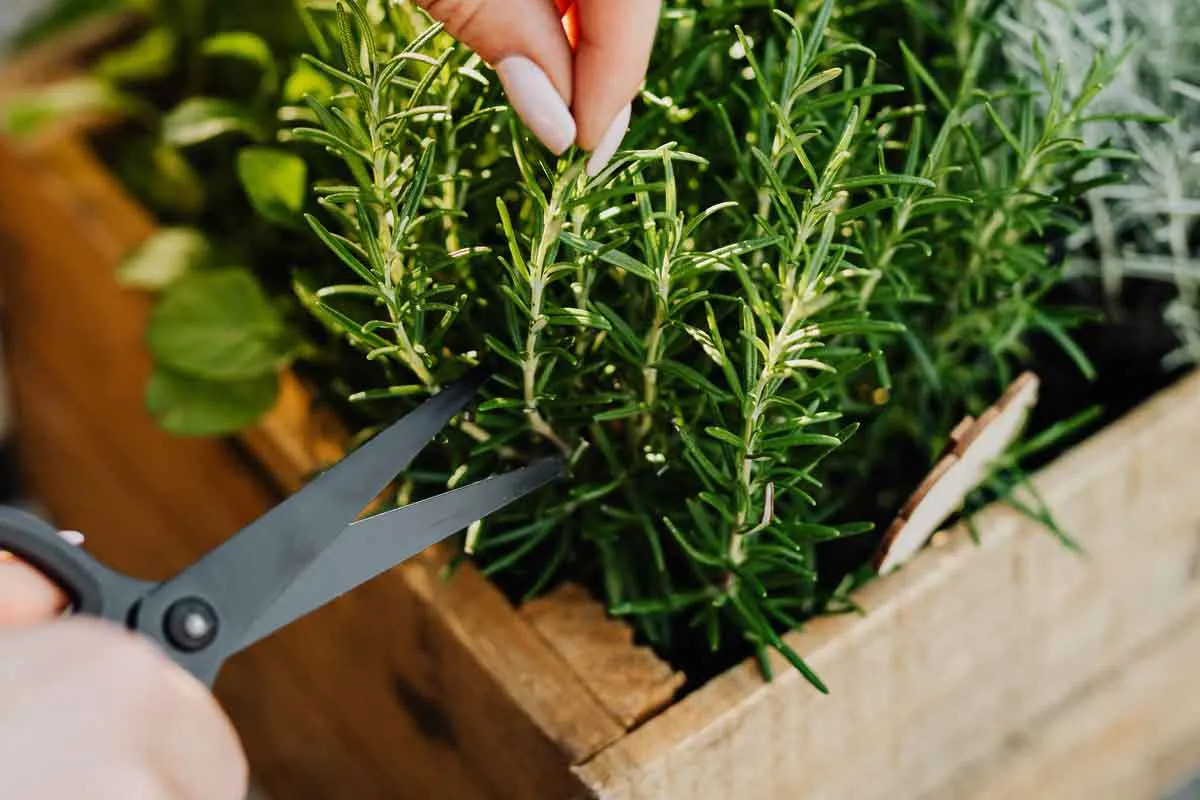
- Tools and technique: Prepare your cutting tools, such as sterilized pruning shears or a sharp knife, to ensure clean and precise cuts. Make sure to cut just below a leaf node, as this is where the potential for new roots and shoots is highest. Keep the cuttings in a cool and moist environment until they are ready to be planted.
By taking these factors into consideration, you can increase the likelihood of successful rubber tree propagation. Now that you have a good understanding of what to look for when choosing where to cut the rubber tree, let’s move on to the step-by-step process of cutting and propagating your rubber tree.
Where to Cut the Rubber Tree for Propagation
When it comes to cutting a rubber tree for propagation, it is important to choose the right location on the branch to ensure successful rooting and growth of the new plant. Here is where you should make the cut:
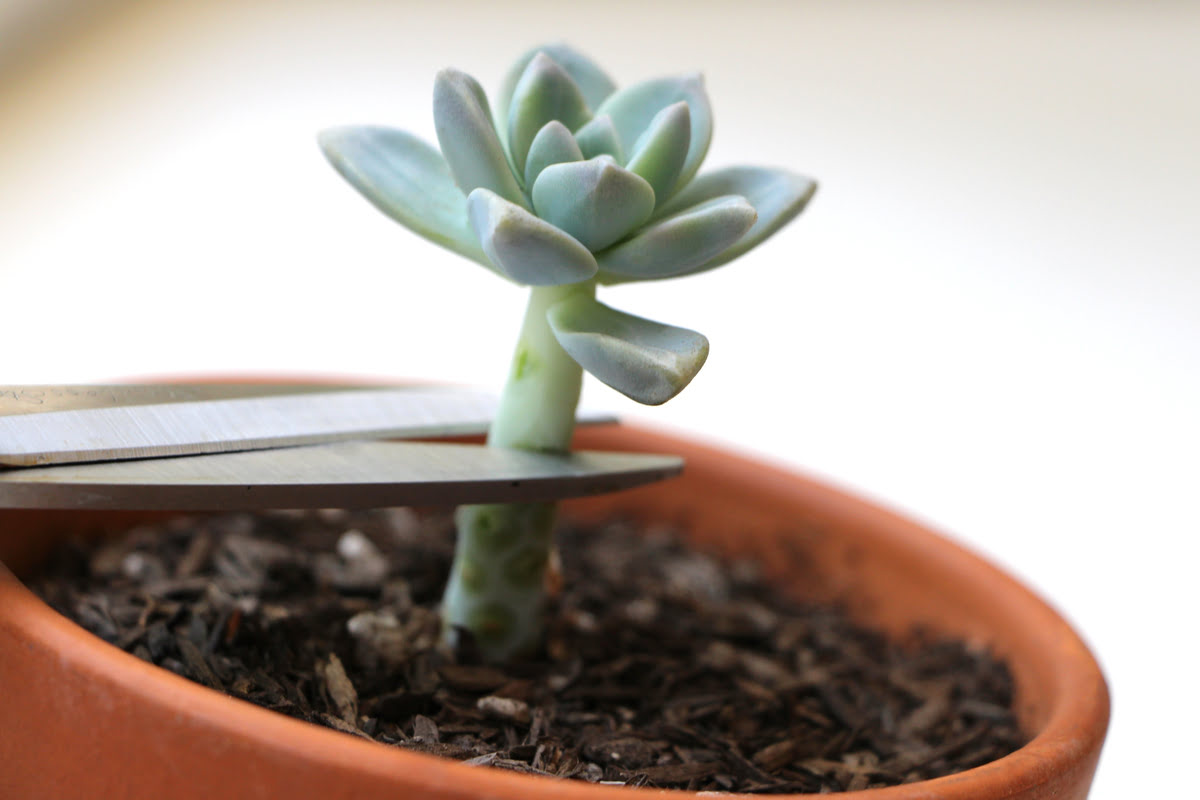
- Below a node: Look for a spot on the branch just below a leaf node. The node is the point on the stem where the leaves emerge, and it contains dormant buds that have the potential to develop into roots and shoots. Cutting just below a node increases the chances of successful root formation.
- A healthy branch: Select a healthy branch that is free from damage or disease. A branch that is actively growing and has no signs of wilting or discoloration is ideal. Avoid branches that are weak or brittle, as they may not have the necessary vigor to support new growth.
- Non-woody sections: Cuttings from rubber trees are typically taken from the soft and semi-woody sections of the branch. Avoid using very young, green sections of the branch, as they may have a lower chance of successful rooting. On the other hand, avoid using fully woody sections, as they may take longer to develop roots.
- Adequate length: Cuttings should be around 6 to 8 inches (15 to 20 cm) in length. This allows for sufficient nodes for potential root and shoot development. If possible, choose a cutting that has at least three to four nodes along its length.
- Remove excess leaves: Once you have selected the section of the branch to cut, remove the lower leaves from the cutting, leaving only a few at the top. This helps reduce water loss through transpiration and allows the cutting to focus its energy on root development rather than leaf maintenance.
It’s important to note that every cutting has the potential to grow into a new plant, so it is beneficial to take multiple cuttings from different parts of the rubber tree. This increases the chances of success in obtaining healthy plantlets.
Now that you know where to cut the rubber tree for propagation, let’s move on to the step-by-step process of cutting and propagating your rubber tree.
Step-by-Step Process of Cutting Rubber Tree for Propagation
Propagating rubber trees through stem cuttings is a straightforward process that can yield successful results with the right techniques. Follow these steps to cut and propagate your rubber tree:
- Gather your materials: Collect all the necessary materials, including sharp pruning shears or a clean knife, a clean container with water for holding the cuttings, rooting hormone (optional but recommended), well-draining potting mix, and small pots or containers for planting the cuttings.
- Select a suitable branch: Choose a healthy and mature branch on the rubber tree. Ensure that the branch has multiple nodes and is free from any signs of disease or damage.
- Make the cut: Using clean pruning shears or a knife, make a clean, diagonal cut just below a leaf node. This will provide the best opportunity for root development and new shoot growth.
- Prepare the cutting: Remove the lower leaves from the cutting, leaving a few leaves at the top. If desired, dip the cut end of the stem into rooting hormone, which can encourage root development.
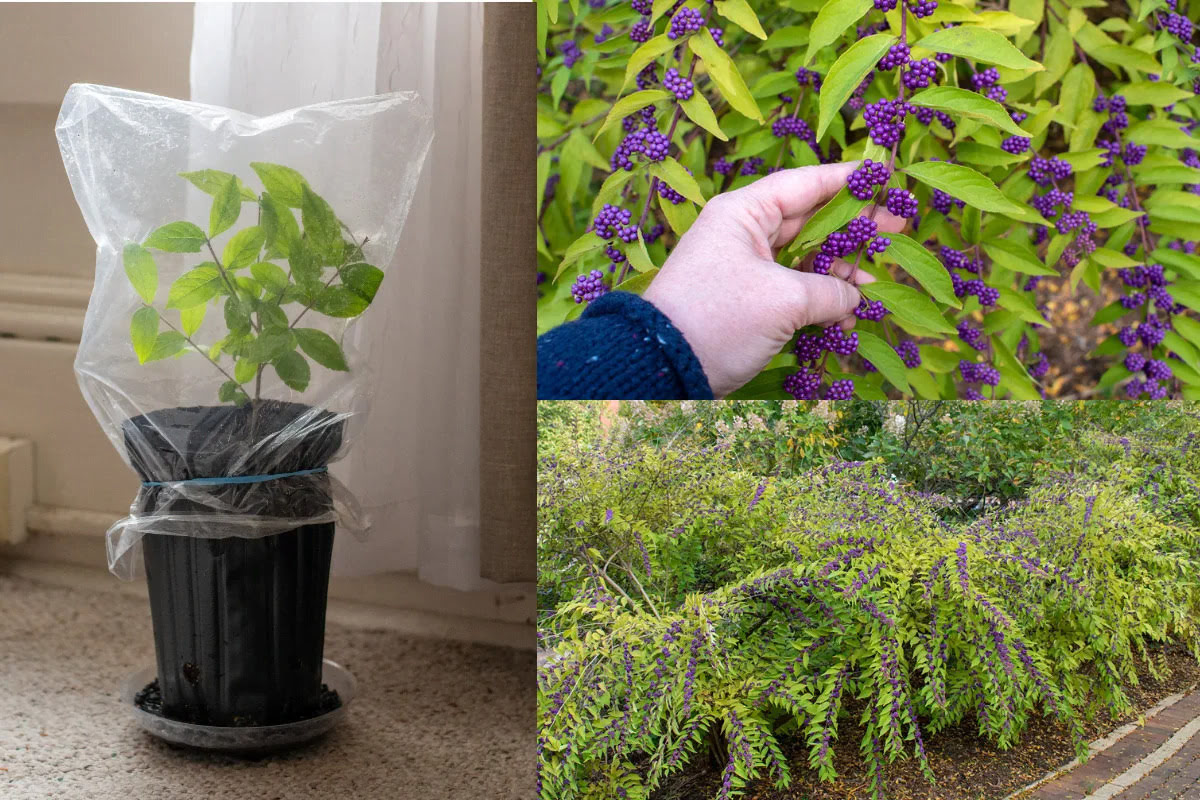
- Place the cutting in water: Fill a clean container with water and place the cut end of the rubber tree cutting into the water. Make sure that at least one or two nodes are submerged in the water, while the leaves remain above the waterline.
- Provide the right environment: Place the container with the cutting in a warm and bright location, but away from direct sunlight. Maintain a consistent temperature and humidity level to promote root development. Change the water every few days to prevent the growth of algae or bacteria.
- Wait for rooting: Over the next few weeks, monitor the cutting for signs of root development. Once roots have formed and are a few inches long, the cutting is ready to be potted.
- Transplanting the cutting: Prepare small pots or containers with well-draining potting mix. Make a hole in the soil and carefully insert the rooted cutting, ensuring that the roots are covered and the stem is supported. Gently press the soil around the cutting to secure it in place.
- Provide care: Place the potted cutting in a warm and bright location, avoiding direct sunlight. Keep the soil consistently moist, but not waterlogged. Mist the leaves regularly to maintain humidity and prevent drying out.
- Monitor and maintain: As the propagated rubber plant grows, continue to provide it with proper care by watering, fertilizing, and monitoring for any signs of pests or disease. With time and proper care, your rubber tree cutting will grow into a healthy and thriving plant.
Remember that the propagation process requires patience and consistency. Not every cutting will root successfully, so don’t be discouraged if you experience some failures along the way. With practice and experience, your success rate will improve, and you’ll be rewarded with new rubber plants to enjoy in your home or share with others.
Best Practices for Successful Rubber Tree Propagation
To maximize your success with rubber tree propagation, it is important to follow some best practices. These practices will help you create optimal conditions for root development and ensure the healthy growth of your propagated plants. Consider the following guidelines:
- Use fresh and healthy cuttings: Select cuttings from a healthy and disease-free rubber tree. Avoid using cuttings that are wilted, damaged, or showing signs of pests or diseases.
- Ensure proper sanitation: Use clean and sterilized cutting tools to prevent the transfer of diseases or pathogens to the rubber tree. Clean the tools before and after each use to minimize the risk of contamination.
- Consider using rooting hormone: Although not necessary, using a rooting hormone can enhance root development and increase the success rate of propagation. Follow the instructions on the rooting hormone product and apply it to the cut end of the stem before placing it in water or soil.
- Provide adequate light: Rubber trees require bright, indirect light for optimal growth. Place the cuttings in a location with bright, filtered light to support healthy photosynthesis and prevent sunburn. Avoid placing them in direct sunlight, as it can scorch the delicate new growth.
- Maintain consistent temperature and humidity: Rubber tree cuttings thrive in warm and humid environments. Aim for a temperature range between 70-85°F (21-29°C) and provide high humidity by misting the leaves or placing the cuttings in a humidity dome or a clear plastic bag with ventilation. This will create an ideal microclimate for root development.
- Keep the soil moist: Once the rubber tree cuttings are potted, ensure that the soil remains consistently moist but not waterlogged. Overwatering can lead to root rot and other issues. Regularly check the moisture level of the soil and adjust your watering accordingly.
- Be patient and have realistic expectations: Some cuttings may root faster than others, and success rates may vary. Understand that not every cutting will successfully root and grow into a new plant. Be patient and persistent with the process, and don’t get discouraged by occasional failures.
- Gradually acclimate the new plants: Once the roots have established and the new rubber plants are growing well, gradually acclimate them to their final growing conditions. Start by exposing them to slightly longer periods of direct light and gradually increase their exposure over time. This helps them adjust to the higher light levels without experiencing shock.
- Continue to provide proper care: Just like established rubber plants, propagated plants require regular care and maintenance. This includes watering as needed, fertilizing with a balanced houseplant fertilizer according to the package instructions, and monitoring for pests or diseases. Regularly trim and prune to shape the plants and promote bushier growth.
By following these best practices, you can increase your chances of successful rubber tree propagation. Remember that each cutting is a unique opportunity for growth and learning, so enjoy the process and embrace the joy of nurturing new life. Soon enough, you’ll have a collection of thriving rubber plants to admire and share.
Conclusion
Congratulations! You have now explored the wonderful world of rubber tree propagation. By understanding the benefits of propagation, considering the factors for selecting where to cut, following the step-by-step process, and implementing best practices, you are well on your way to successfully propagate your own rubber plants.
Propagation offers a cost-effective and rewarding way to expand your rubber plant collection, preserve favorite cultivars, and engage in sustainable gardening practices. It provides a learning experience, allows you to create heartfelt gifts, and fosters an emotional connection with your plants.
Remember to carefully select healthy and mature branches, make clean cuts below leaf nodes, and provide the right environment for root development. Patience and consistency are key, as not every cutting will root successfully. Celebrate the successes and learn from the challenges along the way.
Keep in mind the best practices, such as using fresh cuttings, maintaining proper sanitation, providing adequate light and humidity, and nurturing your new plants with care. With time and dedication, your propagated rubber trees will flourish and bring joy to your home or the homes of friends and family.
So, go ahead and grab your pruning shears or knife, gather the necessary materials, and embark on this exciting journey of rubber tree propagation. Remember that nature has a way of rewarding our efforts, and soon enough, you’ll be surrounded by a thriving collection of rubber plants, each with its own unique beauty.
Enjoy the process, embrace the joys of plant parenthood, and let the world of rubber tree propagation enhance your green thumb and deep connection with the botanical world.