Home>Gardening Tips and Tricks>Maximizing Yield>Where To Cut Polka Dot Plant For Propagation

Maximizing Yield
Where To Cut Polka Dot Plant For Propagation
Published: February 3, 2024
Learn how to maximize your plant's yield by knowing the proper way to cut polka dot plant for propagation.
(Many of the links in this article redirect to a specific reviewed product. Your purchase of these products through affiliate links helps to generate commission for Chicagolandgardening.com, at no extra cost. Learn more)
Table of Contents
Introduction
Welcome to our guide on how to maximize yield with the Polka Dot Plant! If you are a plant lover looking to expand your indoor garden or are simply interested in propagating new plants, you’ve come to the right place. The Polka Dot Plant, scientifically known as Hypoestes phyllostachya, is a beautiful and unique plant that can add a vibrant touch to any space.
With its eye-catching foliage featuring contrasting shades of green and splashes of vibrant pink, the Polka Dot Plant has gained popularity among plant enthusiasts. Being able to propagate this striking plant not only allows you to expand your collection but also to share the joy of growing and caring for these captivating plants with others.
In this article, we will delve into the world of Polka Dot Plant propagation, sharing useful tips and techniques to help you maximize your yield. We will guide you through the process of cutting the Polka Dot Plant for propagation, providing step-by-step instructions and offering insights on caring for newly propagated plants. By the end of this article, you will have all the knowledge and confidence you need to successfully propagate your own Polka Dot Plants.
Whether you are an experienced gardener or a beginner, understanding the fundamentals of propagating the Polka Dot Plant is essential. Not only will it allow you to reproduce this stunning plant at home, but it will also enable you to experiment with different propagation methods and techniques. So, let’s get started and discover the world of Polka Dot Plant propagation!
Understanding the Polka Dot Plant
Before diving into the realm of Polka Dot Plant propagation, it is essential to understand the plant itself. The Polka Dot Plant, Hypoestes phyllostachya, is a tropical perennial that is native to Madagascar. It belongs to the Acanthaceae family and is characterized by its striking and colorful foliage.
The leaves of the Polka Dot Plant are ovate in shape, with a smooth and shiny texture. The most notable feature of this plant is its vibrant and eye-catching patterns. The leaves are primarily green, but they are adorned with spots or splashes of contrasting colors, such as pink, red, or white, resembling polka dots. These striking patterns give the plant its common name, Polka Dot Plant.
The Polka Dot Plant typically grows up to 12 inches in height, making it an ideal choice for indoor gardening. It thrives in warm and humid conditions, making it suitable for tropical and subtropical climates. However, it can also be grown as an indoor houseplant in other regions.
One of the great advantages of the Polka Dot Plant is its versatility when it comes to colors and patterns. There are various cultivars available, each with its own distinctive color combinations. Some popular varieties include the Pink Splash, Red Splash, and White Splash. These varieties offer a wide range of options to suit different preferences and styles of interior decor.
When it comes to care, the Polka Dot Plant is relatively low-maintenance. It prefers bright, indirect light, so placing it near a window with filtered sunlight is ideal. Direct sunlight can scorch the leaves, causing damage to the plant. Additionally, the Polka Dot Plant requires regular watering to keep the soil moist but not waterlogged. Using well-draining soil and ensuring proper drainage is essential to prevent root rot.
Understanding the basic characteristics and care needs of the Polka Dot Plant is crucial before attempting to propagate it. With this knowledge in hand, you will be better equipped to provide the right conditions and care to ensure successful propagation and nurture healthy and thriving plants.
Why Propagate Polka Dot Plants?
Propagating your Polka Dot Plants can bring numerous benefits and rewarding experiences for plant enthusiasts. Let’s explore the reasons why you should consider propagating your own Polka Dot Plants.
1. Expansion of Your Plant Collection: Propagating Polka Dot Plants allows you to expand your indoor garden without having to purchase new plants. You can create multiple copies of your favorite Polka Dot Plants and display them in various rooms or give them as gifts to friends and family.
2. Cost-Effective: Buying new plants can be expensive, especially if you’re looking for rare or uncommon varieties. Propagating your own Polka Dot Plants eliminates the need to spend extra money. With a single mother plant, you can produce multiple new plants without breaking the bank.
3. Learning Experience: Propagation offers a valuable learning opportunity for plant enthusiasts. It allows you to understand the plant’s life cycle, growth patterns, and care requirements on a deeper level. Through the process of propagating, you can gain hands-on experience and develop your skills in plant care and cultivation.
4. Preservation of Rare Varieties: Some unique varieties of Polka Dot Plants may not be readily available in nurseries or garden centers. By propagating these rare varieties, you can help preserve their existence, ensuring that they are not lost or forgotten over time.
5. Sharing the Joy: Propagating your Polka Dot Plants gives you the chance to share the joy of gardening with others. You can give away the propagated plants as gifts, pass them on to friends or family members who are interested in plants, or even organize plant swaps or exchanges with other enthusiasts.
6. Sense of Achievement: Successfully propagating your Polka Dot Plants provides a sense of satisfaction and accomplishment. Witnessing the growth and development of the new plants from cuttings or seeds is a rewarding experience that can boost your confidence as a plant parent.
Propagating Polka Dot Plants offers a multitude of benefits, from expanding your plant collection to learning new skills and sharing the joy of gardening. It’s an exciting journey that allows you to not only grow new plants but also foster a deeper connection with the world of plants.
When to Cut Polka Dot Plants
Knowing the right time to cut your Polka Dot Plants is essential for successful propagation. Timing plays a crucial role in ensuring that the cuttings have the best chances of rooting and establishing themselves as new plants. Here are some guidelines to help you determine the ideal time to cut your Polka Dot Plants:
1. Healthy Growth Stage: It’s important to wait until your Polka Dot Plant is in a healthy and vigorous growth stage before taking cuttings. This ensures that the mother plant has enough energy and resources to support the growth of new plants.
2. Spring or Early Summer: The best time to cut your Polka Dot Plants is during the spring or early summer months when the plant is actively growing. During this period, the plants are more receptive to propagation and have higher chances of successful rooting.
3. Avoid Flowering Stage: It’s recommended to avoid cutting your Polka Dot Plants while they are in the flowering stage. The energy and nutrients during this time are directed towards producing flowers and seeds, which may impede the success of rooting for the cuttings.
4. Healthy Stem Selection: Look for stems that are healthy, free from any signs of disease or damage. Choose stems that are young and flexible, as they have greater potential for rooting. Avoid woody or overly mature stems, as they may have a lower success rate in propagation.
5. Non-Blooming Nodes: When selecting the stem for cutting, choose the ones with multiple nodes. Nodes are the points on the stem where leaves and branches emerge. Select stems with at least two to three nodes, ensuring that they do not have flowers or buds present.
By following these guidelines, you can ensure that you cut your Polka Dot Plants at the optimal time, giving your cuttings the best chances for success. Remember to sterilize your cutting tools before and after each use to prevent the spread of diseases, and handle the cuttings carefully to avoid damaging them.
Understanding the right time to cut Polka Dot Plants is a crucial step in the propagation process. By selecting the appropriate timing, you increase the likelihood of successful rooting and the development of healthy and thriving new plants.
Where to Cut Polka Dot Plants for Propagation
Knowing where to make the cut is crucial when propagating your Polka Dot Plants. It is essential to choose the right location on the stem to ensure successful rooting and the growth of new plants. Here are some guidelines on where to cut your Polka Dot Plants for propagation:
1. Select Healthy Stems: Look for healthy and robust stems to take cuttings from. These stems should be actively growing and free from any signs of disease or damage. Choosing healthy stems will increase the chances of successful propagation.
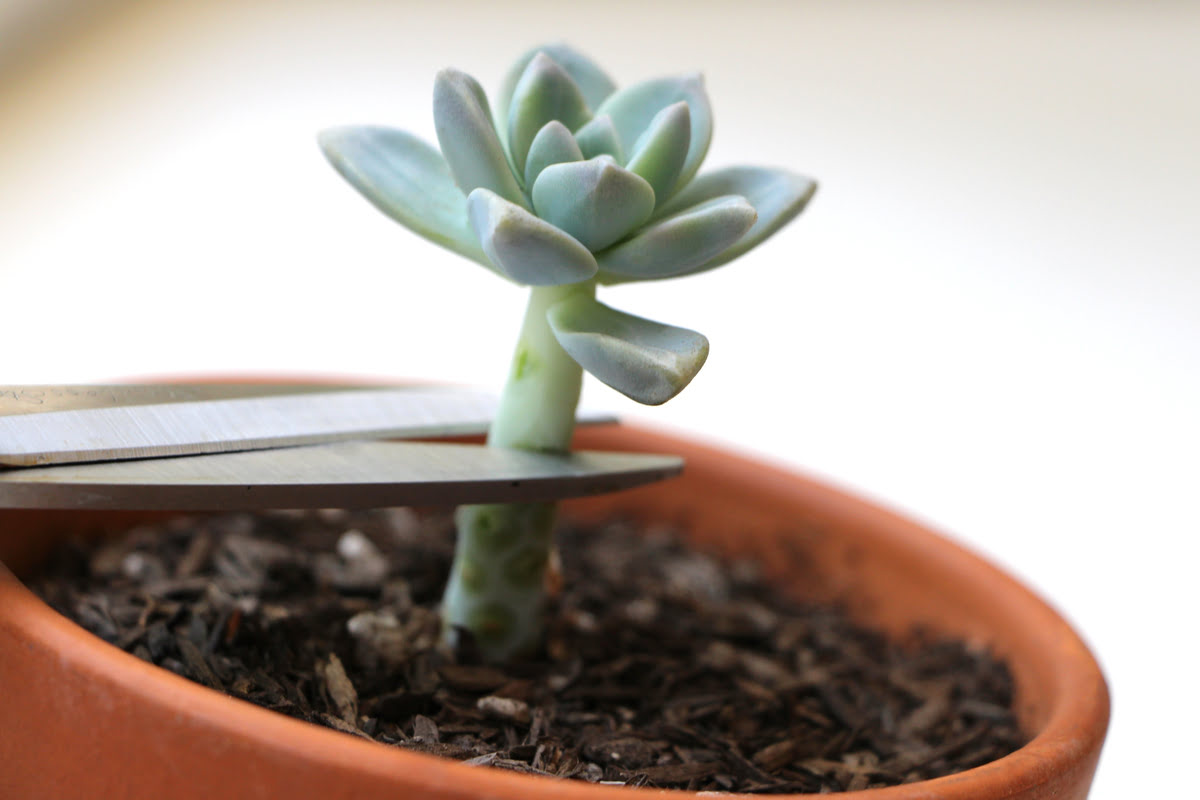
2. Choose Leaf Nodes: The best location to make the cut is just below a leaf node. A leaf node is the point on the stem where leaves are attached. This area contains a higher concentration of plant growth hormones, making it ideal for rooting.
3. Remove Lower Leaves: Once you have identified the leaf node, carefully remove the lower leaves on the stem. Leave a few leaves on the cutting, keeping only the upper leaves intact. This reduces moisture loss and directs energy towards root development.
4. Cutting Length: The length of the cutting should be around 4-6 inches, depending on the size of the mother plant. Make a clean and angled cut just below the leaf node, ensuring that the cutting has enough nodes to develop roots and new growth.
5. Multiple Cuttings: You can take multiple cuttings from a single Polka Dot Plant to increase your chances of successful propagation. Remember to space out the cuttings to prevent them from competing for resources and to allow proper airflow and growth.
6. Rooting Hormones (Optional): If desired, you can dip the cut end of the stem into a rooting hormone powder or gel. This can help stimulate root growth and increase the success rate of rooting. However, it is not essential, and Polka Dot Plants can root successfully without the use of rooting hormones.
By following these guidelines, you can make accurate and strategic cuts on your Polka Dot Plants, ensuring the best chances of rooting and new growth. Remember to have all the necessary tools and equipment ready, including a sharp and sterile cutting tool, to prevent any damage or infection to the mother plant and the cuttings.
Understanding where to cut your Polka Dot Plants is essential in the propagation process. By selecting the right location and taking proper care of the cuttings, you will set a solid foundation for the development of healthy and thriving new plants.
Step-by-Step Guide to Propagating Polka Dot Plants
Propagating Polka Dot Plants is an exciting and rewarding process. Follow this step-by-step guide to successfully propagate your own Polka Dot Plants:
1. Gather the necessary materials: Prepare all the materials you will need for propagation, including a sharp and sterile cutting tool, clean pots or containers, a well-draining potting mix, and optional rooting hormone.
2. Select healthy stems: Choose healthy and robust stems from the mother plant for cuttings. Look for stems that are actively growing, free from any signs of disease or damage.
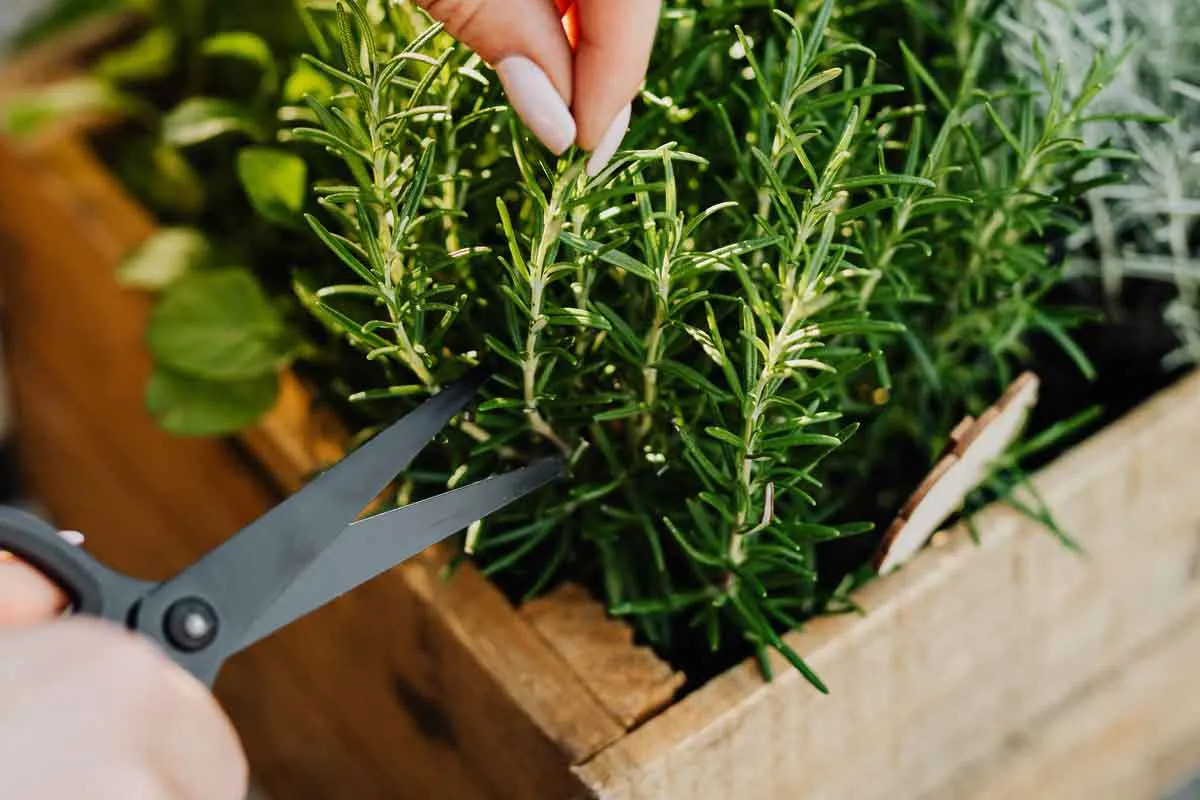
3. Make the cut: Using a sharp cutting tool, make a clean, angled cut just below a leaf node on the selected stem. The cutting should be around 4-6 inches in length. Remove the lower leaves, leaving a few upper leaves intact.
4. Optional: Dip in rooting hormone: If desired, dip the cut end of the stem in rooting hormone powder or gel. This can help stimulate root growth, increasing the chances of successful propagation. However, it is not necessary for Polka Dot Plants to root successfully.
5. Prepare the potting mix: Fill clean pots or containers with a well-draining potting mix. Ensure the mix is moist, but not waterlogged, to provide optimal conditions for rooting.
6. Plant the cutting: Make a small hole in the potting mix and gently place the cut end of the stem into the hole. Firmly press the potting mix around the stem to secure it in place.
7. Provide adequate moisture: Water the newly planted cutting thoroughly, ensuring the potting mix is evenly moist. Let any excess water drain out to prevent waterlogging.
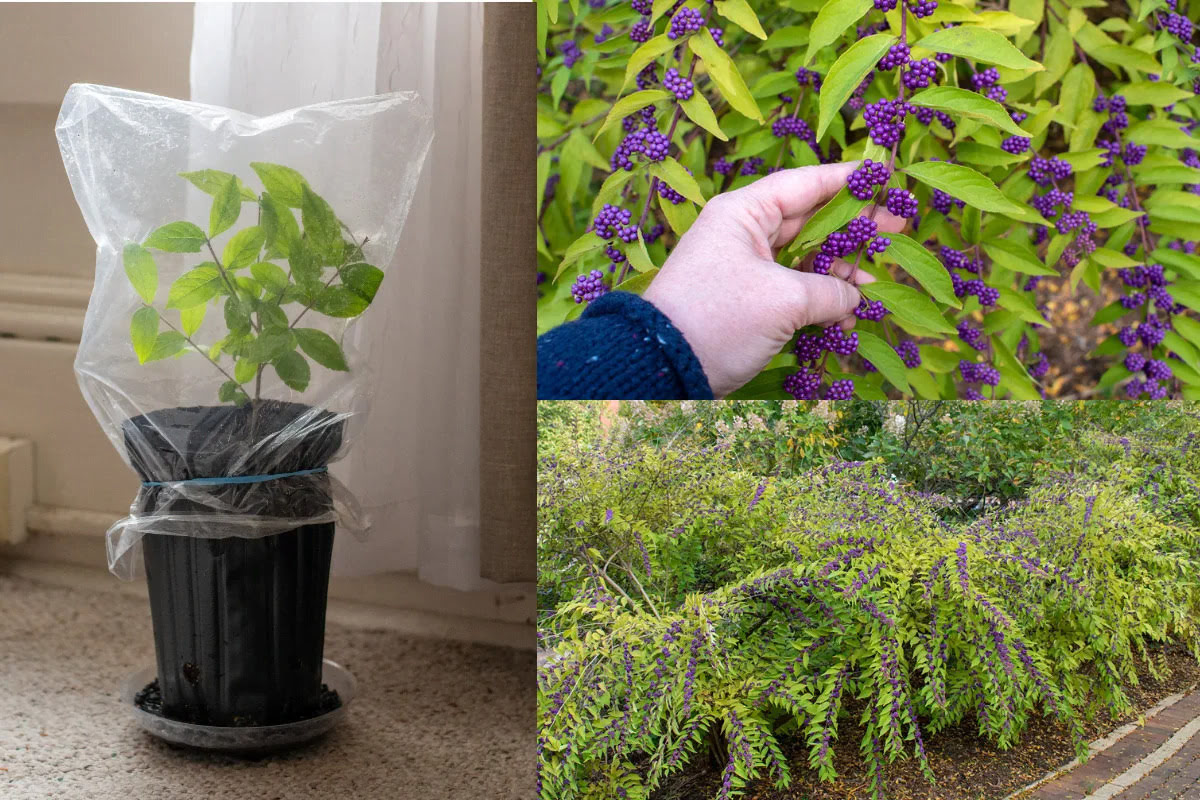
8. Create a mini greenhouse: Cover the pot with a clear plastic bag or a propagator lid to create a mini greenhouse effect. This helps to maintain humidity and create a favorable environment for root development.
9. Place in a bright, indirect light: Position the pots in a location with bright, indirect light. Avoid direct sunlight, as it may scorch the leaves. Polka Dot Plants prefer warm and humid conditions.
10. Monitor and care for the cuttings: Regularly check the cuttings for signs of growth and moisture levels. Mist the leaves or lightly water the potting mix when needed to maintain moisture. Avoid overwatering, as it can lead to root rot.
11. Root development and transplanting: After a few weeks, check for root development by gently tugging on the cutting. If you feel resistance, it means roots have formed. Once the roots are well-established, you can carefully transplant the rooted cuttings into individual pots with well-draining soil.
12. Continue care and growth: As the newly propagated plants continue to grow, provide them with the appropriate care, including regular watering, proper lighting, and occasional fertilization. Over time, you will be rewarded with healthy and thriving Polka Dot Plants.
By following this step-by-step guide, you can successfully propagate your own Polka Dot Plants and enjoy the satisfaction of watching them grow and thrive. Remember to remain patient and provide the necessary care for the cuttings as they develop into new plants.
Caring for Newly Propagated Polka Dot Plants
Caring for newly propagated Polka Dot Plants is crucial in ensuring their healthy establishment and growth. Here are essential care tips to follow for your newly propagated plants:
1. Transition gradually: If you’ve been propagating your Polka Dot Plants in a controlled environment, such as under a plastic bag or propagator lid, it’s essential to gradually acclimate them to the normal indoor conditions. Begin by removing the cover for short periods each day and gradually increase the exposure over a week or two.
2. Watering schedule: Monitor the moisture levels of the potting mix and water accordingly. Keep the soil evenly moist but avoid overwatering, as it can lead to root rot. Allow the top inch of the soil to dry out slightly before watering again. Stick your finger into the soil to determine if it’s time to water.
3. Adequate lighting: Polka Dot Plants thrive in bright, indirect light. Place your newly propagated plants near a window with filtered sunlight. Avoid placing them in direct sunlight as it can scorch the leaves. If natural light is limited, you can supplement with artificial grow lights to provide the necessary light energy for healthy growth.
4. Humidity levels: Polka Dot Plants enjoy humidity, making them good candidates for bathrooms or kitchens. To increase humidity, you can place a tray of water near the plants or use a room humidifier. Mist the leaves occasionally, especially during dry periods, to mimic their natural tropical environment.
5. Temperature requirements: Polka Dot Plants prefer temperatures between 65°F and 75°F (18°C to 24°C). Avoid exposing them to extreme temperature fluctuations, as it can stress the plants. Keep them away from drafty areas or cold windows during cooler months.
6. Fertilization: Newly propagated Polka Dot Plants do not usually require immediate fertilization. Wait until they have established a good root system and are actively growing before applying a balanced, water-soluble fertilizer. Follow the manufacturer’s instructions for proper dilution and frequency.
7. Pruning and shaping: As your newly propagated Polka Dot Plants grow, you may need to prune them to maintain a compact and bushy shape. Regularly pinch back the growing tips to encourage branching and to prevent legginess. Pruning also helps maintain the vibrant foliage patterns.
8. Regular inspections: Keep a close eye on your newly propagated plants for any signs of pests or diseases. Common pests that may affect Polka Dot Plants include spider mites and aphids. If you notice any pest infestation or symptoms of disease, treat them promptly and appropriately to prevent further damage to the plants.
By providing the right care and attention to your newly propagated Polka Dot Plants, you can ensure their successful transition and promote healthy growth. Stay consistent with watering, lighting, and humidity levels, and adjust the care according to the specific needs of your individual plants. With time and proper care, your Polka Dot Plants will thrive and bring vibrant beauty to your indoor garden.
Common Problems and Troubleshooting
While caring for Polka Dot Plants, you may encounter a few common problems. Here are some common issues and troubleshooting tips to help you overcome them:
1. Leaf browning: If the leaves of your Polka Dot Plant start turning brown or crispy, it may be a sign of underwatering. Ensure that you are providing adequate moisture to the plant by regularly checking the soil’s moisture levels. Increase watering frequency if necessary, but be careful not to overwater.
2. Yellowing leaves: Yellowing leaves can indicate overwatering or nutrient deficiencies. If the soil is consistently wet and the leaves appear yellow and droopy, it may be a sign of root rot. Adjust your watering schedule and allow the soil to dry out between waterings. If the leaves are yellow with green veins, it may indicate a nutrient deficiency. Consider using a balanced fertilizer to provide the necessary nutrients.
3. Leggy growth: If your Polka Dot Plant starts growing tall and leggy with long spaces between leaves, it may be an indication of insufficient light. Place the plant in a brighter location or provide supplemental grow lights to encourage compact and bushy growth.
4. Pest infestations: Polka Dot Plants can be susceptible to common indoor pests like spider mites, aphids, and mealybugs. If you notice signs of small webs, dots on the leaves, or sticky residue, it may indicate a pest infestation. Treat the infested plant with organic insecticidal soap or neem oil, ensuring thorough coverage of both the foliage and the undersides of the leaves.
5. Faded leaf colors: If the vibrant colors of your Polka Dot Plant’s leaves start to fade or dull, it may be a sign of inadequate light. Ensure the plant is receiving enough indirect sunlight or adjust your artificial lighting setup accordingly.
6. Wilting leaves: Wilting leaves can be caused by both overwatering and underwatering. Check the soil moisture and adjust your watering routine accordingly. If the plant is consistently wilting, it may indicate root rot due to overwatering. In such cases, consider repotting the plant into fresh, well-draining soil.
7. Leaf drop: Leaf drop can occur for various reasons, including cold drafts, extreme temperature fluctuations, or sudden changes in humidity levels. Ensure that your Polka Dot Plant is placed away from drafty areas and maintain a consistent environment with optimal temperature and humidity levels.
By identifying and addressing these common issues, you can ensure the health and vitality of your Polka Dot Plants. Regular inspection, timely intervention, and maintaining optimal growing conditions will help your plants thrive and display their vibrant foliage for years to come.
Conclusion
Propagating Polka Dot Plants is an enjoyable and rewarding endeavor that allows you to expand your plant collection, share the joy of gardening with others, and develop your skills as a plant parent. By understanding the fundamentals of Polka Dot Plant propagation and following proper techniques, you can successfully propagate these beautiful and vibrant plants.
We began by exploring the characteristics of the Polka Dot Plant, understanding its unique foliage patterns and care requirements. We then delved into the reasons why propagating Polka Dot Plants is beneficial, from cost-effectiveness to the preservation of rare varieties. Timing plays an important role in the success of propagation, and we discussed the optimal time to cut Polka Dot Plants for propagation.
We also provided guidance on where to make the cut on the stem, ensuring the best chances of successful rooting. Our step-by-step guide took you through the entire propagation process, from selecting healthy stems to caring for the newly propagated plants. We discussed the importance of gradual transition, watering, lighting, humidity, temperature, fertilization, and pruning.
Additionally, we addressed common problems and troubleshooting tips to help you overcome potential challenges along the way, such as leaf browning, yellowing leaves, leggy growth, pest infestations, and more. By being proactive and attentive to your plants’ needs, you can ensure their continued health and vibrant beauty.
As you embark on your Polka Dot Plant propagation journey, remember to enjoy the process and have patience. Each newly propagated plant is a testament to your love for plants and your dedication to their well-being. With proper care and attention, your Polka Dot Plants will thrive, bringing vibrant colors and joy to your indoor garden.
Now that you possess the knowledge and guidance to propagate Polka Dot Plants, it’s time to put it into practice. Start with a single cutting and watch it transform into a thriving and beautiful plant. As your confidence grows, you can continue propagating and sharing the joy of these captivating plants with others. Happy propagating!