Home>Types of Gardening>Edible Gardening>How To Plant Kale Seeds
Edible Gardening
How To Plant Kale Seeds
Modified: February 9, 2024
Learn how to plant kale seeds and start your own edible gardening adventure. Get expert tips and advice for growing kale in your garden.
(Many of the links in this article redirect to a specific reviewed product. Your purchase of these products through affiliate links helps to generate commission for Chicagolandgardening.com, at no extra cost. Learn more)
Table of Contents
Introduction
Welcome to the wonderful world of edible gardening! If you’re looking to add some nutritious and delicious greens to your homegrown harvest, growing kale is an excellent choice. Kale is packed with vitamins, minerals, and antioxidants, making it a powerhouse of nutrition. Plus, it’s easy to grow and can thrive in various climates.
In this article, we’ll guide you through the process of planting kale seeds and caring for your kale plants. Whether you’re a seasoned gardener or a beginner, you’ll find useful tips and expert advice to help you successfully grow kale in your own backyard.
Before we dive into the details, let’s explore why kale is a must-have addition to your edible garden. Kale belongs to the Brassica family, which also includes cabbage, broccoli, and cauliflower. These leafy greens are not only delicious but also offer numerous health benefits.
Kale is a nutritional powerhouse, rich in vitamins A, C, and K, as well as minerals like calcium and manganese. It also contains antioxidants that help protect your body against cellular damage and reduce the risk of chronic diseases. Adding kale to your diet can boost your immune system, promote healthy digestion, and support heart health.
One of the best things about growing kale is its versatility. Whether you’re a fan of raw salads, sautéed greens, or adding a nutrient-rich ingredient to your smoothies, kale has got you covered. Plus, its dark, vibrant leaves add a lovely pop of color to your garden.
Now that we’ve piqued your interest, let’s move on to the first step in growing kale from seeds – selecting the right kale seeds for your garden.
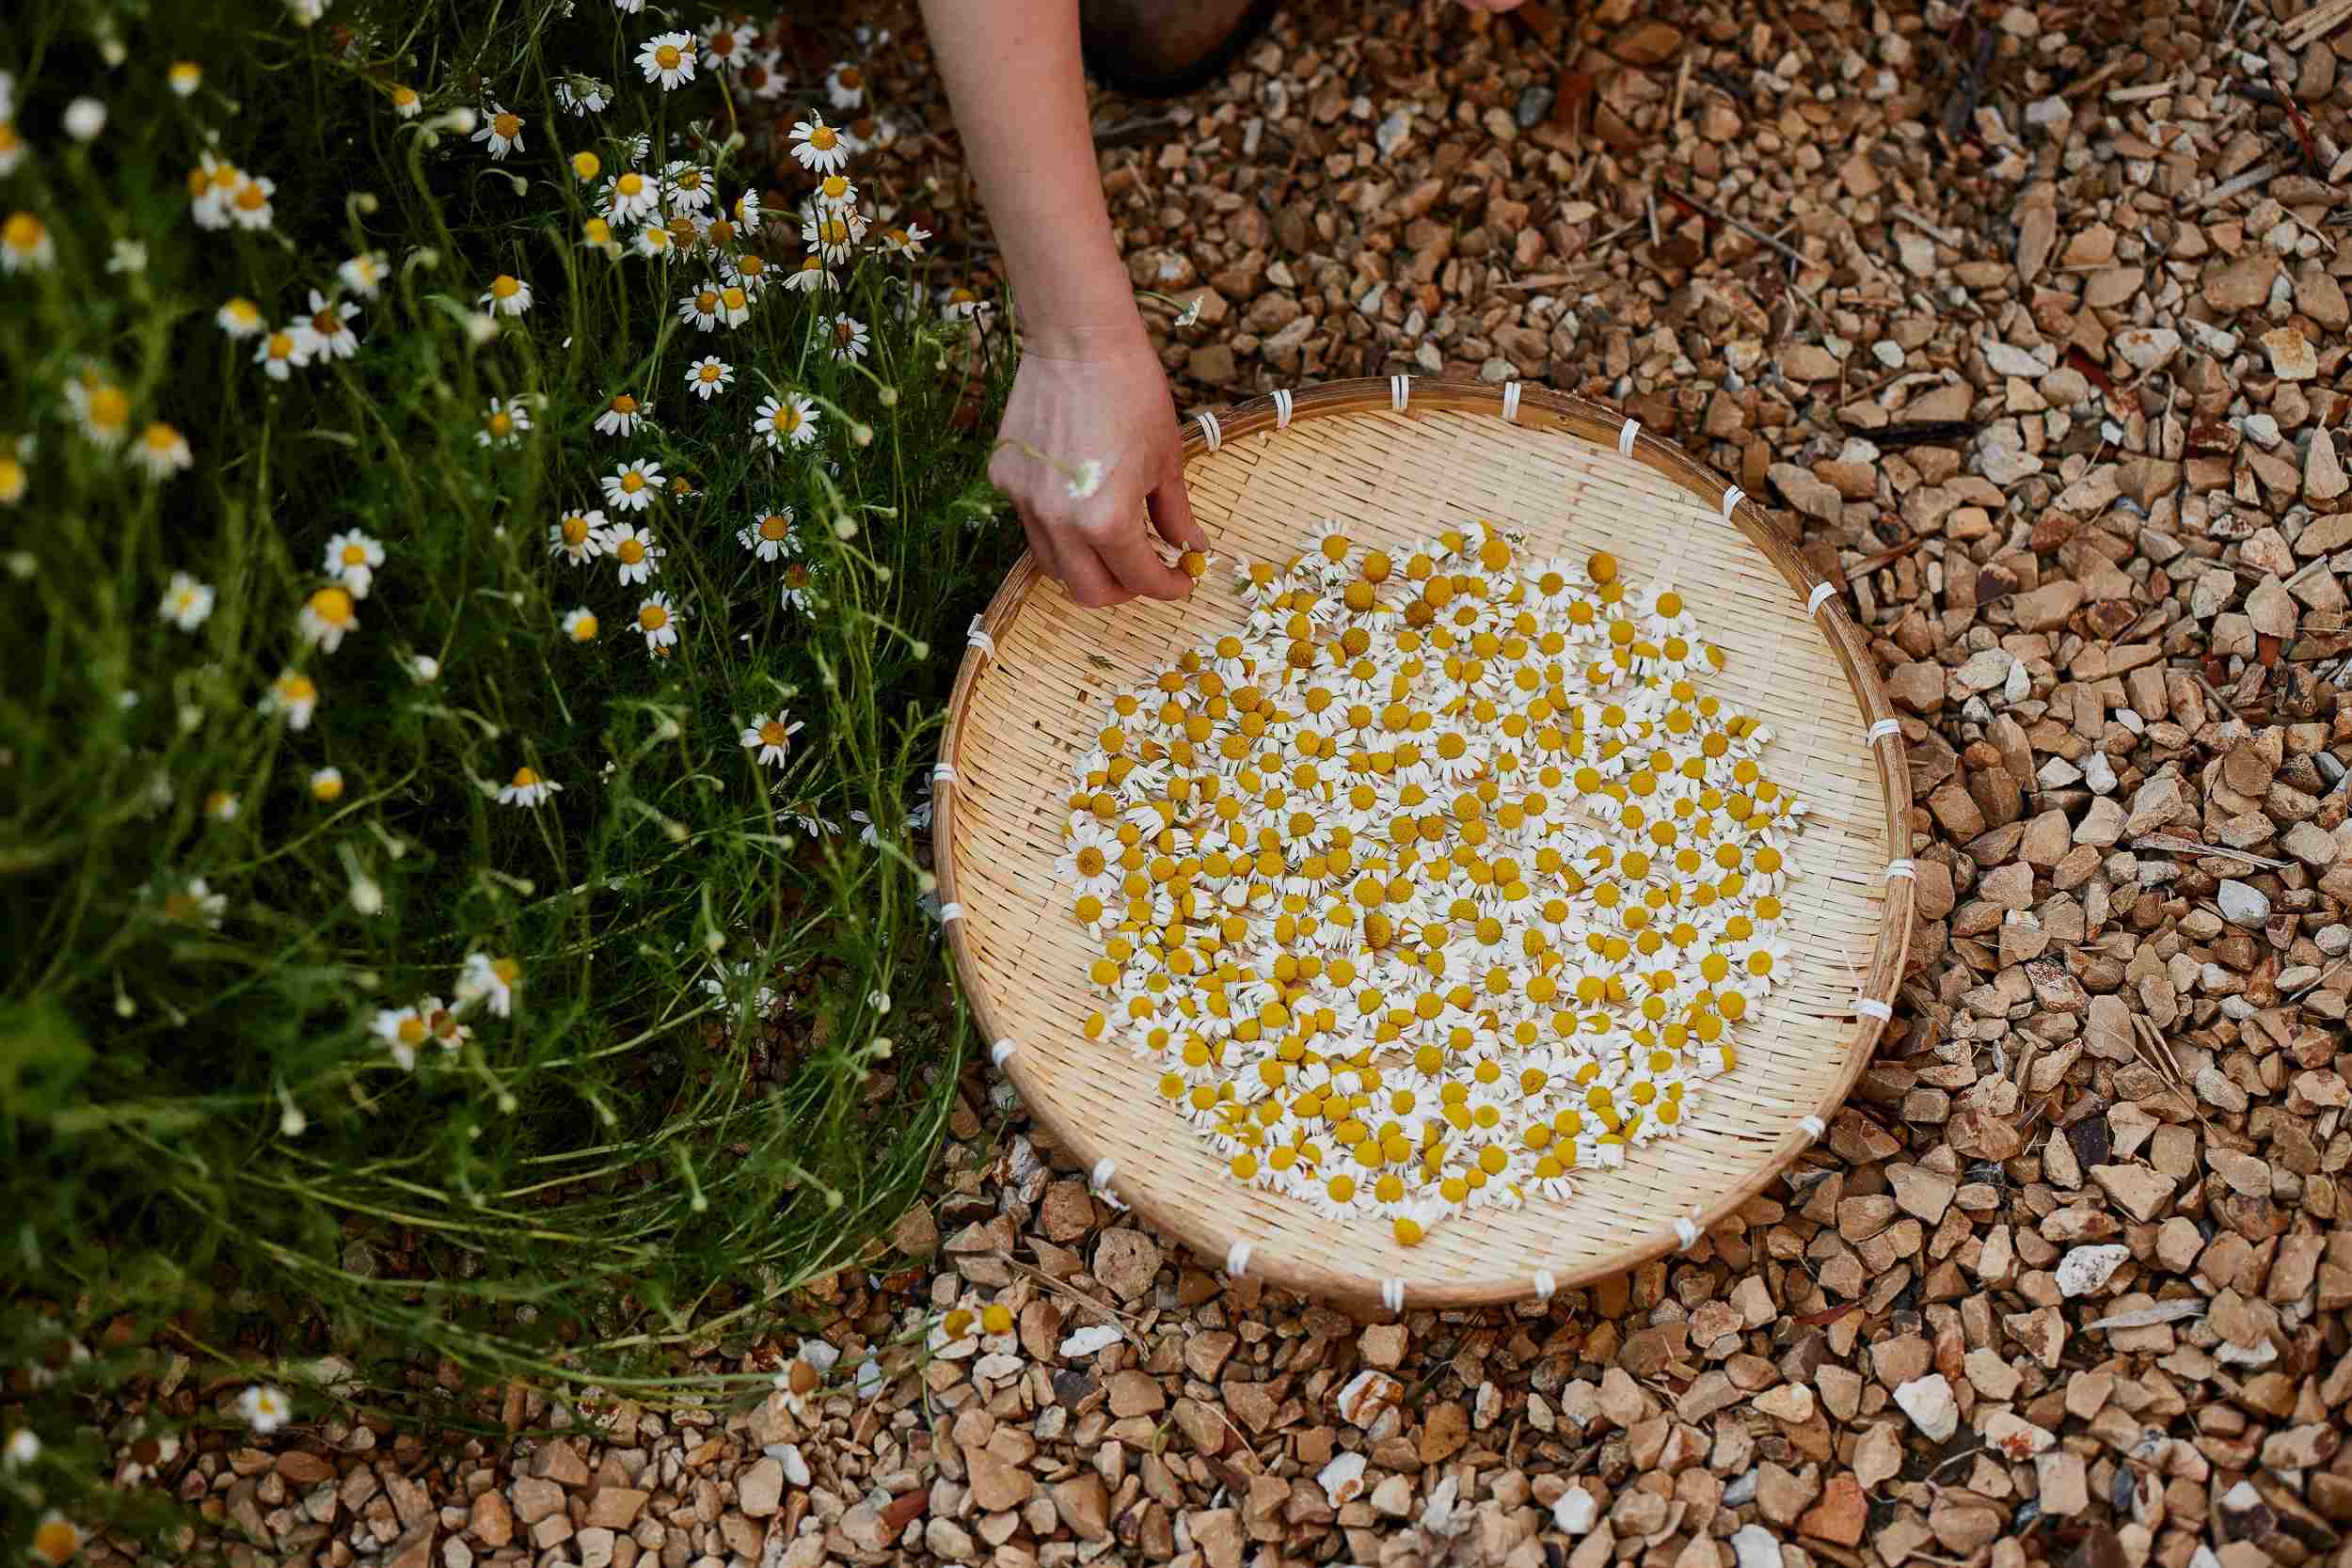
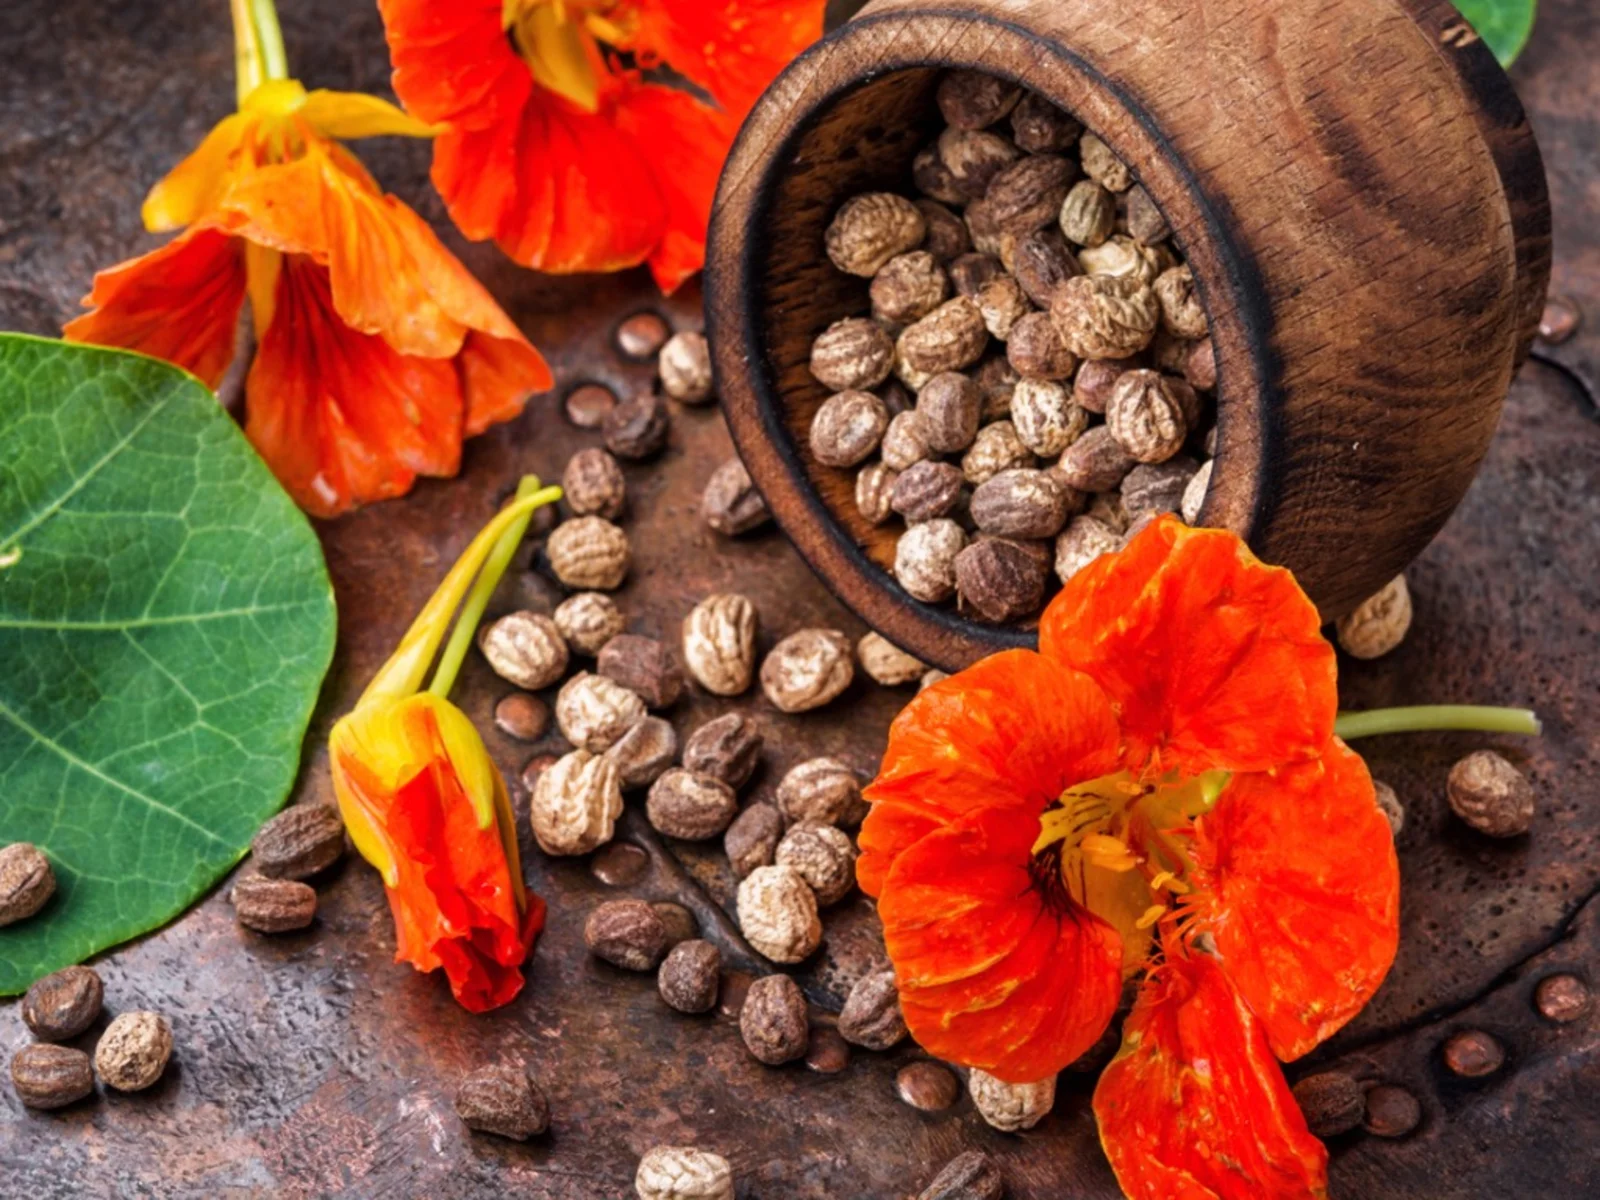
Selecting the Right Kale Seeds
When it comes to selecting kale seeds for your garden, there are a few key factors to consider. From choosing the right variety to checking for seed quality, these steps will set the foundation for a successful kale-growing journey.
Variety: Kale comes in various varieties, each with its unique characteristics and flavors. Popular varieties include lacinato (also known as dinosaur kale), curly kale, and red Russian kale. Consider your preference and intended use when selecting a variety. Curly kale is great for salads, while lacinato kale is ideal for soups and stews.
Seed Quality: Ensure that you purchase high-quality kale seeds from a reputable supplier. Look for seeds that are fresh, plump, and uniform in size. Avoid seeds that appear discolored or damaged, as they may have a lower germination rate.
Open-Pollinated or Hybrid: Choose between open-pollinated and hybrid kale seeds. Open-pollinated seeds are pollinated naturally by wind, insects, or other natural means, resulting in plants that resemble the parent plants. Hybrid seeds, on the other hand, are the result of controlled cross-pollination between different parent plants, resulting in specific traits that may enhance disease resistance or yield.
Organic vs. Non-Organic: Consider using organic kale seeds if you prioritize environmental sustainability and want to avoid pesticides or genetically modified organisms. Organic seeds are certified by regulatory bodies and are produced using organic farming practices.
Local Adaptation: If possible, select kale seeds that are adapted to your local climate. Local varieties are more likely to thrive in your specific growing conditions, resulting in healthier plants and better yields.
Storage: Proper storage of the seeds is crucial for maintaining their viability. Store your kale seeds in a cool, dry place in airtight containers to protect them from moisture and pests. Be sure to label your containers with the seed variety and date of purchase.
Now that you’ve selected the perfect kale seeds, it’s time to prepare your soil for planting. The next section will guide you through the necessary steps to ensure your kale plants have the best start.
Preparing the Soil for Planting
Before you start planting your beloved kale seeds, it’s essential to prepare the soil to create a favorable environment for healthy growth. Proper soil preparation will provide your kale plants with the nutrients, drainage, and structure they need to thrive.
Soil pH: Kale plants prefer slightly acidic to neutral soil with a pH range of 6.0 to 7.5. Conduct a soil test to determine the pH level of your garden soil. If the pH is too acidic, add lime to raise it, or if it’s too alkaline, add elemental sulfur to lower it. Aim for a pH level around 6.5 for optimum kale growth.
Soil Texture: Kale thrives in well-draining soil that retains enough moisture without becoming soggy. Sandy loam or loamy soil is ideal for plant growth. If your soil has a high clay content, amend it with organic matter like compost, aged manure, or peat moss to improve its structure and drainage.
Remove Debris: Clear the planting area from any weeds, rocks, or debris that might hinder the growth of your kale plants. Weeds compete for nutrients and may introduce pests and diseases, so it’s essential to remove them diligently.
Loosening the Soil: Use a garden fork or tiller to loosen the soil to a depth of 8 to 10 inches. This will help improve soil aeration, drainage, and root penetration. Avoid excessive tilling, as it can disrupt the natural soil structure and lead to compaction.
Add Organic Matter: Enrich the soil with organic matter to provide a wealth of nutrients for your kale plants. Incorporate well-rotted compost, aged manure, or leaf mold into the soil. This will not only enhance the soil fertility but also improve moisture retention and promote beneficial microbial activity.
Level and Smooth: Once you have added organic matter, rake the soil to level and smooth it out. This will create an even planting surface and facilitate uniform germination and growth of your kale seeds.
Mulching: Consider applying a layer of organic mulch around your kale plants once they have sprouted. Mulch helps retain moisture, suppresses weed growth, and regulates soil temperature. Use straw, shredded leaves, or grass clippings as mulch, ensuring it’s not in direct contact with the stems of the plants.
By preparing the soil properly, you have set the stage for successful kale planting. In the next section, we will guide you through the process of planting your kale seeds and nurturing them into healthy seedlings.
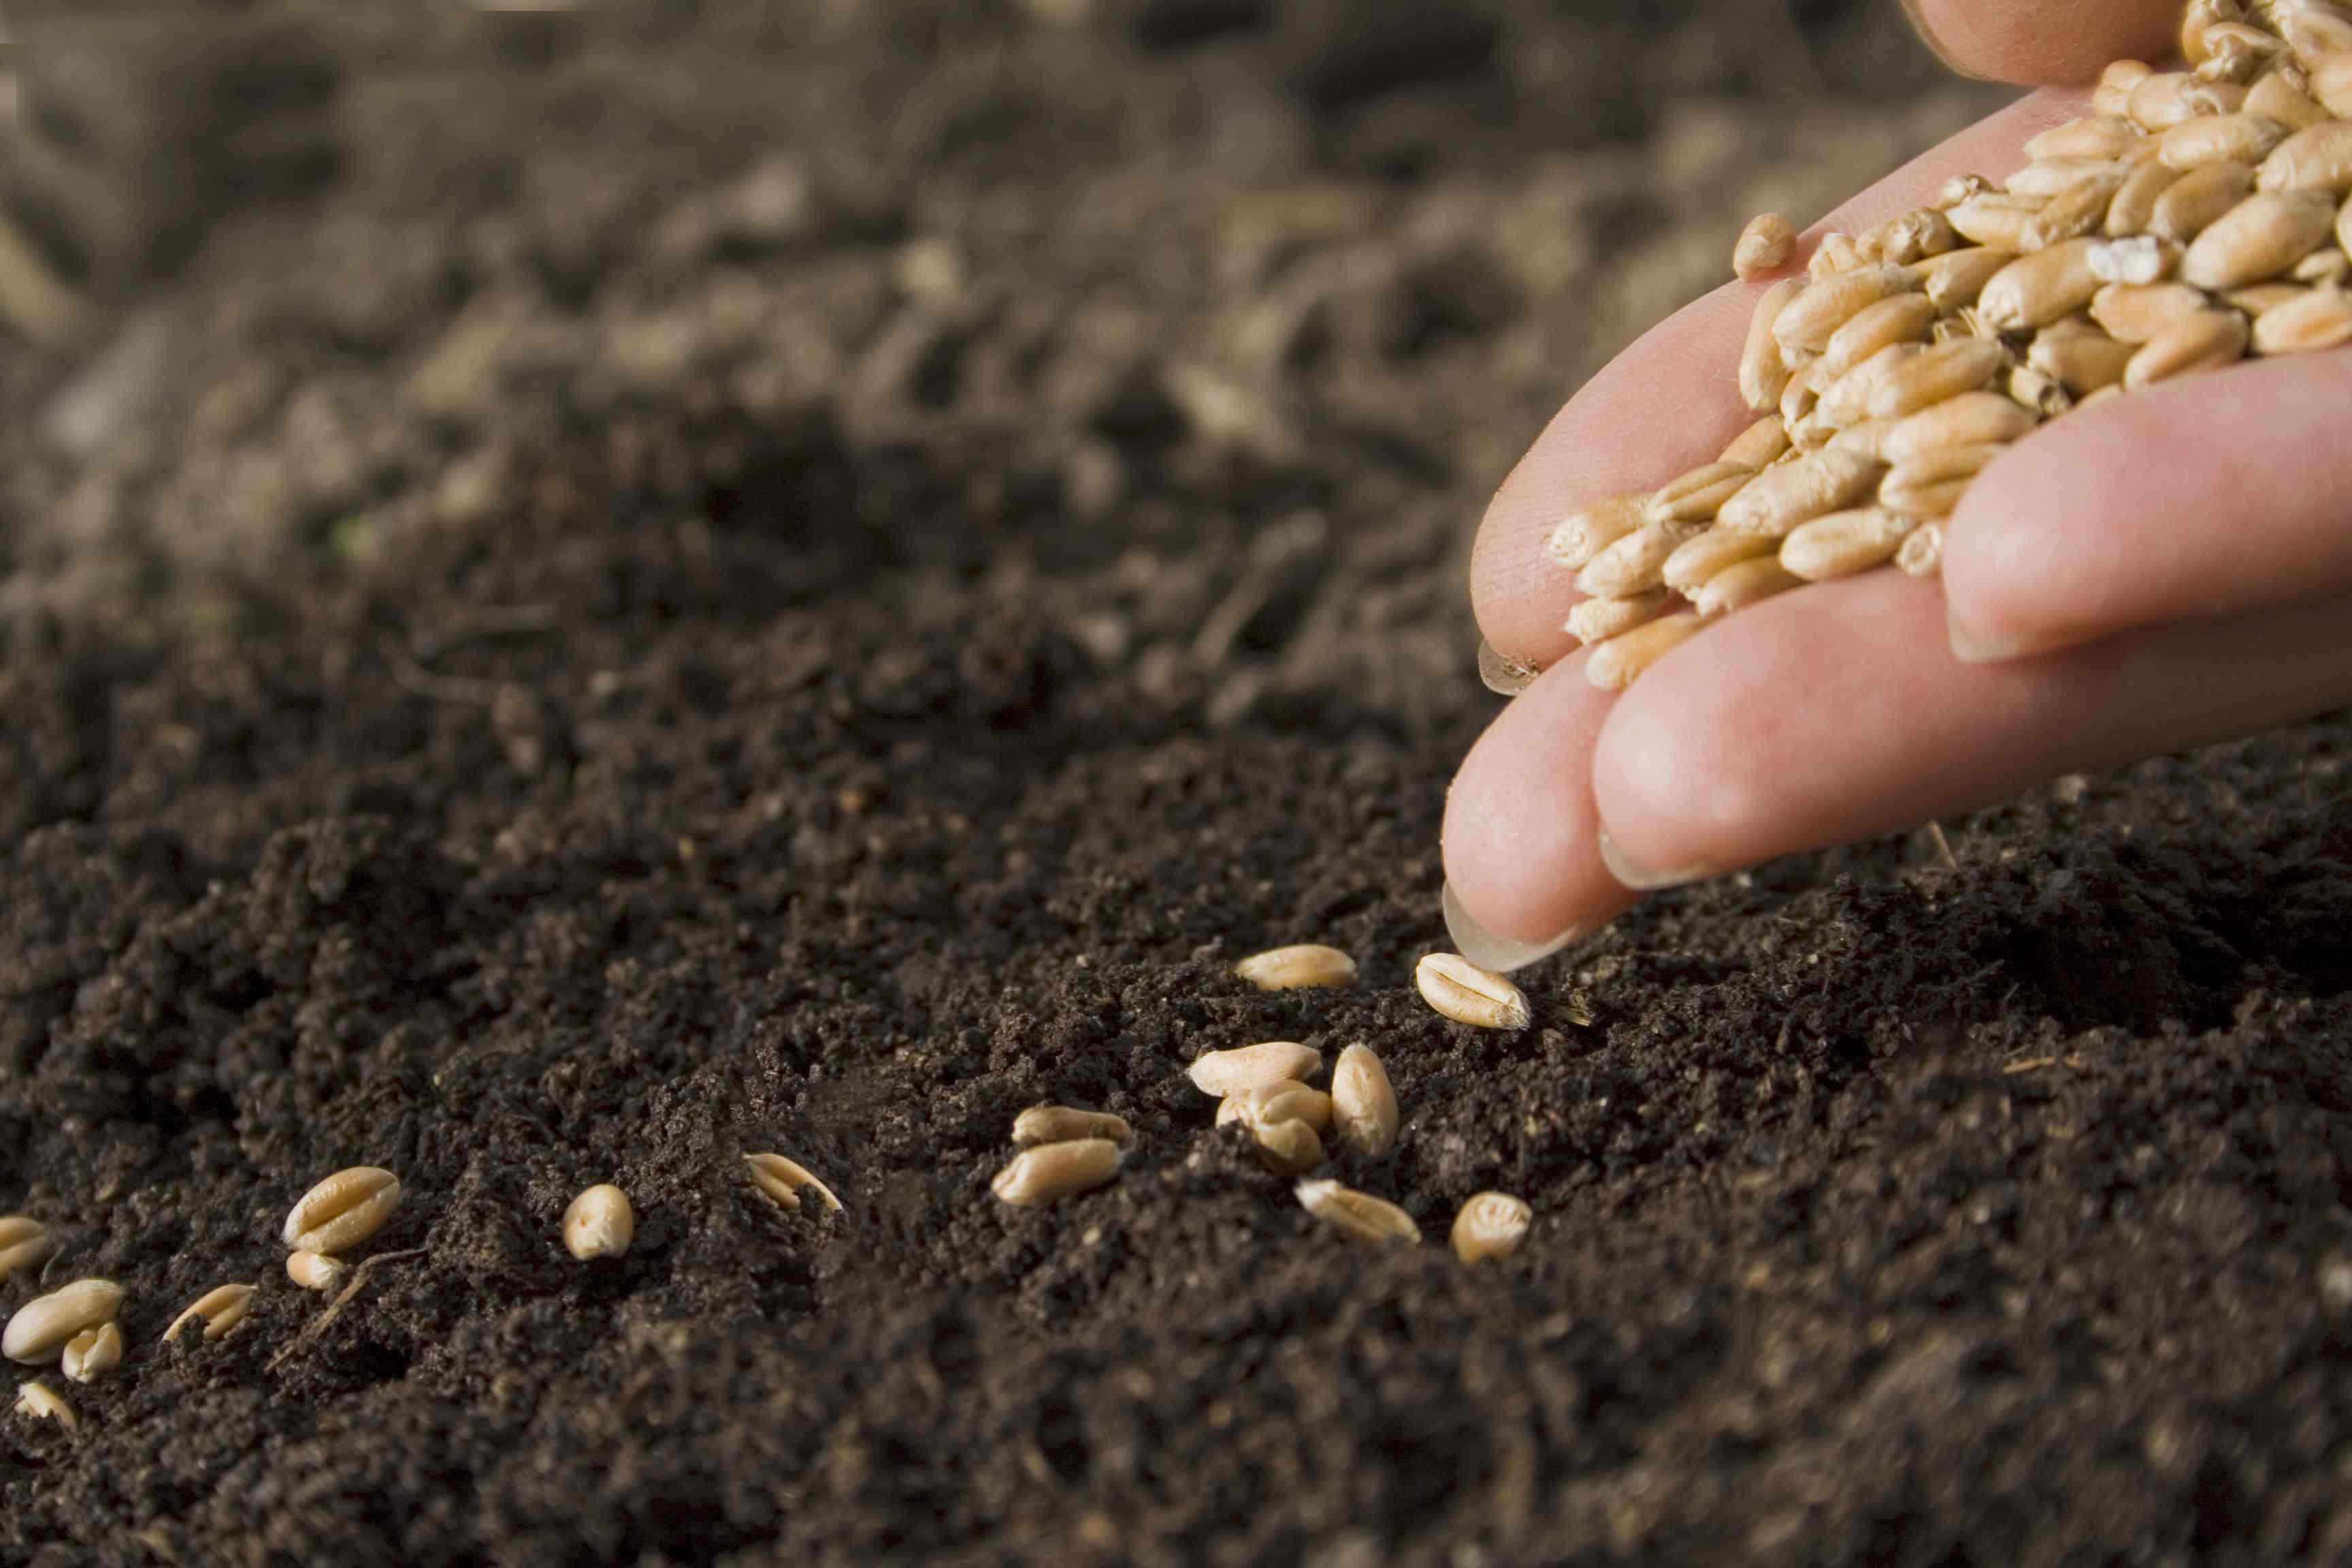
Planting Kale Seeds
Now that you’ve prepared the soil, it’s time to plant your precious kale seeds. Follow these steps to ensure proper planting and give your kale seeds the best chance of germination and growth.
Timing: Kale is a cool-season crop that thrives in temperatures between 40°F to 75°F (4°C to 24°C). Start planting kale seeds outdoors in the early spring, as soon as the soil can be worked, or in late summer for a fall harvest. If you live in a region with mild winters, you can even plant kale seeds in the winter for a year-round harvest.
Spacing: Give your kale plants ample space to grow and spread. Plant the seeds about ½ inch deep and space them 12 to 18 inches apart in rows that are 18 to 24 inches apart. This wide spacing allows for good air circulation and helps prevent diseases.
Sowing Method: There are two common methods for sowing kale seeds: direct seeding and transplanting. Direct seeding involves planting the seeds directly in the garden bed, while transplanting involves starting the seeds indoors and later transplanting the seedlings. Choose the method that suits your preference and garden conditions.
Direct Seeding: To direct seed, create furrows in the soil using a garden hoe or your fingertips. Space the furrows according to the recommended spacing for your kale variety. Place the seeds about 1 inch apart in the furrow, and then cover them with soil. Water gently to ensure the soil is evenly moist.
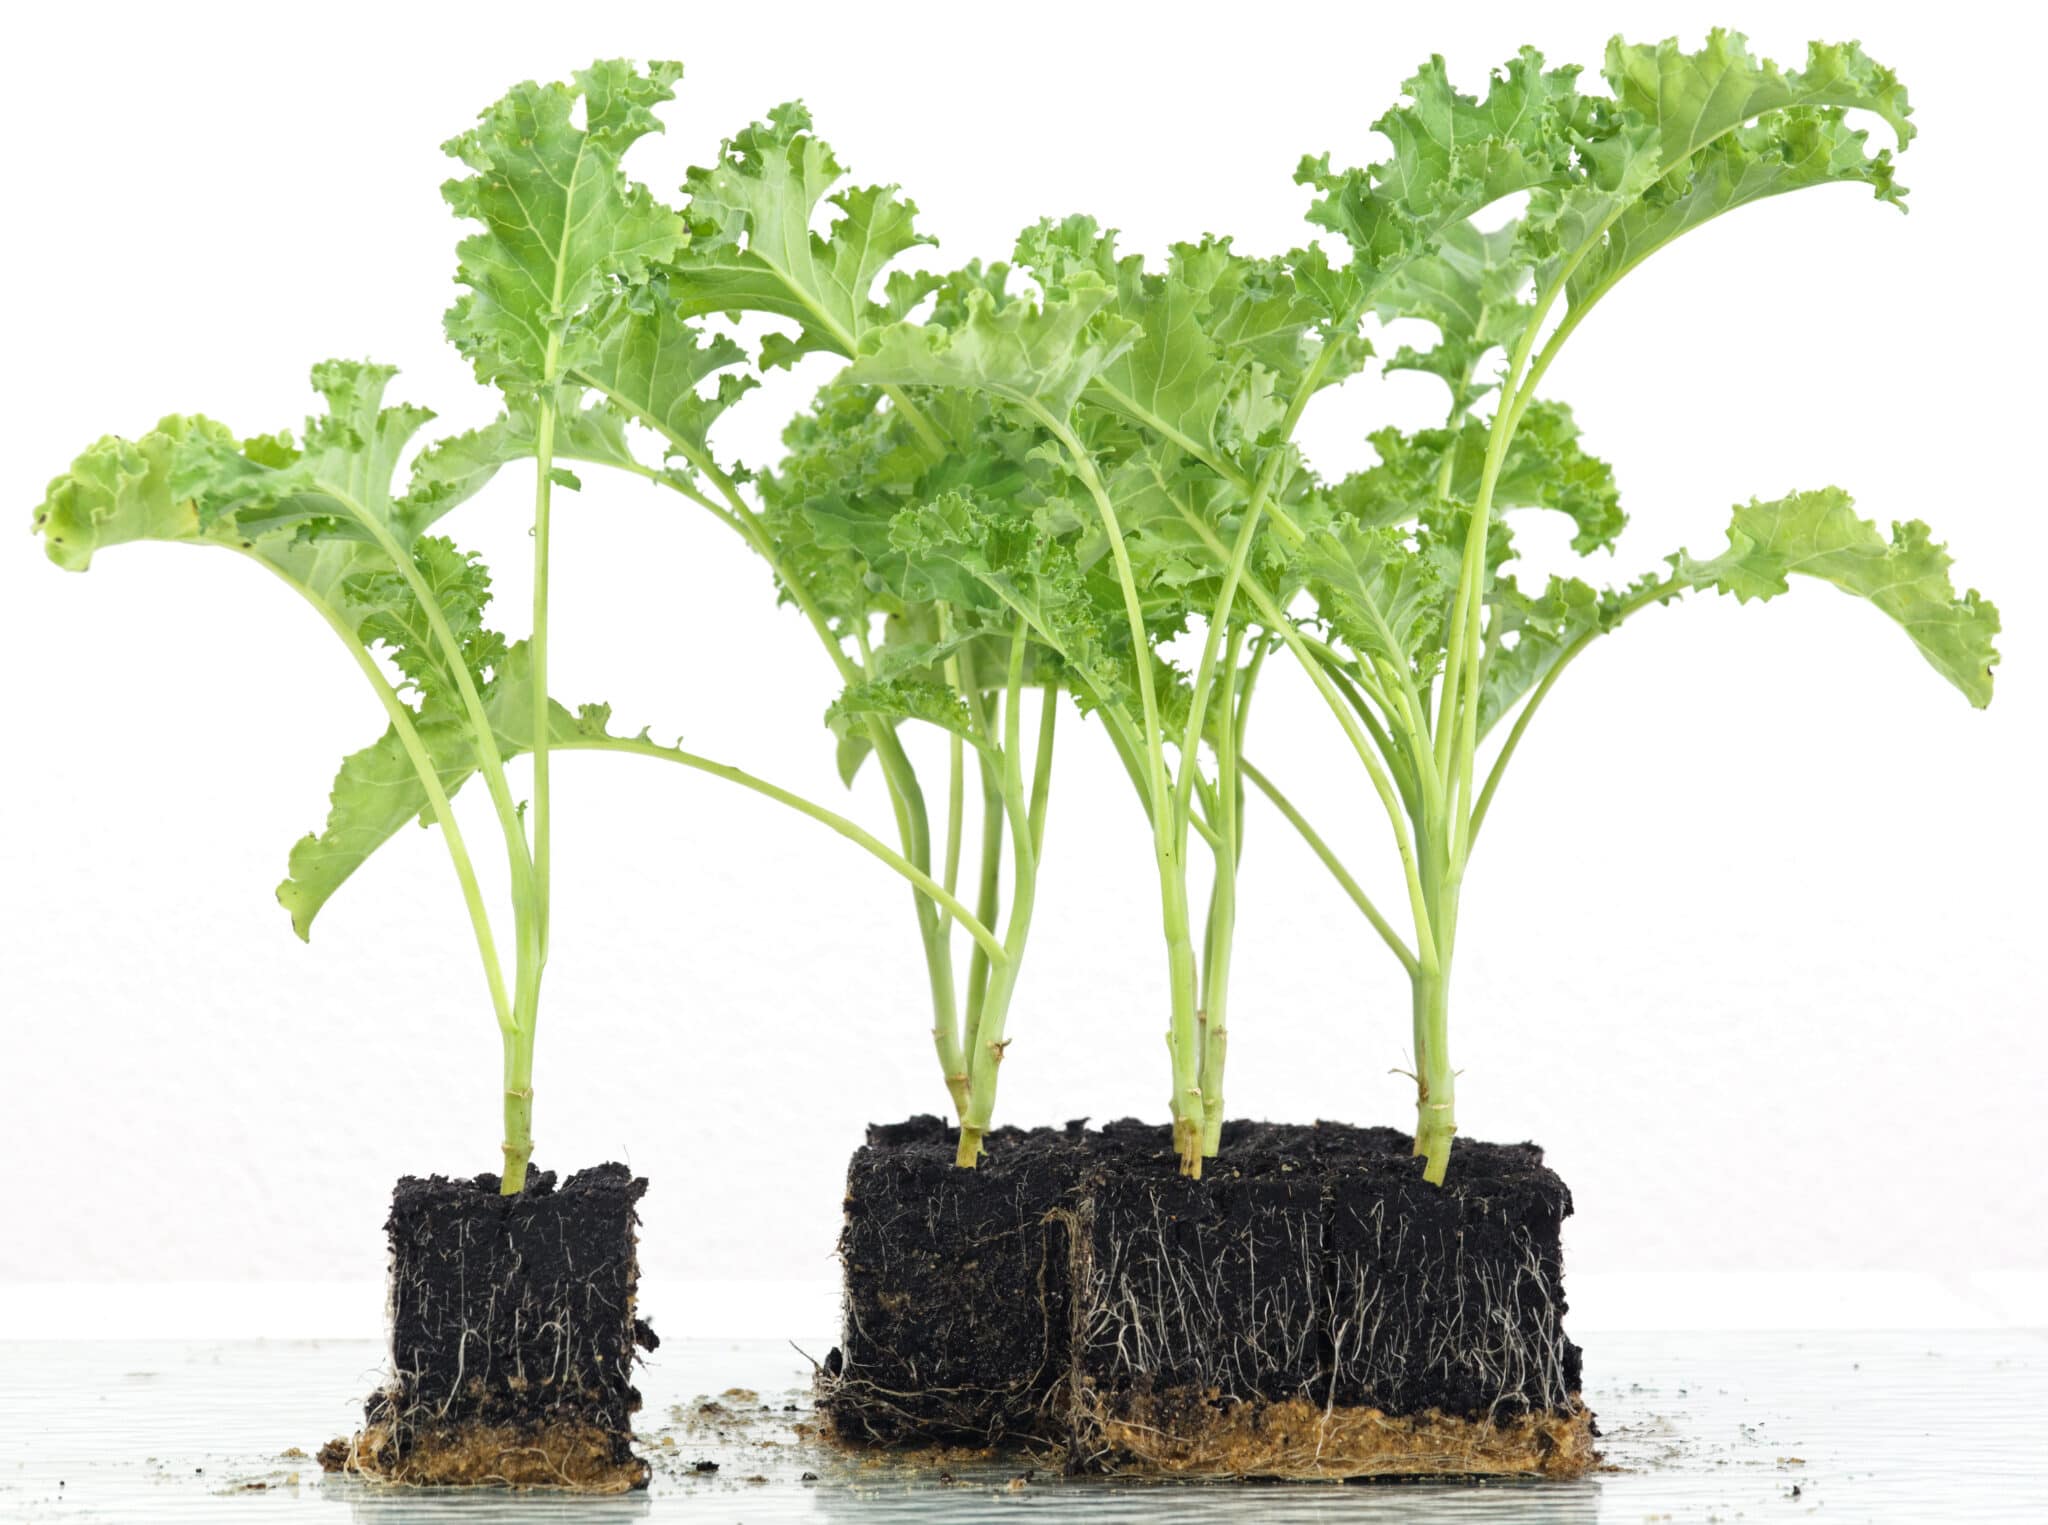
Transplanting: If you prefer to start kale seeds indoors, plant them in containers or seedling trays about 6 to 8 weeks before the last expected frost date. Fill the containers with a well-draining seed starting mix and plant one seed per container at a depth of ¼ inch. Keep the soil consistently moist and provide adequate light until the seedlings are about 4 to 6 inches tall and ready for transplanting.
Transplanting Seedlings: When the seedlings have reached the appropriate size, transplant them into the prepared garden bed. Dig a hole slightly larger than the root ball of the seedling and gently place it into the hole. Fill the hole with soil, firming it around the base of the seedling. Water the transplanted seedlings to help them settle into their new home.
Watering: After planting the kale seeds or transplanting the seedlings, water them gently to ensure the soil is evenly moist. Avoid overwatering, as it can lead to rot or disease. Once the plants are established, water deeply and infrequently, allowing the soil to partially dry out between waterings.
Now that your kale seeds are planted, it’s time to provide them with the care and attention they need to flourish. The next section will guide you through watering and fertilizing your kale seedlings.
Watering and Fertilizing Kale Seedlings
Proper watering and fertilizing are crucial for the healthy development and growth of your kale seedlings. Follow these guidelines to ensure your plants receive the right amount of water and nutrients:
Watering: Kale plants require consistent moisture to thrive, but overwatering can lead to root rot and other issues. Water your kale seedlings deeply once or twice a week, providing enough water to reach the root zone. Be mindful of the weather conditions and adjust your watering schedule accordingly. Aim to keep the soil consistently moist, but not waterlogged. To help retain moisture, consider applying a layer of organic mulch around the plants.
Fertilizing: Kale is a nutrient-hungry plant, so adequate fertilization is important for optimal growth. Before planting your kale seeds, incorporate well-rotted compost or aged manure into the soil to provide organic matter and nutrients. Additionally, apply a balanced organic fertilizer or a slow-release granular fertilizer specifically formulated for leafy greens. Follow the manufacturer’s instructions for application rates and frequency. Avoid overfertilization, as it can lead to excessive growth of foliage at the expense of flavor and quality.
Additional Nutrient Boost: As your kale plants grow, consider giving them a nutrient boost by applying a foliar fertilizer. This liquid fertilizer is sprayed directly on the leaves, allowing the plants to absorb nutrients through their foliage. Choose a foliar fertilizer high in nitrogen to promote lush green growth. Apply the foliar fertilizer in the early morning or late afternoon to avoid burning the leaves in direct sunlight.
Monitoring Nutrient Deficiencies: Keep a close eye on your kale plants for any signs of nutrient deficiencies. Yellowing or discolored leaves may indicate a lack of nitrogen, while stunted growth or pale leaves could be a sign of overall nutrient imbalance. If you notice such symptoms, consider applying a targeted organic fertilizer or amending the soil with the deficient nutrient to address the issue. Regular soil testing can also provide guidance on any nutrient imbalances that need attention.
Water and Fertilizer Timing: When watering your kale seedlings, it’s best to do so in the morning. This allows the leaves to dry off during the day, reducing the risk of fungal diseases. Fertilize your kale plants according to the recommended schedule and avoid applying fertilizer during periods of drought or extreme heat, as it may cause stress to the plants.
By providing adequate water and the proper balance of nutrients, you will ensure that your kale seedlings have everything they need to grow into healthy and productive plants. In the next section, we will explore the essential care needed to keep your kale plants thriving.
Caring for Kale Plants
Once your kale plants are established, they require regular care to maintain their health and vitality. Here are some essential tips for caring for your kale plants:
Weeding: Regularly remove weeds from around your kale plants to minimize competition for nutrients, water, and sunlight. Be careful when weeding not to disturb the shallow root system of the kale plants. Consider using mulch or applying a layer of newspaper around the plants to suppress weed growth.
Thinning: If you have planted your kale seeds too closely together, thinning the seedlings is crucial to allow for proper airflow and prevent overcrowding. When the seedlings are about 3 to 4 inches tall, carefully remove the weaker ones, leaving only the healthiest and most robust plants.
Pest Control: Keep an eye out for common pests that can affect kale plants, such as aphids, cabbage worms, and slugs. Inspect the leaves regularly for any signs of infestation, and promptly remove or treat affected plants. Consider using organic pest control methods, such as handpicking pests, using insecticidal soap, or introducing beneficial insects like ladybugs or lacewings.
Disease Prevention: Kale plants are generally resistant to many diseases, but it’s still important to take preventive measures to avoid common issues. Ensure proper air circulation by spacing the plants adequately and removing any diseased leaves. Avoid overhead watering, as it can create a moist environment that promotes diseases. If necessary, apply organic fungicides or follow recommended disease management practices.
Supportive Structures: As your kale plants grow larger, they may benefit from additional support to prevent them from bending or breaking under the weight of their foliage. Consider using stakes, cages, or trellises to provide support and keep the plants upright. Tie the plants gently to the support structure using soft plant ties or twine.
Regular Harvesting: Harvesting kale leaves regularly not only ensures a continuous supply of fresh greens but also promotes the growth of new leaves. Start by harvesting the outer leaves when they reach a desired size, leaving the center leaves to continue growing. Harvest in the morning when the leaves are crisp and at their freshest. Use a sharp knife or scissors to cut the leaves just above the main stem.
Rotate Crops: To prevent the buildup of soil-borne diseases and maintain soil fertility, it’s advisable to practice crop rotation in your garden. Avoid planting kale or any other Brassica vegetables in the same spot for consecutive years. Rotate them with other unrelated crops, such as legumes or root vegetables.
By following these care tips, you will ensure that your kale plants remain healthy, productive, and pest-free. In the next section, we will explore the exciting process of harvesting and using your homegrown kale leaves.
Harvesting Kale Leaves
One of the most rewarding aspects of growing kale is the opportunity to harvest and enjoy its nutritious leaves. Kale leaves can be harvested at various stages of growth, depending on your preference and the intended use. Here’s a guide to help you harvest your kale leaves:
Harvesting Young Leaves: If you prefer tender and mild-flavored kale leaves, harvest them when they are young and small, typically around 8 to 10 inches in length. Simply remove the outer leaves by cutting them at the base of the stem, leaving the inner leaves to continue growing.
Harvesting Mature Leaves: For more robust and flavorful kale leaves, allow them to fully mature. Mature leaves are typically larger and may develop a slightly stronger taste. Harvest them by cutting the entire stem about 2 inches above the soil level. This method encourages new growth from the center of the plant.
Selective Harvesting: Another option is to selectively harvest individual leaves as needed. This allows you to enjoy a continuous supply of fresh kale leaves without uprooting the entire plant. Harvest the larger outer leaves first, leaving the smaller inner leaves to continue growing.
Regular Harvests: Regularly harvesting your kale plants promotes new leaf growth and prolongs the productive lifespan of the plants. Aim to harvest every one to two weeks, depending on the growth rate of your kale plants and your desired supply of fresh greens.
Harvesting Tips: When it’s time to harvest your kale leaves, choose the leaves that are healthy, vibrant, and free from any signs of damage or disease. Use sharp garden shears, scissors, or a knife to make clean cuts, minimizing any potential damage to the plant. Avoid tearing or ripping the leaves, as this can introduce opportunities for pests or diseases.
Post-Harvest Storage: To maximize the shelf life of your harvested kale leaves, gently rinse them in cool water to remove any dirt or debris. Pat them dry with a clean towel or spin them in a salad spinner. Store the leaves in a plastic bag or airtight container lined with paper towels to absorb excess moisture. Place them in the refrigerator’s crisper drawer, where they can stay fresh for up to a week.
Kale is not only delicious in salads and stir-fries, but it can also be used in smoothies, soups, and even baked as crispy kale chips. Experiment with different recipes and culinary preparations to fully enjoy the versatility of this nutrient-packed green leafy vegetable.
Now that you know how to harvest and store your kale leaves, it’s time to explore the various ways you can use them in your culinary creations. The next section will provide some ideas and inspiration for incorporating your homegrown kale leaves into delicious dishes.
Storing and Using Kale Leaves
Once you’ve harvested your kale leaves, it’s important to store them properly to maintain their freshness and flavor. Additionally, kale leaves offer a wide range of culinary possibilities, and their versatility makes them a valuable ingredient in countless dishes. Here’s how to properly store and use your homegrown kale leaves:
Storing Fresh Kale Leaves: After harvesting your kale leaves, gently rinse them under cool water to remove any dirt or debris. Pat them dry with a clean towel or spin them in a salad spinner to remove excess moisture. Place the leaves in a plastic bag or an airtight container lined with a paper towel to absorb any remaining moisture. Store the bag or container in the refrigerator’s crisper drawer, where the kale leaves can remain fresh for up to a week.
Freezing Kale Leaves: If you have an abundant harvest and want to preserve your kale leaves for future use, freezing is an excellent option. First, blanch the kale leaves by plunging them into boiling water for 2-3 minutes, then transferring them to an ice bath to stop the cooking process. Once cooled, pat them dry and place them in freezer-safe bags or containers. Label and date the packages before placing them in the freezer. Frozen kale can be used in smoothies, soups, or sautés.
Using Kale in Salads: One of the simplest and most popular ways to use kale is in salads. Remove the tough stems from the kale leaves and thinly slice or tear them into bite-sized pieces. Massage the leaves with a bit of oil or salad dressing to tenderize them. Add your favorite toppings, such as nuts, cheese, fruits, and a flavorful dressing, and enjoy a nutritious and satisfying salad.
Cooking Kale: Kale is a versatile ingredient that can be cooked in various ways. Sautéed kale is a popular method that involves heating a bit of oil or butter in a pan, adding the kale leaves, and tossing them until wilted. You can also steam kale, blanch it, or add it to soups, stews, and stir-fries for a nutritious boost. Be creative and experiment with different seasonings and cooking methods to discover your favorite way to enjoy kale.
Making Kale Chips: Kale chips are a delicious and healthy alternative to traditional potato chips. Remove the stems from the kale leaves and tear them into bite-sized pieces. Toss the leaves with a bit of olive oil, salt, and any desired seasonings. Arrange the leaves in a single layer on a baking sheet and bake at a low temperature (around 300°F or 150°C) until crisp, about 20-30 minutes. Enjoy your homemade kale chips as a crunchy snack.
Adding Kale to Smoothies: Kale is an excellent addition to smoothies, providing a nutritious boost. Simply remove the tough stems and add a handful of kale leaves to your favorite smoothie recipe. Blend until smooth, and enjoy a refreshing and healthy drink.
Kale leaves are not only packed with nutrients but also offer a vibrant and robust flavor that can enhance a variety of dishes. Whether you choose to enjoy them fresh in salads or incorporate them into cooked recipes, your homegrown kale leaves are sure to elevate your culinary creations.
Now that you know how to store and use your kale leaves, it’s time to put your gardening skills to the test and prepare delicious and nutritious meals with your own homegrown harvest.
Conclusion
Congratulations! You’ve now learned the ins and outs of planting, caring for, and harvesting kale in your own edible garden. By following the steps outlined in this article, you can enjoy a bountiful harvest of this nutritious and versatile leafy green.
From selecting the right kale seeds for your garden to preparing the soil and planting the seeds, you have set a strong foundation for successful kale growth. Remember to provide consistent watering, appropriate fertilization, and diligent pest control to keep your kale plants healthy and thriving.
As your kale plants grow, enjoy the satisfaction of harvesting the leaves at their peak freshness. Whether you choose to harvest young leaves for their tenderness or allow them to mature for a bolder flavor, ensure proper storage to maintain their freshness and maximize their shelf life.
With a stash of fresh kale leaves at your disposal, explore the various culinary possibilities. Use kale in salads, sautés, stir-fries, soups, or smoothies for a nutrient-packed addition to your meals. The versatility of kale leaves allows you to experiment and discover new flavors and combinations that suit your taste and dietary preferences.
Remember to save some of your kale plants for seed-saving, ensuring a continuous cycle of growth for future harvests. As you gain experience and confidence in growing kale, consider trying different varieties and expanding your edible gardening repertoire further.
Edible gardening, such as growing kale, not only provides you with flavorful and nutritious produce but also offers a rewarding and fulfilling experience. The joy of planting a seed, nurturing it, and witnessing it grow into a fruitful plant is unmatched.
So go ahead, put your newfound knowledge into action and start growing your own kale. Whether you have a small patio, a backyard garden, or even just a sunny windowsill, you can embark on an edible gardening adventure that will bring joy, health, and deliciousness to your life.
Happy gardening and happy kale growing!