Home>Types of Gardening>Ornamental Gardening>How To Plant Echinacea Seeds
Ornamental Gardening
How To Plant Echinacea Seeds
Modified: January 22, 2024
Learn how to plant Echinacea seeds for ornamental gardening, ensuring vibrant flowers and a stunning addition to your garden.
(Many of the links in this article redirect to a specific reviewed product. Your purchase of these products through affiliate links helps to generate commission for Chicagolandgardening.com, at no extra cost. Learn more)
Table of Contents
Introduction
Welcome to the wonderful world of Echinacea, a beautiful and beneficial flowering plant that can add enchantment to any garden. Also known as coneflower, Echinacea is a popular choice among gardeners for its vibrant colors, attractive blooms, and medicinal properties. Whether you’re a seasoned green thumb or a novice gardener, this article will guide you on how to successfully plant Echinacea seeds to create a stunning display in your own ornamental garden.
Echinacea is native to North America and has a long history of use in traditional medicine. Its distinctive cone-shaped flowerheads and striking petals in shades of purple, pink, and white make it a delightful addition to any garden or landscape. Not only does Echinacea add visual appeal, but it also attracts pollinators such as bees and butterflies, contributing to the overall health and biodiversity of your garden.
Before embarking on your Echinacea planting journey, it’s important to understand the different varieties and select the right seeds for your specific needs. Echinacea purpurea, with its vibrant pink flowers and sturdy stems, is the most popular variety. However, you may also consider Echinacea angustifolia, known for its narrow leaves and medicinal properties, or Echinacea pallida, which features pale pink flowers and drooping petals.
Creating a suitable environment is crucial for the successful growth of Echinacea. This includes preparing the soil, sowing the seeds, and providing the necessary care throughout the different stages of the plant’s life. With proper planning and attention to detail, you can cultivate a thriving Echinacea garden that will reward you with lovely flowers year after year.
In the following sections, we will delve into the specific steps needed to plant Echinacea seeds and ensure their healthy growth. From preparing the soil to transplanting seedlings and harvesting the flowers, you’ll gain the knowledge and confidence to cultivate a stunning display of Echinacea in your own ornamental garden.
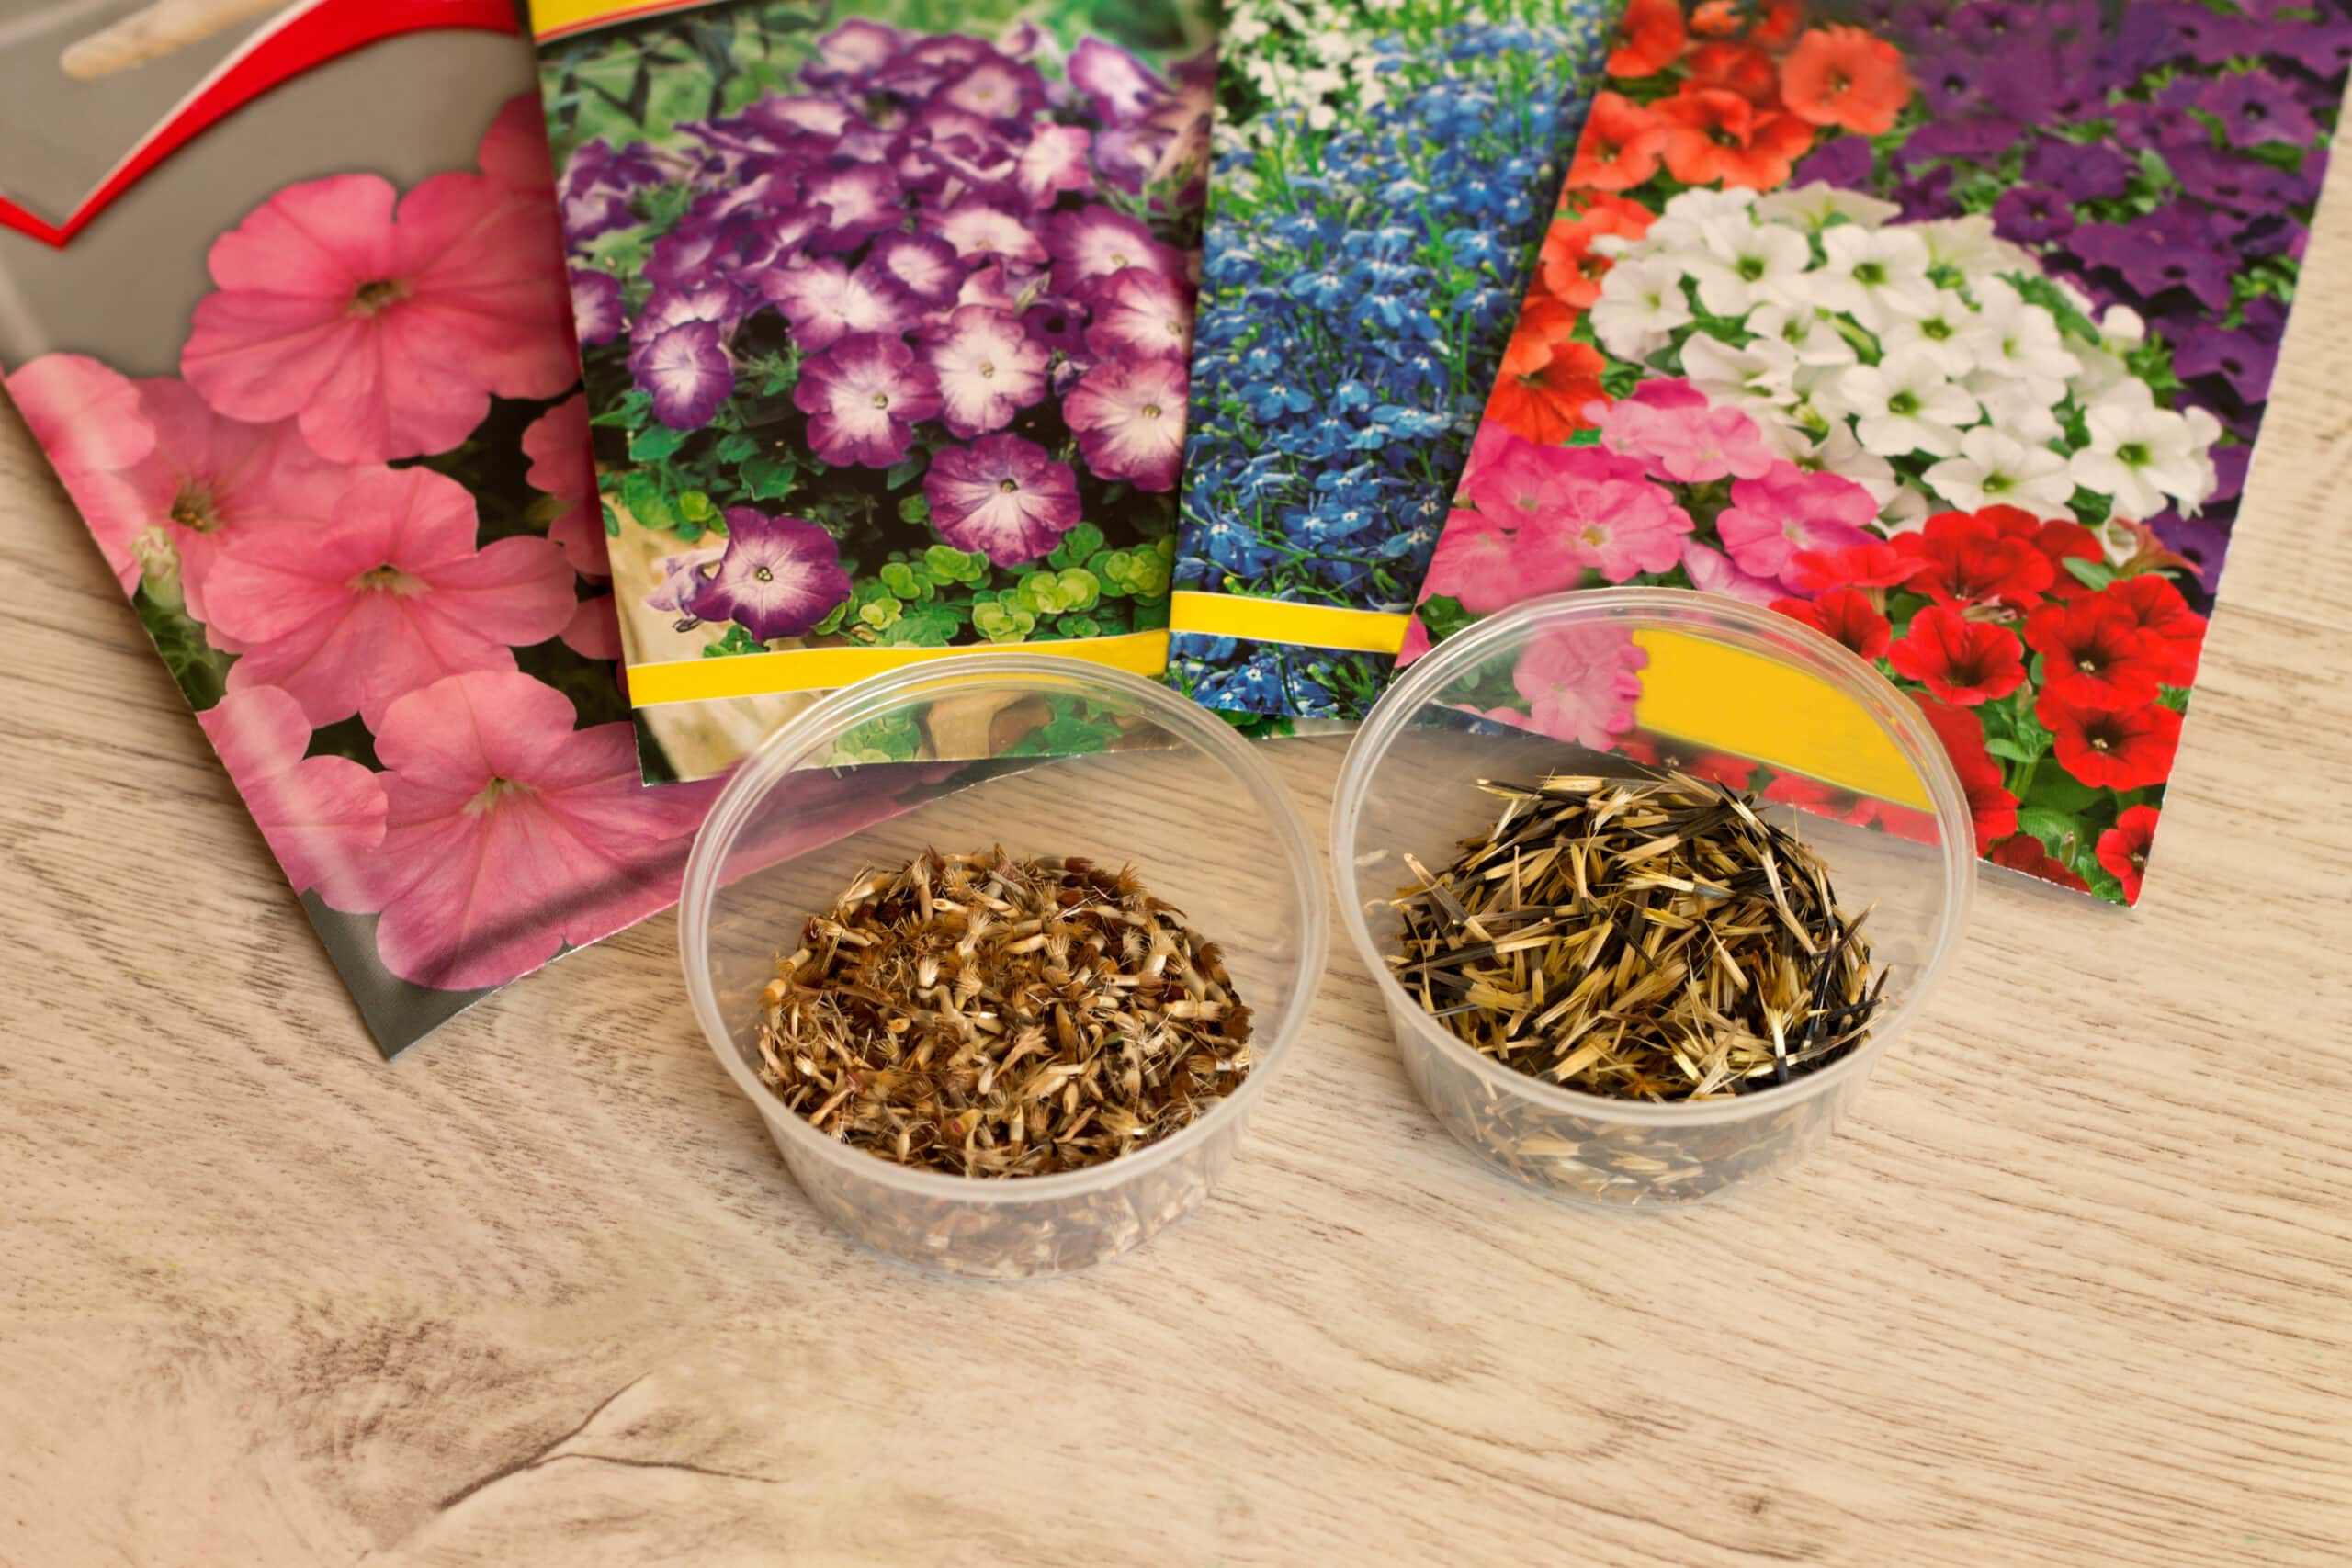
Choosing the Right Echinacea Seeds
Choosing the right Echinacea seeds is the first step towards a successful and beautiful garden. With so many varieties and options available, it’s important to consider your specific preferences and the requirements of your garden. Here are some factors to keep in mind when selecting Echinacea seeds:
- Variety: Echinacea comes in various colors and sizes. The most common variety is the Echinacea purpurea, which features stunning pink petals and a central cone. However, there are also other varieties like the Echinacea angustifolia, with narrow leaves and pale purple petals, or the Echinacea pallida, which has drooping pale pink petals. Consider the aesthetic appeal and the overall theme of your garden when choosing the variety of Echinacea seeds.
- Planting Zone: Echinacea is a versatile plant that can thrive in different climates. However, it’s important to choose seeds that are suitable for your specific planting zone. Check the hardiness zone map for your area and select seeds that are recommended for your zone to ensure successful germination and growth.
- Seed Source: It’s advisable to purchase Echinacea seeds from a reputable source to ensure quality and viable seeds. Look for sellers or nurseries that specialize in ornamental gardening and provide information about the seed source and any guarantees or certifications they offer.
- Freshness: The freshness of the seeds is crucial for their viability. Look for seeds that have been harvested recently, as fresh seeds have a higher germination rate. Avoid purchasing seeds that are past their expiration date or have been stored for an extended period.
- Organic Seeds: If you prefer to grow your Echinacea plants organically, choose certified organic seeds. Organic seeds are produced without the use of synthetic fertilizers or pesticides, ensuring a more eco-friendly and sustainable approach to gardening.
By considering these factors, you can select the right Echinacea seeds that align with your preferences and will thrive in your garden. Once you’ve chosen the perfect seeds, it’s time to prepare the soil and start the exciting journey of planting and caring for your Echinacea plants.
Preparing the Soil
Preparing the soil is a crucial step in creating the optimal growing conditions for your Echinacea plants. The right soil composition will provide the necessary nutrients, drainage, and aeration for healthy plant development. Follow these steps to prepare the soil for planting Echinacea seeds:
- Choose the Location: Select a sunny location for your Echinacea plants as they thrive in full sunlight. Echinacea prefers well-draining soil, so avoid areas with heavy clay or compacted soil.
- Clear the Area: Remove any weeds, rocks, or debris from the planting area. This will eliminate competition for nutrients and ensure the seeds have optimal access to the soil.
- Loosen the Soil: Use a garden fork or tiller to loosen the soil to a depth of 8-10 inches. This will improve drainage and allow the roots to penetrate the soil easily.
- Amend the Soil: Echinacea prefers slightly acidic to neutral soil with a pH level of 6.0 to 7.0. If your soil is too alkaline, you can amend it by adding organic matter such as compost, leaf mold, or well-rotted manure. Mix the organic matter evenly into the top few inches of soil.
- Test the Soil: It’s a good idea to conduct a soil test to determine the fertility and nutrient content of your soil. This will help you identify any imbalances and make adjustments accordingly. Soil testing kits are widely available and can provide valuable insights for optimal plant growth.
- Add Fertilizer: If the soil test reveals nutrient deficiencies, you can incorporate a slow-release organic fertilizer into the soil. Follow the manufacturer’s instructions for application rates and ensure thorough mixing with the soil.
- Level and Smoothen: Rake the soil surface to level it and remove any large clumps or rocks. This will provide a smooth and even surface for sowing the Echinacea seeds.
By following these steps, you will create a well-prepared soil environment that is favorable for the germination and growth of your Echinacea plants. Remember to water the soil lightly before sowing the seeds to provide the necessary moisture. The next section will guide you through the process of sowing the Echinacea seeds and nurturing them into beautiful flowering plants.
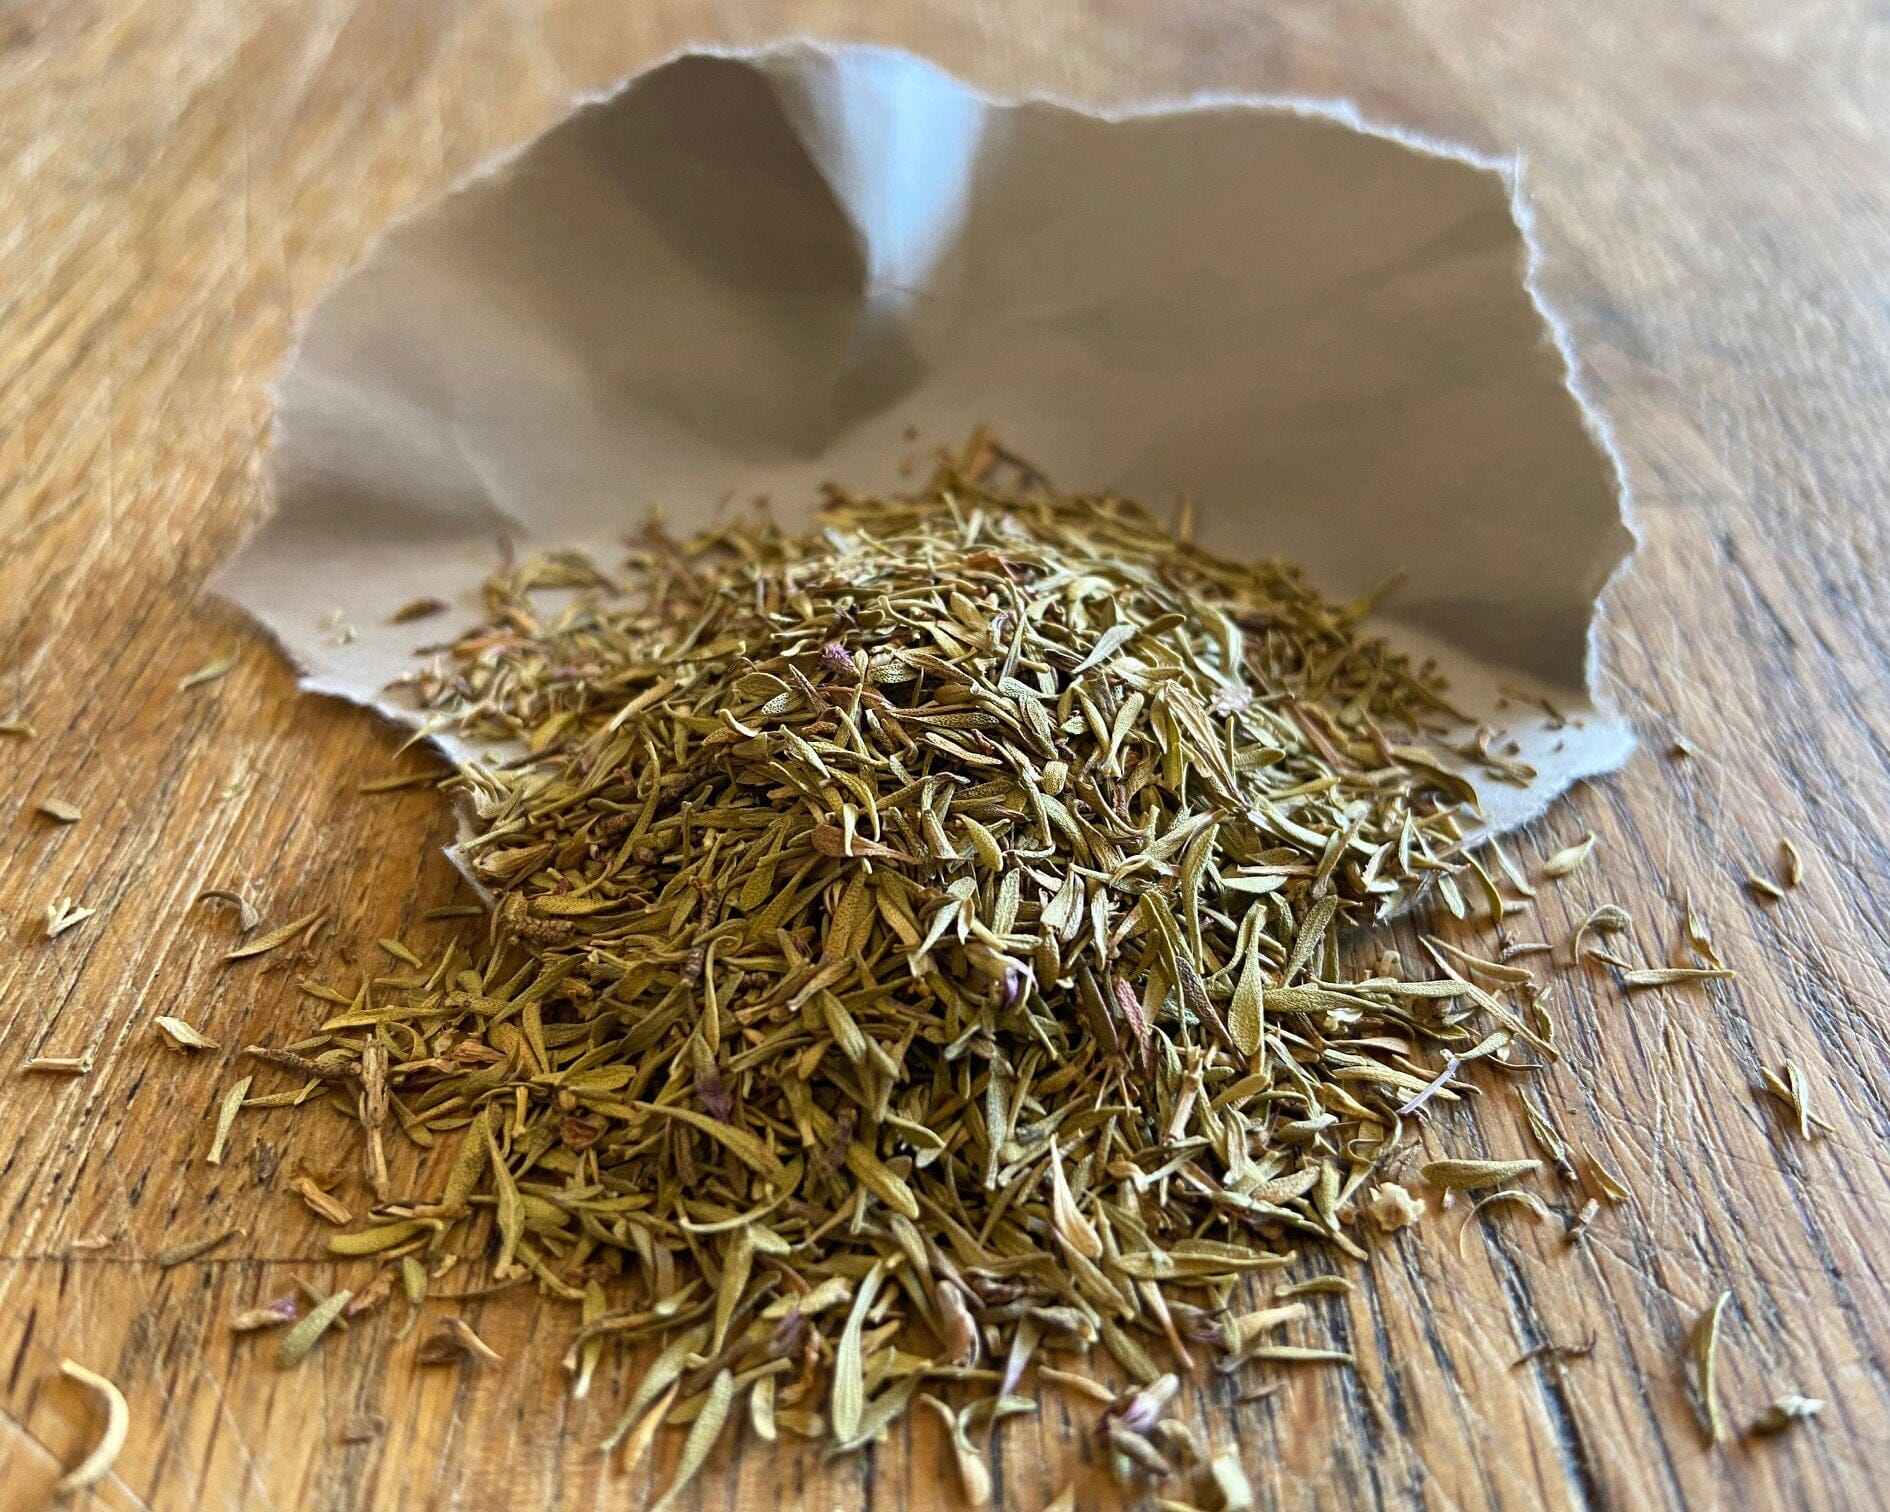
Sowing the Echinacea Seeds
Sowing the Echinacea seeds is an exciting step in the process of cultivating these beautiful flowering plants. Follow these simple steps to ensure successful germination and healthy growth:
- Timing: Echinacea seeds can be sown either in the spring or fall. For spring sowing, start indoors 8-10 weeks before the last frost date. For fall sowing, sow the seeds directly in the garden bed after the threat of frost has passed.
- Seed Preparation: Echinacea seeds have a hard outer shell, and scarification can help improve germination rates. Gently file or nick the seed coat using a nail file or sandpaper, taking care not to damage the inner seed.
- Sowing Method: If starting indoors, use seed trays or pots filled with moist seed starting mix. Sow the seeds on the surface, lightly pressing them into the soil without covering completely. If sowing directly in the garden bed, create small furrows or shallow holes, spaced about 12-18 inches apart.
- Seed Depth: Cover the seeds with a thin layer of soil or vermiculite, about 1/8 to 1/4 inch deep. Avoid burying the seeds too deeply, as they require light to germinate.
- Watering: After sowing the seeds, gently water the soil to provide moisture without causing soil erosion or dislodging the seeds. Maintain moist but not waterlogged conditions throughout the germination period.
- Germination: Echinacea seeds typically germinate within 10-20 days. Keep the soil consistently moist and maintain a temperature of around 70°F (21°C) for optimum germination results.
- Thinning: Once the seedlings emerge and develop their first set of true leaves, thin them to allow proper spacing. Keep the strongest and healthiest seedlings, and remove any weak or overcrowded ones.
Remember to label your seedlings, especially if you have planted different varieties. This will help you keep track of their growth and bloom characteristics.
Now that you have sowed the Echinacea seeds, it’s time to provide proper care to help the seedlings flourish into healthy plants. The next section will guide you through the essential steps of providing proper care for your growing Echinacea plants.
Providing Proper Care
Providing proper care is essential for the successful growth and development of your Echinacea plants. By following these guidelines, you can ensure that your plants thrive and produce beautiful blooms:
- Watering: Echinacea plants have moderate water needs. Water deeply and infrequently, allowing the soil to dry slightly between watering sessions. Avoid overwatering, as it can lead to root rot and other fungal diseases. During dry spells or periods of intense heat, provide additional water to prevent dehydration.
- Fertilization: Echinacea plants are relatively low-maintenance and do not require frequent fertilization. A single application of a balanced slow-release organic fertilizer during the growing season is usually sufficient. Follow the package instructions for application rates and timing.
- Mulching: Apply a layer of organic mulch around the base of the plants to help retain moisture, regulate soil temperature, and suppress weed growth. Use materials such as straw, wood chips, or shredded leaves. Keep the mulch a few inches away from the plant stems to prevent rot.
- Pruning: Deadheading or removing faded blooms can help prolong the flowering period and encourage more blooms. Additionally, prune any diseased, damaged, or overcrowded stems to maintain plant health and vigor. Pruning can be done throughout the growing season as needed.
- Support: Echinacea plants typically have sturdy stems, but some varieties may benefit from gentle support. Install stakes or plant supports around the plants to prevent them from toppling over or bending under the weight of their blooms. Avoid tying the plants too tightly as they need some flexibility to withstand wind.
- Pest and Disease Management: Echinacea is generally resistant to pests and diseases. However, keep an eye out for common garden pests like aphids or Japanese beetles. If necessary, use organic pest management methods such as hand-picking or spraying with insecticidal soap. Proper spacing, good air circulation, and avoiding over-watering can help prevent fungal diseases.
By providing proper care, you can ensure that your Echinacea plants remain healthy, vigorous, and ready to grace your garden with their stunning blooms. As your plants mature, you may need to consider transplanting seedlings to allow them more space to grow. The next section will guide you through the process of transplanting Echinacea seedlings for continued success.
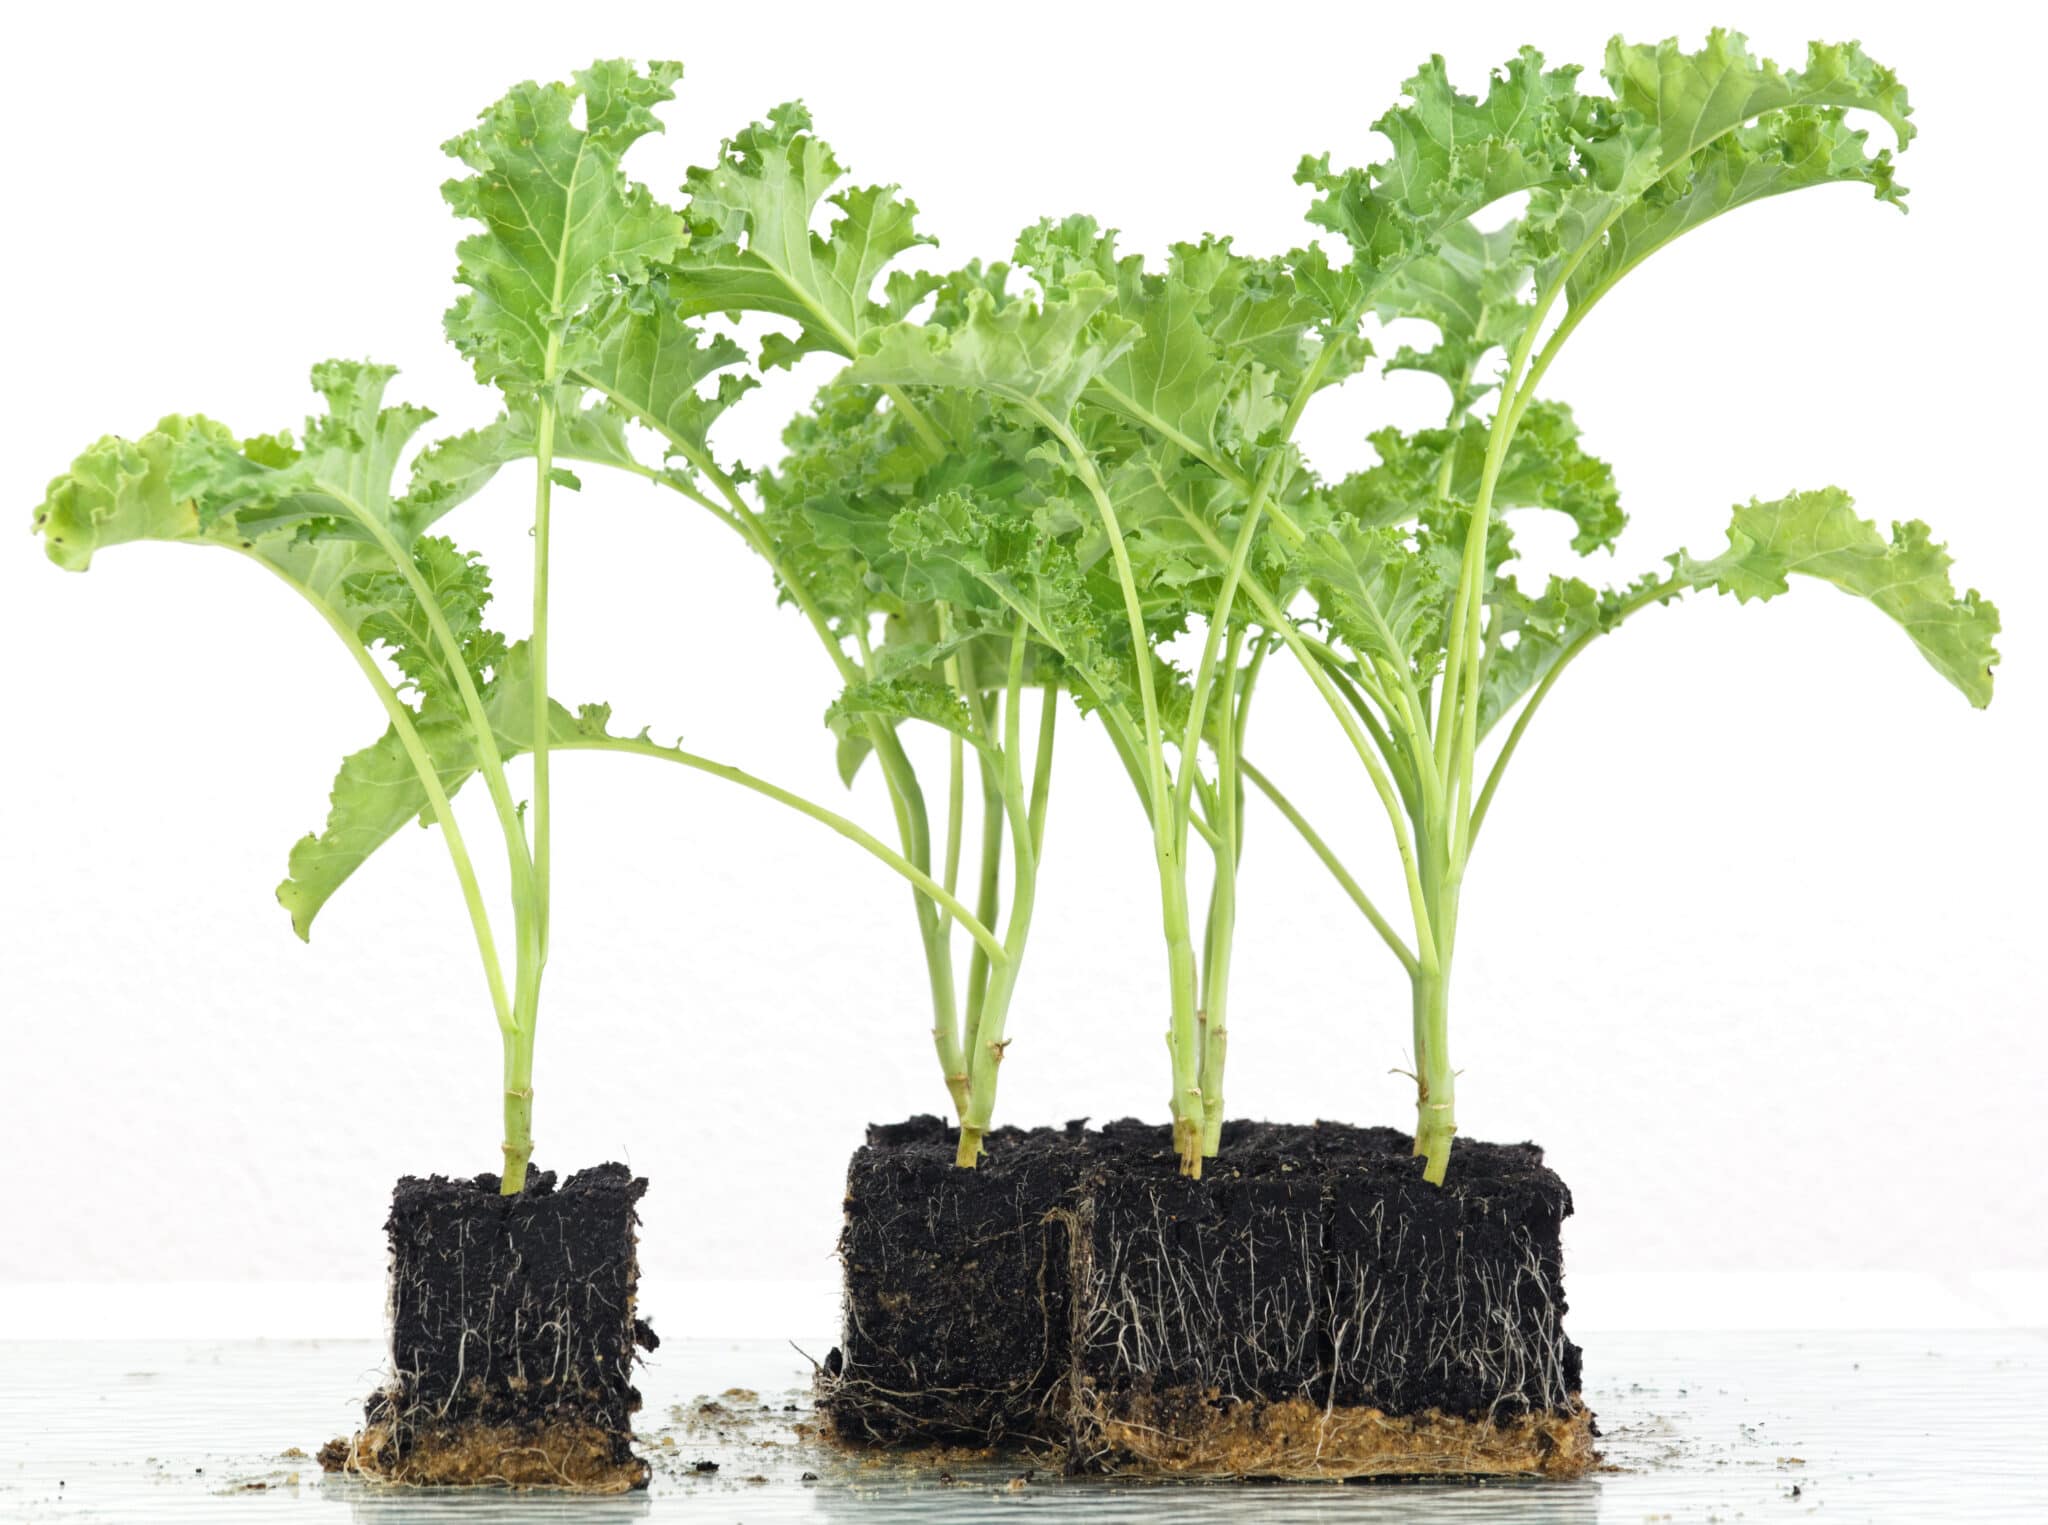
Transplanting Seedlings
Transplanting Echinacea seedlings is an important step to provide adequate space and optimal growing conditions for their continued growth. Here’s a step-by-step guide to transplanting Echinacea seedlings:
- Timing: Transplant the seedlings outdoors once they have developed 3-4 true leaves and the threat of frost has passed. This is typically around 6-8 weeks after germination.
- Choosing the Location: Select a sunny spot in your garden with well-drained soil. Ensure that the soil pH and composition are suitable for Echinacea plants.
- Preparing the Site: Dig a hole slightly larger and deeper than the root ball of the seedling. Space the holes about 18-24 inches apart to provide sufficient room for their mature size.
- Watering: Before transplanting, water the seedlings thoroughly to ensure their roots are well-hydrated. This will help lessen transplant shock and aid in the seedlings’ transition to their new environment.
- Transplanting Process: Carefully remove the seedlings from their containers or seed trays, taking care to minimize root disturbance. Place the seedling in the prepared hole, ensuring that the top of the root ball is level with the surrounding soil. Fill in the hole with soil, gently firming it around the roots.
- Watering and Mulching: After transplanting, water the seedlings thoroughly to settle the soil and ensure good root-to-soil contact. Apply a layer of organic mulch around the base of the plants to help retain moisture and suppress weed growth.
- Caring for Transplanted Seedlings: Provide regular watering, especially during dry spells, and monitor the plants for any signs of stress or wilting. Avoid over-watering, as excessive moisture can lead to root rot. Maintain a consistent care routine, including fertilization and pest management as needed.
Transplanting Echinacea seedlings allows them to establish strong root systems and develop into healthy, vibrant plants. With proper care and nurturing, your transplanted seedlings will flourish and reward you with their beautiful blooms.
Now that you have successfully transplanted your seedlings, it won’t be long before you can enjoy the stunning display of Echinacea flowers in your garden. The next section will cover the exciting process of harvesting these beautiful flowers.
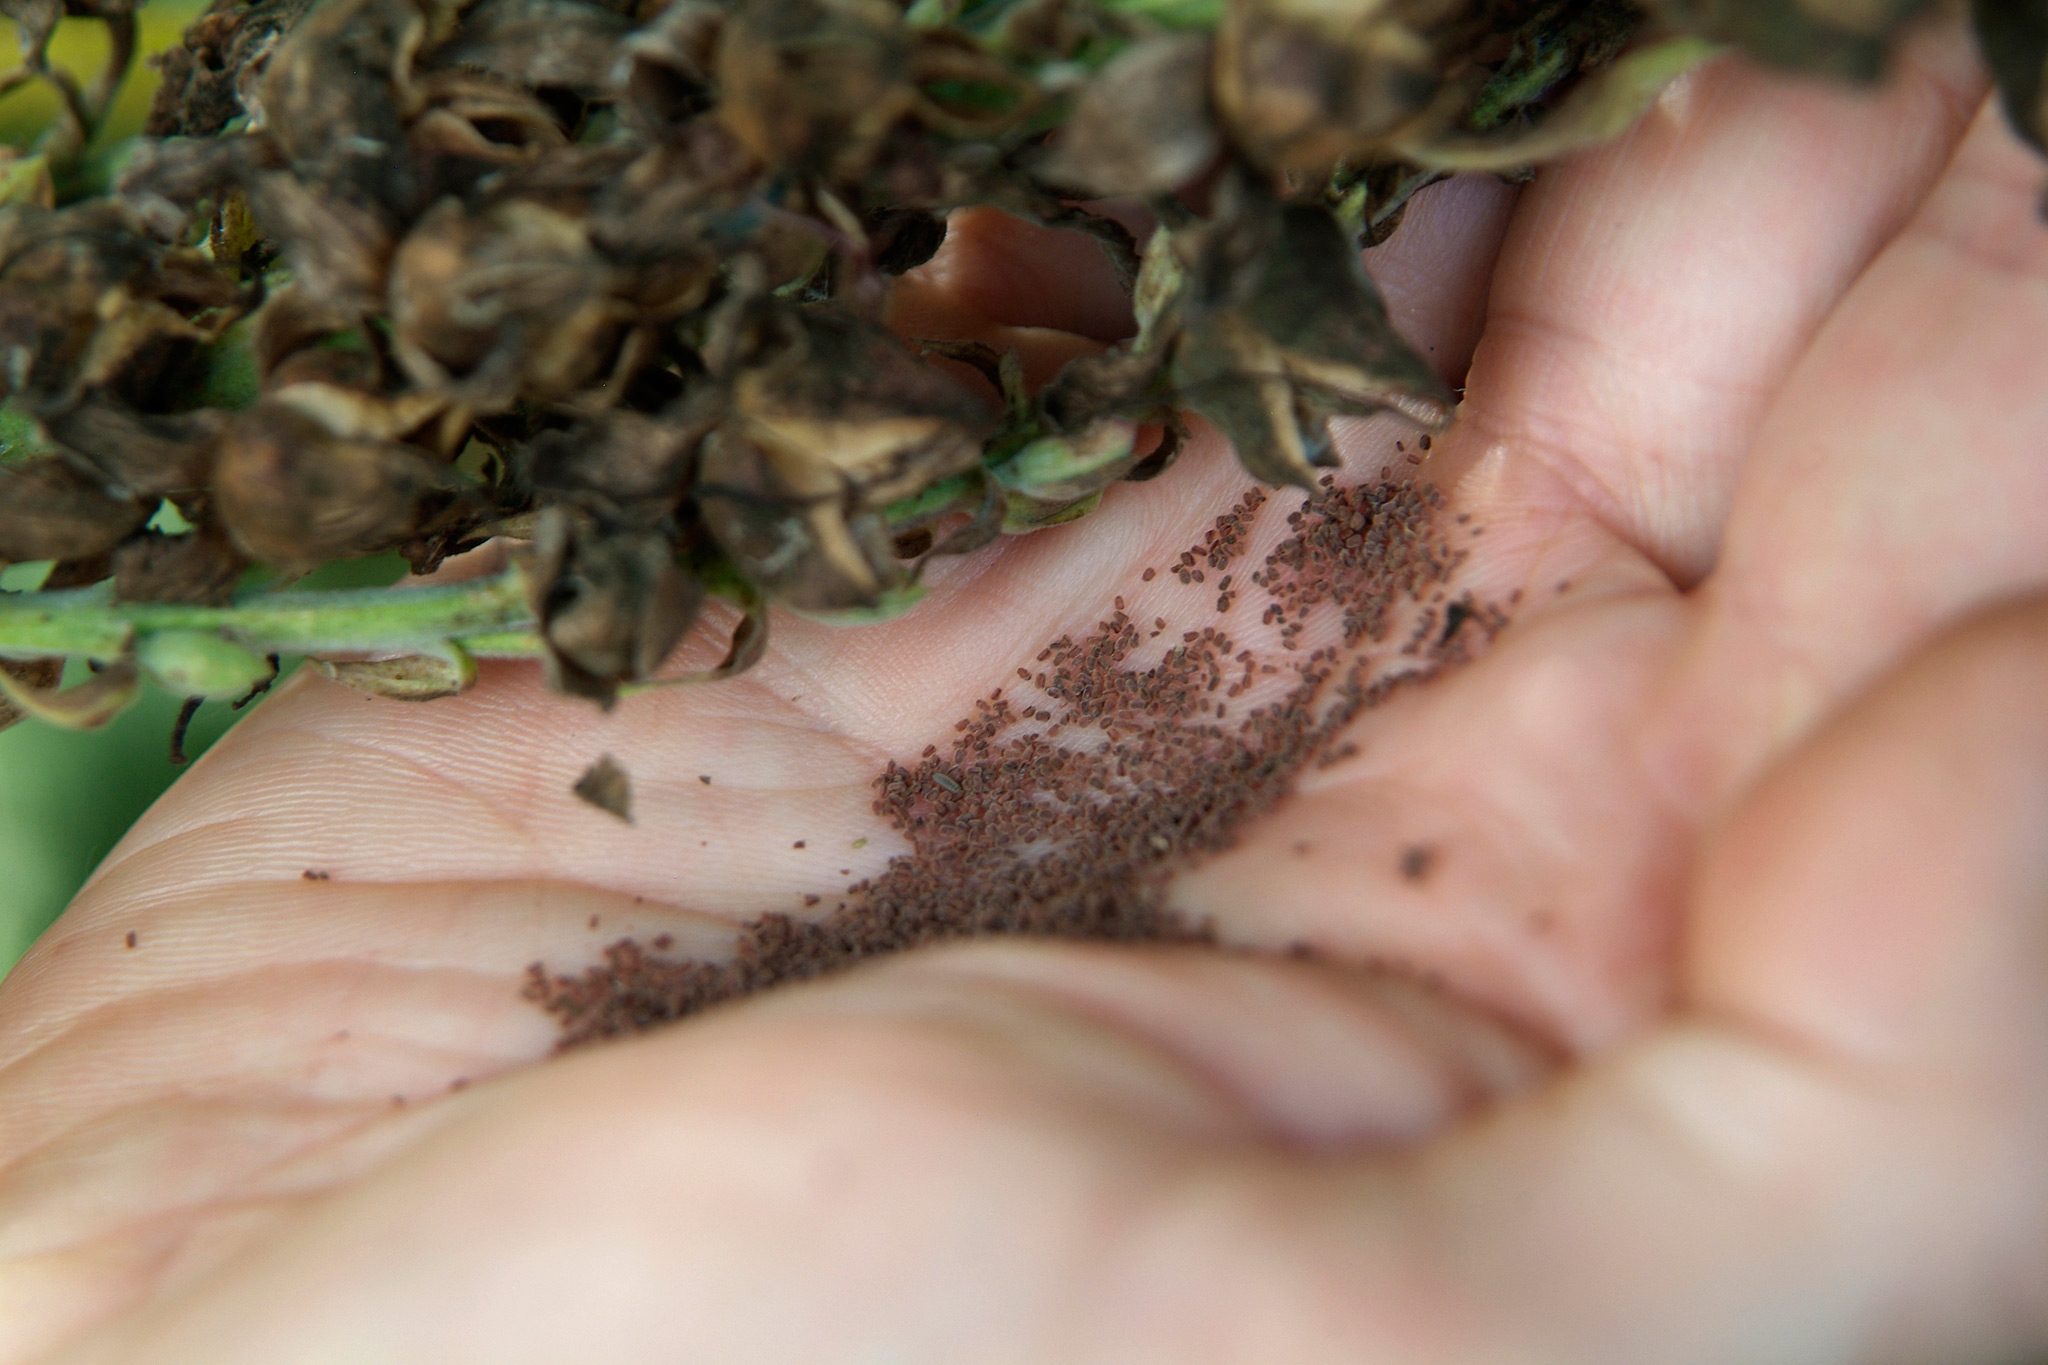
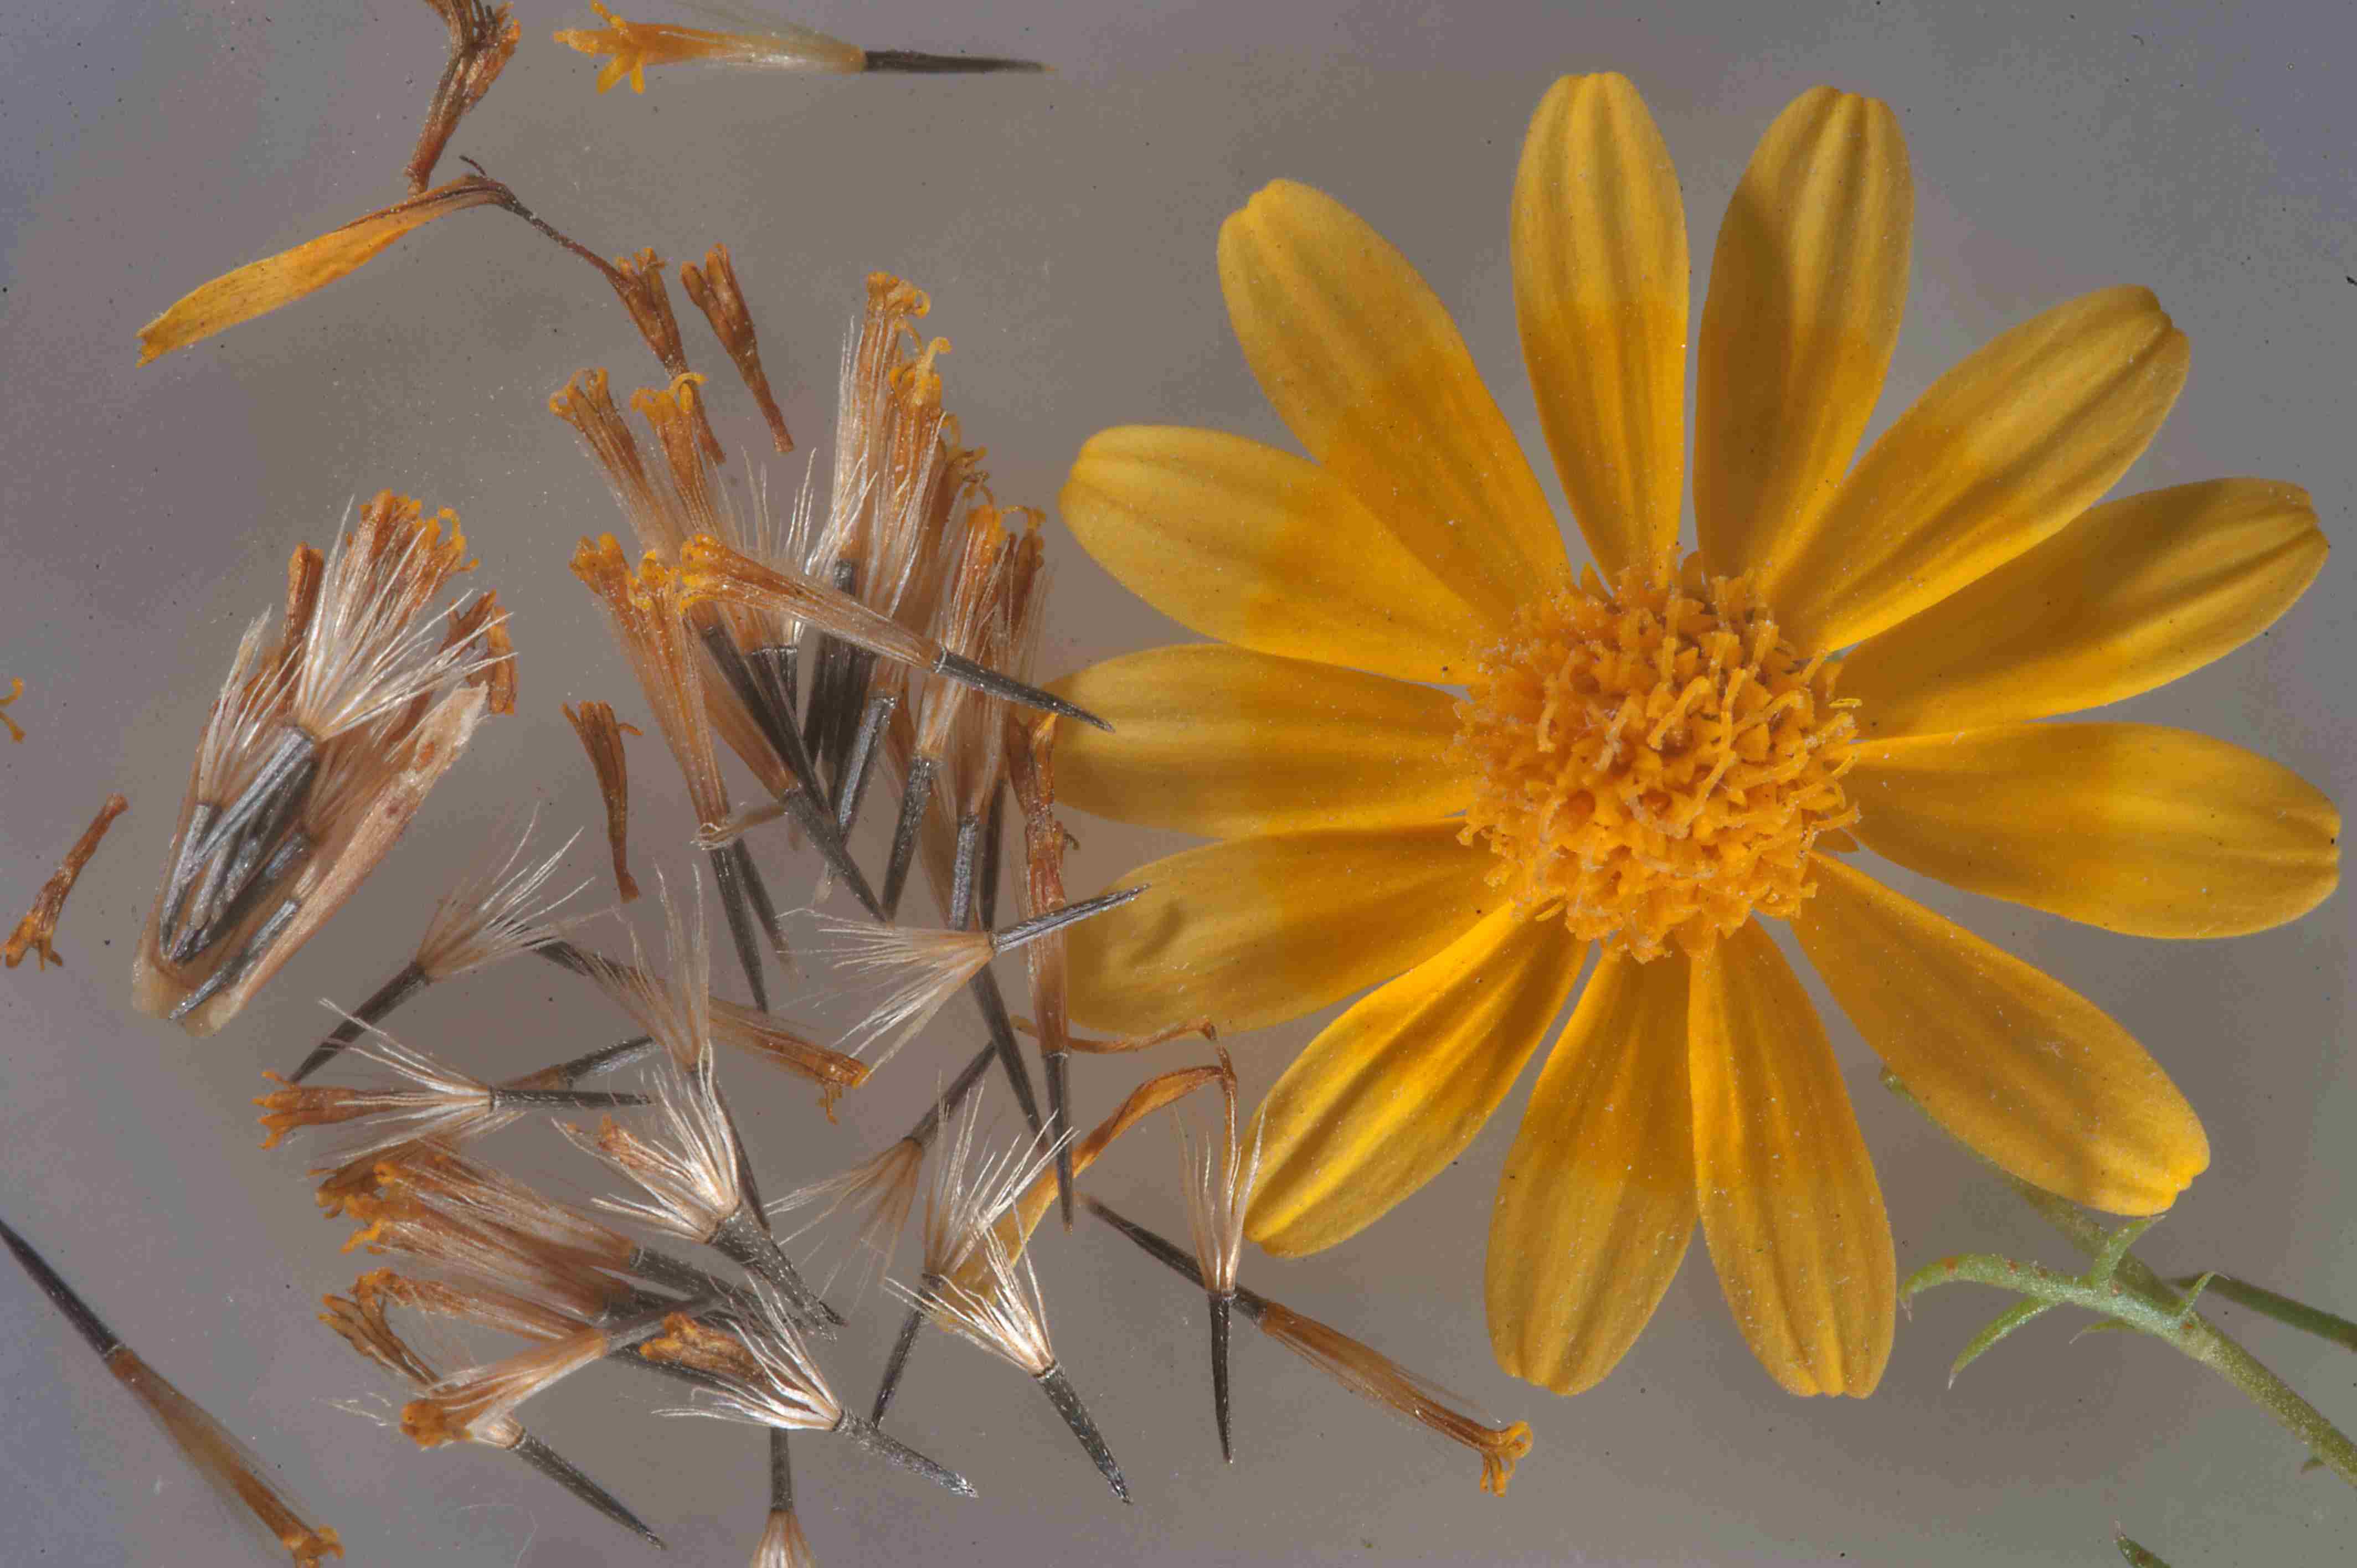
Harvesting Echinacea Flowers
Harvesting Echinacea flowers is a rewarding process that allows you to enjoy the beauty of the blooms and harness the medicinal properties of this remarkable plant. Here’s what you need to know about harvesting Echinacea flowers:
- Timing: Harvest Echinacea flowers when they are fully open and at their peak. This is usually when the petals are vibrant in color and the cone-shaped center is full and firm. Avoid harvesting when the flowers are wilted, as this indicates that they are past their prime.
- Tools: To harvest Echinacea flowers, you will need a pair of sharp gardening shears or pruners. Make sure they are clean and sanitized to prevent the spread of diseases or infections.
- Harvesting Method: Locate the stem of the Echinacea flower you wish to harvest. Cut the stem just above a set of leaves or lateral bud. This will help promote the growth of new stems and encourage bushier growth for the plant.
- Quantity: When harvesting Echinacea flowers, it’s important not to take more than one-third of the blooms from a single plant. This allows the plant to maintain its energy and continue producing flowers throughout the season.
- Drying Method: If you wish to preserve the flowers for their medicinal properties, hang them upside down in a dry, well-ventilated area. Tie the stems together and hang them in small bunches. Once the flowers are completely dry, remove the petals from the cones and store them in airtight containers away from light and moisture.
- Enjoying Fresh Flowers: If your intention is to display the Echinacea flowers fresh, prepare a vase with clean water and remove any leaves that would be submerged. Trim the stem ends diagonally and place the flowers in the vase. Change the water every couple of days to prolong their freshness.
By harvesting Echinacea flowers at the appropriate time and with care, you can fully appreciate their beauty and harness their potential health benefits. Whether you choose to use the dried petals for herbal remedies or enjoy the fresh blooms in a vase, Echinacea flowers are sure to bring joy and beauty to your home or garden.
Now that you’re equipped with the knowledge of harvesting Echinacea flowers, you can continue to care for your plants and reap the rewards of your hard work and dedication.
Conclusion
Congratulations! You have now learned the essentials of planting, caring for, and harvesting Echinacea flowers in your own ornamental garden. From choosing the right seeds to sowing them, providing proper care, and finally, harvesting the blooms, you have embarked on a journey that will yield beauty, sustainability, and potential health benefits.
Echinacea, with its vibrant colors, attractive blooms, and medicinal properties, is a delightful addition to any garden. By following the steps outlined in this article, you can create a stunning display of Echinacea and enjoy the visual appeal it brings to your surroundings. Additionally, with its ability to attract pollinators, Echinacea contributes to the overall health and biodiversity of your garden.
Remember, selecting the right Echinacea seeds, preparing the soil, providing proper care, and harvesting the flowers at the right time are key factors in your gardening success. By giving attention to these important steps, you’re ensuring optimal growth and a thriving garden.
Whether you choose to use Echinacea for its medicinal properties, to attract pollinators, or simply for its beauty, your efforts will be rewarded with a stunning garden filled with vibrant, cone-shaped flowers. So, go ahead, get your hands dirty, and watch your Echinacea garden thrive!
Happy gardening!