Home>Types of Gardening>Ornamental Gardening>How To Plant Daisy Seeds

Ornamental Gardening
How To Plant Daisy Seeds
Modified: February 7, 2024
Learn the step-by-step process of planting daisy seeds for a beautiful ornamental garden. Discover expert tips and techniques for successful cultivation.
(Many of the links in this article redirect to a specific reviewed product. Your purchase of these products through affiliate links helps to generate commission for Chicagolandgardening.com, at no extra cost. Learn more)
Table of Contents
Introduction
Ornamental gardening is a delightful and rewarding hobby that allows you to transform your outdoor space into a vibrant and visually stunning oasis. Among the many beautiful flowers you can cultivate in your garden, daisies hold a special place. With their radiant colors and charming simplicity, daisies are sure to brighten any landscape.
Whether you’re a gardening novice or have a green thumb, growing daisies from seeds can be a fulfilling experience. It allows you to witness and nurture the complete life cycle of these enchanting blooms firsthand. To help you achieve success in planting and growing daisy seeds, this article will guide you through a step-by-step process.
From choosing the right location for your daisy seeds to protecting the plants from pests and disease, this comprehensive guide will equip you with the knowledge and skills necessary to cultivate a flourishing garden filled with vibrant daisies. So, roll up your sleeves, grab your gardening tools, and let’s dive into the fascinating world of daisy seed planting!
Step 1: Choosing the right location
The success of your daisy seed planting venture largely depends on selecting the ideal location for your plants. Daisies thrive in areas with full sun exposure, so choose a spot in your garden that receives at least six hours of direct sunlight each day.
It’s also important to ensure that the location has well-draining soil. Daisies are susceptible to root rot, so avoid areas where water tends to accumulate or where the soil remains consistently moist. Test the soil drainage by digging a hole and filling it with water. If the water drains within an hour, you have suitable soil for daisies.
In addition to sunlight and soil drainage, consider the surrounding vegetation. Daisies benefit from good air circulation, so avoid planting them in areas crowded by tall plants or trees. This will prevent the buildup of moisture, reducing the risk of diseases.
Furthermore, make sure that the chosen location provides enough space for your daisies to grow. They can spread and fill in empty spaces, so plan accordingly to avoid overcrowding. Proper spacing allows the plants to receive adequate light and nutrients, promoting healthy growth.
Lastly, consider the aesthetic aspect. Daisies are versatile and can complement various garden styles. Whether you want to create a cottage garden, a wildflower meadow, or a formal border, daisies can be a charming addition. Choose a location that aligns with your garden design aspirations and enhances the overall appeal.
Step 2: Preparing the soil
Before sowing your daisy seeds, it’s essential to prepare the soil to create an optimal growing environment for your plants. Start by removing any weeds, rocks, or debris from the area. Weeds can compete with daisies for nutrients, water, and sunlight, hindering their growth.
Next, loosen the soil using a garden fork or shovel to a depth of about 6 to 8 inches. This will improve the soil structure and allow the roots of the daisies to penetrate deeply. Break up clumps of soil and remove any large stones or roots that may impede growth.
Amend the soil with organic matter such as compost or well-rotted manure. This will enrich the soil with essential nutrients and enhance its moisture-holding capacity. Spread a 2 to 3 inch layer of organic matter over the soil surface and gently work it into the top few inches of soil.
Before sowing the seeds, ensure that the soil is evenly moist, but not waterlogged. This will provide a conducive environment for germination and root development. Water the area thoroughly a day or two before sowing the seeds to ensure the soil is adequately hydrated.
If your soil is heavy clay or sandy, consider adding some sand or loamy soil to improve drainage or water retention, respectively. Find a balance between moisture retention and drainage to create the ideal soil conditions for your daisies.
By taking the time to properly prepare the soil, you’ll provide your daisy seeds with a healthy foundation for germination and growth. This step is crucial for ensuring strong, vibrant plants with robust root systems.
Step 3: Sowing the seeds
Now that you have prepared the soil, it’s time to sow your daisy seeds. Sowing the seeds properly will set the stage for successful germination and healthy plant growth.
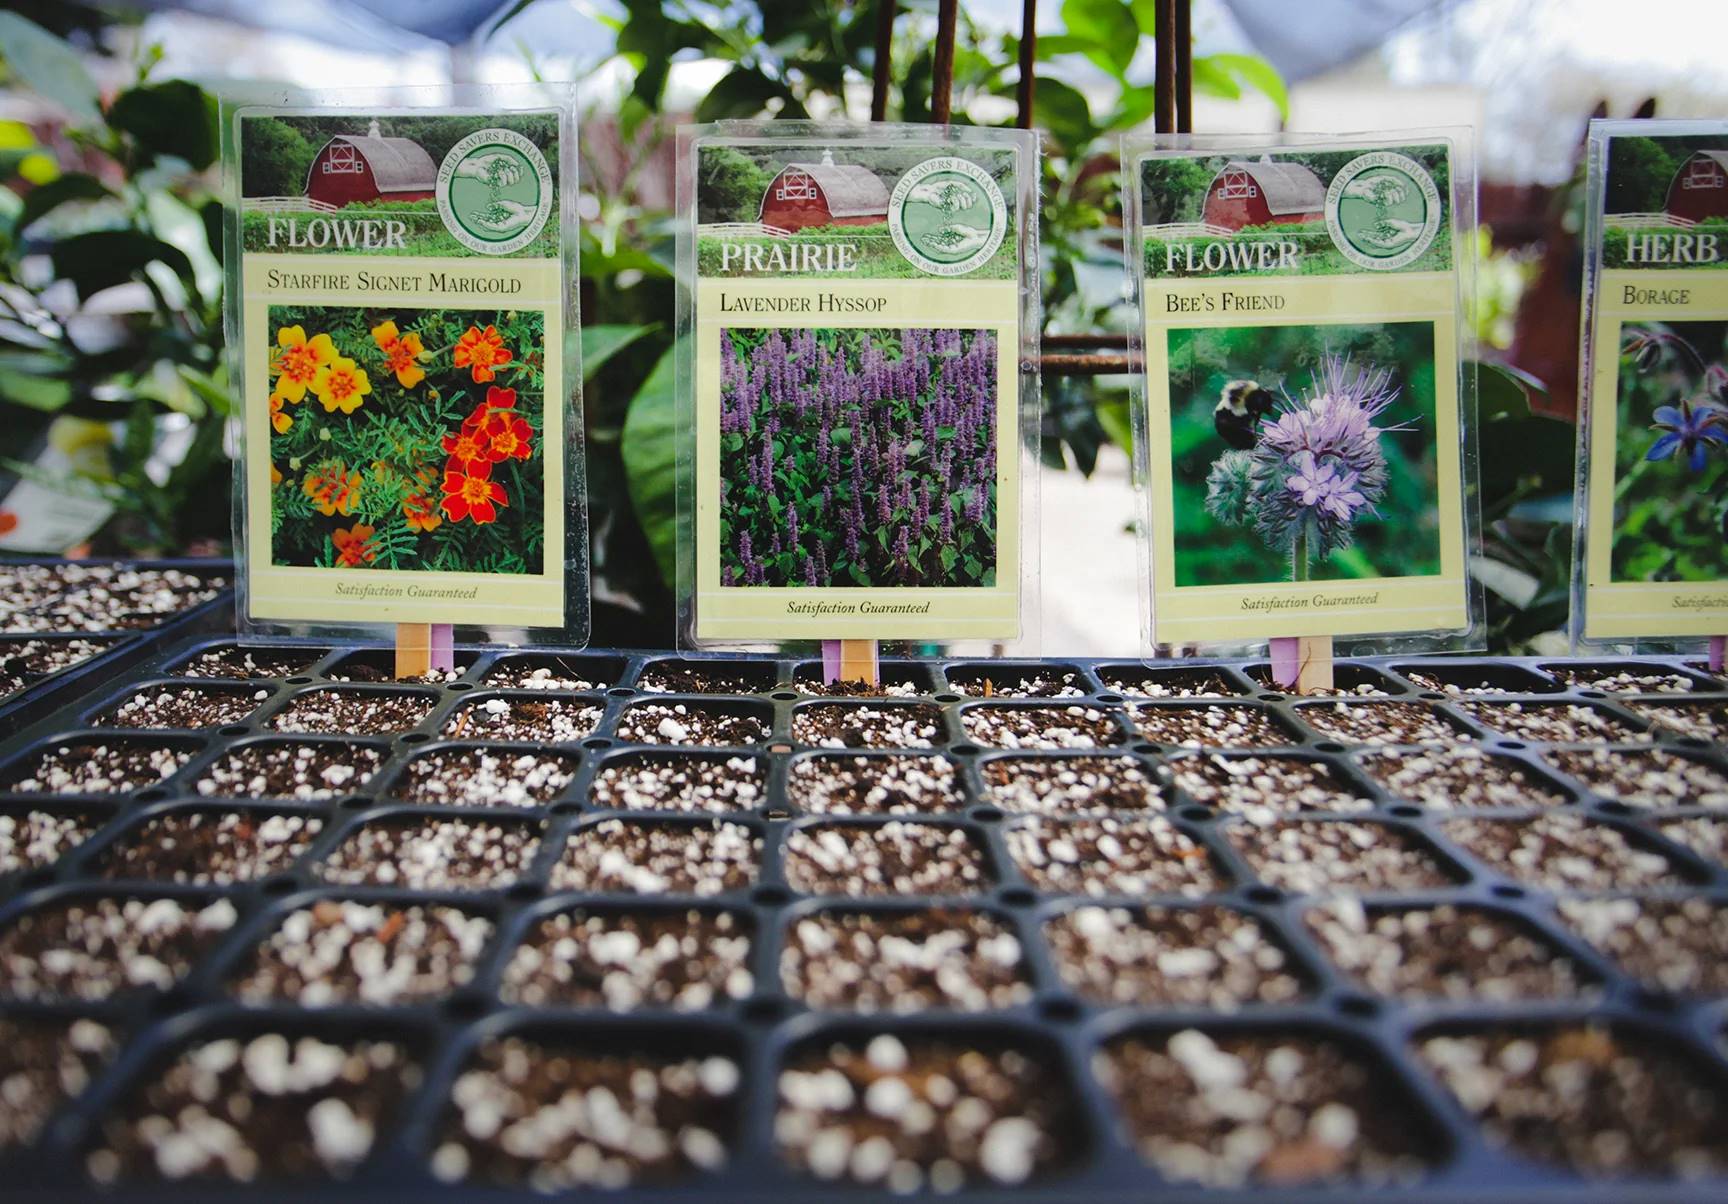
Start by scattering the seeds over the prepared soil surface. Daisies are small and lightweight, so a thin, even distribution is key. Avoid overcrowding the seeds to allow sufficient space for each plant to grow.
Once the seeds are scattered, lightly press them into the soil. This will ensure good seed-to-soil contact, which is important for germination. Avoid burying the seeds too deeply, as daisies require light to germinate.
After pressing the seeds into the soil, gently water the area using a fine mist or a watering can with a rose attachment. This will avoid dislodging the seeds. Aim to keep the soil evenly moist throughout the germination process. Avoid overwatering, as this can lead to fungal issues and rotting of the seeds.
To monitor the progress of your daisy seedlings, consider marking the area where you sowed the seeds with plant markers or small stakes. This will help you identify the emerging seedlings and differentiate them from surrounding plants or weeds.
Germination typically takes around 7 to 14 days, though it can vary depending on the variety of daisies and environmental conditions. Be patient and maintain consistent moisture during this period.
As the seedlings emerge, thin them out if necessary to provide adequate space for each plant to grow. Weak or overcrowded seedlings should be carefully removed, leaving only the strongest plants. This will prevent competition for resources and promote healthier growth.
Remember to keep an eye on the weather conditions during the germination process. If there is a risk of frost, consider covering the seedlings with a light cloth or garden fabric to protect them. Once the danger of frost has passed, gradually remove the cover.
With proper care and attention, your daisy seeds will sprout and grow into beautiful, vigorous plants that will bring joy and beauty to your garden.
Step 4: Watering and fertilizing
Proper watering and fertilization are crucial for the healthy growth and development of your daisy plants. Providing them with an optimal balance of moisture and nutrients will ensure vibrant blooms and sturdy foliage.
When it comes to watering, daisies prefer evenly moist soil. Water the plants deeply, saturating the root zone, but avoid overwatering, as this can lead to root rot and other diseases. Check the soil moisture regularly by inserting your finger into the soil. If it feels dry up to the first knuckle, it’s time to water.
During hot and dry periods, you may need to water your daisies more frequently to prevent the soil from drying out. Aim to water in the early morning to allow the foliage to dry before evening, reducing the risk of fungal diseases.
Fertilizing daisy plants can help promote healthy growth and abundant blooms. Prior to planting, incorporate slow-release granular fertilizer into the soil according to the package instructions. This will provide a steady supply of nutrients throughout the growing season.
During the growing season, you can supplement with a balanced, water-soluble fertilizer every four to six weeks. Dilute the fertilizer according to the package instructions and apply it directly to the soil around the base of the plants. Avoid getting fertilizer on the foliage, as it can cause burns.
Alternatively, you can use organic fertilizers such as compost or well-rotted manure. Apply a thin layer around the base of the plants and gently work it into the soil. Organic fertilizers improve soil fertility and contribute to long-term plant health.
Keep in mind that daisies are generally not heavy feeders. Avoid overfertilizing, as it can lead to excessive foliage growth and fewer blooms. Adhere to the recommended dosage and follow a balanced approach to maintain the overall health and vigor of your daisy plants.
By providing your daisies with proper watering and fertilization, you’ll ensure their well-being and encourage a stunning display of colorful blooms throughout the season.
Step 5: Maintenance and care
Maintaining and caring for your daisy plants is essential for their long-term health and vitality. Regular attention will help them thrive and blossom with vibrant colors. Here are some key maintenance tasks to keep in mind:
Weeding: Regularly remove weeds in the vicinity of your daisy plants to prevent competition for water, nutrients, and sunlight. Hand-pull weeds or use a small gardening tool to minimize disturbance to the daisy roots.
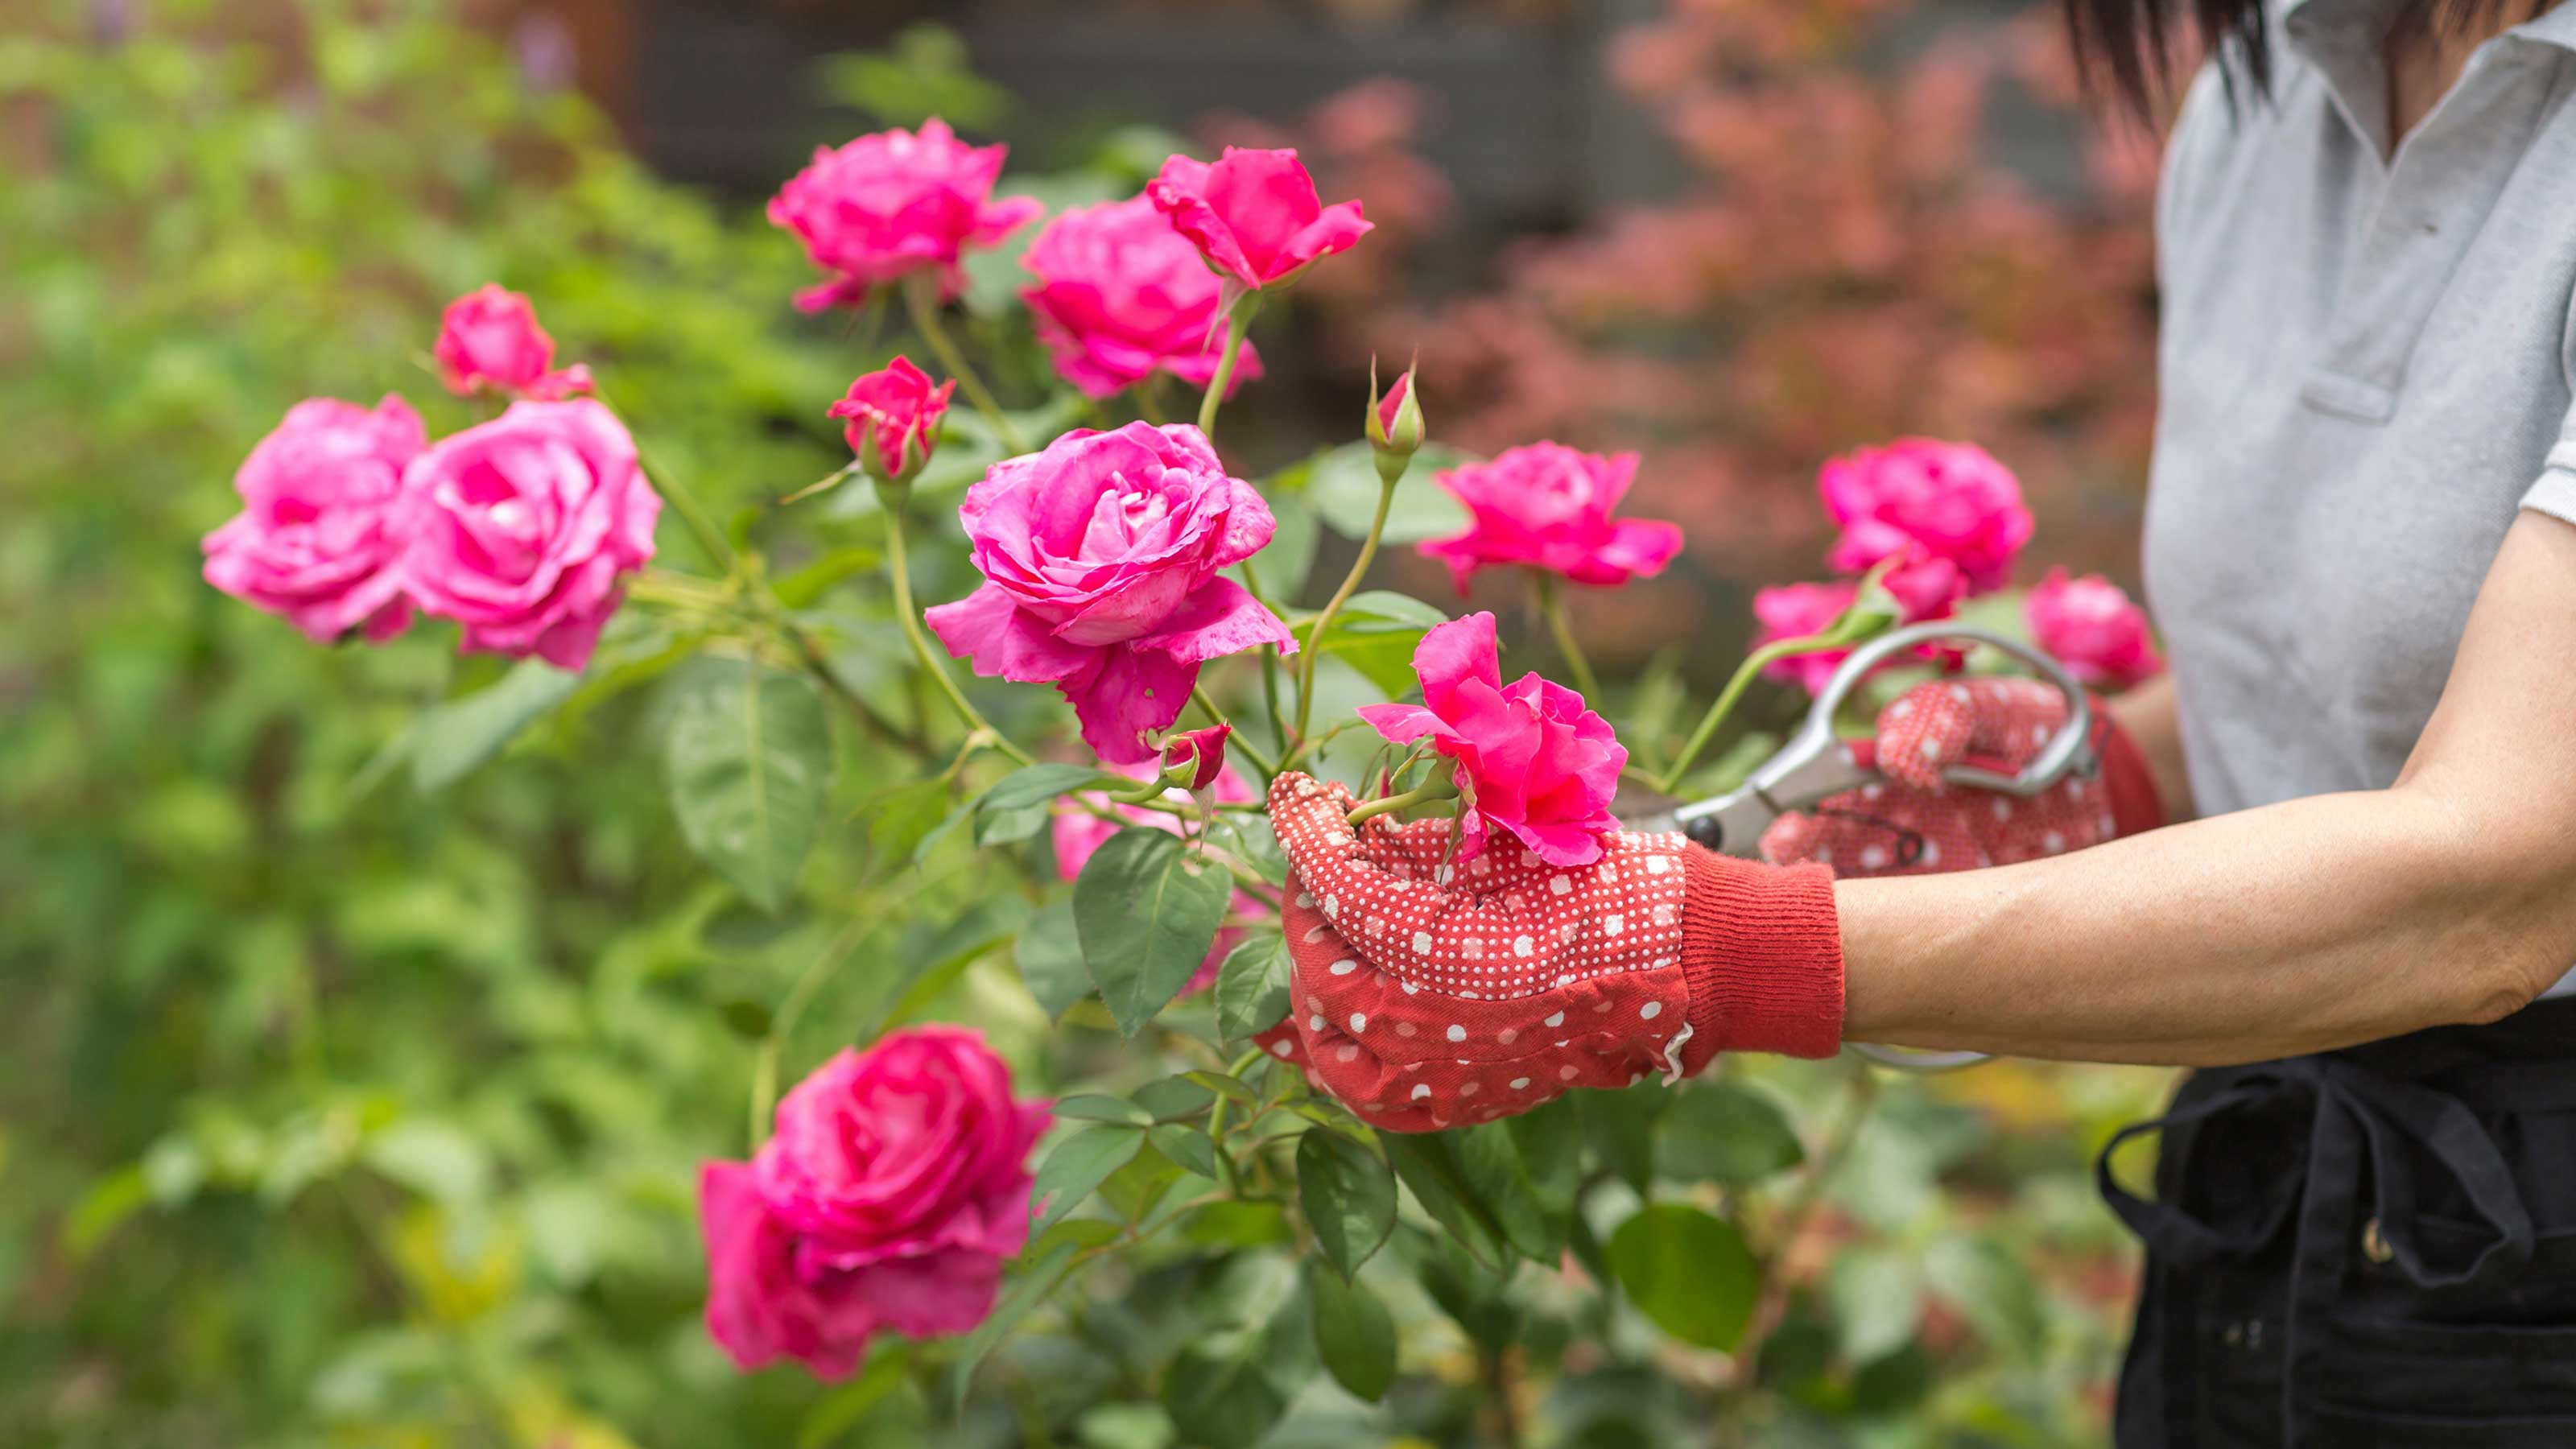
Deadheading: To encourage continuous blooming, remove spent flowers by pinching or cutting them off just above a leaf node. This practice redirects the plant’s energy from seed production to new flower development.
Pruning: In late summer or early fall, after the blooming season has ended, you can lightly prune the daisy plants to shape them and remove any damaged or leggy growth. Be careful not to prune excessively, as daisies benefit from some foliage to protect their crowns during winter.
Supporting: Depending on the variety, some daisy plants may benefit from staking or support. Vigorous cultivars with tall flower stalks can be gently tied to stakes to prevent them from flopping over during strong winds or heavy rains.
Dividing: Over time, daisy plants can become crowded and may need to be divided to maintain their health and vigor. Dividing is typically done in early spring or fall when the plants are dormant. Carefully dig up the clumps, separate them into smaller sections, and replant them in well-prepared soil.
Mulching: Applying a layer of organic mulch around your daisy plants can help conserve soil moisture, suppress weed growth, and provide insulation to protect the roots during extreme temperatures. Use a 2 to 3-inch layer of mulch, such as wood chips or straw, keeping it a few inches away from the plant stems to prevent moisture-related issues.
Monitoring pests and diseases: Regularly inspect your daisy plants for signs of pests, such as aphids or spider mites, and take appropriate measures, such as using insecticidal soap or natural predators, to control them. In addition, keep an eye out for common diseases like powdery mildew or leaf spot and promptly treat any affected plants.
Winter protection: Some daisy varieties are hardy and can withstand colder temperatures, while others may require additional protection during winter. Consider covering the plants with a layer of straw or using protective coverings to insulate them from freezing temperatures and harsh elements.
By diligently maintaining and caring for your daisy plants, you’ll ensure their longevity and enjoy a garden filled with beautiful, flourishing flowers year after year.
Step 6: Transplanting the seedlings
As your daisy seedlings grow and develop, they may outgrow their initial planting space or need to be relocated to achieve better spacing and overall garden design. Transplanting the seedlings properly is crucial to minimize stress and ensure their successful establishment in their new location.
The ideal time for transplanting daisy seedlings is when they are in their early stages of growth and have developed a few sets of true leaves. This is typically around 4 to 6 weeks after germination, but can vary depending on the specific variety and growing conditions.
Start the transplantation process by preparing the new location. Ensure that the soil is well-prepared, free from weeds, and enriched with organic matter. Water the soil thoroughly before transplanting to ensure optimal moisture levels.
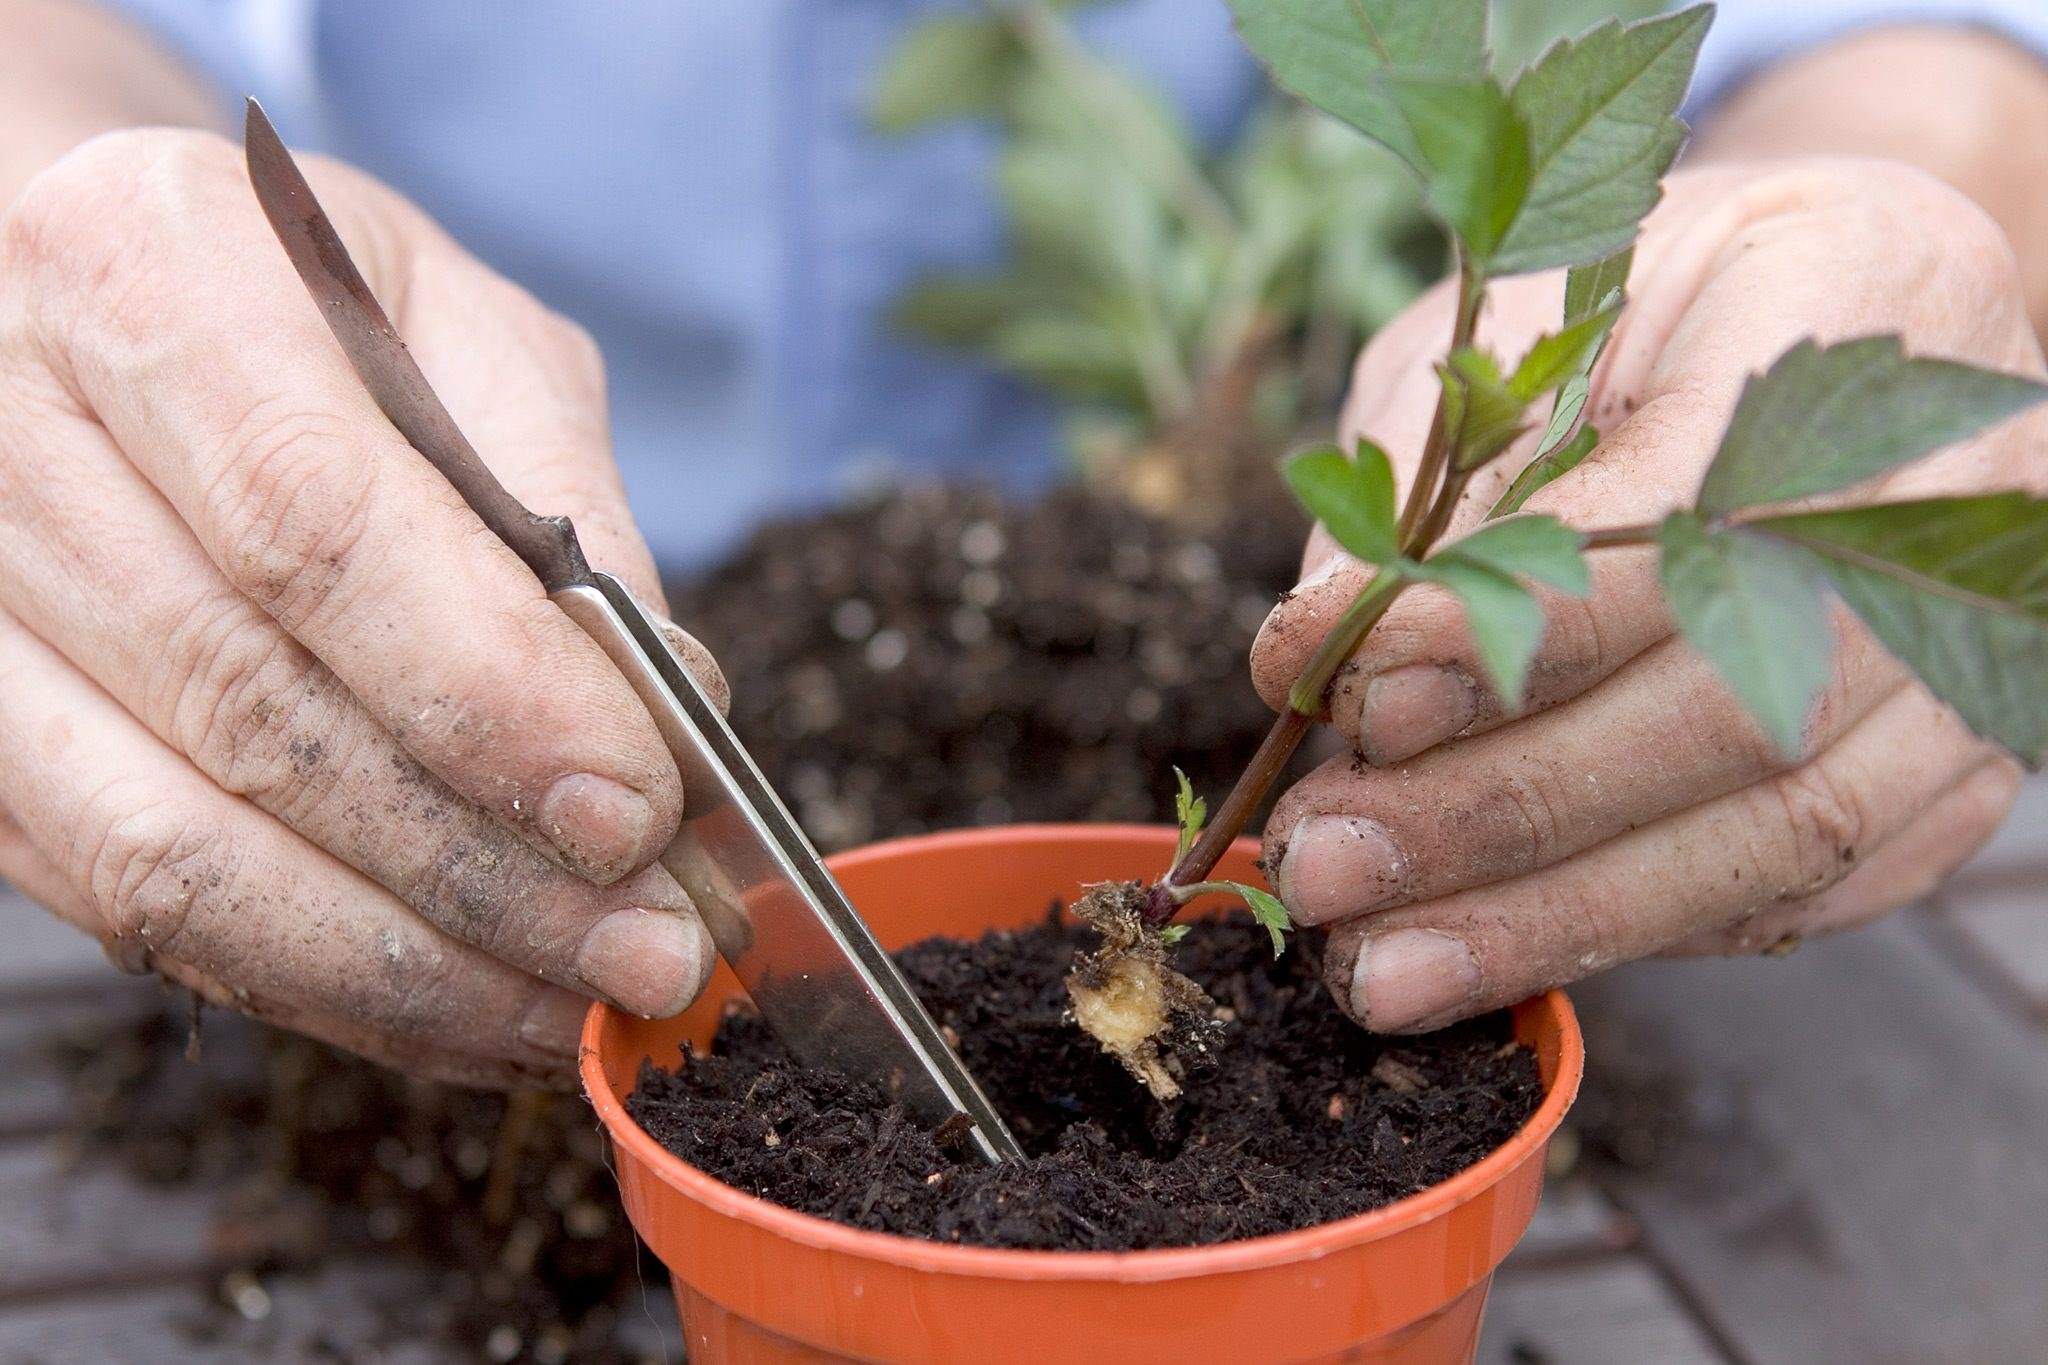
Gently dig around the seedlings with a small garden trowel, taking care to avoid damaging the delicate roots. Lift the seedlings from the ground, trying to keep the root ball intact. If the root system has become intertwined, carefully tease the roots apart to separate the individual plants.
Dig a hole in the new planting area that is slightly larger than the root ball of the seedling. Place the seedling in the hole, making sure it is positioned at the same depth as it was previously. Backfill the hole with soil, gently firming it around the roots to eliminate air pockets.
Water the newly transplanted seedlings immediately after planting to settle the soil and provide necessary hydration. Monitor the moisture levels in the following weeks and ensure that the plants receive adequate water to aid in their establishment.
To protect the transplanted seedlings from harsh sunlight and extreme temperatures, consider using temporary shading or placing a cloche over them for the first few days. This will help reduce stress and allow the plants to acclimate to their new environment.
Keep an eye on the transplanted seedlings in the weeks following transplantation. Monitor their growth, look for signs of distress or wilting, and provide any necessary care, such as additional watering or protection from pests.
With proper care and attention after transplantation, your daisy seedlings will adapt and thrive in their new location, adding beauty and charm to your garden.
Step 7: Protecting from pests and diseases
Protecting your daisy plants from pests and diseases is crucial to ensure their health and longevity. By taking preventive measures and recognizing early signs of infestation or disease, you can maintain thriving plants in your garden. Here are some key strategies to protect your daisies:
Pest prevention: Regularly inspect your plants for common garden pests such as aphids, slugs, or snails. Use physical barriers like netting or row covers to deter larger pests from reaching your daisies. Additionally, companion planting with insect-repellent plants like marigolds or lavender can help deter pests.
Early detection: Keep a close eye on your daisies for any signs of pest or disease infestation. Yellowing leaves, wilting, or distorted growth can indicate pest activity. Act promptly to address any issues to prevent further damage.
Organic pest control: If pests are detected, consider using organic pest control methods such as insecticidal soap or neem oil. These options are less harmful to beneficial insects and are safer for the environment.
Disease prevention: Proper plant spacing, adequate air circulation, and regular watering practices can help prevent common fungal diseases such as powdery mildew or leaf spot. Avoid overhead watering, as the moisture on foliage can promote disease development.
Sanitation: Clean up fallen leaves, debris, and plant material around your daisies regularly. This reduces the chances of pests and diseases overwintering and reinfesting the plants in the following seasons.
Proper watering: Avoid overwatering your daisies, as excessive moisture can create a favorable environment for disease development. Water at the base of the plants, directing the water to the soil and avoiding wetting the foliage.
Plant selection: When choosing daisy varieties for your garden, opt for disease-resistant cultivars. These varieties are bred to have enhanced resistance to common diseases, reducing the risk of infection.
Educate yourself: Stay informed about common pests and diseases that affect daisies in your region. Research reputable resources or consult with local gardening experts to learn about effective prevention and treatment methods specific to your area.
By implementing these protective measures, you can minimize the impact of pests and diseases on your daisies and maintain a healthy, vibrant garden for years to come.
Step 8: Enjoying the blooms
After all the hard work and care you’ve put into planting and nurturing your daisy plants, it’s time to sit back and enjoy the beautiful blooms that they will bring to your garden. Here are some tips to ensure you fully appreciate and maximize the beauty of your daisies:
Regular deadheading: Continue to remove spent flowers throughout the blooming season. Deadheading not only keeps your daisies looking tidy but also encourages more blooms to form, extending the flowering period.
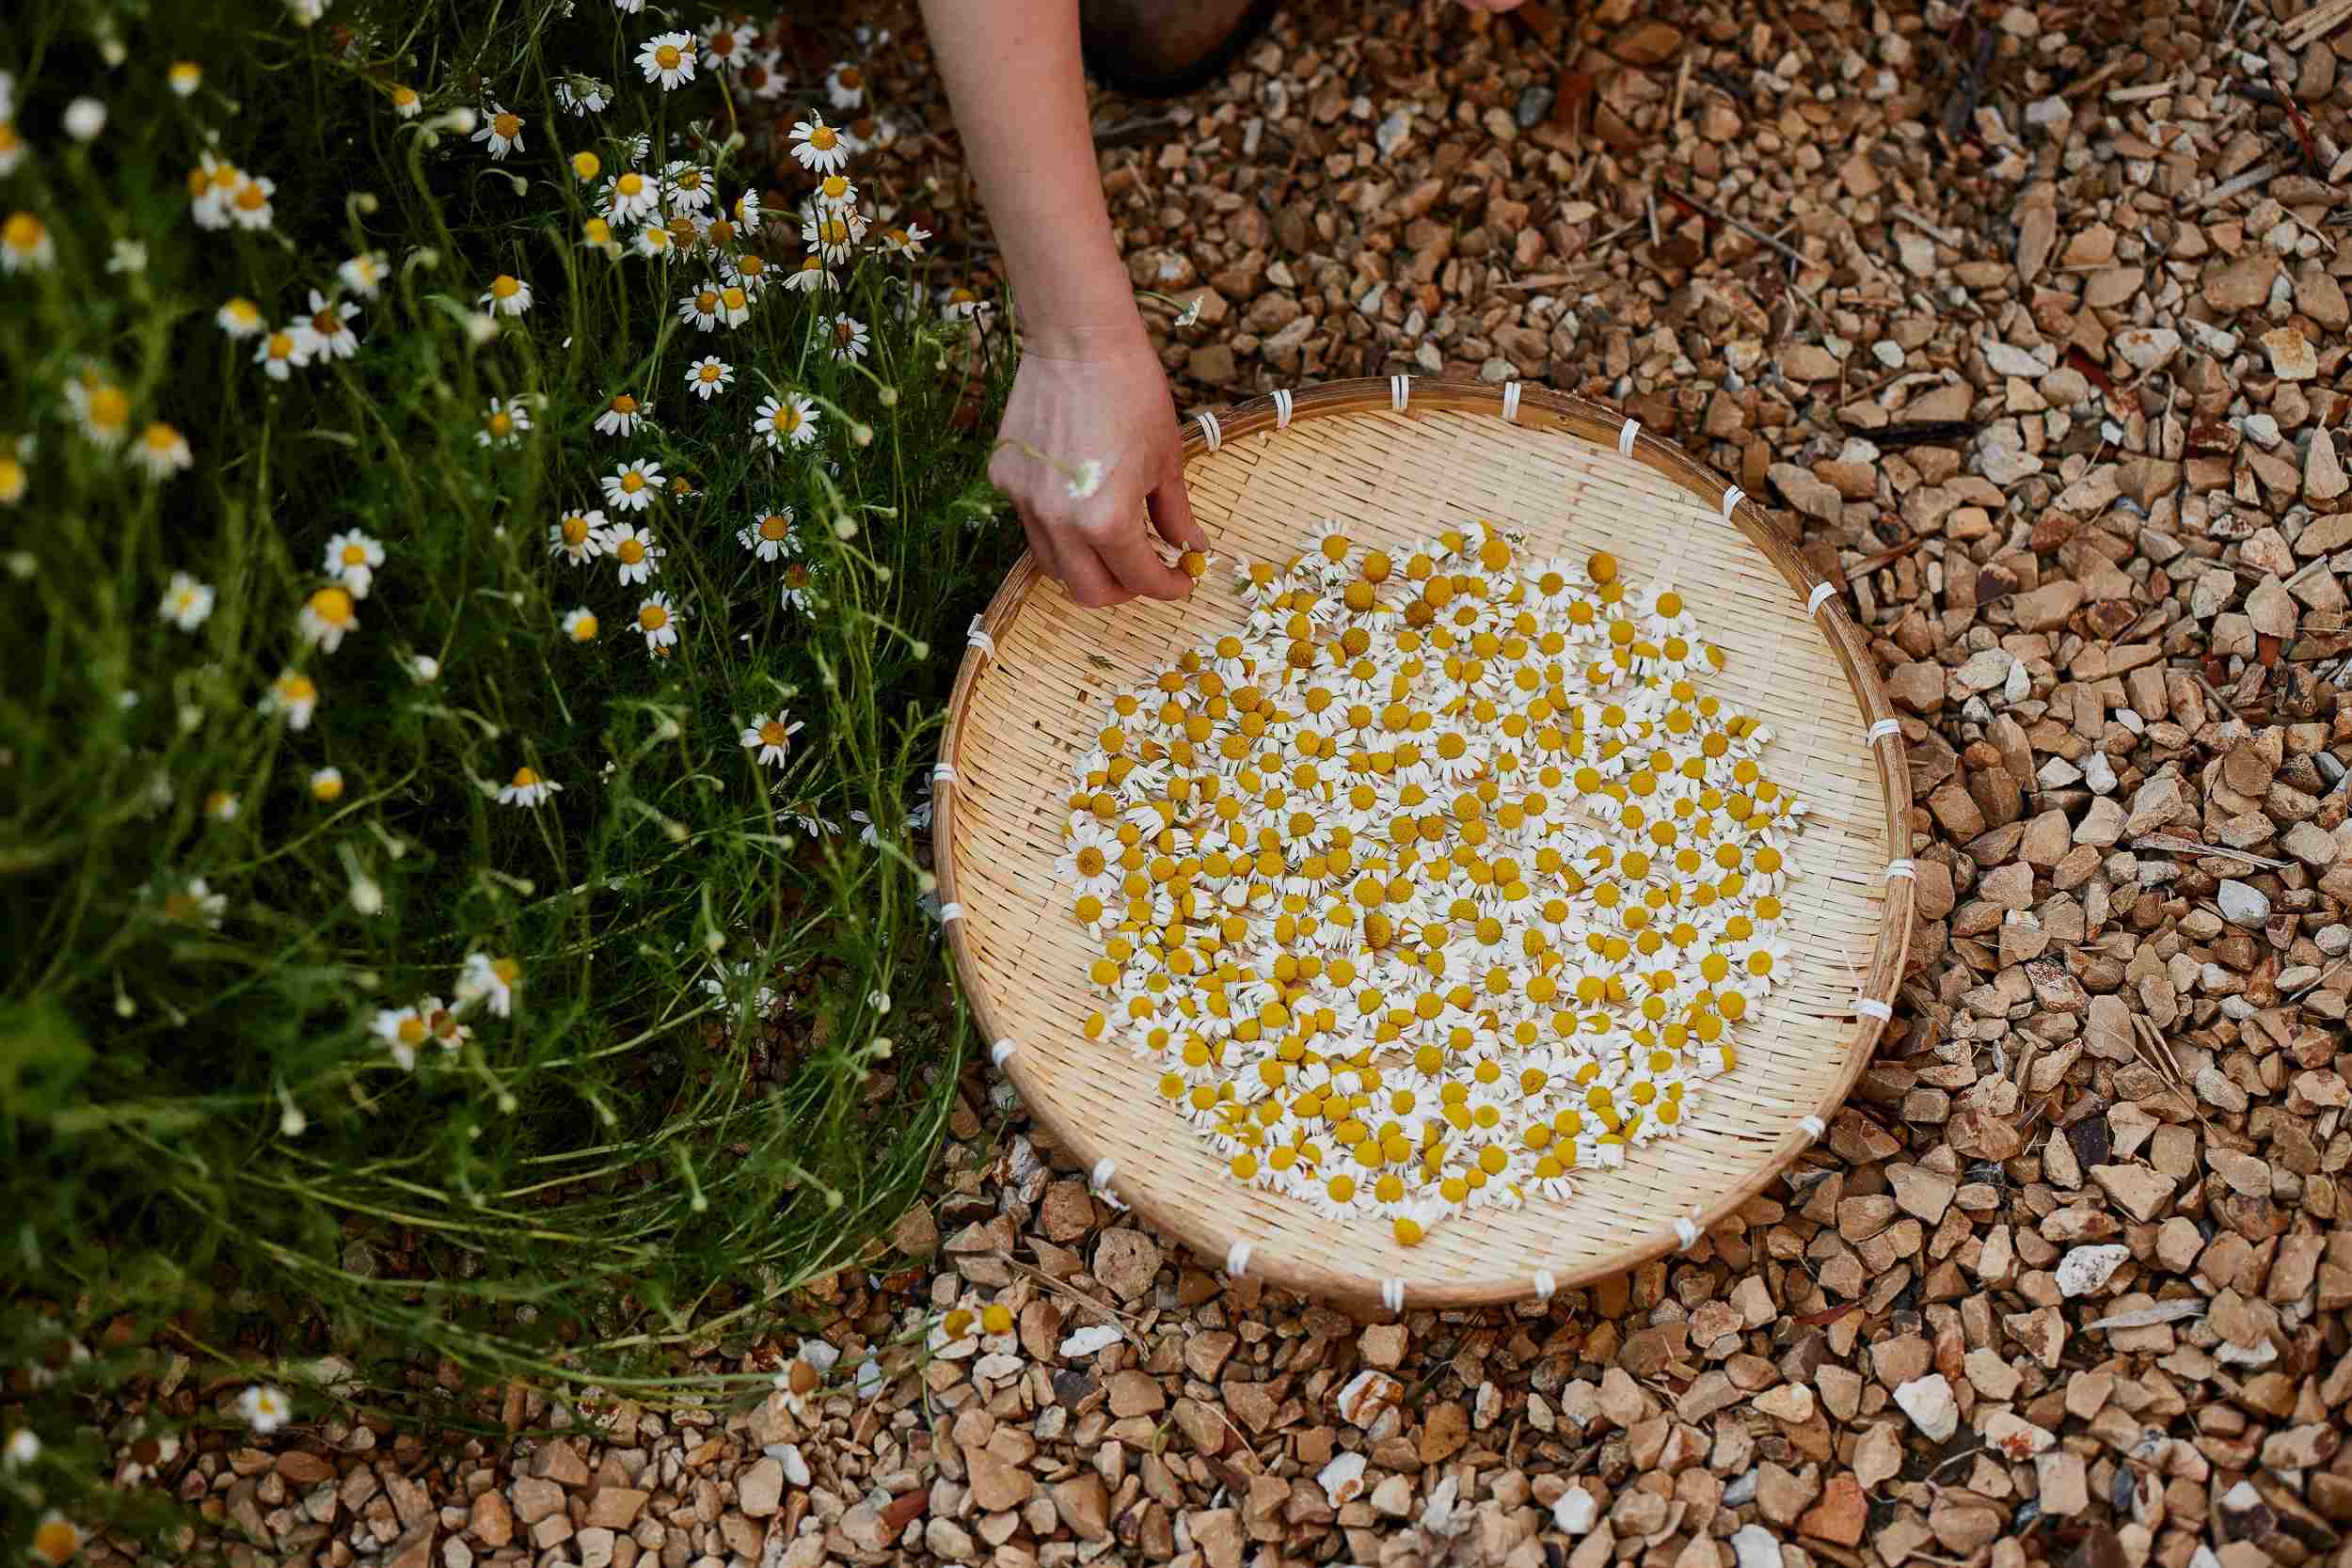
Harvesting cut flowers: Daisies make wonderful cut flowers, bringing an element of natural beauty indoors. Harvest flowers early in the morning when they are well-hydrated, and place them in a vase of fresh water immediately.
Arranging floral displays: Get creative with arranging daisies in floral displays. Combine them with other flowers, foliage, and accents to create vibrant, eye-catching arrangements that reflect your personal style.
Playing with colors and varieties: Explore the wide variety of daisy colors and shapes available. Experiment with different combinations and arrangements, allowing your creativity to shine through and adding excitement to your garden and floral displays.
Photographing your blooms: Capture the stunning beauty of your daisies through photography. Experiment with lighting, angles, and backgrounds to showcase their elegance and detail. You can share the photos with friends and family or use them to create personalized cards or wall art.
Sharing the joy: If your daisy plants have produced an abundance of blooms, consider spreading the joy by gifting bouquets to friends, family, or neighbors. Small acts of kindness can brighten someone’s day and bring a smile to their face.
Garden events and gatherings: If you have a spacious garden, consider hosting outdoor gatherings or events surrounded by your blooming daisies. Their vibrant colors and enchanting presence will add a touch of magic to any occasion.
Reflecting and appreciating: Take moments to pause and appreciate the beauty and serenity your daisies bring to your garden. Sit quietly, enjoy the fragrance in the air, and take pride in the joy you’ve created through your gardening efforts.
Remember, the enjoyment of your daisy blooms extends beyond their visual appeal. Embrace the experience with all your senses and savor the moments spent in the company of nature’s exquisite gifts.
Conclusion
Cultivating daisy plants from seeds is a gratifying journey that allows you to witness the miraculous transformation from tiny seeds to vibrant blooms. By following the steps outlined in this guide, you have learned how to choose the right location, prepare the soil, sow the seeds, provide proper care and maintenance, protect from pests and diseases, transplant seedlings, and finally, enjoy the delightful blooms.
Gardening is not just about creating a visually appealing outdoor space; it is a therapeutic and rewarding hobby that connects us with nature. As you tend to your daisy plants, take the time to appreciate the simple joys they bring and the sense of peace they offer.
Remember that gardening is an ongoing learning process. Each season and each plant may present new challenges and opportunities for growth. Embrace the journey, be open to experimentation, and don’t be afraid to make mistakes. Every setback is a chance to learn and improve.
As you continue your ornamental gardening endeavors, consider expanding your knowledge and exploring different types of flowers and plants. Your garden can become a tapestry of colors and textures, reflecting your individual style and personality.
So, harness your passion for gardening, unleash your creativity, and let the beauty of daisies, or any other flowers you choose, grace your garden and your life. May your garden bring you joy, peace, and inspiration as you embark on this extraordinary journey of ornamental gardening.
