Home>Gardening Techniques>Plant Care>How To Trim Shasta Daisies After Blooming


Plant Care
How To Trim Shasta Daisies After Blooming
Modified: January 22, 2024
Learn the proper plant care for Shasta daisies after blooming, including tips on trimming and maintaining these beautiful flowers for a vibrant garden.
(Many of the links in this article redirect to a specific reviewed product. Your purchase of these products through affiliate links helps to generate commission for Chicagolandgardening.com, at no extra cost. Learn more)
Table of Contents
Introduction
Welcome to the world of Shasta daisies, where beauty and simplicity come together to create stunning displays of white and yellow blossoms. Whether you’re a novice gardener or an experienced plant enthusiast, knowing how to properly care for your Shasta daisies is essential to ensure their health and longevity. One crucial aspect of Shasta daisy care is the art of trimming them after blooming.
Shasta daisies, scientifically known as Leucanthemum x superbum, are perennial plants that are native to North America. Known for their cheerful and vibrant blooms, these daisies can brighten up any garden or floral arrangement. However, to keep your Shasta daisies looking their best and encourage new growth, it’s important to learn the correct techniques for trimming them.
In this comprehensive guide, we will provide you with step-by-step instructions on when and how to trim your Shasta daisies after they have finished blooming. We will also cover the tools and materials you’ll need, common mistakes to avoid, and some helpful tips and tricks to ensure your daisies thrive.
So, grab your gardening gloves and let’s dive into the wonderful world of trimming Shasta daisies!
When to Trim Shasta Daisies
Knowing the right time to trim your Shasta daisies is crucial for their overall health and growth. While these hardy perennials are relatively low maintenance, proper timing is key to ensure optimal blooming and vigorous plants for years to come.
The ideal time to trim Shasta daisies is immediately after their blooming season. Typically, this occurs in late summer or early fall, depending on your climate and the specific variety of daisies you have. Trimming them promptly after blooming allows the plants to focus their energy on developing strong roots and preparing for the winter months ahead.
By trimming your Shasta daisies during this period, you encourage new growth and prevent the plants from becoming leggy or overcrowded. It also helps maintain the overall shape and appearance of the daisies, keeping them compact and neat.
It is important not to trim Shasta daisies too early or too late in the season. Trimming them too early, before they have finished blooming, can hinder their ability to produce flowers. Conversely, waiting too long to trim them can lead to self-seeding or the formation of woody stems, which can impact the plant’s health and future blooming.
Keep in mind that timing may vary depending on your specific climate and growing conditions. If you are unsure about when to trim your Shasta daisies, observe the plants closely. Once the majority of the flowers have wilted and faded, it’s a good indication that it’s time to start trimming.
Now that you know the optimal timing for trimming Shasta daisies, let’s move on to the tools and materials you’ll need for the pruning process.
Tools and Materials Needed
Before you embark on the journey of trimming your Shasta daisies, it’s important to have the right tools and materials at your disposal to ensure a successful pruning process. Here is a list of the essential items you’ll need:
- Gardening Gloves: Protect your hands from any thorns or prickly stems by wearing a sturdy pair of gardening gloves.
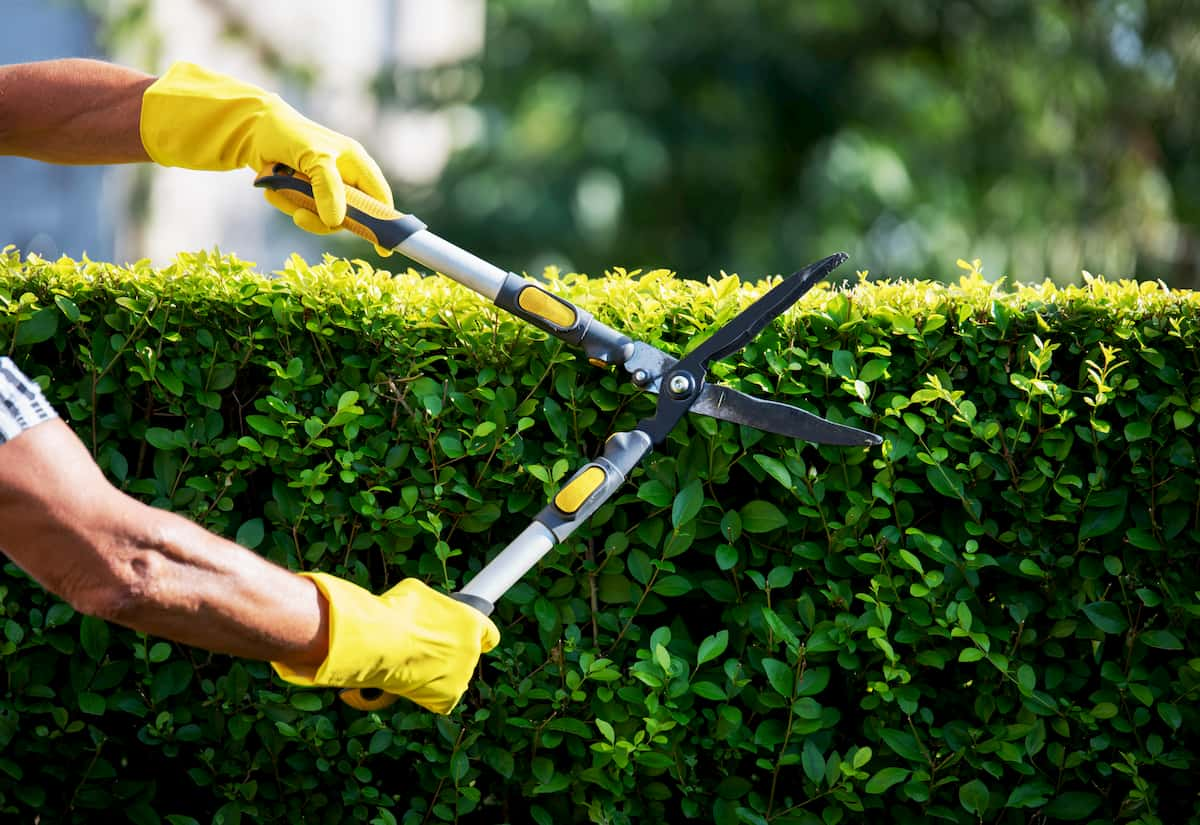
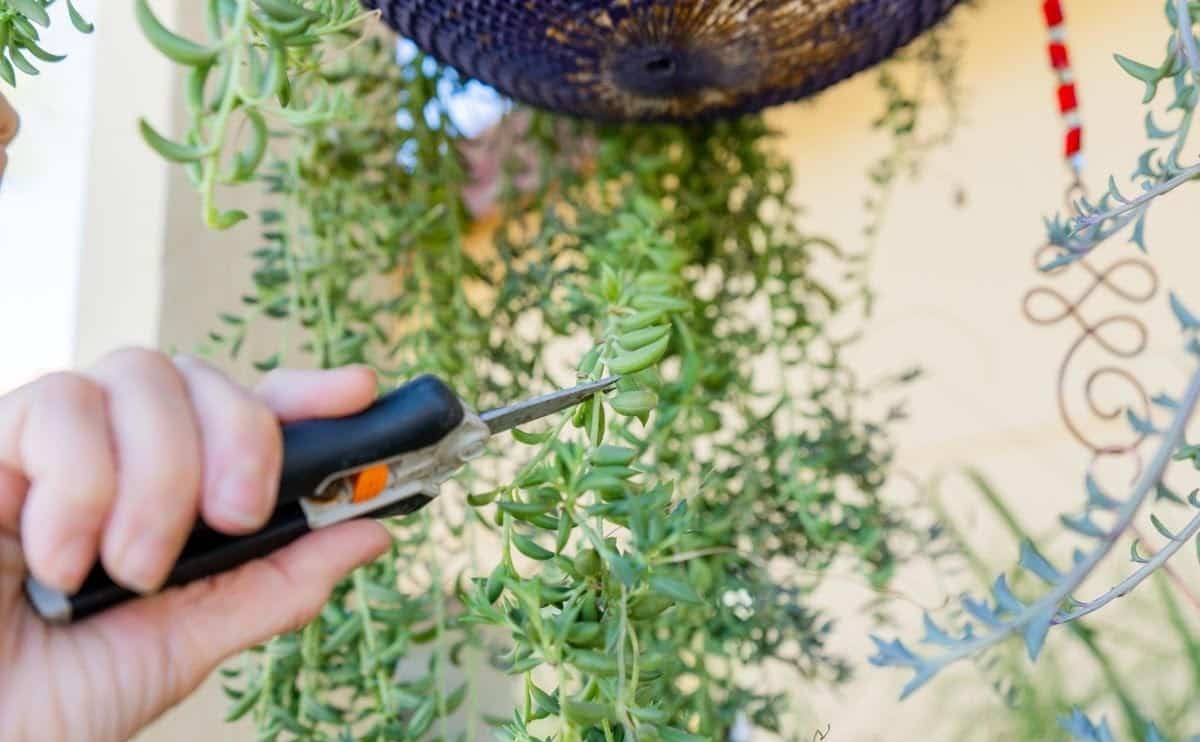
- Pruning Shears: Invest in a high-quality pair of pruning shears that are sharp and have a clean cutting edge. These will be your main tools for trimming the daisies.
- Disinfectant: To prevent the spread of diseases or pests, it’s important to disinfect your pruning shears before and after each use. This can be done using rubbing alcohol or a disinfectant spray.
- Bucket or Garden Bag: Have a container ready to collect the trimmings and spent flowers as you go along. This will make cleanup easier and keep your garden tidy.
- Optional: Mulch or Organic Fertilizer: While not necessary for the trimming process, applying mulch or organic fertilizer after pruning can help nourish the soil and promote healthy growth. If you choose to use these, have them on hand.
Having these tools and materials readily available will make the trimming process much more efficient and enjoyable.
Now that you’re equipped with the necessary tools, let’s dive into the step-by-step guide on how to properly trim your Shasta daisies.
Step-by-Step Guide to Trimming Shasta Daisies
Trimming your Shasta daisies may seem intimidating at first, but with the right technique and a little bit of patience, it can be a simple and rewarding process. Follow these step-by-step instructions to ensure you trim your daisies properly:
- Put on your gardening gloves to protect your hands from any sharp edges or thorns.
- Inspect your Shasta daisies to determine which stems need to be trimmed. Look for faded or wilted flowers, as well as any dead or diseased foliage.
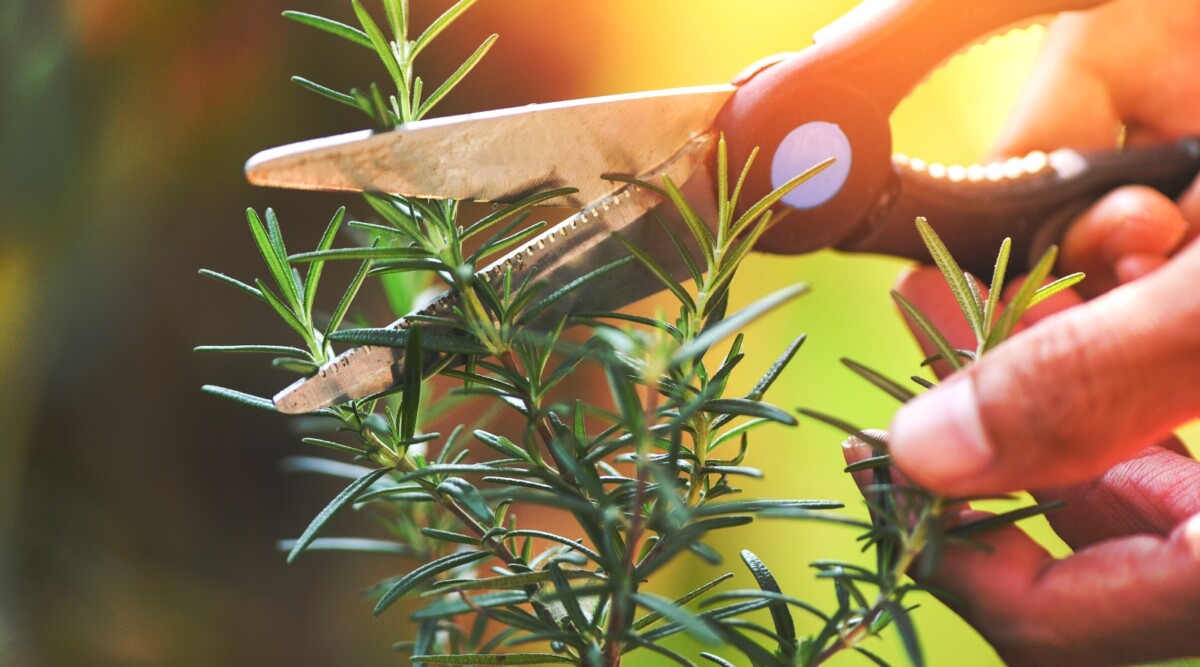
- Using your pruning shears, locate a stem just above a pair of healthy leaves or leaf nodes. Position the shears at a 45-degree angle, approximately ¼ inch above the leaf nodes, and make a clean and precise cut. This will encourage new growth in that area.
- Continue this process with each stem that requires trimming, always cutting just above a set of healthy leaves.
- As you trim, collect the cuttings and spent flowers in a bucket or garden bag for easy cleanup.
- If your Shasta daisies have become overcrowded or have woody stems, consider dividing them. Carefully dig up the clumps and separate them into smaller groups, ensuring each division has a portion of the root system. Replant them in a location with well-draining soil.
- Once you have finished trimming and dividing the Shasta daisies, give them a thorough watering. This will help settle the roots and promote new growth.
- Optionally, apply a layer of mulch around the base of the plants to conserve moisture and suppress weed growth. Additionally, you can apply an organic fertilizer to provide nutrients for healthy growth.
- Regularly water your daisies and monitor their progress. You should start to see new growth and blossoms in the following growing season.
By following these steps, you’ll be well on your way to beautifully trimmed Shasta daisies that will thrive and bring joy to your garden.
Common Mistakes to Avoid
While trimming Shasta daisies is a relatively simple task, there are some common mistakes that many gardeners make. By being aware of these pitfalls, you can avoid them and ensure the health and vitality of your daisies. Here are some common mistakes to avoid when trimming Shasta daisies:
- Trimming Too Late: Waiting too long to trim your daisies can result in woody stems and self-seeding, which can be detrimental to their overall health. Trim them promptly after blooming to encourage new growth and maintain their shape.
- Trimming Too Early: On the other hand, trimming your daisies before they have finished blooming can prevent them from producing more flowers. Wait until the majority of the blossoms have wilted before starting the trimming process.
- Using Dull Tools: Using dull pruning shears can lead to ragged cuts, which can make the plant more susceptible to disease and pests. Ensure your tools are sharp and clean for a clean and precise cut.
- Removing Healthy Foliage: It’s important to only trim the faded or wilted flowers and dead foliage, while preserving the healthy leaves. The leaves are essential for photosynthesis and will help the plant store energy for future growth.
- Overcrowding: Letting your Shasta daisies become too crowded can result in poor air circulation and increased risk of disease. If they are overcrowded, consider dividing and transplanting them to give each plant ample space to grow.
- Not Disinfecting Tools: Failing to disinfect your pruning tools before and after each use can lead to the spread of diseases and pests. Wipe down your tools with rubbing alcohol or a disinfectant spray to prevent any contamination.
By avoiding these common mistakes, you can ensure that your Shasta daisies have the best chance at thriving and producing beautiful blooms year after year.
Tips and Tricks for Pruning Shasta Daisies
Trimming your Shasta daisies is not just about removing faded flowers and dead foliage—it’s also an opportunity to encourage healthy growth and maintain the overall appearance of the plants. To make the most out of your pruning efforts, here are some tips and tricks to keep in mind:
- Regular Deadheading: Deadheading, or removing spent flowers, throughout the blooming season can help promote continuous blooming. It redirects the plant’s energy from producing seeds to developing new blooms.
- Shearing vs. Pinching: Shearing refers to cutting back the entire plant by a third or so, while pinching involves removing only the tips of the stems. Shearing can be done once your daisies have finished blooming to give them a neater appearance, while pinching can be done earlier in the season to encourage bushier growth.
- Pruning for Size Control: If your daisies tend to grow too tall and become leggy, you can prune them back by one-third of their height in early summer. This will help promote more compact and bushier growth.
- Encourage Air Circulation: To minimize the risk of fungal diseases, ensure that your Shasta daisies have adequate airflow. Avoid planting them too close together and thin out crowded areas if necessary.
- Fertilizing: Shasta daisies are relatively low-maintenance plants, but they can benefit from a light application of slow-release organic fertilizer in early spring. This will provide them with the necessary nutrients for healthy growth.
- Dividing: Over time, Shasta daisies can become overcrowded, leading to reduced blooming. Dividing the clumps every three to four years can help rejuvenate the plants and improve their overall health.
- Stay Vigilant: Regularly inspect your daisies for signs of disease or pests. Early detection is key to preventing any issues from spreading and causing damage to your plants.
- Experiment and Enjoy: Don’t be afraid to experiment with different pruning techniques and find what works best for your specific variety of Shasta daisies. Enjoy the process and have fun nurturing your plants!
By utilizing these tips and tricks, you can become a pro at pruning Shasta daisies and ensure that they remain healthy, vibrant, and a focal point of your garden.
Conclusion
Trimming Shasta daisies is an essential part of plant care that helps maintain the health and beauty of these delightful perennials. By following the proper techniques and timing, you can encourage new growth, control the size and shape of your daisies, and prolong their blooming season.
In this comprehensive guide, we have discussed when to trim Shasta daisies, the tools and materials you’ll need, and provided a step-by-step guide to help you through the pruning process. We have also highlighted common mistakes to avoid and shared tips and tricks to enhance your pruning efforts.
Remember to trim your Shasta daisies immediately after blooming, using sharp pruning shears and disinfecting them before and after each use. Be mindful of the health of the plants, removing only faded flowers and dead foliage while preserving the healthy leaves for photosynthesis.
By avoiding common mistakes and following our tips and tricks, you can ensure that your Shasta daisies thrive and continue to bring beauty to your garden for years to come.
So, grab your gardening gloves, sharpen your shears, and start trimming those Shasta daisies with confidence. Your efforts will be rewarded with healthy, vibrant, and stunning blooms that will brighten up your outdoor space!
