Home>Types of Gardening>Edible Gardening>How To Plant Thyme Seeds
Edible Gardening
How To Plant Thyme Seeds
Modified: January 22, 2024
Learn the step-by-step process of planting thyme seeds in your edible garden. Discover expert tips and tricks for a successful harvest.
(Many of the links in this article redirect to a specific reviewed product. Your purchase of these products through affiliate links helps to generate commission for Chicagolandgardening.com, at no extra cost. Learn more)
Table of Contents
Introduction
Welcome to the wonderful world of edible gardening! If you’re looking to add a delicious and versatile herb to your garden, thyme is a fantastic choice. Not only does it bring aromatic flavors to your dishes, but it also offers an array of health benefits. Whether you’re an experienced gardener or just starting out, planting and growing thyme from seeds is a rewarding and relatively straightforward process.
In this article, we’ll guide you through the steps of planting thyme seeds and provide you with valuable tips to ensure successful growth. From selecting the right seeds to maintaining vibrant and flourishing thyme plants, we’ve got you covered.
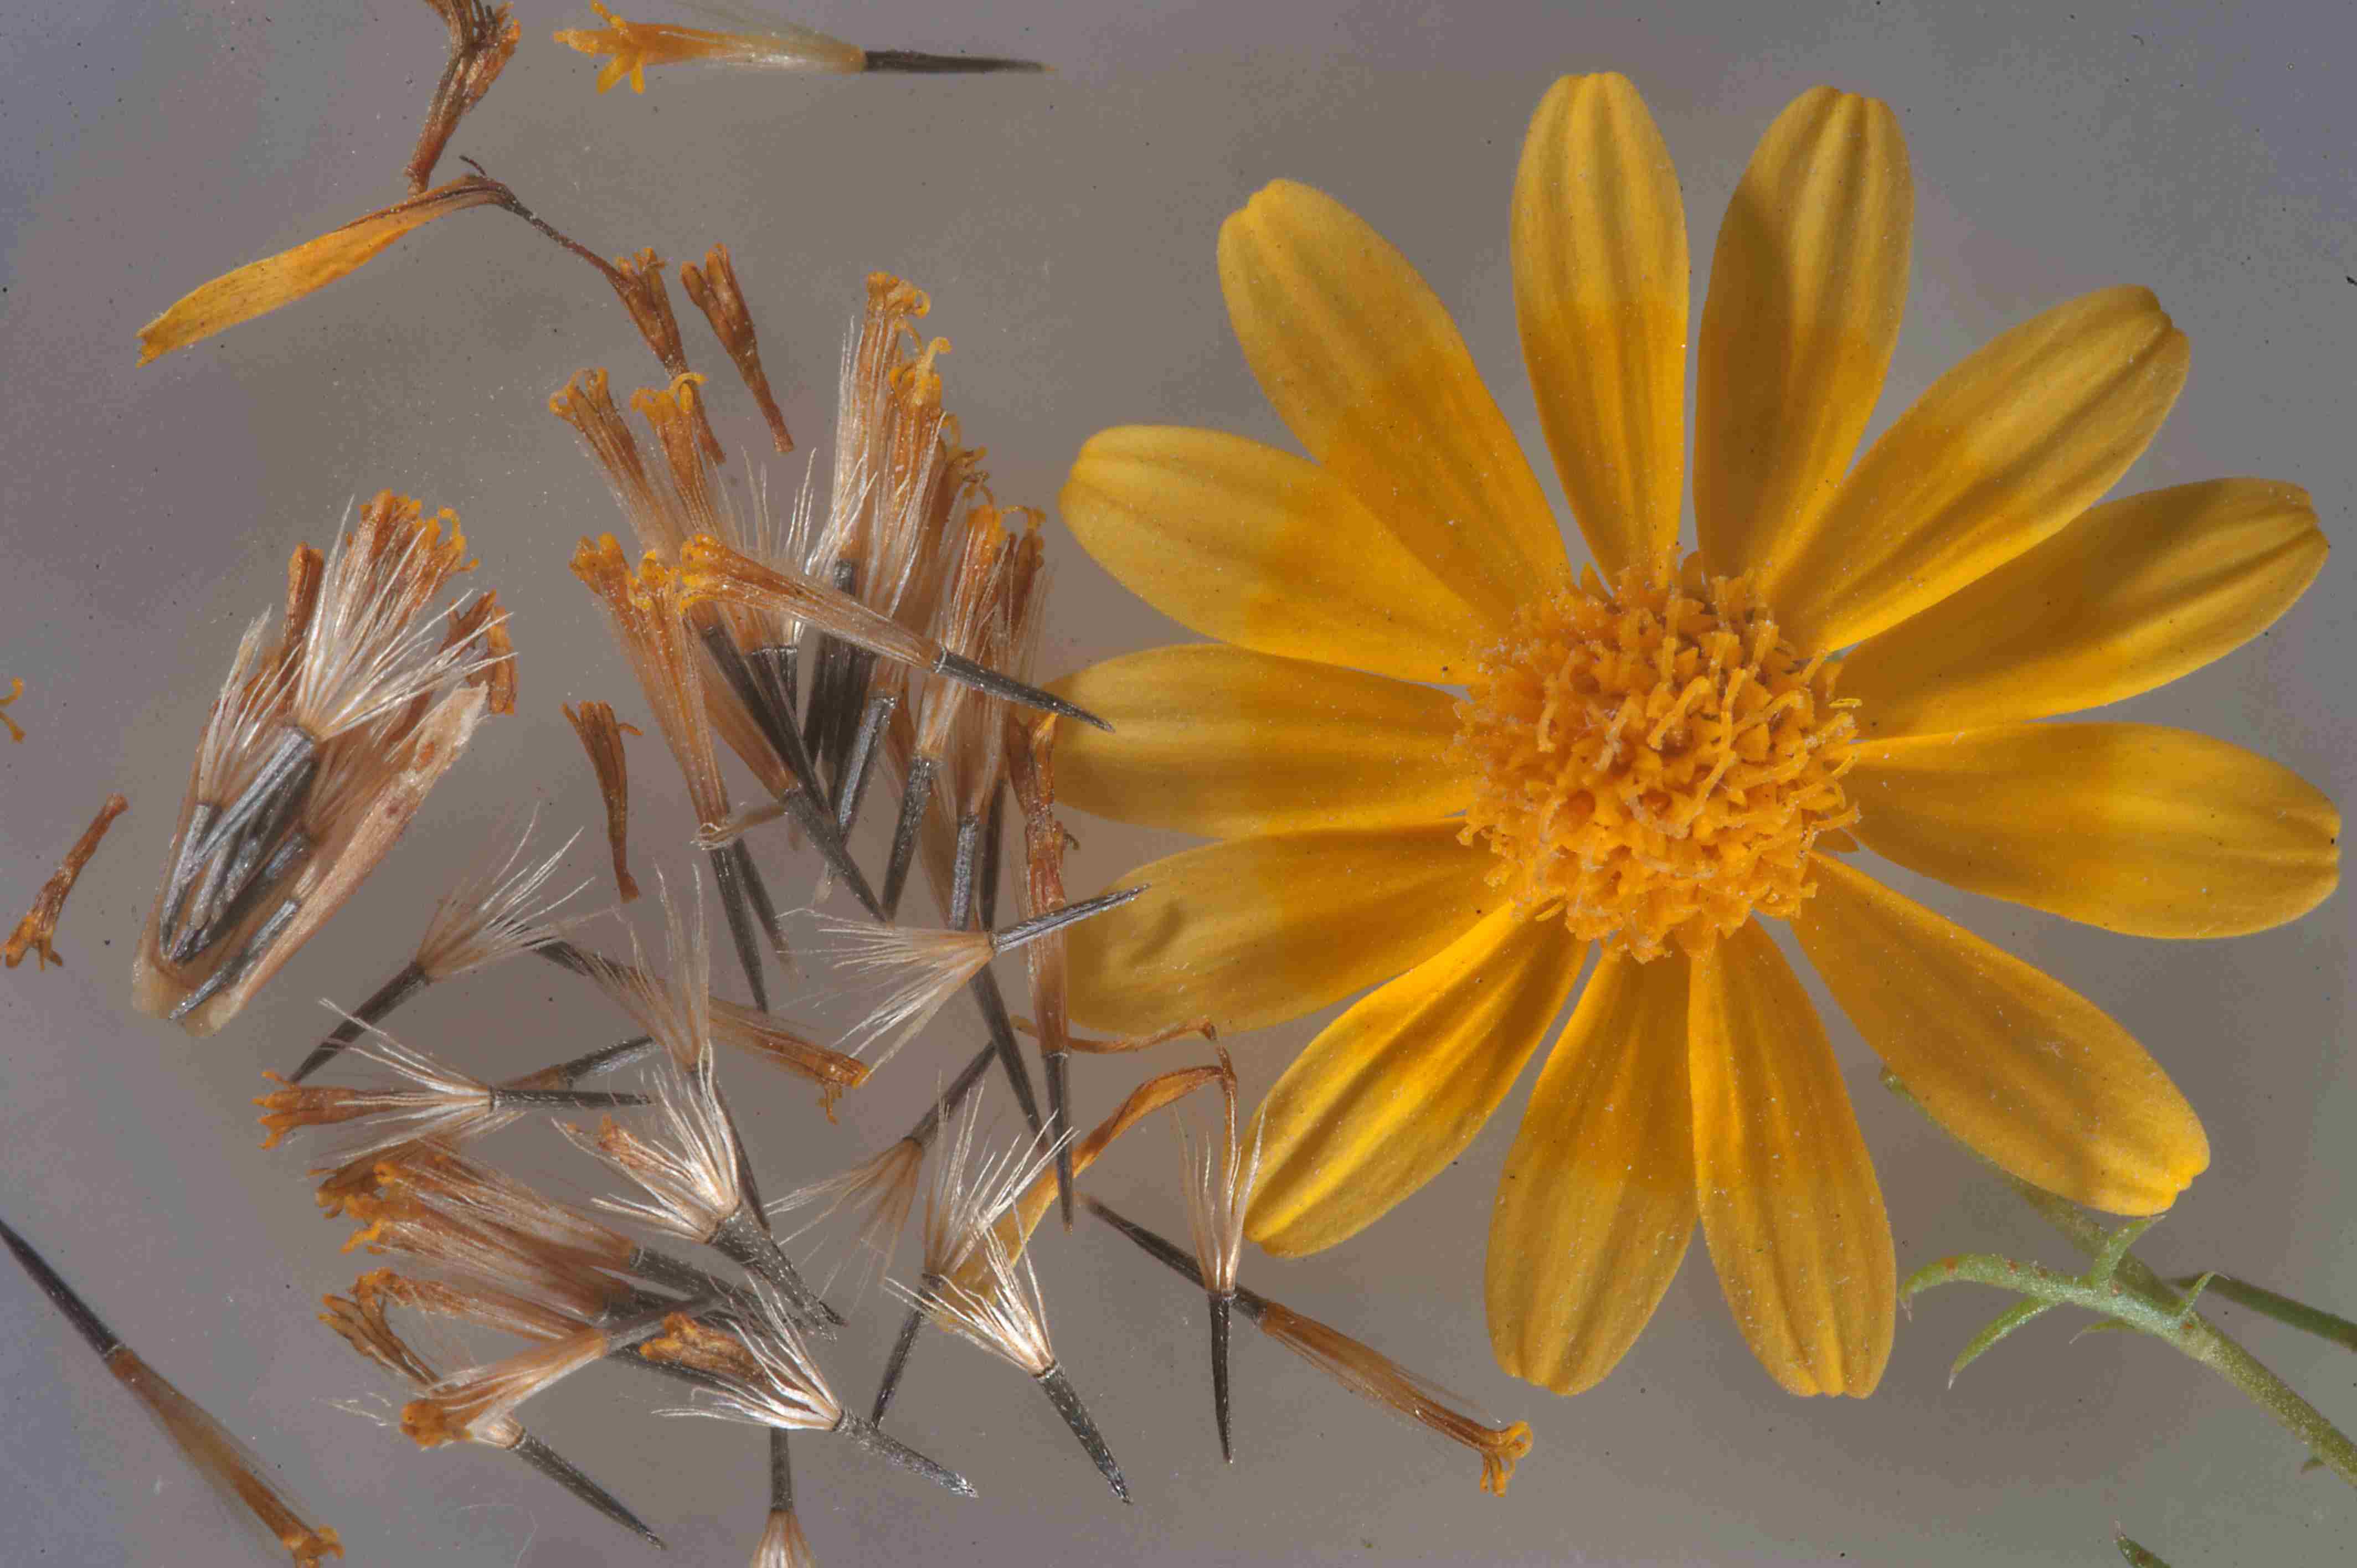
Thyme is a popular herb that belongs to the mint family and is native to the Mediterranean region. It has been used for centuries in culinary preparations and traditional medicine due to its flavorful and medicinal properties. With its woody stems, small leaves, and delicate flowers, thyme is not only a beneficial herb but also an attractive addition to any garden.
Planting thyme from seeds offers several advantages. It gives you the opportunity to choose from a wide variety of thyme cultivars, including common thyme, lemon thyme, and creeping thyme. Moreover, growing thyme from seeds allows you to witness and appreciate the entire lifecycle of the plant, from germination to maturity.
Before we delve into the process of planting thyme seeds, let’s quickly go over the basic requirements for growing thyme. Thyme thrives in well-draining soil, enjoys full sunlight, and requires regular watering without becoming waterlogged. Taking these factors into consideration will ensure the healthy development of your thyme plants.
Now that you have a general understanding, let’s dive into the details of growing thyme from seeds.
Step 1: Selecting Thyme Seeds
The first step in planting thyme from seeds is to select the right seeds. When choosing thyme seeds, there are a few factors to consider.
1. Variety: Thyme comes in different varieties, each with its own flavor and growth habits. Some popular varieties include common thyme, lemon thyme, and creeping thyme. Consider the flavor profile and growth characteristics you desire when selecting your thyme seeds.
2. Quality: Ensure that the thyme seeds you choose are of high quality. Look for reputable seed suppliers or nurseries that offer organic or non-GMO seeds to ensure the best chance of successful germination and healthy plant growth.
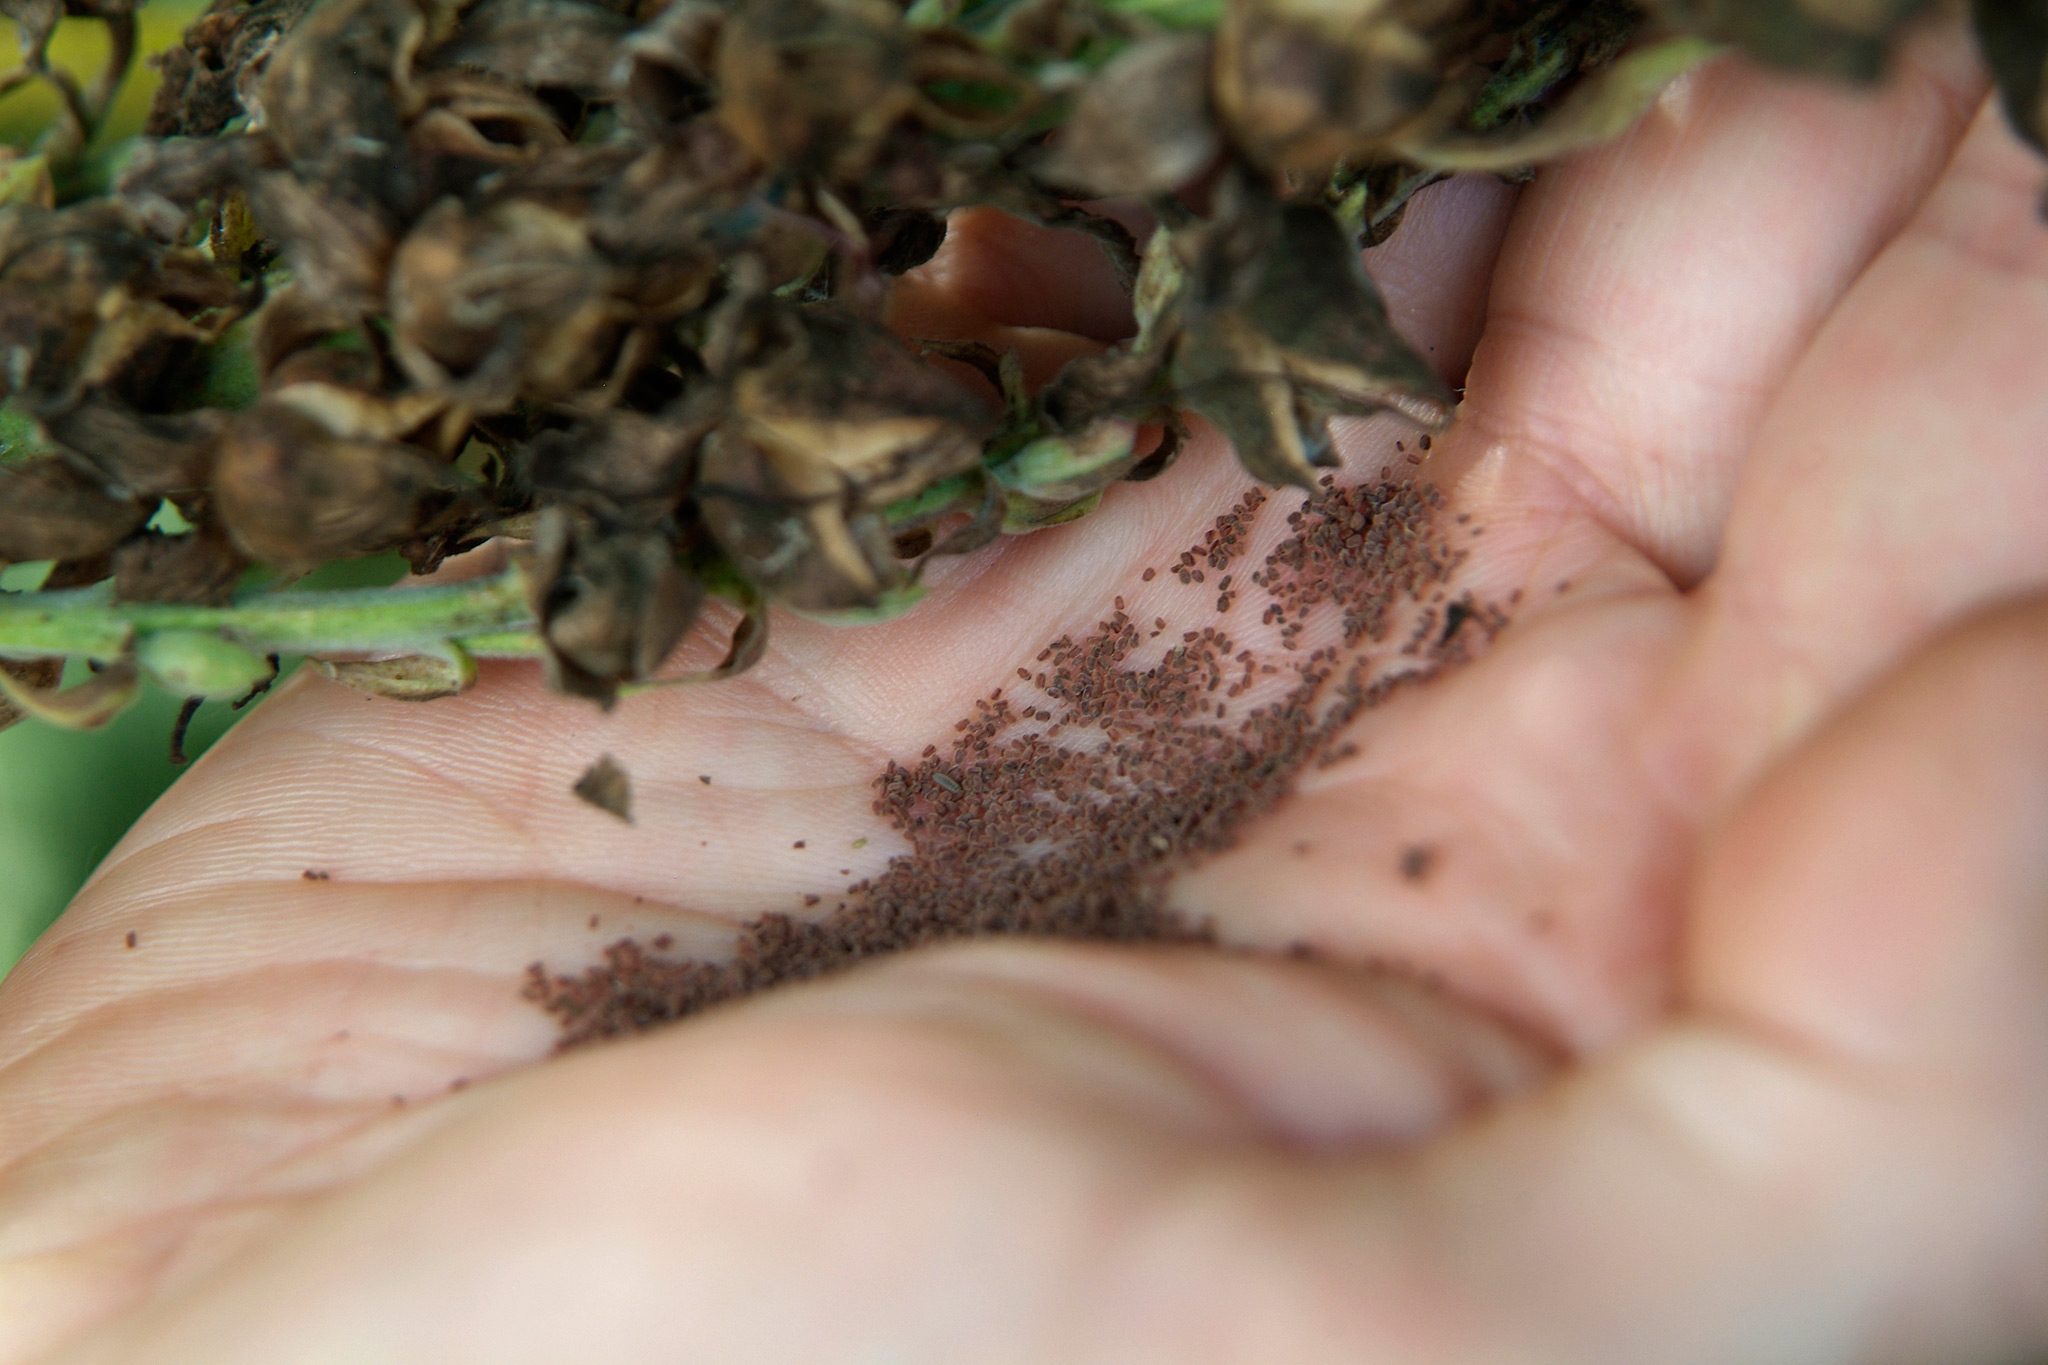
3. Freshness: The freshness of the seeds plays a crucial role in germination rates. It’s recommended to select thyme seeds that are less than three years old. Older seeds may have lower germination rates and take longer to sprout.
4. Germination Rate: Check the germination rate listed on the seed packet or product description. This indicates the percentage of seeds that are likely to germinate. Higher germination rates increase the chances of successful seedling development.
5. Quantity: Consider how many thyme plants you want to grow and select the appropriate quantity of seeds. It’s always better to have a few extra seeds on hand in case some fail to germinate.
Once you have selected your thyme seeds, it’s time to move on to preparing the soil for planting. Proper soil preparation is essential for the successful growth of thyme plants and will be our next step in the process.
Step 2: Preparing the Soil
Preparing the soil is a crucial step in ensuring the optimal growth of thyme plants. Thyme thrives in well-draining soil, so it’s important to create the right environment for your seeds to germinate and establish strong roots. Here’s how to prepare the soil for planting thyme seeds:
1. Choose the Right Location: Select a location that receives full sunlight for at least 6 hours a day. Thyme plants love warmth and sunlight, and a sunny spot will promote healthy growth and flavorful leaves.
2. Clear the Area: Remove any weeds, rocks, or debris from the planting area. Thyme plants can struggle to compete with other plants for nutrients and space, so it’s important to provide them with a clean and clear environment to grow.
3. Loosen the Soil: Thyme plants prefer well-draining soil, so it’s essential to create a loose and friable texture. Use a garden fork or tiller to loosen the soil to a depth of about 6-8 inches. This will improve aeration, drainage, and root penetration.
4. Organic Matter: Incorporate organic matter into the soil to improve its fertility. You can add compost, well-rotted manure, or aged leaf mold to enrich the soil with essential nutrients. Mix the organic matter evenly into the loosened soil.
5. pH Level: Thyme thrives in slightly alkaline soil with a pH level between 6.0 and 8.0. Test the soil’s pH and make adjustments if necessary. If the pH is too acidic, you can add lime to raise the pH level. If it’s too alkaline, you can amend the soil with elemental sulfur or acidic organic matter.
6. Smooth and Level the Soil: After incorporating organic matter and adjusting the pH level, smooth and level the soil surface. Avoid compacting the soil by gently patting it down with the back of a rake or your hands.
With the soil prepared, you are now ready to move on to the next step: sowing the thyme seeds. Proper sowing techniques are crucial for successful germination and seedling development, and we’ll cover that in the next section.
Step 3: Sowing the Thyme Seeds
Now that you have prepared the soil, it’s time to sow the thyme seeds. Proper sowing techniques will help ensure successful germination and the establishment of healthy seedlings. Follow these steps to sow your thyme seeds:
1. Timing: Thyme seeds can be sown indoors or outdoors, depending on your climate and growing season. If you live in a region with a short growing season or unpredictable weather, it’s advisable to start seeds indoors about 6-8 weeks before the last frost date. If the climate is favorable, you can directly sow the seeds outdoors after the danger of frost has passed.
2. Seed Spacing: Thyme seeds are tiny and require proper spacing for optimal growth. Place the seeds about 1/4 inch apart from each other to allow enough room for the seedlings to grow. You can sprinkle the seeds directly on the soil’s surface or create shallow furrows for more precise spacing.
3. Seed Depth: Thyme seeds are small and should not be buried too deeply. Gently press the seeds into the soil or lightly sprinkle a thin layer of soil over them, ensuring they are covered by about 1/8 inch of soil. Avoid burying them too deeply, as this can hinder germination.
4. Watering: After sowing the seeds, give them a gentle watering using a fine mist or a watering can with a nozzle attachment. Be careful not to displace the seeds or wash them away with a strong stream of water. Keep the soil consistently moist but not waterlogged, as excessive moisture can cause the seeds to rot.
5. Labeling: It’s essential to label your thyme seeds with the variety and the date of sowing. This will help you keep track of different thyme cultivars and provide useful information for future reference.
6. Germination Conditions: To promote seed germination, cover the seeded area with a clear plastic wrap or a seed tray dome to create a greenhouse-like environment. This will help retain moisture and provide a stable temperature for germination. Place the seeds in a warm and well-lit area, such as a sunny windowsill or under a grow light.
Patience is key during the germination period, as thyme seeds can take anywhere from 7 to 21 days to sprout. Once the seedlings have emerged, it’s time to provide them with proper care and maintenance, which we’ll cover in the next section.
Step 4: Providing Proper Watering
Watering is a critical aspect of growing thyme from seeds, as it directly affects the development and health of the seedlings. Proper watering practices will ensure that your thyme plants receive the right amount of moisture without being overwatered. Follow these guidelines for providing proper watering:
1. Consistency: Thyme plants prefer even and consistent moisture in the soil. Avoid letting the soil dry out completely between waterings, as this can stress the seedlings. However, overwatering can lead to root rot and other issues. Aim to keep the soil slightly moist but not soggy.
2. Watering Frequency: Thyme seedlings have shallow roots, so frequent, light waterings are more effective than infrequent heavy waterings. Check the moisture level of the soil regularly by inserting your finger about an inch deep. If it feels dry, it’s time to water. Adjust your watering schedule based on the environmental conditions and the moisture needs of your thyme plants.
3. Watering Technique: Use a watering can with a thin spout or a misting spray bottle to water thyme seedlings gently. This will prevent any displacement of the seeds or damage to the fragile seedlings. Direct the water towards the soil, avoiding wetting the leaves excessively, as this can invite fungal diseases. Water at the base of the plants to ensure the roots receive adequate moisture.
4. Irrigation Systems: If you have a larger thyme garden or are growing thyme in containers, consider using drip irrigation or a soaker hose system. These methods provide a slow and steady supply of water directly to the soil, minimizing evaporation and ensuring efficient water distribution.
5. Rainfall Considerations: Monitor the amount of rainfall your area receives and adjust your watering accordingly. If there has been significant rainfall, you may need to reduce the frequency of supplemental watering. On the other hand, during dry periods, you may need to increase the frequency or duration of watering to compensate for the lack of natural precipitation.
Remember, consistency is key when it comes to watering thyme seedlings. Providing proper moisture levels will help establish strong roots, encourage healthy growth, and set the foundation for thriving thyme plants. In the next step, we’ll discuss the importance of sunlight and how to ensure adequate exposure for your thyme plants.
Step 5: Ensuring Adequate Sunlight
Sunlight plays a crucial role in the growth and development of thyme plants. Thyme requires ample sunlight to thrive and produce flavorful leaves. Here are a few steps to ensure your thyme plants receive adequate sunlight:
1. Select a Sunny Location: Choose a planting spot that receives at least 6 hours of direct sunlight per day. Thyme plants love warmth and thrive in full sunlight. If your garden has shady areas, avoid planting thyme there, as it may result in weak growth and fewer leaves.
2. Monitor Shade Patterns: Observe the shading patterns in your garden throughout the day to identify any areas that may receive less direct sunlight. Factors such as trees, buildings, or fences can cast shadows that may affect the amount of sunlight reaching your thyme plants. Position your thyme garden away from these shaded areas for optimal sunlight exposure.
3. Rotate Containers: If you’re growing thyme in containers, rotate the pots every few days to ensure that all sides of the plant receive an equal amount of sunlight. This prevents uneven growth and ensures that all parts of the plant receive sufficient light for photosynthesis.
4. Prune Nearby Trees or Plants: If there are any overhanging branches or neighboring plants that may block sunlight from reaching your thyme plants, consider pruning or trimming them back. This will allow for better light penetration and ensure optimal growth.
5. Consider Artificial Lighting: If you don’t have access to a sunny location or live in an area with limited sunlight, you can supplement natural light with artificial grow lights. LED or fluorescent grow lights can provide the necessary spectrum of light for thyme plants to thrive. Place the lights about 6-12 inches above the plants and adjust the duration of light exposure accordingly.
Remember, sunlight is vital for the growth, flavor, and overall health of thyme plants. Providing them with adequate sunlight will promote robust growth and enhance the taste of the leaves. In the next step, we’ll discuss how to take care of the thyme seedlings as they continue to grow.
Step 6: Taking Care of Seedlings
Once your thyme seedlings have sprouted, it’s essential to provide them with proper care to ensure their healthy development. Here are some steps to follow for taking care of your thyme seedlings:
1. Thin the Seedlings: If you have sown multiple seeds in one spot, thin out the weaker seedlings to create sufficient space for the remaining ones to grow. Thinning helps prevent overcrowding, enhances air circulation, and allows each seedling to receive adequate nutrients and sunlight.
2. Watering: Continue to water the thyme seedlings regularly, ensuring that the soil remains slightly moist. Be cautious not to overwater, as excessive moisture can lead to root rot. Adjust the frequency of watering based on the moisture level of the soil and the environmental conditions.
3. Fertilization: After the seedlings have developed their first set of true leaves, you can begin fertilizing them. Use a balanced organic fertilizer, following the instructions on the packaging. Avoid over-fertilization, as it can result in weak growth. Apply the fertilizer sparingly every few weeks.
4. Mulching: Apply a layer of organic mulch around the base of the seedlings to conserve soil moisture, suppress weed growth, and regulate soil temperature. Use materials like straw, shredded leaves, or wood chips. Keep the mulch a few inches away from the base of the seedlings to prevent moisture buildup and potential rot.
5. Pest and Disease Management: Keep an eye out for common pests like aphids, spider mites, or thrips, and take appropriate measures to control them. Regularly inspect the seedlings for any signs of disease, such as fungal spots or wilting, and address them promptly to prevent further spread.
6. Support and Training: As the thyme seedlings grow, they may benefit from some gentle support. Place small stakes near the seedlings and tie them loosely with soft twine or plant ties. This will help them grow upright and prevent breakage or bending under their weight.
7. Monitoring and Observation: Regularly monitor the growth and overall health of the seedlings. Observe any changes in appearance, color, or growth patterns. This will help you identify and address any issues or deficiencies before they can negatively impact the plants.
By dedicating attention and care to your thyme seedlings, you will foster their growth and encourage strong, healthy plants. The next step in the journey is transplanting the seedlings into their permanent growing location, which we’ll explore in the following section.
Step 7: Transplanting Thyme Seedlings
Transplanting thyme seedlings is a crucial step in their growth journey, as it allows them to establish stronger root systems and thrive in their permanent growing location. Follow these steps to ensure successful transplantation of your thyme seedlings:
1. Timing: Wait for the thyme seedlings to reach a height of about 3-4 inches before transplanting. This usually takes around 6-8 weeks after germination. Transplant when the weather is mild and the threat of frost has passed.
2. Choose the Right Spot: Select a location in your garden that provides full sunlight and has well-draining soil. Thyme plants prefer soil that is slightly alkaline with a pH level between 6.0 and 8.0. Consider spacing requirements based on the specific variety of thyme you are growing, as some varieties spread more than others.
3. Dig the Hole: Dig a hole in the prepared soil that is slightly larger than the root ball of the thyme seedling. Gently loosen the soil in the hole to promote easy root penetration.
4. Carefully Remove the Seedling: Using a small garden trowel or your hands, carefully lift the thyme seedling from its current container or planting tray. Be cautious not to damage the fragile root system during this process.
5. Transplant with Care: Place the thyme seedling into the prepared hole, ensuring that the top of the root ball is level with the surrounding soil. Backfill the hole with soil, gently firming it in around the seedling to eliminate any air pockets. Avoid compacting the soil too firmly, as this can hinder root growth.
6. Watering: Give the transplanted thyme seedlings a thorough watering to settle the soil and provide moisture to the roots. Continue to water regularly, keeping the soil consistently moist but not waterlogged, until the plants establish themselves.
7. Mulching: Apply a layer of organic mulch around the base of the transplanted thyme seedlings, leaving a small gap around the stem. Mulching helps retain soil moisture, suppress weed growth, and regulate soil temperature.
8. Aftercare: Monitor the transplanted thyme seedlings closely and provide them with proper care and maintenance as they adjust to their new environment. Continue to water them regularly, protect them from extreme weather conditions, and address any pest or disease issues promptly.
Transplanting thyme seedlings can be a delicate process, but with proper care and attention, your seedlings will adapt and thrive in their new location. The next step in the journey is maintaining your thyme plants to ensure their continued growth and productivity, which we’ll explore next.
Step 8: Maintaining Thyme Plants
Maintaining thyme plants is essential to ensure their continued growth, health, and productivity. With proper care and attention, your thyme plants will flourish and provide you with an abundant harvest of flavorful leaves. Here are some steps to help you maintain your thyme plants:
1. Watering: Thyme plants prefer slightly dry conditions, so avoid overwatering. Once established, water them when the top inch of soil feels dry. Provide thorough soakings rather than frequent light waterings to encourage deep root development. Be mindful not to let the soil become waterlogged, as this can lead to root rot.
2. Weed Control: Regularly remove weeds around your thyme plants to prevent them from competing for resources and suffocating the plants. Mulching can help suppress weed growth, but it’s important to periodically check for any weeds that may emerge and remove them promptly.
3. Pruning: Pruning helps maintain the shape of your thyme plants, promote bushier growth, and prevent them from becoming leggy. After flowering, trim back the stems by about one-third to encourage new growth. Avoid cutting into the woody stems, as they may not produce new growth. Harvesting leaves regularly also helps to promote bushier growth.
4. Fertilization: Thyme plants generally do not require heavy fertilization. However, fertilizing once or twice during the growing season can provide a boost of nutrients. Use a balanced organic fertilizer, following the package instructions. Avoid excessive fertilization, as it can lead to excessive foliage growth but reduced flavor intensity.
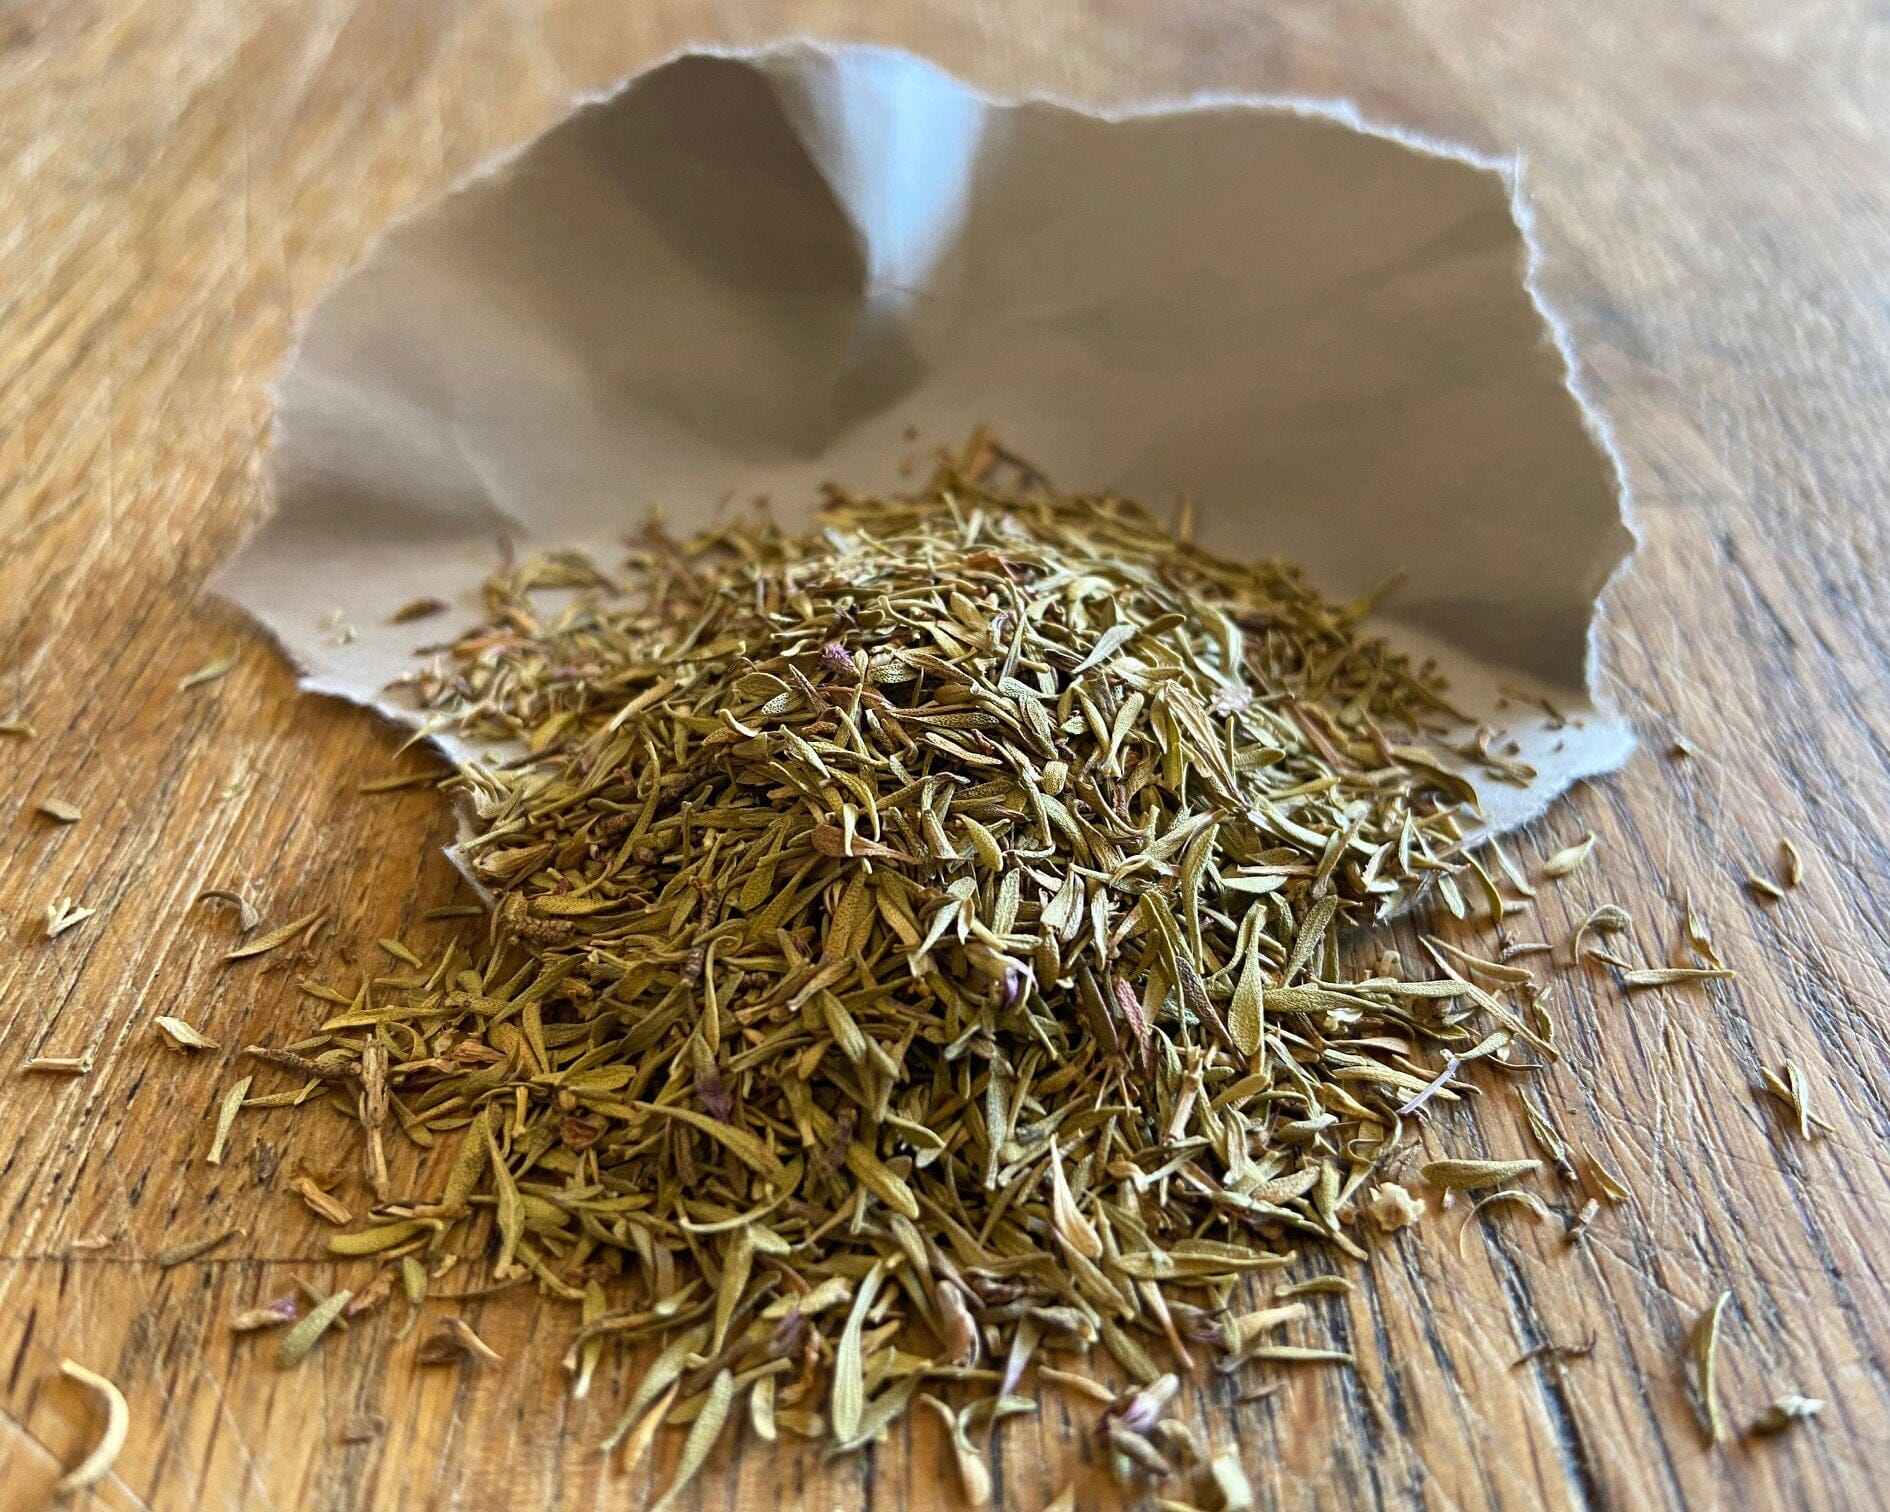
5. Harvesting: Harvest thyme leaves as needed by snipping off the stems just above a leaf node. Regular harvests not only provide you with fresh thyme for culinary use but also stimulate new growth. Avoid harvesting more than one-third of the plant’s foliage at a time to ensure its continued vigor.
6. Pest and Disease Management: Monitor your thyme plants regularly for any signs of pests, such as aphids or spider mites. If you notice any infestations, take appropriate measures, such as using organic insecticidal soap or introducing natural predators. Keep an eye out for any signs of diseases, such as powdery mildew or root rot, and address them promptly to prevent further spread.
7. Winter Protection: Thyme plants are generally hardy, but providing some winter protection can help them survive severe cold or frost. Mulch around the base of the plants to insulate the roots and protect them from freezing temperatures. In colder regions, consider covering the plants with burlap or cloths during extreme winter conditions.
By following these maintenance practices, you’ll keep your thyme plants healthy and productive throughout the growing season. Remember to observe your plants closely, make any necessary adjustments, and enjoy the culinary benefits of your homegrown thyme!
Conclusion
Congratulations! You have now gained the knowledge and skills to successfully plant, grow, and maintain thyme plants from seeds. By following the steps outlined in this guide, you can enjoy a bountiful supply of this versatile and aromatic herb right from your own garden.
Remember, the key to successful thyme cultivation is selecting high-quality seeds, preparing the soil properly, providing adequate sunlight, watering consistently, and taking care of the seedlings as they grow. By paying attention to these critical aspects, you can ensure the healthy development and abundant harvest of flavorful thyme leaves.
Thyme, with its delightful fragrance and culinary versatility, not only enhances the flavor of various dishes but also offers numerous health benefits. Its anti-inflammatory, antimicrobial, and antioxidant properties make it a valuable addition to your edible garden.
Whether you choose to grow common thyme, lemon thyme, or creeping thyme, each variety brings its own unique characteristics and flavors to your culinary creations. From garnishing your favorite dishes to steeping it in teas or infusing it in oils, thyme adds depth and complexity to your recipes.
So, put on your gardening gloves, grab some thyme seeds, and start your edible gardening adventure. Embrace the joy of growing your own herbs, connecting with nature, and reaping the rewards of a sustainable and delicious harvest.
Enjoy the journey of gardening and savor the aromatic delights of freshly picked thyme!