Home>Gardening Techniques>Plant Care>When Should You Start Seeds Indoors
Plant Care
When Should You Start Seeds Indoors
Modified: February 9, 2024
Learn the best timing for starting seeds indoors for successful plant care. Discover when to begin your indoor gardening to ensure healthy and thriving plants.
(Many of the links in this article redirect to a specific reviewed product. Your purchase of these products through affiliate links helps to generate commission for Chicagolandgardening.com, at no extra cost. Learn more)
Table of Contents
- Introduction
- Benefits of Starting Seeds Indoors
- Factors to Consider Before Starting Seeds Indoors
- Best Time to Start Seeds Indoors
- Choosing the Right Containers for Seed Starting
- Preparing the Soil and Seed Starting Mix
- Providing Optimal Conditions for Seed Germination
- Caring for Seedlings Indoors
- Hardening Off Seedlings
- Transplanting Seedlings into the Garden
- Conclusion
Introduction
Welcome to the wonderful world of indoor seed starting! Whether you’re a seasoned gardener or new to the world of plant care, starting seeds indoors can provide numerous benefits and set you on the path to a successful gardening season. In this article, we’ll explore the art of starting seeds indoors and provide you with the necessary knowledge to get started.
Starting seeds indoors allows you to gain a head start on the growing season. By sowing seeds indoors, you can initiate germination and establish healthy seedlings before the weather outside is conducive to planting. This is especially beneficial for gardeners who live in regions with short growing seasons or unpredictable weather conditions.
Additionally, starting seeds indoors gives you greater control over the growing conditions. You can create an ideal environment that promotes germination and ensures the optimal growth of your seedlings. From controlling temperature and humidity to providing adequate light, you have the power to influence every stage of the seedling’s development.
Furthermore, starting seeds indoors provides you with a wider range of plant options. While some plants may not thrive in your specific climate or growing conditions, starting seeds indoors opens up the possibilities. You can experiment with a variety of plant species, including exotic or rare varieties, expanding your garden with unique and exciting additions.
Not only does starting seeds indoors offer practical benefits, but it also brings a sense of joy and anticipation. Watching seeds transform into seedlings and eventually into fully-grown plants is a rewarding and satisfying experience. It allows you to witness the entire life cycle of a plant, from its humble beginnings to its flourishing beauty.
As you embark on your indoor seed starting journey, it is crucial to understand the factors that influence successful seed germination and growth. This includes considering the appropriate time to start seeds indoors, choosing the right containers and soil, providing optimal growing conditions, and properly transitioning seedlings to the outdoor environment. With proper care and attention, your seed starting endeavor will result in healthy and robust plants that will bring beauty and abundance to your garden.
In the following sections, we will delve into the specifics of starting seeds indoors, providing you with the essential knowledge and tips to ensure success. So, let’s dive in and unlock the secrets of indoor seed starting!
Benefits of Starting Seeds Indoors
Starting seeds indoors offers a multitude of benefits that can greatly enhance your gardening experience. Let’s explore some of the key advantages:
1. Extended Growing Season: One of the primary benefits of starting seeds indoors is the ability to extend the growing season. By getting a head start on the growing season, you can enjoy an early harvest and maximize your productivity. Starting seeds indoors allows you to bypass the limitations of a shorter outdoor growing season, giving you the opportunity to grow a wider range of plants.
2. More Control over Growing Conditions: When you start seeds indoors, you have complete control over the environment in which they grow. You can regulate temperature, humidity, and light levels to create the optimal conditions for germination and seedling growth. This control helps ensure that your plants get the best possible start, leading to healthier and stronger plants in the long run.
3. Greater Variety of Plant Options: Starting seeds indoors opens up a world of possibilities when it comes to plant selection. You are not limited to the plants that are readily available at local nurseries or garden centers. Instead, you can choose from a wide variety of seeds, including unique and heirloom varieties that may not be as easily accessible. This allows you to personalize your garden and cultivate a diverse and captivating collection of plants.
4. Cost Savings: Starting seeds indoors is a cost-effective way to expand your garden. Buying packets of seeds is generally more affordable than purchasing seedlings or mature plants from a nursery. Moreover, starting your own seeds eliminates the need for transportation costs and potential damage that can occur during transit. By starting seeds indoors, you can save money while still enjoying a thriving and abundant garden.
5. Learning Opportunity: Starting seeds indoors provides a valuable learning opportunity for both new and experienced gardeners. You can gain firsthand experience in the seed germination process and learn how to care for young seedlings. This knowledge allows you to better understand the needs of your plants and develop your skills as a gardener. It also opens the door to experimenting with different techniques and methods, ultimately enhancing your gardening expertise.
6. Alleviates Outdoor Challenges: Outdoor gardening can present various challenges, such as inclement weather, pests, and diseases. By starting seeds indoors, you can mitigate these challenges and give your plants a head start. Once your seedlings are strong and established, they will be better equipped to handle the outdoor conditions. This can lead to healthier plants and a more successful growing season.
By harnessing the benefits of starting seeds indoors, you can take your gardening endeavors to new heights. Whether you have limited space, a short growing season, or simply a desire for more control and variety, starting seeds indoors is a practical and rewarding approach to plant care.
Factors to Consider Before Starting Seeds Indoors
Before you dive into the world of indoor seed starting, there are several important factors to consider. Taking these into account will help ensure the success of your seedlings and set the stage for a thriving garden. Let’s explore these factors:
1. Plant Selection: When selecting plants to start from seed indoors, it’s crucial to research and understand their specific requirements. Some plants, such as tomatoes and peppers, require a longer growing season and may benefit from early indoor starts. On the other hand, plants like lettuce and radishes can be directly sown outdoors. Consider the specific needs of each plant to determine if starting seeds indoors is suitable.
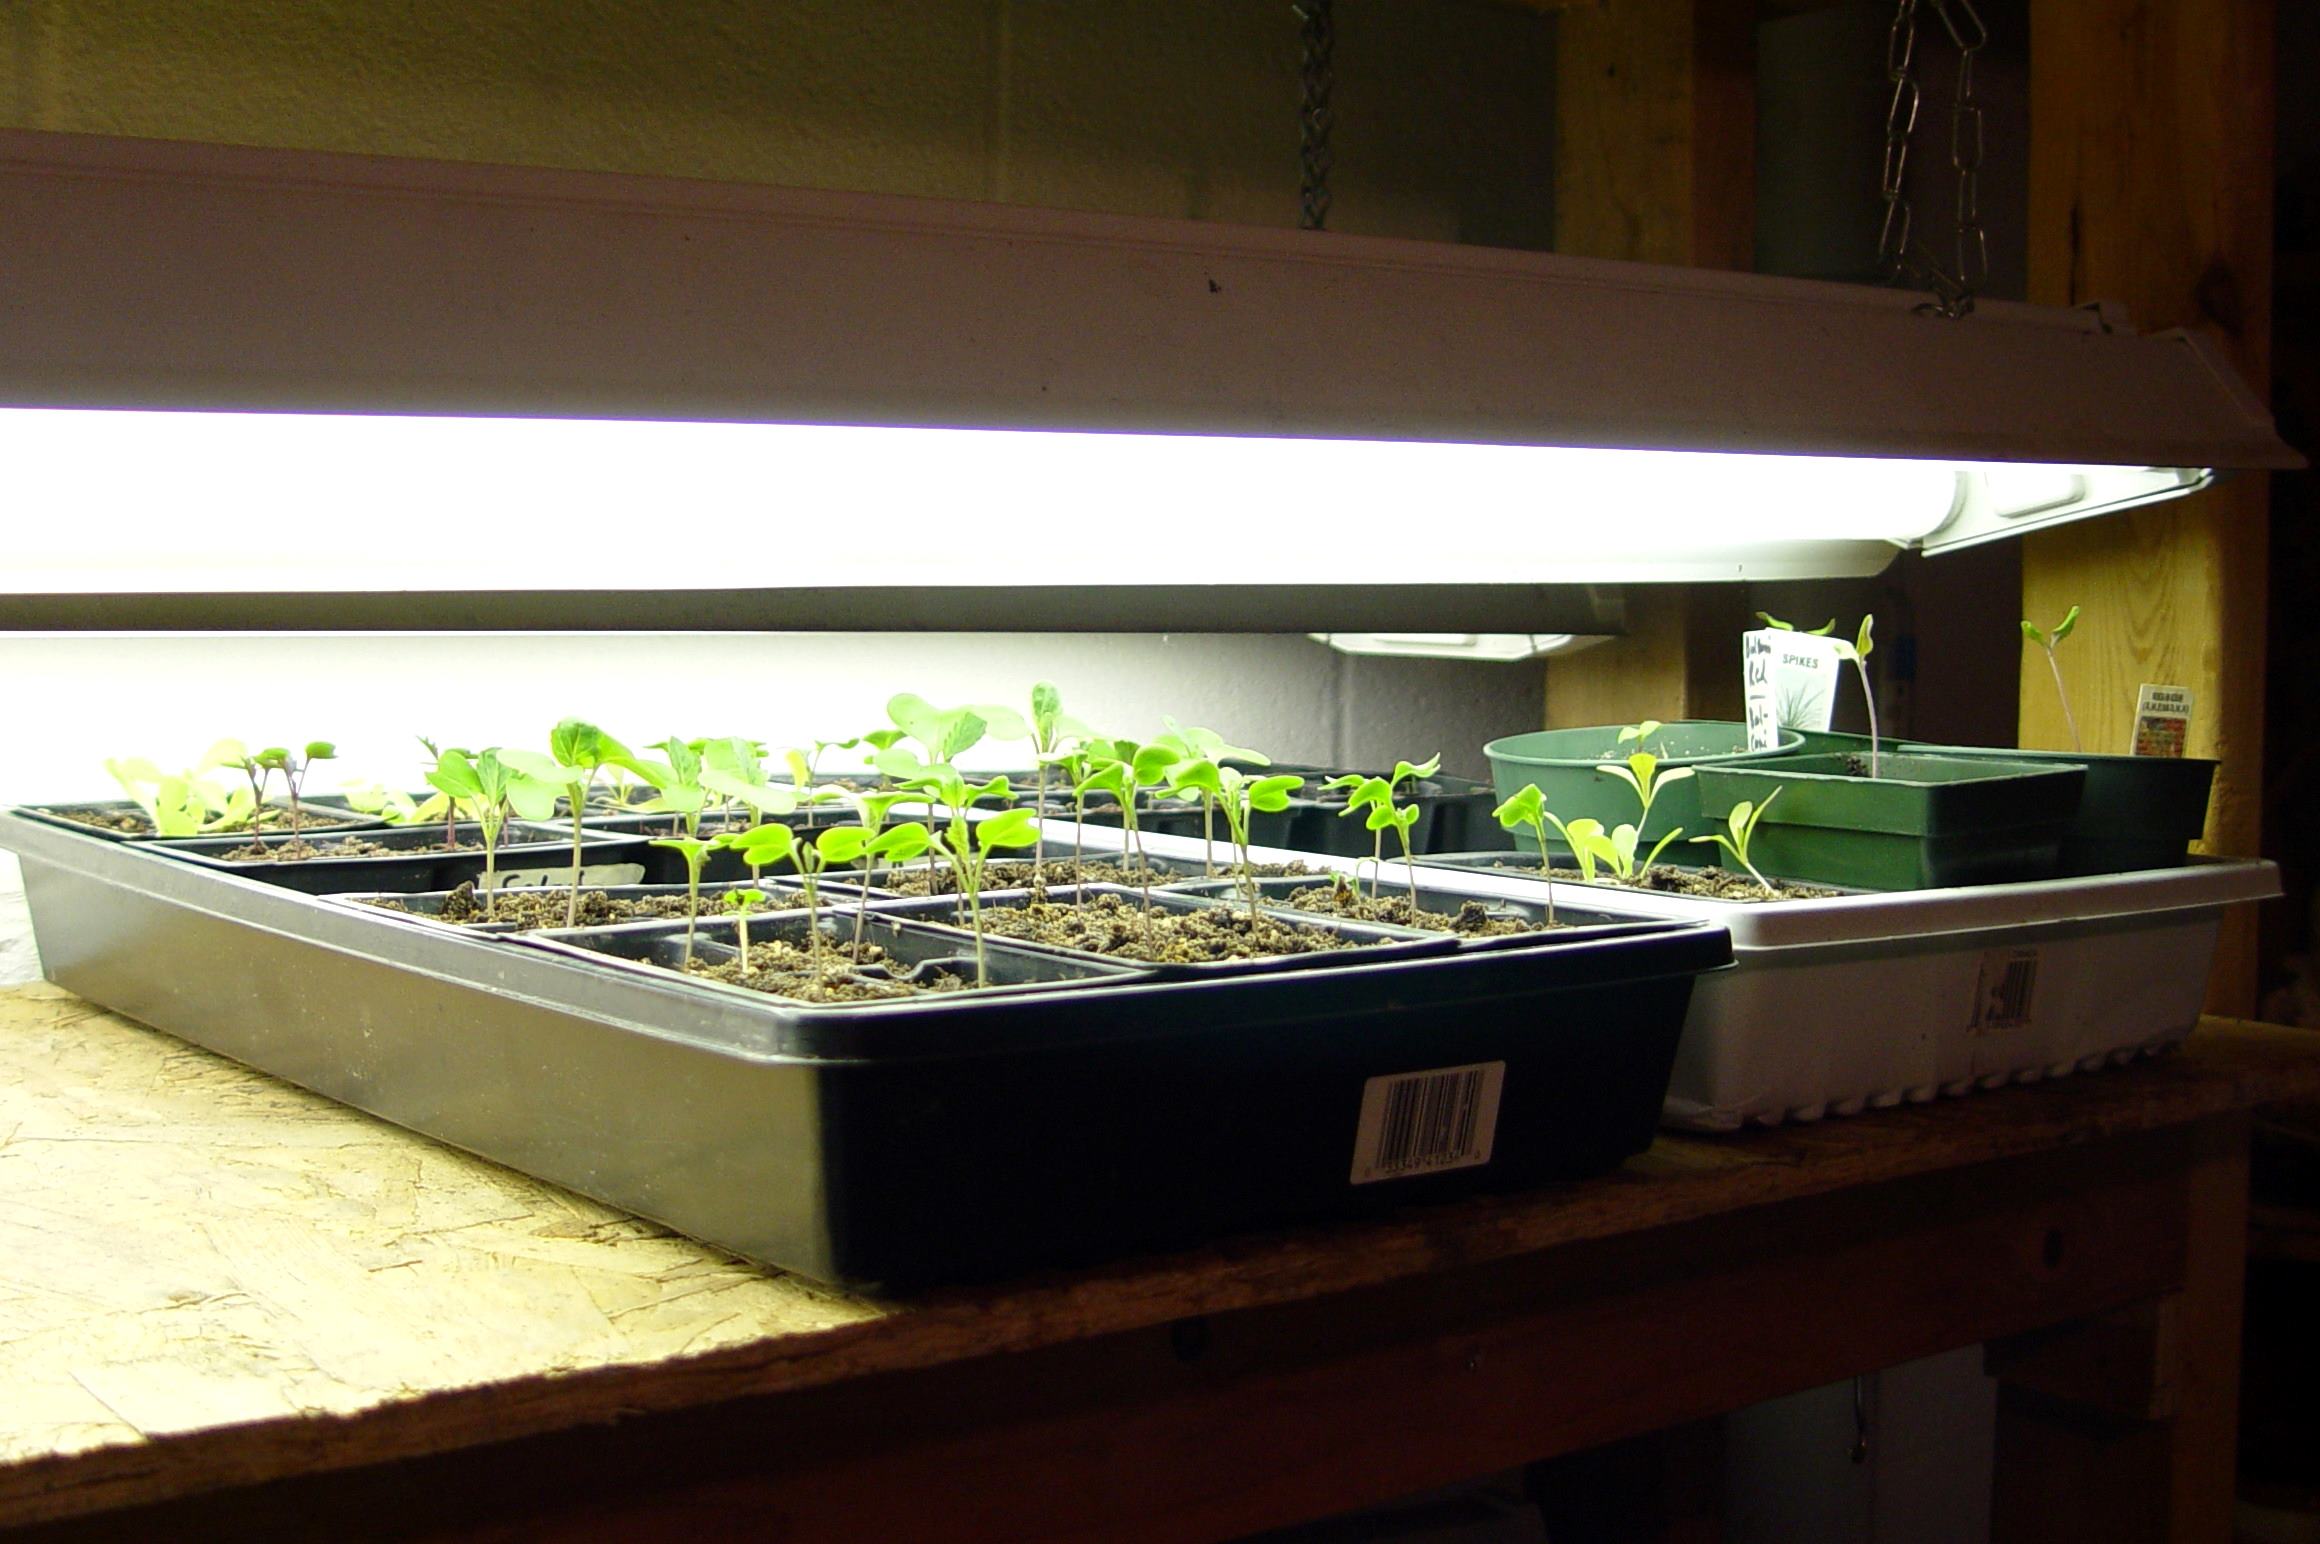
2. Space and Lighting: Determine the available indoor space for starting your seeds and ensure it receives adequate lighting. Most seedlings require 12-16 hours of bright, indirect light per day. If your space lacks natural light, you can supplement with artificial grow lights. Proper spacing and lighting will promote healthy growth and prevent leggy, weak seedlings.
3. Timing: Timing is crucial when starting seeds indoors. Planting too early can lead to overgrown seedlings, while planting too late may result in stunted development. Research the optimal planting time for each plant and count back from your region’s last frost date to determine the ideal start date. This information is typically provided on seed packets or available from local gardening resources.
4. Temperature and Humidity: Different plants have varying temperature and humidity requirements for successful germination and growth. Consider the average temperature in your indoor space and ensure it falls within the recommended range for your chosen plants. Additionally, monitor humidity levels, as too much or too little moisture can impact seed germination and seedling growth.
5. Seed Quality: To maximize the chances of successful germination, use high-quality seeds from reputable sources. Check for the seed’s expiration date and carefully inspect the packaging for any signs of damage or contamination. It’s also recommended to conduct a germination test with a small sample of seeds to assess viability before planting a larger batch.
6. Watering and Drainage: Adequate watering and proper drainage are essential for healthy seedling development. Use a well-draining seed starting mix and ensure containers have drainage holes to prevent waterlogging. Water gently, keeping the soil consistently moist but not soaking wet. Overwatering can lead to damping-off disease, while underwatering can result in stunted growth or seedling death.
7. Seed Starting Mix: Choosing the right seed starting mix is key to providing the ideal growing medium for your seedlings. Opt for a lightweight, sterile mix that provides good drainage and aeration. Avoid using garden soil for starting seeds, as it can contain pests, diseases, and weed seeds that may hinder seedling growth.
8. Transplanting Considerations: Before starting seeds indoors, think about the eventual transplanting process. Ensure you have suitable containers for transplanting, such as biodegradable pots or seedling trays, which will minimize root disturbance when moving seedlings to the garden. Transplant seedlings after they have developed a few sets of true leaves and are strong enough to handle the transition to outdoor conditions.
By carefully considering these factors, you can set yourself up for success in your indoor seed starting endeavors. Taking the time to plan and prepare will result in healthy, robust seedlings that are ready to flourish in your garden.
Best Time to Start Seeds Indoors
Timing is crucial when it comes to starting seeds indoors. The goal is to start them early enough that they have ample time to grow into healthy seedlings before being transplanted outdoors. The specific timing can vary depending on your location, the types of plants you are growing, and the duration of your growing season. Here are some general guidelines to help you determine the best time to start seeds indoors:
1. Last Frost Date: The last frost date in your area is a critical piece of information to consider. This is the date after which the risk of frost is significantly reduced, providing a more favorable environment for outdoor planting. Determine the average last frost date for your region, as it will serve as a reference point for calculating the appropriate timing for starting seeds indoors.
2. Planting Zones: Familiarize yourself with the USDA Plant Hardiness Zones or a similar regional planting zone map. These zones provide valuable information about the suitable timing for starting seeds indoors and transplanting seedlings outdoors in your specific area. The zones take into account average temperatures and climatic conditions to guide gardeners in selecting appropriate planting dates.
3. Days to Maturity: Consider the average number of days it takes for your chosen plant varieties to reach maturity. This information is typically provided on the seed packet or available from reputable gardening sources. Count back from the desired harvest time and factor in the recommended seedling growth period to determine the ideal start date for your seeds indoors.
4. Plant-Specific Recommendations: Different plants have different requirements and growth rates. Some plants, such as tomatoes and peppers, need a longer growing season and benefit from early indoor starts. Others, like lettuce and radishes, can be directly sown outdoors. Research the specific recommendations for each plant you plan to grow to determine the appropriate starting time.
5. Trial and Observation: Gardening is a constant learning process, and experimenting with different timings can provide valuable insights. Consider starting a small number of seeds at different intervals to observe how they perform. This will help you fine-tune your seed starting schedule and optimize the growth of your seedlings.
In general, it’s recommended to start seeds indoors 6-8 weeks before the last expected frost date. This timing allows for sufficient growth of the seedlings and ensures they are strong and established enough for transplanting outdoors. However, this timeline may vary for different plant species, so always refer to specific recommendations for the best results.
By aligning your seed starting schedule with the last frost date and considering the specific needs of your chosen plants, you can ensure that your seedlings have the best possible start and maximize their chances of thriving in the garden.
Choosing the Right Containers for Seed Starting
When it comes to starting seeds indoors, choosing the right containers is essential for the successful growth of your seedlings. The containers you select should provide a suitable environment for seed germination, root development, and easy transplanting. Here are some factors to consider when choosing containers for seed starting:
1. Size and Depth: Select containers that are appropriate for the size and growth habits of your seedlings. Small cells or trays with individual compartments are ideal for starting several seeds at once, while larger pots can accommodate plants that require more space. Consider the depth of the container as well to ensure there is sufficient room for root growth.
2. Material: Common materials for seed starting containers include plastic, peat pots, and biodegradable materials. Plastic pots are durable, reusable, and provide good insulation, but they may require drainage holes. Peat pots are made from organic materials and can be planted directly into the ground, reducing transplant shock. Biodegradable pots, like those made from coconut coir or cow manure, also minimize root disturbance during transplanting.
3. Drainage: Proper drainage is crucial to prevent waterlogged soil, which can lead to root rot and other issues. Ensure that the containers you choose have drainage holes or are designed to facilitate water drainage. If using trays or containers without drainage, add a layer of gravel or perlite at the bottom to improve drainage.
4. Transplantability: Consider how easily seedlings can be removed from the containers for transplanting. Flexible pots made of materials like peat or cow manure allow for easier removal without disturbing the delicate roots. If using plastic pots, choose ones with a tapered shape or collapsible sides, making it easier to gently release the seedling.
5. Versatility and Reusability: Opt for containers that are versatile and can be used for multiple seasons. Reusable containers help minimize waste and save money in the long run. Plastic pots can be cleaned and sanitized for future use, while biodegradable options can be composted or broken down in the soil.
6. Consider Overall Purpose: Think about the purpose of your seed starting. If you plan to grow plants for a short period before transplanting them outdoors, smaller and cost-effective containers may suffice. However, if you wish to grow and maintain plants indoors long-term, investing in more substantial and decorative containers may be worth considering.
Remember to sterilize or wash your containers before filling them with seed starting mix to prevent the spread of diseases. Additionally, label each container with the plant variety and sowing date to keep track of your seedlings.
By carefully considering these factors, you can choose containers that provide a suitable environment for your seedlings, promote healthy growth, and make the transplantation process as smooth as possible.
Preparing the Soil and Seed Starting Mix
Creating the right soil and seed starting mix is crucial for providing the optimal growing medium for your seedlings. The quality of the soil and mix directly impacts seed germination, root development, and overall plant health. Here are some key considerations when preparing the soil and seed starting mix:
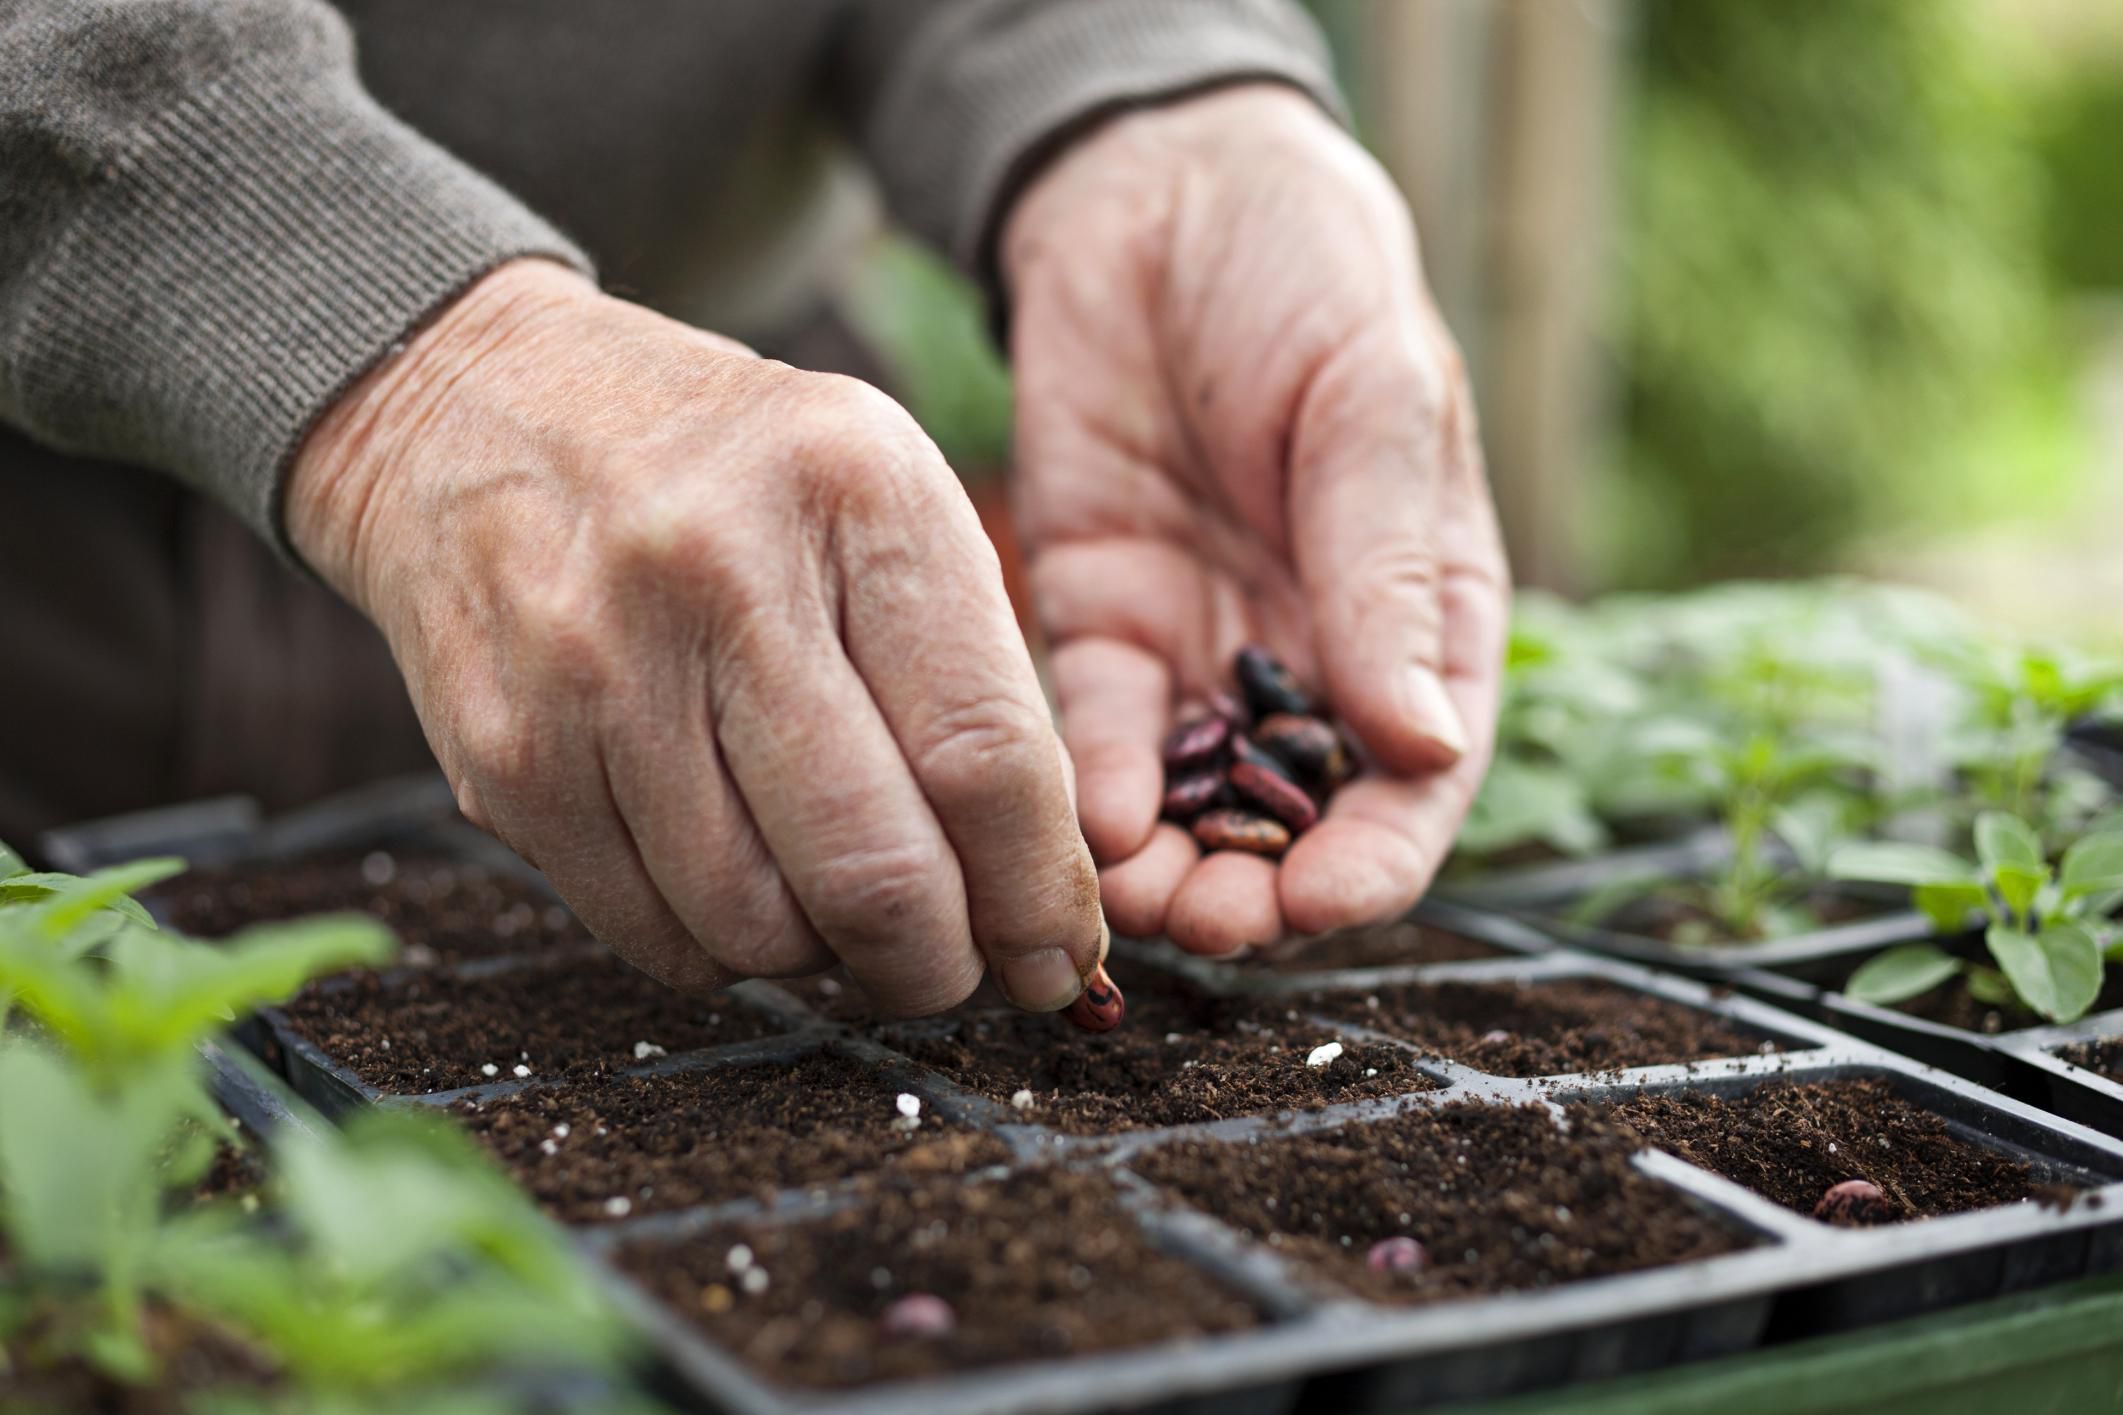
1. Seed Starting Mix: Use a specialized seed starting mix or create your own by combining sterile, lightweight components. A good seed starting mix should have excellent drainage, moisture retention, and aeration properties. It should be free from weed seeds, pathogens, and harmful pests. You can make your own mix by combining ingredients such as vermiculite, perlite, peat moss, and compost in proper ratios.
2. Fine Texture: The seed starting mix should have a fine and consistent texture. This is important to ensure contact between the seeds and the soil, which improves seed germination rates. Avoid using heavy or compacted soil, as it can inhibit root growth and make it harder for seedlings to emerge from the soil.
3. Moisture Retention: Seed starting mix should have the capacity to retain moisture without becoming waterlogged. It should strike a balance between holding enough moisture to support germination and seedling growth, but also allowing excess water to drain away. Proper moisture levels are vital for healthy root development and overall plant hydration.
4. Nutrient Availability: While seed starting mix doesn’t need to be excessively nutrient-rich, it should provide some essential nutrients to support initial seedling growth. Many seed starting mixes contain a small amount of organic matter or slow-release fertilizers to provide a gentle nutritional boost. If creating your own mix, consider adding a balanced organic fertilizer to ensure a steady supply of nutrients.
5. Sterilization: Whether you’re using a pre-packaged seed starting mix or creating your own, it’s important to ensure that everything is properly sterilized. Sterilization helps eliminate pathogens, pests, weed seeds, and other contaminants that could hinder seed germination and harm the young seedlings. Sterilizing the mix can be done by baking it in an oven at a low temperature or using steam sterilization methods.
6. Container Preparation: Before filling your containers with the seed starting mix, make sure the containers are clean and dry. Remove any debris or old soil to prevent the accumulation of pests or diseases. If using reusable containers, sanitize them with a mild bleach solution or wash them thoroughly with soap and water.
Remember to moisten your seed starting mix before sowing the seeds. This can be done by thoroughly watering the mix and allowing excess water to drain away. Ensure the mix is slightly moist but not saturated, as overly wet conditions can lead to seed rot.
By taking the time to prepare the soil and seed starting mix correctly, you provide your seeds with the optimal conditions for germination and early growth. This sets the foundation for healthy and vigorous seedlings that will thrive in your garden.
Providing Optimal Conditions for Seed Germination
Seed germination is a critical stage in a plant’s life cycle, and providing optimal conditions can greatly increase your chances of successful germination. By creating the right environment and attending to the needs of your seeds, you can ensure healthy and robust seedlings. Here are some key factors to consider when providing optimal conditions for seed germination:
1. Temperature: Different plants have different temperature requirements for germination. Most vegetable and flower seeds prefer a temperature range of 65-75°F (18-24°C). Use a thermometer to monitor the temperature in the germination area and adjust as necessary. Avoid extreme temperature fluctuations, as they can negatively impact germination rates.
2. Moisture: Seeds need a consistent level of moisture to successfully germinate. Ensure that the seed starting mix or soil remains moist but not waterlogged throughout the germination process. Mist the soil surface with water as needed or cover the containers with plastic wrap to create a humid environment. Check moisture levels regularly and avoid letting the soil dry out or become overly saturated.
3. Light: Light requirements for seed germination vary depending on the plant species. Some seeds require darkness to germinate, while others need light. Research the light requirements for each type of seed you are germinating and provide the appropriate conditions. For seeds that require light, place them closer to a light source or opt for transparent containers or greenhouse setups.
4. Aeration: Proper airflow is essential for preventing fungal diseases and promoting healthy root development. Avoid overcrowding seeds in containers to allow for adequate air circulation. If using a plastic cover or plastic wrap during germination, ensure there are small holes or ventilation slits to allow fresh air to enter. Additionally, periodically lift the cover to provide aeration and prevent the buildup of excess humidity.
5. Consistency: Maintain consistent environmental conditions throughout the germination process. Avoid moving or disturbing the germinating seeds unnecessarily, as this can disrupt the delicate roots and slow down or hinder germination. Keep the containers in a stable location away from drafts or sudden temperature changes.
6. Patience and Observation: Germination times can vary for different plant species, so it’s important to be patient. Some seeds may sprout quickly, while others may take longer. Consult seed packets or reputable gardening resources to get an idea of typical germination times. Regularly check the containers for any signs of germination and make adjustments to the growing conditions as needed.
Remember that not all seeds have the same requirements for germination. It’s essential to research the specific needs of each plant and provide the appropriate conditions accordingly. Tailoring the environment to suit your seeds’ requirements will greatly increase the likelihood of successful germination and healthy seedling development.
By understanding and addressing these factors, you can create an environment that fosters optimal conditions for seed germination. This careful attention to the germination process sets the stage for healthy, vigorous seedlings that will thrive and flourish in your garden.
Caring for Seedlings Indoors
Once your seeds have germinated and the seedlings have emerged, it’s crucial to provide proper care to ensure their continued growth and development. Caring for seedlings indoors involves attending to their needs for light, water, nutrients, and environmental conditions. Here are some essential steps to help you care for your seedlings:
1. Light: Adequate light is essential for healthy seedling growth. Place your seedlings in a location where they can receive 12-16 hours of bright, indirect light per day. If natural light is insufficient, supplement with artificial grow lights. Keep the lights close to the seedlings to prevent them from becoming leggy and weak.
2. Water: Water your seedlings carefully to prevent overwatering or underwatering. Check the moisture level of the soil regularly by inserting your finger into the soil up to the first knuckle. If the soil feels dry at that depth, it’s time to water. Use a gentle stream of water or a spray bottle to moisten the soil evenly. Avoid splashing water onto the seedlings, as this can lead to disease and damage delicate foliage.
3. Nutrients: Most seed starting mixes provide enough nutrients for the initial growth phase of seedlings. However, after a few weeks, when the seedlings have developed their first true leaves, you can start supplementing with a diluted, balanced liquid fertilizer. Follow the manufacturer’s instructions for proper dosage and frequency. Avoid over-fertilizing, as this can cause harm to the seedlings.
4. Temperature and Humidity: Maintain stable temperature and humidity levels for your seedlings. Generally, a temperature range of 65-75°F (18-24°C) is suitable for most seedlings. Avoid exposing them to extreme temperatures or drafts. To maintain humidity, you can place a tray filled with water near the seedlings or use a humidifier if the air in your home is dry. Be cautious not to create excessively humid conditions, which can lead to fungal diseases.
5. Thinning: If you have multiple seedlings growing in a single container, thin them out to provide sufficient space for each individual plant to grow. This involves carefully removing the weaker seedlings, leaving behind the strongest and healthiest ones. Thinning prevents overcrowding and competition for resources, allowing the remaining seedlings to thrive.
6. Gently Tending to Seedlings: Handle your seedlings with care to avoid damaging the delicate stems and roots. When watering or tending to them, support the delicate seedlings close to the soil surface to avoid putting strain on the stems. Use a small, handheld mister to gently spray water on the foliage, if needed.
7. Observation and Monitoring: Regularly observe your seedlings for signs of problems such as pests, diseases, or nutrient deficiencies. Check for any unusual discoloration, wilting, or stunted growth. Promptly address any issues to prevent further damage and ensure the health of your seedlings.
Remember that as the seedlings grow, they may require larger containers or eventual transplantation into the garden. Monitor their growth and be prepared to transplant them when they have developed enough true leaves and are strong enough to handle the transition.
By providing proper care to your seedlings indoors, you nurture their growth and prepare them for successful transplantation into the outdoor garden. With attention to light, water, nutrients, and environmental conditions, your seedlings will flourish and become strong, vibrant plants.
Hardening Off Seedlings
Hardening off is the process of gradually acclimating seedlings to the outdoor environment before transplanting them into the garden. It’s an important step in ensuring the success of your plants, as it helps seedlings adjust to the outdoor conditions without experiencing shock or stress. Here are some key steps to follow when hardening off your seedlings:
1. Timing: Start the hardening off process about one to two weeks before your intended transplant date. This allows the seedlings to gradually adapt to the outdoor conditions without exposing them to potential late-season frost or extreme weather fluctuations.
2. Gradual Exposure: Begin by placing your seedlings outdoors for a few hours in a sheltered and shaded spot. Choose a mild, calm day to avoid exposing them to harsh conditions. Each day, increase the duration of outdoor exposure by an hour or two. Over the course of one to two weeks, gradually expose them to longer periods of direct sunlight, wind, and fluctuating temperatures.
3. Protecting from Extreme Conditions: During the hardening off process, keep a close eye on the weather forecast. If there are predictions of frost, strong winds, or heavy rain, bring the seedlings indoors or protect them with a cold frame, cloche, or row cover. Gradually expose the seedlings to more challenging conditions as they become stronger and more resilient.
4. Watering and Fertilization: Adjust your watering routine during the hardening off period. Keep the soil slightly moist, but avoid overwatering, as excess moisture can lead to root rot. Reduce the frequency of fertilization, as the seedlings will not require as many nutrients during this transitional phase.
5. Spacing and Transplanting: As the seedlings become larger and stronger, gradually increase the spacing between them to allow for proper air circulation. This reduces the risk of disease and helps the plants develop sturdy stems. When it’s time to transplant the seedlings into the garden, choose a calm, overcast day or do it in the evening to minimize stress on the plants.
6. Observation: While hardening off your seedlings, regularly observe them for signs of stress, disease, or pest damage. Keep an eye out for wilting, discoloration, or unusual growth. Address any issues promptly to ensure the health and vigor of your plants.
Remember that the duration of the hardening off process may vary depending on the specific plant species and your local climate conditions. Some plants may require longer or shorter periods to adjust to outdoor conditions. Research the specific needs of your plants and adjust your hardening off timeline accordingly.
The hardening off process may seem time-consuming, but it’s a crucial step in preparing your seedlings for successful transplanting and ensuring their long-term resilience in the garden. By gradually exposing them to the outdoor environment, you give your seedlings the best chance of thriving and adapting to the conditions they will encounter in their new home.
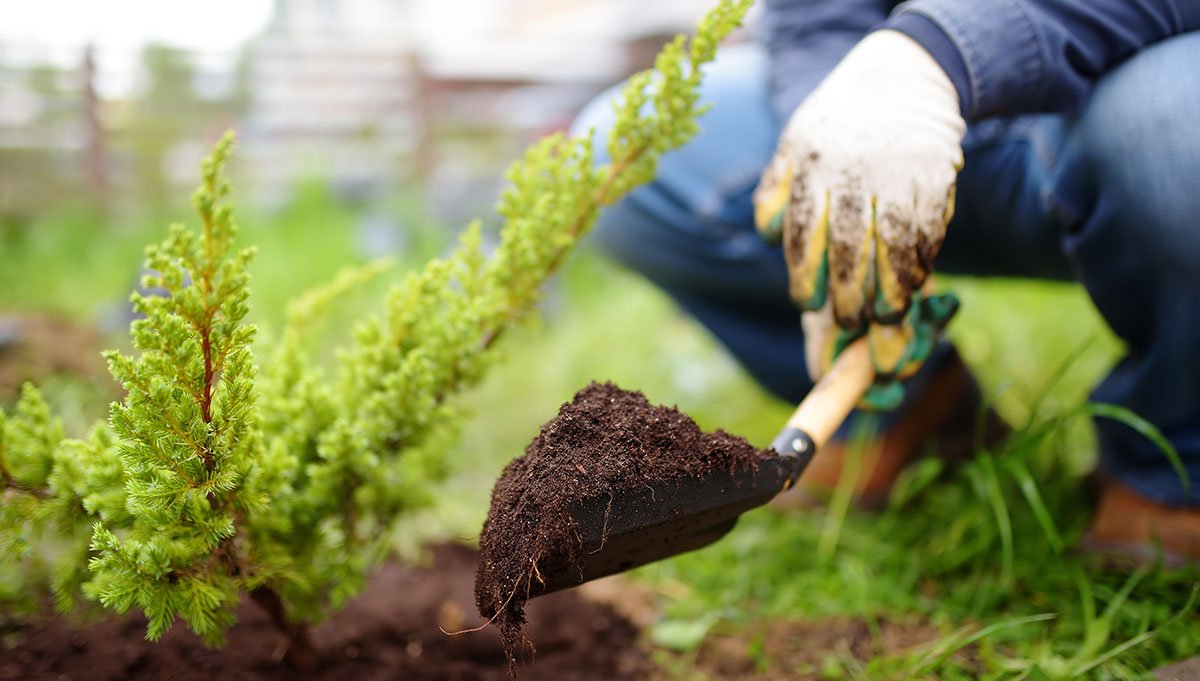
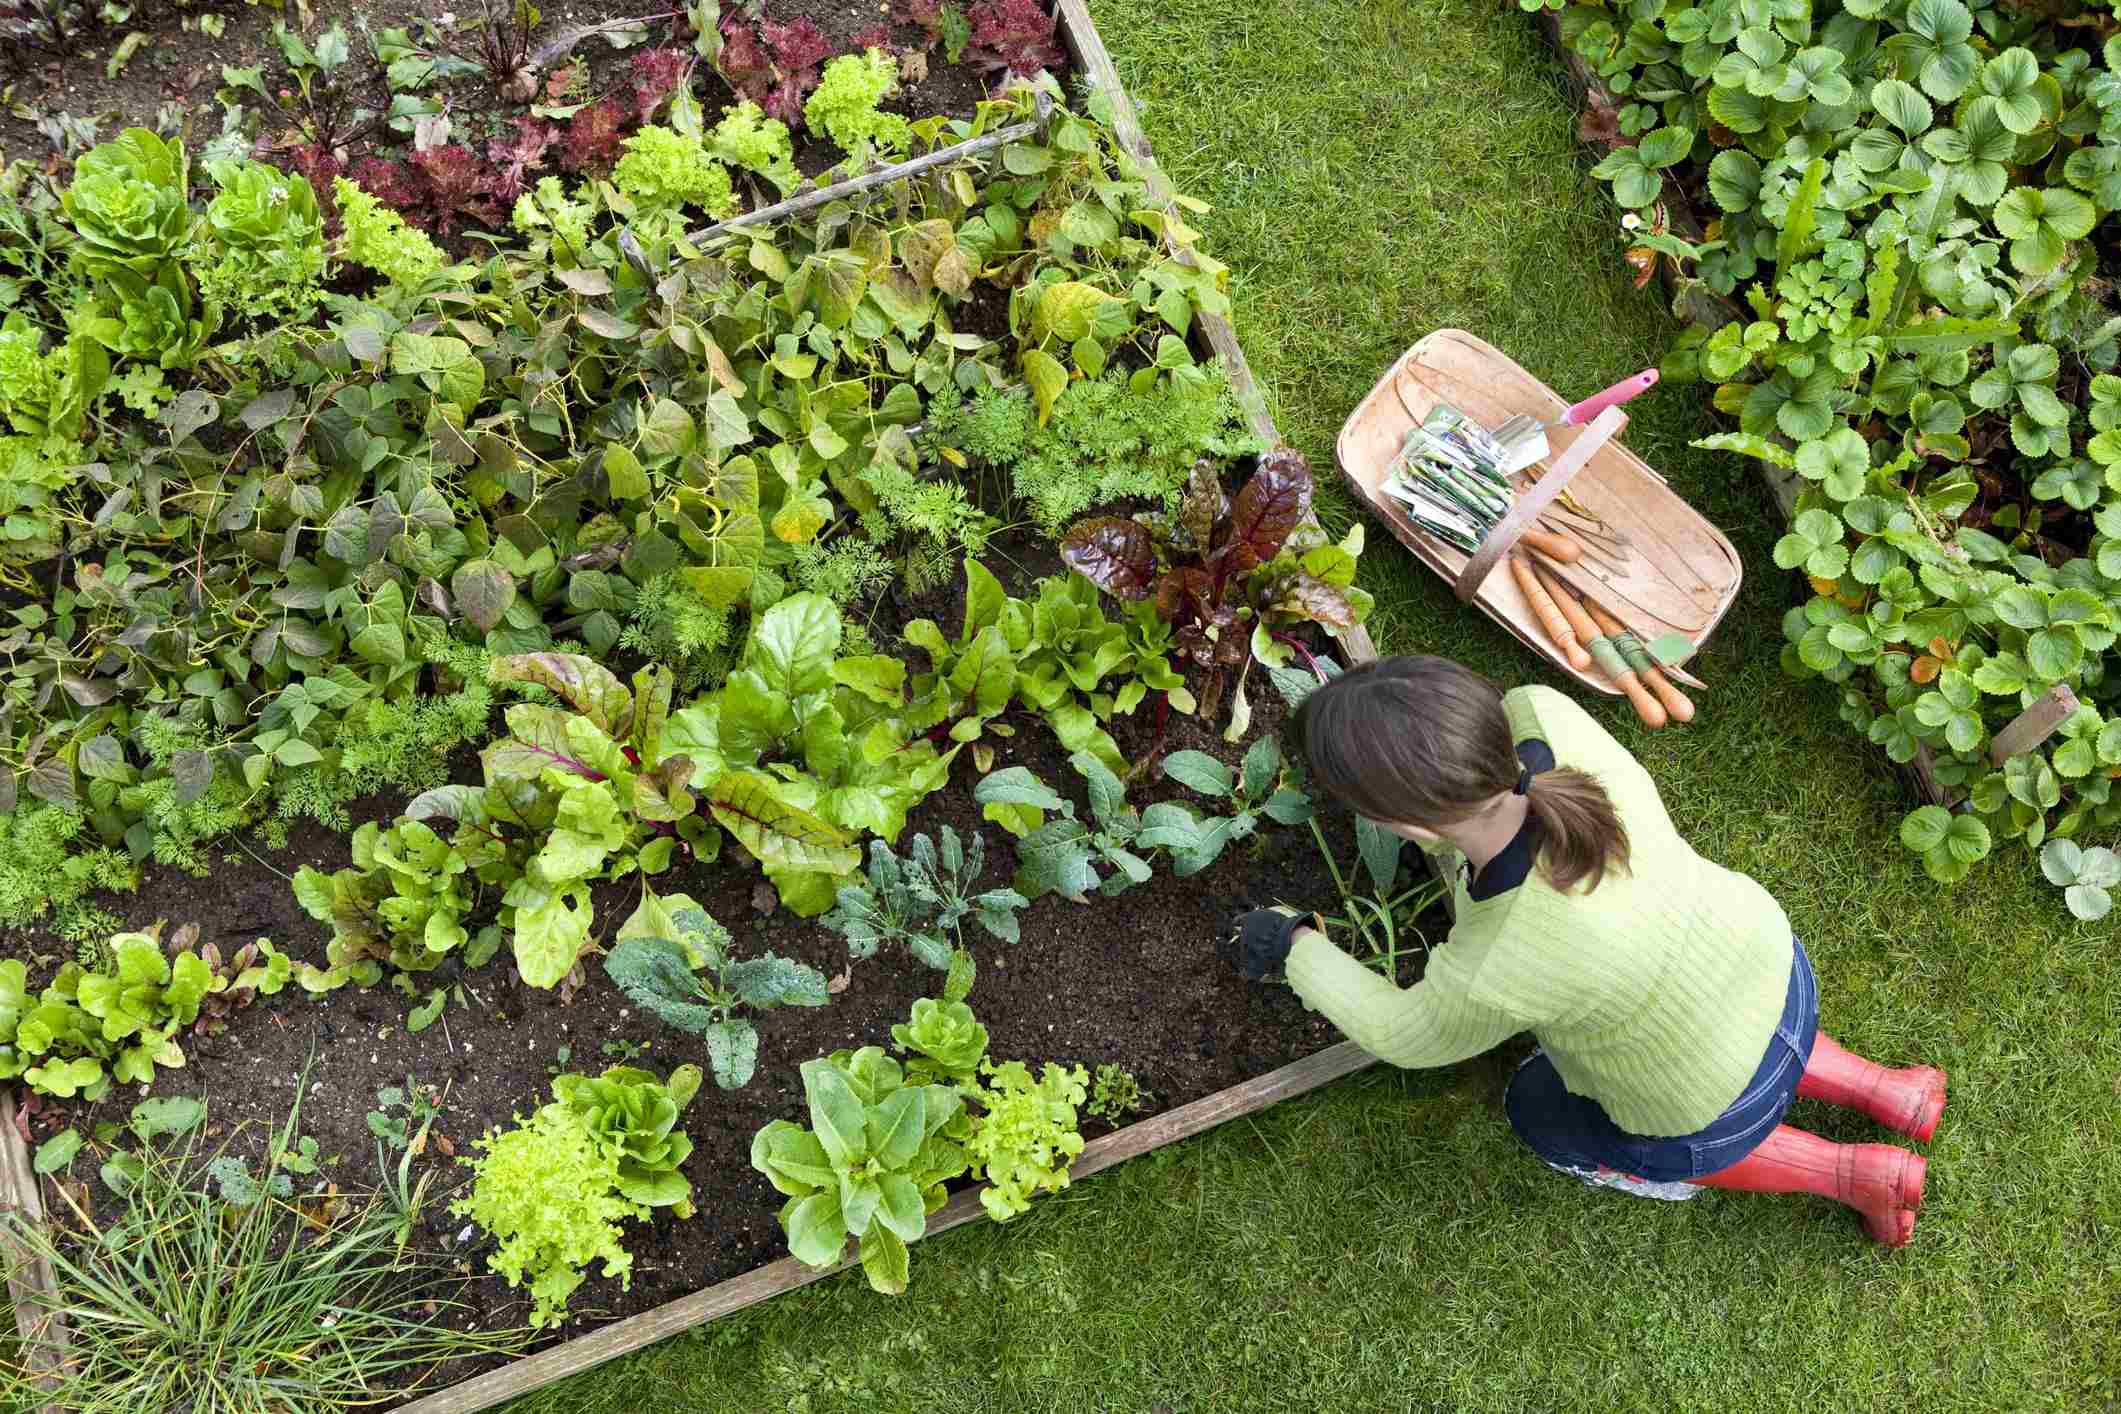
Transplanting Seedlings into the Garden
Transplanting seedlings from their indoor environment to the garden is an exciting and crucial step in their journey towards maturity. To ensure a successful transition, it’s important to follow proper steps and techniques when transplanting seedlings. Here are some key considerations to keep in mind:
1. Timing: Choose an appropriate time to transplant your seedlings into the garden. Wait until the risk of frost has passed, and the soil has warmed up sufficiently for optimal plant growth. Refer to local gardening resources or consult a planting calendar to determine the ideal timing for each specific plant variety.
2. Preparing the Soil: Prepare the garden bed by removing any weeds or debris and loosening the soil to promote good root growth. Incorporate organic matter, such as compost or well-aged manure, to enrich the soil and improve its fertility. Ensure that the soil is well-draining and has a pH level suitable for the specific plants being transplanted.
3. Watering Seedlings: Water the seedlings thoroughly a day or two before transplanting. This helps ensure that they are well-hydrated and less stressed during the transplanting process. Avoid watering immediately before transplanting, as overly wet soil may make it difficult to handle the seedlings.
4. Digging Proper Holes: Dig individual holes or trenches in the prepared garden bed to accommodate each seedling. Ensure that the hole is deep and wide enough to accommodate the root system without crowding or bending the roots. Space the holes according to the spacing requirements of the specific plant variety.
5. Gentle Transplanting: When removing the seedlings from their containers, handle them with care to avoid damaging the delicate roots and stems. Gently loosen the root ball and place the seedling in the prepared hole, ensuring that it is at the same depth as it was in the container. Hold the seedling by the leaves rather than the stem to avoid injury.
6. Firming the Soil: After placing the seedling in the hole, gently firm the soil around the base to provide stability and eliminate any air pockets. Take care not to pack the soil too tightly, as this can hinder root growth and drainage. Water the transplanted seedlings immediately after planting to help settle the soil and provide hydration.
7. Protecting Seedlings: Newly transplanted seedlings may be susceptible to sunburn, wind damage, or pests. Consider using temporary shade cloth, row covers, or protective mulch to shield them from harsh sunlight or strong winds. Monitor for pest activity and take appropriate measures to prevent infestation.
8. Watering and Mulching: After transplanting, provide adequate water to help establish the seedlings in their new environment. Water deeply and regularly, ensuring that the soil remains consistently moist but not waterlogged. Apply a layer of organic mulch, such as straw or wood chips, around the base of the seedlings to conserve moisture, suppress weeds, and maintain a more stable soil temperature.
9. Observation and Care: Regularly monitor the transplanted seedlings for signs of stress, disease, or pest damage. Provide proper care, including watering, weeding, and appropriate fertilization, based on the specific needs of the plant variety. Attend to any issues promptly to ensure the healthy growth and development of the transplanted seedlings.
Transplanting seedlings into the garden marks a significant milestone in their journey towards maturity. By following proper techniques and providing care and attention, you give your seedlings the best chance of establishing themselves in the garden and thriving to their full potential.
Conclusion
Starting seeds indoors and caring for the resulting seedlings is a rewarding and fulfilling process that can significantly enhance your gardening experience. By providing optimal conditions, preparing the soil and seed starting mix, and tending to the needs of your young plants, you set the stage for a successful and abundant garden. Understanding the factors to consider before starting seeds indoors, as well as the best timing and techniques for seed germination and transplanting, is essential for maximizing your gardening efforts.
Starting seeds indoors allows you to extend the growing season, gain control over growing conditions, and expand your selection of plant varieties. It offers cost savings and a valuable learning opportunity while alleviating some challenges associated with outdoor gardening. By carefully choosing containers, preparing the soil and seed starting mix, and providing optimal conditions for seed germination and seedling care, you create the perfect environment for your plants to thrive.
Additionally, hardening off seedlings before transplanting them into the garden helps them adjust to outdoor conditions gradually. By following proper techniques and paying attention to the needs of your plants, you ensure their smooth transition and increase their chances of success.
Ultimately, the process of starting seeds indoors and growing them into healthy seedlings is not only about nurturing plants; it’s also about nurturing your own connection to nature. It allows you to witness the incredible transformation of tiny seeds into robust plants that bring life, color, and beauty to your garden.
So, take the time to plan, prepare, and care for your seedlings indoors, and you’ll be rewarded with a thriving garden filled with the bounties of your labor. Enjoy the gratification of seeing your plants thrive and the satisfaction of knowing that you played a crucial role in their growth. Happy gardening!