Home>Gardening Techniques>When To Start Seeds In Greenhouse

Gardening Techniques
When To Start Seeds In Greenhouse
Modified: February 9, 2024
Learn when to start seeds in a greenhouse for seasonal gardening. Maximize your growing season with expert tips and timing guidance.
(Many of the links in this article redirect to a specific reviewed product. Your purchase of these products through affiliate links helps to generate commission for Chicagolandgardening.com, at no extra cost. Learn more)
Table of Contents
Introduction
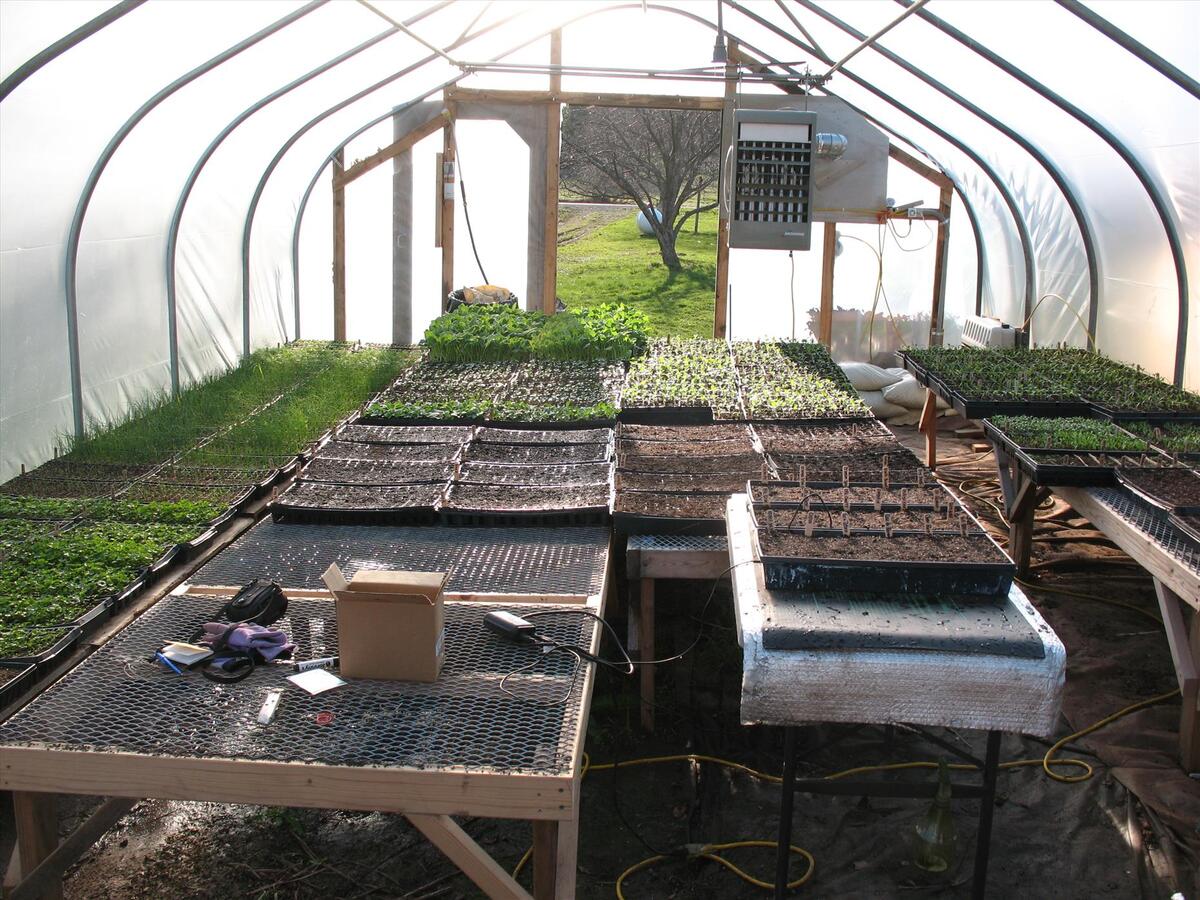
When it comes to seasonal gardening, starting seeds in a greenhouse can be a game-changer. A greenhouse offers a controlled environment that allows for optimal seed germination and growth, giving gardeners a head start on the growing season. Whether you’re a seasoned gardener looking to extend your harvest or a beginner looking for a reliable way to grow your favorite plants, a greenhouse can be a valuable tool in your gardening arsenal.
When you start seeds in a greenhouse, you gain several benefits that can greatly enhance your gardening experience. The controlled environment provides protection from harsh weather conditions, such as frost and extreme temperatures, ensuring that your seeds have the best possible chance of survival. It also allows you to start your seeds earlier, giving you a head start and potentially increasing your yield.
Another advantage of starting seeds in a greenhouse is the ability to provide consistent and optimal growing conditions. You can adjust temperature, humidity, and light levels to create the perfect environment for seed germination and plant growth. This level of control helps to minimize the risk of disease and pest infestation, leading to healthier and more resilient plants.
Before you start planting seeds in your greenhouse, there are a few factors to consider. First and foremost, you’ll need to assess the space and size of your greenhouse to determine how many seed trays or pots you can accommodate. Additionally, you’ll need to evaluate the available light and temperature levels to ensure they are suitable for seed germination and growth.
The timing of when to start seeds in a greenhouse is crucial. It varies depending on the specific plant species and your climate zone. Starting seeds too early can result in leggy and weak seedlings, while starting too late can delay the overall growth and development of your plants.
In this comprehensive guide, we’ll explore the best time to start seeds in a greenhouse, the steps involved in starting seeds, common mistakes to avoid, and how to successfully transfer your seedlings to the garden. By following these guidelines, you’ll be well-equipped to start seeds in your greenhouse and enjoy a bountiful and successful gardening season.
Benefits of Starting Seeds in a Greenhouse
Starting seeds in a greenhouse offers a multitude of benefits that can greatly enhance your gardening experience. Let’s explore some of the key advantages:
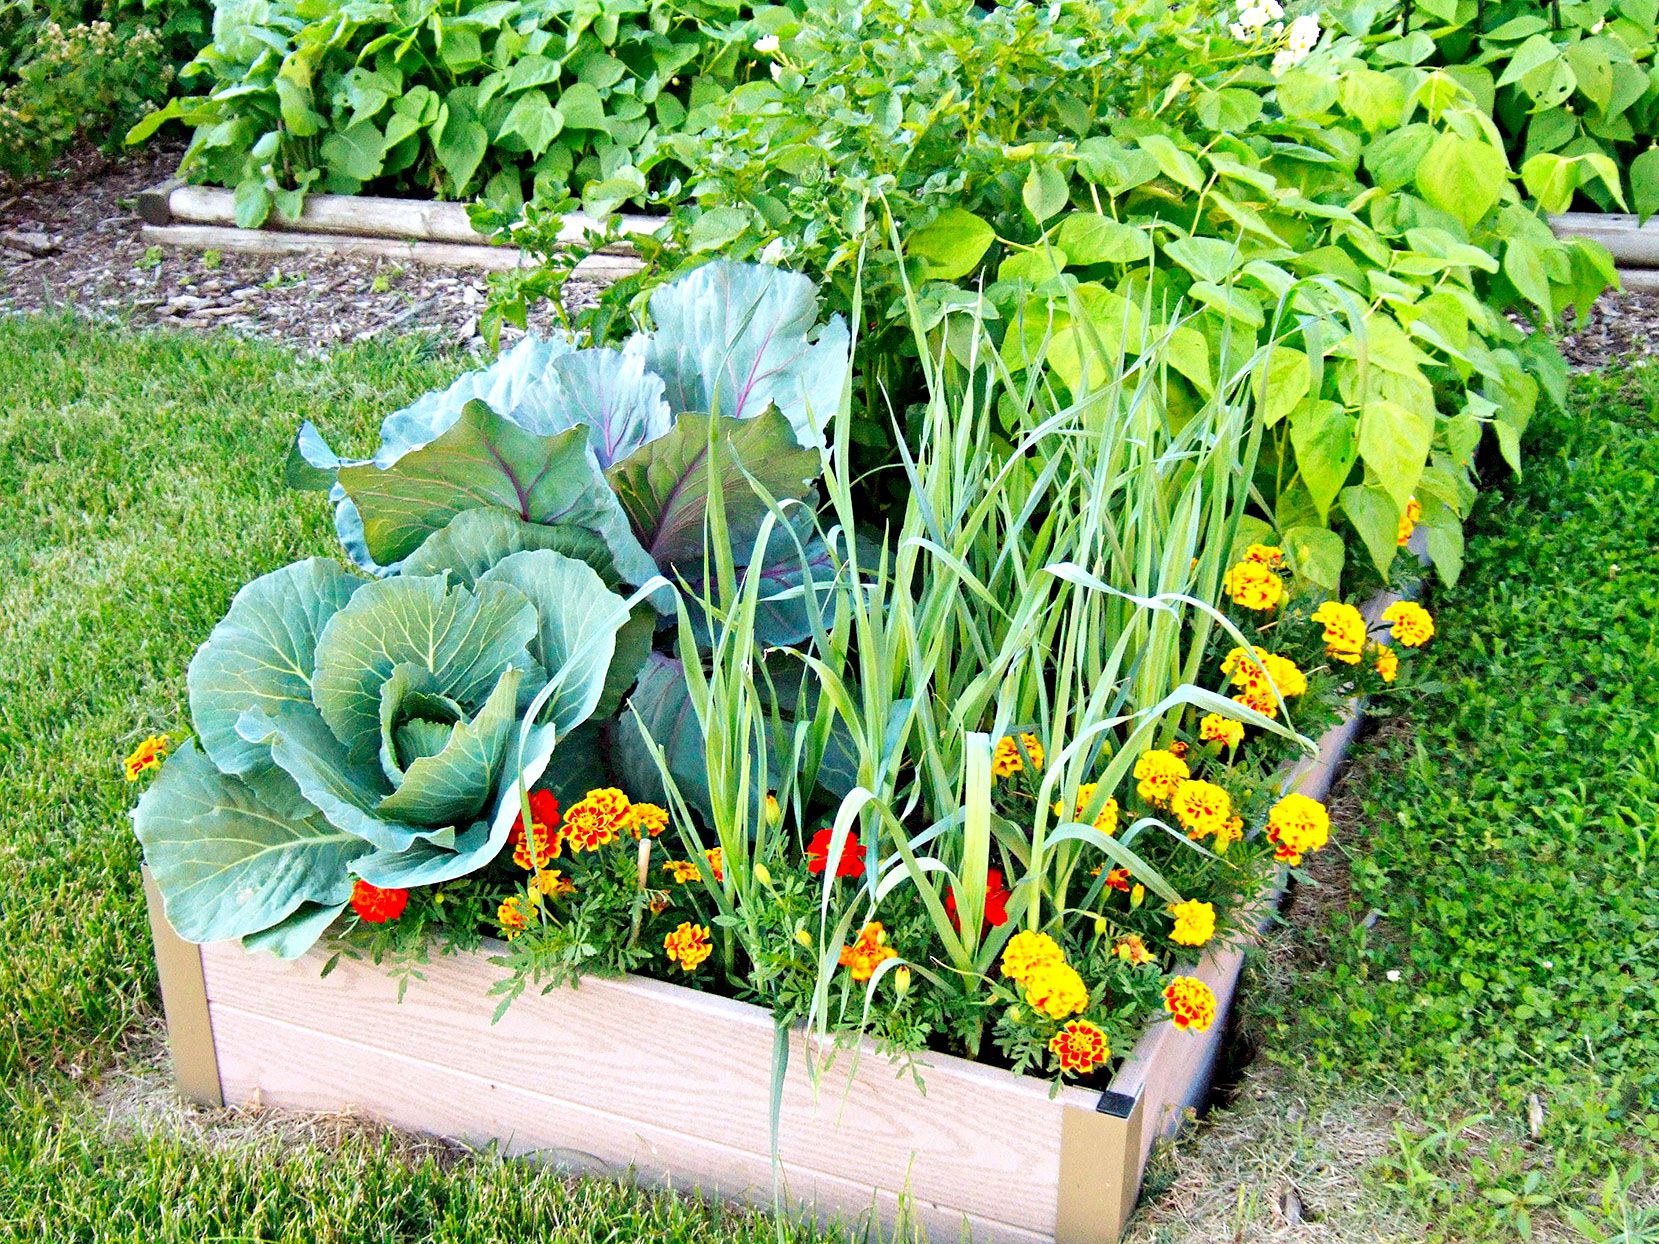
- Extended Growing Season: One of the main benefits of starting seeds in a greenhouse is the ability to extend your growing season. By starting seeds indoors, you can get a head start on the growing season and have seedlings ready to be transplanted into your garden once the weather conditions are favorable. This allows you to enjoy a longer harvest and maximize your gardening efforts.
- Protection from Harsh Weather Conditions: A greenhouse provides a sheltered environment that protects your seedlings from harsh weather conditions. In early spring when frost is still a concern, a greenhouse allows you to start your seeds without the risk of them being damaged or killed by low temperatures. Additionally, a greenhouse can shield your plants from heavy rains, strong winds, and extreme temperatures, ensuring their survival and healthy growth.
- Controlled Environment: When you start seeds in a greenhouse, you have full control over the growing conditions. You can adjust the temperature, humidity, and light levels to create the optimal environment for seed germination and plant growth. This level of control helps to prevent diseases, pests, and other environmental stress factors that may hinder the growth of your plants.
- Early Start for Warm-Weather Crops: If you live in a region with a short growing season, starting seeds in a greenhouse allows you to grow warm-weather crops, such as tomatoes and peppers, that typically require a longer growing period. By starting these seeds indoors, you can give them a head start and ensure they have enough time to mature and produce a bountiful harvest.
- Increased Seedling Success Rate: Starting seeds in a controlled environment like a greenhouse increases the success rate of your seedlings. The consistent temperatures and humidity levels promote faster and more uniform germination, resulting in stronger and healthier seedlings. This ultimately leads to better transplanting success and overall plant vigor.
- Cost Savings: Starting your own seeds in a greenhouse can result in significant cost savings. Buying seedlings from nurseries can be expensive, especially if you have a large garden. By starting your own seeds, you can grow a wide variety of plants at a fraction of the cost. Additionally, you have full control over the quality of the seeds and can choose to grow heirloom or organic varieties that may not be readily available as seedlings.
Overall, starting seeds in a greenhouse provides you with a range of benefits, including an extended growing season, protection from harsh weather conditions, a controlled environment, early start for warm-weather crops, increased seedling success rate, and cost savings. By taking advantage of these benefits, you can elevate your gardening experience and reap the rewards of a successful and productive garden.
Factors to Consider Before Starting Seeds
Before you dive into starting seeds in your greenhouse, there are several important factors to consider. These factors will help you ensure that your seedlings have the best possible chance of thriving and growing into strong and healthy plants. Let’s take a closer look at what you need to consider:
- Greenhouse Space: Assess the available space in your greenhouse to determine how many seed trays or pots you can accommodate. Consider the size of the plants you intend to grow and plan accordingly. Make sure there is enough room for the plants to grow without crowding each other.
- Light Levels: Adequate light is essential for seed germination and plant growth. Evaluate the amount and quality of natural light in your greenhouse. Ensure that the plants will receive enough hours of sunlight or consider supplemental lighting options, such as fluorescent or LED grow lights, to provide sufficient light for optimal growth.
- Temperature Control: Different plants have different temperature requirements for germination. Familiarize yourself with the ideal temperature range for the seeds you plan to start. Ensure that your greenhouse can maintain the desired temperature range, considering both daytime and nighttime temperatures.
- Humidity levels: Seedlings require appropriate humidity levels to prevent drying out or becoming too damp. You can use a hygrometer to monitor and adjust the humidity levels within your greenhouse. Consider incorporating a misting system or using trays filled with water to increase humidity if necessary.
- Seeding Medium: Choose a high-quality seed starting mix or soilless medium for planting your seeds. This medium should be well-draining yet retain enough moisture to promote seed germination. Avoid using garden soil, as it can be heavy and may contain pests or diseases that could harm your seedlings.
- Watering: Proper watering is crucial for successful seed germination and seedling growth. Avoid overwatering, as it can lead to root rot and fungal diseases. Conversely, underwatering can cause seedlings to dry out and stunt their growth. Water the seedlings gently from below to prevent soil disturbance and promote healthy root development.
- Fertilization: While seedlings initially rely on the nutrients present in the seed itself, they will eventually require additional nutrients as they grow. Consider using a diluted liquid fertilizer specifically formulated for young seedlings. Follow the manufacturer’s instructions for application rates and frequency.
By carefully considering these factors before starting seeds in your greenhouse, you can create an optimal environment for successful germination and growth. Taking the time to assess your space, light levels, temperature control, humidity levels, seeding medium, watering practices, and fertilization needs will set a strong foundation for healthy and thriving seedlings.
Best Time to Start Seeds in a Greenhouse
The best time to start seeds in a greenhouse depends on various factors, including your specific climate zone, the type of plants you’re planning to grow, and the desired planting time in your region. Timing is crucial to ensure that your seedlings have enough time to mature before they are transplanted into the garden. Here are some general guidelines to help you determine the best time to start seeds in a greenhouse:
- Last Frost Date: Determine the average last frost date in your area. This information is critical as it helps you calculate when it’s safe to transplant seedlings outdoors. Count back from the last frost date to decide when to start your seeds. For example, if the last frost date is estimated to be around mid-April, you might start seeds indoors in late February or early March.
- Planting Time: Research the planting recommendations for the specific plants you want to grow. Some plants, like tomatoes and peppers, require a longer growing period, so you’ll need to start the seeds earlier. Other plants, such as lettuce or radishes, have a shorter maturation period and can be started closer to the desired planting time.
- Seed Packet Instructions: Read the instructions on the seed packets for the plants you wish to grow. Many seed packets provide specific guidelines on when to start seeds indoors and the ideal temperature range for germination. Follow these guidelines as a starting point, but also consider your local climate and weather conditions.
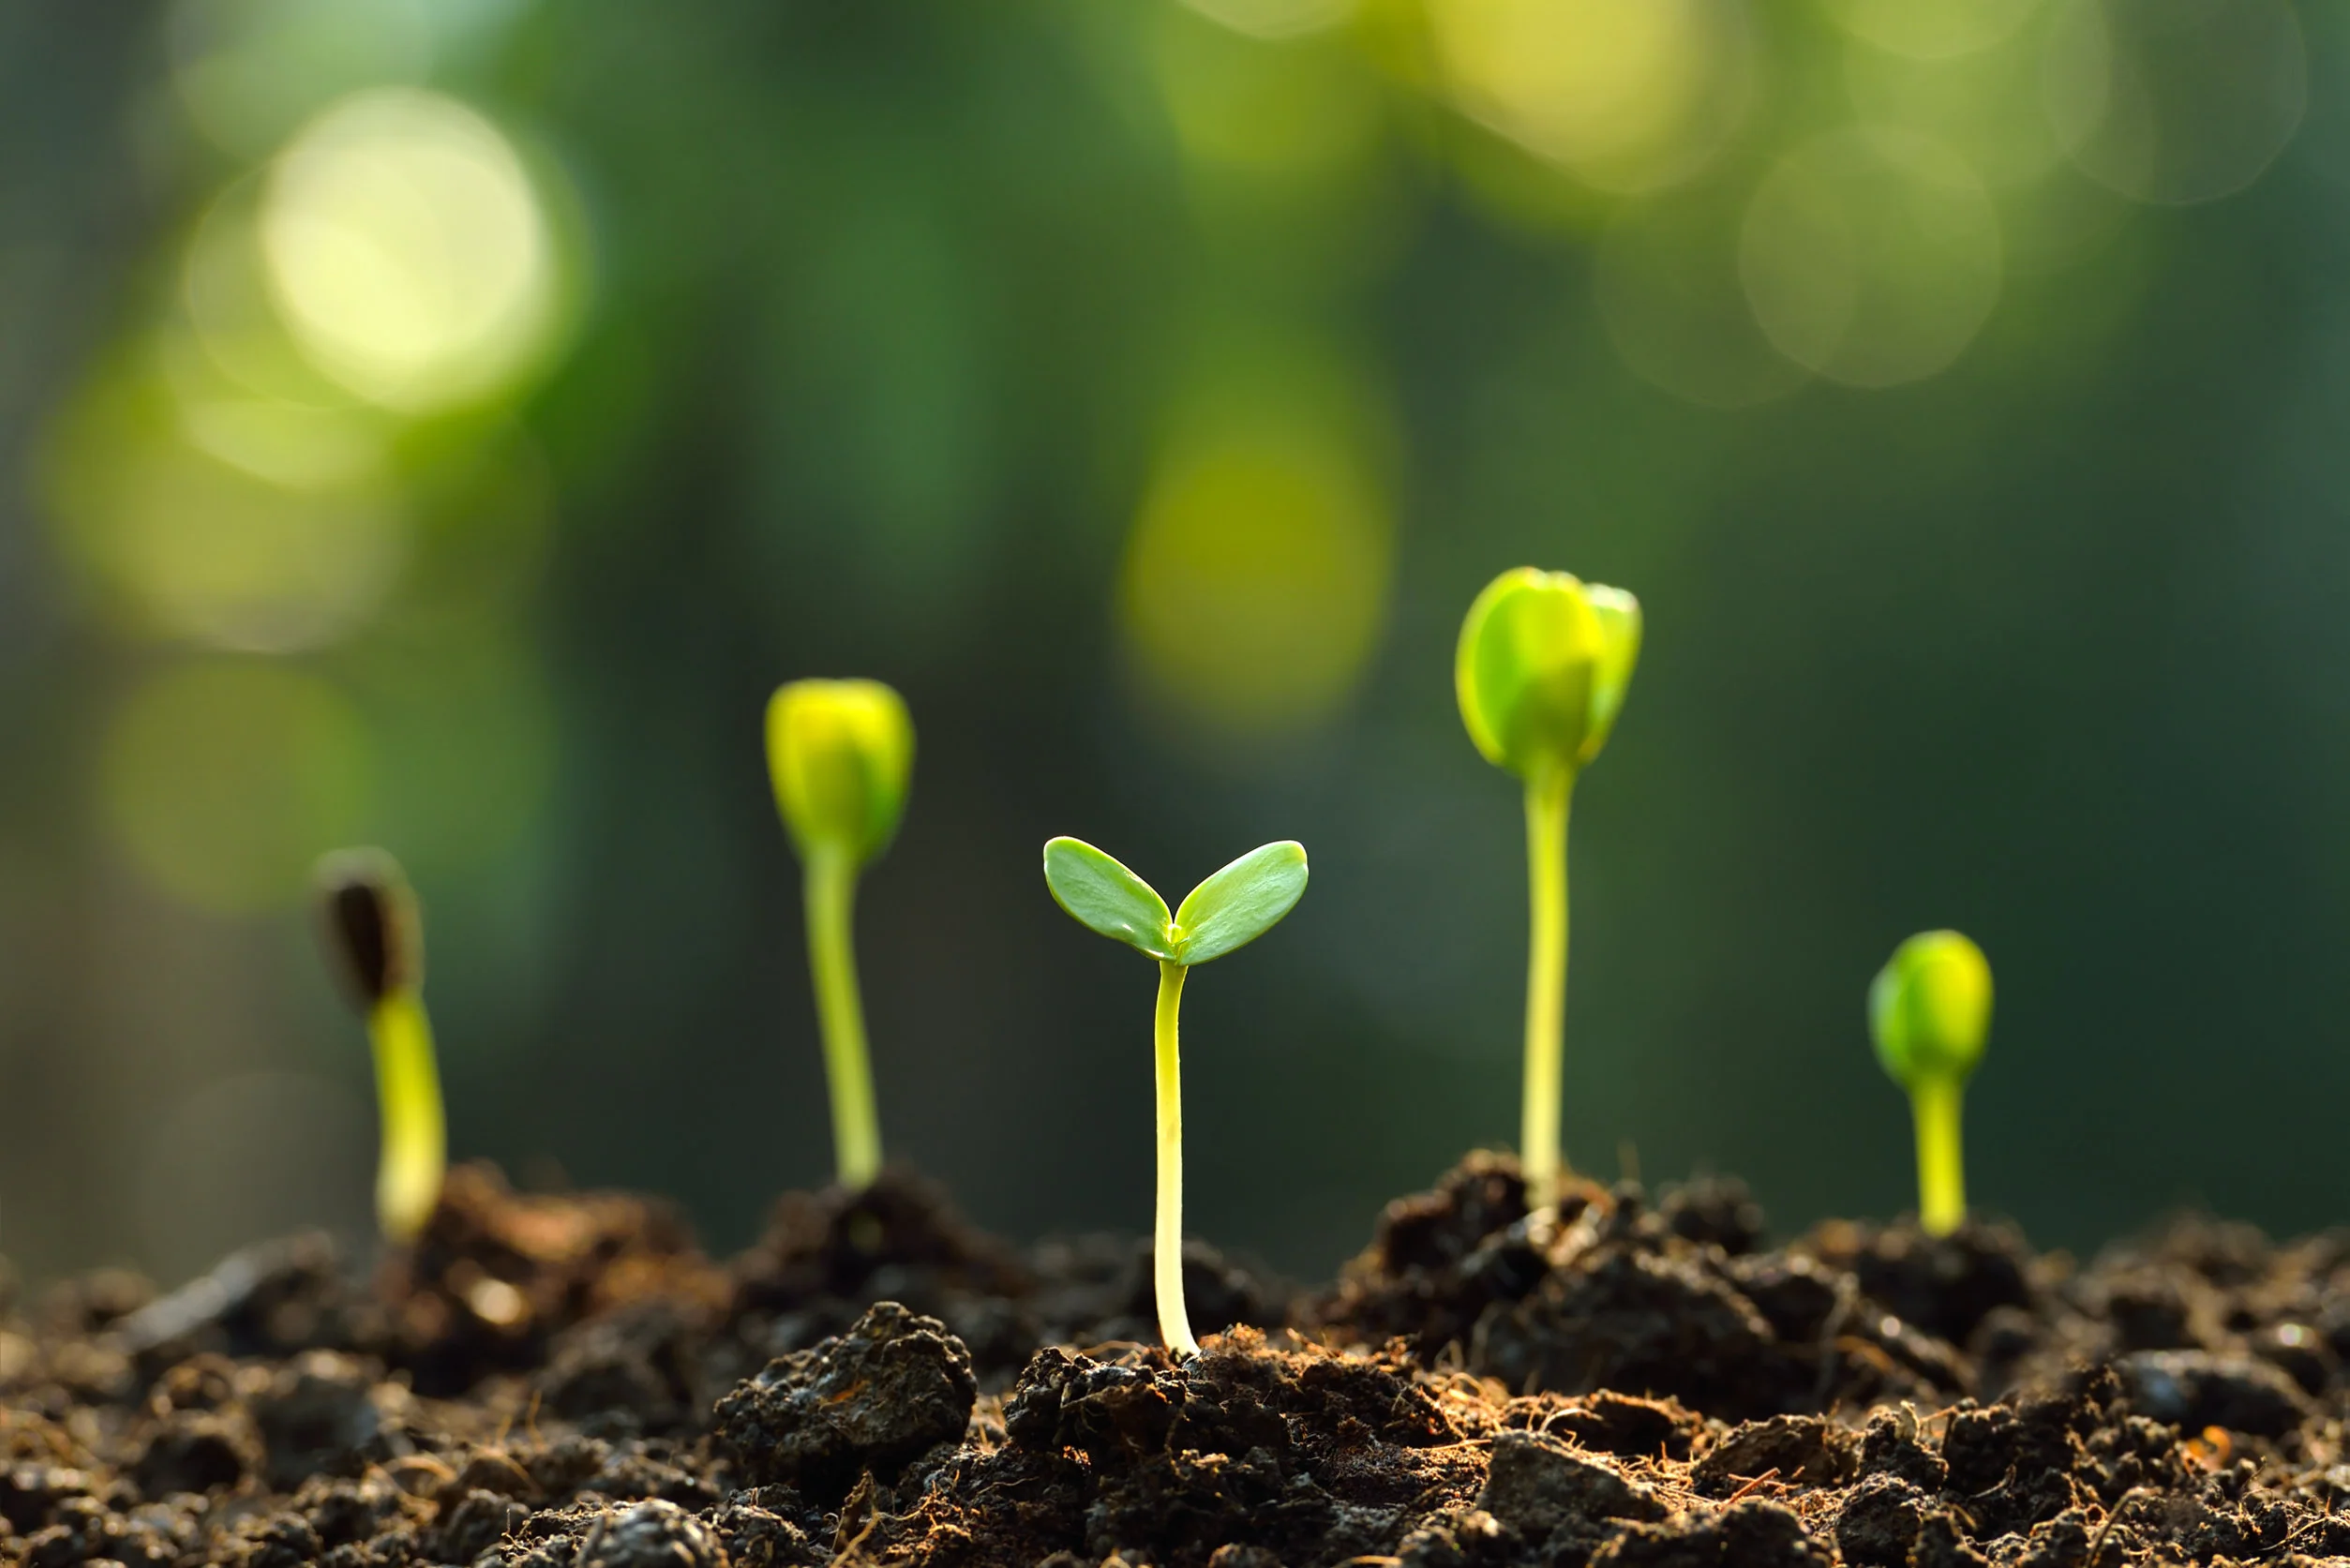
- Germination Time: Take into account the average number of days it takes for the seeds to germinate and develop into seedlings. This information is typically provided on the seed packet. Add this germination time to the recommended planting time to determine the appropriate starting date for your seeds.
- Climate Zone: Identify your climate zone to better understand your region’s specific gardening conditions. Different regions have distinct climate patterns and temperature ranges that influence the timing of seed starting. Consult with local gardening resources, such as agricultural extension offices or experienced gardeners in your area, for guidance specific to your zone.
- Microclimates: Consider any microclimates within your garden or greenhouse. Some areas may warm up earlier or stay warmer longer than other parts of your property or surrounding areas. These microclimates can provide slightly different conditions that may affect when you start seeds in your greenhouse.
- Succession Planting: If you plan to have multiple harvests throughout the season, consider implementing succession planting. This involves starting new seedlings at regular intervals to ensure a continuous supply of fresh produce. Plan your seed starting dates accordingly to ensure a steady rotation of mature plants.
By combining these factors and considering the unique characteristics of the plants you want to grow, you can determine the best time to start seeds in your greenhouse. Remember, it’s always better to start seeds a little later than too early, as seedlings started too soon can become leggy or overrun the space in your greenhouse. Monitoring the weather and adjusting your planting schedule accordingly will help you maximize the success and productivity of your garden.
Steps for Starting Seeds in a Greenhouse
Starting seeds in a greenhouse is a relatively straightforward process that requires careful attention to ensure successful germination and healthy seedling growth. By following these steps, you’ll be on your way to growing vibrant and productive plants:
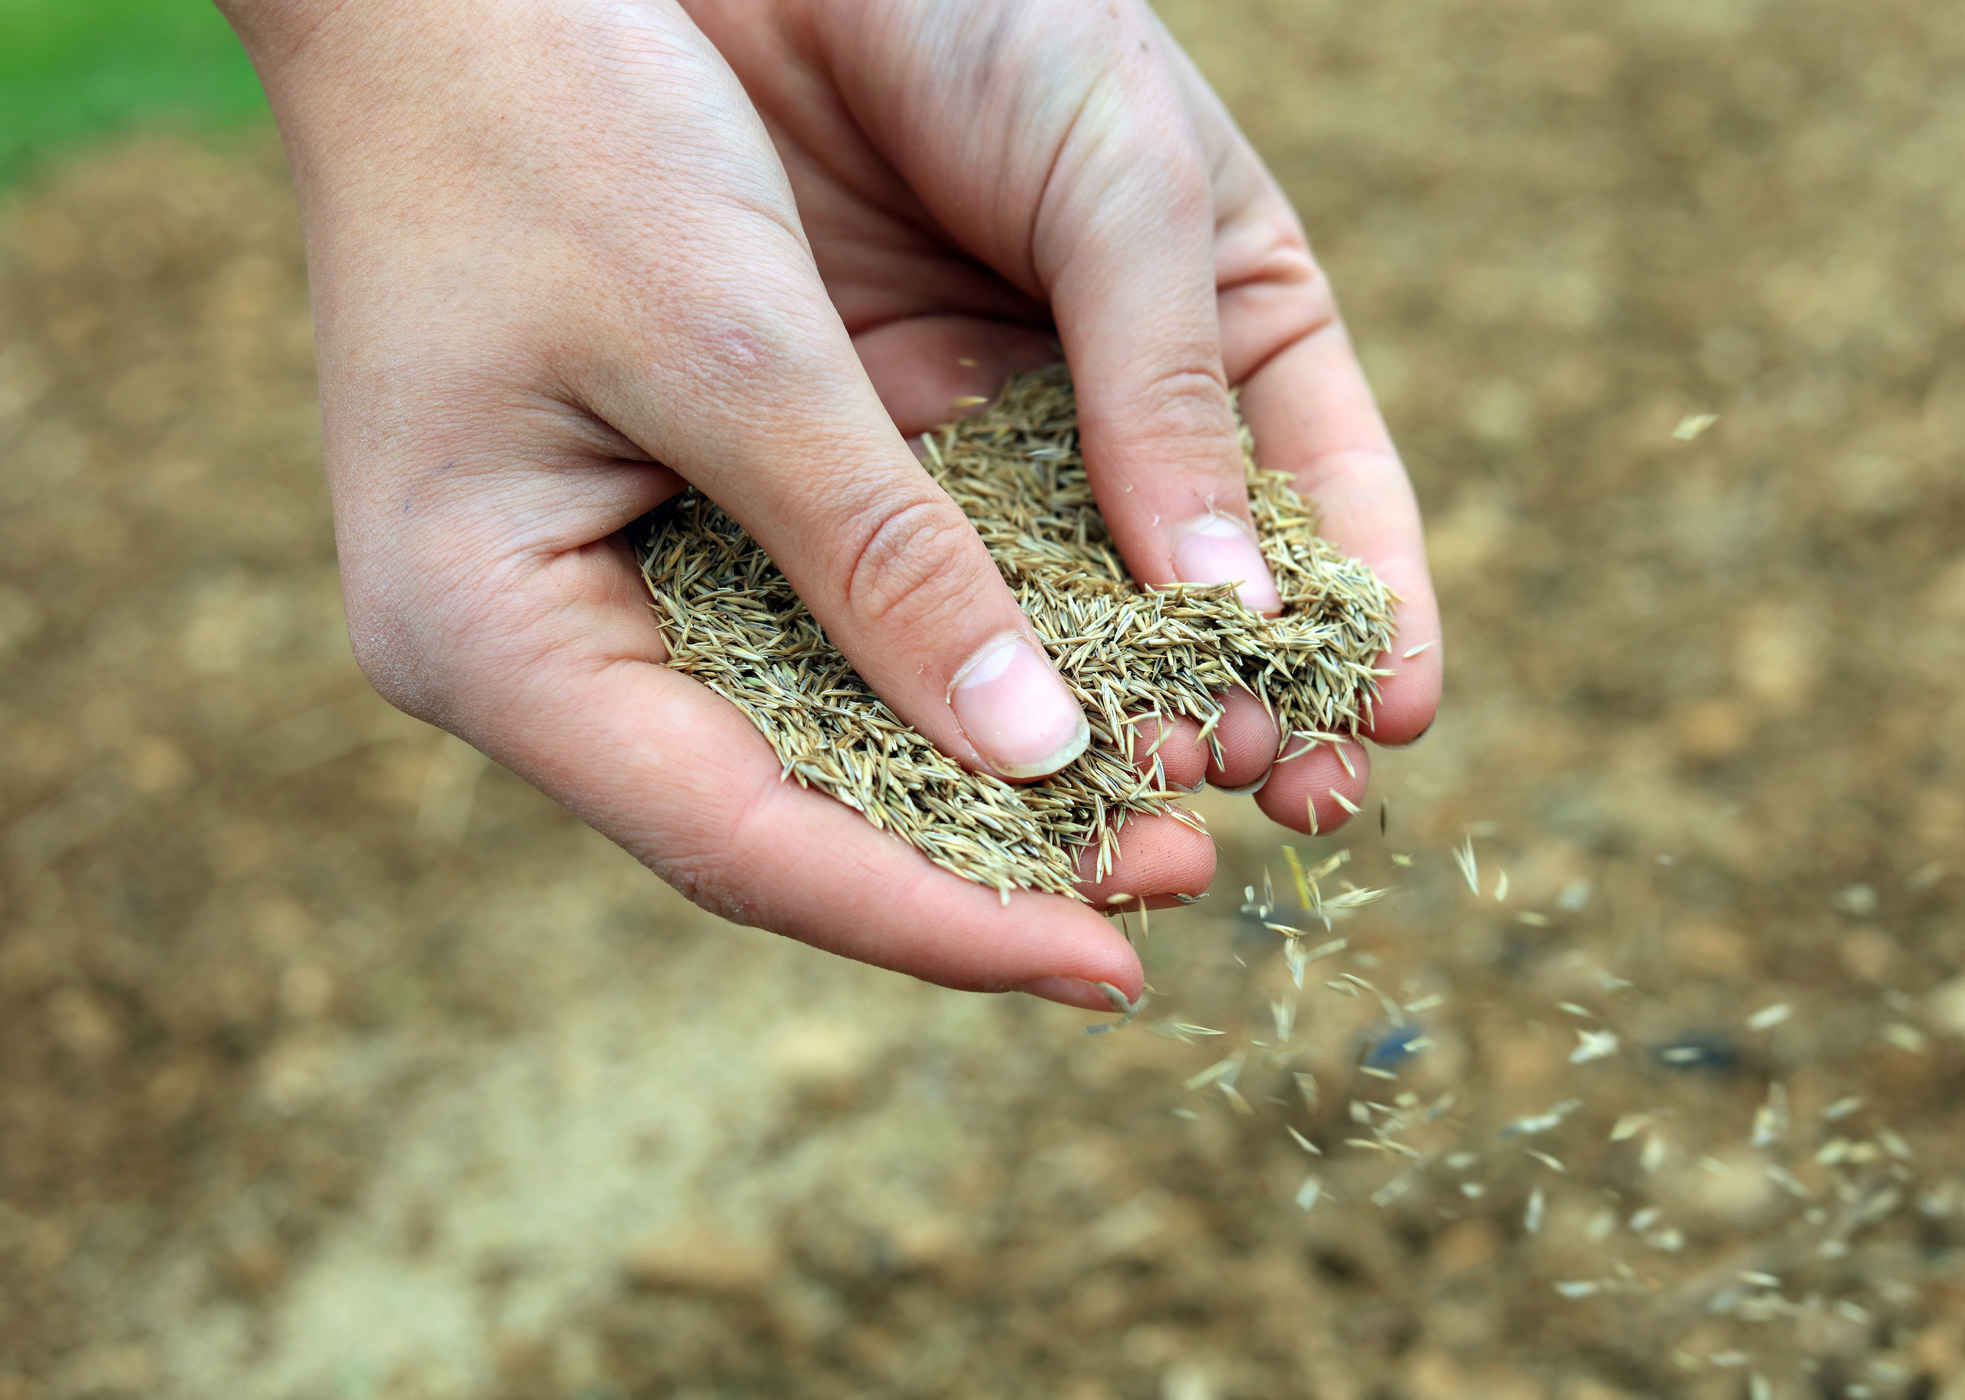
- Gather Your Supplies: Prepare all the necessary supplies before starting. This includes seed starting trays, pots, or containers, a high-quality seed starting mix, seeds, a spray bottle for watering, labels, and a marker.
- Prepare Seed Starting Mix: Fill your seed trays or pots with a seed starting mix, ensuring that it is moist but not soggy. Moisten the mix by adding water and stirring until it reaches a consistency similar to a damp sponge.
- Sow the Seeds: Follow the instructions on your seed packets regarding seed depth and spacing. Make small indentations or holes in the seed starting mix using your finger or a dibber, and place one or two seeds in each hole. Lightly cover the seeds with the mix and gently firm it down.
- Label Your Seedlings: Use labels to identify the different types of seeds you’ve planted. This will help you keep track of the plant varieties and their specific needs as they grow.
- Water the Seeds: Use a fine mist sprayer or a spray bottle to water the seeds gently. Avoid overwatering, as it can lead to fungal diseases. Keep the soil consistently moist but not waterlogged.
- Provide Adequate Light: Place the seed trays or pots in a location in your greenhouse where they will receive adequate light. If natural light is insufficient, consider using supplemental grow lights to provide the necessary light intensity and duration.
- Maintain Temperature and Humidity: Monitor the temperature and humidity levels in your greenhouse, ensuring they are within the ideal ranges for the seeds you’re starting. Use a thermometer and a hygrometer to make any necessary adjustments.
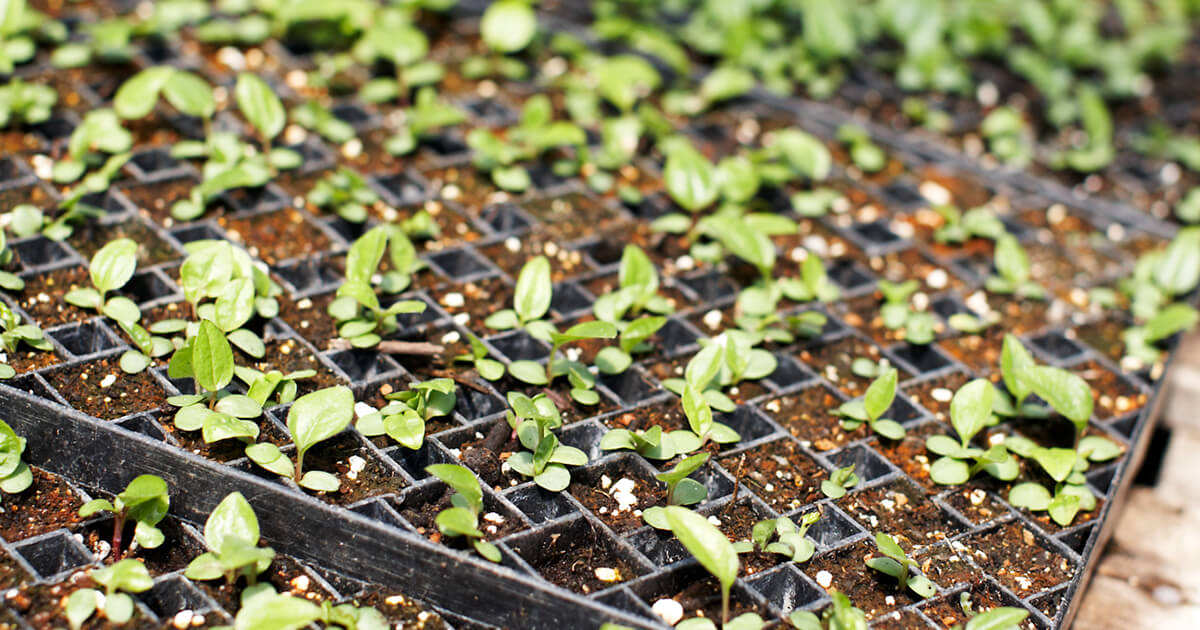
- Monitor and Care for Seedlings: Keep a close eye on your seedlings as they germinate. Thin out any excess seedlings, leaving only the strongest and healthiest ones in each cell or pot. Continue to water them as needed, ensuring they don’t dry out or become waterlogged.
- Harden Off Seedlings: Before transplanting your seedlings into the garden, gradually acclimate them to outdoor conditions through a process called “hardening off.” Start by placing the seedlings in a protected area outdoors for a few hours a day, gradually increasing their exposure to sunlight and outdoor conditions over the course of a week or two.
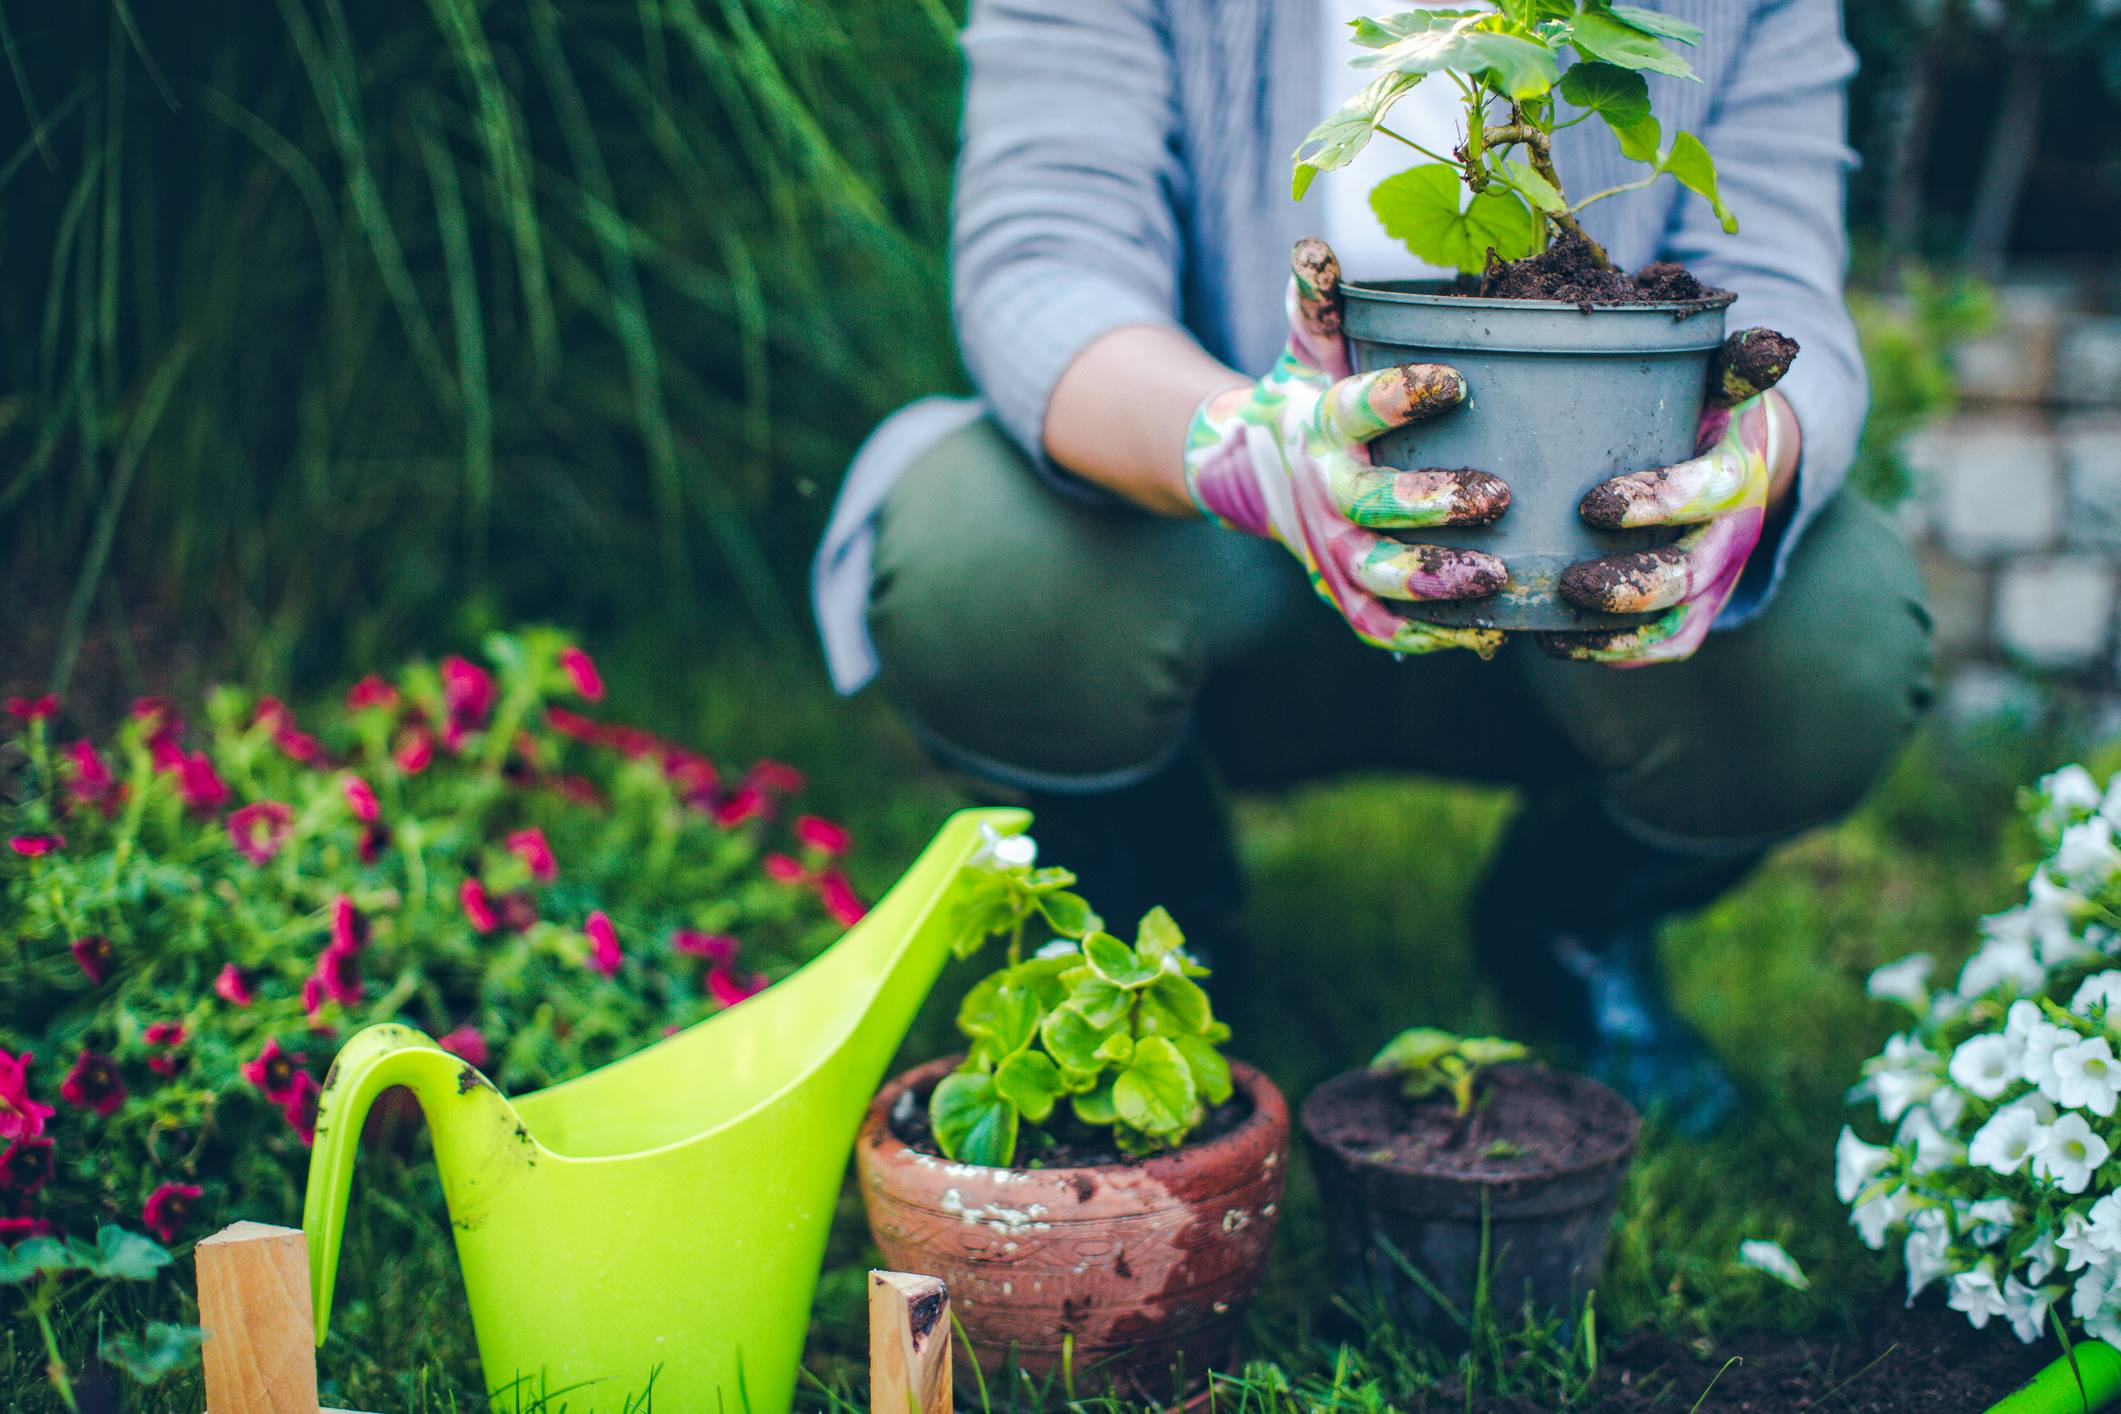
- Transplant Seedlings into the Garden: Once your seedlings have been adequately hardened off, they are ready to be transplanted into the garden. Choose an appropriate planting location and carefully remove the seedlings from their containers, taking care not to damage the roots. Plant them at the recommended spacing and water them thoroughly.
Following these steps will help you successfully start seeds in your greenhouse and establish a strong foundation for your plants to grow and thrive. Remember to provide the optimal growing conditions, monitor the progress of your seedlings, and adapt your care routine as needed. With patience and diligence, you’ll enjoy the satisfaction of nurturing your seedlings into a productive and beautiful garden.
Common Mistakes to Avoid When Starting Seeds in a Greenhouse
Starting seeds in a greenhouse can be a rewarding experience, but it’s important to be aware of common pitfalls that can hinder the success of your seedlings. By avoiding these mistakes, you can increase the chances of healthy germination and robust growth. Here are some common mistakes to watch out for:
- Overwatering: One of the most common mistakes is overwatering your seedlings. Excessive moisture can lead to root rot and fungal diseases. Instead, ensure that the soil is consistently moist but not waterlogged. Use a spray bottle or misting system to provide a gentle and controlled amount of water.
- Underwatering: On the flip side, underwatering can also be detrimental to seed germination and seedling growth. It’s important to strike the right balance and provide adequate moisture for the seeds to sprout and the seedlings to establish healthy root systems. Regularly check the moisture levels and adjust your watering schedule accordingly.
- Poor Temperature Control: Inconsistent temperatures can negatively impact seed germination and plant growth. Ensure that your greenhouse maintains the appropriate temperature range for the seeds you’re starting. Monitor the temperature closely, especially during colder nights or hot spells, and make any necessary adjustments to provide optimal conditions.
- Insufficient Light: Seedlings need sufficient light to grow strong and healthy. Inadequate light can result in weak and leggy plants. Ensure that your greenhouse provides adequate natural light. If natural light is insufficient, supplement with grow lights to ensure your seedlings receive the necessary light intensity and duration.
- Planting Seeds Too Deeply: Planting seeds too deeply can hinder their germination. Follow the instructions on the seed packets regarding the appropriate seed depth. As a general rule, plant seeds at a depth that is roughly two to three times their size. This allows them to access the necessary oxygen and light for germination.
- Planting Seeds Too Early or Too Late: Timing is crucial when it comes to starting seeds in a greenhouse. Starting too early can lead to leggy and weak seedlings, while starting too late can result in delayed growth and a shortened growing season. Research the optimal planting time for each type of plant and consider your local climate and weather conditions before starting your seeds.
- Not Hardening Off Seedlings: Failing to harden off your seedlings before transplanting them into the garden can cause transplant shock and hinder their growth. Gradually acclimate your seedlings to outdoor conditions by exposing them to sunlight and outdoor temperatures for short periods of time over the course of a week or two.
- Overcrowding: It can be tempting to pack as many seedlings as possible into your greenhouse, but overcrowding can lead to competition for nutrients, light, and space. Give your seedlings enough room to grow and thrive. Thin out any excess seedlings to allow the strongest ones to develop properly.
- Ignoring Pest and Disease Management: Pests and diseases can quickly wreak havoc on your seedlings if left unchecked. Implement a proactive approach to pest and disease management by regularly inspecting your plants and taking appropriate measures, such as using organic pest control methods or applying preventive treatments.
- Not Rotating Crops or Practicing Succession Planting: Planting the same crops in the same location year after year can deplete the soil of nutrients and increase the risk of soil-borne diseases. Practice crop rotation to maintain soil health and prevent pest and disease buildup. Additionally, consider implementing succession planting to ensure a continuous supply of fresh produce throughout the growing season.
Avoiding these common mistakes will set you on the path to successful seed starting in your greenhouse. By providing the right amount of water, maintaining appropriate temperature and light levels, planting seeds at the correct depth, and carefully managing pests and diseases, you can ensure healthy seedlings and a thriving garden.
Transferring Seedlings to the Garden
Transferring seedlings from your greenhouse to the garden is an exciting milestone in the gardening process. However, it’s essential to ensure a smooth transition for your plants to maximize their chances of success in the outdoor environment. Here are some key steps to follow when transferring seedlings:
- Choose the Right Time: Before transplanting, it’s important to assess the weather conditions and choose an appropriate time for transplanting. Ensure that the risk of frost has passed, and the soil temperature is suitable for the particular plants you are transplanting.
- Prepare the Planting Area: Prepare the planting area by clearing the soil of weeds and debris. Loosen and amend the soil as needed to ensure good drainage and optimal nutrient availability.
- Harden Off Seedlings: Prior to transplanting, gradually expose your seedlings to outdoor conditions through a process called “hardening off.” Place the seedlings in a protected area outdoors for a few hours a day, gradually increasing their exposure to sunlight and outdoor temperatures over the course of a week or two. This will help acclimate them to the changes in light intensity, temperature, and wind.
- Water the Seedlings: Water your seedlings thoroughly before transplanting them. This helps keep the roots sufficiently hydrated and eases the transition into the new soil environment.
- Dig Proper Planting Holes: Dig holes in the garden that are slightly larger than the root ball of each seedling. Gently remove the seedlings from their containers, taking care not to disturb the roots excessively.
- Plant at the Right Depth: Place each seedling in its respective planting hole at the same depth it was growing in the greenhouse. Firmly press the soil around the base of the plant to eliminate air pockets and provide stability.
- Space Plants Appropriately: Ensure that you provide adequate spacing between seedlings based on their mature size. Proper spacing allows each plant to receive sufficient light, water, and nutrients without competing with neighboring plants.
- Water Thoroughly: Water the newly transplanted seedlings immediately after planting. This helps settle the soil around the roots and ensures good root-to-soil contact. Continue to water the plants regularly, especially during the initial establishment period.
- Provide Protection: If there is a chance of cold temperatures or strong winds, consider providing temporary protection for the newly transplanted seedlings. Use row covers, cloches, or other appropriate methods to shield the plants until they have adjusted to their new environment.
- Maintain Care and Monitor: After transplanting, continue to care for your seedlings by providing regular watering, appropriate fertilization, and pest and disease management. Monitor the plants closely for any signs of stress or nutrient deficiencies and make timely adjustments as needed.
By following these steps, you can ensure a successful transition for your seedlings from the protected environment of the greenhouse to the garden. Avoiding shock and providing the necessary care will help your plants establish strong root systems and thrive in their new outdoor home. With proper nurturing and attention, your seedlings will flourish and reward you with a bountiful and beautiful garden.
Conclusion
Starting seeds in a greenhouse can be a game-changer for seasonal gardening enthusiasts. The controlled environment, extended growing season, and protection from harsh weather conditions make it an invaluable tool for successful seed germination and healthy plant growth. By considering factors such as greenhouse space, light levels, temperature control, humidity, and the best timing for your specific plants, you can maximize your chances of success.
When starting seeds in a greenhouse, it’s important to avoid common mistakes like overwatering, underwatering, poor temperature control, insufficient lighting, planting seeds too deep, and neglecting to harden off the seedlings. By taking precautions and providing proper care, you can overcome these challenges and ensure the optimal growth of your seedlings.
Transferring seedlings from the greenhouse to the garden is a critical step in the process. It involves properly timing the transplant, preparing the planting area, hardening off the seedlings, and taking care to transplant them at the correct depth and spacing. Providing protection, ongoing care, and monitoring for any signs of stress will help your seedlings thrive in their new outdoor environment.
Starting seeds in a greenhouse is an exciting and fulfilling endeavor that allows you to have an extended growing season, produce healthy and robust plants, and save on the cost of purchasing seedlings. By following the steps outlined in this guide and avoiding common mistakes, you can enhance your gardening experience and enjoy the rewards of a productive and beautiful garden.
So, why wait? Start planning and preparing your greenhouse for seed starting, and watch as your plants flourish and thrive with the head start you’ve given them!