Home>Gardening Techniques>Seasonal Gardening>When Do I Start Planting Seeds Indoors
Seasonal Gardening
When Do I Start Planting Seeds Indoors
Modified: February 9, 2024
Discover the best time for indoor seed planting with our seasonal gardening guide. Start growing your own plants and vegetables today.
(Many of the links in this article redirect to a specific reviewed product. Your purchase of these products through affiliate links helps to generate commission for Chicagolandgardening.com, at no extra cost. Learn more)
Table of Contents
- Introduction
- Benefits of Starting Seeds Indoors
- Choosing the Right Seeds
- Supplies Needed for Indoor Seed Starting
- Selecting the Right Container and Soil
- Timing for Indoor Seed Starting
- Preparing Seeds for Planting
- Steps for Planting Seeds Indoors
- Caring for Indoor Seedlings
- Transplanting Seedlings Outdoors
- Conclusion
Introduction
Welcome to the world of seasonal gardening! If you’re a gardening enthusiast, you know that the key to a successful garden lies in effective planning and timing. And when it comes to getting a head start on your garden, nothing beats starting seeds indoors.
Starting seeds indoors is a fantastic way to extend your growing season, ensure a bountiful harvest, and experiment with a wider variety of plants. By sowing seeds indoors, you can take advantage of the controlled environment and give your plants a head start before the weather outside is suitable for planting.
Imagine being able to enjoy fresh homegrown vegetables, colorful flowers, or fragrant herbs long before your neighbors have even thought about planting. The satisfaction of watching your seedlings grow from tiny seeds to sturdy plants is unparalleled.
Not only does starting seeds indoors give you a jumpstart on the growing season, but it also allows you to have more control over the growing conditions. You can tailor the temperature, light, and moisture levels to meet the specific needs of each plant. This level of control can significantly increase the success rate of your seeds and result in healthier, stronger, and more resilient plants.
In addition to the practical benefits, starting seeds indoors is a fun and rewarding activity. It allows you to nurture and witness the entire life cycle of a plant, from seed to harvest. It is a wonderful opportunity to get hands-on experience with gardening and learn more about the different stages of plant growth.
So, whether you’re a seasoned gardener looking to expand your garden or a beginner eager to explore the world of gardening, starting seeds indoors is a valuable technique that can enhance your gardening experience. In the following sections, we’ll delve into the benefits of starting seeds indoors, discuss the necessary supplies, and guide you through the process of planting and caring for your indoor seedlings.
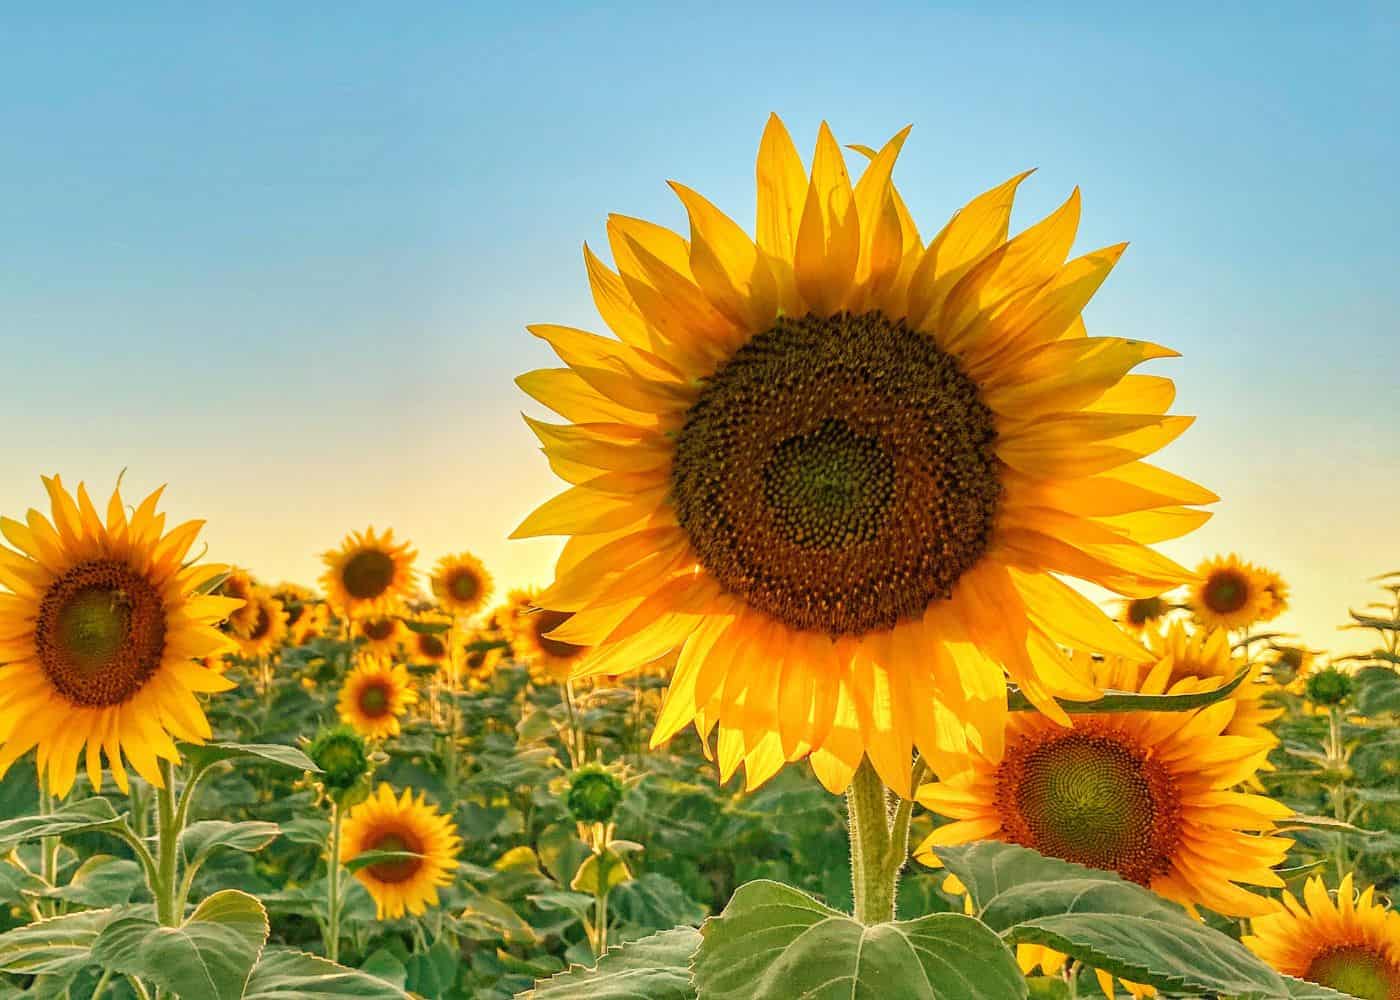
Benefits of Starting Seeds Indoors
There are numerous advantages to starting seeds indoors. Let’s explore some of the benefits that make this technique well worth your time and effort.
- Extended growing season: Starting seeds indoors allows you to get a head start on the growing season. By starting early, you can give your plants extra time to develop and grow strong before being transplanted outdoors. This means you can enjoy an extended harvest and have fresh produce earlier in the season.
- Greater plant selection: When starting seeds indoors, you have access to a wider variety of plants. You are not limited to the selection available at your local garden center or nursery. You can choose from a vast array of seeds, including unique and heirloom varieties that may not be readily available as seedlings.
- Cost-effective: Starting seeds indoors is a cost-effective way to grow your own plants. Seeds are generally more affordable than buying fully-grown plants, and you can propagate a larger number of plants from a single packet of seeds. This allows you to expand your garden without breaking the bank.
- Controlled environment: One of the most significant advantages of starting seeds indoors is the ability to control the growing environment. You can regulate factors like temperature, light, and moisture to provide optimal conditions for each type of plant. This control helps prevent disease, promote healthy growth, and increase the likelihood of successful germination.
- Early harvest: By starting seeds indoors, you can harvest your crops earlier than if you were to directly sow them outdoors. This is particularly beneficial for cool-season crops that require a longer growing period before the weather becomes too warm. You can enjoy an early harvest of fresh vegetables or beautiful flowers while others are still waiting for their plants to take root.
Whether you’re aiming for an extended growing season, a wider selection of plants, or a cost-effective gardening approach, starting seeds indoors offers a multitude of benefits. It’s a technique that empowers you to take control of your garden, experiment with new varieties, and enjoy the fruits of your labor earlier in the year.
Choosing the Right Seeds
Choosing the right seeds is crucial for a successful indoor seed starting process. Here are some key factors to consider when selecting seeds for your indoor garden.
- Planting Zone: Consider your planting zone when choosing seeds. Different plants have specific temperature and climate requirements, and it’s important to select seeds that are suitable for your zone. This information is typically provided on the seed packets or can be found through online research.
- Space Availability: Assess the available space in your indoor gardening area. If you have limited space, selecting compact or dwarf varieties of plants is a wise choice. On the other hand, if you have ample space, you can experiment with larger or sprawling plants.
- Personal Preferences: Consider your own preferences when selecting seeds. Think about the types of plants you enjoy growing and eating. Do you prefer colorful flowers, flavorful herbs, or a variety of vegetables? Choose seeds that align with your personal preferences and gardening goals.
- Seed Quality: Ensure that you choose high-quality seeds from reputable sources. Look for seeds that are fresh and have a high germination rate. It’s also beneficial to opt for organic or heirloom seeds if you prefer to grow plants that are free from chemicals or want to preserve heirloom varieties.
- Growing Difficulty: Consider your level of expertise and the amount of time you can dedicate to gardening. Some plants require more care and attention than others. If you’re a beginner, it’s recommended to start with easy-to-grow varieties. As you gain experience, you can gradually introduce more challenging plants.
Remember to read the seed packets carefully for specific instructions and recommendations for each plant. The packet will provide valuable information regarding planting depth, spacing, and any specific care requirements.
By considering your planting zone, available space, personal preferences, seed quality, and growing difficulty, you can choose the right seeds for your indoor garden. This thoughtful selection process sets the stage for successful seed starting and ultimately, a flourishing indoor garden.
Supplies Needed for Indoor Seed Starting
Before you embark on your indoor seed starting journey, it’s important to gather the necessary supplies. Having the right tools and equipment will ensure a smooth and successful seed starting process. Here are some essential supplies you’ll need:
- Containers: Choose containers that are appropriate for starting seeds indoors. You can use plastic or biodegradable seed trays, small pots, or even recycled containers such as egg cartons or yogurt cups. Just make sure the containers have drainage holes to prevent waterlogging.
- Seed Starting Mix: Use a high-quality seed starting mix or a mixture of vermiculite, perlite, and peat moss. This type of soilless mix provides excellent water retention and aeration, which is crucial for seed germination and early growth.
- Seeds: Select the seeds of your choice based on your gardening goals and preferences. Choose varieties that are suitable for your climate and growing conditions. Make sure to check the expiration date and purchase from trusted sources.
- Grow Lights: If you don’t have access to sufficient natural light indoors, invest in fluorescent or LED grow lights. These lights mimic the spectrum of sunlight, providing the necessary light energy for healthy seedling growth. Position the lights close to the seedlings but adjust the height as they grow to prevent leggy and weak stems.
- Heat Mat: Consider using a heat mat under your seed trays to promote faster and more consistent germination. Many plants prefer warm soil temperatures for optimal germination, and a heat mat can provide a consistent temperature range to enhance germination rates.
- Watering Can or Spray Bottle: Keep your seedlings well-hydrated without overwatering by using a watering can or spray bottle. A fine-mist nozzle on the spray bottle helps prevent soil erosion and damage to delicate seedlings.
- Plant Labels: Labeling your seed containers is essential to keep track of the varieties you’re growing. Use waterproof labels or popsicle sticks with the plant names written on them. This prevents confusion and allows you to identify each plant as it grows.
- Plastic Wrap or Domes: Covering your seed trays with plastic wrap or plastic domes helps create a mini greenhouse environment. This helps retain moisture and warmth, aiding in germination. Remove the covering once the seedlings start to emerge.
Having these supplies on hand will set you up for success when it comes to starting seeds indoors. Remember to check the specific requirements of the plants you’re growing as some may have additional needs, such as bottom heat or particular types of containers. With the right supplies, you’ll have everything you need to nurture your seedlings and watch them flourish.
Selecting the Right Container and Soil
Choosing the right container and soil for indoor seed starting is crucial for the healthy growth and development of your seedlings. Here’s what you need to know:
Containers: Select containers that are suitable for starting seeds indoors. You have several options, including plastic or biodegradable seed trays, small pots, or recycled containers like egg cartons or yogurt cups. Ensure that the containers have drainage holes to prevent waterlogged soil, as excessive moisture can lead to root rot.
Size: Consider the size of the containers based on the seedlings’ initial needs and the final transplanting stage. Smaller containers, such as cell packs or individual pots, are ideal for starting seeds, as they prevent the seedlings from competing for space and nutrients. Gradually upsize the containers as the seedlings grow, transplanting them into larger pots to accommodate their root growth.
Soil: Use a high-quality seed starting mix or create your own by combining equal parts of vermiculite, perlite, and peat moss. Seed starting mix ensures good drainage and aeration, which are essential for healthy root development. Avoid using garden soil, as it is too heavy and can introduce diseases or pests to your seedlings.
Sterile Soil: It’s important to start your seeds in sterile soil to minimize the risk of diseases and pests. Sterilizing the soil can be done by baking it in the oven at 180°F (82°C) for 30 minutes. Alternatively, you can purchase pre-packaged sterile seed starting mix from garden centers or nurseries.
Moisture Retention: Seed starting mix should have good moisture retention, allowing the seeds to absorb water for germination. The mix should be evenly moist, but not soaking wet. You can achieve this by misting the soil with water or gently watering from the bottom. Avoid compacting the soil, as it can hinder root growth and drainage.
By choosing the right containers and soil, you create an ideal environment for your seedlings to thrive. The proper container size ensures ample space for root growth, while a well-draining and sterile soil mix promotes healthy development. Take care in labeling your containers to keep track of your seedlings’ progress. With the right container and soil, your seedlings will have a strong foundation for successful growth.
Timing for Indoor Seed Starting
Timing is crucial in indoor seed starting to ensure that your seedlings are ready to be transplanted outdoors at the appropriate time. The right timing depends on various factors such as your local climate, the specific plants you’re growing, and the desired transplanting date. Here are some guidelines to help you determine the optimal timing:
Last Frost Date: Determine the average date of the last frost in your area. This information can usually be found through local gardening resources or online. The last frost date is important because tender seedlings can be damaged or killed by late frosts. You’ll want to start your seeds indoors several weeks before this date.
Days-to-Maturity: Review the packet or seed catalog information for the plants you’re growing. It will typically indicate the “days-to-maturity” or the time it takes for the plant to reach full maturity and produce harvestable crops. Count the number of weeks or months backward from the desired transplanting date to determine when to start your seeds indoors.
Planting Schedule: Create a planting schedule to keep track of the recommended indoor seed starting dates for different plants. This schedule can help ensure that you start each variety at the appropriate time. Consider factors such as whether you’re growing cool-season or warm-season crops, the length of the growing season in your region, and any specific requirements for each plant type.
Germination Time: Take into account the germination time for each type of seed you’re planting. Some seeds germinate quickly, while others may take longer. Factor in the germination time when determining the starting date to ensure that your seedlings are ready to be transplanted when the weather outside is suitable.
Transplanting Guidelines: Refer to the seed packet or gardening references to find specific recommendations for each plant regarding when to transplant seedlings outdoors. Some plants prefer to have a certain number of true leaves, while others have specific temperature or soil requirements. Adhering to these guidelines will ensure that your seedlings have the best chance of thriving when transplanted.
Observation and Experience: Keep track of your own observations and experiences from previous years. Take note of how long it took your seedlings to develop and any issues or successes you encountered. This firsthand knowledge will help refine your timing for future indoor seed starting endeavors.
By considering the last frost date, days-to-maturity, planting schedule, germination time, transplanting guidelines, and your personal observations, you can determine the optimal timing for starting your seeds indoors. A well-timed indoor seed starting process sets your plants up for success and ensures they are strong and ready for outdoor planting when the time is right.
Preparing Seeds for Planting
Properly preparing your seeds before planting is an essential step in ensuring successful germination and healthy seedlings. Here are some important considerations and steps to follow when preparing your seeds for planting:
Read the Instructions: Start by carefully reading the instructions provided on the seed packet or in the seed catalog. Different seeds may have specific requirements or recommendations for preparation, such as scarification or stratification.
Seed Viability: Check the viability of your seeds. While most seeds have a long shelf life, some may have a shorter viability period. Look for an expiration date on the seed packet or use the “float test” to check whether the seeds are still viable.
Cleaning Seeds: Some seeds may have a natural coating or be attached to fruit or flower parts. If necessary, clean the seeds by removing any debris or pulp. Rinse them gently under running water and pat them dry with a paper towel.
Seed Treatment: Certain seeds may benefit from pre-treatment methods to enhance germination. Scarification, which involves scratching or nicking the seed coat to allow for easier water absorption, can be done using sandpaper or a small file. Stratification, which mimics the natural winter dormancy period, can be achieved by chilling the seeds in the refrigerator for a specific period of time.
Soaking Seeds: Soaking seeds in water before planting can help expedite the germination process. Place the seeds in a bowl of warm water for a few hours or overnight. This can soften the seed coat and promote faster germination.
Seed Pre-Soaking: Some larger seeds or those with particularly hard seed coats may benefit from pre-soaking. Submerge the seeds in warm water and soak them for the recommended duration specified on the seed packet. This process helps kickstart the germination process by softening the seed coat and initiating hydration.
Labeling: Don’t forget to label your seeds! Use waterproof labels or a marker to clearly indicate the plant name and variety on the seed packet or storage container. This will prevent confusion and help you keep track of each seed type.
By carefully following the instructions on the seed packet, checking seed viability, cleaning seeds if necessary, utilizing seed treatment methods when applicable, and labeling your seeds, you can ensure that your seeds are well-prepared for planting. Taking these steps will increase the likelihood of successful germination and healthy seedling development.
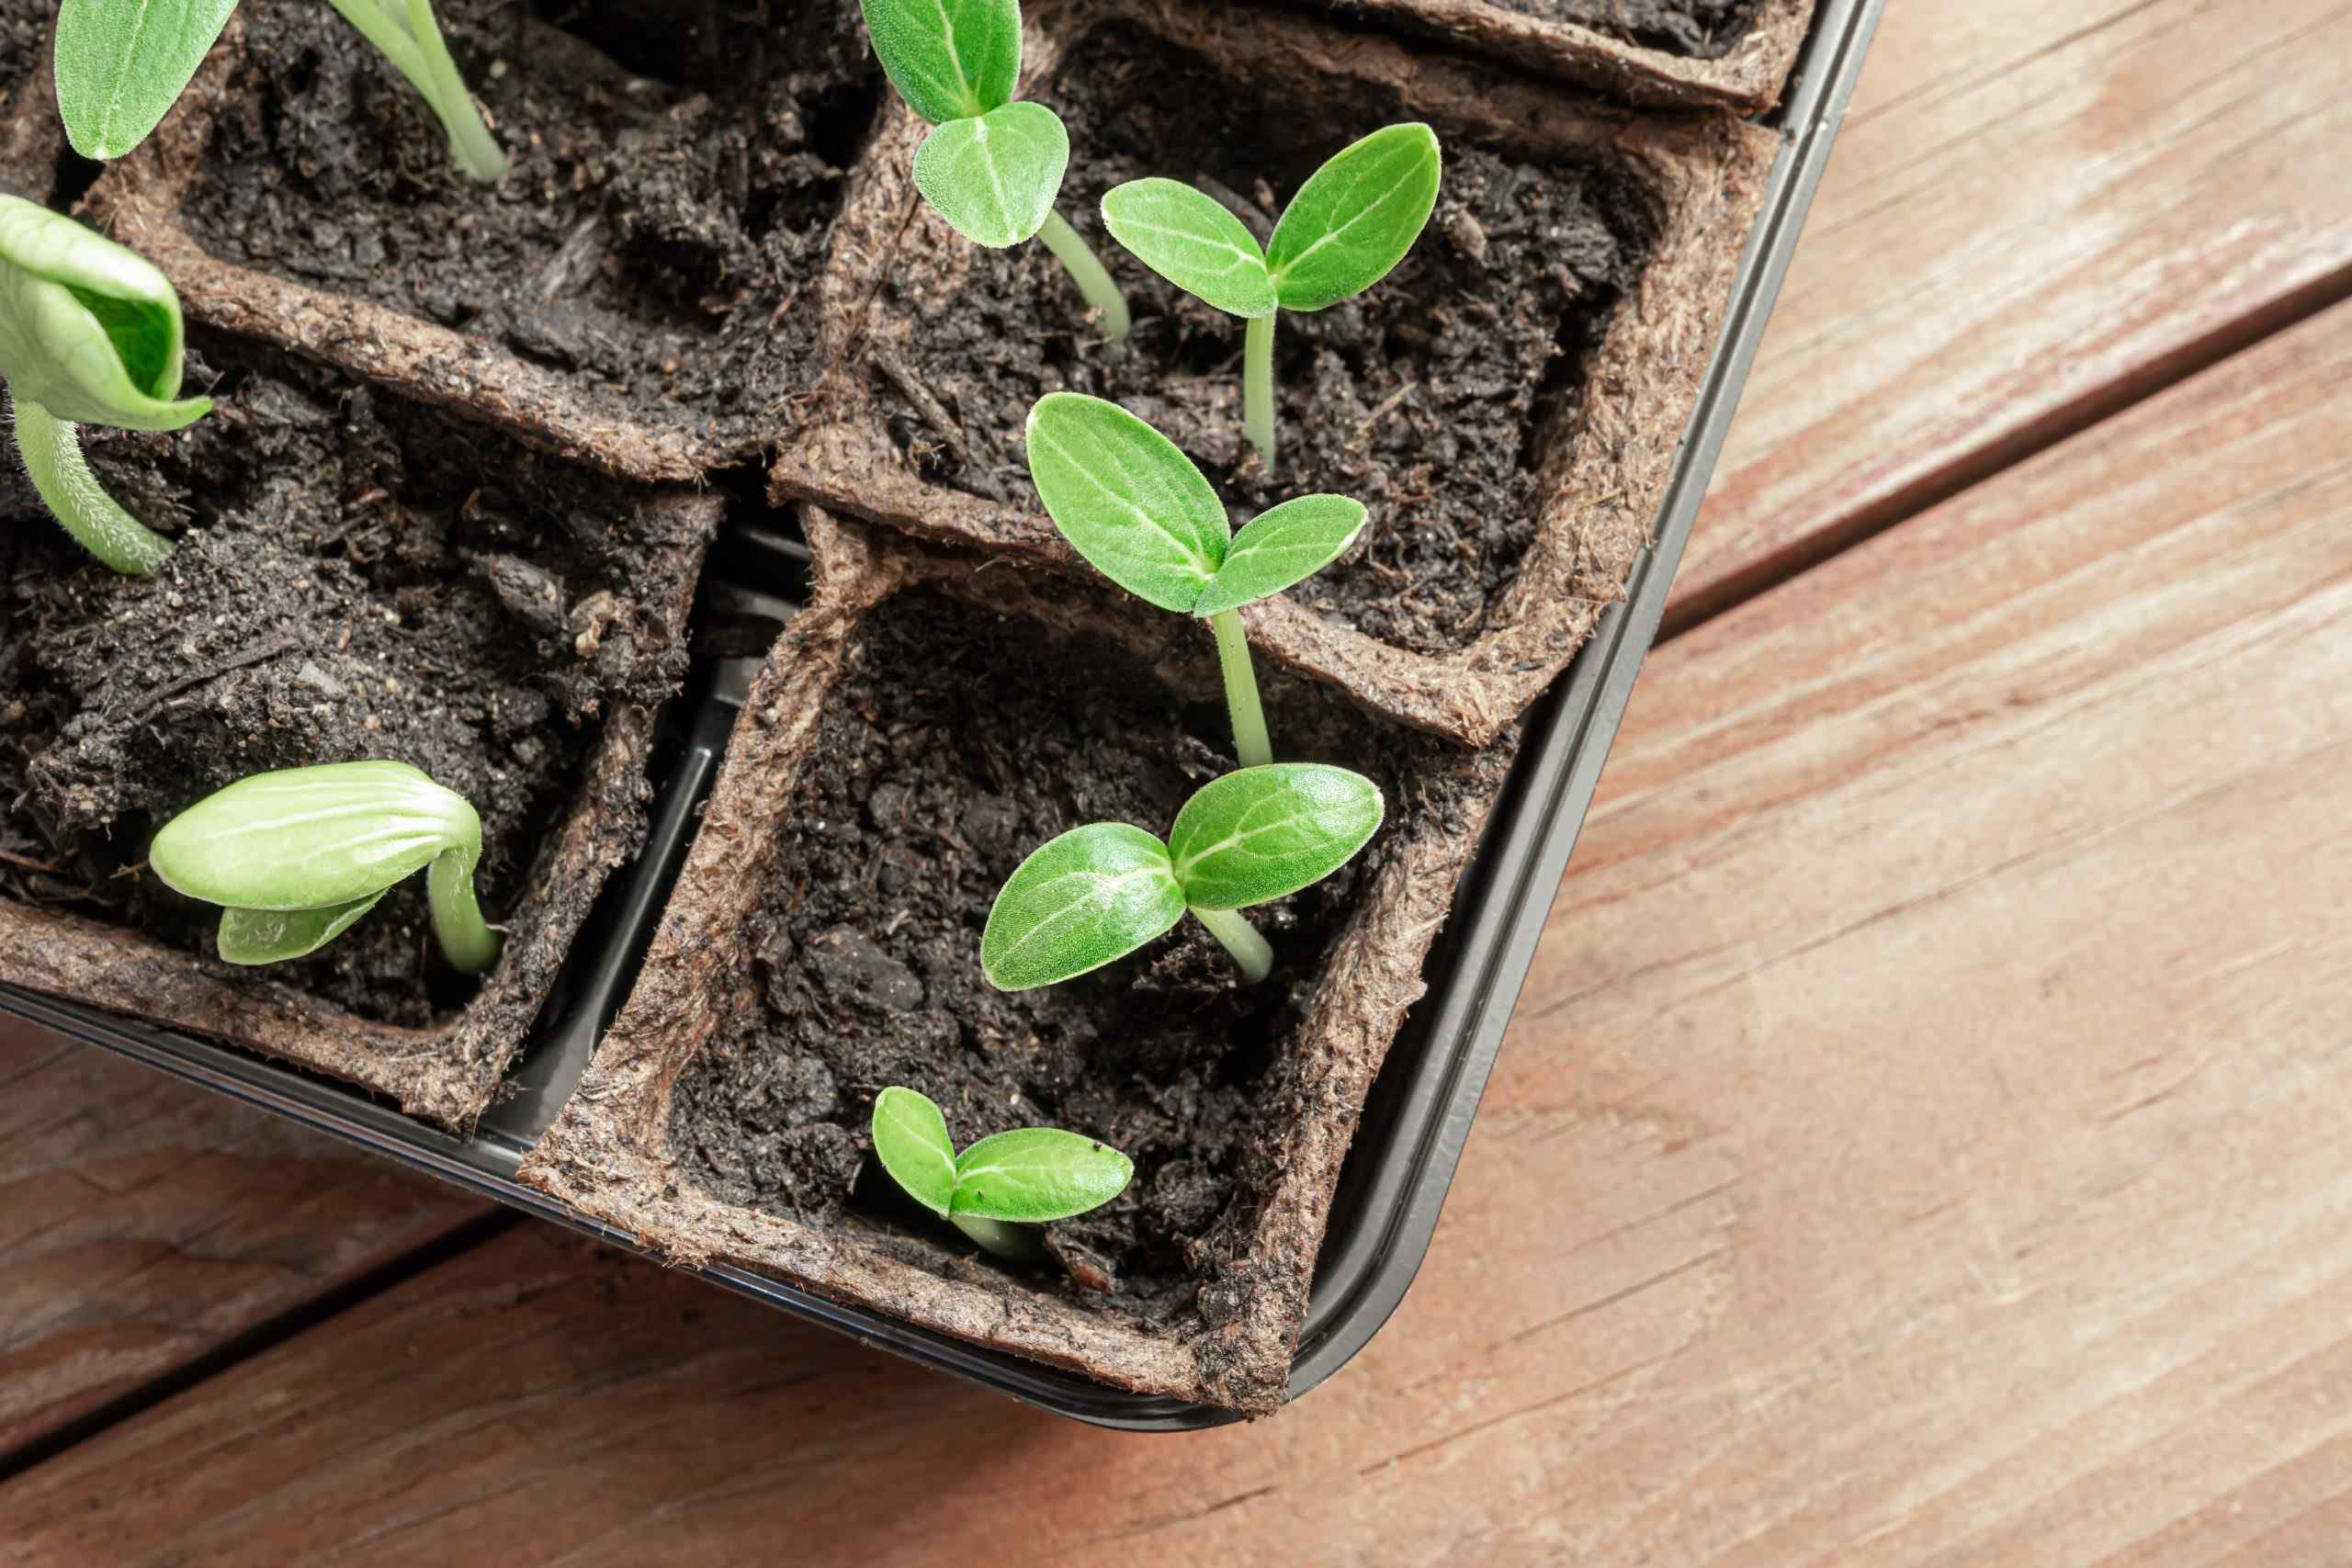
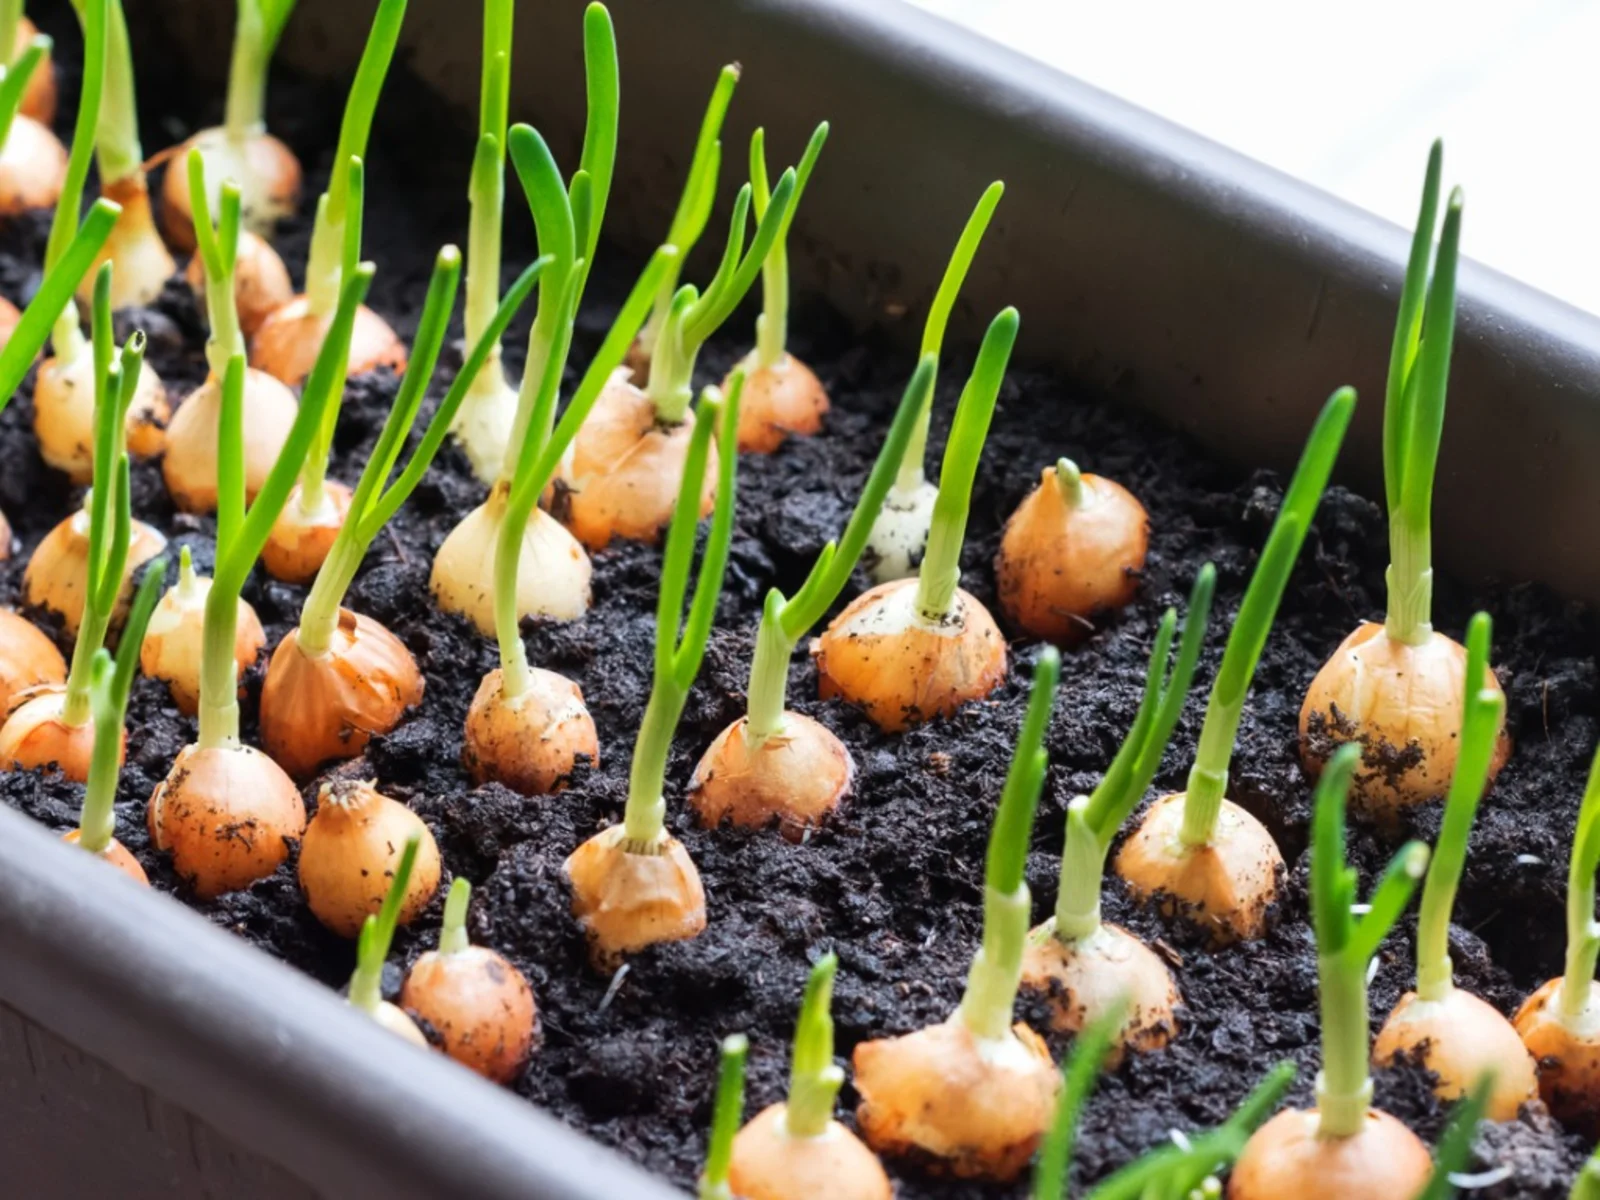
Steps for Planting Seeds Indoors
Now that your seeds are prepared, it’s time to plant them indoors and kick-start your gardening journey. Following these steps will help ensure successful germination and give your seedlings the best possible start:
- Select Containers: Choose the appropriate containers for your seeds, ensuring they have drainage holes. Fill the containers with seed starting mix, leaving about half an inch of space at the top.
- Sow Seeds: Make small indentations or shallow holes in the soil using your finger or a pencil. Place 2-3 seeds in each hole, following the recommended spacing guidelines for the specific plant. Alternatively, you can sprinkle smaller seeds evenly across the surface and gently press them into the soil.
- Cover and Mist: Cover the seeds with a thin layer of seed starting mix or vermiculite. This helps maintain moisture and provides a stable environment for germination. Use a spray bottle to mist the surface lightly, ensuring the seeds are evenly moist but not saturated.
- Label Containers: Label each container with the plant name and the date of planting. This will help you keep track of the different varieties and monitor their progress as they grow.
- Provide Optimal Conditions: Place the containers in a warm location, ideally with temperatures around 70-75°F (21-24°C). If needed, use a heat mat under the trays to keep the soil properly warm for germination. Also, ensure the seeds receive adequate light by placing them near a south-facing window or using supplemental grow lights.
- Maintain Moisture: Check the moisture level of the soil regularly and water as needed. Ensure the soil remains consistently moist but not overly saturated, which can lead to fungal diseases or damping off. Use a spray bottle or watering can with a fine-mist nozzle to water gently and prevent disturbance of the seeds.
- Monitor Germination: Keep a close eye on the containers for signs of germination. Different seeds have different germination times, so be patient. Once the seedlings emerge, remove any coverings or plastic wrap that you used. Continue to provide proper light, temperature, and moisture for healthy growth.
- Thin Out Seedlings: If multiple seedlings sprout in one container, thin them out by carefully removing the weaker ones. Choose the strongest and healthiest seedling to allow for ample space, nutrients, and light to promote optimal growth.
- Care for Seedlings: As the seedlings grow, provide adequate light, adjusting the height of grow lights as necessary. Water the seedlings regularly, ensuring the soil remains evenly moist. Avoid overwatering, as it can lead to root rot. Consider fertilizing the seedlings with a diluted, balanced liquid fertilizer once they develop their first set of true leaves.
- Prepare for Transplanting: When the seedlings have grown enough and outdoor conditions are favorable, start hardening them off by gradually exposing them to outdoor conditions. This helps acclimate the seedlings to the changes in temperature, sunlight, and wind. Transplant the seedlings into larger pots or into the garden bed, following the appropriate spacing guidelines for each plant.
By following these steps, you’ll be well on your way to a successful indoor seed starting process. Remember to provide optimal conditions, monitor germination, and care for the seedlings as they grow. With proper attention and care, your indoor-grown seedlings will flourish and thrive as they’re ready to be transplanted outdoors.
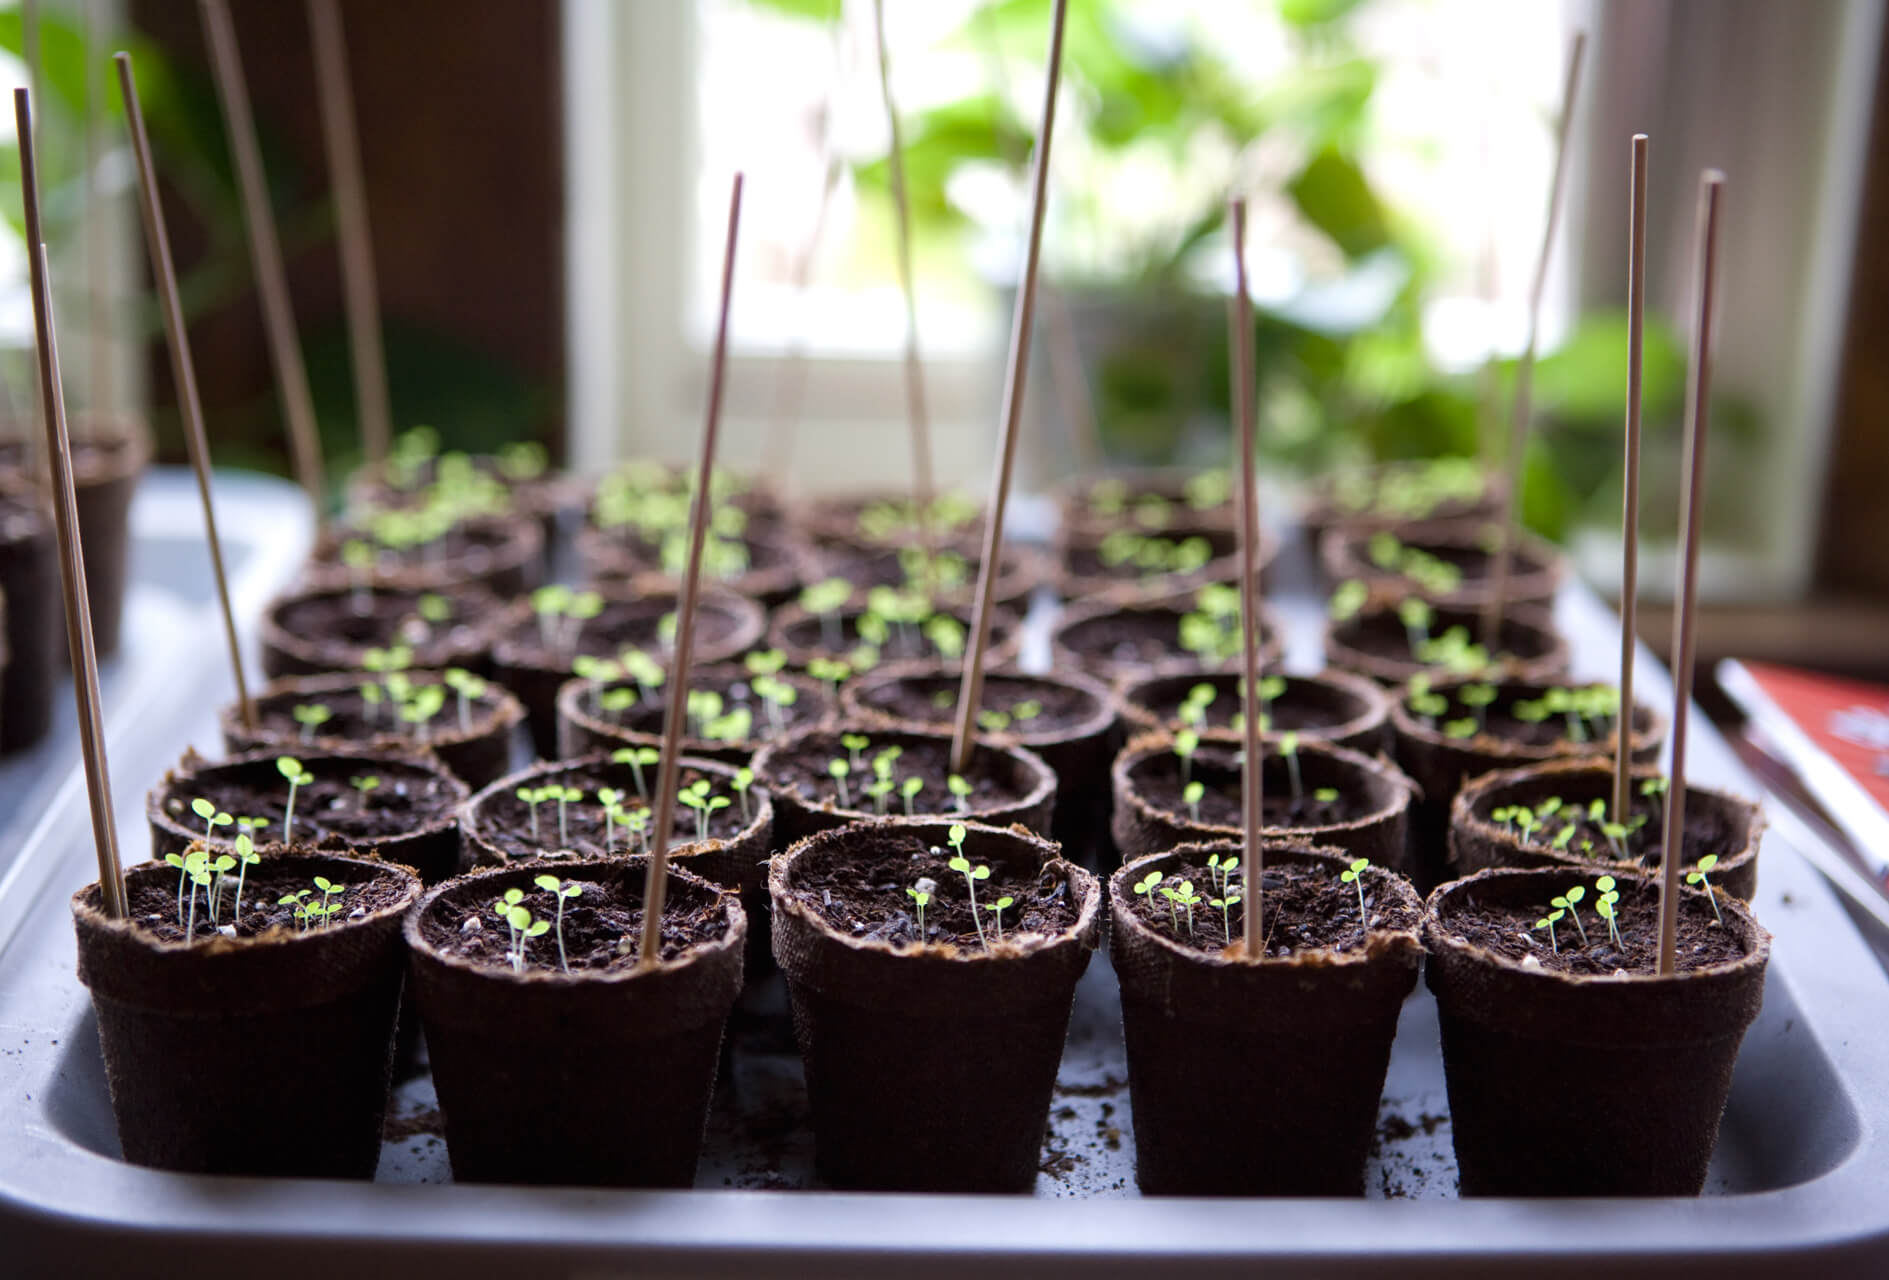
Caring for Indoor Seedlings
Proper care is crucial for the healthy growth and development of indoor seedlings. By providing the right conditions and attentiveness, you can ensure that your seedlings thrive as they prepare for outdoor transplanting. Here are some important tips for caring for your indoor seedlings:
Light: Adequate light is essential for photosynthesis and strong plant growth. If you’re unable to provide sufficient natural light, use fluorescent or LED grow lights. Position the lights a few inches above the seedlings and adjust the height as they grow to maintain a distance of 4-6 inches. Aim to provide 14-16 hours of light each day.
Temperature: Maintaining the proper temperature is crucial for healthy seedling growth. Most vegetable seedlings prefer daytime temperatures around 65-75°F (18-24°C) and slightly cooler temperatures at night. Avoid exposing seedlings to extreme temperature fluctuations, as this can stress the plants and hamper their growth.
Watering: Keep the soil evenly moist but not overly saturated. Water the seedlings when the top inch of the soil feels dry. Use a watering can with a fine-mist nozzle or a spray bottle to water gently, ensuring the soil is thoroughly moistened. Avoid overhead watering, as this can lead to damping off or other fungal diseases.
Air Circulation: Good airflow around your seedlings helps strengthen their stems and prevents diseases. Use a small fan on a low setting to provide gentle air circulation. Be mindful not to place the fan too close to the seedlings, as excessive airflow can cause drying out.
Transplanting: As the seedlings grow, it’s important to transplant them into larger pots or the outdoor garden bed when they’re ready. The right time for transplanting varies depending on the specific plant. Typically, seedlings are ready for transplanting when they have developed a strong root system and have 2-4 true leaves.
Support: Some seedlings may require support to prevent them from bending or collapsing. Use wooden stakes or plant supports to gently prop up tall or leggy seedlings. This will ensure proper upright growth and strengthen the plants as they mature.
Protection from Pests: Monitor your seedlings regularly for any signs of pests, such as aphids or whiteflies. If you notice any pest activity, take appropriate measures to control and eliminate the pests. Applying organic insecticidal soap or using natural pest control methods can help keep your seedlings free from pests.
Fertilizing: Seedlings do not typically require fertilization until they have several sets of true leaves. At that point, you can begin fertilizing with a diluted, balanced liquid fertilizer following the recommended dosage on the package. Apply the fertilizer once every two weeks or as directed.
Hardening Off: Before transplanting your seedlings outdoors, gradually acclimate them to outdoor conditions. This process, known as hardening off, involves exposing the seedlings to outdoor conditions such as sunlight, wind, and temperature changes for increasing durations over a period of 7-10 days.
By following these care tips, you’ll provide optimal conditions and attentive care to your indoor seedlings, resulting in strong and healthy plants that are ready for outdoor transplanting. Remember to monitor their growth, address any issues promptly, and enjoy the satisfaction of nurturing your seedlings into thriving plants.
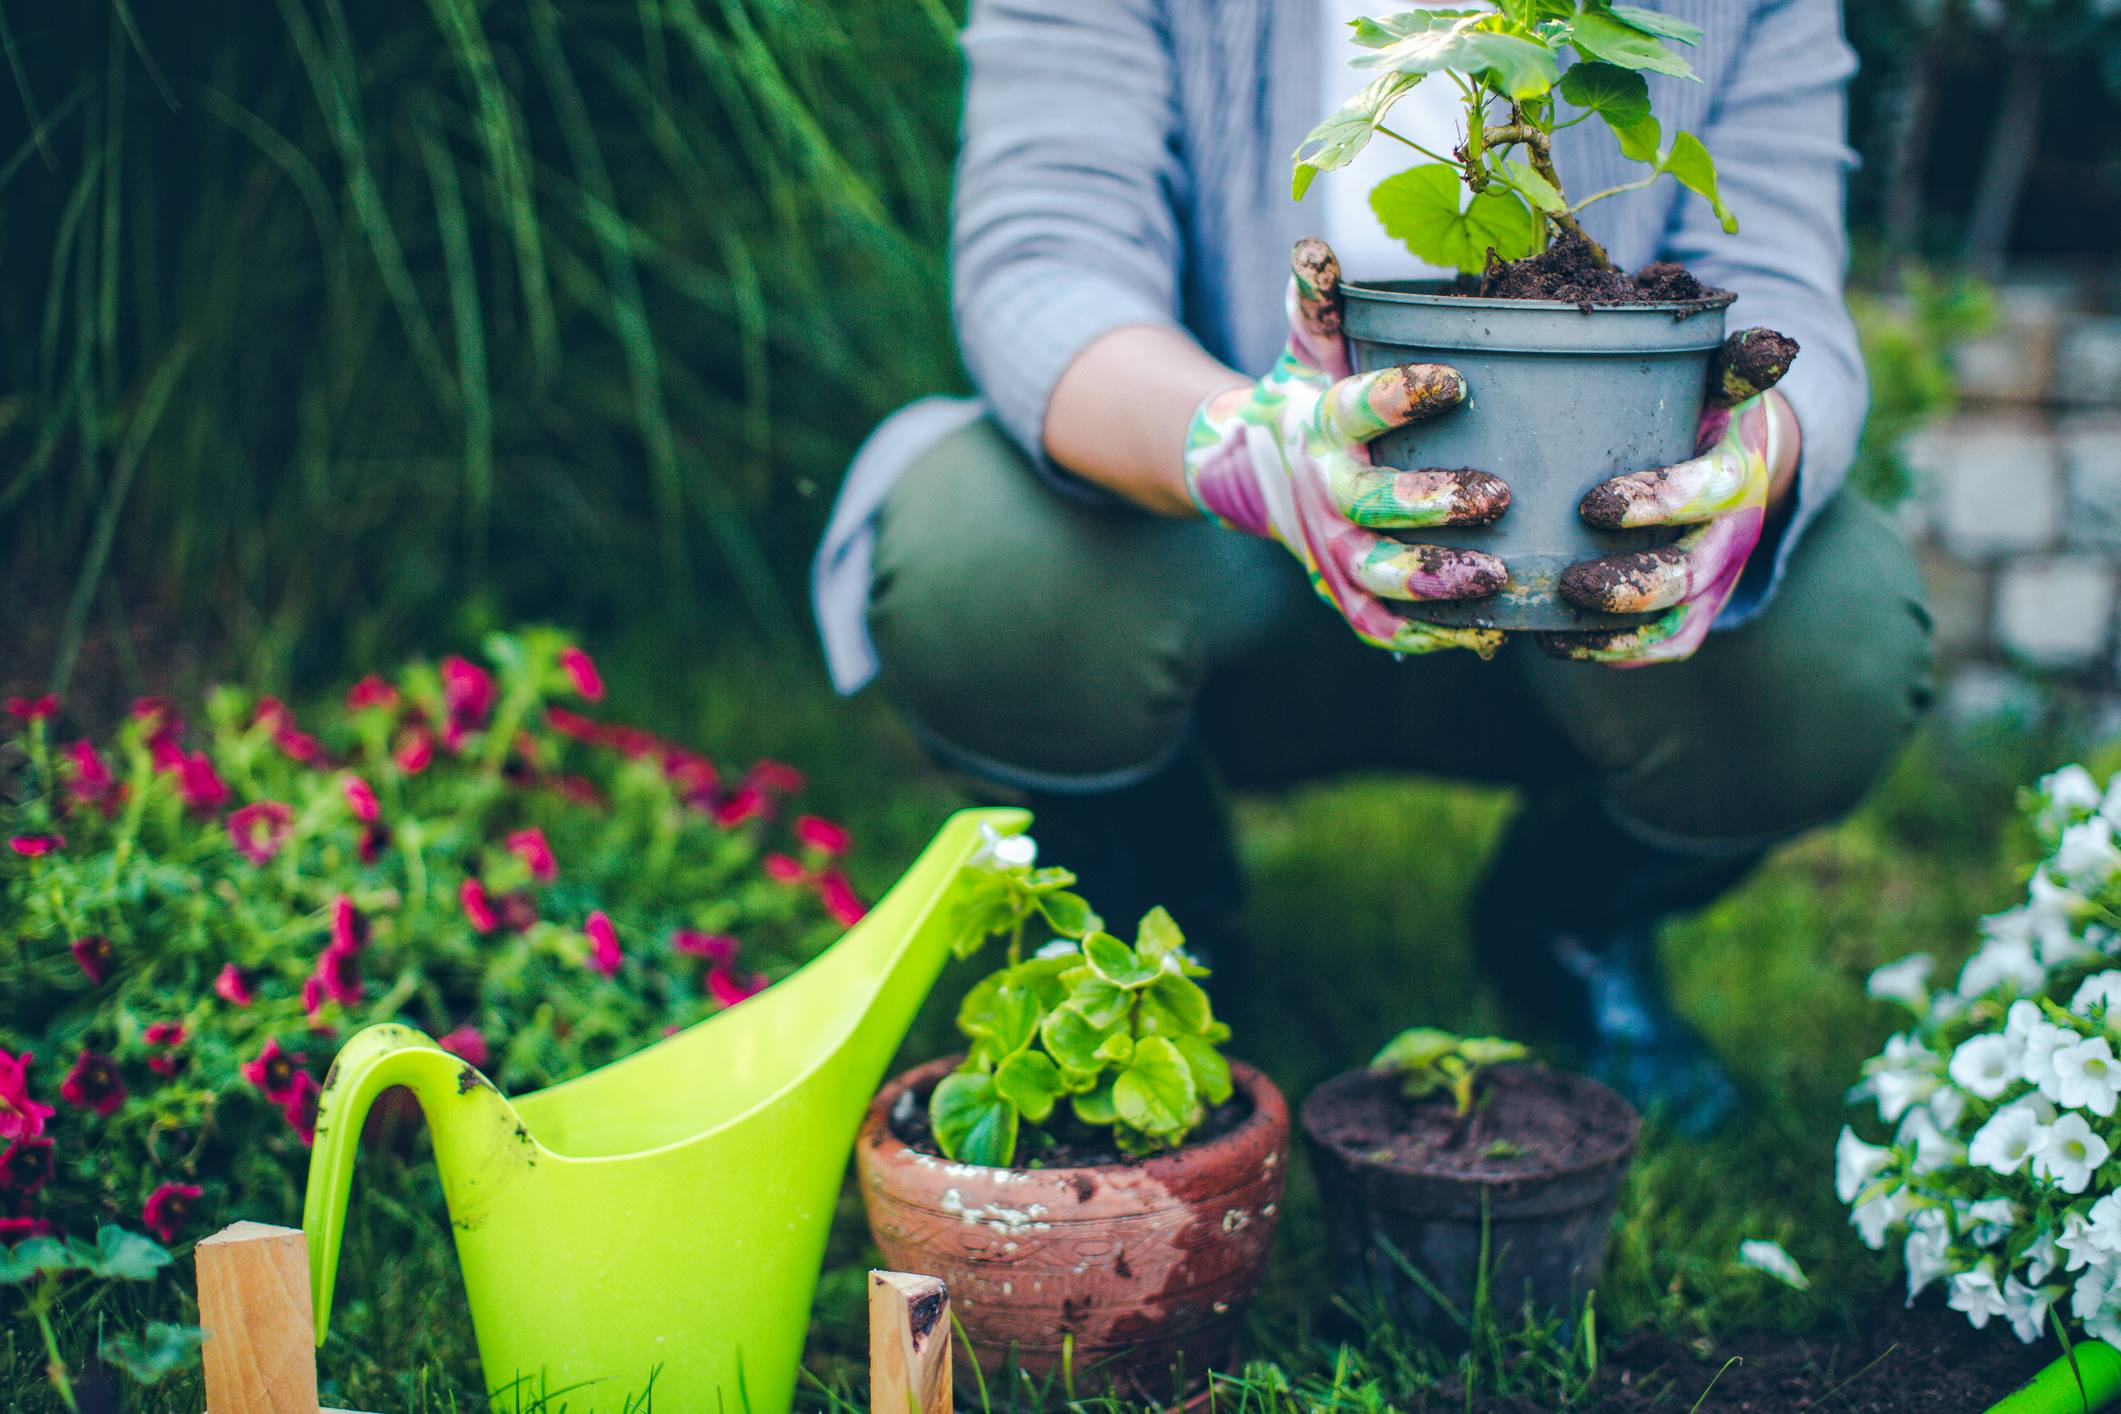
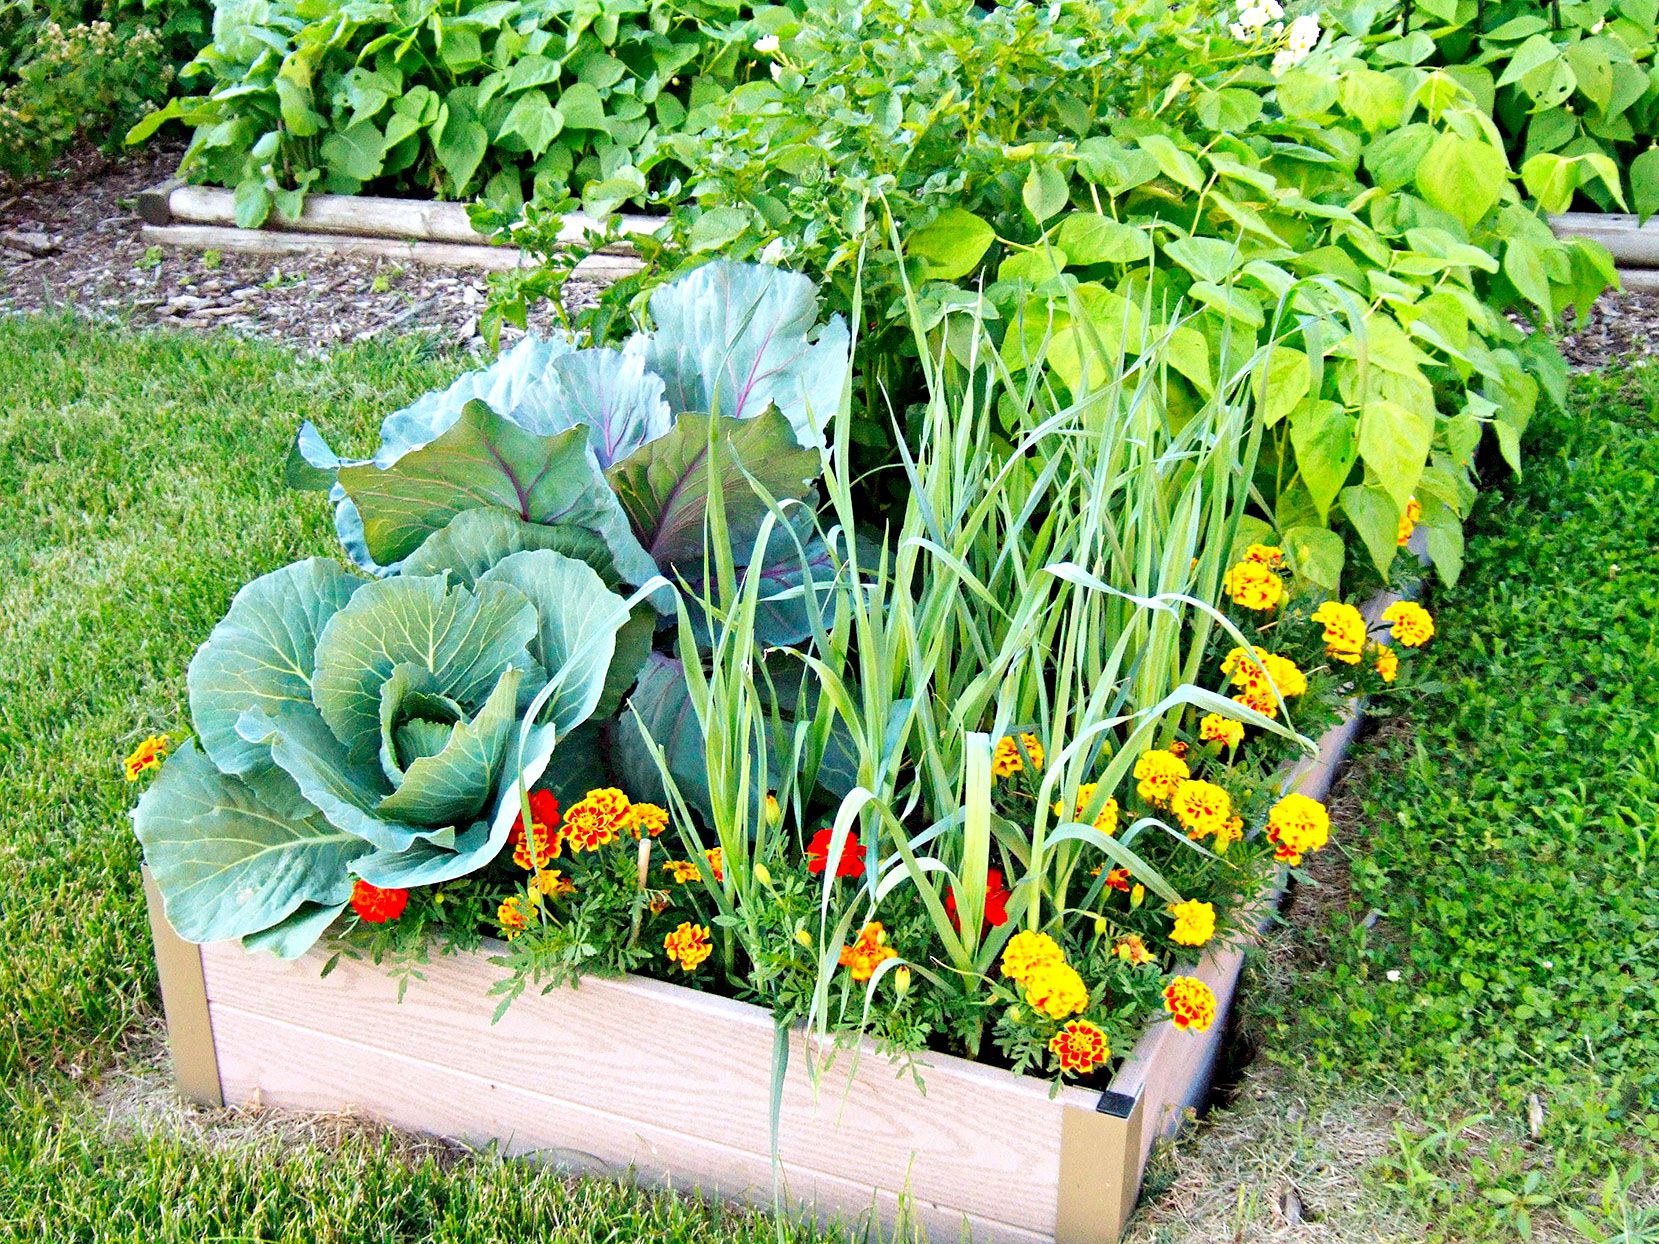
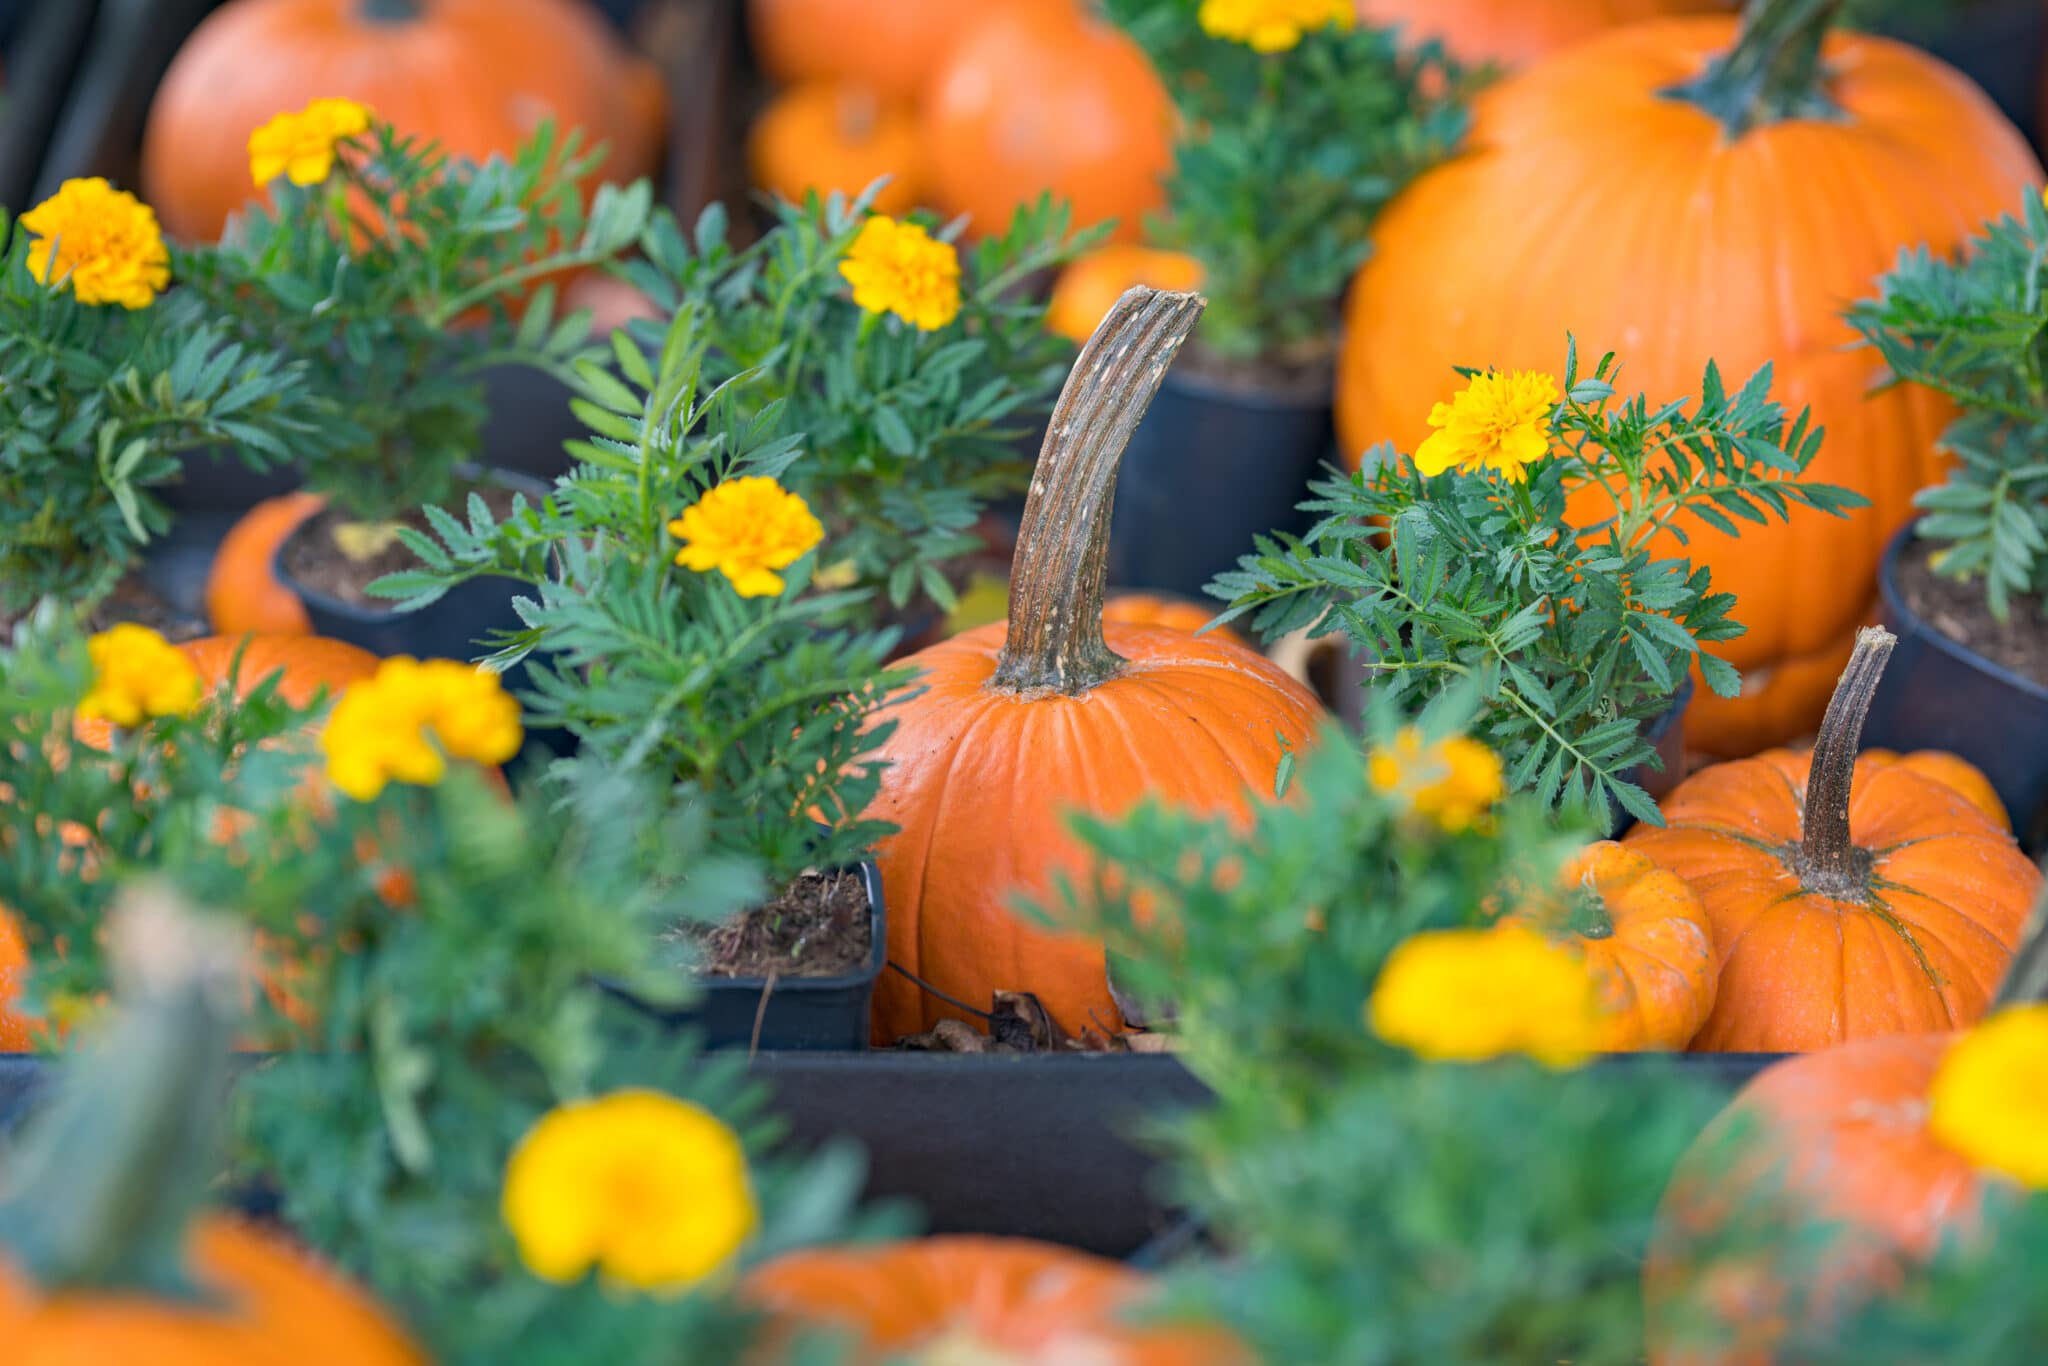
Transplanting Seedlings Outdoors
Transplanting seedlings outdoors is an exciting milestone in the journey of your plants, as they transition from the controlled environment indoors to the great outdoors. Proper transplanting techniques will help ensure a successful transition and promote strong, healthy growth in your garden. Here are the key steps to follow when transplanting your seedlings outdoors:
- Choose the Right Time: Select the appropriate time for transplanting based on the specific plant’s needs and the weather conditions in your area. Consult the seed packet or gardening references for recommended transplanting dates.
- Prepare the Soil: Before transplanting, prepare the outdoor planting area by loosening the soil and removing any weeds or debris. Incorporate organic matter, such as compost or aged manure, to improve soil fertility and drainage.
- Harden Off: Harden off your seedlings gradually to acclimate them to outdoor conditions. Start by placing them outdoors in a sheltered spot for a few hours each day, gradually increasing the duration over 7-10 days. Protect them from strong sun, wind, and extreme temperatures during this process.
- Water the Seedlings: Water the seedlings thoroughly before transplanting. This ensures that the root ball is well-hydrated and helps reduce transplant shock. Make sure the soil is moist but not waterlogged.
- Prepare Planting Holes: Dig planting holes in the prepared garden bed, spacing them according to the recommended spacing for each plant. The depth of the hole should be slightly deeper than the seedling’s root ball and wide enough to accommodate the spread of the roots.
- Remove Seedlings from Containers: Gently remove the seedlings from their containers, being careful not to damage the delicate roots. Squeeze the sides of the container or tap it lightly to loosen the root ball. If the roots are densely packed, you can use your fingers to gently tease the roots apart.
- Plant Seedlings: Place each seedling into its prepared planting hole, ensuring that it is level with the soil surface. Backfill the hole with soil, gently firming it around the roots to eliminate air pockets. Avoid compacting the soil excessively, as this can hinder root growth.
- Water and Mulch: Water the newly transplanted seedlings thoroughly to settle the soil around the roots. Apply a layer of organic mulch, such as straw or wood chips, around the base of the plants to help retain moisture, suppress weeds, and regulate soil temperature.
- Provide Support: If your plants require support, such as cages or stakes, install them at the time of transplanting to avoid damaging the root system later.
- Maintain Care: Continue to provide proper care for your transplanted seedlings, including regular watering, appropriate fertilization, and pest control as needed. Monitor their growth and address any issues promptly to ensure their continued health and development.
By following these steps, you’ll successfully transplant your indoor-grown seedlings into the outdoor garden bed. Providing the right conditions, proper hardening off, and careful handling during transplanting will help your seedlings establish themselves and continue to thrive in their new environment.
Conclusion
Starting seeds indoors is a rewarding and effective way to kickstart your gardening season and ensure a successful harvest. By following the steps outlined in this guide, you can extend your growing season, have greater control over your plants’ environment, and enjoy a wider variety of plants in your garden.
From selecting the right seeds and preparing them for planting to caring for your indoor seedlings and ultimately transplanting them outdoors, each stage plays a crucial role in the success of your gardening efforts. By providing the optimal conditions, including light, temperature, and moisture, and addressing any issues promptly, you can nurture your seedlings into strong and healthy plants.
Remember to consider the specific needs of each plant, including the appropriate timing for indoor seed starting, as well as the proper techniques for transplanting seedlings outdoors. Pay close attention to the recommendations on the seed packets, gardening references, and your own observations to ensure the best results.
Starting seeds indoors not only allows you to enjoy an extended growing season and experiment with a wide variety of plants, but it also provides a sense of fulfillment as you witness the growth and development of your seedlings. Watching your plants transform from tiny seeds to thriving greenery is a truly remarkable experience.
So, armed with the knowledge and practical tips from this guide, you’re ready to embark on your indoor seed starting journey. Get your hands dirty, make room for growth, and enjoy the satisfaction and abundance that come from nurturing your own plants from seed to harvest.