Home>Types of Gardening>Edible Gardening>What To Do After Seedlings Sprout
Edible Gardening
What To Do After Seedlings Sprout
Published: January 2, 2024
Discover essential steps for caring for sprouted seedlings in your edible garden. Learn how to ensure healthy growth and bountiful harvests.
(Many of the links in this article redirect to a specific reviewed product. Your purchase of these products through affiliate links helps to generate commission for Chicagolandgardening.com, at no extra cost. Learn more)
Table of Contents
Introduction
Introduction
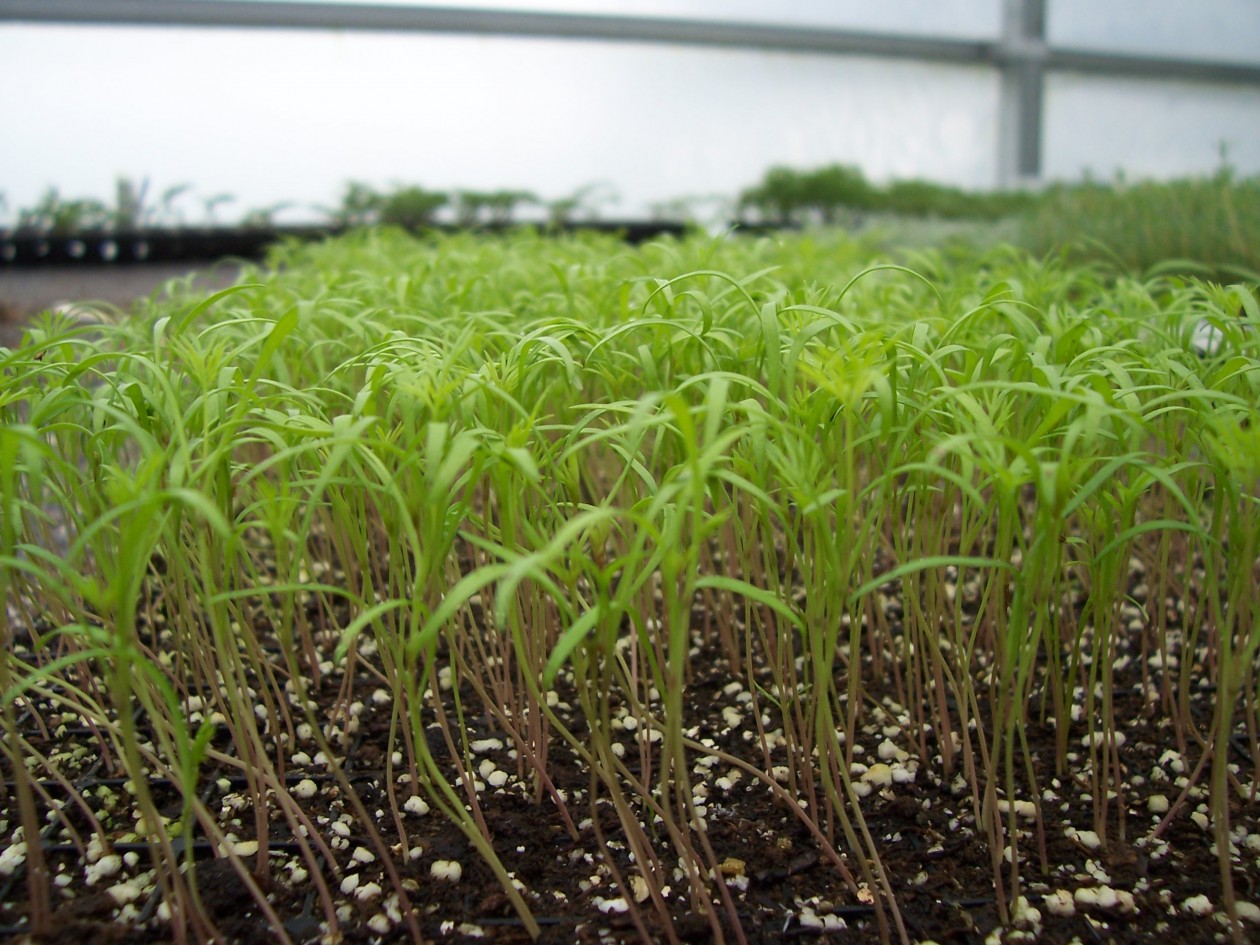
Congratulations on successfully germinating your seeds! The sight of tiny seedlings pushing through the soil is a thrilling moment for any gardener. However, the journey has just begun, and the care you provide at this critical stage will significantly impact the future growth and productivity of your plants. In this guide, we will explore the essential steps to take once your seedlings have sprouted. From transferring them to individual pots to hardening them off for outdoor conditions, each stage plays a crucial role in nurturing strong, healthy plants.
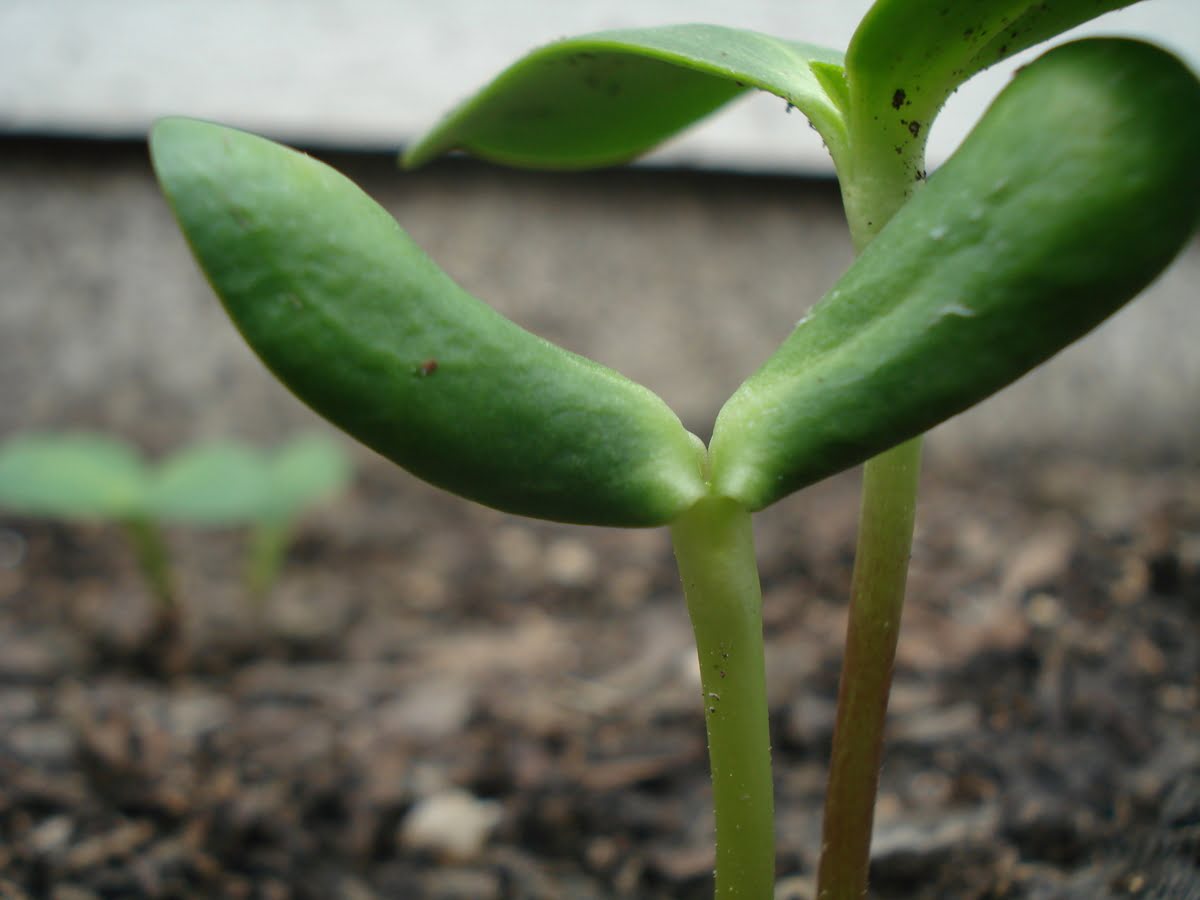
As you observe the first delicate leaves unfurling from the soil, it's important to remember that these young seedlings are still vulnerable and require attentive care. By understanding the specific needs of your seedlings at this stage, you can provide the optimal conditions for robust growth. From ensuring they receive adequate light to gradually acclimating them to outdoor environments, every action you take will contribute to their resilience and future success.
Throughout this guide, we will delve into the intricacies of caring for seedlings, offering practical tips and insights to empower you in this nurturing process. Whether you are a novice gardener or a seasoned green thumb, the journey of tending to seedlings is a rewarding experience that deepens your connection to the natural world and the cycle of life. Let's embark on this nurturing journey together and set the stage for a bountiful harvest and a thriving garden.
Transferring Seedlings to Individual Pots
Transferring Seedlings to Individual Pots
Once your seedlings have sprouted and developed their first set of true leaves, it’s time to consider transferring them to individual pots. This process, known as “potting up,” allows each seedling to have its own space, promoting healthy root development and minimizing competition for resources.
Begin by preparing a well-draining potting mix in small containers, such as seedling trays or biodegradable pots. Gently loosen the soil around the base of the seedlings to avoid damaging the delicate roots. Using a small tool or even your fingers, carefully lift each seedling from the tray, ensuring that the roots remain intact. Create a small hole in the center of the new potting mix and carefully place the seedling inside, gently patting the soil around it for stability.
It’s crucial to handle the seedlings with care during this process, as they are still fragile at this stage of growth. Ensure that the soil in the new pots is pre-moistened to provide a conducive environment for the seedlings’ transition. After potting up the seedlings, place them in a warm, well-lit area, such as a sunny windowsill or under grow lights, to support their continued growth.
Transferring seedlings to individual pots offers several benefits, including the ability to customize the growing conditions for each plant. Additionally, it allows for easier monitoring of individual seedlings’ progress and minimizes the risk of overcrowding, which can lead to stunted growth and increased susceptibility to pests and diseases.
By potting up your seedlings at the right time, you are providing them with the space and resources they need to thrive, setting the stage for strong, healthy plants that will eventually be ready for transplanting into the outdoor garden. This nurturing step is a pivotal moment in the journey of your seedlings, marking the transition from germination to robust growth in their individual containers.
Providing Adequate Light
Providing Adequate Light
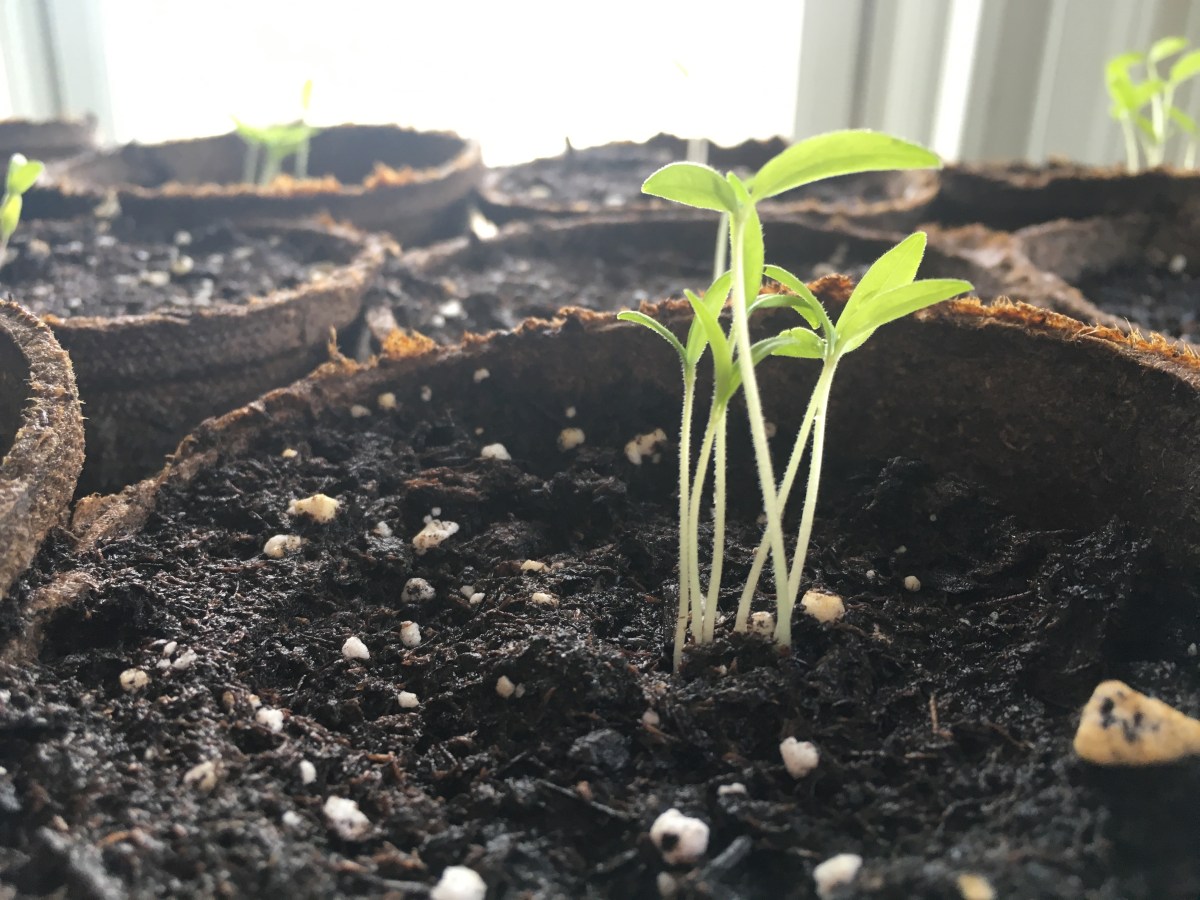
After transferring your seedlings to individual pots, ensuring they receive adequate light is crucial for their healthy development. Insufficient light can lead to leggy, weak seedlings that are more susceptible to disease and less likely to thrive once transplanted outdoors. Understanding the lighting needs of your seedlings and providing the right conditions will set the stage for strong, vibrant plants.
Place your seedlings in a location where they can receive ample natural light, such as a south-facing windowsill. If natural light is limited, consider using supplemental grow lights to provide the necessary intensity and duration of light. Position the lights a few inches above the seedlings and adjust the height as they grow to maintain an optimal distance.
It’s important to provide a consistent light source for your seedlings, simulating the natural daylight they would receive outdoors. Typically, seedlings require 14-16 hours of light per day. This extended photoperiod encourages robust growth and helps prevent stretching or legginess, resulting in sturdier, more resilient plants.
Observing your seedlings for signs of inadequate light, such as pale or elongated stems, can guide you in adjusting their light exposure. Additionally, rotating the pots regularly can promote even growth, as seedlings have a tendency to lean towards the light source.
By prioritizing adequate light for your seedlings, you are nurturing their photosynthetic process and establishing a strong foundation for future growth. The care and attention you provide during this critical stage will contribute to the overall vitality and productivity of your plants, ensuring they are well-prepared for the transition to the outdoor garden.
Watering Seedlings
Watering Seedlings
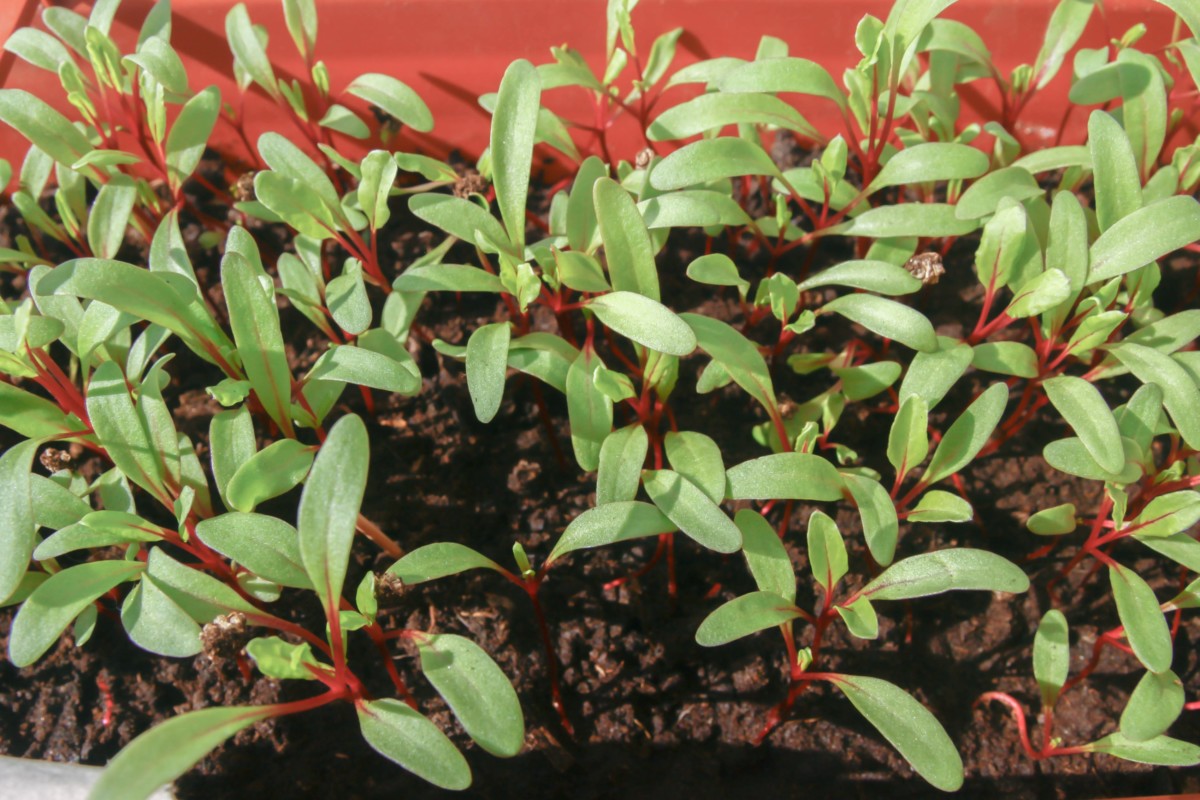
Proper watering is essential for the health and vigor of your seedlings. At this early stage of growth, maintaining the right moisture levels is crucial to prevent both underwatering, which can lead to wilting and stunted growth, and overwatering, which may cause root rot and other issues. Understanding the specific watering needs of your seedlings and implementing a mindful watering routine will support their development and resilience.
When watering seedlings, it’s important to provide moisture at the root level while avoiding wetting the foliage excessively. This can help prevent fungal diseases and minimize the risk of water-related issues. Use a gentle watering can or a spray bottle with a fine mist setting to deliver water directly to the soil surface around the seedlings, allowing it to penetrate the root zone without causing disturbance.
Observing the soil moisture level is crucial in determining when to water your seedlings. While it’s essential to keep the soil consistently moist, it’s equally important to avoid waterlogged conditions. A simple way to assess moisture levels is by gently pressing the soil surface with your finger. If it feels dry to the touch, it’s time to water. However, if the soil still retains moisture, it’s best to wait before watering again to prevent oversaturation.
Adjusting the frequency of watering based on environmental factors, such as temperature and humidity, can help you tailor the moisture supply to the specific needs of your seedlings. As the seedlings grow and their root systems develop, they will require a slightly deeper and more extensive watering regimen to support their increasing demands.
By maintaining a balanced approach to watering, you are fostering the development of resilient, well-established roots and promoting overall plant health. The attentive care you provide during this critical stage will contribute to the strength and vitality of your seedlings, setting the stage for successful transplantation and future growth in the outdoor garden.
Fertilizing Seedlings
Fertilizing Seedlings
As your seedlings continue to grow, providing them with the necessary nutrients becomes essential for their overall health and vigor. While seed starting mixes contain initial nutrients, these may become depleted as the seedlings develop, making supplemental fertilization beneficial. Understanding the principles of fertilizing seedlings and implementing a balanced approach will support robust growth and prepare the plants for successful transplantation.
When considering fertilization for seedlings, it’s important to choose a gentle, balanced fertilizer specifically formulated for young plants. Look for a water-soluble, organic fertilizer with a balanced NPK (nitrogen, phosphorus, and potassium) ratio designed to support early growth without overwhelming the delicate root systems. Dilute the fertilizer according to the manufacturer’s instructions to avoid the risk of nutrient burn, which can harm the seedlings.
Begin fertilizing your seedlings once they have developed their first set of true leaves, as this indicates the depletion of initial nutrients provided by the seed starting mix. A diluted, weekly application of fertilizer can help ensure a steady supply of essential nutrients, supporting healthy foliage and root development without causing excessive stress to the young plants.
Observing the seedlings for signs of nutrient deficiencies, such as yellowing leaves or slow growth, can guide you in adjusting the fertilization regimen. However, it’s important to avoid over-fertilizing, as this can lead to imbalances and potential damage to the seedlings. A cautious and attentive approach to fertilization will provide the seedlings with the support they need for robust, healthy growth.
By incorporating a mindful fertilization routine into your seedling care regimen, you are nurturing the plants’ nutritional needs and laying the groundwork for their resilience and productivity. The balanced application of nutrients will contribute to the overall strength and vitality of the seedlings, preparing them for the eventual transition to the outdoor garden and the challenges of the growing season ahead.
Hardening Off Seedlings
Hardening Off Seedlings
As your seedlings approach the stage of outdoor transplantation, it’s crucial to prepare them for the transition from the sheltered indoor environment to the rigors of the outdoor garden. This process, known as “hardening off,” allows the seedlings to gradually acclimate to the outdoor conditions, minimizing the shock of the environmental change and ensuring their resilience once planted in the garden.
Begin the hardening off process when the threat of frost has passed and daytime temperatures consistently remain above 50°F (10°C). Choose a sheltered, partially shaded outdoor area, such as a porch or a spot under a tree, to initially place the seedlings. Start by exposing the seedlings to this outdoor environment for a few hours each day, gradually increasing the duration and intensity of exposure over the course of 7 to 10 days.
During the hardening off period, closely monitor the seedlings for any signs of stress, such as wilting or discoloration. Providing adequate water and protection from strong winds during this transition phase can help minimize stress and ensure the seedlings adapt smoothly to their new surroundings.
Hardening off seedlings serves to strengthen their cell structure, thicken their cuticle, and encourage the development of protective compounds, all of which are essential for their ability to withstand outdoor elements. This gradual adjustment prepares the seedlings for the challenges of direct sunlight, fluctuating temperatures, and gentle breezes, ultimately fostering their resilience and long-term viability in the garden.
By investing time and attention in the hardening off process, you are equipping your seedlings with the adaptability and fortitude needed to thrive in the outdoor environment. This crucial step ensures that the transition from indoor cultivation to outdoor planting is smooth and minimizes the risk of transplant shock, setting the stage for the seedlings to flourish and contribute to a productive, vibrant garden.
Transplanting Seedlings Outdoors
Transplanting Seedlings Outdoors
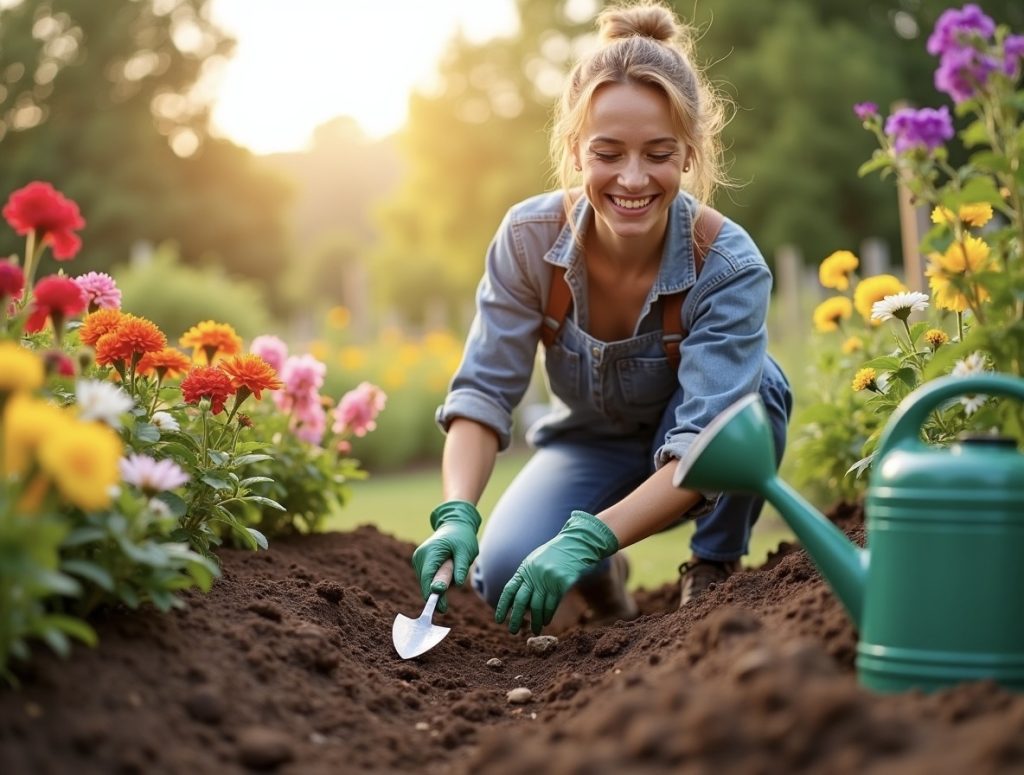
After diligently nurturing your seedlings through the stages of growth indoors, the time has come to transplant them into the outdoor garden. This pivotal moment marks the culmination of your efforts and the beginning of their journey towards maturity and productivity in the natural environment. By following key guidelines and best practices for outdoor transplantation, you can ensure a smooth transition and set the stage for the continued success of your plants.
Choose a day for transplanting when the weather is mild, preferably overcast or during the late afternoon to minimize stress on the seedlings. Before transplanting, thoroughly water the seedlings in their pots to ensure they are well-hydrated and the soil is moist. Gently loosen the soil around the root ball of each seedling to facilitate the transition and minimize root disturbance during the process.
Prepare the planting area in the garden by amending the soil with organic matter and ensuring proper drainage. Dig individual holes for each seedling, spacing them according to their mature size and the specific requirements of the plant species. Carefully remove the seedlings from their pots, handling them by the root ball to avoid damaging the delicate stems and leaves.
Place each seedling in its designated hole, ensuring that the top of the root ball is level with the surrounding soil surface. Backfill the holes with soil, gently firming it around the base of the seedlings to provide stability. Water the transplanted seedlings thoroughly to settle the soil and provide initial hydration to support their establishment in the outdoor environment.
After transplanting, monitor the seedlings closely for signs of stress and provide them with consistent care, including regular watering and protection from extreme weather conditions. Applying a layer of organic mulch around the base of the seedlings can help conserve moisture, regulate soil temperature, and suppress weed growth, contributing to their overall well-being.
By successfully transplanting your seedlings outdoors, you are initiating the next phase of their growth and development, allowing them to thrive in their natural habitat. The careful attention and nurturing you provide during this critical stage will contribute to the resilience and productivity of your plants, ultimately leading to a bountiful and vibrant garden.