Home>Types of Gardening>Edible Gardening>How Long After Planting Do Potatoes Sprout
Edible Gardening
How Long After Planting Do Potatoes Sprout
Published: September 6, 2023
Learn when potatoes sprout after planting and get tips for edible gardening. Discover the timeline for sprouting and growing potatoes in your garden.
(Many of the links in this article redirect to a specific reviewed product. Your purchase of these products through affiliate links helps to generate commission for Chicagolandgardening.com, at no extra cost. Learn more)
Table of Contents
Introduction
Welcome to the world of edible gardening! If you’re passionate about growing your own food, then learning how to cultivate potatoes is a must. Potatoes are a versatile and nutritious staple that can be grown in various climates and soil conditions. One common question that arises when embarking on this potato-growing journey is, “How long after planting do potatoes sprout?”
Understanding the sprouting process is vital for a successful potato harvest. From factors that affect sprouting to effective planting techniques, this article will guide you through the timeline of potato sprouting and how to monitor its progress. By the end, you’ll have a comprehensive understanding of when to expect those delightful potato sprouts to emerge from the soil.
As with any gardening endeavor, several factors come into play when it comes to potato sprouting. Factors such as soil temperature, moisture levels, and quality of seed potatoes can influence the speed and success of sprouting. Additionally, the variety of potato you choose for planting can impact the sprouting timeframe. It’s important to consider these factors and implement the right techniques to optimize sprouting.
Factors Affecting Potato Sprouting
Several factors play a crucial role in determining the sprouting process of potatoes. Understanding these factors will help you create the ideal conditions for sprouting and ensure a successful harvest.
Soil Temperature: Temperature plays a significant role in stimulating potato sprouting. Ideally, the soil temperature should be between 45-55°F (7-13°C) for optimal sprouting. Cooler temperatures can delay sprouting, while warmer temperatures can stimulate quicker sprouting. However, it’s important to avoid extremely high temperatures, as it can result in poor sprout development.
Moisture Levels: Adequate moisture is essential for potatoes to sprout. Dry soil conditions can hinder sprouting, while overly wet soil can cause rotting. It’s important to maintain consistent moisture levels in the soil, ensuring it remains moist but not waterlogged.
Quality of Seed Potatoes: The quality and condition of the seed potatoes you use for planting can greatly affect sprouting. Ensure that the seed potatoes are certified disease-free and of good quality. Damaged or diseased potatoes are less likely to sprout, leading to poor crop yield.
Variety of Potatoes: Different potato varieties have varying sprouting rates. Some varieties are known for early sprouting, while others may take longer. When selecting potato varieties, consider the sprouting timeframe that suits your planting schedule and climate.
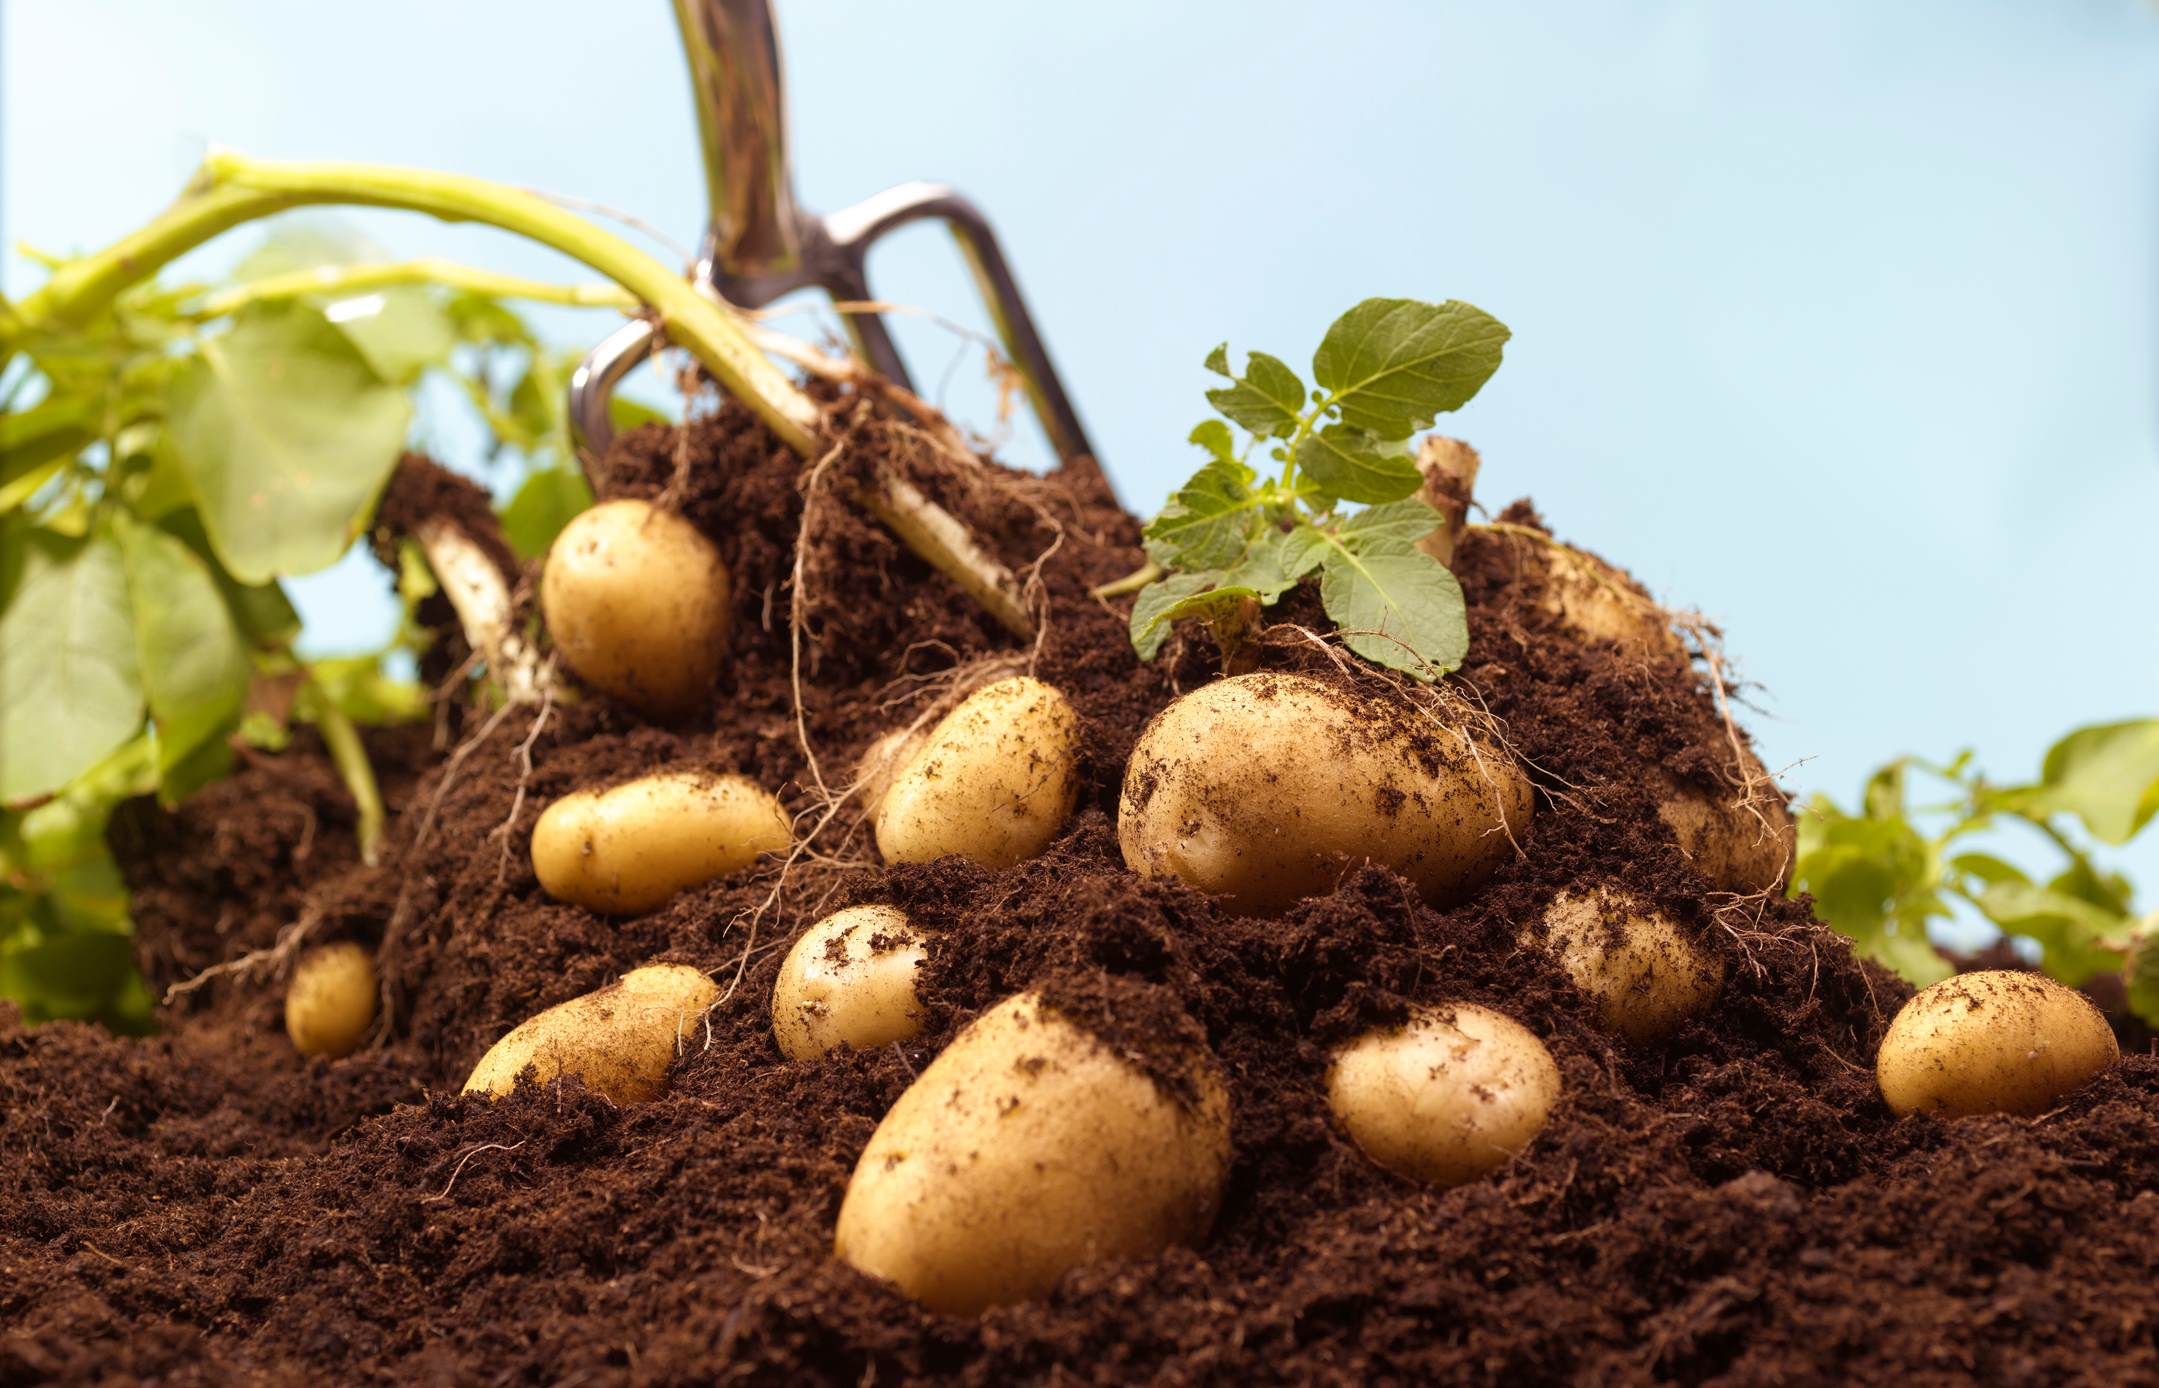
Planting Depth: The depth at which you plant your potatoes can also impact sprouting. Planting them at a depth of around 4-6 inches (10-15 cm) is recommended. Planting too shallow can expose the tubers to excessive sunlight, resulting in greening and decreased sprouting potential.
Nutrient Availability: Potatoes require adequate nutrient availability for healthy sprouting. Ensure that the soil is enriched with organic matter and balanced nutrients to support robust sprout development.
By considering and managing these factors, you can create optimal conditions for potato sprouting. It’s important to monitor and adapt these factors based on your specific gardening environment.
Planting Techniques for Encouraging Sprouting
Planting potatoes using the right techniques can significantly facilitate the sprouting process. Here are some tried-and-true methods for encouraging sprouting:
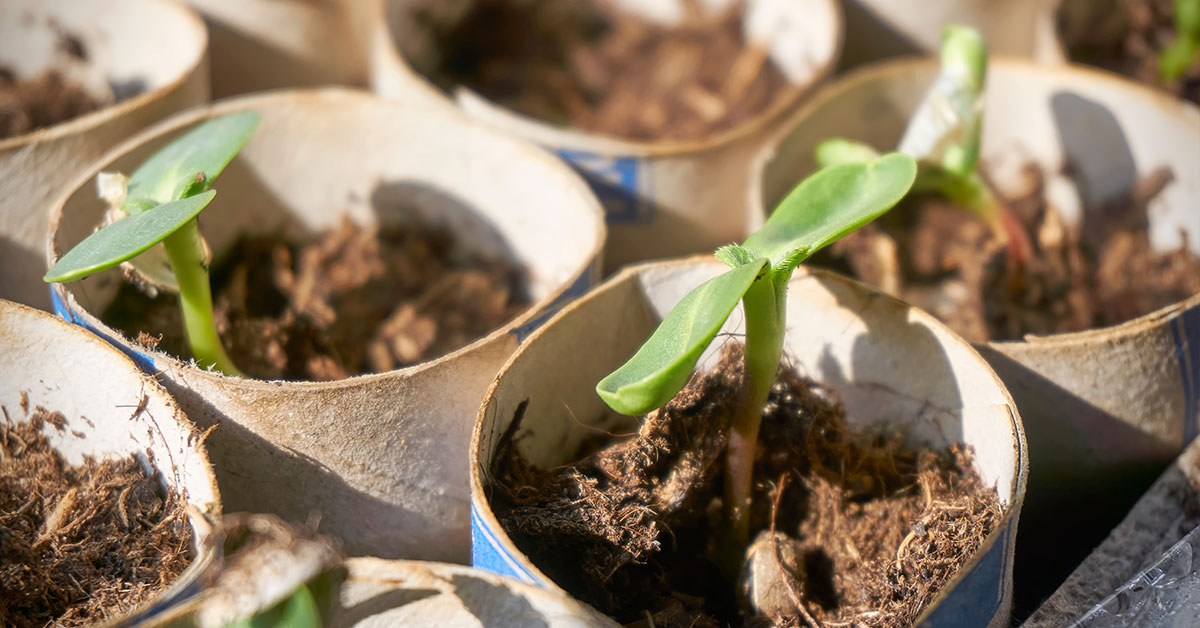
Chitting: Chitting, also known as pre-sprouting, involves placing seed potatoes in a well-lit, cool area a few weeks before planting. This process allows the potatoes to develop small sprouts before they are planted in the ground. Chitting can help jumpstart the sprouting process and lead to earlier emergence once planted.
Seed Potato Selection: Choose high-quality seed potatoes for planting. Look for ones with healthy, prominent “eyes” or sprouts. Larger seed potatoes generally have more eyes, increasing the chances of multiple sprouts. Avoid using potatoes that show signs of disease, damage, or rot.
Cutting Seed Potatoes: If your seed potatoes are larger, you can increase the number of sprouts by cutting them into smaller sections. Each section should contain at least one or two eyes. Allow the cut pieces to dry and form a callus before planting to reduce the risk of rotting.
Planting Timing: The timing of planting is crucial for encouraging sprouting. Ideally, potatoes should be planted when the soil temperature consistently reaches 45-55°F (7-13°C). Planting too early, when the soil is still cold, can delay sprouting. Conversely, planting too late in the season can result in reduced sprouting rates due to warmer temperatures.
Planting Depth: Plant your seed potatoes at a depth of around 4-6 inches (10-15 cm). This provides enough soil coverage to protect the emerging sprouts from excessive sunlight and encourages proper sprout development.
Spacing: Give your potato plants enough space. Plant them about 12-15 inches (30-38 cm) apart in rows spaced 2-3 feet (60-90 cm) apart. Ample spacing allows each plant enough room to develop strong sprouts and prevents overcrowding, which can lead to stunted growth.
Proper Soil Preparation: Before planting, prepare the soil by loosening it with a garden fork or tiller. Remove any debris, stones, or weeds that may impede sprout growth. Incorporate organic matter, such as compost or well-rotted manure, to improve soil fertility and drainage.
Watering: Maintain consistent moisture in the soil throughout the sprouting process. Water the planted potatoes thoroughly after planting and continue to water as needed to keep the soil evenly moist. Avoid overwatering, as it can lead to rotting and poor sprout development.
By implementing these planting techniques, you can create favorable conditions for potato sprouting. Remember to adapt these methods based on your specific growing conditions and the variety of potatoes you are cultivating.
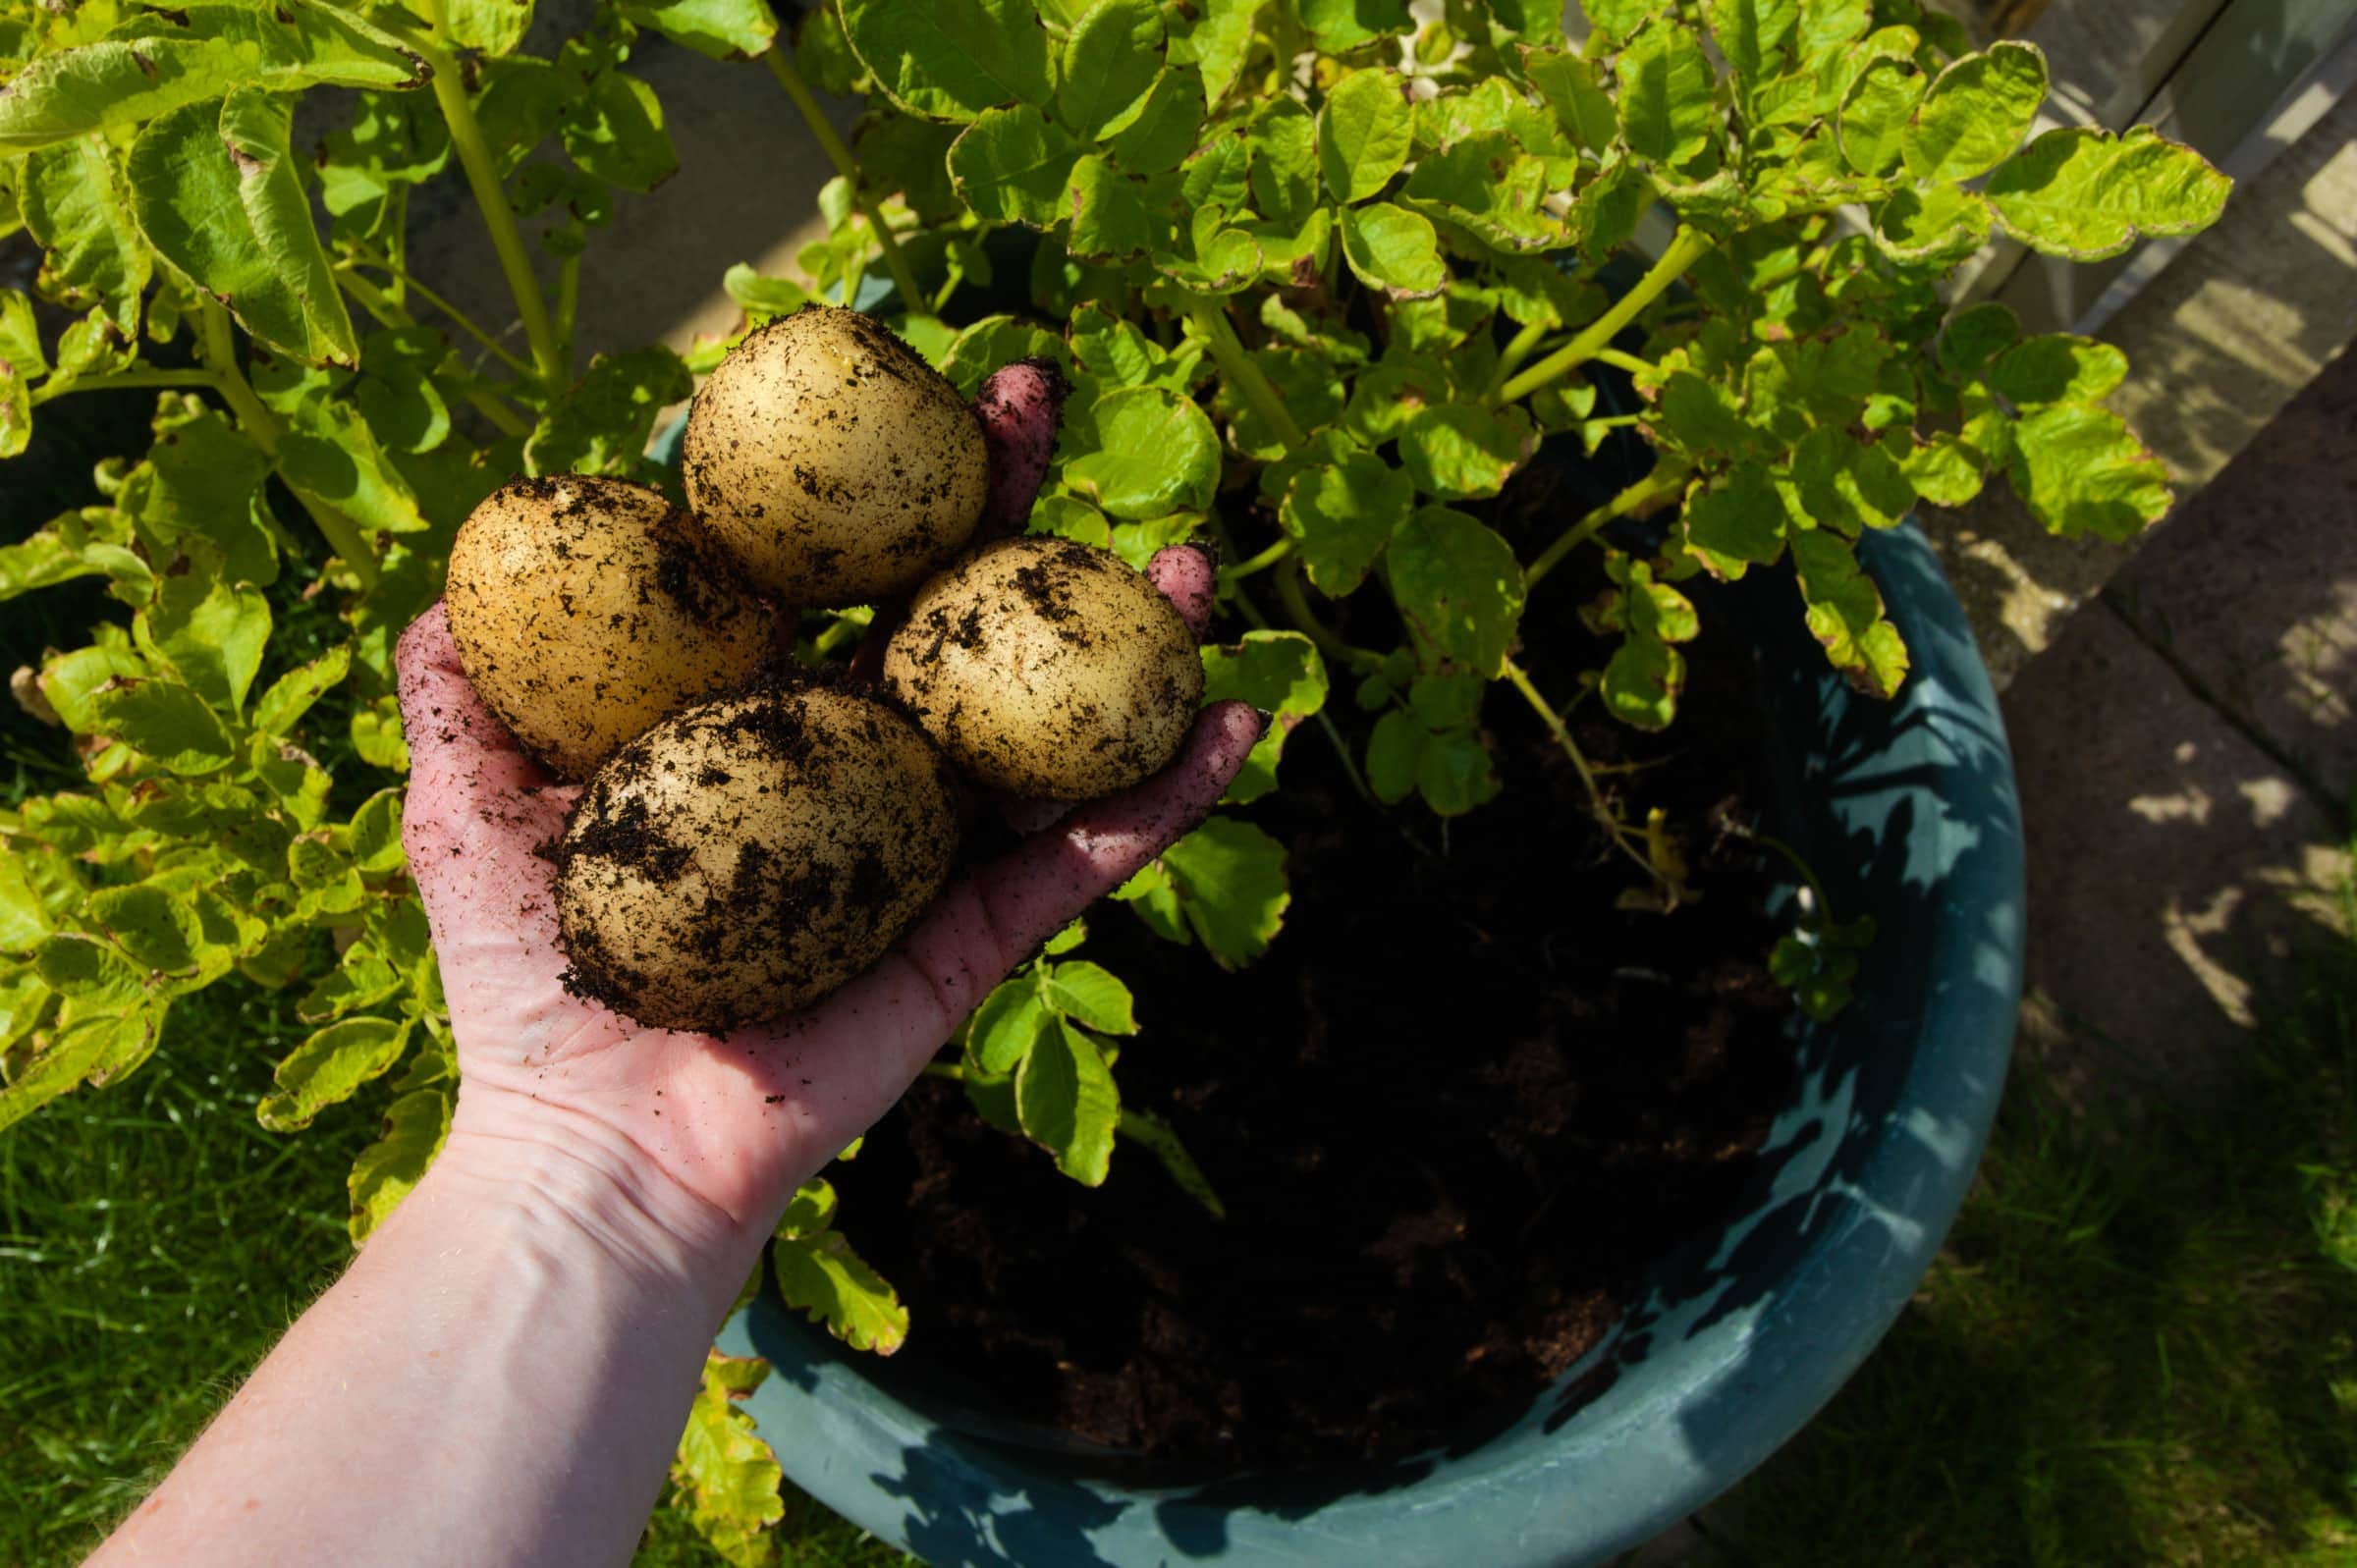
Expected Timeframe for Potato Sprouting
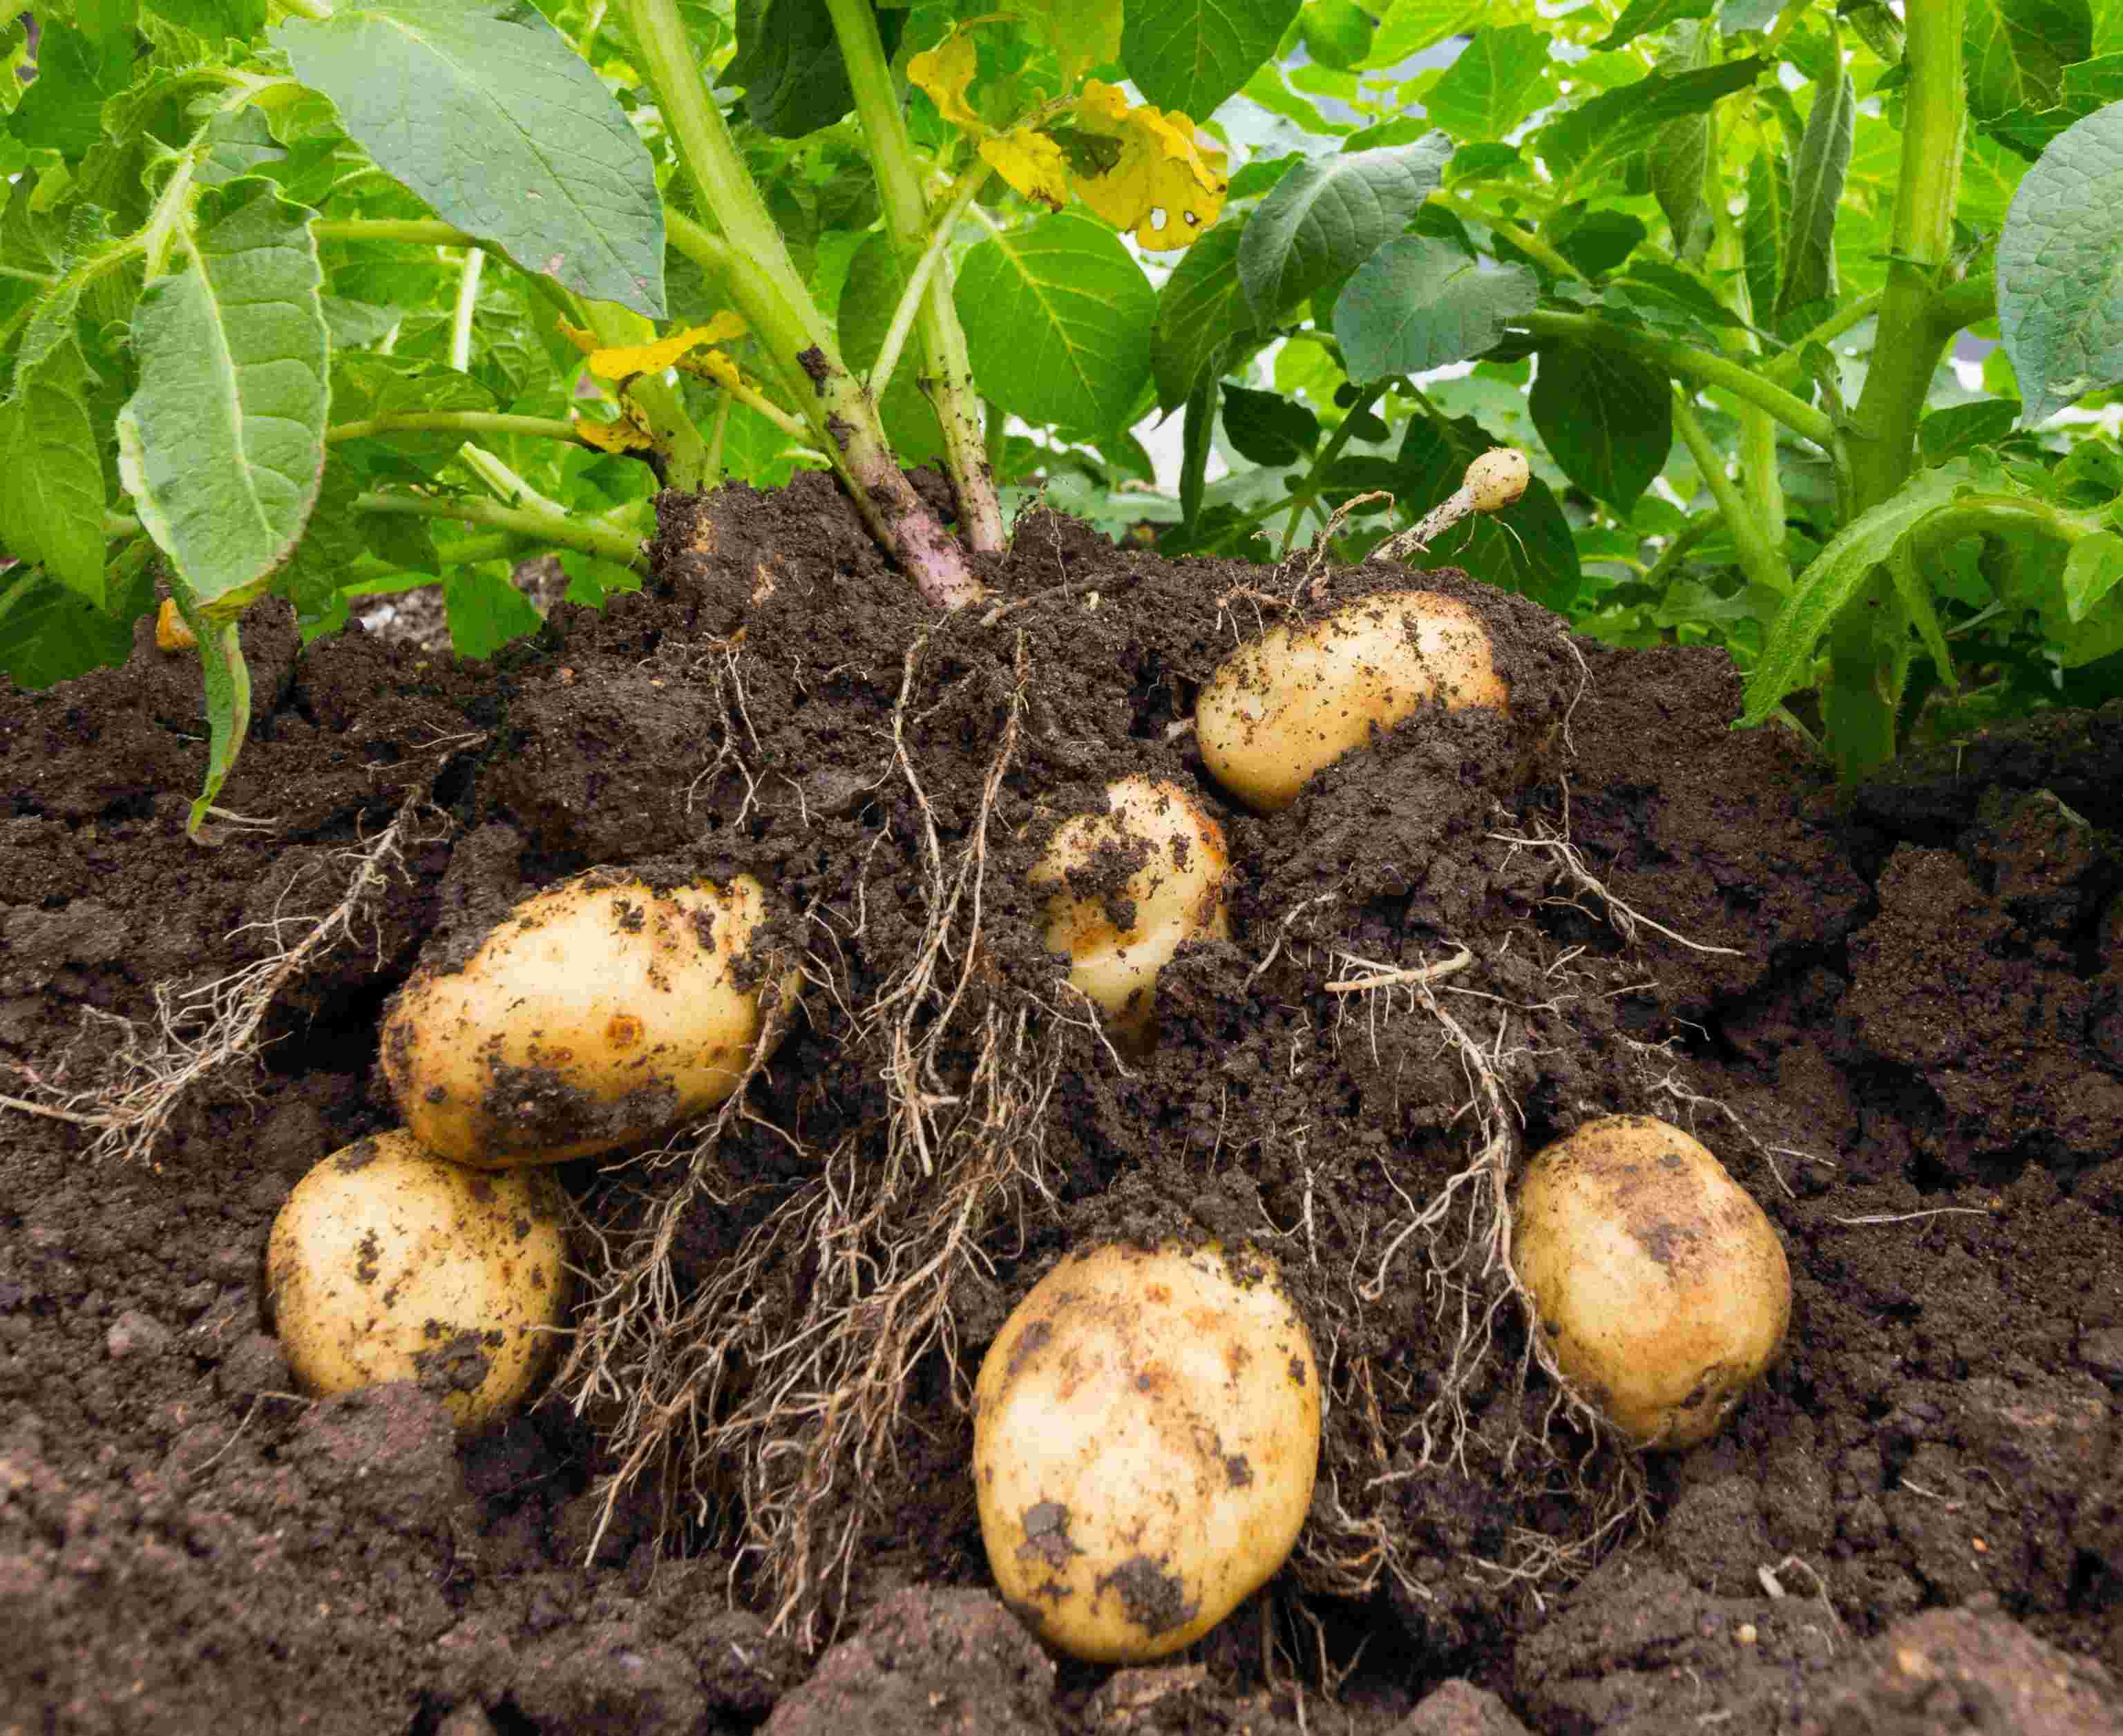
When it comes to potato sprouting, the timeframe can vary depending on various factors such as temperature, soil conditions, and potato variety. On average, you can expect to see sprouts emerge from the soil within 2 to 3 weeks after planting.
However, it’s important to note that this is just an estimated timeframe, and actual sprouting can be influenced by external factors. Cooler soil temperatures can delay sprouting, while warmer temperatures can accelerate it. Monitoring the soil temperature is crucial to gauge the progress of sprouting.
Some potato varieties are known for their early sprouting, while others may take longer. Early varieties like Yukon Gold, Red Norland, and Red Pontiac often sprout within the earlier end of the estimated timeframe. Later varieties like Russet Burbank and Kennebec may take slightly longer to sprout.
It’s common to find uneven sprouting in potato beds, where some plants may sprout earlier than others. This is normal and can be attributed to factors such as variations in soil temperature, moisture levels, and seed potato quality. As long as the majority of plants are sprouting within the expected timeframe, there is no cause for concern.
Monitoring the progress of sprouting is essential during this period. Regularly inspect your potato plants, gently digging around the base of the plants to check for emerging sprouts. As the sprouts emerge, they will appear as small, pale green shoots breaking through the soil surface. Be careful not to damage or disturb the delicate sprouts while checking on them.
If you notice extended delays in sprouting or a lack of sprouting altogether, it may indicate an issue with the planting conditions, seed potato quality, or environmental factors. In such cases, it’s best to evaluate and address the potential causes to maximize sprout development.
Remember, patience is key when waiting for potato sprouts to emerge. The sprouting process may take longer in certain circumstances, but with proper care and attention to the growing conditions, you will soon be rewarded with a beautiful bed of actively growing potato plants.
Tips for Monitoring Potato Sprouting Progress
Monitoring the progress of potato sprouting is essential to ensure the healthy growth and development of your plants. Here are some helpful tips for effectively monitoring and evaluating the sprouting progress:
Gently Digging: Carefully dig around the base of the potato plants to inspect the soil and check for emerging sprouts. Use a small hand trowel or your hands to avoid damaging the fragile sprouts. Take note of the number of sprouts, their size, and overall progress.
Observing Emergence: Look for small, pale green shoots breaking through the soil surface. These are the emerging sprouts. They may initially appear as tiny bumps or breaks in the soil, gradually growing taller as the sprouts develop.
Documenting Dates: Keep a record of the planting date and the estimated time for sprouting. Note down when you first observe sprouts and any subsequent changes or developments. This documentation will help you track the progress of your potato plants and make necessary adjustments to your gardening routine.
Comparing Varieties: If you have planted different potato varieties, compare their sprouting progress. Note any differences in timing, growth rates, or overall vigor. This comparison can provide valuable insights for future plantings and help you understand which varieties perform best in your specific growing conditions.
Monitoring Growth Rate: As the sprouts emerge, observe their growth rate and measure their height over time. This will give you an idea of how quickly the plants are progressing. Rapid and consistent growth is a positive sign, indicating healthy sprouting.
Assessing Plant Health: While monitoring sprouts, also check for signs of plant health. Look out for discoloration, wilting, or any signs of pests or diseases. Early detection of issues will allow you to take prompt action to prevent further damage and ensure optimal sprout development.
Adjusting Care Practices: Based on your observations and evaluations, adjust your care practices accordingly. For example, if you notice slow or uneven sprouting, you may need to provide extra water, check soil temperature, or assess the quality of your seed potatoes. Adapting your care practices can help optimize sprout development.
Patience and Continued Monitoring: Remember that potato sprouting can take time, and not all sprouts will emerge at once. Be patient and continue to monitor the progress of your plants regularly. With time and care, you’ll witness the full emergence of sprouts and the growth of healthy potato plants.
By employing these monitoring tips, you’ll have a better understanding of your potato sprouting progress and be able to address any issues or concerns that arise along the way. This will ultimately contribute to a successful and bountiful potato harvest.
Conclusion
Growing potatoes can be an exciting and rewarding experience, and understanding the sprouting process is crucial for a successful harvest. By considering the factors that affect potato sprouting, implementing proper planting techniques, and monitoring the progress, you can optimize sprouting and ensure healthy plant growth.
Factors such as soil temperature, moisture levels, seed potato quality, and variety selection play key roles in determining the sprouting timeframe. Creating favorable growing conditions by chitting seed potatoes, selecting high-quality tubers, and providing optimal soil preparation and planting depth will encourage successful sprouting. It’s important to regularly monitor the progress by gently digging around the plants, observing emergence, and documenting the dates and growth rates.
Remember, each potato variety may have a slightly different sprouting timeframe, and uneven sprouting is normal. By patiently monitoring the progress, you can make necessary adjustments to your care practices and ensure the best possible outcome for your potato crop.
Happy potato growing! With the right knowledge and attention to sprouting, you’ll soon enjoy the satisfaction of harvesting homegrown potatoes, freshly dug from your own garden.