Home>Types of Gardening>Edible Gardening>How To Start Potatoes For Planting
Edible Gardening
How To Start Potatoes For Planting
Published: September 6, 2023
Learn how to start potatoes for planting in your own edible garden. Discover the best techniques and tips for successful potato cultivation.
(Many of the links in this article redirect to a specific reviewed product. Your purchase of these products through affiliate links helps to generate commission for Chicagolandgardening.com, at no extra cost. Learn more)
Table of Contents
Introduction
Welcome to the world of edible gardening! Growing your own food can be a rewarding experience that not only provides fresh and delicious produce but also connects you to the natural world around you. If you’re new to gardening or looking to expand your gardening repertoire, one crop you should consider adding to your list is potatoes.
Potatoes are a versatile and nutritious staple that can be grown in a variety of climates and conditions. Whether you have a large backyard or a small balcony, you can find a planting method that suits your space and resources. Plus, the process of growing potatoes is relatively simple and can be a great project for beginners.
In this article, we will guide you through the essential steps of starting potatoes for planting. From choosing the right seed potatoes to harvesting and storing the final crop, we’ll cover everything you need to know to successfully grow your own potatoes at home.
But before we dive into the details, let’s take a moment to appreciate why growing potatoes can be such a rewarding endeavor. Firstly, there is an undeniable satisfaction in witnessing the growth and development of a plant from a tiny seed potato to a flourishing plant with abundant tubers. Secondly, homegrown potatoes have a superior taste compared to store-bought ones, often boasting a fresher, earthier flavor. Lastly, cultivating your own potatoes allows you to have control over the growing conditions, ensuring that no harmful chemicals or pesticides are used throughout the process.
If you’re ready to embark on this edible gardening journey and have a bountiful harvest of potatoes, keep reading. In the following sections, we will equip you with the knowledge and skills needed to start potatoes for planting and set you on the path to a successful and fulfilling gardening experience.
Choosing the Right Seed Potatoes
When it comes to growing potatoes, selecting the right seed potatoes is crucial for a successful harvest. Seed potatoes are specially grown to be disease-free and are the starting point for growing your own potato plants. Here are some important factors to consider when choosing seed potatoes:
Variety: There are numerous potato varieties available, each with its own unique characteristics in terms of flavor, texture, and suitability for different growing conditions. Consider factors such as the desired taste, size, and cooking qualities when selecting a potato variety. Popular choices include Yukon Gold, Russet, and Red Pontiac.
Disease Resistance: Potatoes can be susceptible to various diseases, such as blight, scab, and viruses. Look for seed potatoes that are certified disease-free or labeled as resistant to common potato diseases. This will help ensure that your plants have a better chance of thriving.
Quality: Choose seed potatoes that are firm and free from any signs of rot, mold, or damage. Avoid using potatoes from the grocery store, as they may have been treated with growth inhibitors or may not be suitable for planting.
Size: Seed potatoes come in different sizes, ranging from small to large. Smaller seed potatoes tend to produce smaller tubers, while larger ones may produce larger tubers. Consider the space you have available and your preferences when selecting the size of the seed potatoes.
Source: Purchase seed potatoes from reputable sources, such as local nurseries, certified seed suppliers, or online seed catalogs. These sources often provide high-quality seed potatoes that are specifically intended for planting.
Quantity: The number of seed potatoes you need will depend on the size of your planting area and the variety you choose. As a general guide, plan for each seed potato to produce approximately 10-12 potatoes. Keep in mind that it’s better to have a few extra seed potatoes than not enough.
By carefully selecting the right seed potatoes, you are setting the foundation for a successful potato growing journey. Take the time to research different varieties, determine disease resistance levels, and ensure the quality of the seed potatoes you choose. Remember, healthy seed potatoes lead to healthy potato plants and a bountiful harvest.
Preparing the Potatoes for Planting
Before planting your seed potatoes, it’s essential to properly prepare them to ensure optimal growth and yield. Follow these steps to prepare your potatoes for planting:
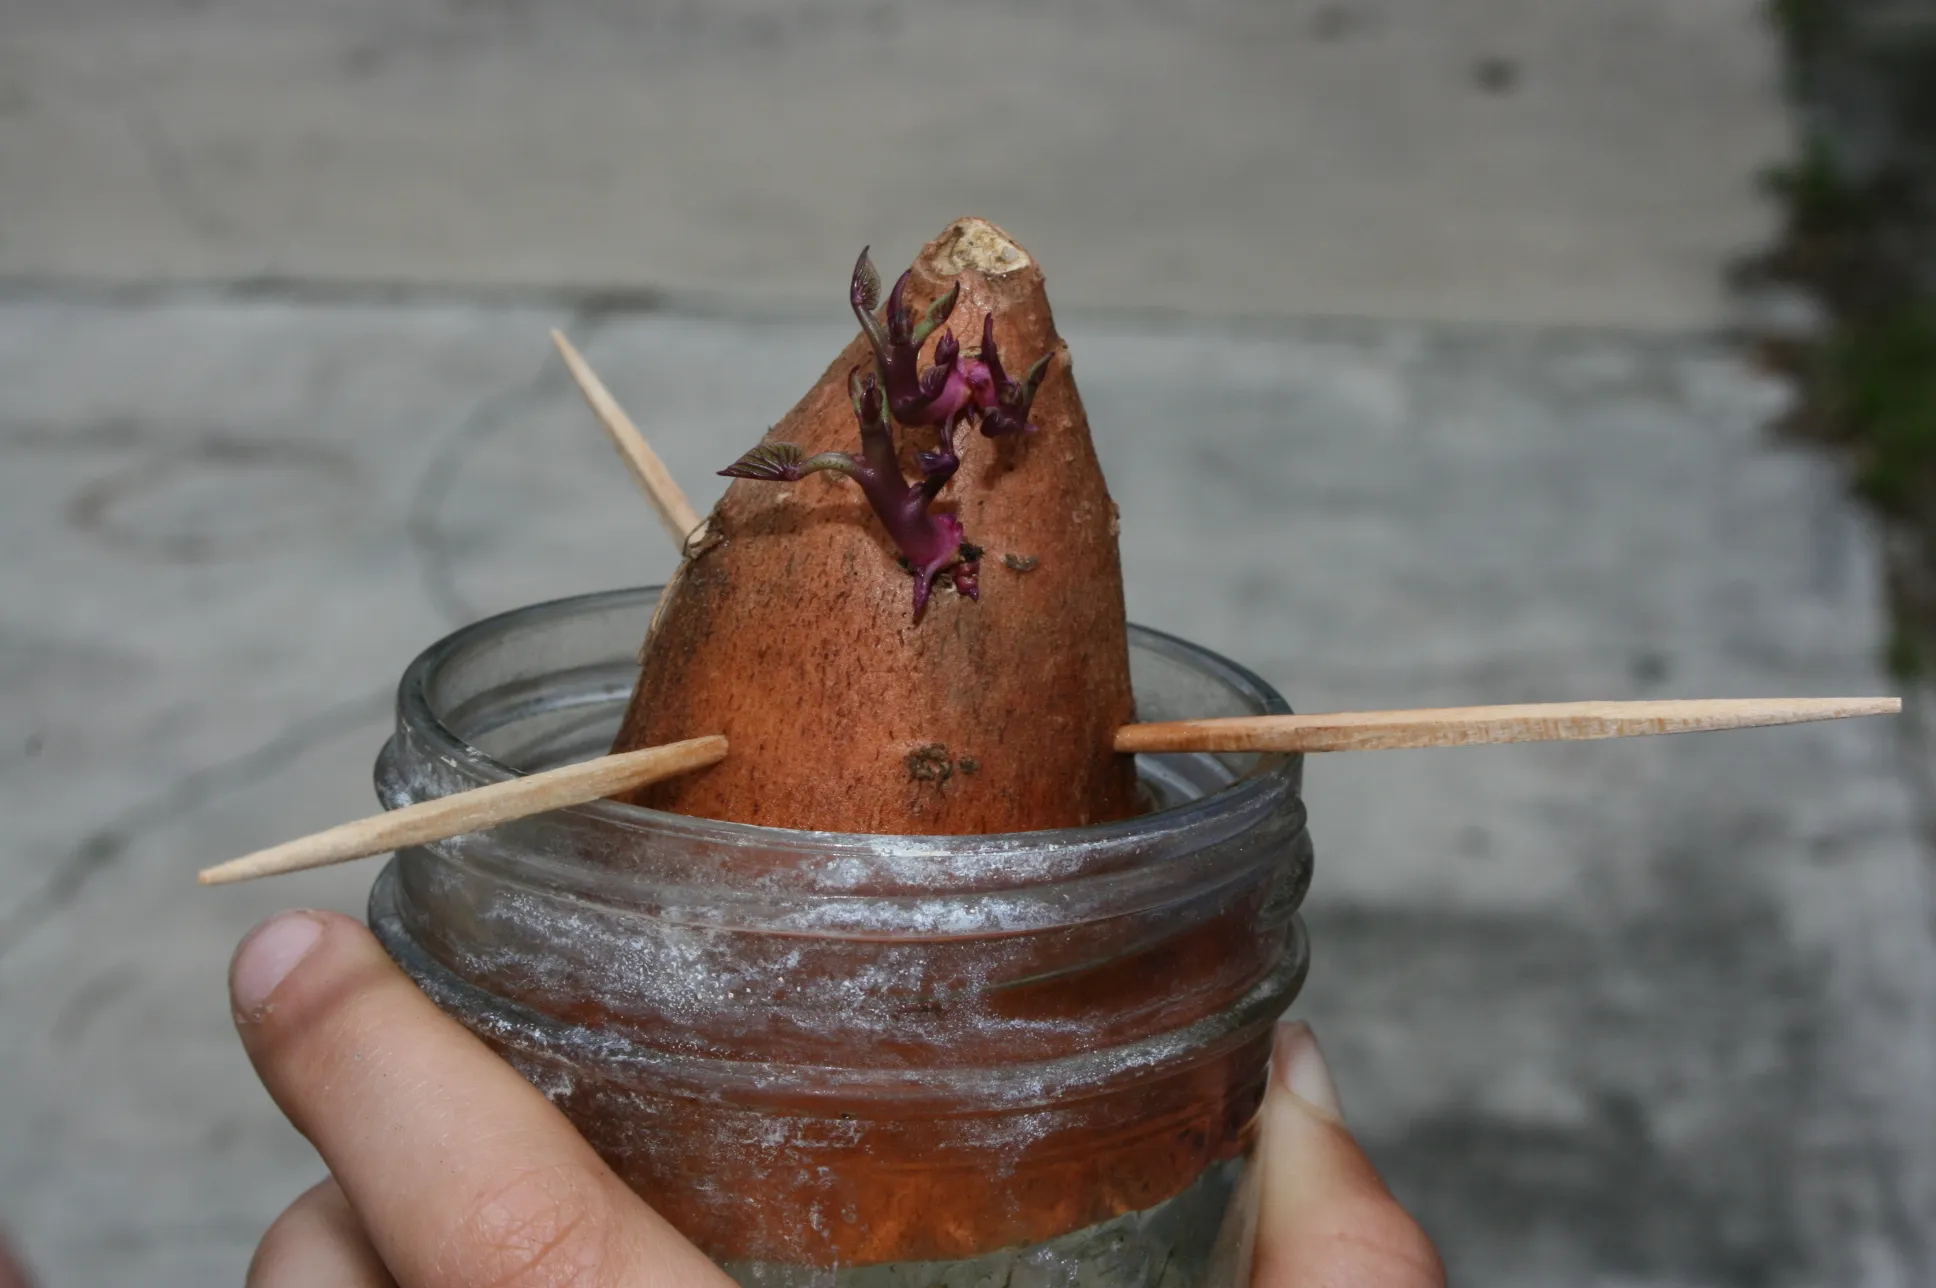
Chitting: Chitting refers to the process of allowing seed potatoes to develop sprouts before planting. Place your seed potatoes in a cool, well-lit area, such as a windowsill, a few weeks before planting. Make sure the potatoes are positioned with the end that has the most eyes facing up. This will encourage the sprouts to grow in the right direction.
Cutting: If your seed potatoes are on the larger side, consider cutting them into smaller pieces to create multiple planting units. Each piece should have at least one or two sprouts, known as “eyes.” Be sure to use a clean, sharp knife to minimize the risk of introducing any disease.
Curing: After cutting the seed potatoes, allow them to air dry for a few days to form a protective layer over the cut surfaces. This process, known as curing, helps to prevent rot and allows the potato pieces to heal before planting.
Protective Coating: To provide an extra layer of protection against disease and pests, you can dust your seed potatoes with a natural protective coating. Options include powdered organic fungicides or a mixture of equal parts powdered sulfur and hydrated lime. Gently roll the seed potatoes in the coating, ensuring they are evenly covered.
Pre-Sprouting: Pre-sprouting is an optional step that can help speed up the growth process. Place the prepared seed potatoes in a single layer in seed trays or egg cartons, with the sprout end facing up. Keep them in a warm and well-lit area, ensuring they receive indirect sunlight. Mist the potatoes with water occasionally to maintain moisture levels.
By following these preparation steps, you are creating the ideal conditions for your seed potatoes to develop into strong and healthy potato plants. Chitting, cutting, curing, and applying a protective coating can significantly improve the chances of a successful potato harvest.
Deciding on a Planting Method
When it comes to planting potatoes, there are a few different methods to choose from. The method you choose will depend on the space you have available, your gardening goals, and personal preference. Let’s explore some popular potato planting methods:
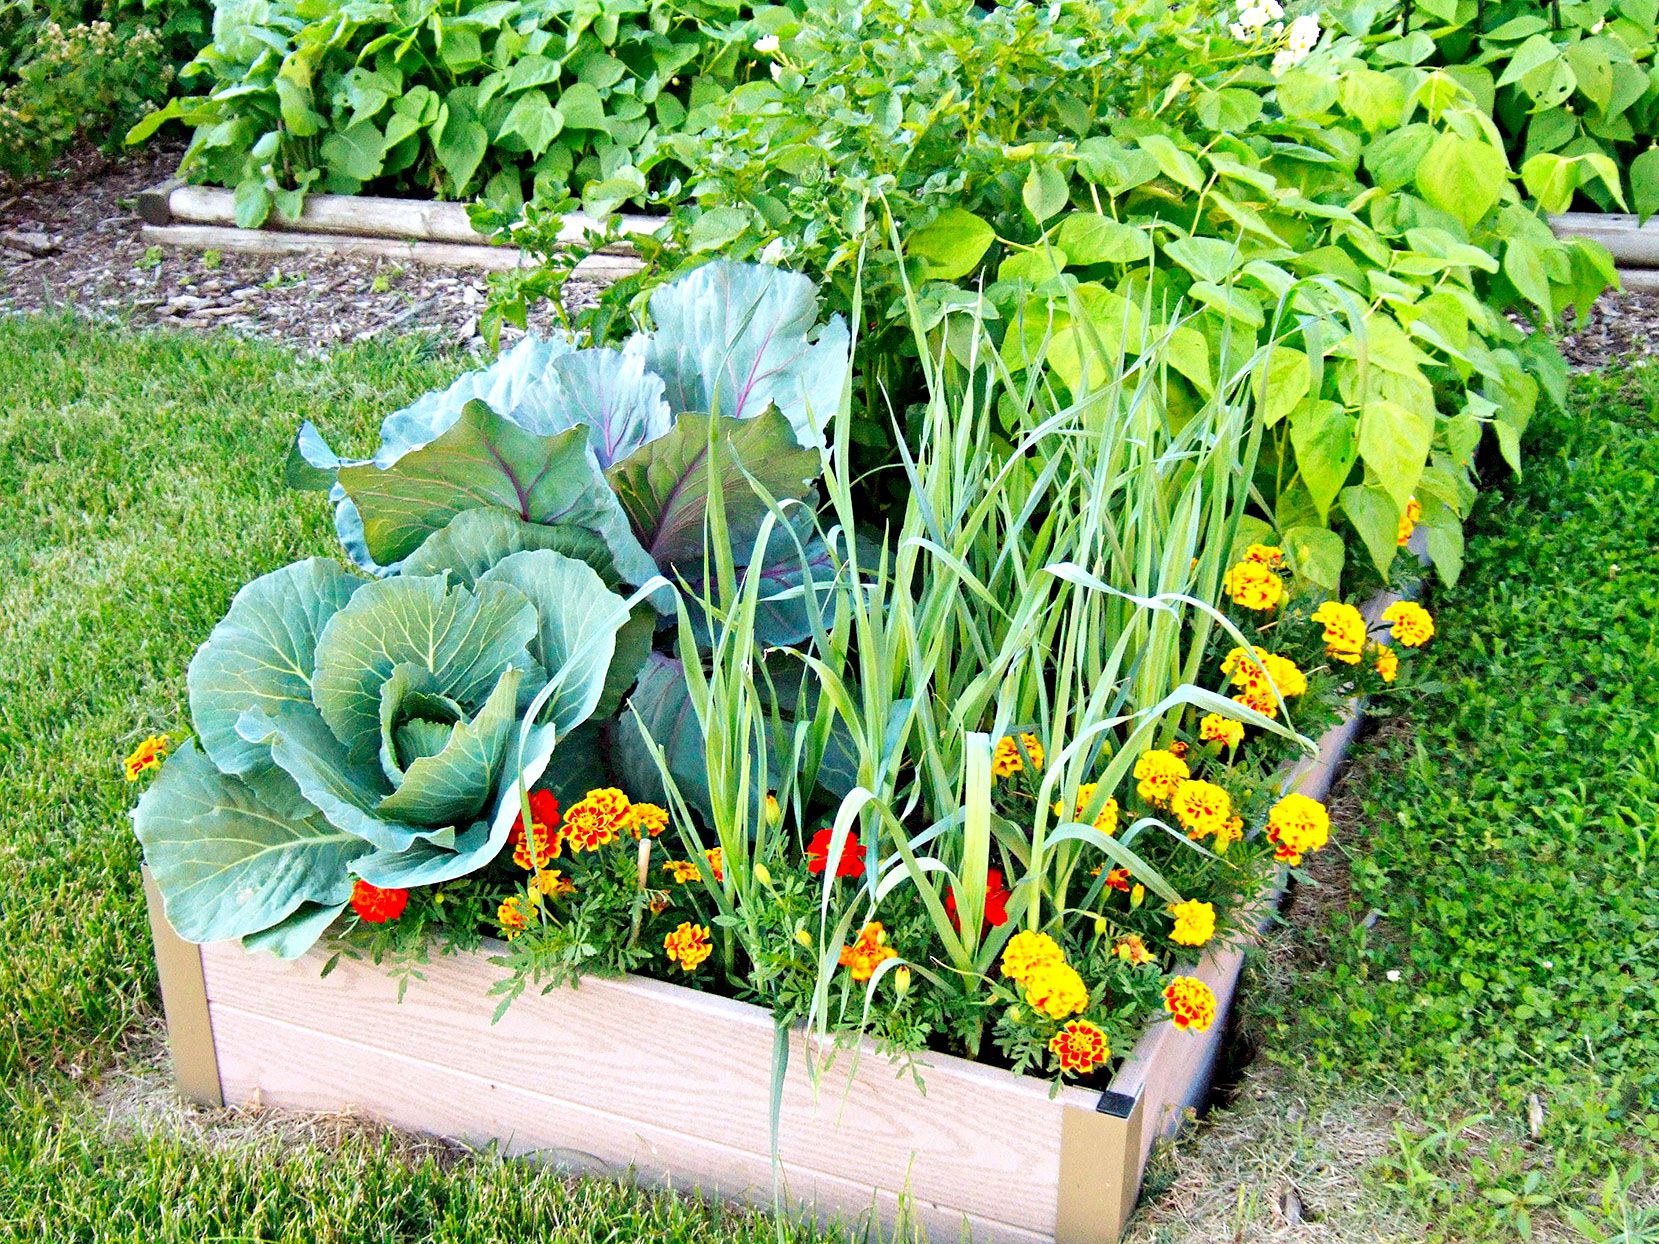
Hill Method: The hill method is a traditional and widely used technique for growing potatoes. It involves creating raised mounds or hills of soil where the potatoes are planted. Dig a shallow trench or furrow, place the seed potatoes with the sprouts facing up, and cover them with a few inches of soil. As the plants grow, continue to mound soil around them, adding more as the foliage gets taller. This method helps promote good drainage and increases the yield per plant.
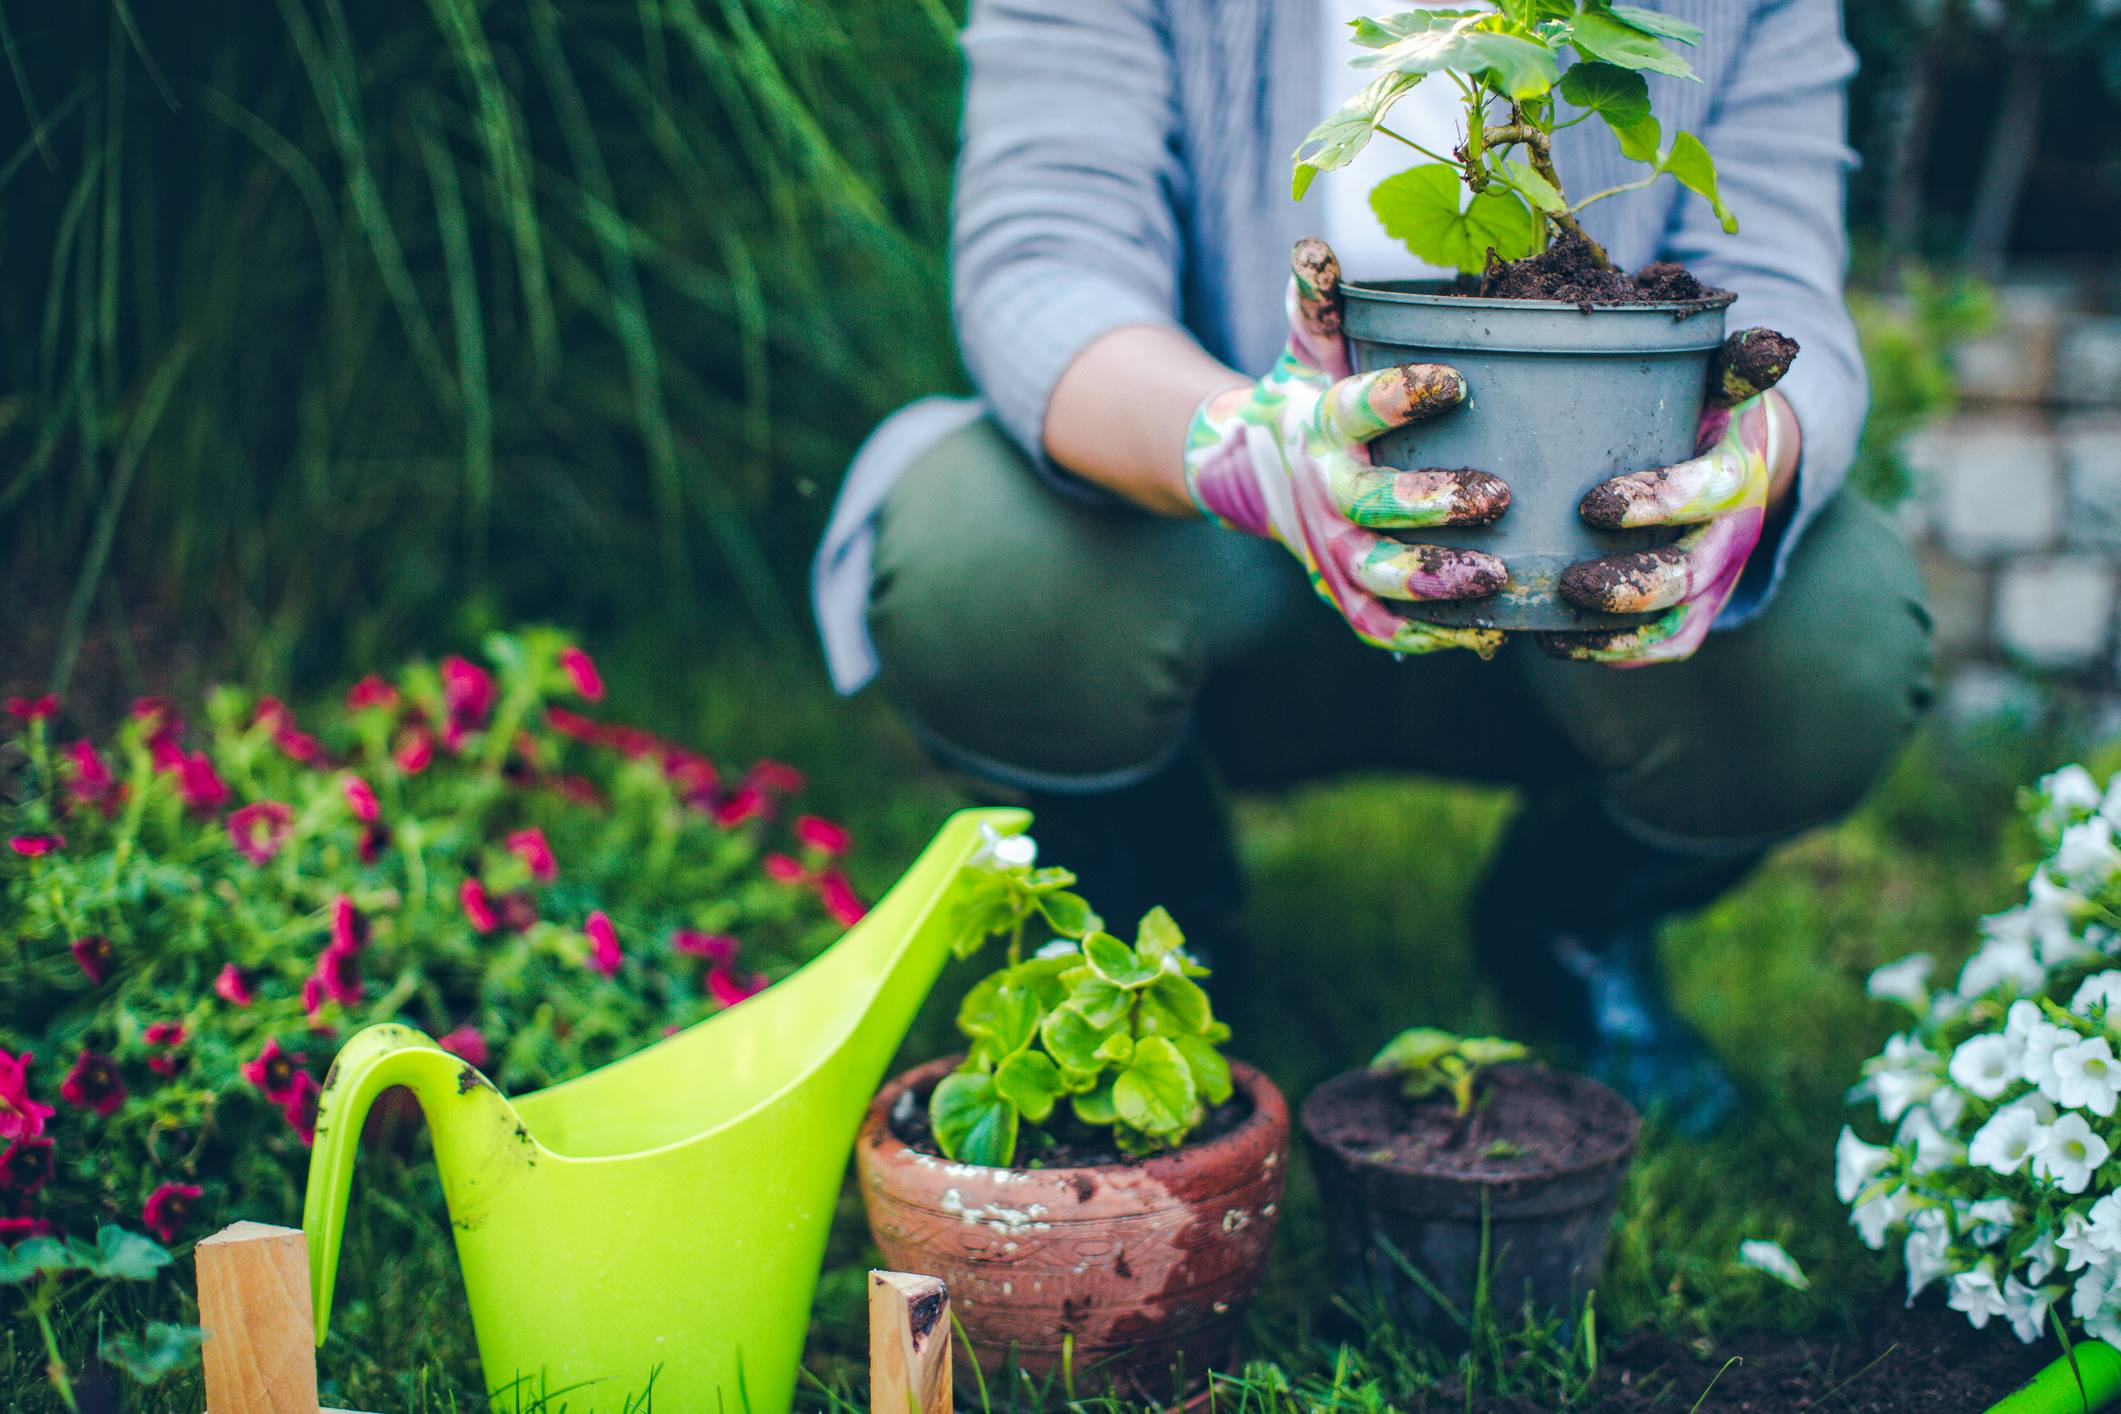
Container Method: If you have limited space or want to grow potatoes on a balcony or patio, the container method is a great option. Choose a large container, such as a pot, bucket, or grow bag, with drainage holes at the bottom. Fill the container with a well-draining potting mix, leaving enough room for the potatoes to be planted. Place the seed potatoes on top of the soil, ensuring they are evenly spaced. Cover them with a few inches of soil and water thoroughly. As the plants grow, add more soil to the container to encourage tuber development.
Trench Method: The trench method involves digging a trench or furrow in your garden bed. Place the seed potatoes in the trench with the sprouts facing up, and cover them with a few inches of soil. As the plants grow, gradually fill in the trench with soil, leaving a small mound on top. This method allows for easier harvesting as the potatoes are contained in the trench.
No-Dig Method: The no-dig method is a low maintenance and labor-saving approach to growing potatoes. Instead of digging trenches or mounds, you simply place the seed potatoes directly on the surface of the soil, evenly spaced. Cover them with a layer of organic material such as straw, compost, or leaves. This method helps conserve moisture, suppress weeds, and gradually breaks down, adding nutrients to the soil as it decomposes.
Consider your available space, the resources you have, and your gardening goals when deciding on a planting method for your potatoes. Each method has its own advantages, and choosing the one that aligns with your preferences will set you up for a successful growing season.
Preparing the Soil
Preparing the soil is a crucial step in growing healthy and productive potato plants. The right soil conditions provide the necessary nutrients, drainage, and structure for the potatoes to thrive. Follow these steps to prepare your soil for planting potatoes:
Clear the Area: Start by clearing the planting area of any weeds, rocks, or debris. Remove any grass or vegetation by tilling or using a hand tool.
Soil Testing: Conduct a soil test to determine the pH level and nutrient composition of your soil. Potatoes prefer a slightly acidic to neutral pH range of 5.8 to 6.5. Based on the test results, you may need to make adjustments to the pH or add specific amendments to improve the nutrient balance.
Amendments: If your soil is lacking in organic matter or nutrients, consider adding compost, well-rotted manure, or other organic amendments. These materials help improve the soil structure, promote nutrient retention, and provide a more favorable environment for the potatoes to grow.
Loosen the Soil: Use a garden fork or a tiller to loosen the soil to a depth of about 8-10 inches. This will help improve drainage and create a loose, crumbly texture that allows the potato roots to penetrate easily.
Remove Clumps and Rocks: Remove any large clumps of soil and rocks from the planting area. Potatoes need ample space to develop their tubers, and obstacles in the soil can restrict their growth or cause misshapen potatoes.
Level the Surface: Rake the soil to create a smooth and level surface for planting. This will help ensure even planting depth and proper contact between the seed potatoes and the soil.
Add Fertilizer: Before planting, incorporate a balanced organic fertilizer or a specific potato fertilizer into the soil. Follow the manufacturer’s guidelines for application rates. The fertilizer will provide the initial nutrients required by the plants as they establish themselves.
By preparing the soil correctly, you create an ideal environment for your potato plants to thrive. Clearing the area, conducting soil tests, adding amendments, loosening the soil, removing obstacles, and adding fertilizer all contribute to optimal conditions for healthy growth and a bountiful potato harvest.
Planting the Potatoes
Now that your seed potatoes and soil are prepared, it’s time to plant them and watch your potato plants come to life. Follow these steps to ensure successful potato planting:
Spacing: Depending on the potato variety and planting method you’ve chosen, space your seed potatoes accordingly. For the hill method, plant seed potatoes about 10-12 inches apart in rows spaced 2-3 feet apart. In containers or bags, allow for enough space between each seed potato to prevent overcrowding.
Planting Depth: The planting depth for potatoes is crucial. Dig a small hole or trench that is about 4-6 inches deep. Place the seed potato in the hole with the sprouts facing up. If you’re using larger seed potatoes or cutting them into smaller pieces, ensure that each piece has at least one or two sprouts.
Covering: Carefully cover the seed potatoes with loose soil, ensuring adequate coverage without compacting the soil. Aim to have a layer of soil about 2-3 inches above the top of the seed potato. This depth will provide enough insulation for the growing potatoes while allowing the sprouts to emerge easily.
Watering: After planting, give the newly planted seed potatoes a thorough watering. This will help settle the soil and provide the necessary moisture for germination. Keep the soil consistently moist throughout the growing season, avoiding overwatering or allowing the soil to become waterlogged.
Mulching: Applying a layer of organic mulch around the potato plants can help conserve moisture, suppress weeds, and regulate soil temperature. Straw, dried grass clippings, or shredded leaves make excellent choice mulch materials. Apply a layer of mulch about 2-3 inches thick, making sure to leave a small space around the plant stems to prevent rotting.
Supporting vine growth: As the potato plants grow, they will produce vines that can become heavy and fall over. To support the vine growth, you can gently mound soil around the base of the plants or use stakes or trellises for support. This will help prevent the vines from breaking and ensure better tuber development.
By following these planting steps, you are giving your potato plants the best chance to establish themselves and grow into healthy, productive plants. Proper spacing, planting depth, watering, mulching, and providing support as needed are all essential components of successful potato planting.
Caring for the Potatoes
Caring for your potato plants throughout the growing season is essential to ensure a healthy crop and maximize yield. Here are some important care practices to keep in mind:
Watering: Proper watering is crucial for potato plants. Keep the soil consistently moist, but not waterlogged. Avoid letting the soil dry out completely between waterings, as this can lead to stunted growth and smaller tubers. Water deeply, providing enough moisture to penetrate the root zone of the plants.
Weeding: Regularly weed the potato patch to prevent competition for nutrients and moisture. Be careful not to disturb the shallow roots of the potato plants while removing weeds. Mulching the soil around the plants can help suppress weed growth and reduce the need for frequent weeding.
Fertilizing: Potatoes are heavy feeders and benefit from regular fertilization. Apply a balanced organic fertilizer or a potato-specific fertilizer according to the manufacturer’s instructions. Side-dress the plants with fertilizer when the plants are about 6-8 inches tall and again when they start to flower.
Hilling: The hill method of potato planting involves gradually mounding soil around the base of the plants as they grow. This helps promote tuber development and prevents exposure to sunlight, which can cause them to turn green. During the growing season, as the potato plants reach a height of 6-8 inches, gently mound soil around the base of the plants, covering the lower leaves. Repeat this process every few weeks until the plant foliage begins to senesce.
Monitoring for Pests and Diseases: Regularly inspect your potato plants for signs of pests and diseases, such as potato beetles, aphids, blight, or rot. If necessary, employ organic pest control methods or consult with a local gardening expert for guidance on managing specific issues.
Protecting from Frost: Potatoes are sensitive to frost and cold temperatures. If unexpected frost is forecasted, cover the plants with straw, blankets, or frost protection fabric to shield them from the cold. Make sure to remove the covering once the threat of frost has passed.
Supporting Upright Growth: As the potato plants grow, some varieties may require additional support to keep the foliage upright. Stake the plants or use tomato cages to provide support and prevent the plants from bending or breaking under their weight.
By providing proper care to your potato plants, you are ensuring their well-being and maximizing their growth potential. Regular watering, weeding, fertilizing, hilling, monitoring for pests and diseases, protecting from frost, and supporting upright growth will contribute to the health and productivity of your potato crop.
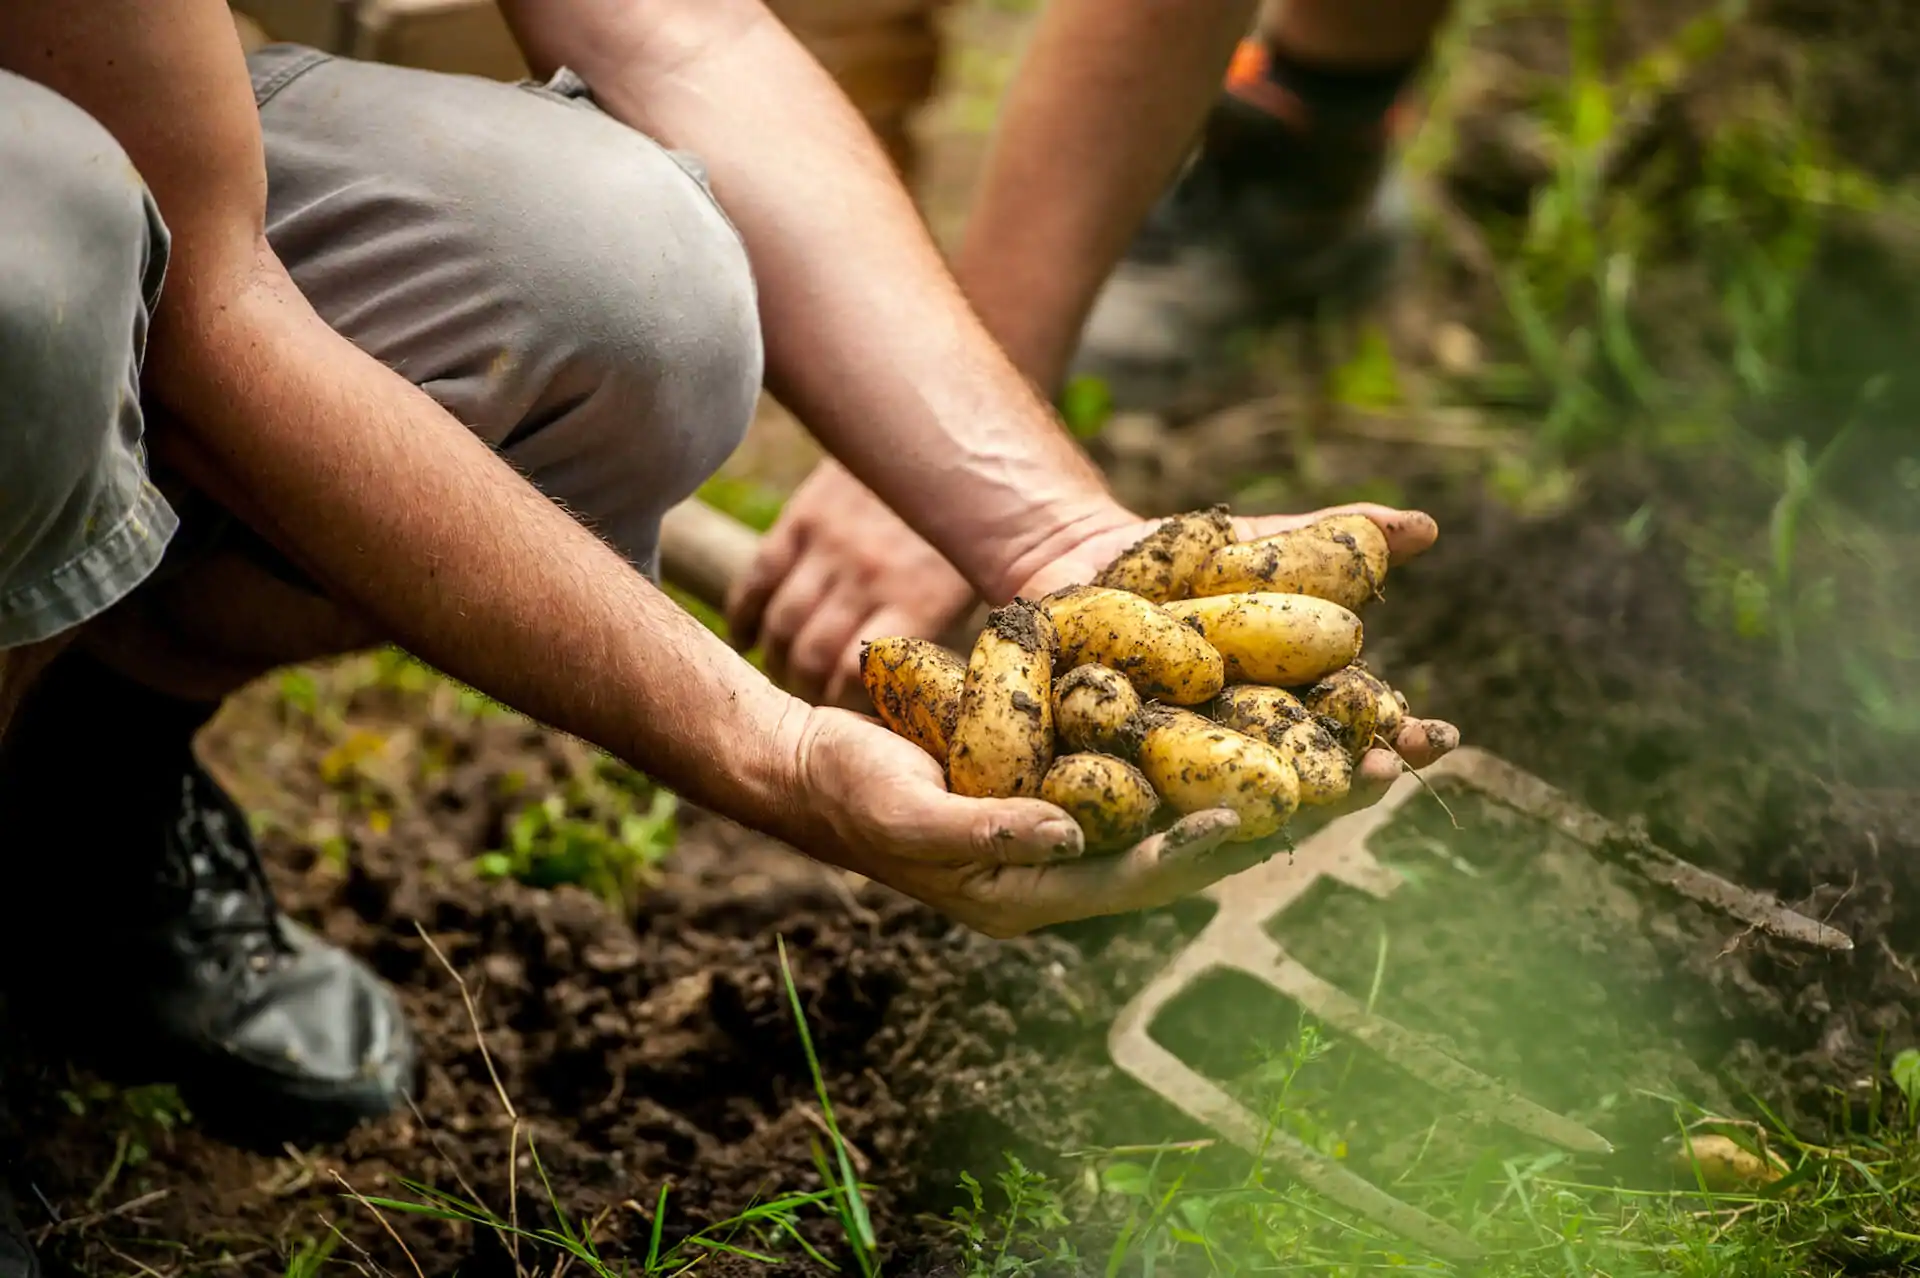
Harvesting the Potatoes
The moment you’ve been waiting for has finally arrived – it’s time to harvest your homegrown potatoes! Harvesting is an exciting and rewarding step in the potato growing process. Here’s what you need to know about harvesting your potatoes:
Maturity: Potatoes are typically ready to be harvested when the foliage turns yellow and begins to die back. This is an indication that the tubers have reached maturity and are ready to be harvested.
Timing: Harvest time varies depending on the potato variety and growing conditions. Early potatoes can be harvested as soon as the plants start flowering, while main crop varieties may need a longer growing period before they are ready. Refer to the instructions on the seed potato packaging or research the expected harvest time for the specific variety you planted.
Loosening the Soil: Before harvesting, lightly water the potato patch to loosen the soil around the tubers. This will make it easier to lift them from the ground without damaging their delicate skin.
Gently Lift: To harvest the potatoes, use a garden fork or shovel to dig into the soil a few inches away from the plant. Carefully lift the entire plant, taking care not to puncture or damage the tubers with the gardening tool.
Tuber Selection: Inspect each plant to determine if the tubers have reached their desired size. For small “new” potatoes, carefully remove a few tubers from the plant by hand, leaving smaller ones behind to continue growing. For larger potatoes, gently remove them from the soil with your hands or shake off excess soil, being careful not to bruise or cut them.
Curing: Once harvested, allow the freshly dug potatoes to air dry for a few hours to cure. This helps toughen their skin and improve their storage capabilities. Avoid exposing them to direct sunlight during this process.
Sorting and Storing: Sort the harvested potatoes, discarding any damaged or diseased ones. Store the healthy potatoes in a cool, dark, and well-ventilated space, such as a basement or garage. Avoid storing them near fruits or vegetables that release ethylene gas, as it can cause the potatoes to sprout prematurely.
Harvesting your own potatoes is a satisfying experience that offers the reward of enjoying fresh, homegrown produce. Pay attention to maturity, timing, loosening the soil, gentle lifting, tuber selection, curing, and proper storage to ensure the best quality and longevity for your harvested potatoes.
Storing and Using the Potatoes
Once you’ve harvested your potatoes, you’ll want to store them properly to maintain their freshness and flavor. Additionally, it’s important to know how to prepare and enjoy the potatoes you’ve worked so hard to grow. Here are some tips for storing and using your potatoes:
Storage Conditions: Store your potatoes in a cool, dark, and well-ventilated area. Optimal storage temperatures are around 45-50°F (7-10°C) with a relative humidity of 85-95%. Avoid exposing the potatoes to direct sunlight, as it can cause them to turn green and develop a bitter taste.
Storage Containers: Choose storage containers that provide good airflow, such as burlap or mesh bags, wooden crates, or well-ventilated cardboard boxes. Avoid plastic bags or airtight containers, as they can trap moisture and cause the potatoes to rot.
Inspect and Sort: Regularly inspect your stored potatoes for any signs of spoilage or rot. Remove any potatoes that are soft, bruised, or showing signs of disease. This will prevent the spread of rot to the rest of your stored potatoes.
Long-Term Storage: If you have a large harvest and want to store potatoes for an extended period, consider the process of “curing.” Cure the potatoes by storing them at a slightly higher temperature (around 60-70°F or 15-21°C) and high humidity for a couple of weeks before transferring them to long-term storage. This helps the potatoes develop a thicker skin and improves their storage life.
Using the Potatoes: Potatoes are incredibly versatile in the kitchen and can be used in various delicious recipes. They can be boiled, baked, roasted, mashed, or made into soups, stews, and gratins. Be creative and try different cooking methods to explore the full potential of your homegrown potatoes.
Preserving the Potatoes: If you have an abundant harvest and want to preserve your potatoes, consider freezing or dehydrating them. Blanching and freezing diced or sliced potatoes can preserve their texture and flavor. Dehydrated potatoes can be used for making flakes or powder for later use in recipes.
With proper storage and utilization, your homegrown potatoes can provide you with nutritious and delicious meals throughout the year. Remember to regularly inspect your stored potatoes, choose suitable storage conditions and containers, and explore different cooking and preserving methods to make the most of your potato harvest.
Conclusion
Congratulations! You have completed your journey into the world of growing potatoes. From selecting the right seed potatoes to harvesting and storing the final crop, you have learned the essential steps to cultivate your own delicious tubers.
By choosing the right seed potatoes, preparing the soil, and selecting a suitable planting method, you set the stage for successful potato growth. Caring for your potato plants by providing adequate watering, fertilization, and protection against pests and diseases ensured their health and productivity. Finally, harvesting the potatoes at the right time and storing them in optimal conditions allowed you to enjoy the fruits of your labor for months to come.
Remember that gardening is an ongoing learning process, and each season brings new experiences and opportunities. As you continue your edible gardening journey, don’t hesitate to experiment with different potato varieties, planting methods, and cooking techniques. Embrace the joy of growing your own food, connecting with nature, and savoring the unique flavors of your homegrown potatoes.
Whether you have a small balcony or a spacious garden, the satisfaction of harvesting and enjoying your own potatoes is incomparable. So, roll up your sleeves, grab your gardening tools, and get ready to embark on this rewarding endeavor. Happy potato growing!