Home>Types of Gardening>Edible Gardening>How To Make Sweet Potato Slips For Planting
Edible Gardening
How To Make Sweet Potato Slips For Planting
Published: August 24, 2023
Discover how to grow sweet potato slips for planting in your edible garden. Follow our step-by-step guide to successfully propagate sweet potatoes at home.
(Many of the links in this article redirect to a specific reviewed product. Your purchase of these products through affiliate links helps to generate commission for Chicagolandgardening.com, at no extra cost. Learn more)
Table of Contents
- Introduction
- What are Sweet Potato Slips?
- Why Use Sweet Potato Slips?
- Step 1: Selecting the Sweet Potato
- Step 2: Preparing the Sweet Potato
- Step 3: Creating the Slips
- Step 4: Curing the Slips
- Step 5: Planting the Slips
- Step 6: Care and Maintenance of Sweet Potato Plants
- Step 7: Harvesting Sweet Potatoes
- Conclusion
Introduction
Welcome to the wonderful world of edible gardening! One of the most versatile and nutritious plants you can grow in your garden is the sweet potato. Sweet potatoes not only satisfy your taste buds with their delicious flavor, but they also provide a wealth of health benefits. Growing your own sweet potatoes is a rewarding and enjoyable experience, allowing you to savor the fresh taste of homegrown produce.
In this article, we will explore the process of creating sweet potato slips for planting. Sweet potato slips are young starter plants that are grown from sprouted sweet potatoes. They are a crucial step in the cultivation of sweet potatoes and serve as the foundation for a successful garden harvest. By learning how to make sweet potato slips, you can ensure a bountiful crop of these nutritious tubers.
Why should you use sweet potato slips instead of planting whole sweet potatoes directly into the ground? Well, for starters, using slips gives you more control over the growing process. By starting with slips, you can ensure that each plant has consistent growing conditions, which leads to higher chances of success. Additionally, starting with slips allows you to select the healthiest plants and gives them a head start before transplanting them into the garden.
In the following sections, we will guide you through the step-by-step process of creating and planting sweet potato slips. From selecting the right sweet potato to caring for your plants and harvesting the delicious tubers, we’ve got you covered. So put on your gardening gloves, grab your trowel, and let’s dive into the art of making sweet potato slips!
What are Sweet Potato Slips?
Sweet potato slips are the young shoots or sprouts that grow from a sweet potato. They are essentially mini plants that are grown from the eyes or nodes of the sweet potato. These slips can be separated from the main sweet potato and used to propagate new plants.
The slips are typically grown indoors or in a controlled environment before being transplanted into the garden. They act as starter plants and allow for a greater level of control and success in growing sweet potatoes. By starting with slips, you can ensure that each plant receives optimal growing conditions.
To create sweet potato slips, the sweet potato is often sprouted by placing it in a warm and humid environment. The humidity stimulates the growth of shoots from the nodes. Depending on the variety of sweet potato, it can take anywhere from a couple of weeks to a month for these shoots to develop into slips.
Once the slips have grown to a suitable size, they can be separated from the main sweet potato and transplanted into the garden. This method ensures that each plant has its own space, receives adequate nutrients, and has the best chance of thriving.
Another important aspect of sweet potato slips is that they allow for the selection of the healthiest plants for transplantation. By examining the slips as they grow, you can identify any weak or diseased plants and discard them, ensuring that only the strongest and most robust plants make it into your garden.
Overall, sweet potato slips are an essential part of growing sweet potatoes. They provide a reliable and controlled method for propagating new plants, allowing you to maximize your chances of a successful harvest. In the next section, we will delve into the detailed steps of how to create sweet potato slips for planting.
Why Use Sweet Potato Slips?
Choosing to use sweet potato slips for growing sweet potatoes offers several advantages and benefits. Let’s explore why these young starter plants are essential for a successful harvest:
- Consistent Growing Conditions: When growing sweet potatoes from slips, you have control over the growing conditions, ensuring that each plant receives the right amount of sunlight, water, and nutrients. This consistency leads to healthier and more productive plants.
- Stronger Plants: Starting with slips allows you to select the healthiest and strongest plants for transplantation. By examining the slips as they grow, you can identify any diseases or weak growths and discard them, ensuring that only the most robust slips make it into your garden.
- Time-Saver: Planting whole sweet potatoes directly in the ground can take longer to yield harvestable crops. With sweet potato slips, you can give your plants a head start, as the slips have already begun to develop roots and shoots. This can significantly reduce the time it takes for you to enjoy a bountiful harvest.
- Higher Success Rate: Sweet potato slips are more likely to thrive and grow into healthy plants because they have already undergone a sprouting process. This process ensures that the slips are in an optimal state for growth, increasing the chances of a successful harvest.
- More Efficient Use of Space: Transplanting sweet potato slips allows you to space out your plants effectively and maximize the use of your garden area. By providing each plant with enough room to grow, you ensure that they have access to the necessary nutrients and can develop to their full potential.
By using sweet potato slips, you set yourself up for success in growing sweet potatoes. These slips provide a reliable and controlled method for starting your plants, resulting in healthier, stronger, and more productive sweet potato crops. Now that we understand the benefits of using slips, let’s move on to the step-by-step process of creating sweet potato slips for planting.
Step 1: Selecting the Sweet Potato
The first step in creating sweet potato slips is selecting the right sweet potato to use as your starter. Here are some key factors to consider:
- Choose Organic: Opt for organic sweet potatoes to avoid potential exposure to harmful chemicals or pesticides. Organic potatoes are grown without synthetic fertilizers and are a healthier choice for both you and the environment.
- Look for Sprouting Eyes: Examine the sweet potato for small, sprouting eyes. These are the nodes from which the slips will grow. The more sprouts you see, the more slips you can potentially harvest.
- Avoid Damaged Potatoes: Select sweet potatoes that are free from bruises, cuts, or rot. Damaged potatoes may have compromised health and may not produce healthy slips. It’s best to choose potatoes that are firm and free from any signs of decay.
- Size Matters: Consider the size of the sweet potato. Look for medium-sized potatoes as they tend to produce the best slips. Very large potatoes may have irregularities in growth, and smaller potatoes may not provide enough substance for the slips to develop properly.
- Diversity in Varieties: If possible, experiment with different varieties of sweet potatoes. This can add diversity to your garden and provide a range of flavors and colors for your harvest. Some popular varieties include Beauregard, Covington, and Jewel.
Once you’ve selected the perfect sweet potato, you’re ready to move on to the next step in the process: preparing the sweet potato for sprouting. In the following section, we will guide you through the necessary steps to ensure your sweet potato is ready to produce healthy and vigorous slips.
Step 2: Preparing the Sweet Potato
After selecting the sweet potato, the next step is to prepare it for sprouting. Proper preparation ensures that the sweet potato is in the best condition for producing healthy slips. Follow these steps to prepare your sweet potato:
- Clean the Sweet Potato: Begin by gently cleaning the sweet potato to remove any dirt or debris. Use a soft brush or cloth and rinse it under cool water. Avoid using any harsh chemicals or detergents.
- Wound the Sweet Potato: To encourage sprouting, you will need to wound the sweet potato. Take a sharp knife or fork and make a few small punctures or cuts around the sides of the sweet potato. These wounds will stimulate the growth of sprouts from the eyes/nodes.
- Dry the Sweet Potato: After wounding the sweet potato, allow it to dry for a day or two. Placing it in a cool, well-ventilated area will help the wounds to heal and prevent any potential rotting during the sprouting process.
- Choose the Sprouting Method: There are two common methods for sprouting sweet potatoes: the water method and the soil method. Let’s briefly explore both options:
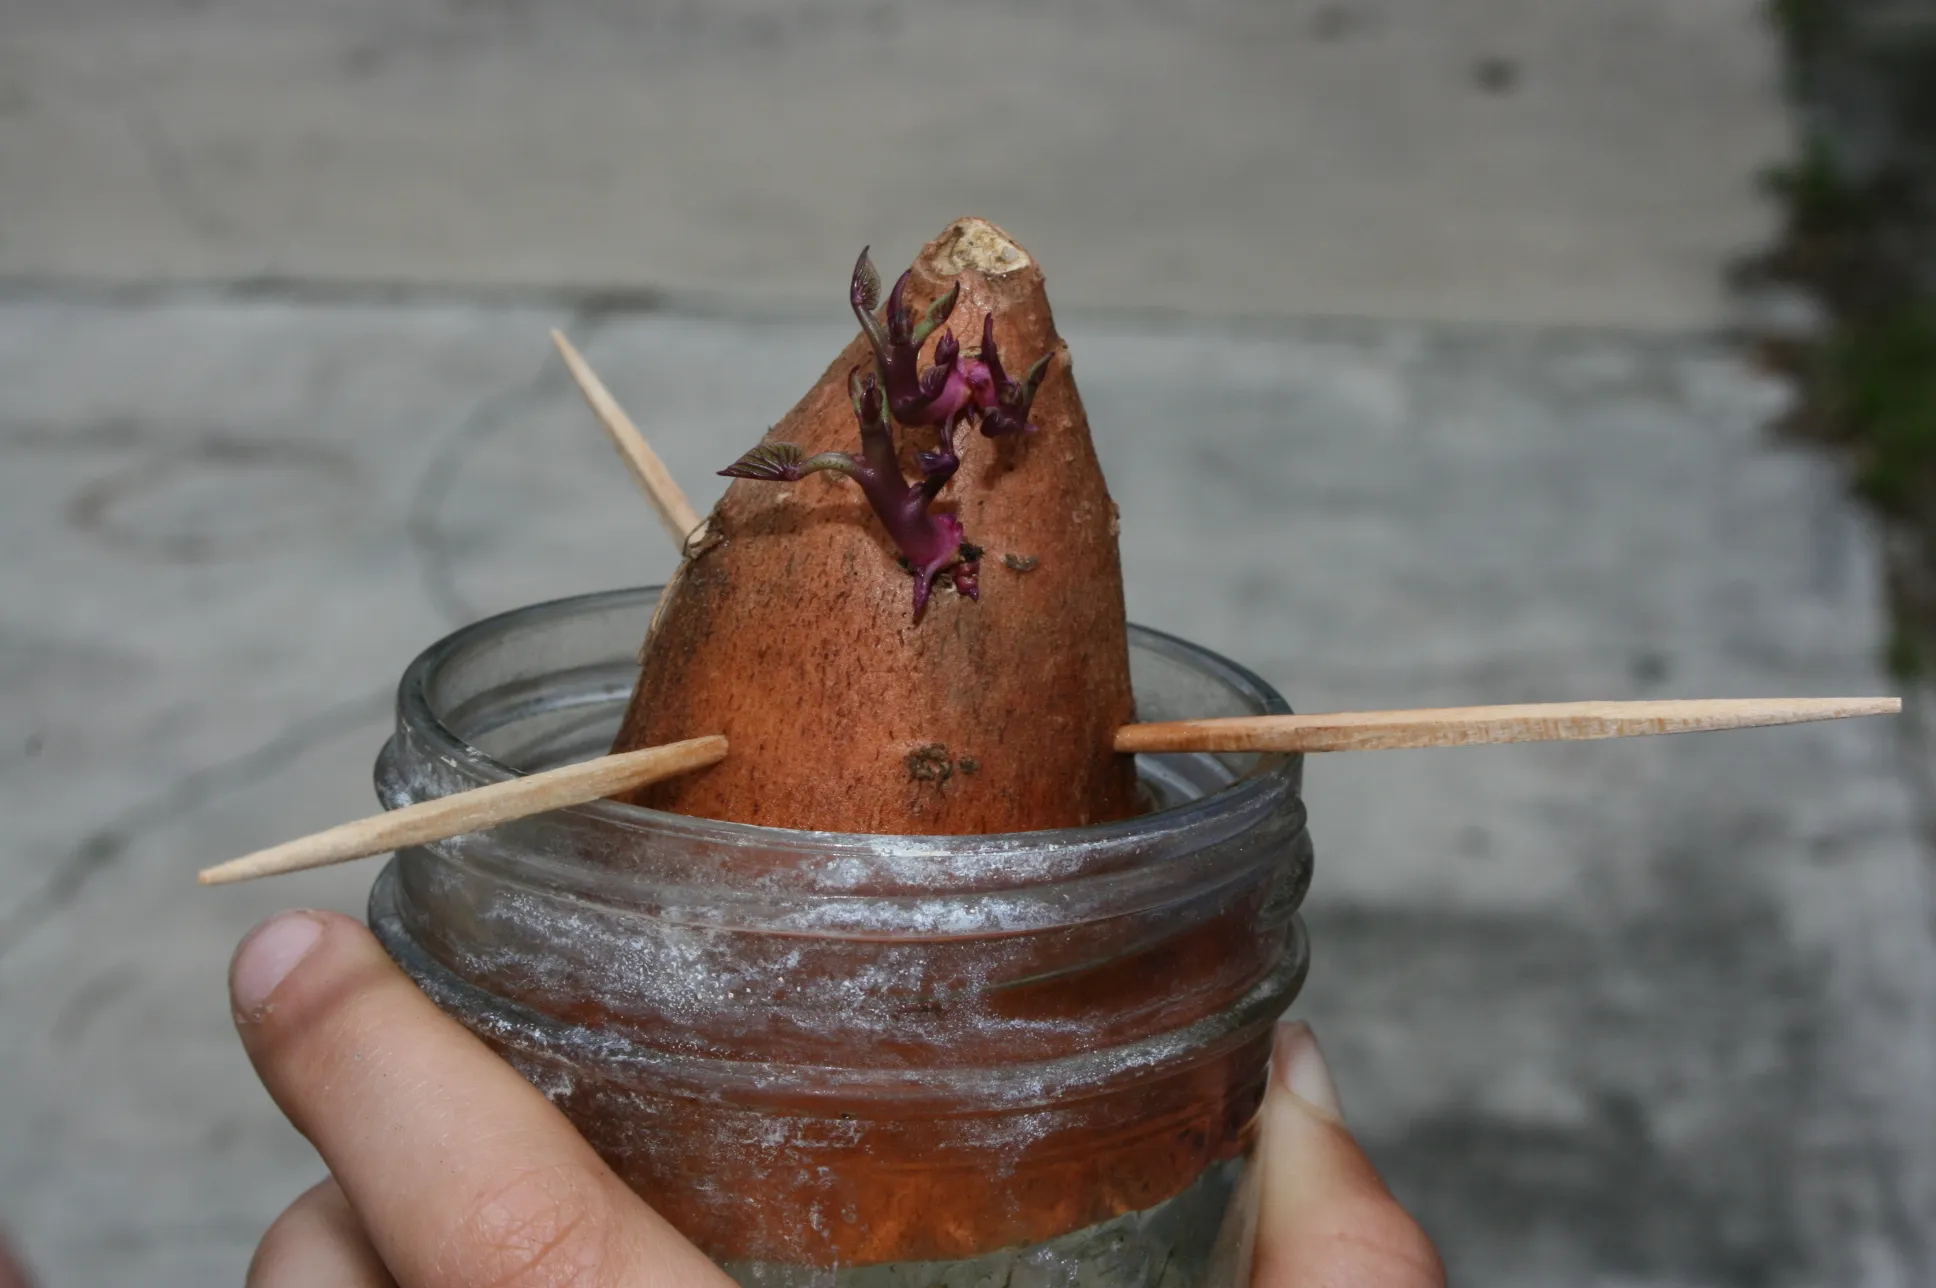
- Water Method: In this method, you will submerge the sweet potato in water, partially or completely. Place the sweet potato in a jar or container filled with water, ensuring that the bottom is submerged. Keep the container in a warm and well-lit area, changing the water every few days until sprouts emerge.
- Soil Method: Alternatively, you can opt for the soil method. Bury the sweet potato, leaving a portion exposed, in a pot filled with well-draining soil. Place the pot in a warm spot with plenty of sunlight. Water the soil regularly and wait for sprouts to emerge.
Both methods can be effective, so choose the one that works best for you and your gardening setup. Whichever method you choose, be patient and give the sweet potato time to sprout. It can take anywhere from a couple of weeks to a month for the sprouts to emerge.
Once you notice robust sprouts emerging from the sweet potato, congratulations! You have successfully prepared your sweet potato for creating sweet potato slips. In the next section, we will delve into the process of creating slips from these newly sprouted sweet potatoes.
Step 3: Creating the Slips
Now that your sweet potato has sprouted, it’s time to create slips from these sprouts. Follow these steps to produce healthy and robust sweet potato slips:
- Gently Remove the Sprouts: Carefully separate the sprouts from the sweet potato. Hold the sprout near its base, close to where it emerges from the sweet potato, and gently wiggle it back and forth until it separates from the potato. Be careful not to damage the sprout during this process.
- Leave a Small Piece of Potato: Ensure that a small portion of the sweet potato remains attached to the base of each sprout. This small piece of potato will provide nourishment to the sprout as it develops into a slip.
- Trim the Leaves: Trim the leaves on the sprout, leaving only a couple of leaves at the top. This helps redirect the plant’s energy towards root growth, which is crucial for the development of healthy slips.
- Place the Slips in Water: Fill a container with an inch or two of water and carefully place the slips in the container, ensuring that the bottom ends are submerged. You can use a small jar or a shallow dish for this purpose.
- Provide Adequate Light and Warmth: Place the container with the slips in a warm and well-lit area, such as a sunny windowsill. Ensure that the slips receive at least 6-8 hours of direct sunlight each day to stimulate their growth.
- Change the Water Regularly: Every few days, change the water in the container to keep it fresh and prevent any potential rotting. This will provide the slips with clean and oxygenated water, promoting their healthy development.
- Monitor Growth: Keep a close eye on the slips as they grow. You should start to see roots forming at the base, and new leaves emerging from the top. This indicates that the slips are growing strong and are ready for transplanting.
By following these steps, you can successfully create sweet potato slips from the sprouted sweet potato. In the next section, we will cover the important step of curing the slips to ensure their optimal health and readiness for planting.
Step 4: Curing the Slips
After creating the sweet potato slips, it’s important to give them some time to cure before transplanting them into the garden. Curing is the process of allowing the slips to develop stronger roots and become more resilient to the outdoor environment. Follow these steps to properly cure your sweet potato slips:
- Remove Excess Leaves: Trim off any excess leaves from the slips, leaving only a few on the top. This reduces the transpiration rate and helps the slips conserve moisture during the curing process.
- Prepare a Curing Area: Find a well-ventilated area that receives indirect sunlight to set up your curing space. It could be a porch, a garage, or any sheltered area that provides protection from direct sunlight and extreme temperatures.
- Supply Adequate Airflow: Place the slips on a wire mesh or a tray with good airflow to allow proper ventilation. This helps prevent the development of mold or rot and allows the slips to dry out slightly.
- Monitor Humidity Levels: Aim for a relative humidity level of around 85-90% in the curing area. You can use a hygrometer to measure humidity and make adjustments if needed. Misting the slips occasionally can help maintain a suitable humidity level.
- Cure for 7-10 days: Leave the slips in the curing area for about a week to ten days. During this time, the slips will continue to develop stronger roots and adapt to the conditions of the outdoor environment.
- Inspect for Pests or Diseases: While the slips are curing, regularly check for any signs of pests or diseases. Remove any affected slips promptly to prevent the spread of potential problems.
Curing the slips allows them to establish a strong foundation, increasing their chances of survival and successful growth after transplanting. Once the slips have completed the curing process, they are ready to be planted in the garden. In the next section, we will guide you through the essential steps of planting sweet potato slips.
Step 5: Planting the Slips
With your cured sweet potato slips ready, it’s time to plant them in the garden. Proper planting ensures that the slips have the best chance of establishing strong roots and thriving. Follow these steps to successfully plant your sweet potato slips:
- Choose the Right Location: Select a sunny spot in your garden with well-draining soil. Sweet potatoes thrive in warm temperatures, so ensure that the planting area receives at least 6-8 hours of direct sunlight each day.
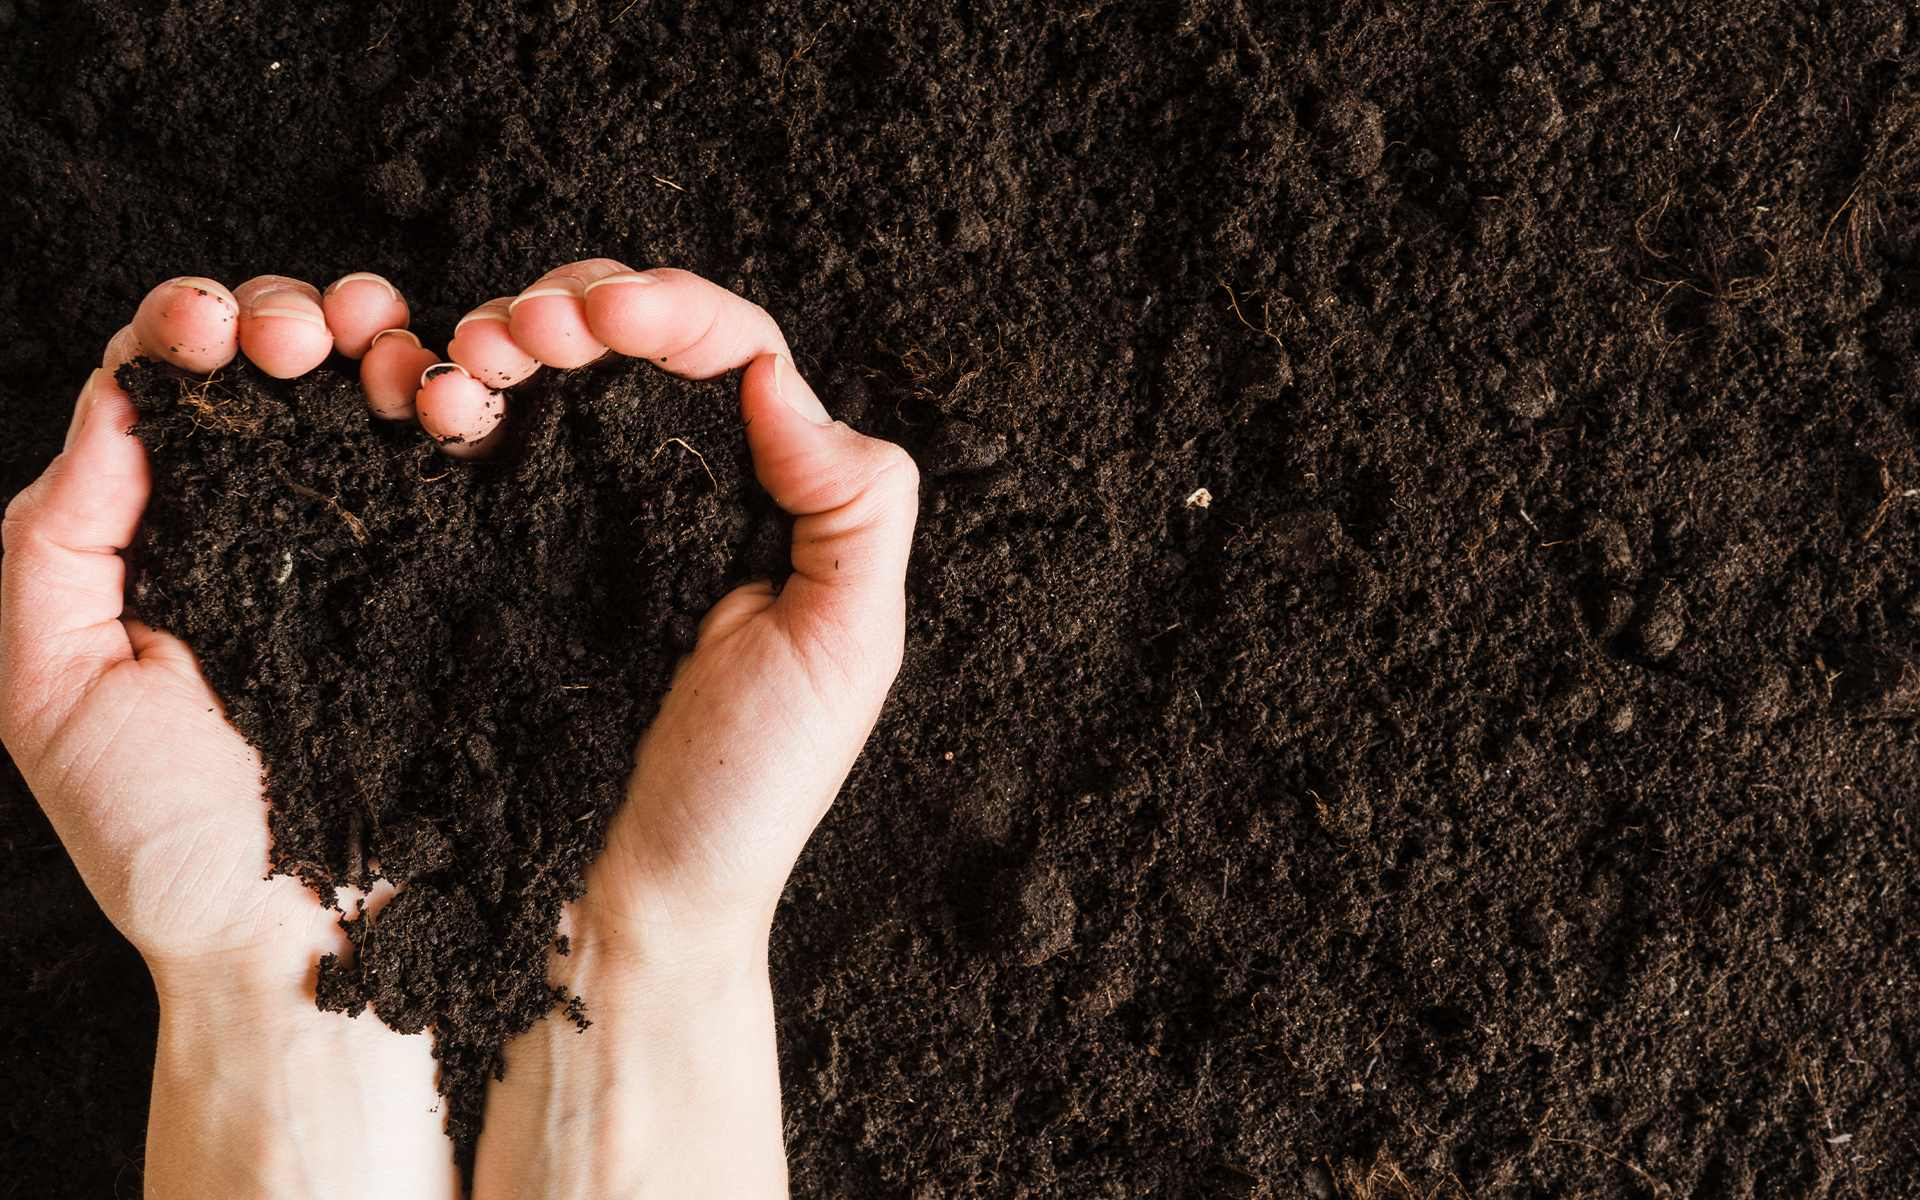
- Prepare the Soil: Loosen the soil in the planting area to a depth of about 8-10 inches. Remove any weeds or rocks and mix in organic matter, such as compost or aged manure, to improve the soil’s fertility and drainage.
- Make Planting Holes: Dig holes in the prepared soil about 6-8 inches deep and spaced 12-18 inches apart. Place the slips in the holes, making sure to bury them up to their first set of leaves, leaving the upper leaves above the soil surface.
- Maintain Proper Spacing: Provide enough space between each plant to allow for proper root development. Sweet potatoes have trailing and spreading vines, so giving each plant enough room ensures they have access to sunlight, nutrients, and water.
- Water Thoroughly: After planting the slips, water them generously. This helps settle the soil around the roots and provides the initial moisture the plants need to establish themselves. Maintain consistent moisture throughout the growing season, ensuring that the soil doesn’t become waterlogged.
- Apply Mulch: Once the slips are planted and watered, apply a layer of organic mulch around the base of each plant. This helps retain soil moisture, suppresses weed growth, and regulates soil temperature.
- Provide Support (Optional): If you’re growing vining varieties, consider providing support for the vines as they grow. You can use trellises, stakes, or other structures to keep the vines off the ground and prevent them from sprawling excessively.
- Maintain Regular Care: Throughout the growing season, continue to monitor the plants and provide proper care. This includes ensuring adequate water, regular weeding, and occasional fertilization with a balanced organic fertilizer.
By following these steps, you can successfully plant your sweet potato slips and set them on the path to thriving in your garden. With proper care and maintenance, your plants will grow vigorously and reward you with a bountiful harvest. In the next section, we will discuss the important aspects of caring for your sweet potato plants.
Step 6: Care and Maintenance of Sweet Potato Plants
Once your sweet potato plants are established in the garden, it’s important to provide them with proper care and maintenance to ensure their growth and productivity. Here are some essential tips to help you care for your sweet potato plants:
- Watering: Sweet potatoes require consistent and regular watering. Keep the soil evenly moist, especially during dry periods. Avoid overwatering, as it can lead to root rot. Water deeply, allowing the water to reach the roots.
- Weeding: Regularly remove weeds from around the sweet potato plants. Weeds compete for resources and can hinder the growth of your sweet potatoes. Mulching can also help in suppressing weed growth.
- Fertilization: Sweet potatoes benefit from organic fertilizers. Apply a balanced organic fertilizer, following the package instructions, once or twice during the growing season. This helps provide essential nutrients for healthy plant growth.
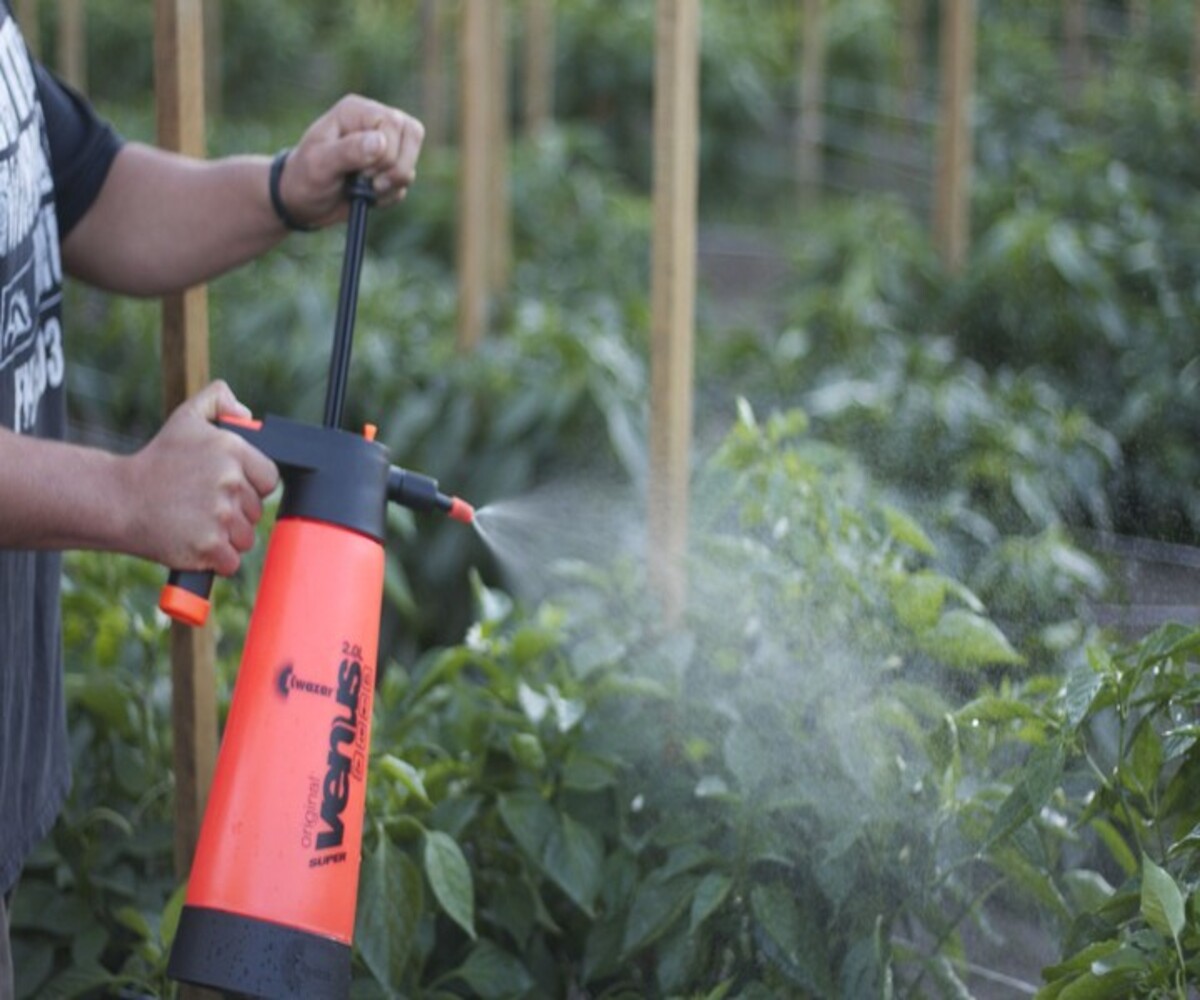
- Pest and Disease Control: Monitor your plants for common pests like aphids, flea beetles, or sweet potato weevils. Take appropriate measures to control pests, such as using organic insecticides or introducing beneficial insects. Additionally, be vigilant about diseases like fungal infections and address them promptly.
- Support Vining Varieties: If you’re growing vining sweet potato varieties, continue to provide support as the vines grow. This prevents them from sprawling on the ground and helps improve air circulation, reducing the risk of disease.
- Pruning: Occasionally, trim back excessive foliage to promote air circulation and remove any diseased or damaged leaves. This helps prevent the spread of diseases and encourages healthy growth.
- Harvest: Know the average harvest time for your sweet potato variety. Harvest sweet potatoes when they have reached their desired size and maturity. Gently dig them out of the ground, being careful not to damage the tubers.
- Storage: After harvesting, cure the sweet potatoes by placing them in a warm, well-ventilated area for about a week. This allows the skins to harden and enhances their flavor and storage capabilities. Store cured sweet potatoes in a cool, dark place with moderate humidity.
By providing proper care and maintenance, your sweet potato plants will thrive and produce a generous harvest. Regular monitoring, watering, fertilizing, and pest control will ensure healthy plant growth and minimize potential issues. With diligent care, you’ll be rewarded with an abundant supply of homegrown sweet potatoes.
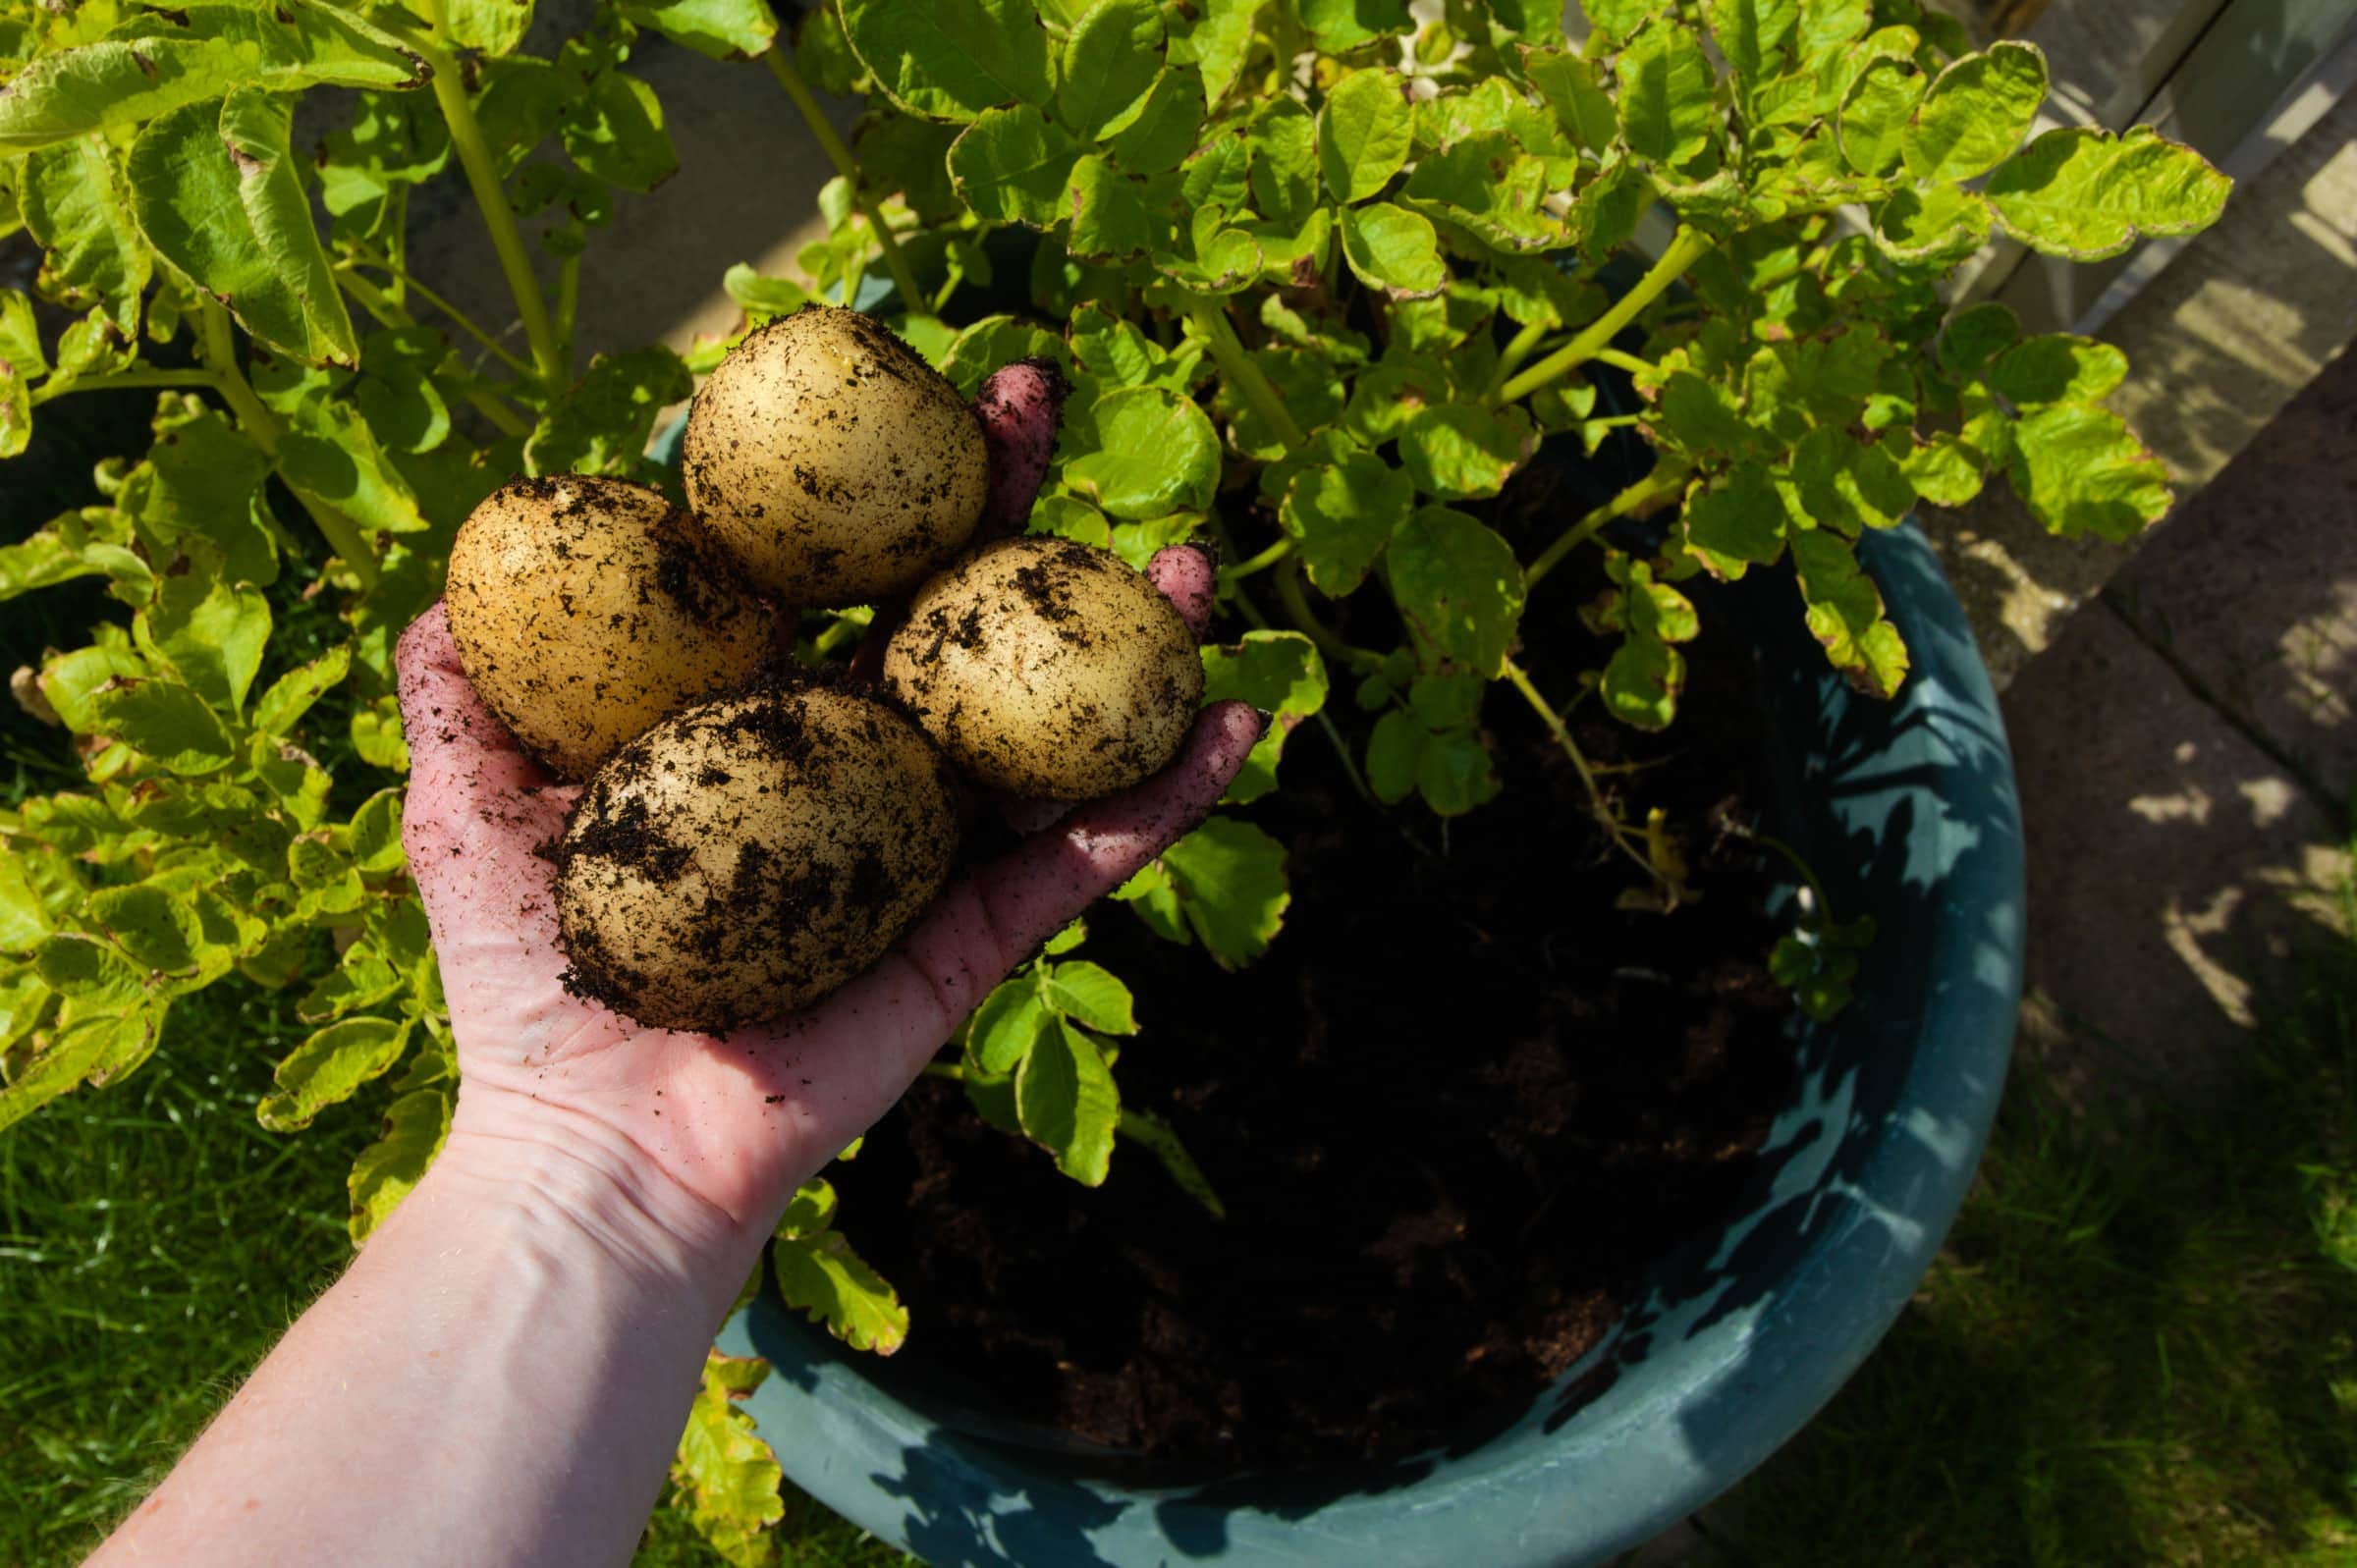
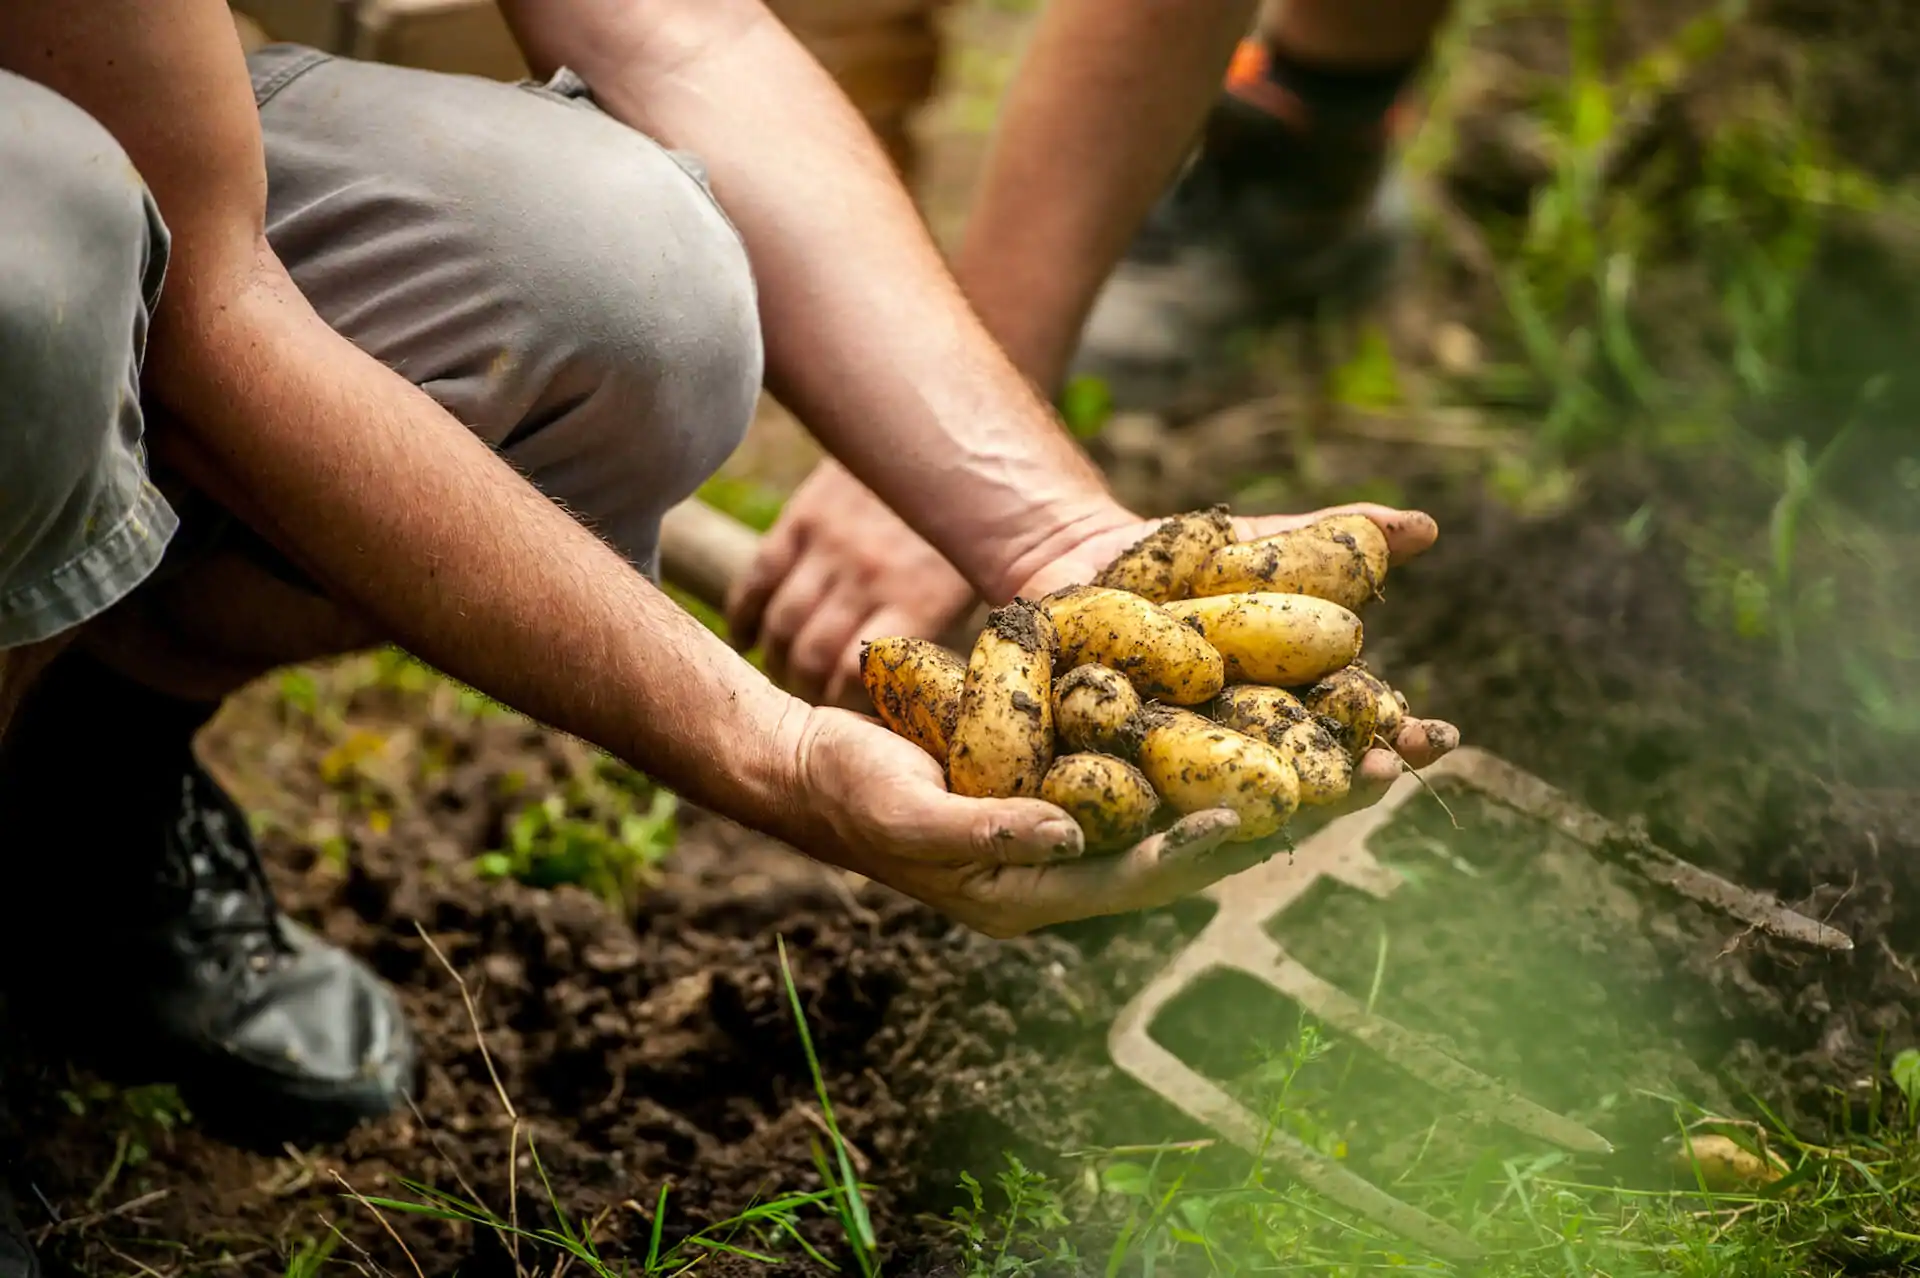
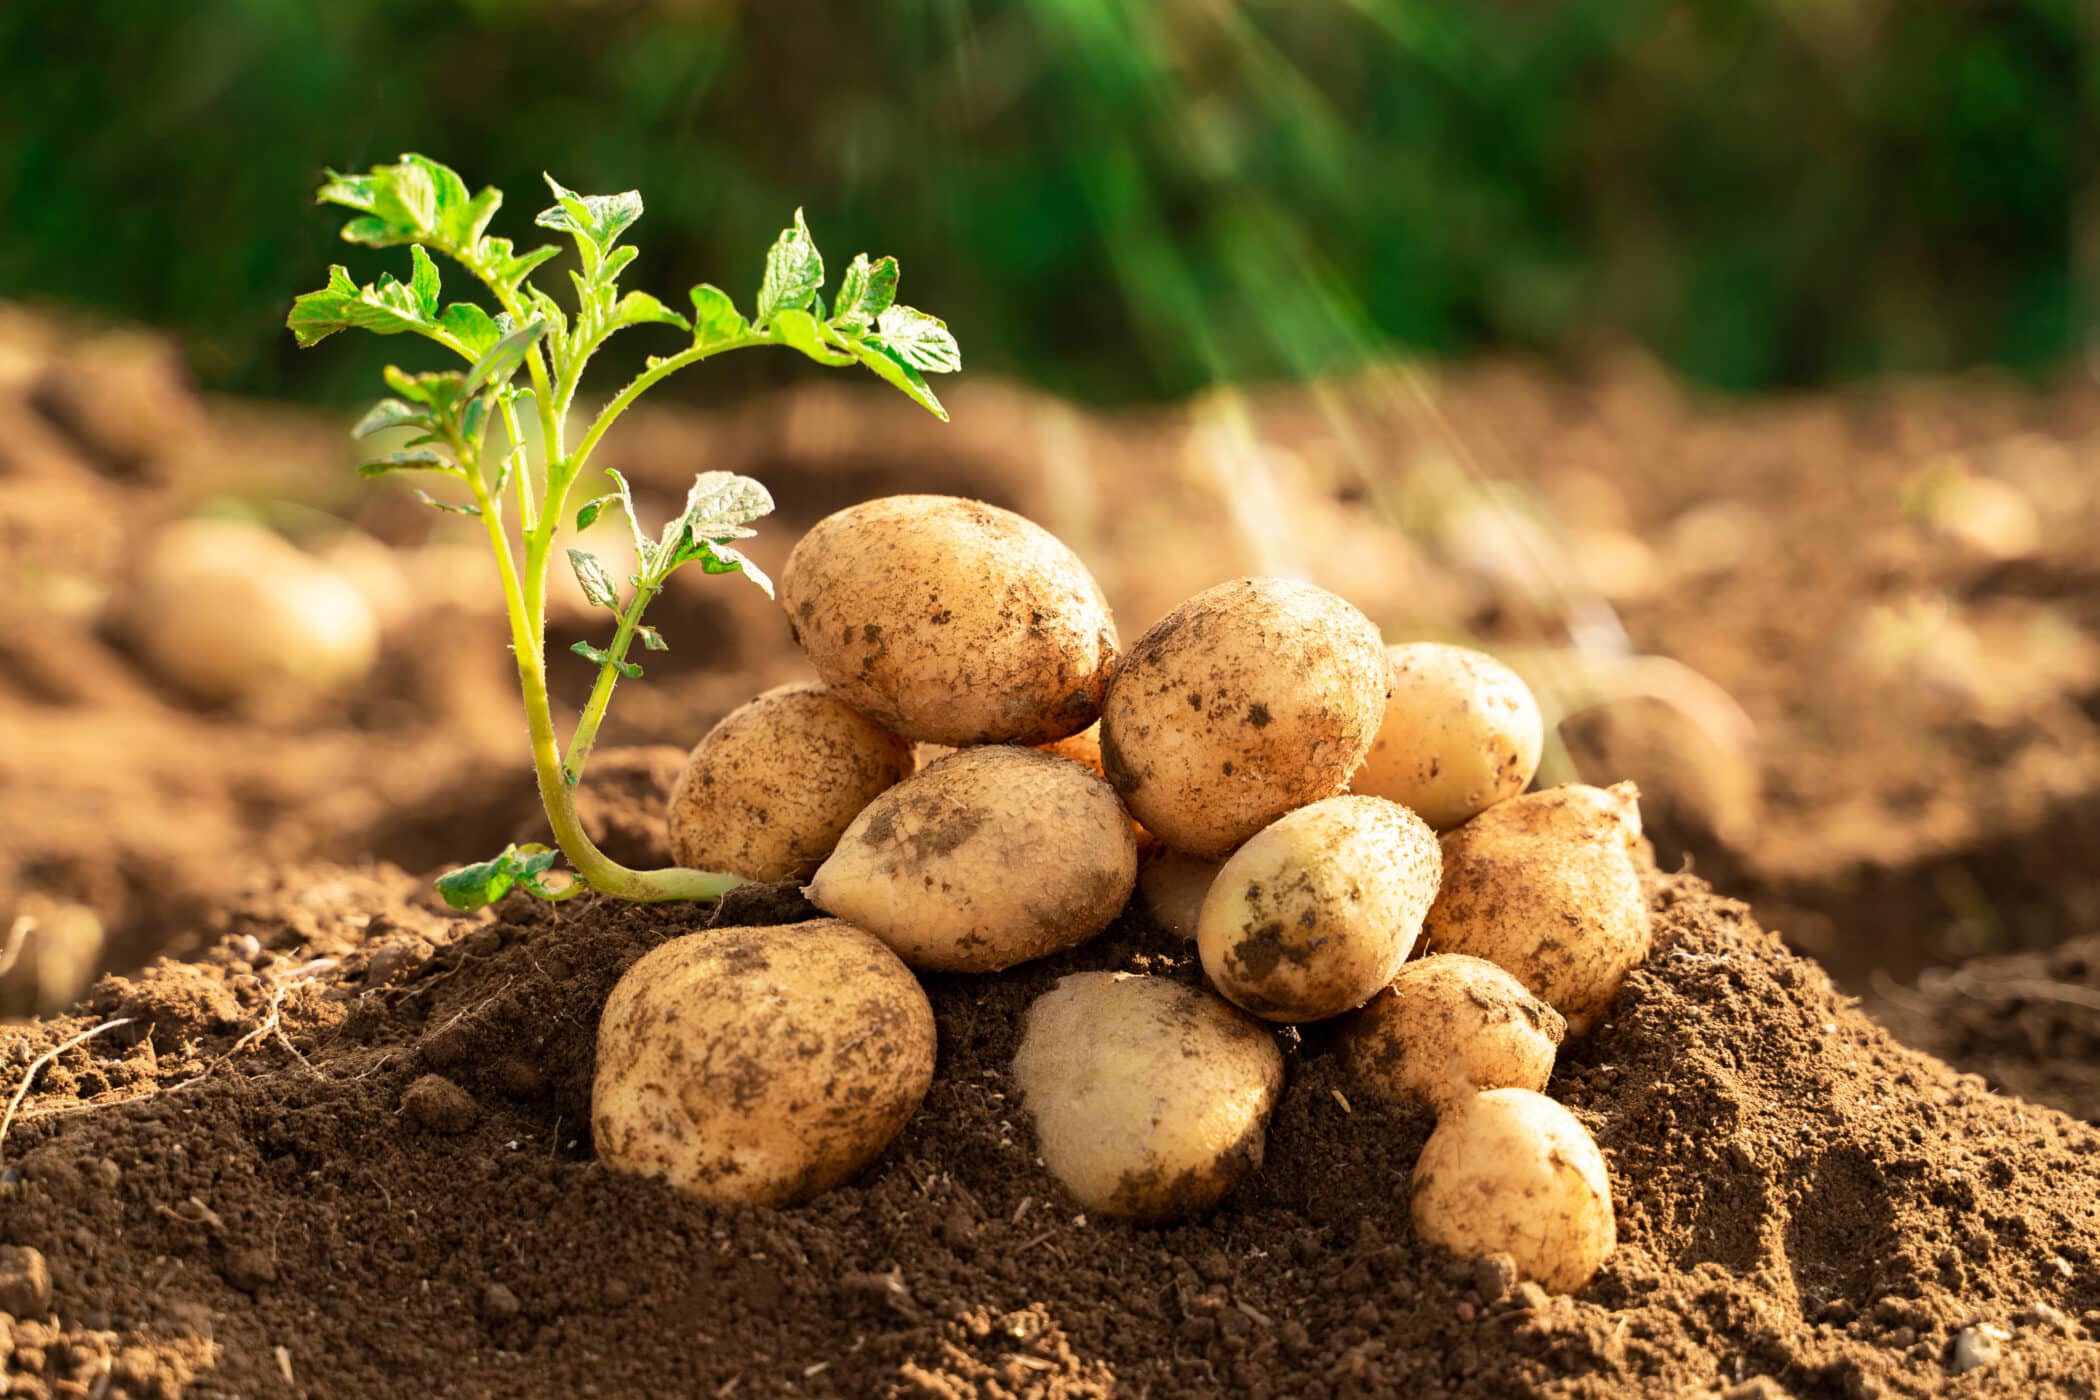
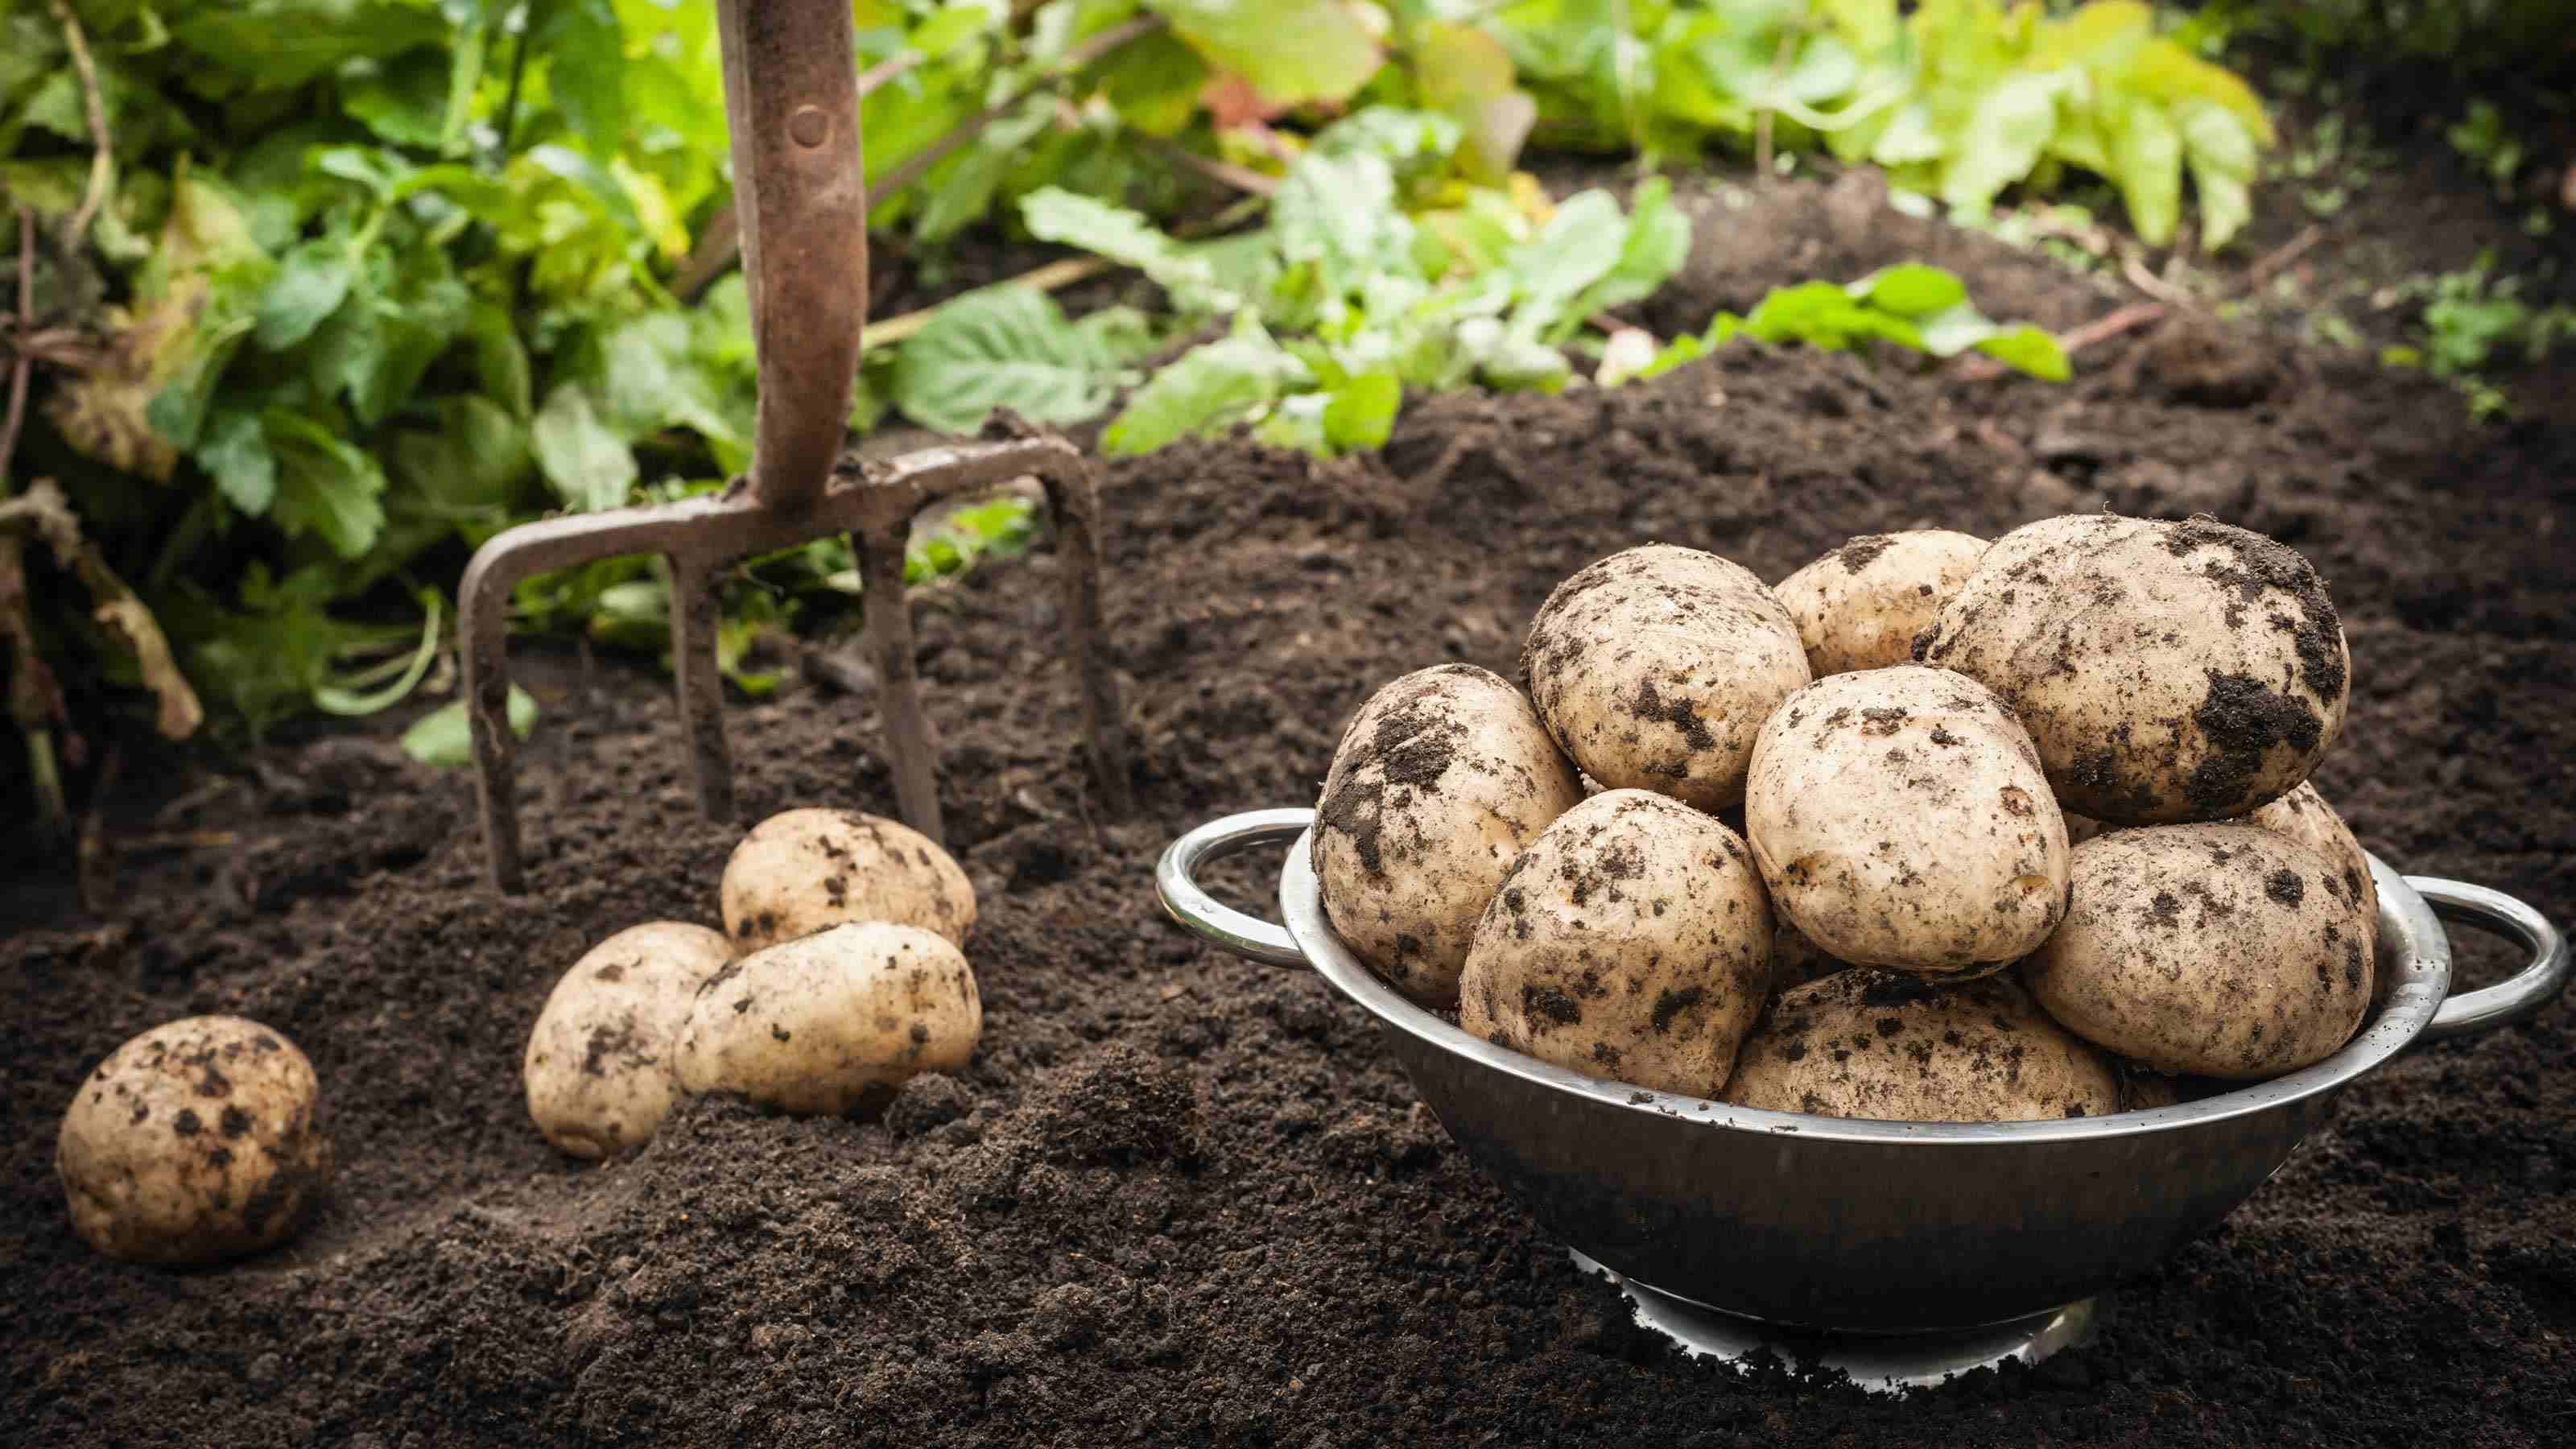
Step 7: Harvesting Sweet Potatoes
After months of nurturing your sweet potato plants, it’s time to reap the rewards of your hard work by harvesting your delicious tubers. Harvesting sweet potatoes involves careful timing and proper techniques to ensure the best flavor and storage potential. Follow these steps to harvest your sweet potatoes:
- Timing: Sweet potatoes are typically ready for harvest 90 to 120 days after planting, depending on the variety. Wait until the foliage turns yellow or starts to wither before digging up the tubers. This indicates that the sweet potatoes have reached maturity.
- Prepare the Tools: Gather the necessary tools for harvesting, including a shovel, garden fork, or digging fork. Choose a tool that will allow you to gently dig around the plants without damaging the tubers.
- Digging: Start by digging several inches away from the plant’s base to avoid accidentally piercing or damaging the sweet potatoes. Carefully loosen the soil around the plants and then gently lift the tubers out of the ground. Be cautious to avoid knicking or bruising the sweet potatoes during the digging process.
- Handle with Care: Handle the harvested sweet potatoes gently to prevent any unnecessary damage. Bruises or cuts can lead to decay during storage, so be careful when handling and transporting them.
- Curing: Curing the harvested sweet potatoes is an essential step that improves their flavor and extends their storage life. Place the harvested sweet potatoes in a warm, well-ventilated area for about 10 to 14 days. This allows the skins to thicken and harden, enhancing their flavor.
- Storage: Once cured, brush off any excess dirt from the sweet potatoes and store them in a cool, dark, and dry place. A temperature range of 55-60°F (13-15°C) with moderate humidity is ideal for storage. Avoid storing sweet potatoes in the refrigerator, as the cold temperature can negatively affect their flavor and texture.
- Enjoying Your Harvest: Sweet potatoes can be enjoyed in numerous ways, from baking and roasting to mashing and fries. Explore various recipes and savor the flavors of your freshly harvested sweet potatoes. Remember to save some of your harvest for replanting in the next growing season!
By following the proper harvesting techniques and storing your sweet potatoes correctly, you can enjoy the fruits of your labor for many months to come. Harvesting marks the end of the sweet potato growing cycle and the beginning of a delightful culinary journey with your homegrown produce.
Conclusion
Congratulations on successfully navigating the process of creating sweet potato slips and cultivating your own sweet potato plants! By following the steps outlined in this article, you have gained the knowledge and skills to grow your own supply of nutritious and delicious sweet potatoes. From selecting the right sweet potato to planting the slips, caring for the plants, and harvesting the tubers, you have learned the key steps to ensure a successful harvest.
Remember that growing sweet potatoes is a journey that requires patience, care, and attention to detail. Each step, from sprouting the slips to curing them and finally harvesting the tubers, contributes to the overall success of your sweet potato crop. With dedication and proper care, you can enjoy the rewards of a bountiful harvest of sweet, flavorful, and nutritious tubers.
So, roll up your sleeves, put on your gardening gloves, and embark on the adventure of growing your own sweet potatoes. Enjoy the process, experiment with different varieties, and savor the satisfaction of serving meals with the fruits of your own labor. Happy growing, harvesting, and, most importantly, happy feasting!