Home>Types of Gardening>Edible Gardening>How To Cut Up Potatoes For Planting
Edible Gardening
How To Cut Up Potatoes For Planting
Published: September 6, 2023
Learn how to properly prepare and cut up potatoes for planting in your edible garden. Get expert tips and techniques for successful potato cultivation.
(Many of the links in this article redirect to a specific reviewed product. Your purchase of these products through affiliate links helps to generate commission for Chicagolandgardening.com, at no extra cost. Learn more)
Table of Contents
Introduction
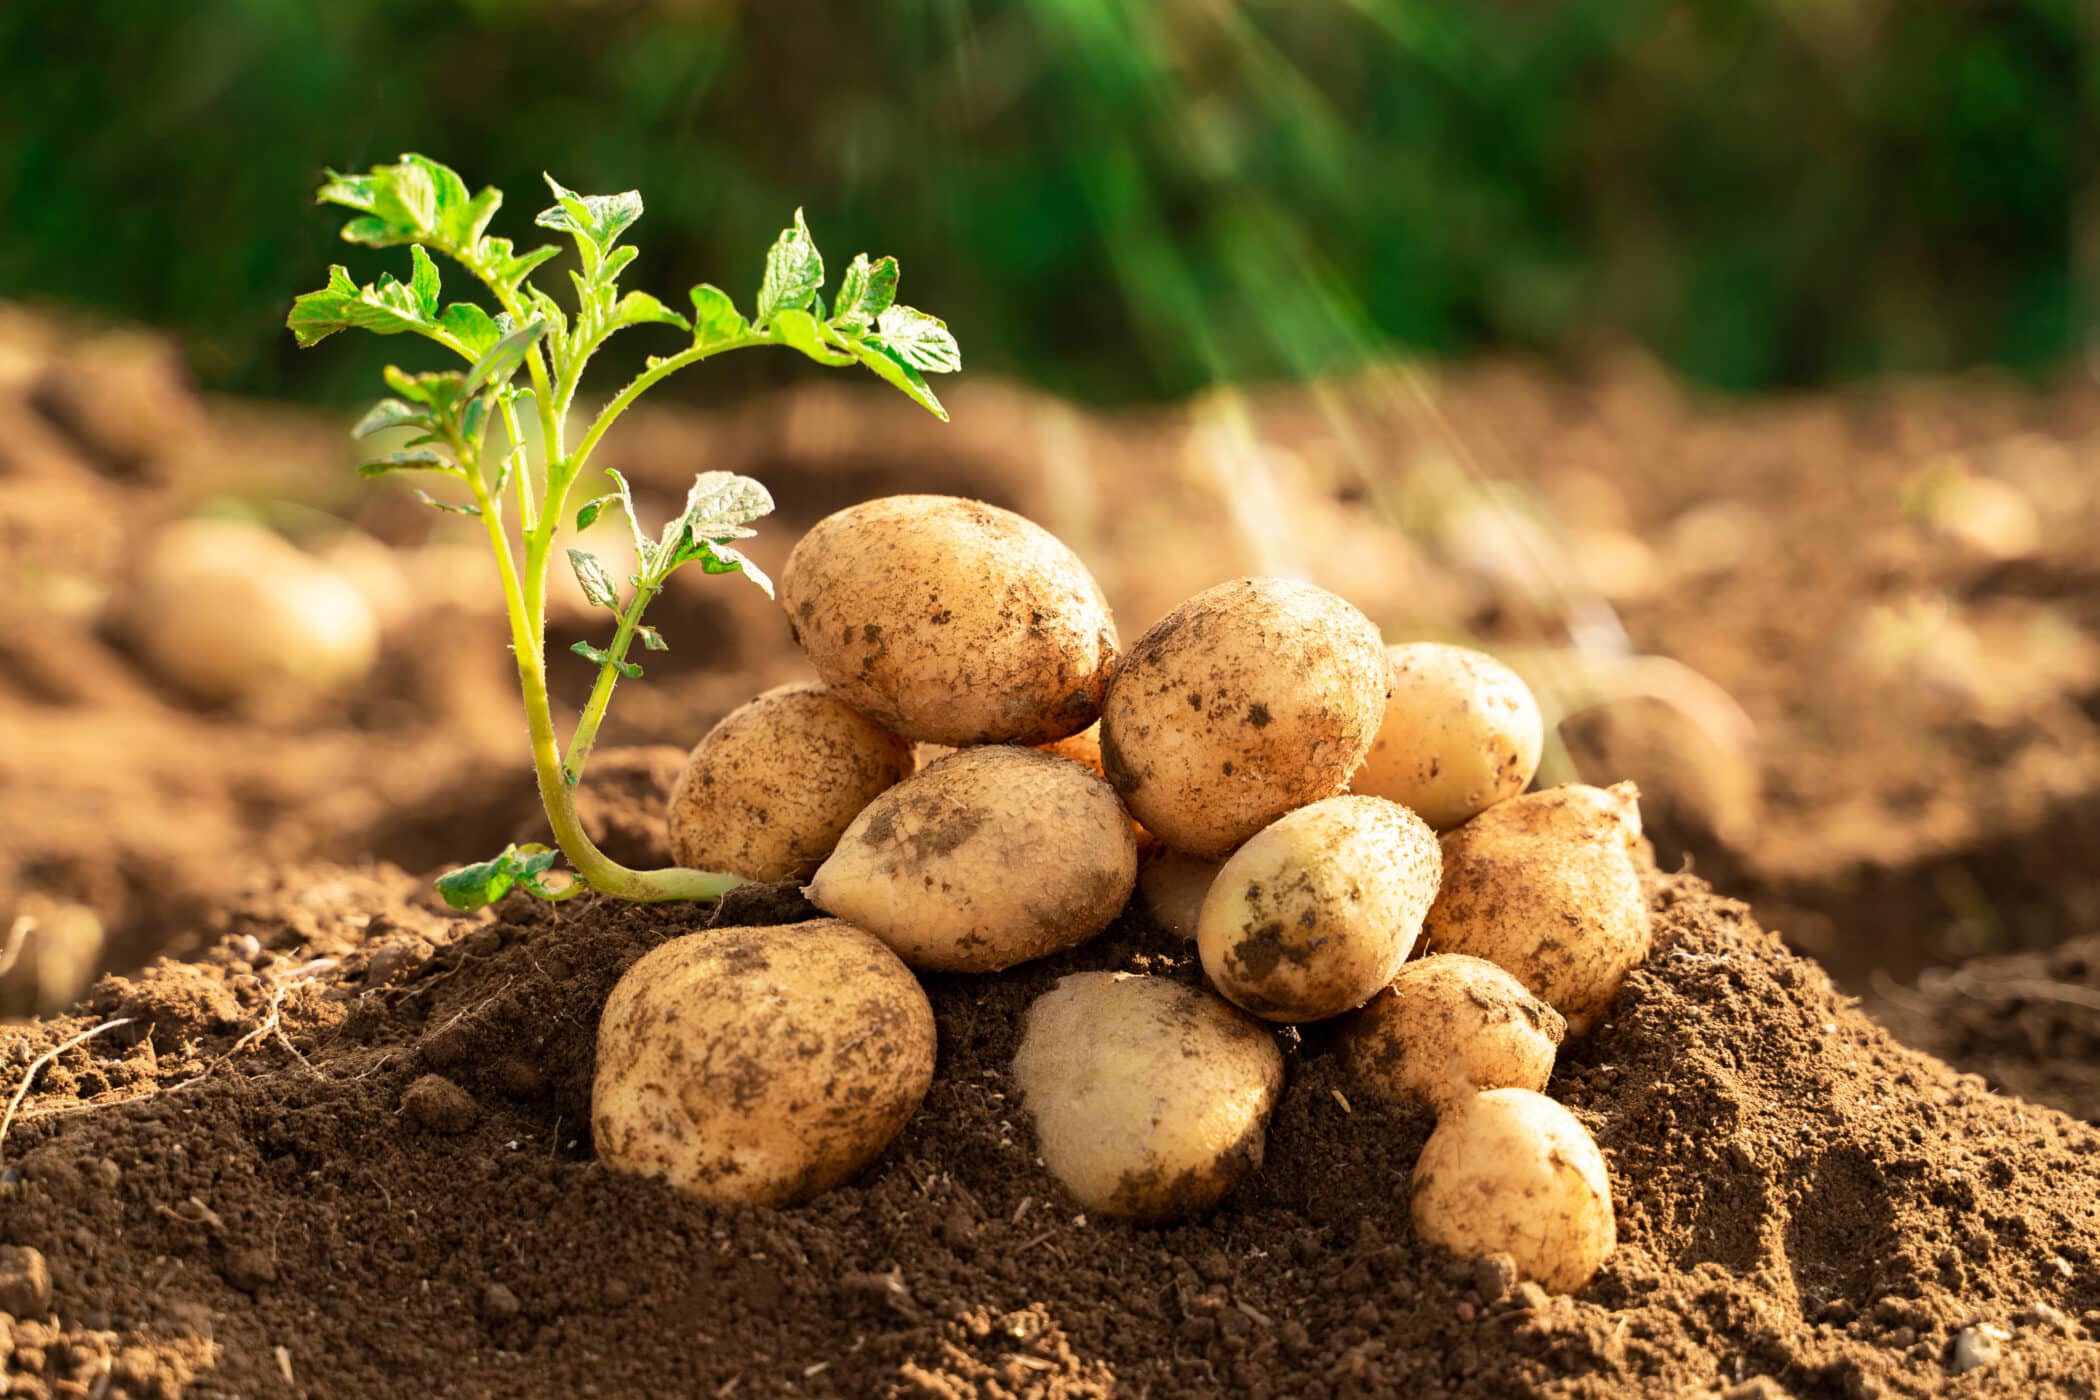
Edible gardening is a deeply satisfying and rewarding activity that allows you to grow your own fresh and nutritious produce right in your backyard. Among the various vegetables that can be grown, potatoes are a popular choice due to their versatility and abundance. Whether you prefer creamy mashed potatoes, crispy potato chips, or simply want to enjoy the earthy flavor of freshly harvested tubers, growing your own potatoes can be a rewarding experience.
When it comes to potato cultivation, one of the key steps is cutting up the potatoes and preparing them for planting. This process involves dividing the potatoes into smaller pieces, or seed pieces, each containing an “eye” or sprout that will eventually develop into a new potato plant. However, it’s not just a matter of randomly chopping up the potatoes; there are specific techniques and considerations to ensure successful growth and a bountiful harvest.
In this article, we will explore the importance of selecting the right potato variety and discuss the preparation steps and techniques for cutting up potatoes for planting. We’ll also delve into the essential measures to prevent diseases and provide tips for creating optimal planting conditions. By following these guidelines, you’ll be well-equipped to start your own potato patch and enjoy fresh, homegrown potatoes all season long.
Choosing the Right Potato Variety
When it comes to growing potatoes, it’s essential to choose the right variety that suits your preferences and growing conditions. The variety you select will determine the taste, texture, and suitability for different cooking methods. Here are some factors to consider when choosing the right potato variety:
- Early, mid-season, or late: Potatoes are classified based on their maturity dates, which can range from early to late in the growing season. Early varieties mature quickly, usually within 70-90 days, while late varieties take longer, often 100-130 days. The choice depends on your region’s climate and the desired harvesting time.
- Starch content: Potatoes can be classified as low-starch (waxy), medium-starch, or high-starch (floury). Low-starch potatoes hold their shape well after cooking, making them ideal for salads and boiling. High-starch potatoes are fluffy when cooked, perfect for baking, mashing, or frying.
- Disease resistance: Different potato varieties have varying levels of resistance to common diseases such as potato late blight, scab, and viruses. It’s advisable to choose disease-resistant varieties to minimize the risk of losing your crop to pests or diseases.
- Yield: Consider the yield potential of the potato variety you choose. Some varieties have higher yields, producing more tubers per plant, while others are known for smaller, but flavorful potatoes.
- Adaptability: Certain potato varieties are better suited to specific growing conditions, such as heat tolerance or resistance to frost. Take into account your local climate and growing environment to select a variety that will thrive in your garden.
Popular potato varieties include Yukon Gold, Russet, Red Pontiac, and Kennebec, but there are many more to choose from. Research and read seed catalogs, consult with local gardeners or experts, and consider your personal preferences to make an informed decision.
By carefully selecting the right potato variety, you can ensure a successful harvest and delicious, homegrown spuds that are tailored to your taste and cooking needs.
Preparing the Potatoes for Planting
Before you can start planting potatoes, it’s important to properly prepare the seed potatoes. This involves a few key steps to ensure optimal conditions for growth and maximize your chances of a successful harvest. Here’s what you need to do:
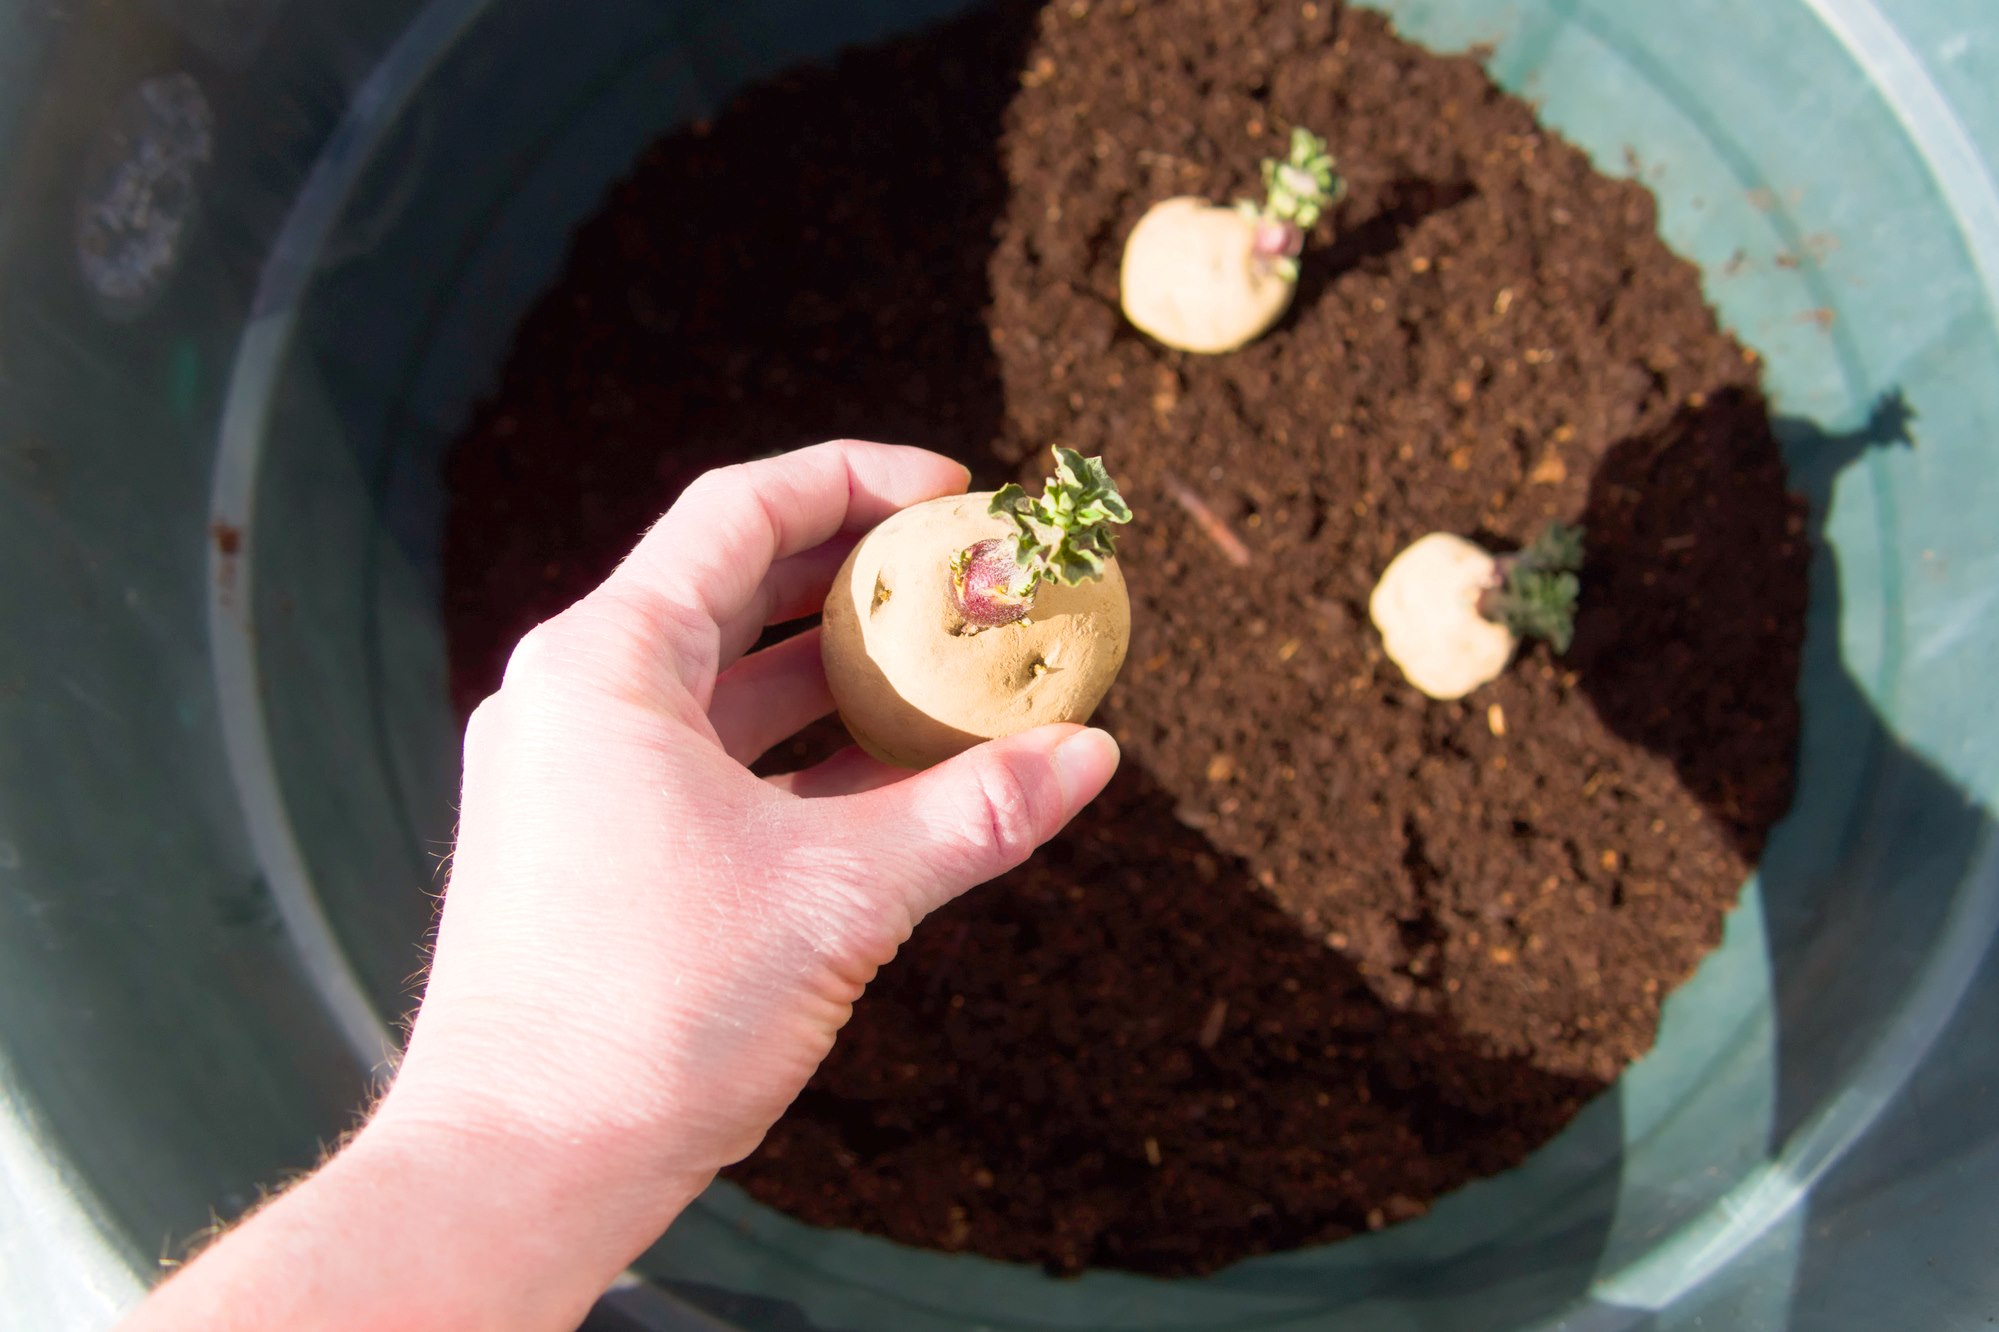
- Choose healthy seed potatoes: Select high-quality seed potatoes from a trusted source. Look for potatoes that are firm and free from any signs of disease or rot. Avoid using store-bought potatoes for planting, as they may be treated with growth inhibitors or have been in storage for too long.
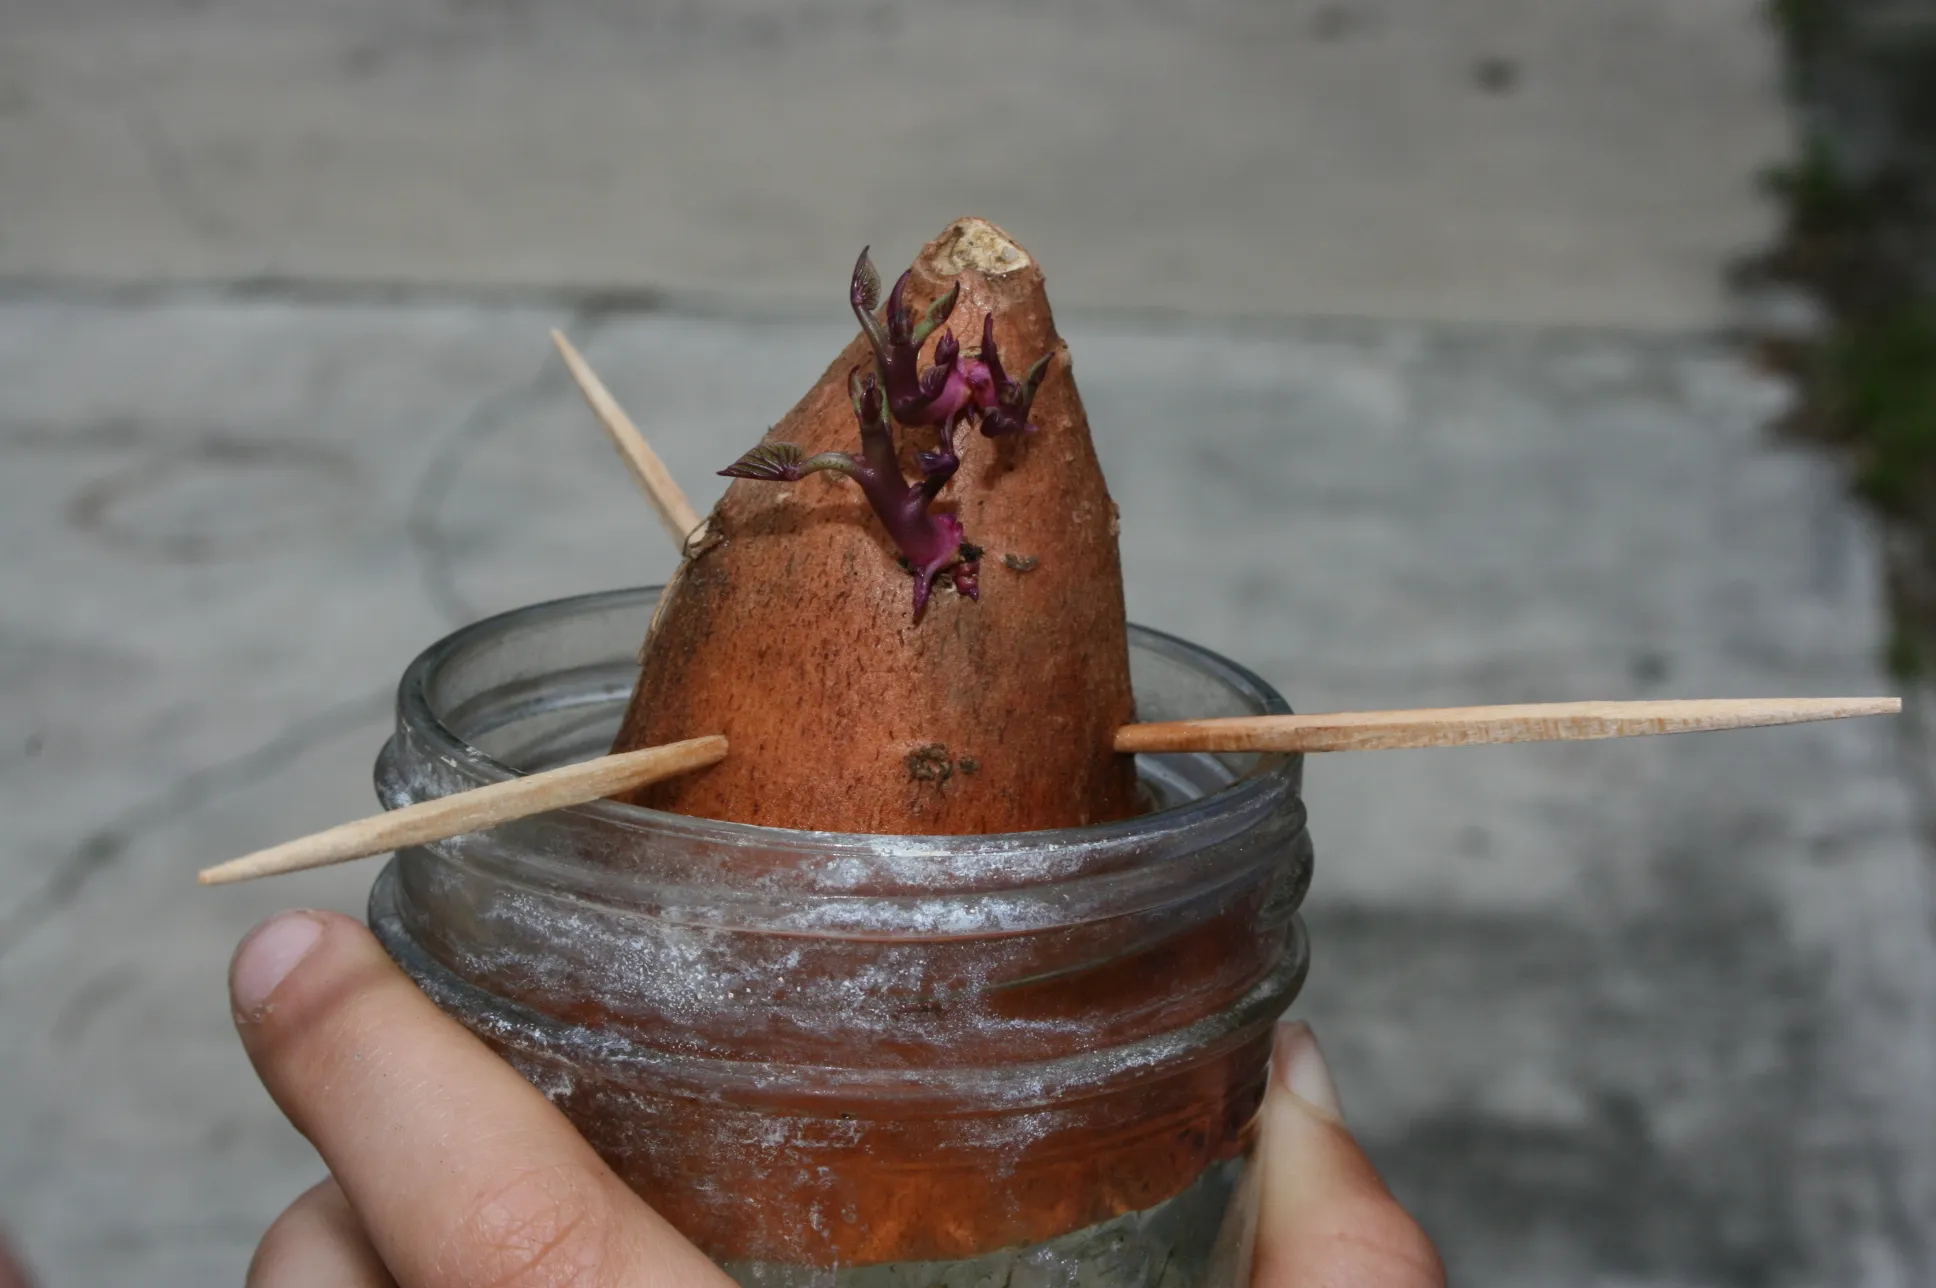
- Chit or sprout the potatoes: Place the seed potatoes in a cool, dry, and well-ventilated area for a few weeks before planting. This process, known as chitting or sprouting, allows the potatoes to develop small sprouts or “eyes.” The sprouts will grow into new plants once they are planted in the soil.
- Prepare the planting area: Choose a well-drained location with full sun exposure for your potato patch. Remove any weeds, rocks, or debris from the soil, and consider adding organic matter such as compost or aged manure to improve the soil structure and fertility.
- Spacing and depth: Potatoes need ample space to spread their roots and grow. Plant the seed potatoes about 12-15 inches apart in rows or raised beds, with the eyes facing upward. The depth of planting should be about 4-6 inches, ensuring that there is enough soil coverage to protect the emerging sprouts.
- Hilling or mounding: As the potato plants grow, gradually cover the lower stems with soil to encourage the development of new tubers. This process, known as hilling or mounding, helps protect the tubers from light exposure, which can cause them to turn green and become toxic.
By following these steps, you’ll provide the seed potatoes with the best possible start for strong growth and a bountiful harvest. Remember to water the potatoes regularly, keeping the soil moist but not waterlogged, and monitor for any signs of pests or diseases. With proper preparation, your potato plants will thrive and reward you with a delicious and satisfying harvest.
Cutting Techniques for Potato Seed Pieces
When it comes to cutting up potatoes for planting, precision and careful technique are essential for optimal growth and yield. Here are the key steps to follow:
- Select the right size: Before cutting the potatoes, make sure they are of sufficient size. Choose potatoes that are about 2 to 2.5 inches in diameter, as smaller potatoes may not have enough energy reserves to produce a strong plant.
- Use a clean, sharp knife: Ensure that your cutting tools are clean and sanitized to minimize the risk of disease transmission. Use a sharp knife to make clean cuts, reducing the risk of damaging the potato seed pieces.
- Quarter or divide into smaller pieces: If your seed potato is larger, you can quarter it by making two vertical cuts across the potato, resulting in four pieces. For medium-sized potatoes, cutting them in half is sufficient. The aim is to create seed pieces that are approximately 1.5 to 2 ounces in weight, with at least one “eye” per piece.
- Ensure each seed piece has an “eye”: Each seed piece should have at least one visible “eye” or sprout. The sprout is where the new shoots will emerge. If the potato has multiple eyes, you can either cut it into larger pieces, ensuring each piece has an eye, or carefully divide the potato without damaging the sprouts.
- Avoid excessive handling: Handle the seed potatoes with care to prevent bruising or accidental damage. Rough handling can lead to rot or disease.
While cutting the potatoes, it’s important to work quickly to minimize exposure to air, as prolonged exposure can lead to drying out and potential decrease in vitality. It’s advisable to plant the cut seed pieces as soon as possible after cutting.
Remember to save any small potato pieces that are left over from cutting. These small pieces, known as “fingerlings,” can be planted whole, allowing for the growth of new potato plants.
By employing careful cutting techniques, you’ll be able to maximize the number of viable seed pieces and ensure a successful planting. The resulting plants will develop strong roots and stems, leading to abundant growth and a hearty potato harvest.
Cleaning and Drying Potato Seed Pieces
After cutting the potatoes into seed pieces, it’s important to clean and dry them before planting. This helps remove any dirt, debris, or excess moisture that may harbor disease-causing organisms or hinder successful germination. Here are the key steps to follow:
- Gently rinse the seed pieces: Place the cut potato seed pieces in a colander or sieve and rinse them with cool water. Gently rub them with your hands to remove any remaining soil or debris. Avoid using detergent or harsh chemicals, as these can be detrimental to the growth of the potatoes.
- Inspect for damaged or infected pieces: As you clean the seed pieces, carefully examine each one for signs of damage, rot, or disease. It’s important to remove any seed pieces that appear unhealthy or compromised, as they can spread pathogens to the rest of the crop.
- Allow the seed pieces to air dry: After rinsing, place the seed pieces in a single layer on a clean towel or tray. Let them air dry in a cool, well-ventilated area for a few hours. This drying period helps create a protective layer over the cut surfaces, reducing the risk of rot or infection once planted.
- Consider dusting with fungicide: If you are concerned about the potential for disease, you can dust the seed pieces with a fungicide powder or a natural alternative like sulfur or cinnamon. This can help prevent the growth of fungal pathogens and increase the chances of a healthy crop.
It’s important to note that while cleaning and drying are essential, it’s equally important not to leave the seed pieces exposed to direct sunlight for prolonged periods, as this can lead to excessive drying and damage.
By taking the time to clean and dry the seed pieces, you’ll create a healthier and more favorable environment for successful potato germination and growth. This simple yet crucial step can significantly enhance the chances of a robust and productive potato harvest.
Preventing Disease through Cutting and Treatment
When cutting and preparing potato seed pieces, it’s essential to take precautions to prevent the spread of diseases that can adversely affect your potato crop. Here are some important measures you can take:
- Sanitize cutting tools: Before cutting, make sure to sanitize your cutting tools, such as knives or pruners. This helps prevent the transmission of pathogens from contaminated tools to the potatoes. Use a solution of bleach and water or rubbing alcohol to clean your tools thoroughly.
- Avoid cross-contamination: Prevent the spread of diseases by cutting one potato variety at a time. If you are planting different potato varieties, clean and sanitize your cutting tools between each variety to avoid transferring diseases from one variety to another.
- Monitor for diseased potatoes: Inspect the seed potatoes carefully before cutting. Look out for any signs of rot, blemishes, or discoloration. Remove any diseased or damaged potatoes from your selection, as they can introduce diseases to the healthy plants.
- Treat with fungicide: To further protect against diseases, you can consider treating the cut seed pieces with a fungicide. There are various organic and chemical fungicides available on the market that can help suppress fungal pathogens. Follow the instructions on the product label carefully to ensure safe and effective use.
- Avoid excessive moisture: Moisture encourages the growth and spread of diseases. Ensure that the seed pieces are dry before planting to prevent fungal or bacterial infections. If necessary, you can dust the seed pieces with a drying agent, such as sulfur powder, to absorb excess moisture.
- Rotate your potato crops: Practice crop rotation by avoiding planting potatoes in the same area year after year. This helps break the cycle of diseases that may persist in the soil. Wait at least three to four years before planting potatoes in the same spot again.
By following these preventive measures, you can minimize the risk of diseases affecting your potato crop and increase the chances of a healthy and productive harvest. Remember, maintaining good hygiene and taking proactive steps to prevent disease at the cutting and treatment stage sets the foundation for a successful and disease-free growing season.
Tips for Optimal Planting Conditions
Creating the right planting conditions for your potato crop is crucial for its growth, development, and overall productivity. Here are some tips to ensure optimal planting conditions:
- Soil preparation: Prior to planting, prepare the soil by loosening it and removing any clumps, rocks, or obstructions. Potatoes thrive in well-drained soil with good fertility. Consider adding organic matter, such as compost or well-rotted manure, to improve soil structure and nutrient content.
- Sunlight and spacing: Plant your potatoes in an area that receives full sun for at least six to eight hours a day. Adequate sunlight promotes healthy growth and maximizes tuber development. Provide ample spacing between the potato plants, allowing them enough room to spread their roots and foliage.
- Proper depth: Plant the seed potatoes at the correct depth. Typically, this is around 4 to 6 inches deep, depending on the variety and soil conditions. Planting too shallow can result in green potatoes, while planting too deep may hinder tuber formation.
- Watering: Proper and consistent watering is crucial for potatoes. Keep the soil evenly moist throughout the growing season, but avoid overwatering, as it can lead to rot and other diseases. A drip irrigation or soaker hose system can be beneficial in providing consistent moisture without wetting the foliage.
- Hilling or mounding: As the potato plants grow, periodically mound soil around the base of the stems. This practice, known as hilling, helps promote the development of additional tubers and protects them from exposure to sunlight. Hilling also helps control weeds and improves the overall stability of the plants.
- Fertilization: Potatoes are heavy feeders and require regular fertilization to thrive. Before planting, incorporate a balanced organic fertilizer into the soil. Additionally, provide regular supplemental feedings throughout the growing season, following the fertilizer manufacturer’s instructions.
- Pest and disease management: Monitor your potato plants regularly for signs of pests or diseases, such as potato beetles or fungal infections. Employ organic pest control methods whenever possible, and promptly address any disease issues with appropriate treatments like copper-based sprays or biopesticides.
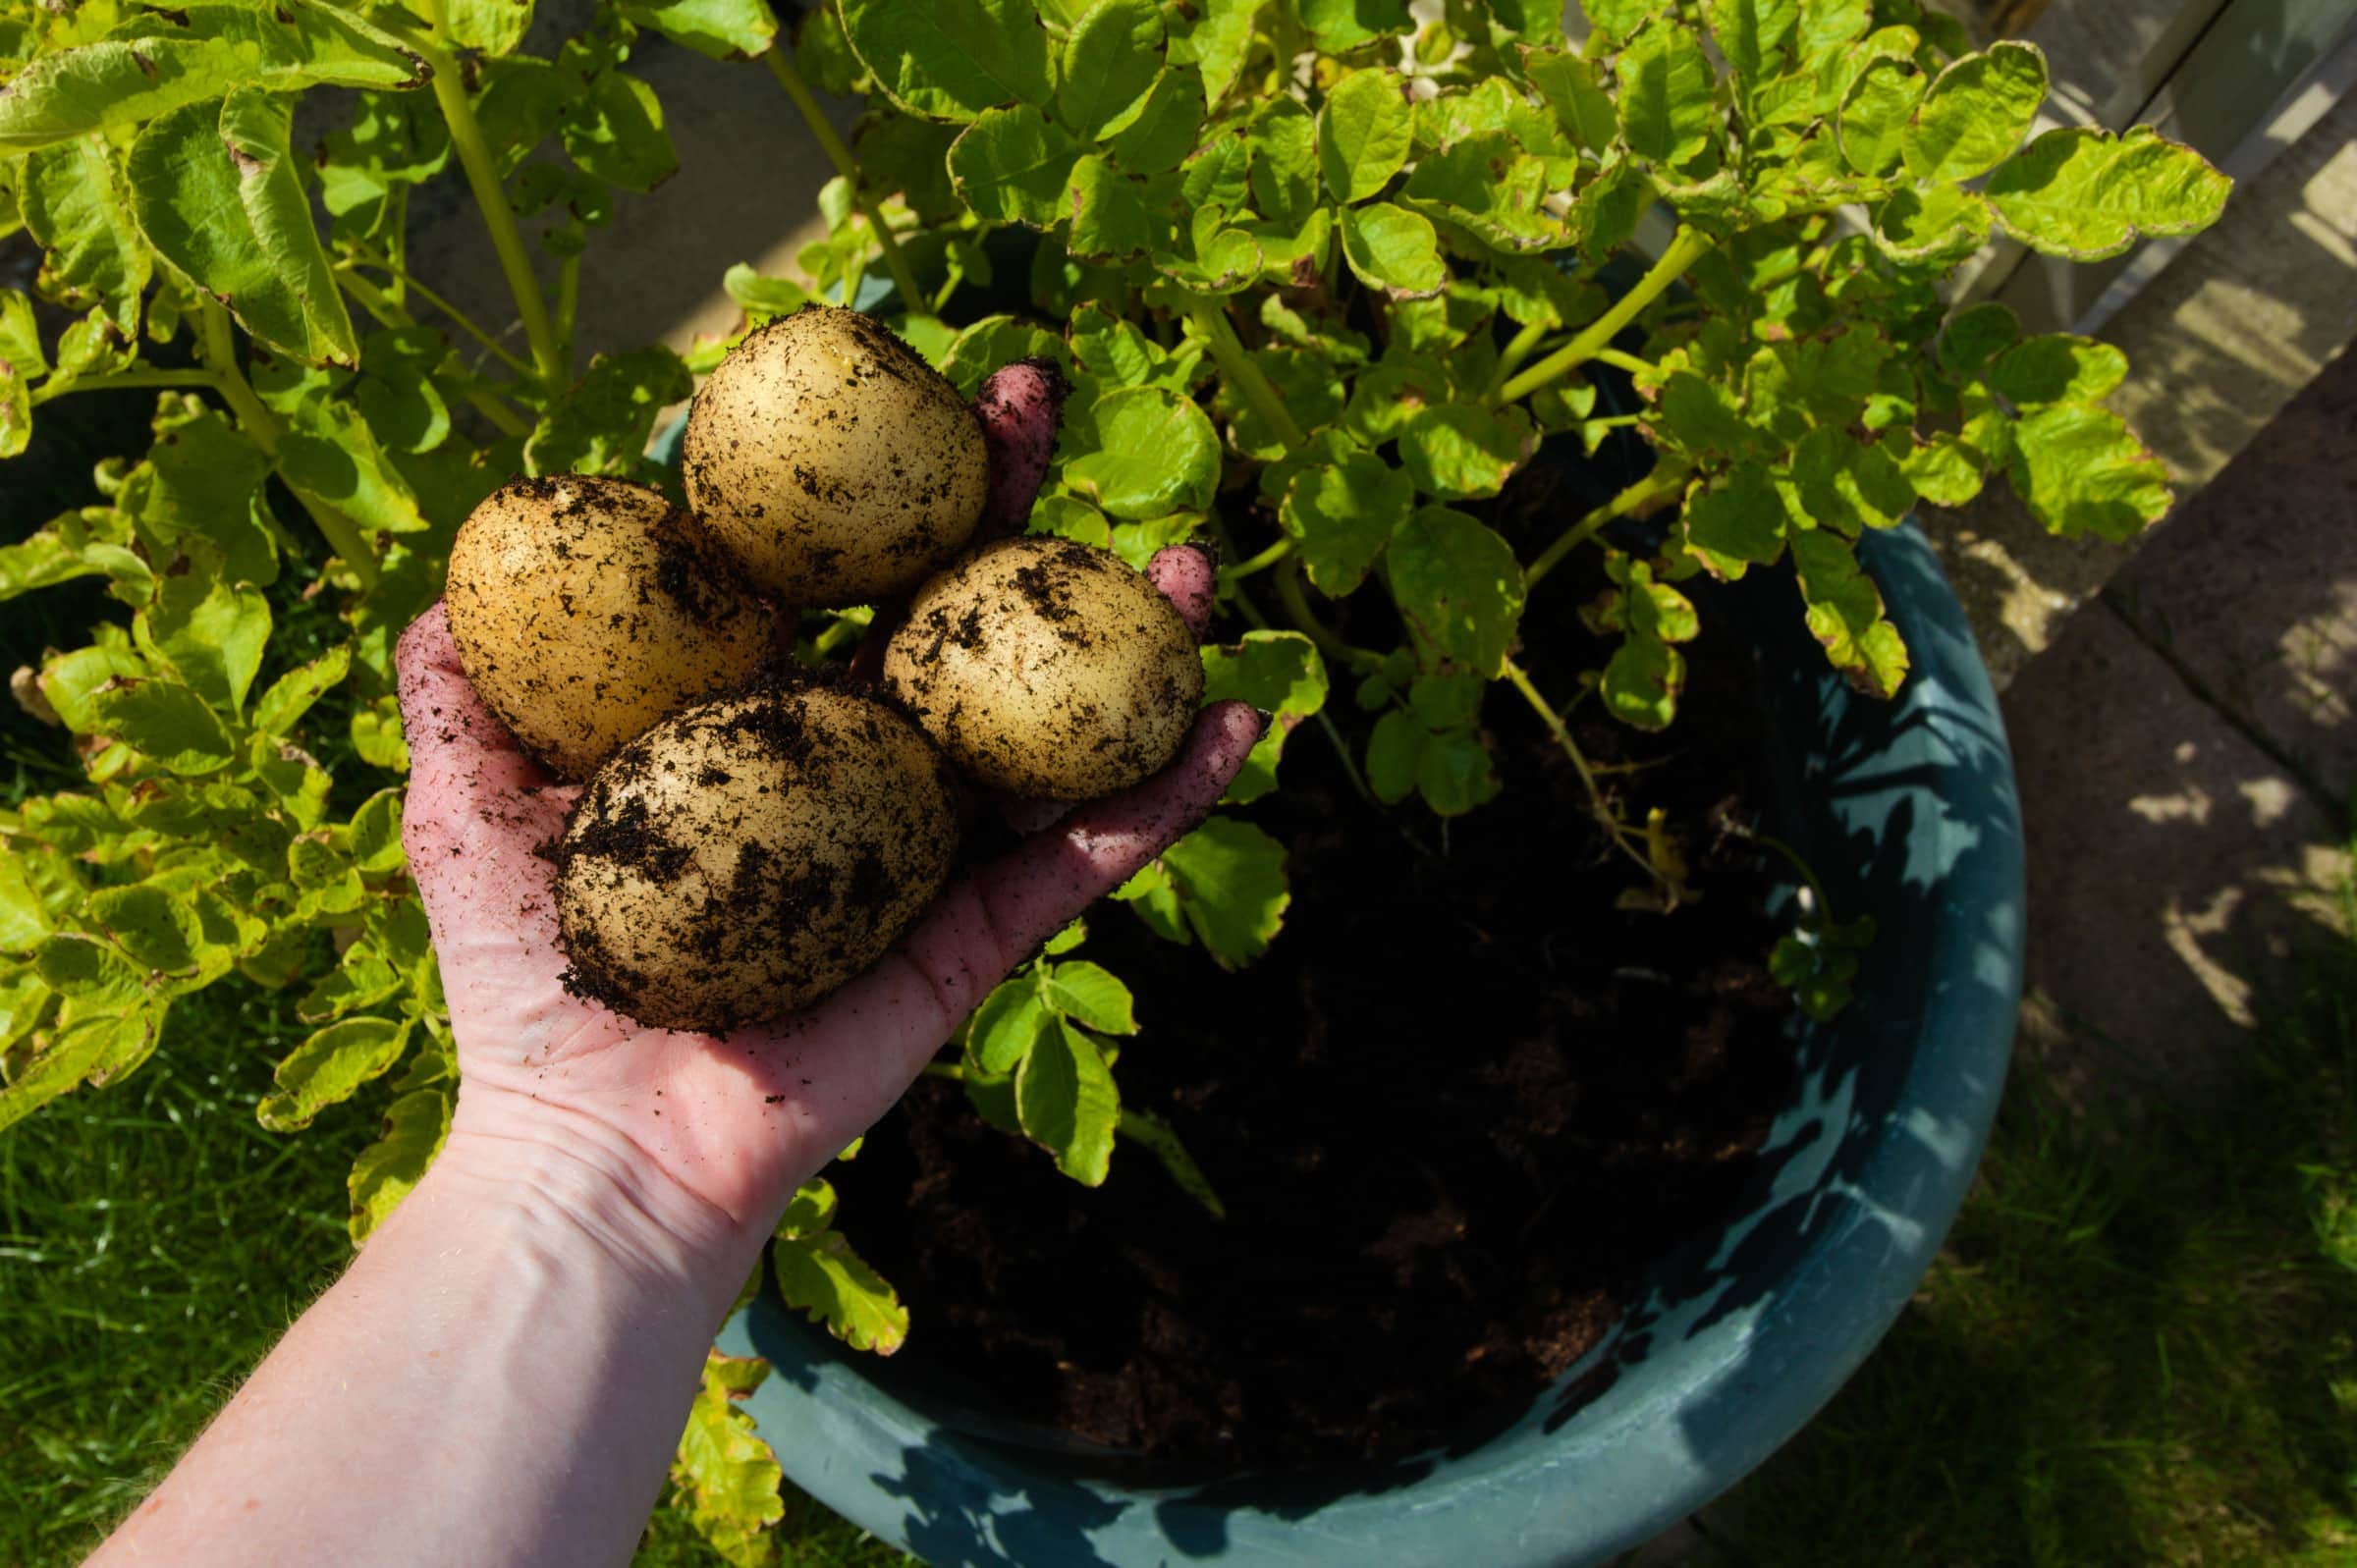
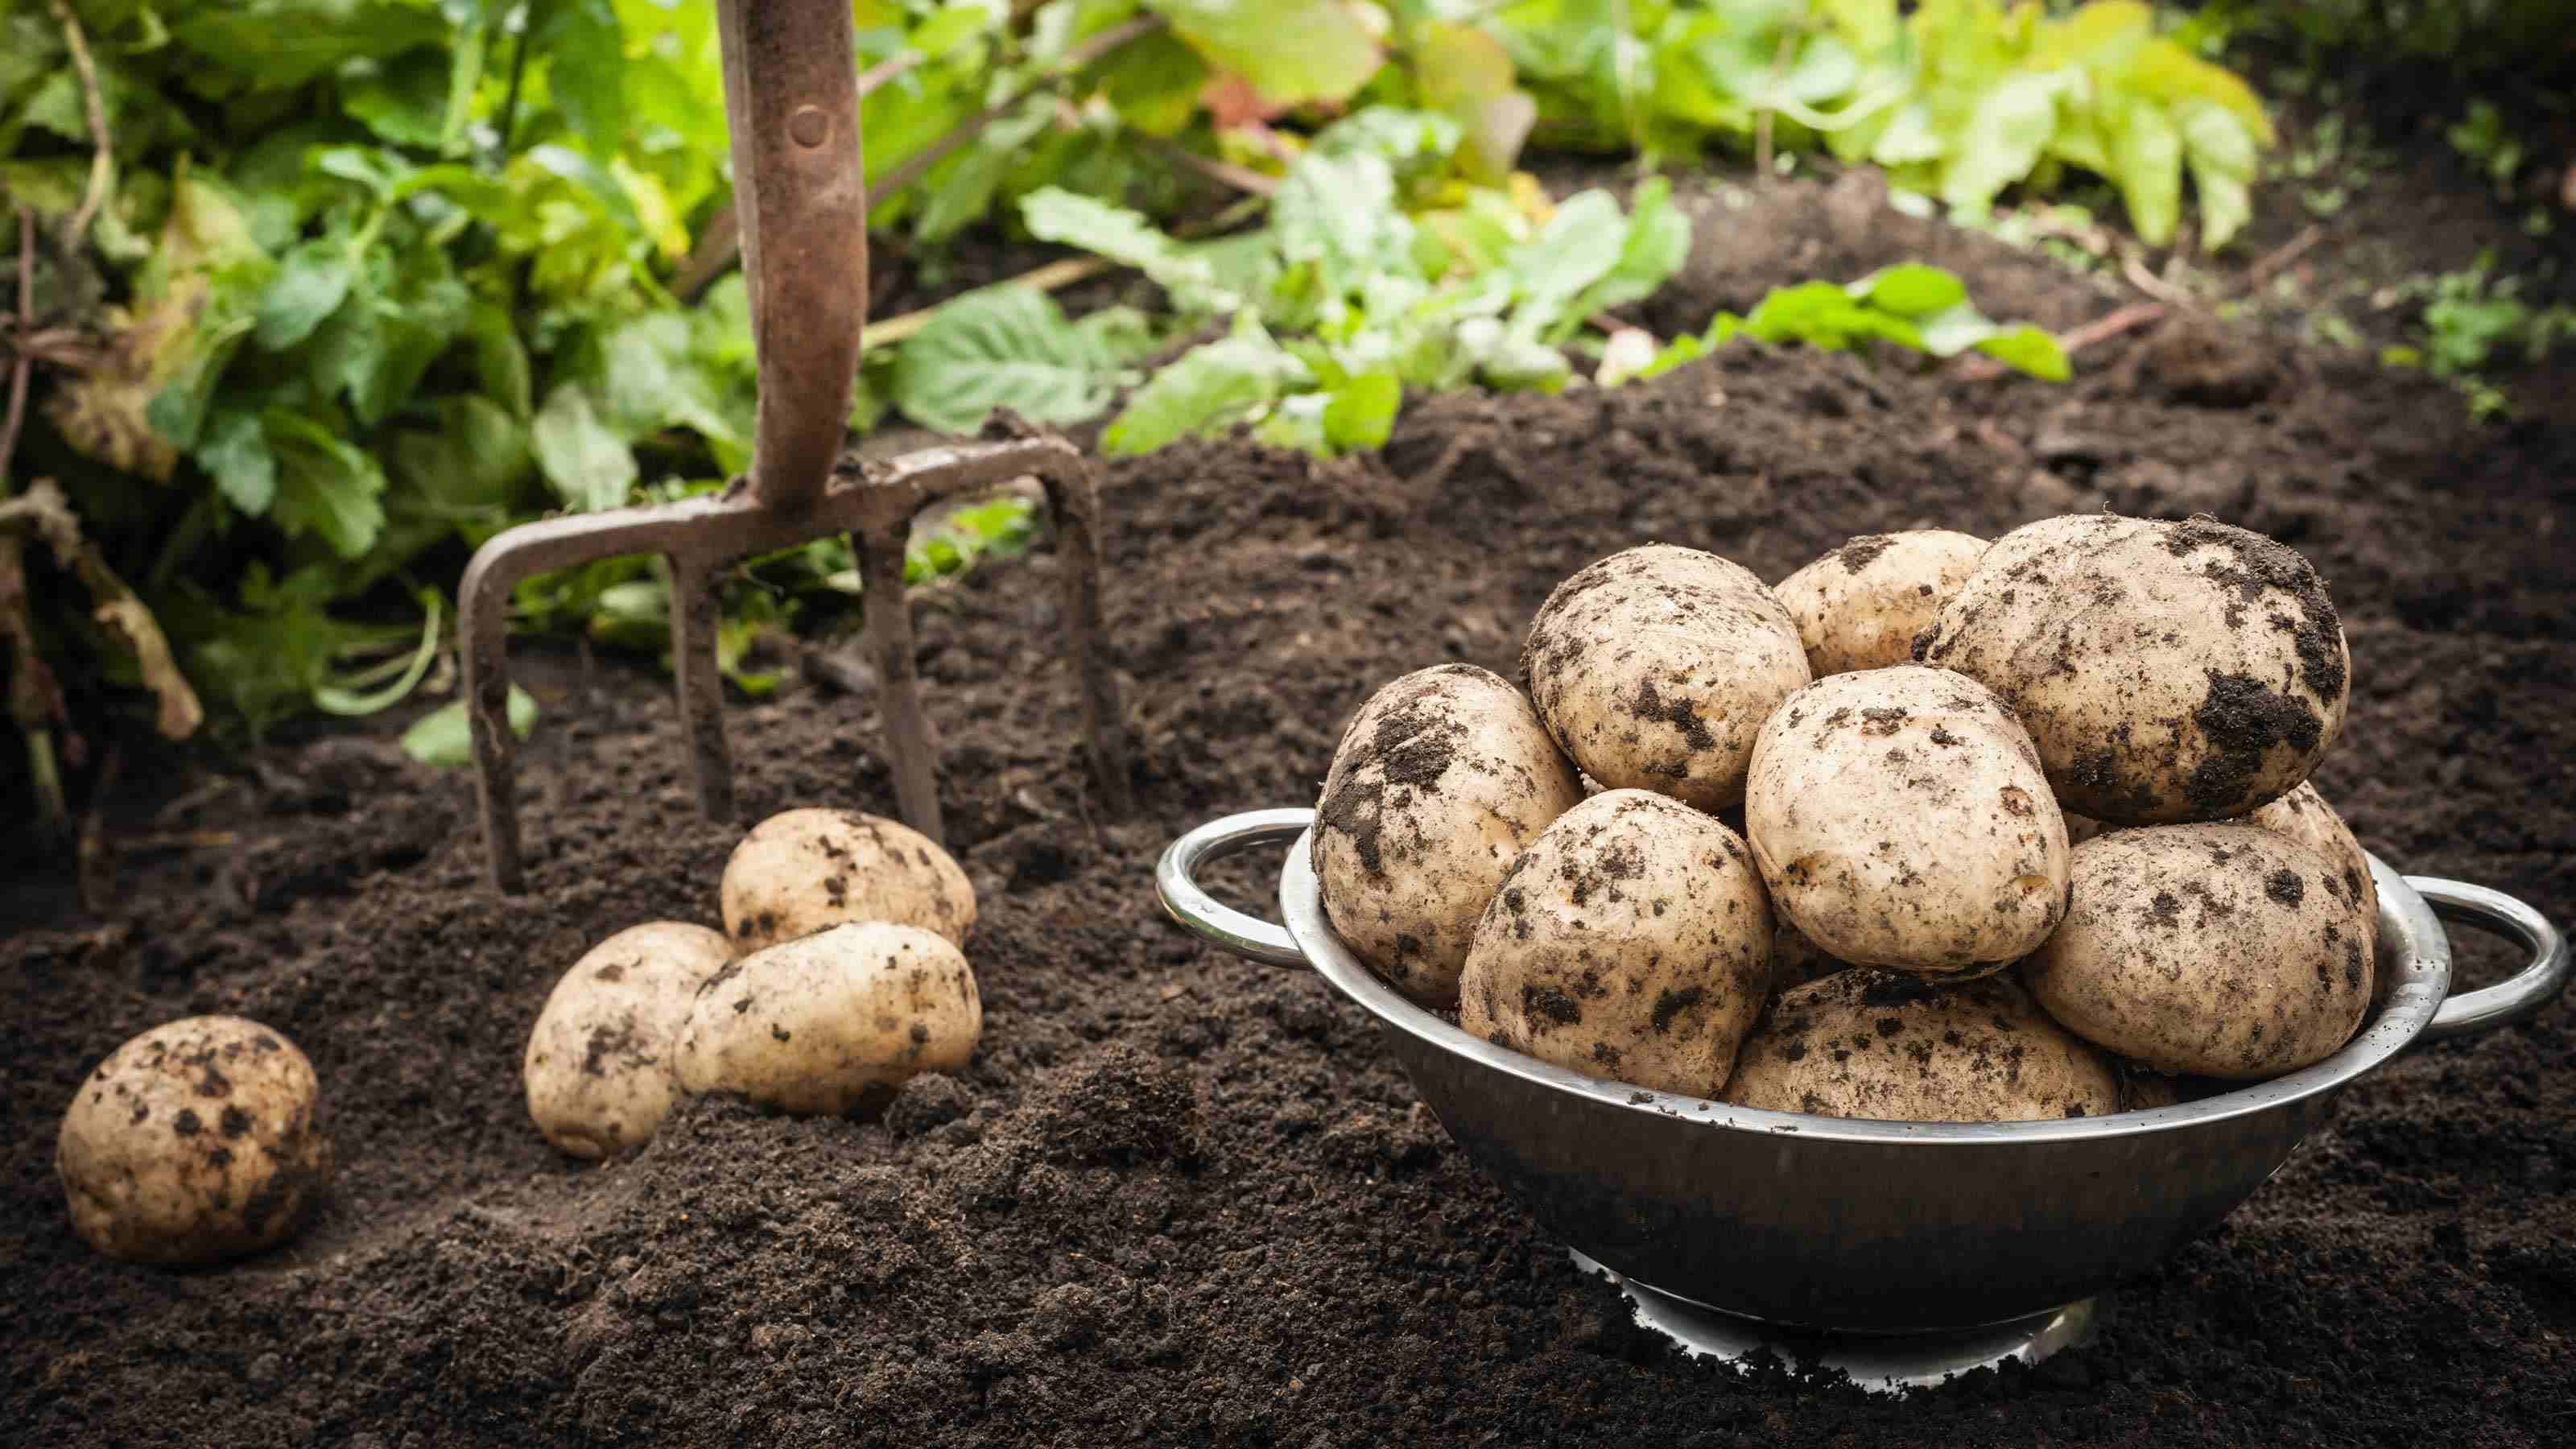
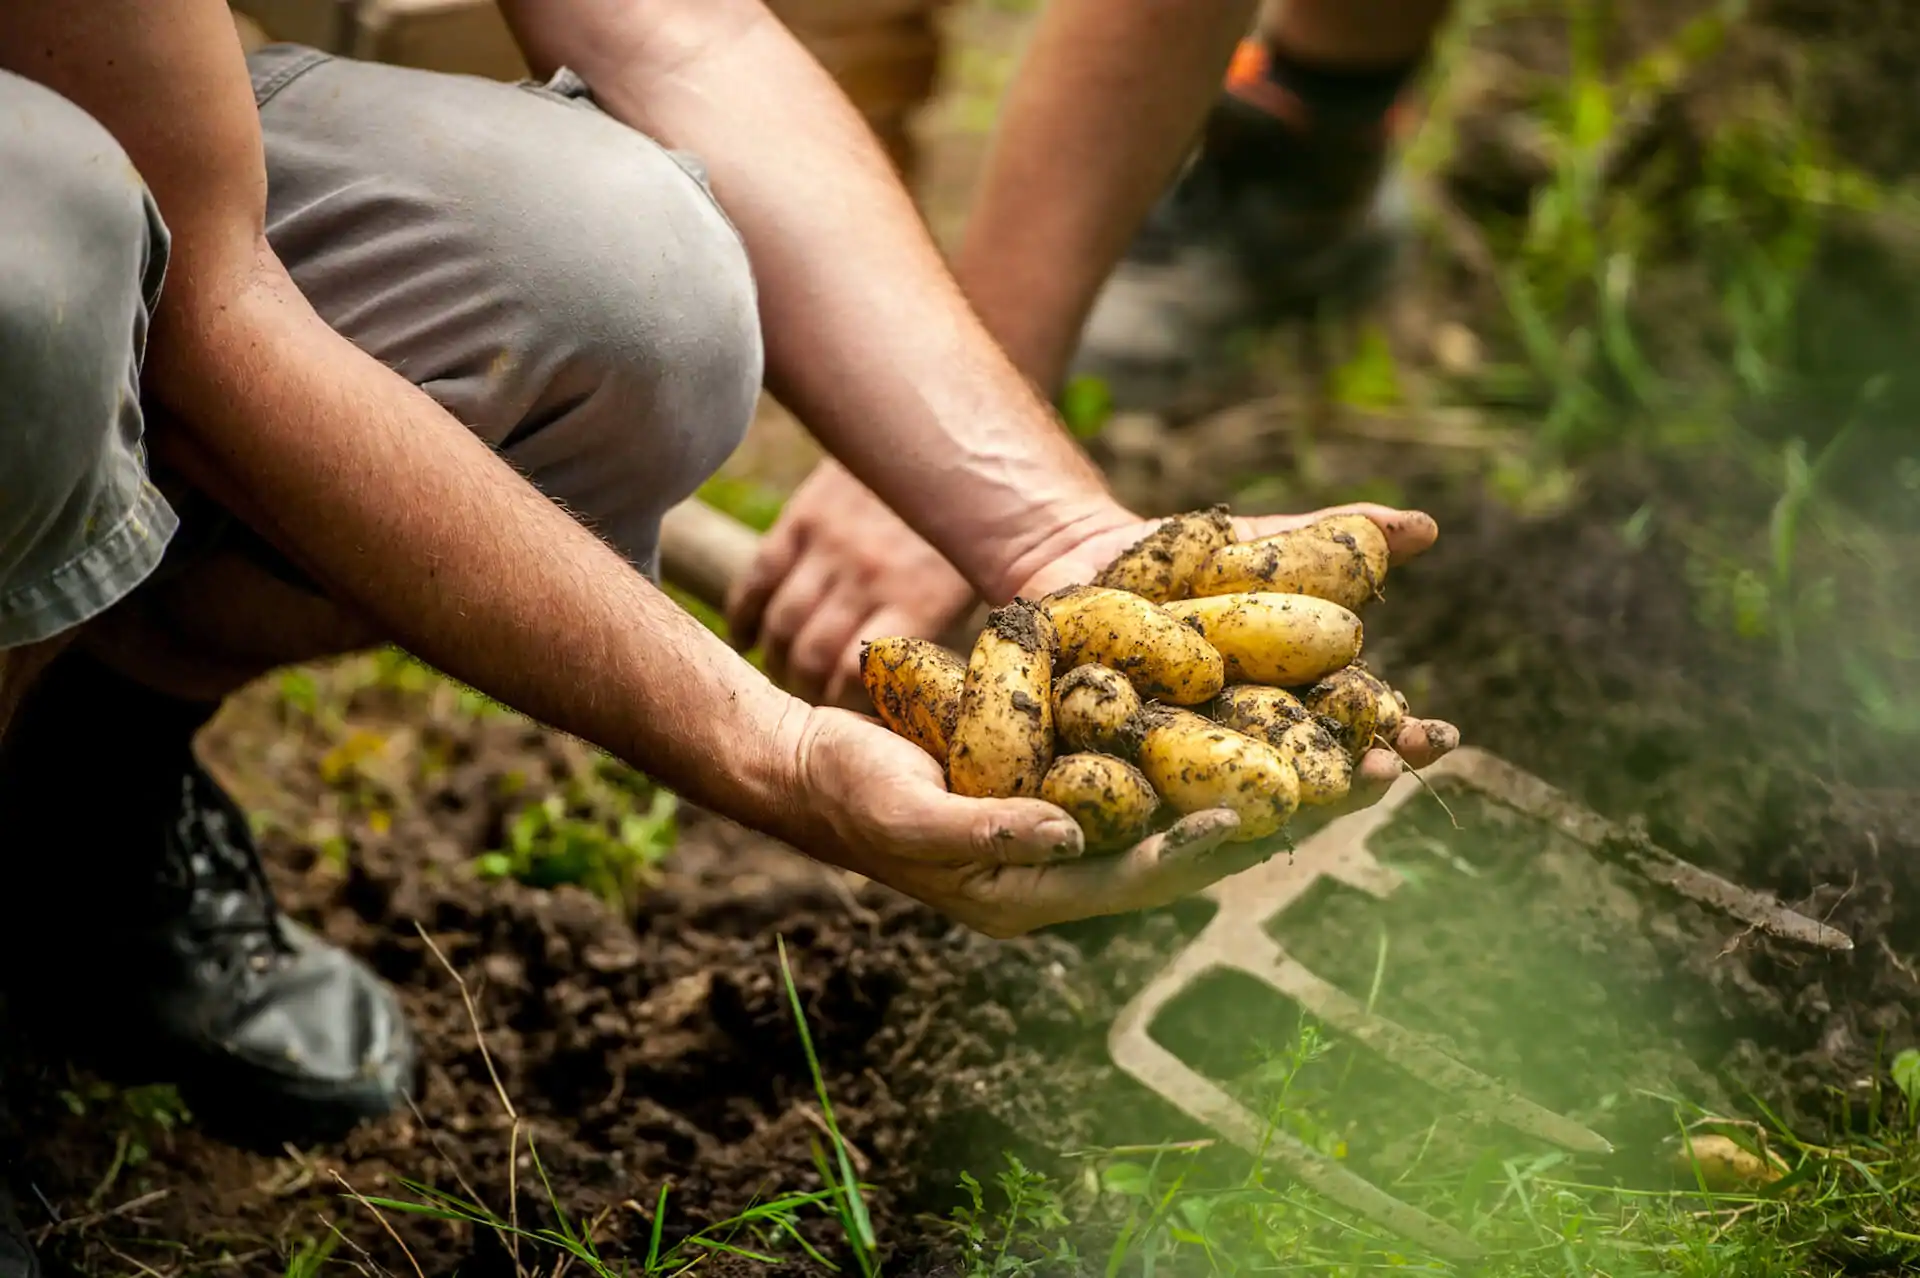
- Harvesting: Harvest potatoes when the plants have died down and the tubers have reached their full size. Carefully dig them up, being mindful not to damage the tubers. Cure the harvested potatoes in a cool, dark, and well-ventilated area for about two weeks to improve their storage life.
By following these tips and providing the optimal planting conditions for your potatoes, you’ll create a favorable environment for their growth and development. This will result in healthy plants, abundant yields, and ultimately, delicious homegrown potatoes for you to enjoy.
Conclusion
Growing your own potatoes can be a fulfilling and rewarding experience. By following the proper techniques for cutting up the potatoes and preparing them for planting, you set the stage for a successful potato crop. From choosing the right potato varieties to cleaning and drying the seed pieces, every step plays a crucial role in ensuring optimal conditions for growth and preventing the spread of diseases.
Remember to select healthy seed potatoes, cut them into appropriate-sized seed pieces with at least one eye, and treat them with care to avoid damage or disease transmission. Cleaning and drying the seed pieces after cutting help create a favorable environment for successful germination and growth. Precautions, such as sanitizing cutting tools and avoiding cross-contamination, minimize the risk of diseases affecting your crop.
Creating optimal planting conditions through proper soil preparation, providing adequate spacing and sunlight, and employing good watering and fertilization practices will promote healthy plant growth. Regular monitoring of pests and diseases, along with appropriate treatments, will help safeguard your potato crop.
Finally, when the time comes to harvest your potatoes, do so when the plants have died down and the tubers have reached their full size. Properly storing and curing the harvested potatoes will ensure their longevity and quality.
With the knowledge and techniques shared in this article, you are well-equipped to embark on your edible gardening adventure and enjoy the rewarding experience of growing your own potatoes. From seed to harvest, you can take pride in providing fresh and flavorful homegrown produce for yourself and your loved ones.