Home>Gardening Techniques>DIY Projects>How To Plant Cuttings In Soil

DIY Projects
How To Plant Cuttings In Soil
Published: February 10, 2024
Learn how to plant cuttings in soil with this helpful DIY project. Step-by-step instructions and tips for successful propagation.
(Many of the links in this article redirect to a specific reviewed product. Your purchase of these products through affiliate links helps to generate commission for Chicagolandgardening.com, at no extra cost. Learn more)
Table of Contents
Introduction
Welcome to the world of DIY projects! There’s nothing quite as fulfilling as creating something beautiful or useful with your own two hands. If you’re looking to embark on a rewarding and practical DIY project, why not try planting cuttings in soil? It’s a simple and cost-effective way to grow new plants from existing ones, and it’s a great way to expand your garden or indoor plant collection.
Planting cuttings in soil is a technique that has been used for centuries by gardeners and plant enthusiasts. The process involves taking a small portion of an existing plant, often a stem or leaf, and placing it in soil so that it can develop its own root system and grow into a new plant. This method is commonly used for propagating a wide range of plants, including succulents, herbs, and flowering plants.
Not only is planting cuttings in soil an excellent way to propagate your favorite plants, but it also allows you to experiment with different plant varieties and create unique combinations. Plus, it’s a sustainable approach to gardening as it minimizes the need to purchase new plants and reduces waste.
In this guide, we’ll walk you through the step-by-step process of planting cuttings in soil. From preparing the cuttings to monitoring their growth, we’ve got you covered. So, grab your gardening gloves and let’s get started on this exciting DIY project!
Materials Needed
Before you begin planting cuttings in soil, it’s important to gather the necessary materials. Having everything prepared in advance will make the process smoother and more efficient. Here’s a list of items you’ll need:
- Pot or Container: Select a pot or container that is appropriate for the size of your cuttings. Make sure it has drainage holes at the bottom to prevent water from accumulating.
- Soil: Choose a well-draining potting mix or create your own by combining equal parts of garden soil, sand, and perlite or vermiculite.
- Rooting Hormone (optional): Although not necessary, using a rooting hormone can help stimulate root growth and increase success rate.
- Sharp Pruning Shears: A clean and sharp pair of pruning shears or scissors will be needed to take cuttings from the parent plant.
- Watering Can or Spray Bottle: You’ll need a watering can or spray bottle to provide moisture to the cuttings and keep the soil evenly moist.
- Clear Plastic Bag or Plastic Wrap: A clear plastic bag or plastic wrap can be used to create a mini greenhouse effect and retain moisture around the cuttings.
- Labels: Don’t forget to label your pots or containers with the names of the plants or the date of planting. This will help you keep track of your cuttings as they grow.
Having these materials ready will ensure a successful and enjoyable experience when planting your cuttings in soil. Now that you have everything you need, let’s move on to the step-by-step process of preparing and planting the cuttings!
Step 1: Preparing the Cuttings
Now that you have gathered all the necessary materials, it’s time to prepare the cuttings for planting. Follow these steps:
- Select Healthy Plants: Choose a healthy parent plant from which you will take the cuttings. Look for plants that have vibrant foliage, strong stems, and no signs of disease or pests.
- Choose the Right Time: The best time to take cuttings is typically in the spring or early summer when the plants are actively growing. Avoid taking cuttings during periods of stress, such as extreme heat or cold.
- Prune the Cuttings: Using sharp pruning shears, make a clean cut just below a node – the point where leaves are attached to the stem. The cutting should be around 4-6 inches long, with at least two sets of leaves.
- Remove Lower Leaves: Gently remove the leaves from the lower one-third to half of the cutting. This will prevent them from sitting in the soil and potentially rotting.
- Dip in Rooting Hormone (Optional): If you choose to use rooting hormone, dip the cut end of the stem into the hormone powder or gel. This will help stimulate root growth and increase the chances of successful rooting.
- Allow Cuttings to Dry: After applying rooting hormone, allow the cuttings to dry for a few hours or overnight. This will help seal the cut and reduce the risk of infection or rotting.
By preparing the cuttings properly, you are giving them the best chance to develop strong roots and thrive in their new environment. Now, let’s move on to the next step – preparing the soil!
Step 2: Preparing the Soil
Having well-prepared soil is crucial for the success of your plant cuttings. Follow these steps to prepare the soil:
- Select a Well-Draining Soil: Choose a potting mix or create your own soil mixture. A well-draining soil allows excess water to flow out easily and prevents root rot.
- Combine Ingredients: If you’re making your own soil mixture, combine equal parts of garden soil, sand, and perlite or vermiculite. This mixture provides good drainage while retaining some moisture.
- Remove Debris: Before filling your chosen container, remove any debris or larger particles from the soil mixture. This will ensure a clean and uniform texture.
- Moisten the Soil: Lightly moisten the soil mixture before filling the pot or container. This will help the soil settle and avoid excessive dryness when planting the cuttings.
Remember, the goal is to create a soil environment that promotes healthy root growth and allows the cuttings to establish themselves. With the soil prepared, you’re now ready to move on to the exciting part – planting the cuttings!
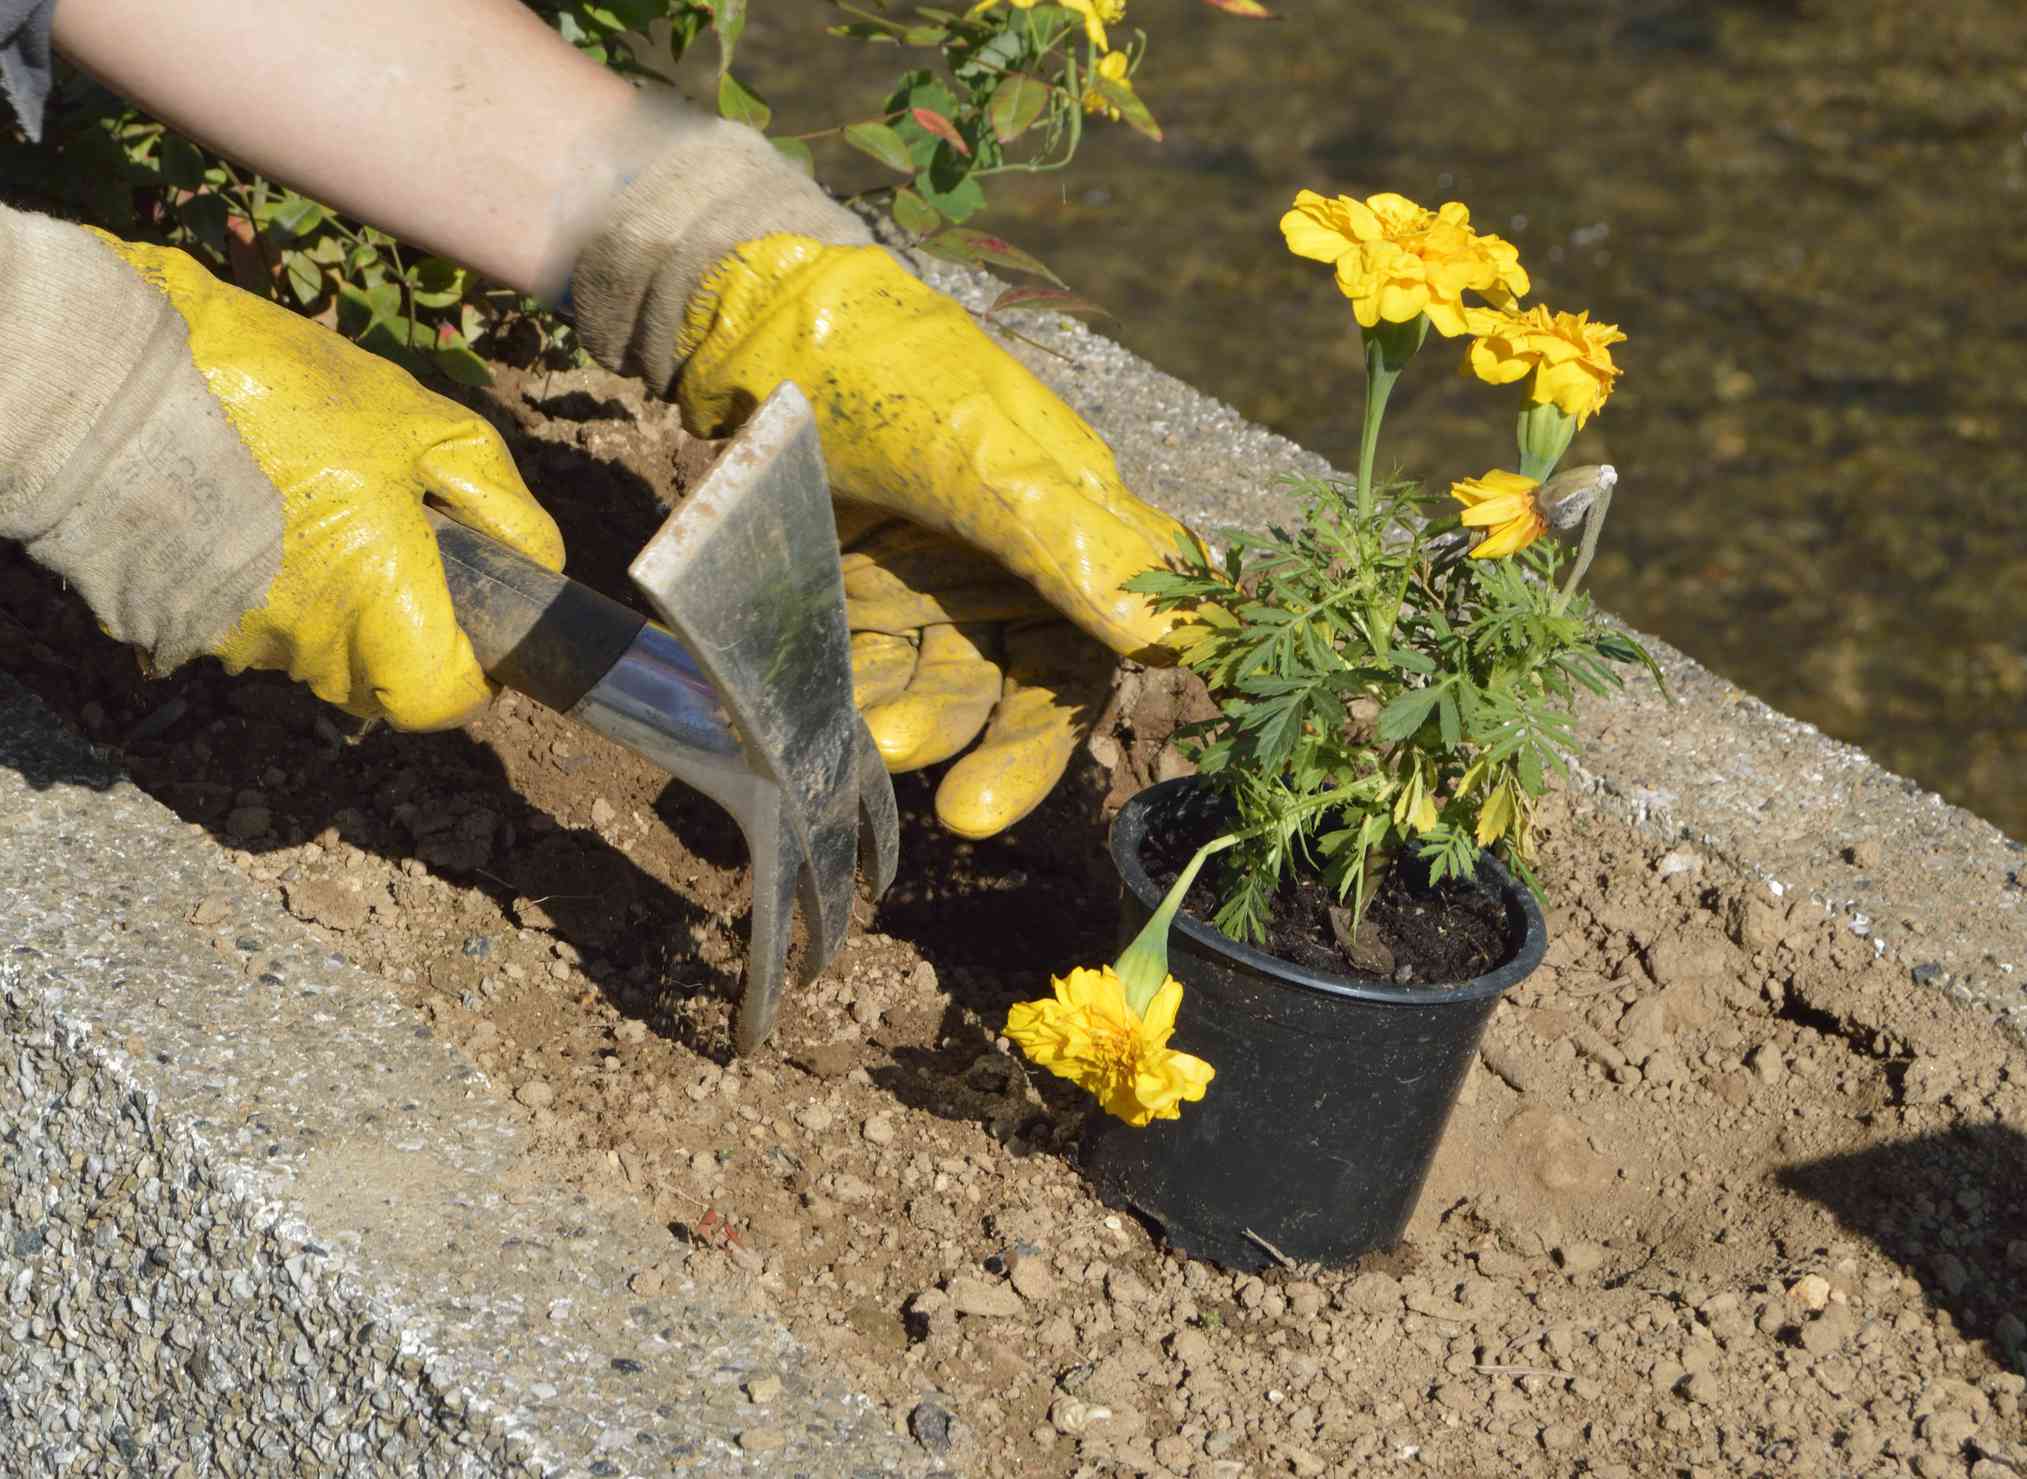
Step 3: Planting the Cuttings
With your cuttings prepared and soil ready, it’s time to plant them and give them a new home. Follow these steps to ensure proper planting:
- Make Holes in the Soil: Use your finger or a pencil to create small holes in the soil at equal distances apart. The depth of the holes should be suitable for the length of your cuttings.
- Place the Cuttings: Gently insert the cuttings into the prepared holes. Make sure that at least one node is below the soil level to encourage root development.
- Firmly Pack the Soil: Carefully press the soil around the base of the cuttings to secure them in place. Ensure they are stable and upright without any wobbling.
- Label the Containers: To keep track of the different cuttings, label each pot or container with the name of the plant or the date of planting.
It’s important to handle the cuttings with care during the planting process to avoid damaging the fragile roots that may have started to form. Once the cuttings are securely planted, it’s time to move on to the next step – watering and care!
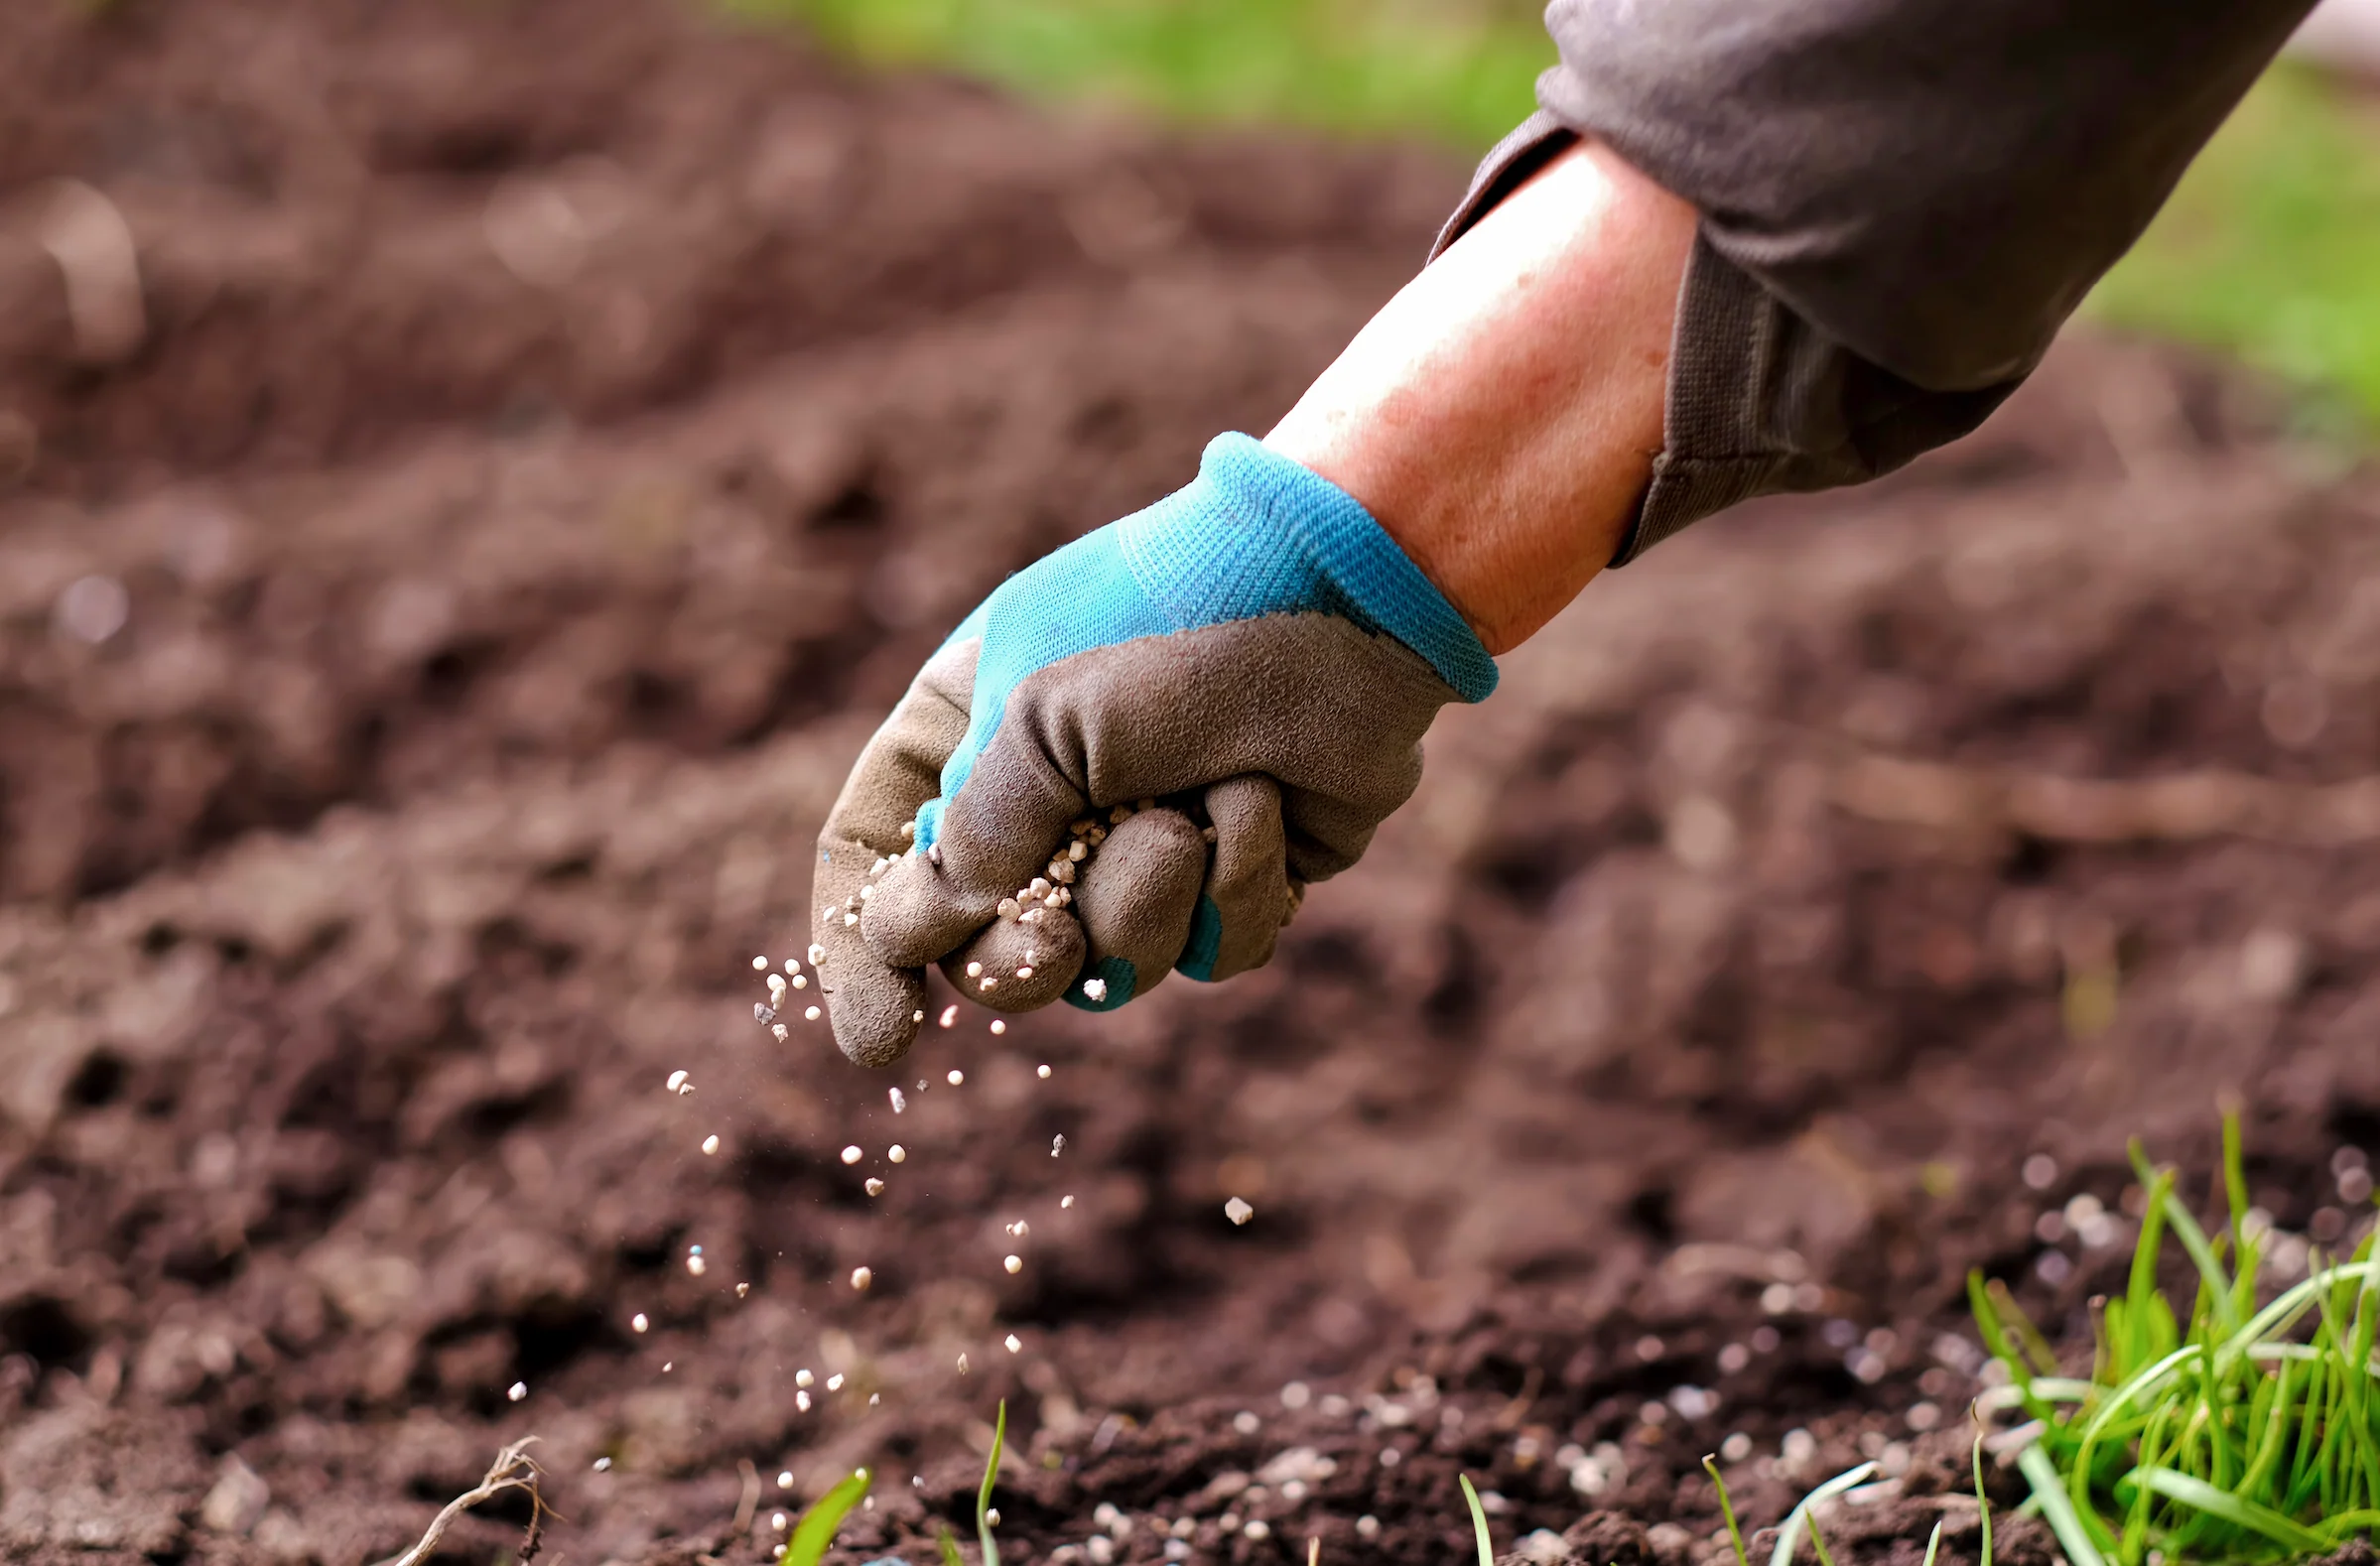
Step 4: Watering and Care
Proper watering and care are essential for the success of your newly planted cuttings. Follow these guidelines to ensure their health and growth:
- Watering: After planting the cuttings, thoroughly water the soil until it is evenly moist. Avoid overwatering, as this can lead to root rot. Check the soil regularly and water when the top inch feels dry.
- Humidity: To create a humid environment for the cuttings, cover the pots or containers with a clear plastic bag or plastic wrap. This will help retain moisture and promote rooting.
- Lighting: Place the pots or containers in a location with bright, indirect light. Avoid placing them in direct sunlight, as it can cause excessive heat and damage to the cuttings.
- Avoid Disturbing: Minimize disturbance around the cuttings to allow them to focus on root development. Avoid moving or repositioning the pots unless necessary.
- Monitor Moisture: Regularly check the moisture level of the soil and adjust the watering accordingly. Be mindful not to let the soil become too dry or waterlogged.
- Pruning: As the cuttings grow, you may need to prune them to promote branching and encourage a compact and bushy shape.
- Patience: Growing new plants from cuttings takes time and patience. It may take several weeks for the cuttings to develop roots and show signs of growth. Be patient and consistent in your care.
By providing the right amount of water, humidity, and light, and giving the cuttings time to establish themselves, you’ll increase their chances of survival and future growth. Now, let’s move on to the final step – monitoring the growth of your plant cuttings!
Step 5: Monitoring the Growth
Once you have planted your cuttings and provided them with the care they need, it’s time to monitor their growth and progress. Here are some important points to keep in mind:
- Observation: Regularly observe your cuttings for any signs of growth. Look for new leaves, stems, or roots emerging from the base of the cuttings.
- Healthy Growth: Healthy growth is indicated by vibrant foliage, sturdy stems, and an overall strong appearance. If you notice any signs of weakness, yellowing leaves, or wilting, it may indicate a problem that needs to be addressed.
- Adjust Lighting: As the cuttings grow, you may need to adjust their exposure to light. Gradually introduce them to brighter light conditions to avoid shocking the plants.
- Thinning: If multiple cuttings were planted in the same pot or container and have successfully rooted, you may need to thin them out to provide enough space for each plant to grow. Gently remove the excess cuttings, being careful not to disturb the roots of the remaining ones.
- Transplanting: Once the cuttings have established a strong root system and have outgrown their current containers, it may be time to transplant them into larger pots or into the ground. Use well-draining soil and ensure the new location provides the appropriate light and environmental conditions for the specific plant.
- Patience and Maintenance: Growing plants from cuttings requires patience and ongoing care. Continue to water, monitor for pests, and provide appropriate care for your plants as they continue to grow and thrive.
By closely monitoring the growth and health of your plant cuttings, you can address any issues and make necessary adjustments to ensure their long-term success. Enjoy the rewarding experience of watching your cuttings transform into thriving plants!
Conclusion
Planting cuttings in soil is a wonderful DIY project that allows you to expand your garden, propagate your favorite plants, and explore your creativity. By following the step-by-step process outlined in this guide, you can successfully grow new plants from existing ones, creating a thriving garden filled with beauty and variety.
From selecting healthy plants and preparing the cuttings to providing proper care and monitoring their growth, each step plays a crucial role in the success of your plant cuttings. Remember to gather all the necessary materials, including a suitable container, well-draining soil, and optional rooting hormone, to ensure a smooth planting process.
As you embark on this journey, don’t forget to be patient and observant. Growing plants from cuttings requires time, dedication, and attention to detail. Enjoy the process of nurturing your cuttings, and take pleasure in witnessing their growth and transformation into beautiful, mature plants.
So, whether you’re a seasoned gardener or a beginner, planting cuttings in soil is a fun and rewarding DIY project that allows you to connect with nature and create something new. Get your hands dirty, embrace the joys of gardening, and watch as your cuttings flourish and thrive in their new environment.
Happy planting!