Home>Types of Gardening>Edible Gardening>How To Store Seed Potatoes Until Planting
Edible Gardening
How To Store Seed Potatoes Until Planting
Modified: January 22, 2024
"Learn the best methods and tips for storing seed potatoes until planting season in this comprehensive guide for edible gardening enthusiasts."
(Many of the links in this article redirect to a specific reviewed product. Your purchase of these products through affiliate links helps to generate commission for Chicagolandgardening.com, at no extra cost. Learn more)
Table of Contents
Introduction
Edible gardening is a rewarding endeavor that allows you to grow your own fresh produce right in your backyard. One of the key components of successful edible gardening is choosing the right seeds, especially when it comes to potatoes. Potatoes are a versatile crop that can be grown in various climates and soil conditions, making them a popular choice for home gardeners.
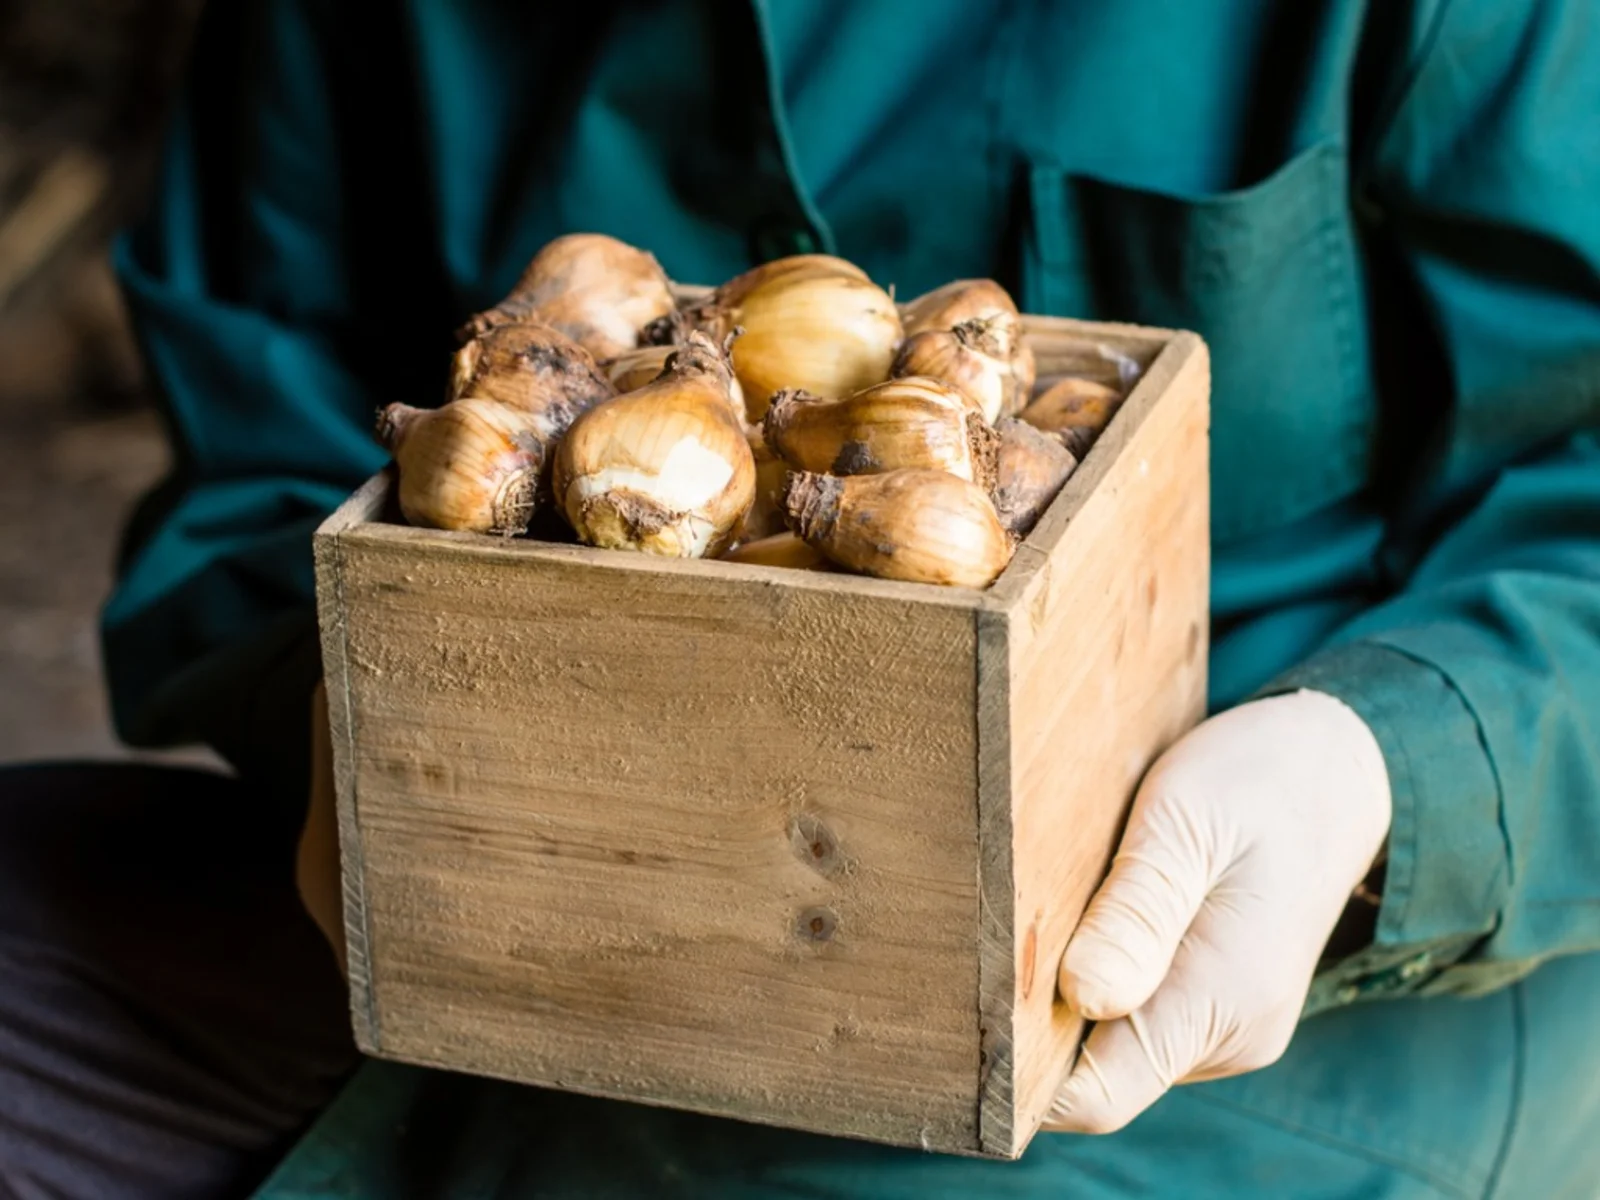
When it comes to growing potatoes, it is crucial to start with good quality seed potatoes. These are small potatoes specifically grown and harvested for their ability to produce healthy and vigorous potato plants. However, seed potatoes need to be stored properly before planting to ensure their viability and prevent disease or spoilage.
In this article, we will delve into the intricacies of storing seed potatoes until planting time. We will discuss how to choose the right seed potatoes, harvest and cure them, clean and sort them, and prepare the storage area and containers. We will also cover the essential steps for layering potatoes for storage and monitoring and maintaining the storage conditions. Additionally, we will provide tips on checking for sprouting or rot and preparing seed potatoes for planting.
By following these guidelines, you will be able to store your seed potatoes effectively and ensure that they remain healthy and ready for planting when the time comes. So, let’s dig in and discover the best practices for storing seed potatoes, one step at a time.
Choosing the Right Seed Potatoes
Choosing the right seed potatoes is essential for a successful edible garden. The quality and viability of the seed potatoes you select can significantly impact the health and productivity of your potato plants. Here are some key factors to consider when choosing seed potatoes:
- Variety: There are numerous potato varieties available, each with its unique characteristics. Consider your preferences and the growing conditions in your area. Some popular varieties include Yukon Gold, Russet, and Red Pontiac.
- Certified Seed Potatoes: It is advisable to use certified seed potatoes. These are potatoes that have been inspected and certified to be free from diseases. Look for the certification seal, indicating that the potatoes have gone through rigorous testing.
- Size: Choose seed potatoes that are of uniform size, preferably around 2-3 inches in diameter. Avoid large or overly small potatoes, as they may not produce the desired results.
- Health: Inspect the seed potatoes for signs of disease or damage. Avoid any potatoes with soft spots, decay, or sprouting. Select firm and healthy-looking tubers.
- Growing Traits: Consider the growing traits of the potato variety you choose. Some varieties are better suited for specific climates, soil types, or culinary uses. Understand these traits to ensure a successful harvest.
When selecting seed potatoes, it is essential to purchase them from reputable sources. Local nurseries, garden centers, or online seed suppliers are reliable options. Avoid using store-bought potatoes, as they may have been treated to prevent sprouting, reducing their ability to sprout and grow effectively.
Remember, using high-quality seed potatoes sets the foundation for a thriving potato crop. Take the time to select the right variety, ensure their health and certification, and consider the specific requirements of your growing conditions. By doing so, you are setting yourself up for a bountiful harvest of delicious homegrown potatoes.
Harvesting and Curing Potatoes
When it comes to harvesting potatoes, timing is crucial. You want to wait until the potatoes have reached maturity but avoid leaving them in the ground for too long, as this can result in deterioration or vulnerability to pests and diseases. Here’s a step-by-step guide to harvesting and curing potatoes:
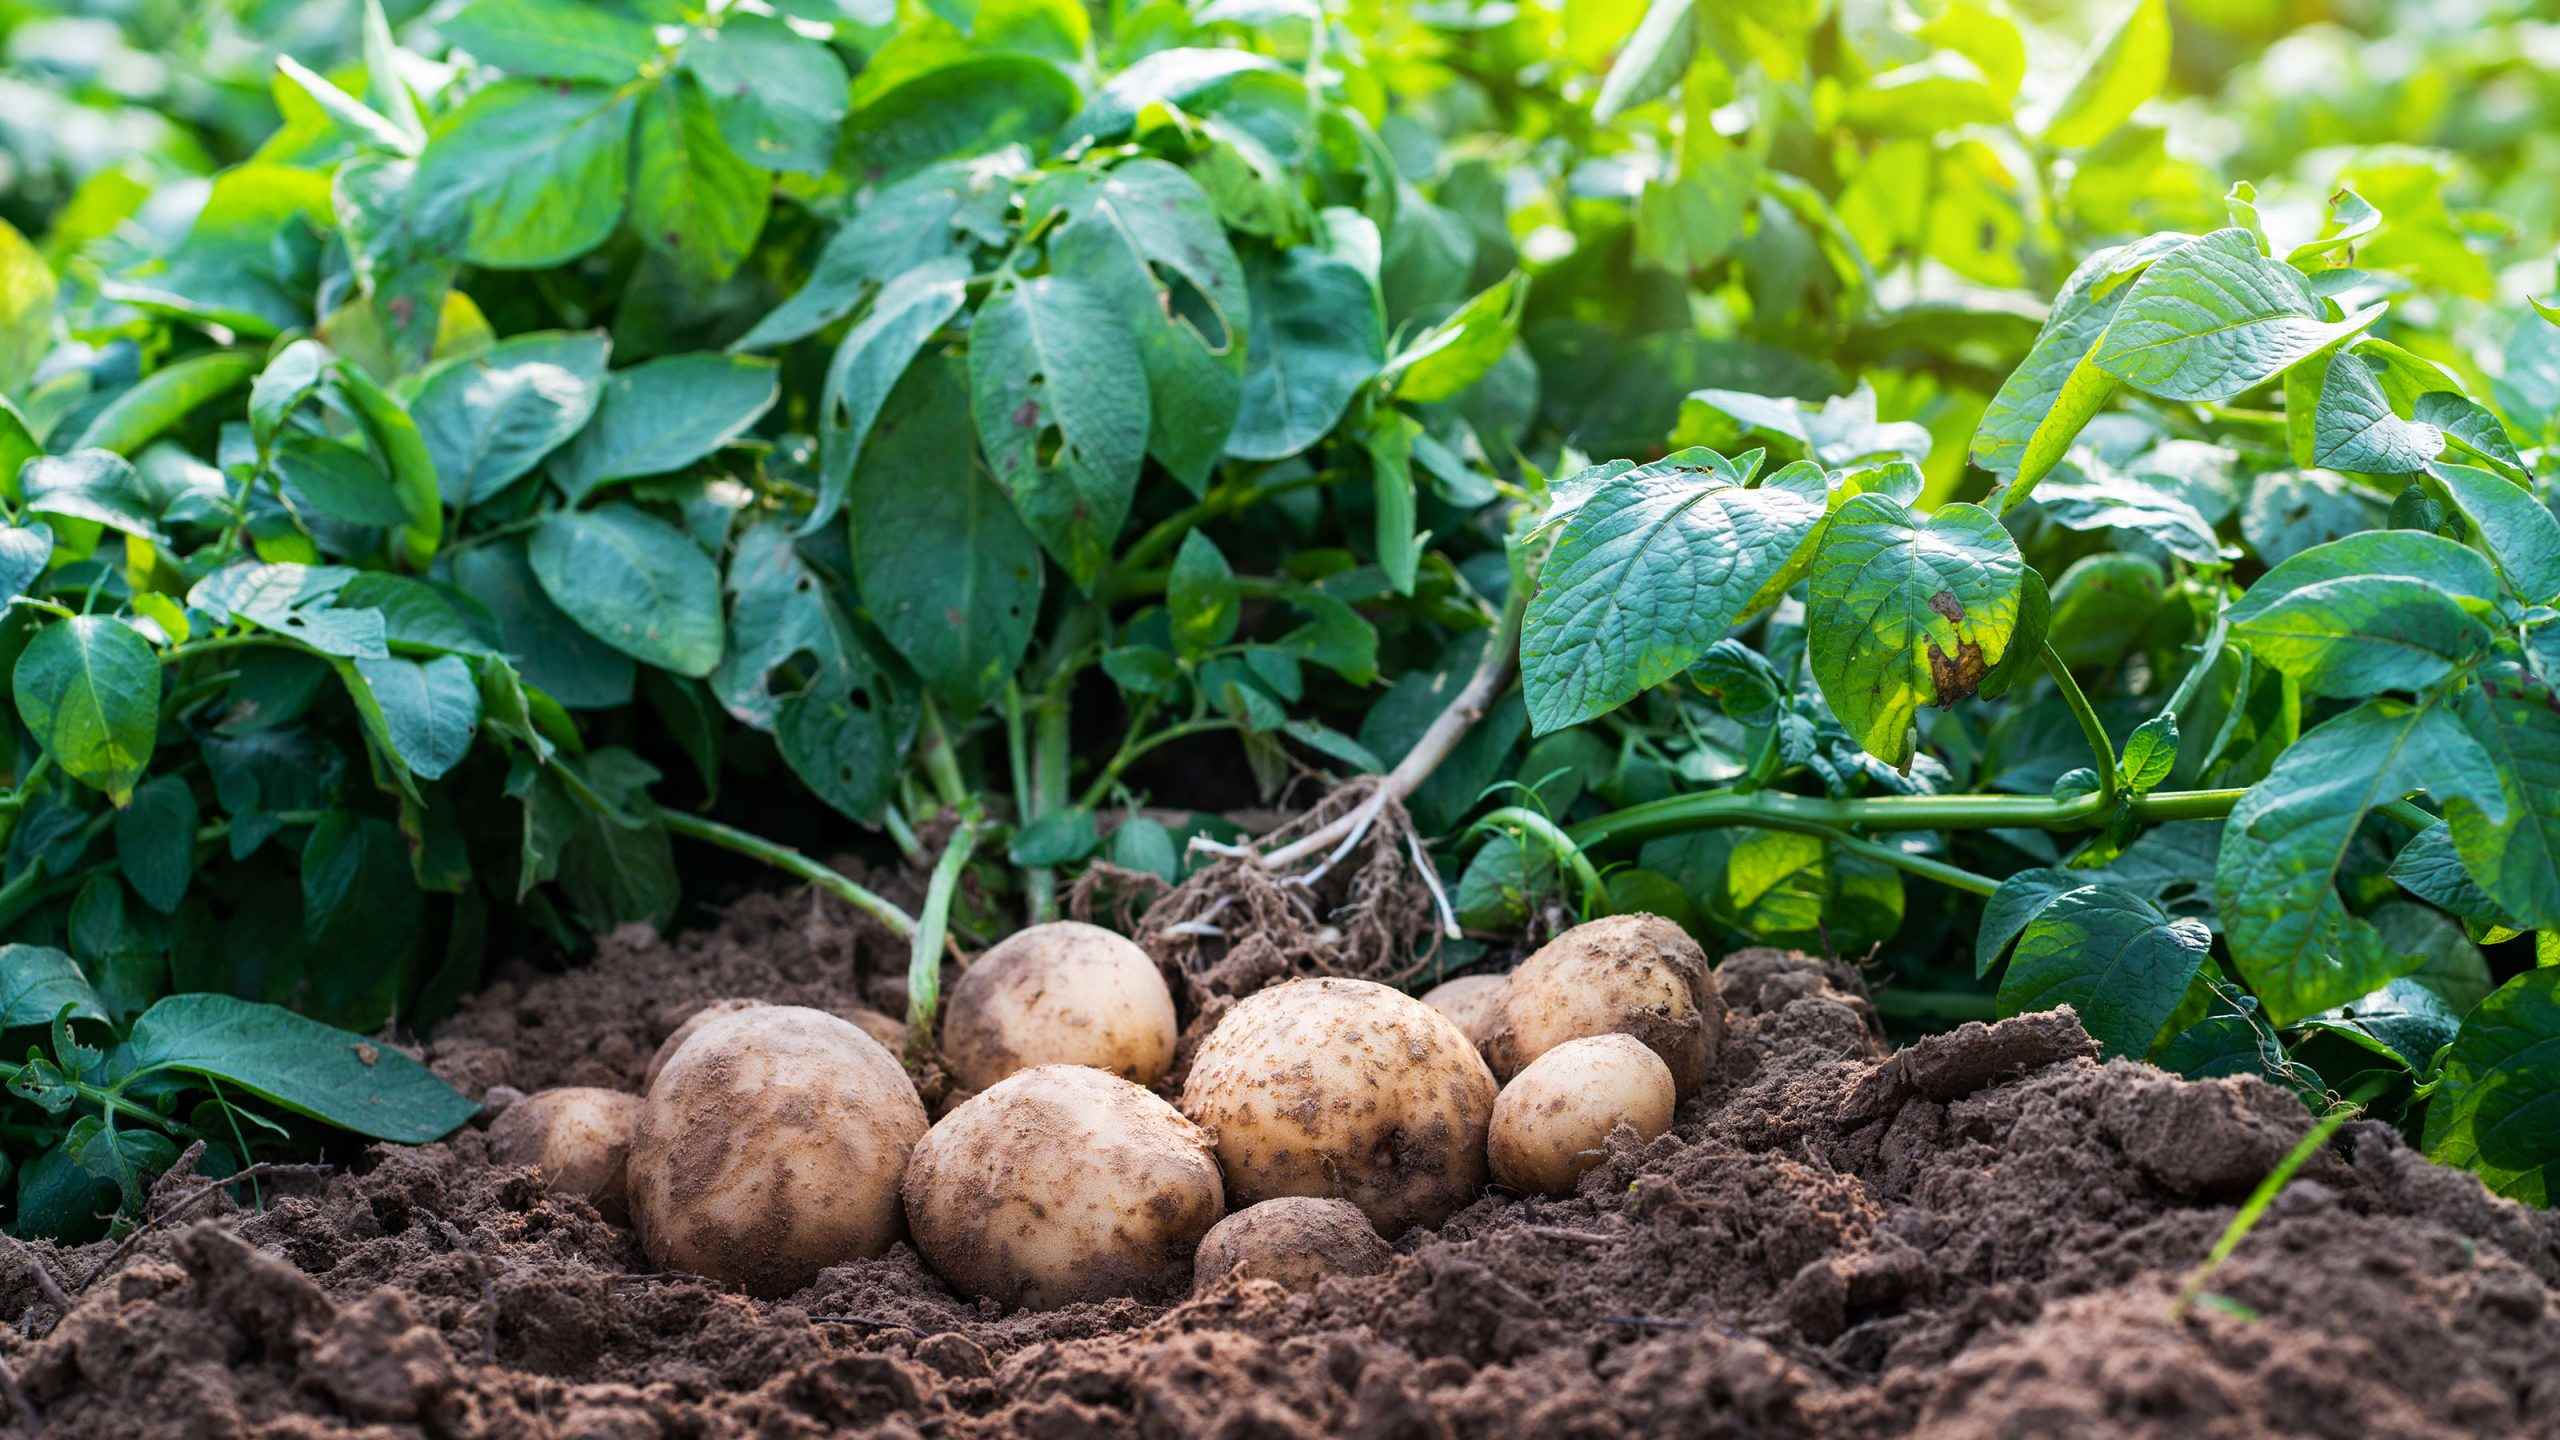
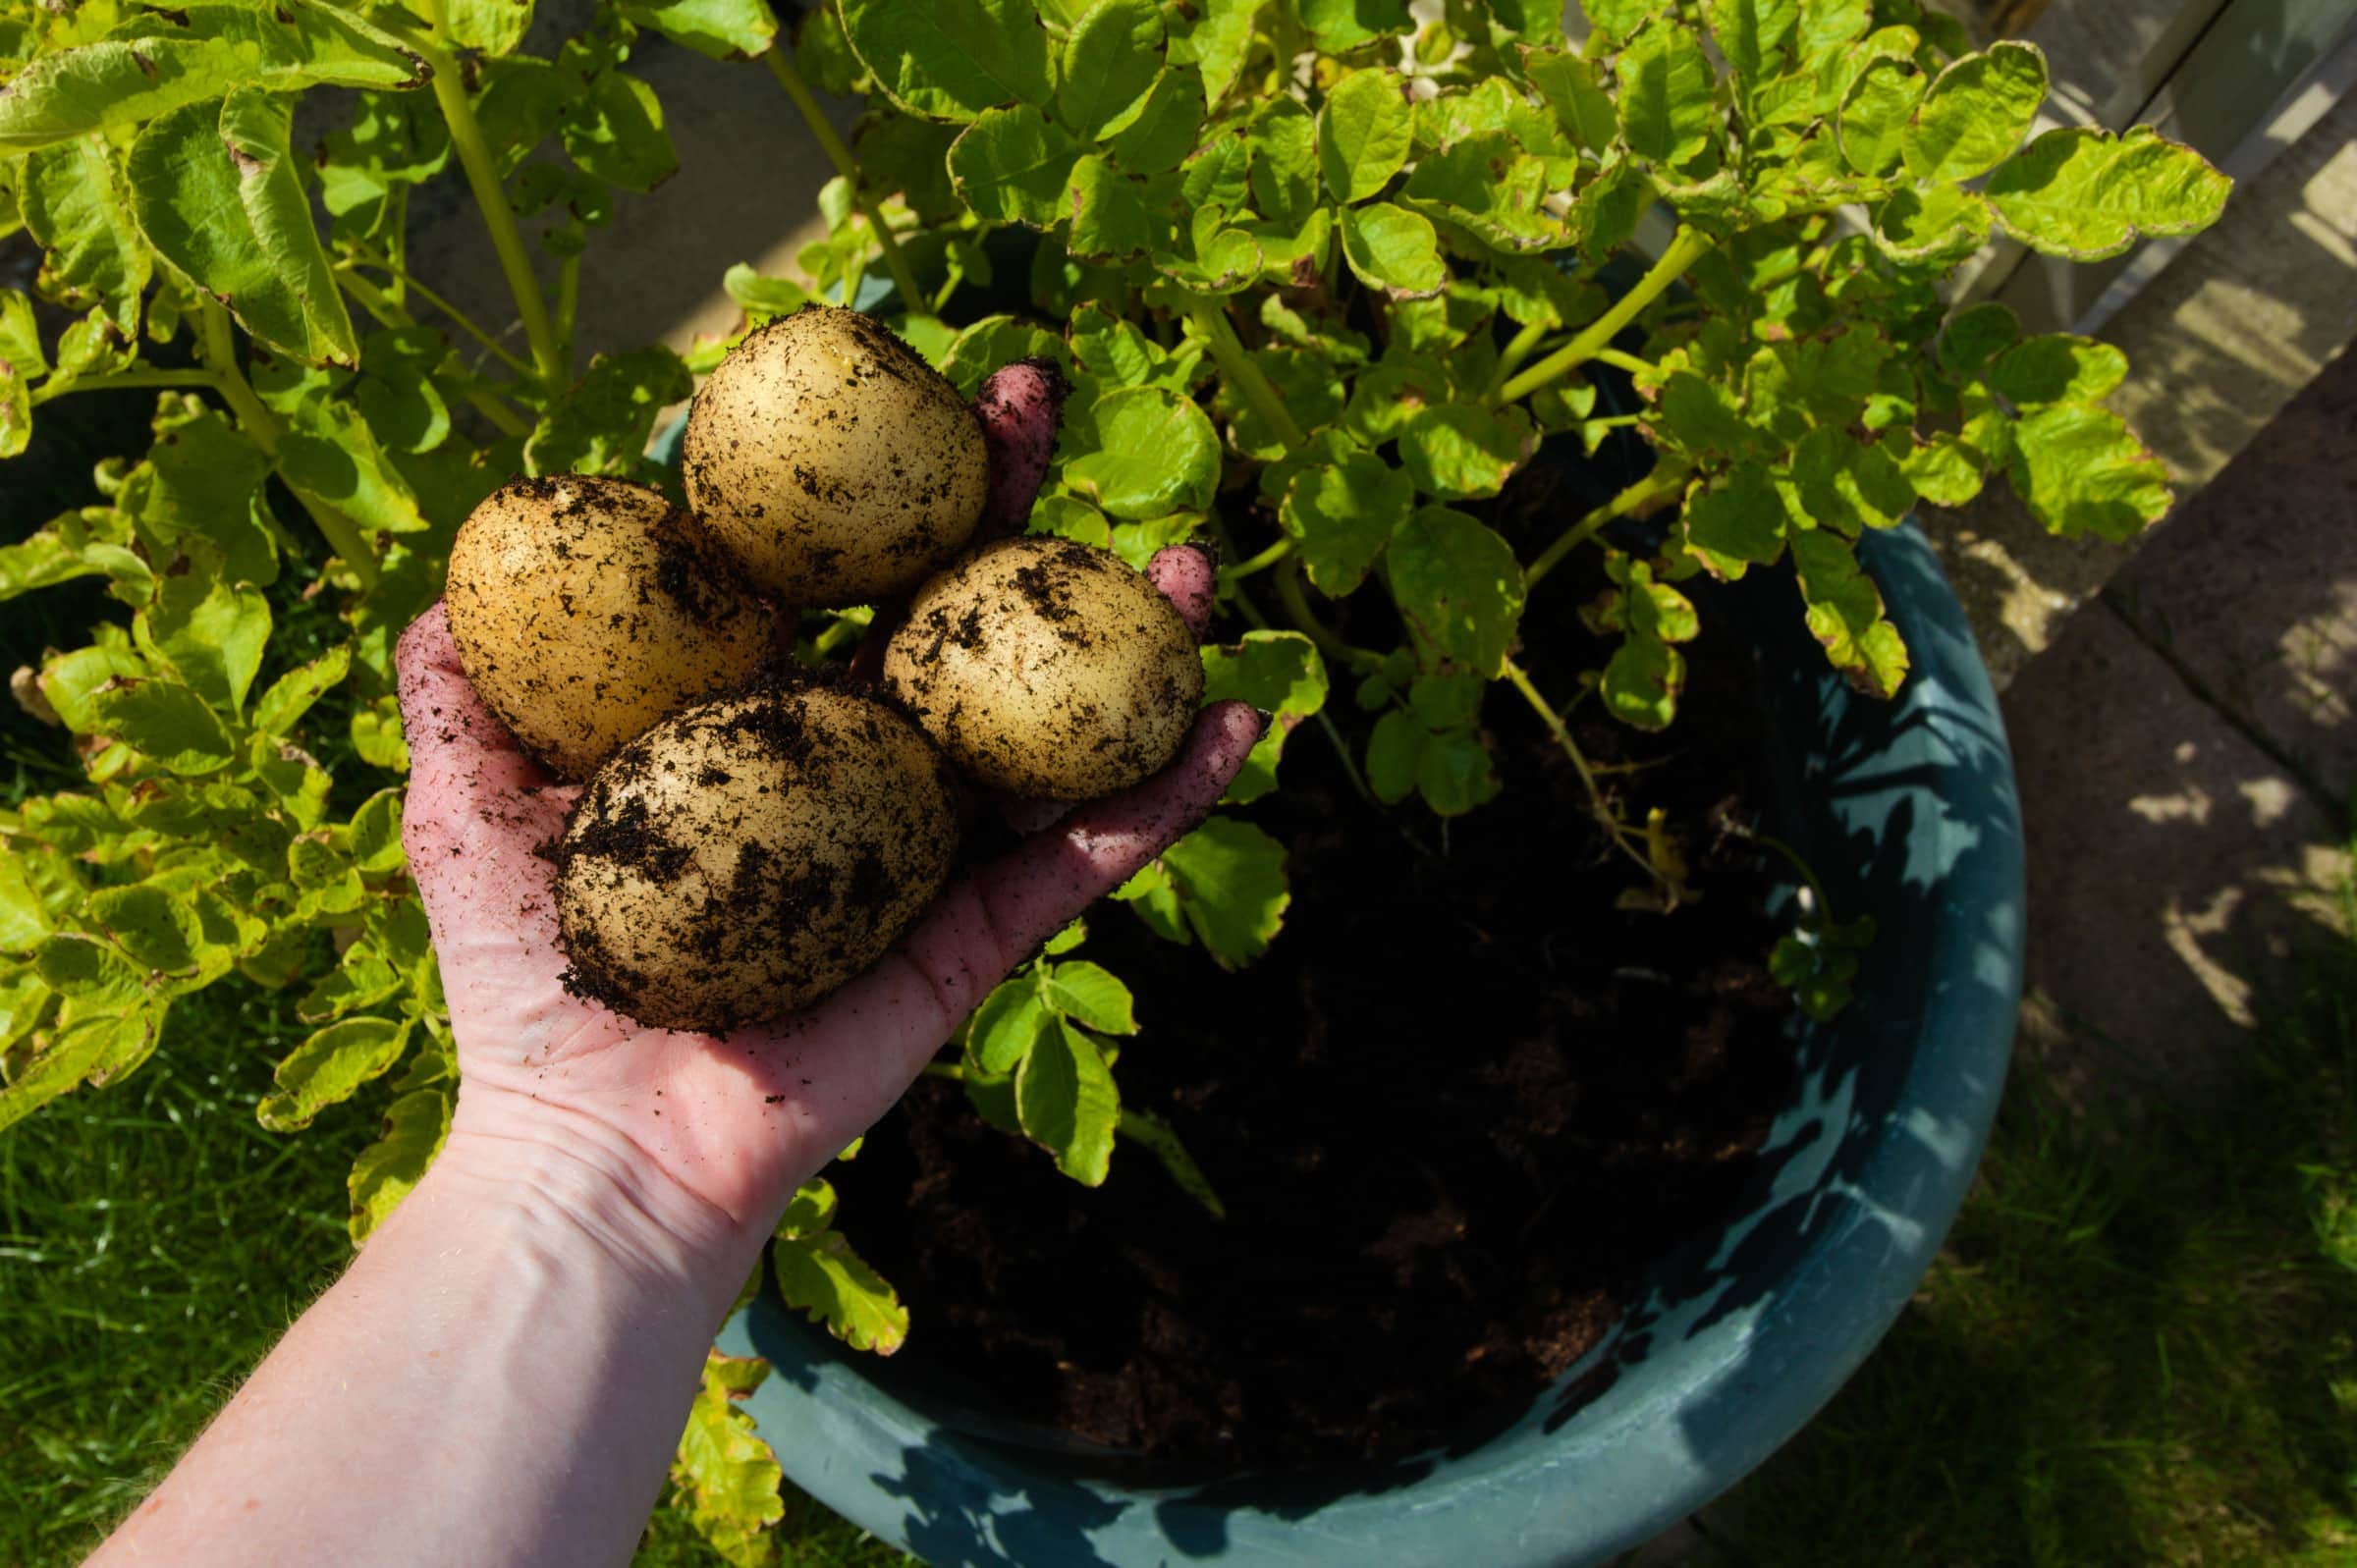
- Knowing When to Harvest: Most potato varieties will be ready to harvest when the tops of the plants start to yellow and die back. This usually occurs around 2-3 weeks after the plants have finished flowering. Check a few plants by gently digging around the base to assess the size and maturity of the tubers.
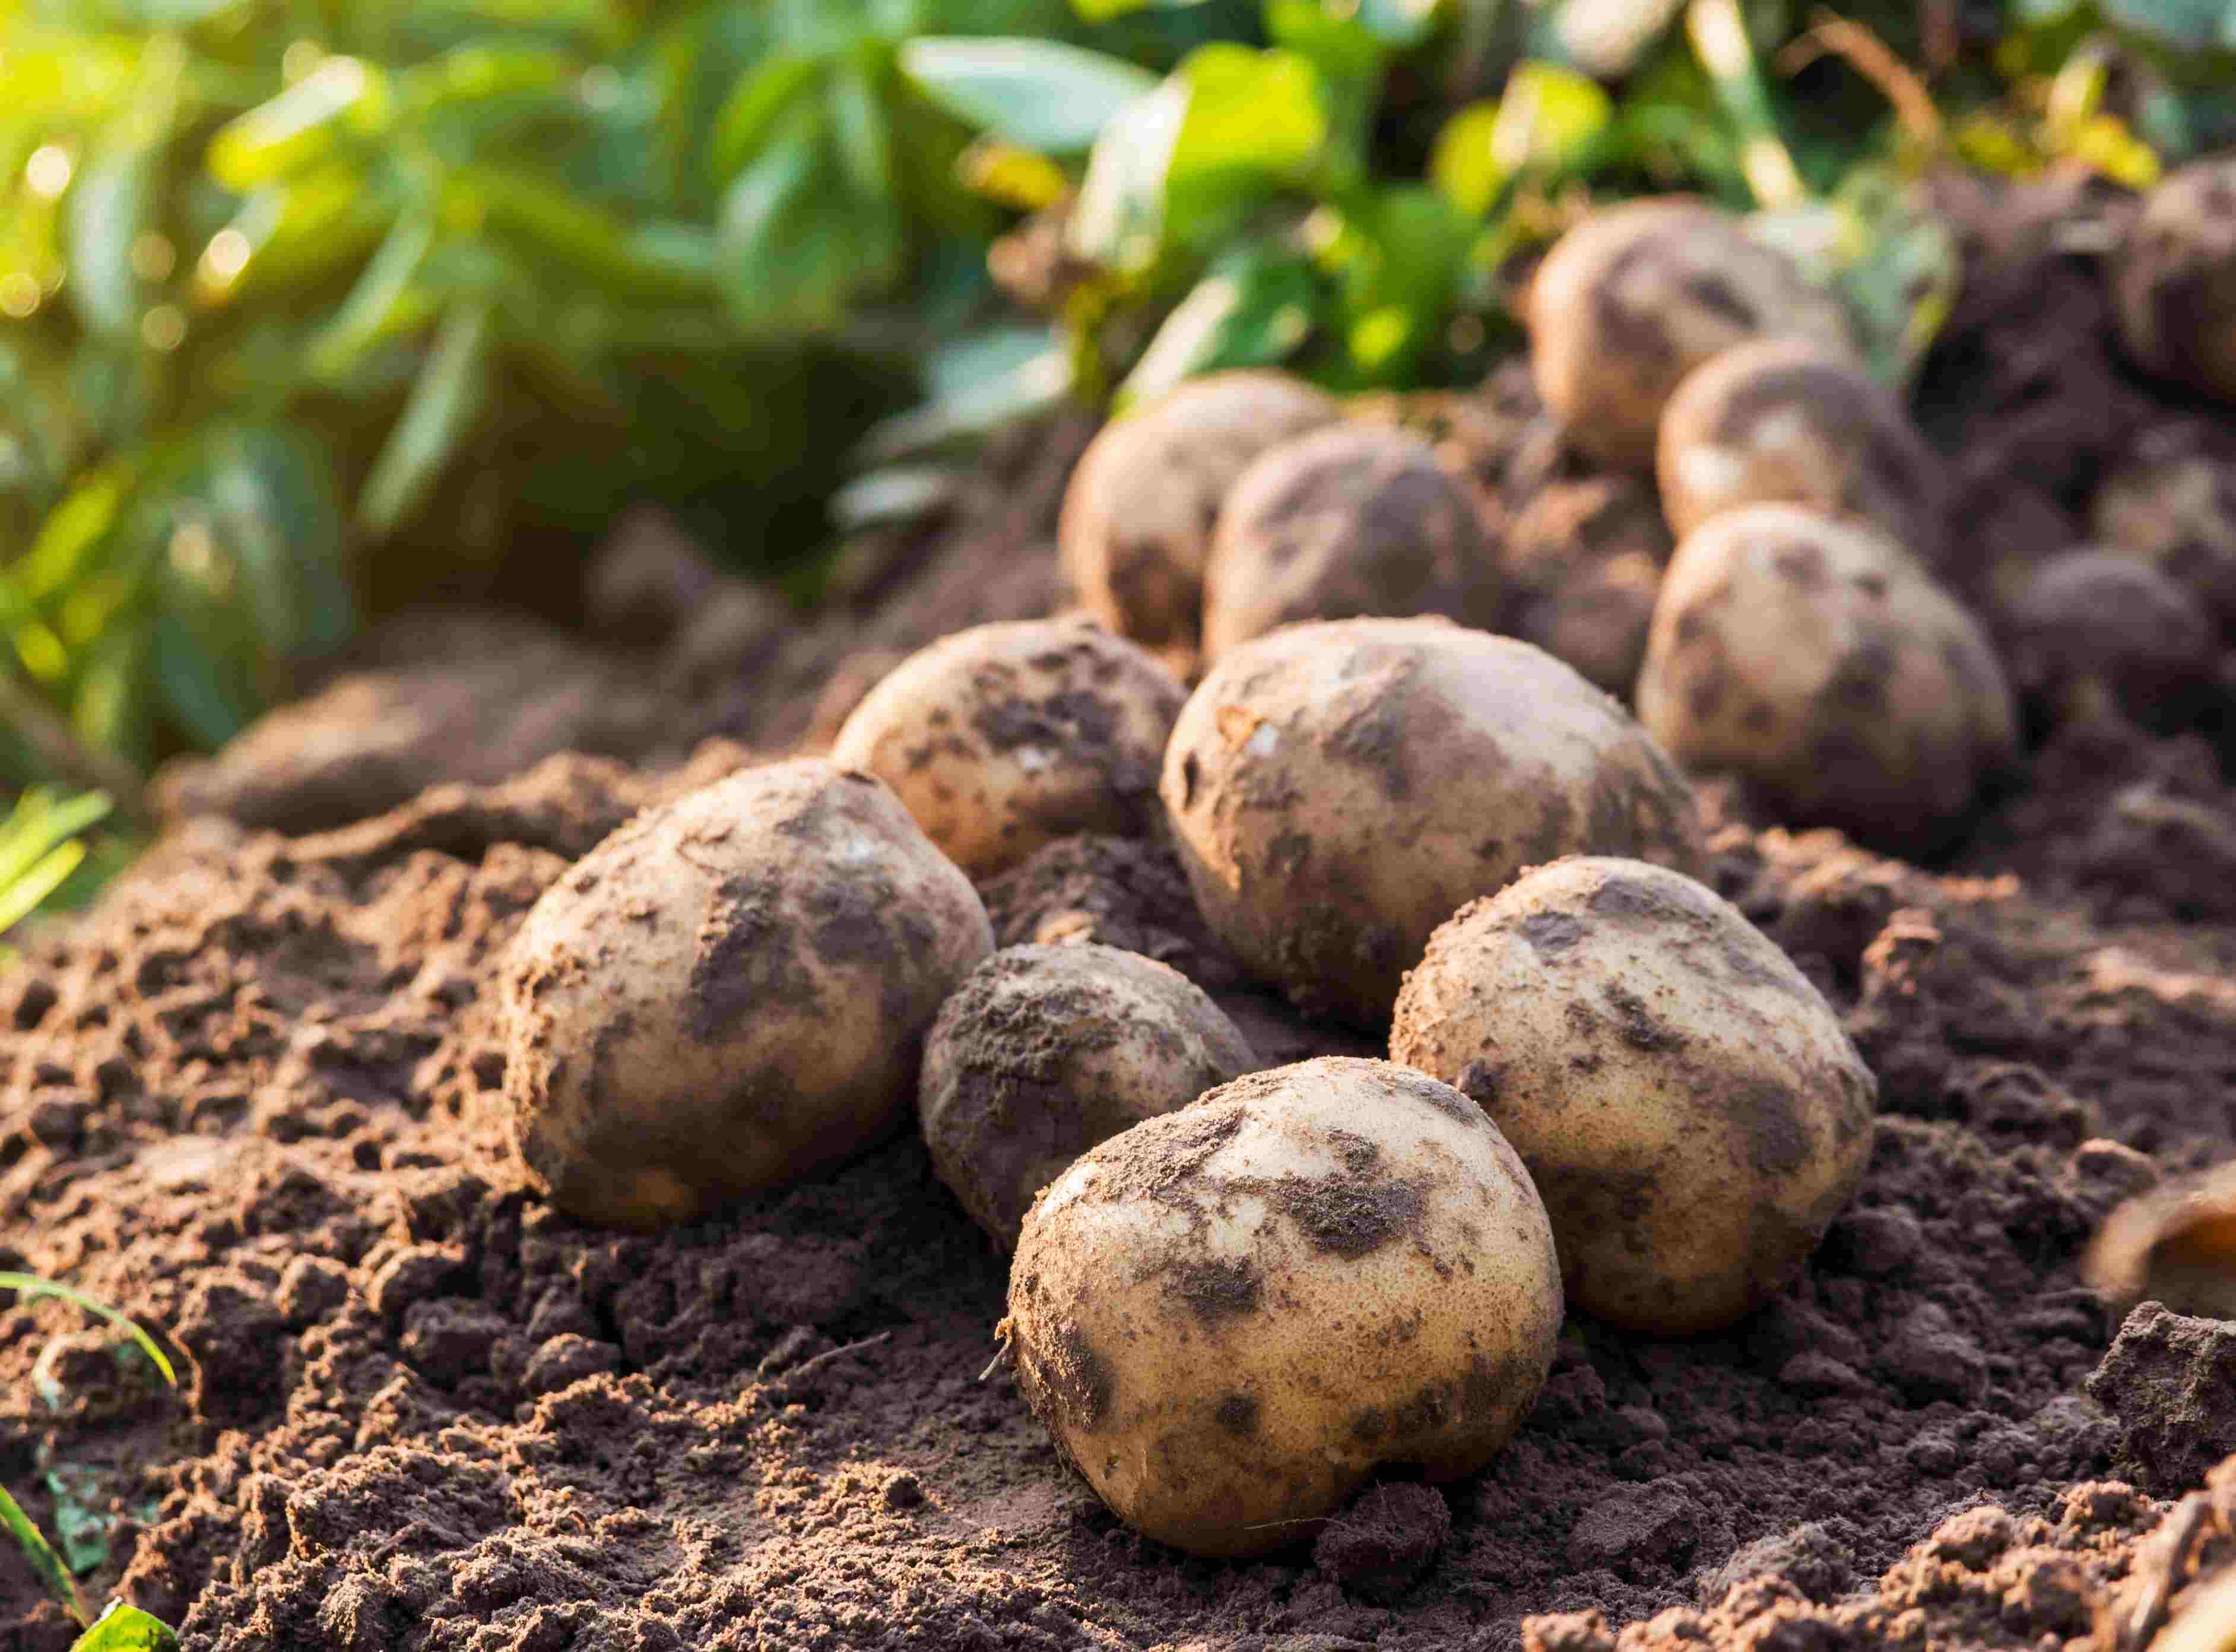
- Preparing for Harvest: Prior to harvesting, ensure that the soil is dry to facilitate easier digging and minimize the risk of damaging the potatoes. Use a garden fork or shovel to gently lift the plants from the ground, being careful not to stab or pierce the tubers.
- Harvesting the Potatoes: Once the plants are lifted, carefully remove any excess soil clinging to the potatoes. Avoid washing them at this stage, as moisture can promote rot during the curing process.
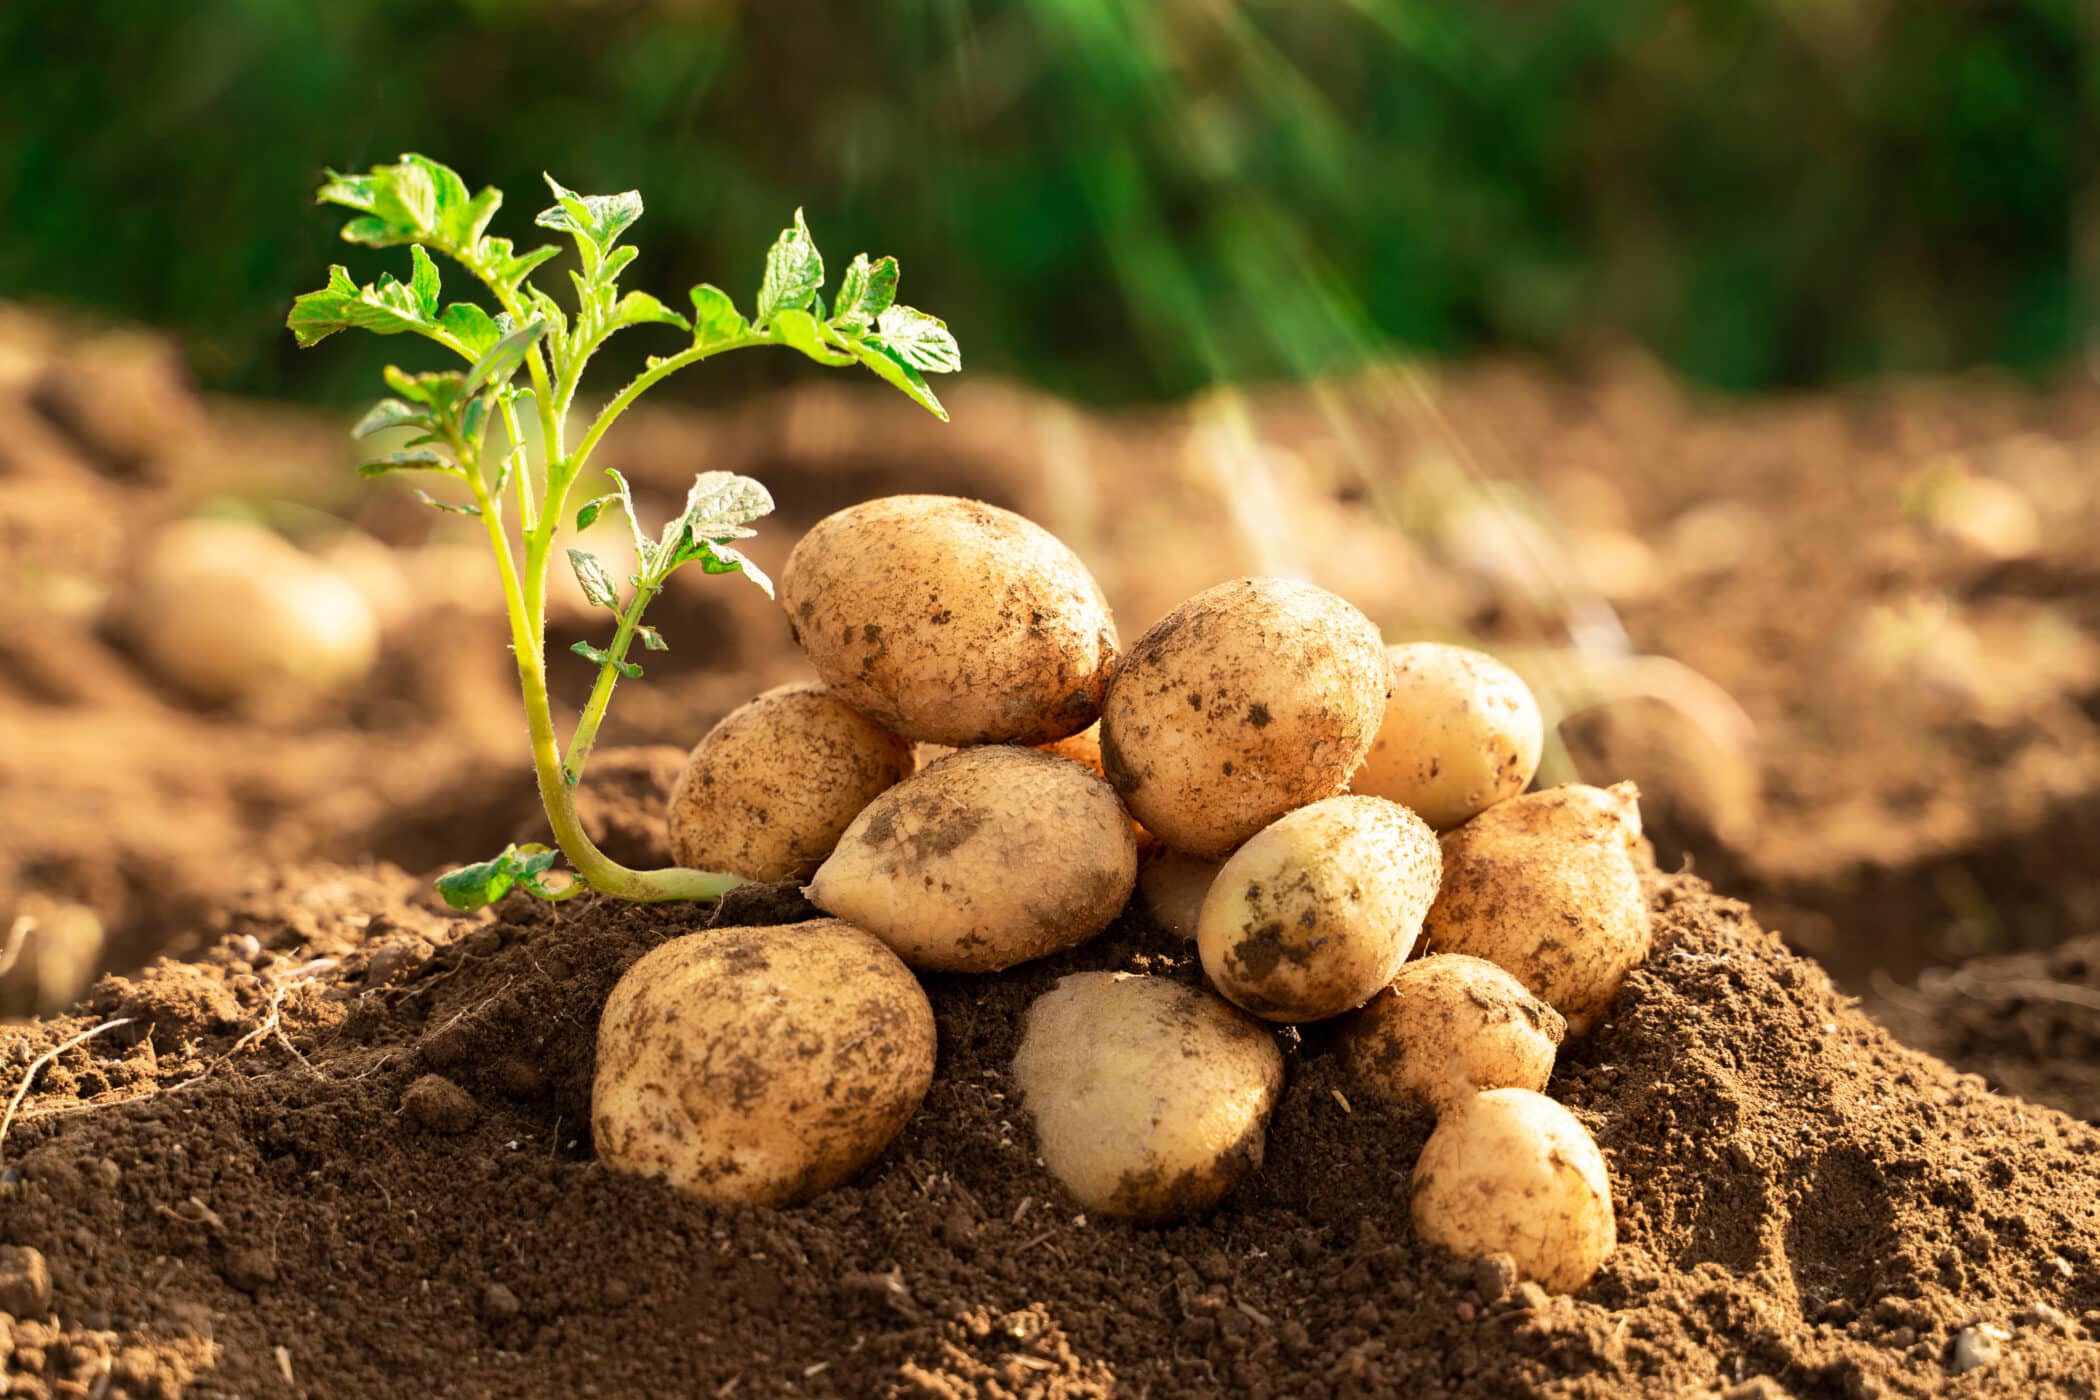
- Curing the Potatoes: Curing involves allowing the potatoes to dry and toughen their skins, which enhances their longevity in storage. Place the harvested potatoes in a well-ventilated area, away from direct sunlight, with a temperature of around 50-60°F (10-15°C) and a relative humidity of 85-95%. Arrange them in a single layer, ensuring good air circulation.
- Curing Duration: The curing process typically takes around 1-2 weeks. During this time, the potatoes will develop a thicker skin and heal any minor cuts or bruises incurred during harvest.
- Checking for Readiness: To ensure that the potatoes are adequately cured and ready for storage, perform a simple test. Rub your thumb against the skin of a potato—if it easily peels off, the potato is not fully cured and needs more time. If the skin remains intact, the potatoes are ready for storage.
Properly harvesting and curing your potatoes is critical for their long-term storage and quality preservation. Start by determining the right time to harvest, take care during the harvesting process to minimize damage, and allow the potatoes to cure in an optimal environment. By following these steps, you will ensure that your potatoes are in prime condition for storage and subsequent use in your edible garden.
Cleaning and Sorting Potatoes
Once the potatoes have been harvested and cured, it is important to clean and sort them before storing. Cleaning and sorting potatoes not only removes any dirt or debris but also helps identify any damaged or diseased tubers that could potentially affect the other potatoes in storage. Follow these steps to effectively clean and sort your potatoes:
- Preparation: Set up a clean workspace with a large, shallow container or a sink filled with fresh water. Keep a soft brush or sponge handy to gently clean the potatoes.
- Cleaning Process: Begin by rinsing the potatoes under running water to remove any loose dirt. Use the brush or sponge to scrub away stubborn dirt or mud, being careful not to bruise or damage the skins. Avoid using soap or detergent, as it can leave behind residues that may affect the flavor or longevity of the potatoes.
- Inspecting and Sorting: As you clean each potato, inspect it for any signs of damage, disease, or sprouting. Set aside any potatoes with soft spots, cuts, bruises, or rot. Additionally, remove any sprouting or green potatoes, as they can contain toxins that are harmful if consumed in large quantities.
- Separating by Size: If desired, you can further sort the potatoes by size. This step is optional but can be beneficial if you prefer to store potatoes of similar sizes together or if you plan to use them for specific recipes that require uniformity.
It is important to note that damaged or diseased potatoes should not be stored. These tubers can harbor infections that can easily spread to other potatoes, compromising their quality and edibility. If you come across a significant number of damaged or diseased potatoes during the sorting process, it is best to dispose of them to prevent the risk of contamination.
By cleaning and sorting your potatoes before storage, you ensure that only healthy and high-quality tubers are preserved. This not only contributes to the longevity of your stored potatoes but also helps maintain the overall health of your edible garden and prevents the spread of diseases or pests.
Preparing the Storage Area
Creating the right storage environment for your seed potatoes is essential to ensure their long-term viability and quality. A well-prepared storage area will provide the optimal conditions for the potatoes to remain dormant and free from sprouting or rot. Follow these steps to prepare an ideal storage area:
- Clean and Dry Space: Start by choosing a clean, dry, and well-ventilated area for storing your seed potatoes. This could be a basement, cellar, garage, or any other cool and dark space that maintains a consistent temperature.
- Avoid Sunlight: Exposure to sunlight can lead to premature sprouting and greening of the potatoes. Ensure that the storage area is dark or cover the potatoes with burlap or thick blankets to block out any light.
- Maintain Temperature: Ideally, the temperature in the storage area should be between 35-40°F (2-4°C). Avoid storing potatoes in areas that are excessively cold or prone to freezing, as this can cause the potatoes to become soft or develop a sweet taste.
- Control Humidity: Potatoes prefer a relative humidity (RH) level of around 80-90% to prevent excessive drying or sprouting. You can achieve this by placing a tray of water or a damp cloth near the potatoes, but ensure it doesn’t come into direct contact with them.
- Air Circulation: Good airflow is crucial to prevent the buildup of moisture and to discourage the growth of mold or bacteria. Leave some space between containers or arrange the potatoes in open baskets or crates to ensure adequate ventilation.
- Check for Pests: Before storing your potatoes, inspect the storage area for any signs of pests, such as mice, rodents, or insects. Take appropriate measures to eliminate or prevent their presence to protect the potatoes from damage.
It is important to note that storing potatoes near fruits such as apples or onions is not recommended. These fruits release ethylene gas, which can cause potatoes to sprout prematurely. Therefore, it is best to store potatoes separately from other produce.
By preparing a suitable storage area with the right temperature, humidity, and airflow, you are creating an environment that will help prolong the shelf life of your seed potatoes. A well-prepared storage area contributes to maintaining the vitality and quality of the potatoes, allowing you to enjoy a bountiful harvest when the planting season arrives.
Selecting Suitable Containers
Choosing the right containers for storing your seed potatoes is crucial in maintaining their quality and preventing excessive moisture buildup or poor airflow. The containers you select should provide a suitable environment that promotes the longevity and viability of the potatoes. Consider the following factors when selecting containers for potato storage:
Container Options:
- Bins or Crates: Sturdy and breathable bins or crates are ideal for storing larger quantities of potatoes. Wooden or plastic crates with slatted sides allow for proper airflow and ventilation, preventing the buildup of moisture and reducing the risk of rot.
- Burlap Bags: Burlap bags are a popular choice for storing smaller quantities of potatoes. The natural fabric material allows for airflow while providing some level of darkness to discourage sprouting. Avoid using plastic bags, as they can trap moisture and cause the potatoes to sweat.
- Metal Containers: Metal containers, such as galvanized bins or buckets, can also be used for potato storage. Ensure that these containers have sufficient ventilation holes or gaps to allow for proper airflow.
Container Considerations:
- Size: Choose containers that provide enough space for the potatoes to be stored in a single layer, without overcrowding. Crowding can lead to increased moisture and reduce airflow, increasing the risk of rot.
- Breathability: Opt for containers that allow for proper ventilation and airflow. This helps prevent excess moisture buildup, reduces the chances of rot, and maintains the quality of the potatoes.
- Light Exclusion: Containers that provide darkness can help inhibit the greening of the potatoes. If using containers that are not completely opaque, consider covering them with burlap or a cloth to block out any light.
- Durability: Ensure that the selected containers are sturdy enough to hold the weight of the potatoes and can withstand the storage conditions without breaking or deteriorating. This ensures the longevity of the storage solution.
Furthermore, labeling your containers with the variety and date of storage can be helpful for organization and tracking purposes, especially if you are storing multiple potato varieties.
Whether you choose crates, burlap bags, or metal containers, selecting suitable containers for potato storage is crucial in maintaining the quality and longevity of your seed potatoes. The right containers will provide proper ventilation, darkness, and durability, ensuring that your potatoes remain healthy and ready for planting when the time comes.
Layering Potatoes for Storage
Layering potatoes for storage is a method that helps maximize space while preventing excessive weight or pressure on the lower layers of potatoes. It allows for proper airflow and easy access to individual potatoes without disturbing the entire batch. Follow these steps to effectively layer your potatoes for storage:
- Prepare the Container: Ensure that the container you are using for storage is clean and dry. If using slatted crates or containers, line the bottom with a layer of straw or newspaper to prevent the potatoes from falling through the gaps.
- Place a Layer of Potatoes: Start by placing a single layer of potatoes on the bottom of the container. Arrange them in a single layer, ensuring that they are not touching each other. This allows for proper airflow and reduces the risk of rot.
- Add a Layer of Insulation: To provide insulation and protect the potatoes, add a layer of straw, sawdust, or shredded newspaper on top of the first layer. This helps maintain a consistent temperature and prevents excessive moisture buildup.
- Repeat the Process: Continue layering potatoes followed by a layer of insulation until all your potatoes are stored. Make sure to alternate the direction of the potatoes in each layer, creating a grid-like pattern, as this helps prevent rot from spreading throughout the container.
- Top Layer: For the topmost layer, leave some space between the potatoes and the container’s lid to allow for airflow. Avoid packing the container tightly, as it can cause excessive pressure and lead to bruising or damage to the potatoes.
It is important to note that not all potato varieties have the same storage requirements. Some potatoes store better in cool, dry conditions, while others prefer slightly higher humidity. It is advisable to research the specific storage needs of the potato variety you are growing and adjust the storage method accordingly.
Remember to periodically check your stored potatoes for any signs of sprouting, rot, or disease. Remove any potatoes showing signs of spoilage to prevent the spread to the rest of the batch.
By layering your potatoes for storage, you optimize the use of space, ensure proper airflow, and protect the potatoes from damage or rot. This method allows for easy access to individual potatoes without disturbing the entire batch, making it a practical and efficient way to store your precious seed potatoes.
Monitoring and Maintaining Storage Conditions
Monitoring and maintaining the storage conditions of your seed potatoes is essential to ensure their long-term viability and prevent the development of rot or sprouting. Regularly checking the storage area and making necessary adjustments will help preserve the quality of your potatoes. Here are some important steps to consider:
- Temperature Control: Monitor the temperature in the storage area regularly to ensure it remains within the ideal range of 35-40°F (2-4°C). Fluctuations in temperature can affect the dormancy of the potatoes and lead to sprouting or spoilage. Take measures to insulate the storage area if necessary.
- Humidity Level: Maintain the relative humidity (RH) in the storage area at around 80-90%. Low humidity can cause the potatoes to dry out, while high humidity can lead to excessive moisture and the development of mold or rot. Use a hygrometer to measure the RH and adjust as needed by adding or removing moisture sources.
- Air Circulation: Ensure that there is proper airflow in the storage area to prevent the buildup of moisture or the stagnation of air. Avoid overcrowding the containers or stacking them too tightly, as this can impede proper ventilation. Periodically rearrange the potatoes and containers to ensure adequate airflow.
- Regular Inspections: Regularly inspect the stored potatoes for any signs of sprouting, rot, or disease. Remove any affected potatoes immediately to prevent the spread of the problem. Also, check for any damaged containers or signs of pests. Take appropriate actions to address these issues promptly.
- Monitoring Tools: Utilize proper monitoring tools such as a thermometer, hygrometer, or even a data logger to accurately measure and record the temperature and humidity levels in the storage area. This will help you maintain optimal conditions and identify any fluctuations or trends over time.
During the monitoring process, it is crucial to handle the stored potatoes gently and minimize any disturbance. Excessive movement or jostling can cause bruising or damage to the potatoes, increasing the risk of rot or premature spoilage.
By regularly monitoring and maintaining the storage conditions, you can extend the shelf life of your seed potatoes and ensure their quality for planting. A little attention and adjustment can go a long way in preserving the viability and health of your stored potatoes.
Checking for Sprouting or Rot
Regularly checking your stored seed potatoes for signs of sprouting or rot is crucial to maintain their quality and viability. Early detection allows for prompt action, preventing the spread of any issues and preserving the health of the remaining potatoes. Follow these steps to effectively check for sprouting or rot:
- Visual Inspection: Carefully examine each potato, one by one, for any signs of sprouting or green patches. Sprouts are small shoots that appear from the eyes of the potato, indicating that it is starting to grow. Green patches indicate exposure to light and can lead to bitterness or toxic solanine levels.
- Check for Soft Spots or Discoloration: Gently press each potato to check for any soft or mushy spots. These areas indicate rot and should be removed immediately to prevent the spread to other potatoes. Also, look out for any unusual discoloration or mold growth.
- Sprout Removal: If you find sprouting potatoes, it is recommended to remove the sprouts by gently twisting or snapping them off. This helps redirect the energy of the potato towards future growth when planted rather than continued sprouting in storage.
- Discard Affected Potatoes: Any potatoes showing extensive sprouting, rot, or disease should be discarded to prevent the spread of issues. Do not store such potatoes as they can contaminate the surrounding ones and compromise the entire batch.
- Isolate Affected Potatoes: If you find only a few potatoes with mild sprouts or slight signs of rot, separate them from the rest and use them first. This helps control the problem and prevents further deterioration of the stored batch.
Remember, prevention is key when it comes to sprouting or rot. Proper storage conditions, regular inspections, and early removal of any affected potatoes play a vital role in preventing these issues from occurring in the first place.
By proactively checking for sprouting or rot, you can ensure that your stored potatoes remain healthy and ready for planting. Be diligent in your inspections and take immediate action when necessary to maintain the quality and viability of your seed potatoes.
Preparing Seed Potatoes for Planting
Preparing seed potatoes for planting is a crucial step in ensuring a successful growing season. Proper preparation helps promote healthy growth, maximize yield, and minimize the risk of disease or pests. Follow these steps to effectively prepare your seed potatoes for planting:
- Inspect for Quality: Before planting, thoroughly inspect each seed potato for any signs of damage, disease, or sprouting. Discard any potatoes that show signs of rot, decay, or extensive sprouting. Select only firm, healthy-looking tubers for planting.
- Cut or Not to Cut: Depending on the size of the seed potatoes and their intended planting method, you may choose to cut them into smaller pieces. Each cut piece should have at least one or two “eyes” or sprouts. Cutting allows you to stretch your potato supply and promotes more even growth.
- Curing Cut Potatoes: If you opt to cut your seed potatoes, it is essential to cure the cut pieces before planting. Place the cut potatoes in a cool, well-ventilated area for a few days to allow the cuts to develop a protective layer, preventing potential rot or infection.
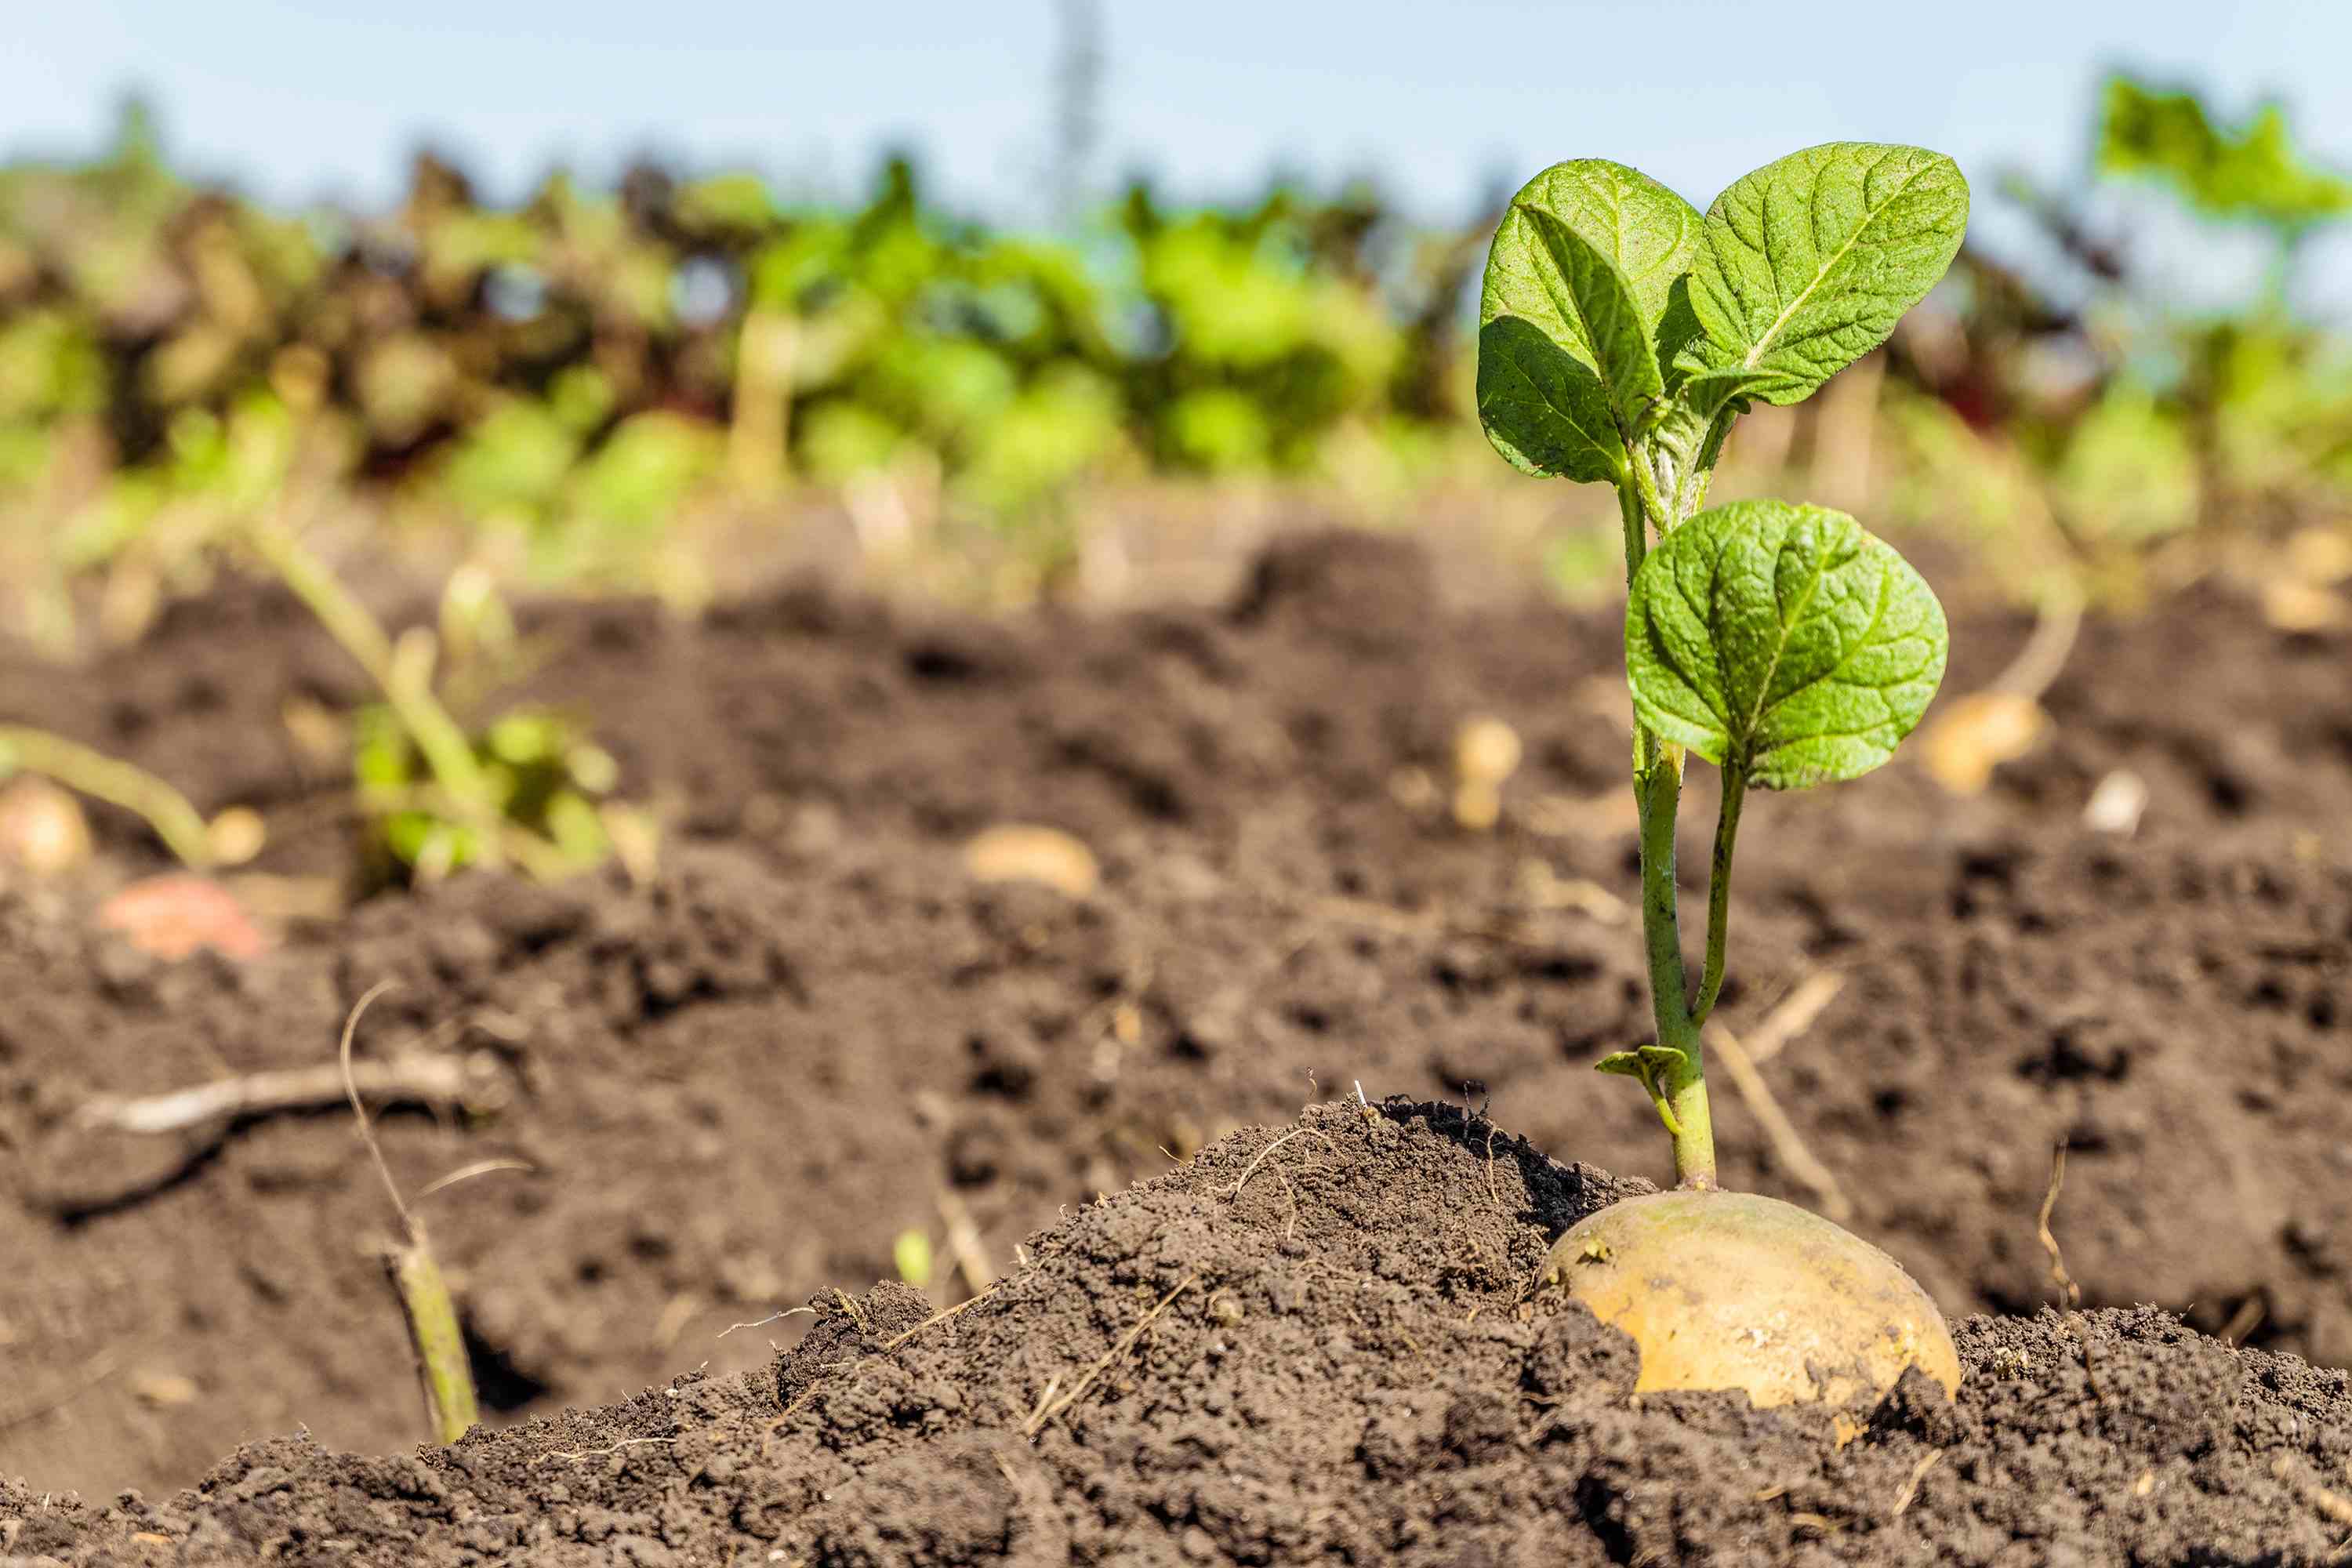
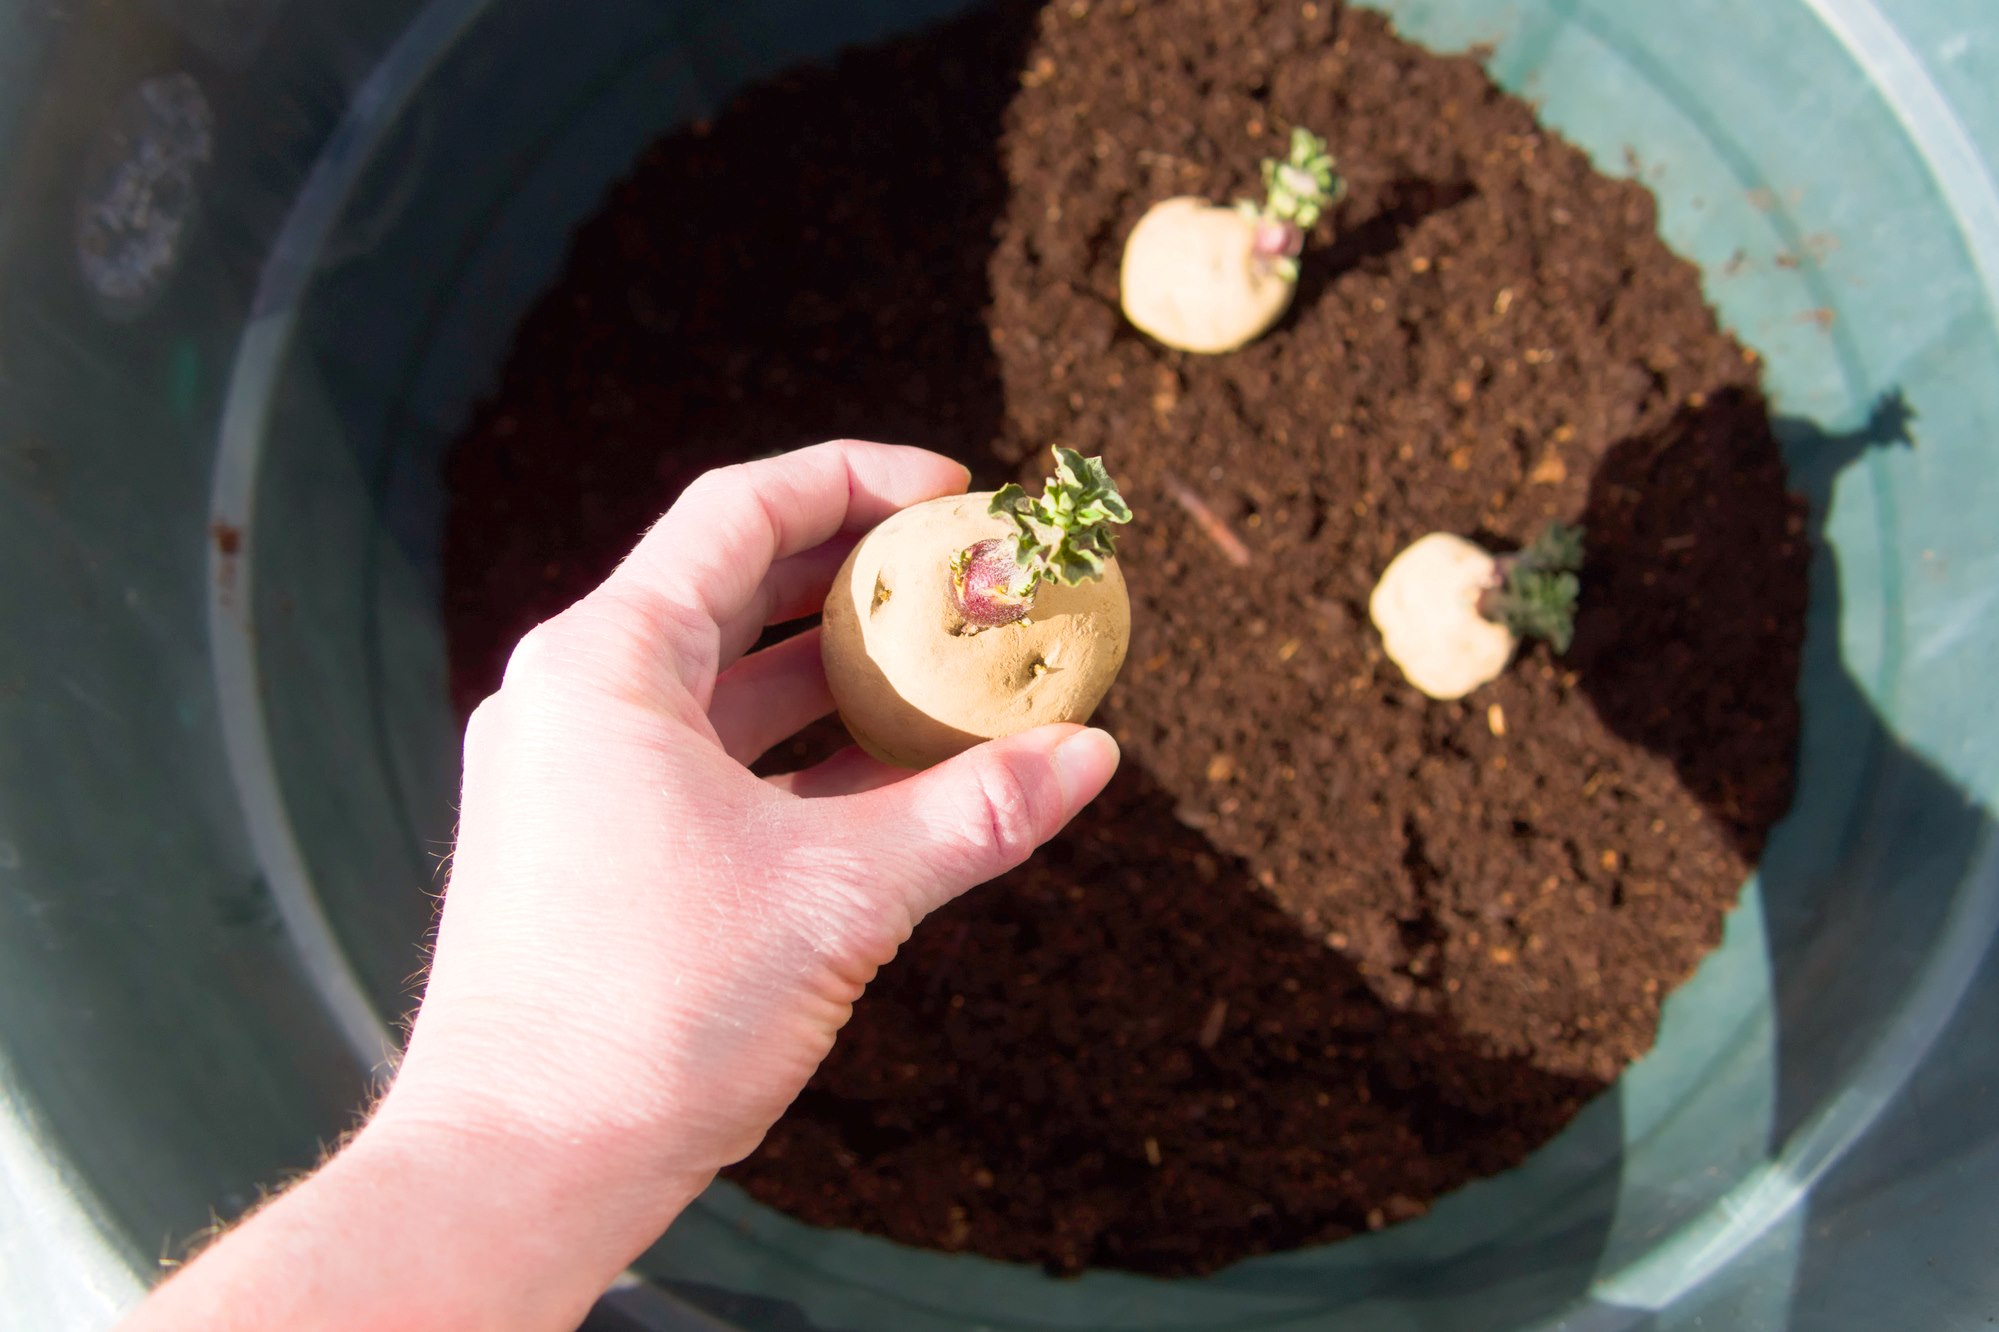
- Pre-Sprouting: Pre-sprouting can give your potatoes a head start and lead to quicker emergence and growth. Place the seed potatoes in a warm, bright location, such as a windowsill, for 2-3 weeks before planting. This encourages the development of sturdy sprouts.
- Preparing the Planting Site: Prepare the planting site by loosening the soil and enriching it with well-composted organic matter. Potatoes prefer loose, well-draining soil with a pH of around 5.0 to 6.5. Remove any weeds or debris from the planting area.
- Planting Depth and Spacing: Dig shallow trenches or individual holes for planting, spaced about 12-15 inches apart. Place the seed potatoes with the sprouts facing up and cover them with 2-3 inches of soil. Space rows about 2-3 feet apart to allow for good airflow and room for growth.
- Mulch and Water: Once the potatoes are planted, apply a layer of organic mulch, such as straw or shredded leaves, to help conserve moisture and suppress weed growth. Water the newly planted potatoes thoroughly and maintain adequate moisture throughout the growing season.
- Hilling: As the potato plants grow, periodically hill up soil around the base of the plants, creating mounds. This promotes better tuber formation and helps prevent greening by keeping the developing potatoes covered and protected from sunlight.
Remember to follow the specific planting and care instructions for the potato variety you are growing, as different varieties may have slightly different requirements.
By properly preparing your seed potatoes for planting, you set the stage for a healthy and productive potato crop. Take the time to inspect, cut or pre-sprout, and ensure the planting site is suitable. With patience and care, you are well on your way to enjoying a plentiful harvest of delicious homegrown potatoes.