Home>Types of Gardening>Edible Gardening>How To Store Garden Seeds
Edible Gardening
How To Store Garden Seeds
Published: September 17, 2023
Learn the best methods for storing garden seeds to ensure their freshness and viability. Explore techniques for edible gardening and long-term seed storage.
(Many of the links in this article redirect to a specific reviewed product. Your purchase of these products through affiliate links helps to generate commission for Chicagolandgardening.com, at no extra cost. Learn more)
Table of Contents
Introduction
Welcome to the world of edible gardening! Growing your own food can be a rewarding and fulfilling experience. Not only does it give you the opportunity to enjoy fresh and organic produce, but it also allows you to connect with nature and reduce your carbon footprint. One essential aspect of edible gardening is ensuring a continuous supply of seeds for future plantings. That’s where seed storage comes into play.
Properly storing garden seeds is vital to maintaining their viability and ensuring successful germination. Whether you harvest seeds from your own plants or purchase them from a reputable source, understanding the basics of seed storage will help you maximize their lifespan and optimize your edible gardening efforts.
In this guide, we will delve into the various aspects of seed storage, including choosing the right seeds, cleaning and drying them, packaging and labeling, and implementing effective storage methods. By following these guidelines, you’ll be able to preserve your garden seeds for future use and enjoy a continuous supply of fresh, homegrown produce.
Before we delve any further, it’s important to note that not all seeds have the same storage requirements. Some seeds have shorter viability periods and require specific conditions for optimal storage, while others can be stored for several years. Taking the time to understand the specific needs of the seeds you are working with is essential to maintain their viability.
Now, let’s dive into the world of seed storage and discover how to store your garden seeds to ensure their long-term viability and success.
Understanding Seed Storage
Seed storage is the process of preserving seeds in a suitable environment to maintain their viability and ability to germinate. When seeds are properly stored, they can remain viable for months or even years, allowing gardeners to save money, maintain genetic diversity, and ensure a continuous supply of plants for future growing seasons.
Seeds are living organisms, and their ability to germinate depends on factors such as moisture, temperature, and light exposure. By manipulating these factors, gardeners can extend the lifespan of their seeds and increase the chances of successful plant growth.
Some seeds have shorter viability periods and are more delicate, while others are hardier and can withstand longer storage periods. Understanding the specific needs of the seeds you are working with will help you determine the best storage methods and conditions.
The two primary factors affecting seed storage are moisture and temperature. Excessive moisture can lead to fungal growth or premature germination, while extreme temperatures can cause damage to the seed embryos. Therefore, it is important to store seeds in a cool, dry place to optimize their longevity.
Furthermore, exposure to light can also affect seed viability. Most seeds prefer dark conditions, as exposure to light can trigger the germination process. Thus, storing seeds in opaque containers or envelopes can shield them from light and help maintain their dormancy.
It is worth noting that each plant species has its own specific storage requirements. While some seeds can be stored at room temperature, others require cooler temperatures to remain viable. Additionally, the moisture content of seeds can vary, and some may require specific humidity levels for optimal storage conditions.
Understanding the specific needs of your seeds will enable you to choose the right storage method and location. In the following sections, we will discuss the factors to consider when choosing seeds for storage, the steps to clean and dry your seeds, and the different storage methods you can employ to maintain seed viability.
Choosing the Right Seeds
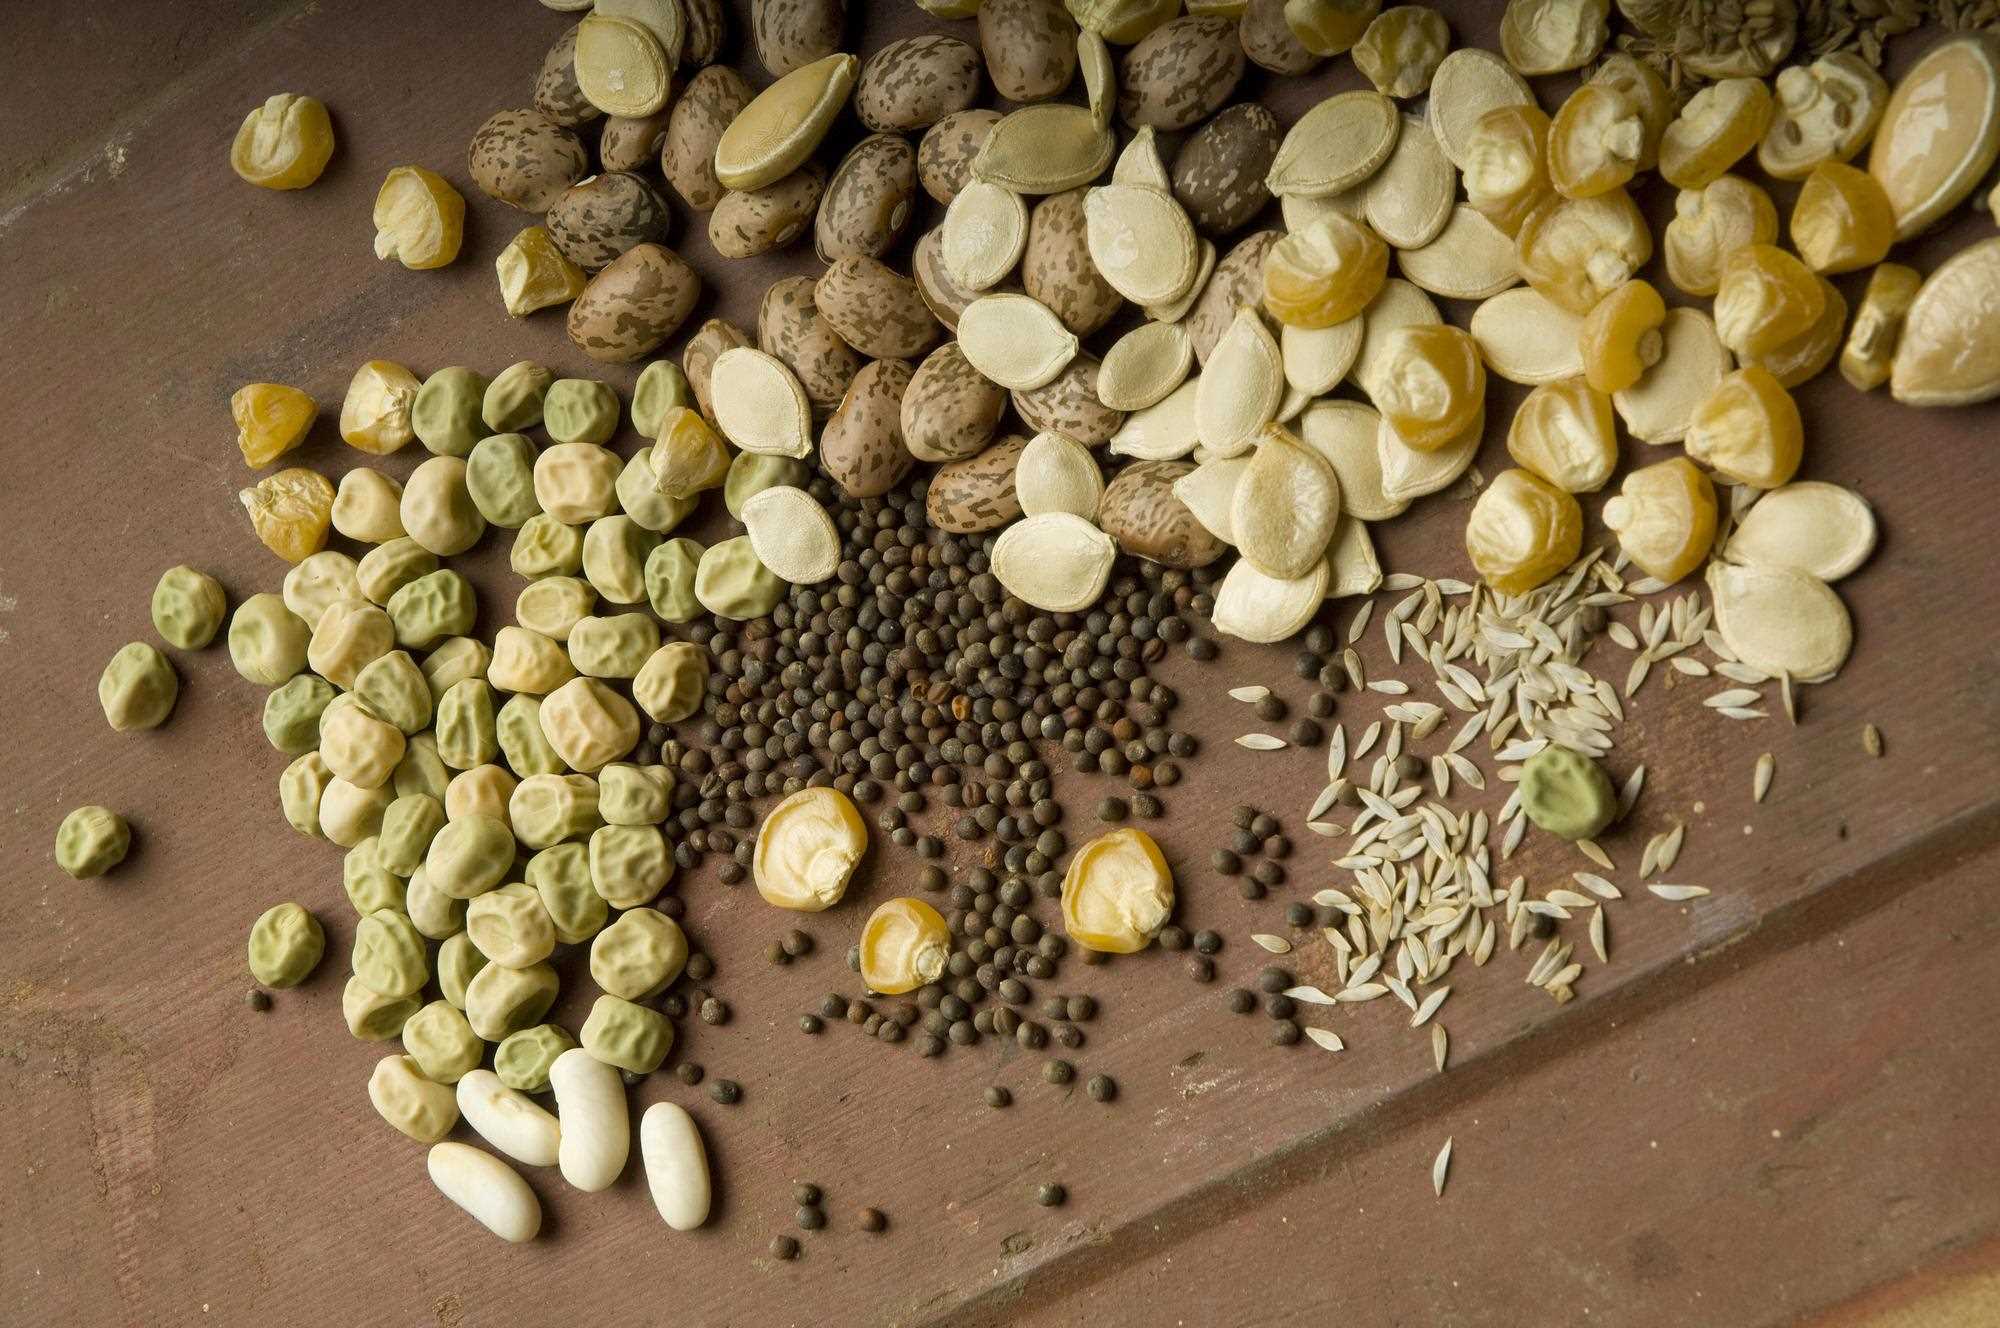
The foundation of successful seed storage begins with selecting the right seeds. Whether you are saving seeds from your own plants or purchasing them from a supplier, there are a few factors to consider when choosing seeds for storage.
First and foremost, select seeds from healthy and vigorous plants. Avoid collecting seeds from plants that show signs of disease, pest damage, or poor growth. By choosing seeds from robust plants, you increase the chances of producing strong and thriving seedlings in the future.
Additionally, prioritize open-pollinated or heirloom varieties for seed storage. Open-pollinated seeds are pollinated naturally by wind, insects, or other means, resulting in plants with consistent traits year after year. Heirloom seeds, on the other hand, are open-pollinated varieties that have been passed down through generations. These seeds often possess valuable genetic diversity and unique characteristics, making them excellent candidates for long-term storage.
Another important consideration is the age of the seeds. Freshly harvested seeds generally have higher germination rates compared to older seeds. If you are purchasing seeds, inquire about the seed’s age or seek suppliers who provide freshly harvested seeds. When saving seeds from your own plants, label and store them with the harvest date, as this will help you prioritize and rotate your seed stock as needed.
Furthermore, it’s beneficial to choose seeds from plants that are well-adapted to your specific climate and growing conditions. These seeds are more likely to thrive and produce successful crops in your garden. Look for varieties that are recommended for your region or seek advice from local gardening experts to make informed choices.
Lastly, consider the space you have available for growing. If you have limited space, prioritize seeds of plants that you regularly use in your kitchen or those that have a longer shelf life when stored as harvested produce. This way, you can make the most of your storage space while ensuring a supply of your preferred crops.
By carefully selecting the right seeds, you lay the foundation for successful seed storage. Remember to choose seeds from healthy plants, prioritize open-pollinated or heirloom varieties, consider the age of the seeds, prioritize locally adapted varieties, and factor in your available growing space. These considerations will help you build a diverse and resilient seed stock for your edible garden.
Cleaning and Drying Seeds
Properly cleaning and drying seeds is a crucial step in seed storage. It helps remove debris, pathogens, and excess moisture, ensuring that the seeds remain viable and free from potential contaminants. Follow these steps to clean and dry your seeds effectively:
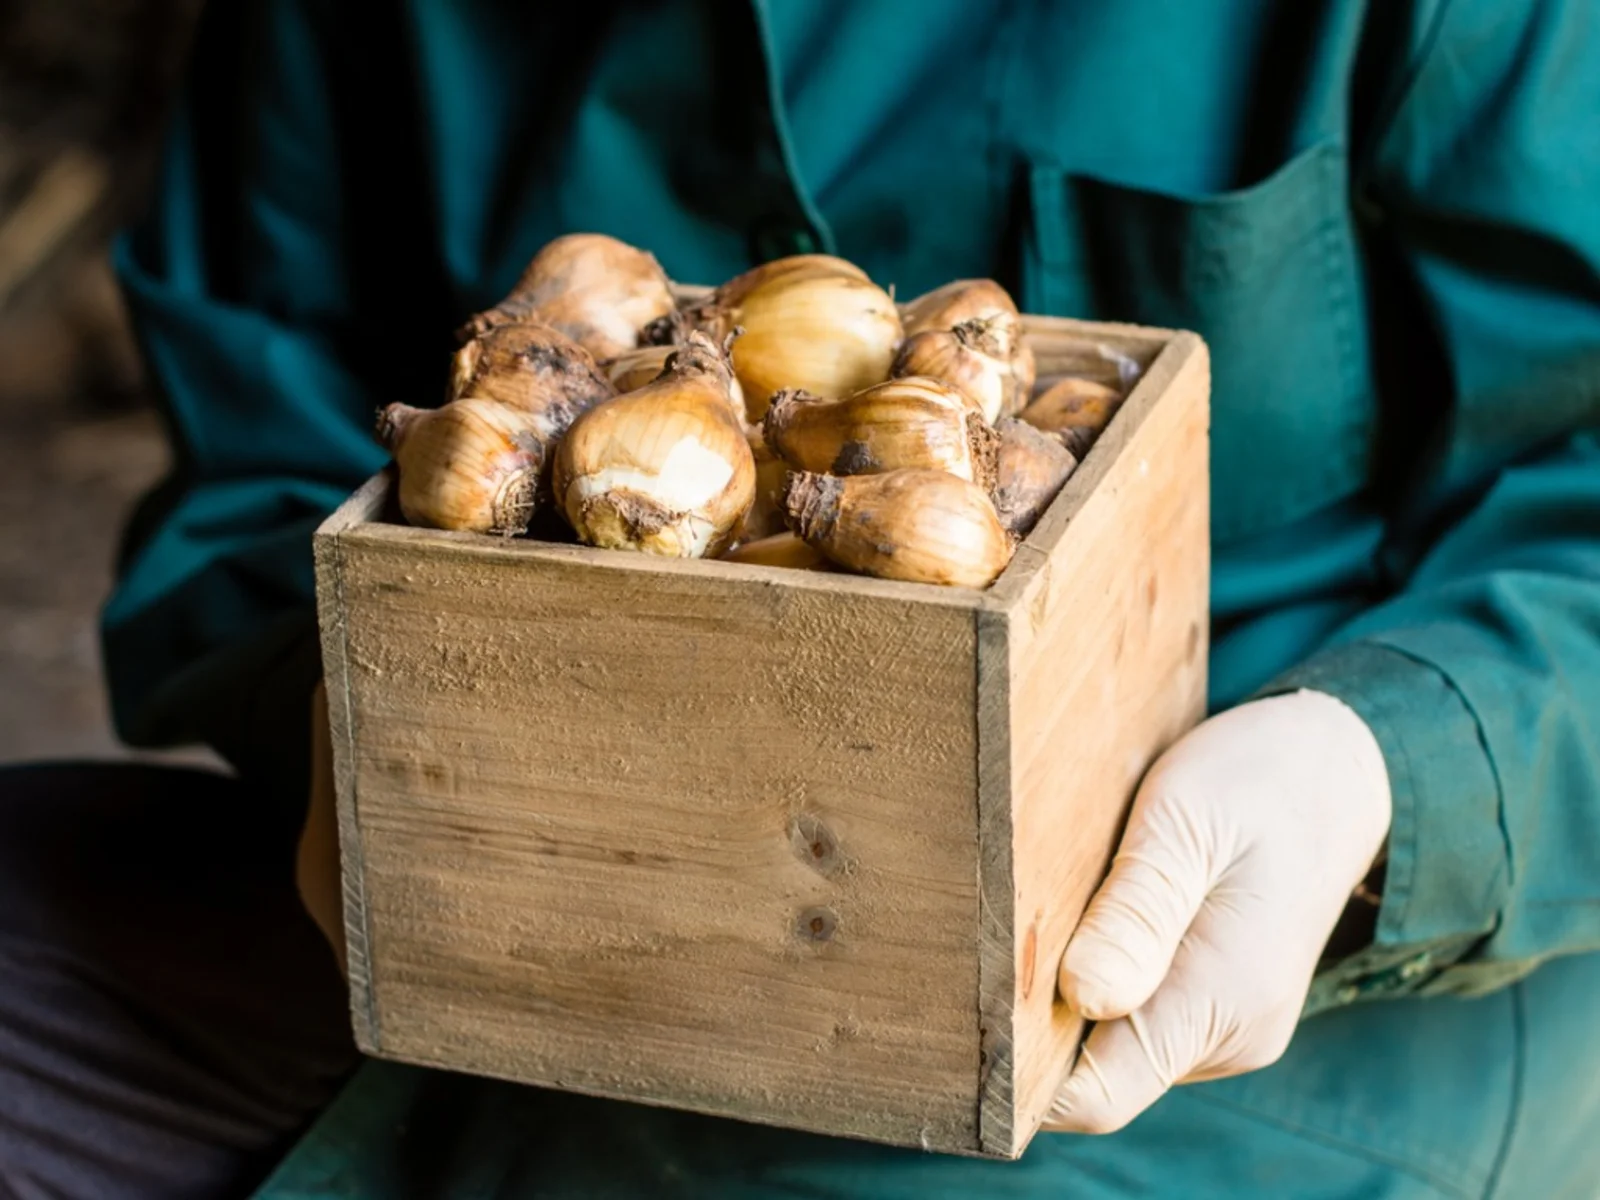
- Harvest: Begin by harvesting mature seeds from the plants. Allow the seeds to fully develop on the plant before collecting them. For vegetables and fruits, wait until they are fully ripe. For flowers, wait until the petals have fallen and the seed heads are dry or brown.
- Extract: Once harvested, separate the seeds from the surrounding plant material. This can typically be done by gently rubbing or threshing the plants over a clean surface or container. In some cases, a gentle shake or crumble may be necessary to release the seeds.
- Clean: To remove larger debris and plant material, use a fine mesh sieve or strainer to sift the seeds. Gently shake or tap the sieve to allow smaller particles to pass through while retaining the seeds. For seeds with fine debris or fuzz, such as tomato or cucumber seeds, rinse them under running water and gently pat them dry.
- Dry: After cleaning, spread the seeds in a single layer on a clean paper towel or a fine mesh screen. Place them in a warm and well-ventilated area out of direct sunlight. The ideal temperature for drying seeds is around 70°F (21°C). Stir or turn the seeds daily to ensure even drying and prevent mold or mildew formation.
- Curing (optional): Some seeds benefit from a curing period before storage. Curing allows the seeds to further dry and fully mature, enhancing their viability. Seeds that benefit from curing include beans, peas, and certain flower varieties. To cure seeds, leave them in a warm, dry, and well-ventilated area for an additional 1-2 weeks.
It’s important to note that while some seeds can be stored with their outer coatings intact, others may need additional processing. Hard-coated seeds, like those of beans or peas, may require scarification to improve germination. This can be done by manually nicking or rubbing the seed coat with a file or sandpaper before drying.
Remember to thoroughly label your seeds, including the plant variety and the date of collection, to keep track of their age and origin. Once your seeds are clean and dry, they are ready for storage.
By following these steps to clean and dry your seeds, you remove potential contaminants and excess moisture, ensuring their long-term viability during storage.
Proper Packaging and Labeling
Proper packaging and labeling are essential for maintaining the viability and organization of your stored seeds. By using appropriate containers and providing accurate labeling, you can ensure that your seeds remain protected and easily identifiable. Here are some guidelines to follow when packaging and labeling your seeds:
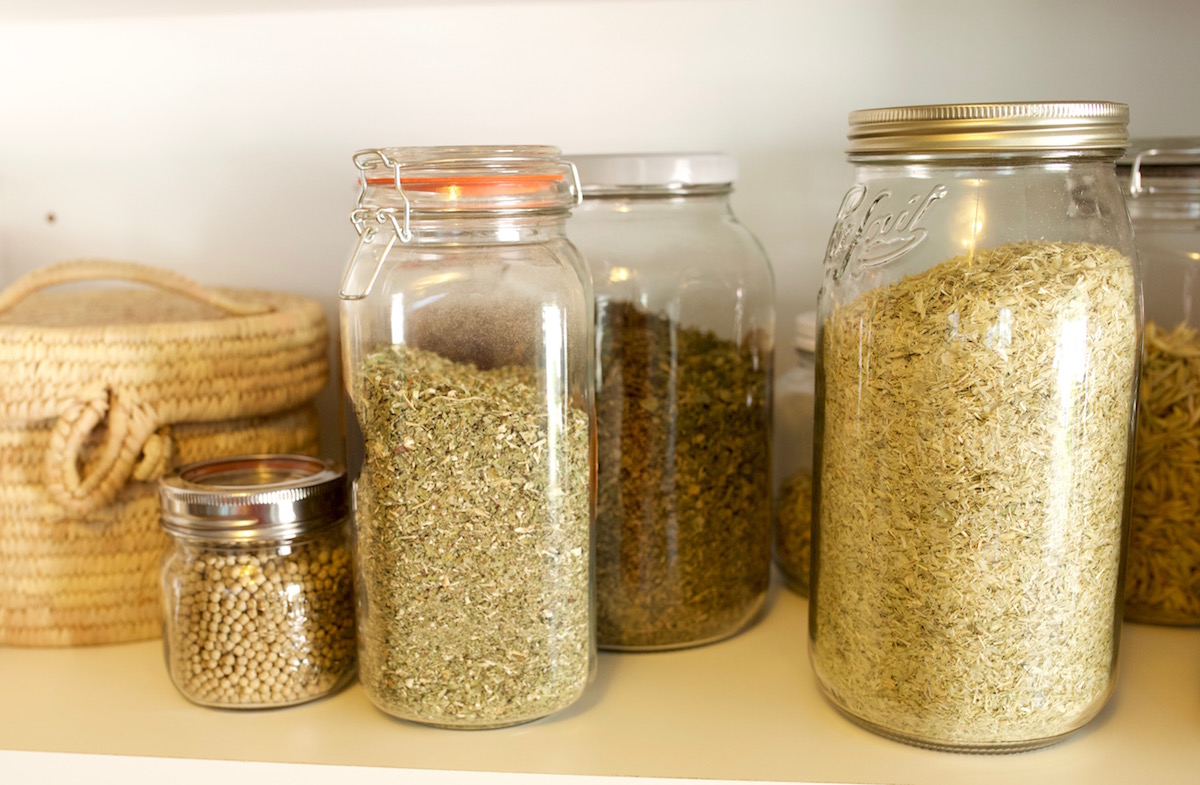
- Container selection: Choose containers that are airtight, moisture-resistant, and light-blocking. Opt for glass jars, plastic or metal seed storage containers, or zipper-sealed plastic bags. Avoid using regular envelopes or paper bags, as they do not provide adequate protection against moisture and pests.
- Seed envelopes: If using envelopes, make sure they are specifically designed for seed storage and have a protective coating inside to prevent moisture absorption.
- Labeling: Clearly label each container with the name of the plant variety, the date of collection, and any additional information you find relevant, such as the source of the seeds or specific growing conditions. This information will be crucial for future reference, especially when planning your garden or sharing seeds with others.
- Storage units: Consider organizing your seed containers in larger storage units to keep them well-protected and easily accessible. Plastic bins or wooden boxes with tight-fitting lids work well for this purpose. If using multiple containers, consider grouping them by plant type or alphabetically for easier navigation.
- Desiccant packets (optional): To further protect against excess moisture, you can add desiccant packets to your seed storage containers. These small packets help absorb moisture and prevent mold or fungal growth. You can find desiccant packets online or repurpose them from other packages.
Avoid overcrowding your seed containers to allow for proper air circulation and minimize the risk of moisture buildup. It’s important to store similar seeds together, separating different plant varieties to maintain genetic purity and prevent cross-contamination.
Additionally, it is beneficial to create a comprehensive seed inventory or catalog, detailing the different seed varieties you have stored, their specific storage requirements, and any relevant notes or observations. This inventory will help you keep track of your seed collection and aid in future planning or sharing.
Remember to store your seed containers in a cool, dry, and dark location to maintain optimal seed viability. Avoid storing them in areas prone to temperature fluctuations or high humidity, such as garages or basements.
By properly packaging and labeling your seeds, you ensure their protection, organization, and easy retrieval, setting the groundwork for successful seed storage and future gardening endeavors.
Storing Seeds in the Refrigerator
The refrigerator can be a valuable tool for extending the storage life of certain types of seeds. The cool temperature helps slow down the aging process and maintains seed viability. Here’s how to store seeds in the refrigerator:
- Preparation: Ensure that the seeds are completely dry before placing them in the refrigerator. Any moisture present can encourage mold or bacterial growth. If necessary, allow the seeds to air dry for a few extra days before storage.
- Container selection: Choose airtight containers, such as glass jars or plastic bags, to store your seeds. These containers will help prevent moisture from entering and damaging the seeds.
- Packaging: Place your seeds in the chosen container, and consider adding a desiccant packet to absorb any excess moisture. Seal the container tightly to maintain a consistent environment inside.
- Location: Find a dedicated spot in your refrigerator that maintains a consistent temperature, ideally between 32°F (0°C) and 41°F (5°C). Avoid placing your seeds near the back of the refrigerator, as temperatures there may fluctuate more.
- Organization: Keep your seeds organized by grouping them by plant type or alphabetically. This will make it easier to locate specific varieties when needed.
- Monitoring: Periodically check your seeds for any signs of moisture or damage. If you notice condensation inside the container, remove the seeds, allow them to dry thoroughly, and consider using new packaging materials.
While refrigeration can extend the storage life of many seeds, it is important to note that not all seeds benefit from this method. Some seeds, especially those that require a period of winter dormancy, may not tolerate refrigeration well. Examples include seeds of tropical plants or those that naturally experience warm winter temperatures.
It’s also worth mentioning that seeds stored in a refrigerator may need to be acclimated to room temperature before planting. Gradually expose the seeds to warmer conditions over a few days to avoid shocking them and increase the chances of successful germination.
When done correctly, storing seeds in the refrigerator can significantly prolong their viability. However, keep in mind that refrigeration is best suited for short to medium-term storage, typically up to a few years. For long-term storage, alternative methods, such as freezing, may be more suitable.
By utilizing the refrigerator as a storage option, you can successfully extend the lifespan of certain seeds and enjoy a greater variety of plants in your garden.
Storing Seeds in the Freezer
The freezer can be a fantastic long-term storage option for preserving the viability of a wide range of seeds. The freezing temperature helps maintain the seeds’ dormancy and minimizes the natural aging process. Follow these steps to store seeds in the freezer:
- Preparation: Ensure that the seeds are completely dry before placing them in the freezer. Any moisture present can lead to freezer burn or ice crystals formation, which can damage the seeds.
- Container selection: Choose airtight containers or resealable freezer bags to store your seeds. These will help protect the seeds from moisture and keep them safe from freezer odors.
- Packaging: Place your seeds in the chosen container, making sure to remove as much air as possible before sealing. Consider adding a desiccant packet to absorb any residual moisture. Make sure to label the container with the seed variety and the date of storage.
- Double packaging: For an added layer of protection, you can place the sealed container inside a second bag or container to further shield the seeds from potential temperature fluctuations.
- Location: Find a dedicated spot in your freezer where the temperature remains consistently cold. Avoid placing the seeds near the freezer door, as they may be subjected to temperature fluctuations each time the door is opened.
- Organization: Keep your seeds organized by grouping them by plant type or alphabetically. This will make it easier to locate specific varieties when needed.
- Thawing and Planting: When you’re ready to use the frozen seeds, allow them to thaw gradually at room temperature. Avoid rapid temperature changes, as this can cause moisture to condense on the seeds, potentially damaging them. Once thawed, you can proceed with planting the seeds as you would normally.
Freezing is an excellent method for long-term storage, as it can extend the viability of seeds for several years. However, it is important to note that not all seeds are suitable for freezing. Some seeds, such as those with high oil content, may become rancid when exposed to freezing temperatures. Additionally, seeds with a high water content, such as cucumber or melon seeds, may suffer from cell damage during freezing and thawing.
Remember to monitor your frozen seeds periodically for any signs of moisture or damage. If you notice any condensation within the container, remove the seeds, allow them to dry thoroughly, and consider repackaging them with new materials.
By utilizing the freezer for seed storage, you can extend the lifespan of numerous seeds and ensure a continued supply of viable seeds for future planting seasons.
Storing Seeds in a Cool, Dry Place
If refrigeration or freezing is not a feasible option for storing your seeds, storing them in a cool, dry place is an excellent alternative. This method maintains a stable environment for your seeds, helping to preserve their viability. Follow these guidelines for storing seeds in a cool, dry place:
- Container selection: Choose airtight containers, such as glass jars or resealable plastic bags, to protect your seeds from moisture and pests. Make sure the containers have a tight seal to prevent the entry of air and humidity.
- Packaging: Place your seeds in the chosen container and consider adding a desiccant packet to absorb any excess moisture. Seal the container tightly to maintain a consistent environment.
- Location: Find a dedicated spot in your home that remains consistently cool and dry, preferably with a temperature between 32°F (0°C) and 50°F (10°C). The storage area should also have low humidity to prevent the seeds from becoming moldy or rotting.
- Avoid sunlight exposure: Keep the seeds away from direct sunlight, as UV rays can damage and decrease their viability over time. Store them in a dark location, such as a cupboard or pantry.
- Organization: Group your seeds by plant type or alphabetically to keep them organized and easily accessible. This will help you locate specific varieties when needed.
- Monitoring: Regularly check on your stored seeds to ensure that no moisture or pests have affected them. If you notice any signs of damage or mold, remove the affected seeds immediately to prevent further contamination.
It is vital to note that the ambient temperature and humidity levels of your storage area play a crucial role in the longevity of your seeds. High humidity can lead to mold and fungal growth, while fluctuations in temperature can accelerate seed deterioration. For this reason, it’s important to choose a storage location that remains consistently cool and dry throughout the year.
If you live in an area with high humidity, you may want to consider using moisture-absorbing substances, such as silica gel packets or rice, in your seed storage containers to help maintain a suitable moisture level.
By storing your seeds in a cool, dry place, you create an optimal environment for preserving their viability. This method is particularly useful for short to medium-term storage, ensuring that your seeds remain in good condition until you are ready to plant them.
Monitoring and Testing Seed Viability
Regular monitoring and testing of seed viability are essential to ensure that your stored seeds remain viable and have a good chance of germinating when planted. As time passes, the viability of seeds naturally declines, thereby reducing their germination rates. Here are some key steps to monitor and test the viability of your stored seeds:
- Periodic inspection: Regularly examine your stored seeds for any signs of mold, pests, or damage. Be on the lookout for discoloration, unusual odors, or any abnormalities that may indicate deteriorating seed quality.
- Germination test: Conduct a germination test to evaluate the viability of your seeds. Select a representative sample of seeds from each stored batch and place them in a germination medium, such as moist paper towels or seed-starting mix. Maintain proper moisture and temperature conditions for the specific plant type. Observe how many seeds successfully germinate over a designated period.
- Seed viability chart: Use a seed viability chart as a reference to determine the expected germination rates based on the age of the seeds. This will give you an estimate of the seed’s viability. If a high percentage of seeds fail to germinate, it may be an indication that the seeds have lost their viability.
- Seed vigor testing (optional): In addition to germination testing, you can assess the vigor of your seeds. Vigor testing evaluates the overall health and performance of the seeds, taking into account factors such as seedling vigor and growth rate. Vigor testing can be done in a greenhouse setting or by comparing the growth and development of seedlings from different batches.
By regularly monitoring the condition of your stored seeds and conducting germination tests, you can assess their viability and make informed decisions about which seeds to use for planting. It is recommended to conduct germination tests every 6 months to a year, as seed viability can vary depending on the plant species and storage conditions.
Remember to document and record the results of your germination tests. This information can help you track the viability of your seed collection over time and guide your future planting decisions. Additionally, it is beneficial to periodically review your seed inventory and rotate older seeds to ensure that you are utilizing the freshest ones for optimal germination rates.
Monitoring and testing the viability of your stored seeds allow you to maintain a collection of high-quality seeds and increase the success rate of your future plantings. By staying proactive and attentive to the condition of your seeds, you can maximize your gardening efforts and achieve fruitful harvests.
Tips for Long-Term Seed Storage
Long-term seed storage requires careful consideration and implementation of specific techniques to ensure the longevity and viability of your seeds. Here are some essential tips to help you successfully store seeds for extended periods:
- Seed selection: Choose seeds from reliable sources, focusing on open-pollinated or heirloom varieties with a reputation for good storability. These seeds tend to have better genetic stability and are more likely to preserve viability over time.
- Thoroughly dry seeds: Before storing seeds, make sure they are completely dry. Moisture can lead to mold growth or seed deterioration. Use appropriate drying methods like air-drying or using a dehydrator, and ensure seeds have reached the recommended moisture levels for the specific plant type.
- Proper packaging: Use airtight containers, such as glass jars or resealable bags, to protect seeds from humidity, pests, and temperature fluctuations. Consider adding desiccant packets to absorb excess moisture.
- Freeze or refrigerate: If feasible, freezing or refrigerating seeds can substantially extend their viability. The low temperatures of these environments help slow down the aging process. Ensure seeds are properly dried and placed in suitable containers before freezing or refrigerating.
- Optimal storage conditions: Store your seeds in a cool, dry, and dark place. Aim for temperatures between 32°F (0°C) and 50°F (10°C) and humidity levels below 50%. Avoid storing seeds in areas prone to temperature fluctuations or high humidity, such as garages or basements.
- Rotate seed stock: To ensure the freshest seeds are used, practice rotation by planting and replenishing your seed stock regularly. This helps prevent the accumulation of older seeds and ensures a constant supply of viable seeds.
- Documentation: Maintain a detailed inventory or catalog of your stored seeds, including information on seed varieties, dates of collection or purchase, and any specific storage requirements. This documentation will help you track the age and viability of your seeds, assisting in making informed planting decisions.
- Quality control: Regularly inspect your stored seeds for signs of damage, pests, or disease. Remove any seeds that show signs of deterioration to prevent contamination of the entire seed collection.
- Backup storage: Consider creating multiple copies of your seed collection. Store duplicates in different locations or share them with fellow gardeners to guard against the loss of your seed stock due to unforeseen circumstances.
By implementing these tips, you can improve the chances of long-term seed viability and enjoy successful germination rates in the future. Remember, proper storage techniques and regular monitoring are key to maintaining the quality and longevity of your seed collection.
Conclusion
Proper seed storage is a fundamental aspect of edible gardening that allows you to maintain a continuous supply of viable seeds for future plantings. By understanding the principles of seed storage, you can optimize the lifespan and germination rates of your seeds, ultimately enhancing your gardening success.
Throughout this guide, we explored the importance of selecting the right seeds, cleaning and drying them properly, packaging and labeling for organized storage, and utilizing different storage methods such as refrigeration, freezing, or storing in a cool, dry place. We also covered the significance of monitoring seed viability through periodic inspections and germination tests.
Remember to choose seeds from healthy plants, prioritize open-pollinated or heirloom varieties, and consider the age and adaptability of the seeds. Cleaning and drying seeds thoroughly before storage, using appropriate packaging, and labeling containers accurately are crucial for maintaining seed integrity and organization.
Depending on your long-term storage preferences, you can opt for storing seeds in the refrigerator or freezer, especially if you wish to extend their viability for years. However, storing seeds in a cool, dry place can also be an effective method, especially for short to medium-term storage.
Regular monitoring through visual inspection and germination tests allows you to assess seed viability and make informed decisions about planting. Remember to maintain documentation of your seed collection, including important details like seed variety, date, and storage conditions.
By implementing these best practices for long-term seed storage, you can preserve the genetic diversity of your plants, save money by reducing the need to purchase new seeds, and enjoy the satisfaction of growing your own food.
As an edible gardener, the ability to store and preserve seeds ensures a sustainable and continuous supply of fresh produce for years to come. Take the time to understand the specific storage requirements of different seeds and apply the appropriate methods and techniques to maintain their viability.
Enjoy the rewarding experience of seed saving and storage, and may your edible garden flourish with the abundance of healthy, homegrown plants!