Home>Gardening News and Trends>Latest News>How To Store Garden Vegetables
Latest News
How To Store Garden Vegetables
Modified: January 22, 2024
Discover the latest news and expert tips on how to store garden vegetables to ensure maximum freshness and flavor. Get the most out of your harvest with these valuable insights.
(Many of the links in this article redirect to a specific reviewed product. Your purchase of these products through affiliate links helps to generate commission for Chicagolandgardening.com, at no extra cost. Learn more)
Table of Contents
- Introduction
- Choosing the Right Vegetables for Storage
- Harvesting Vegetables for Storage
- Cleaning and Preparing Vegetables
- Sorting and Inspecting Vegetables
- Proper Storage Containers
- Storing Root Vegetables
- Storing Leafy Greens
- Storing Tomatoes and Peppers
- Storing Cucumbers and Zucchini
- Storing Squash and Pumpkins
- Storing Onions and Garlic
- Storing Herbs
- Monitoring and Maintaining Storage Conditions
- Checking and Rotating Vegetables
- Preventing Pests and Mold
- Using Preserving Techniques
- Conclusion
Introduction
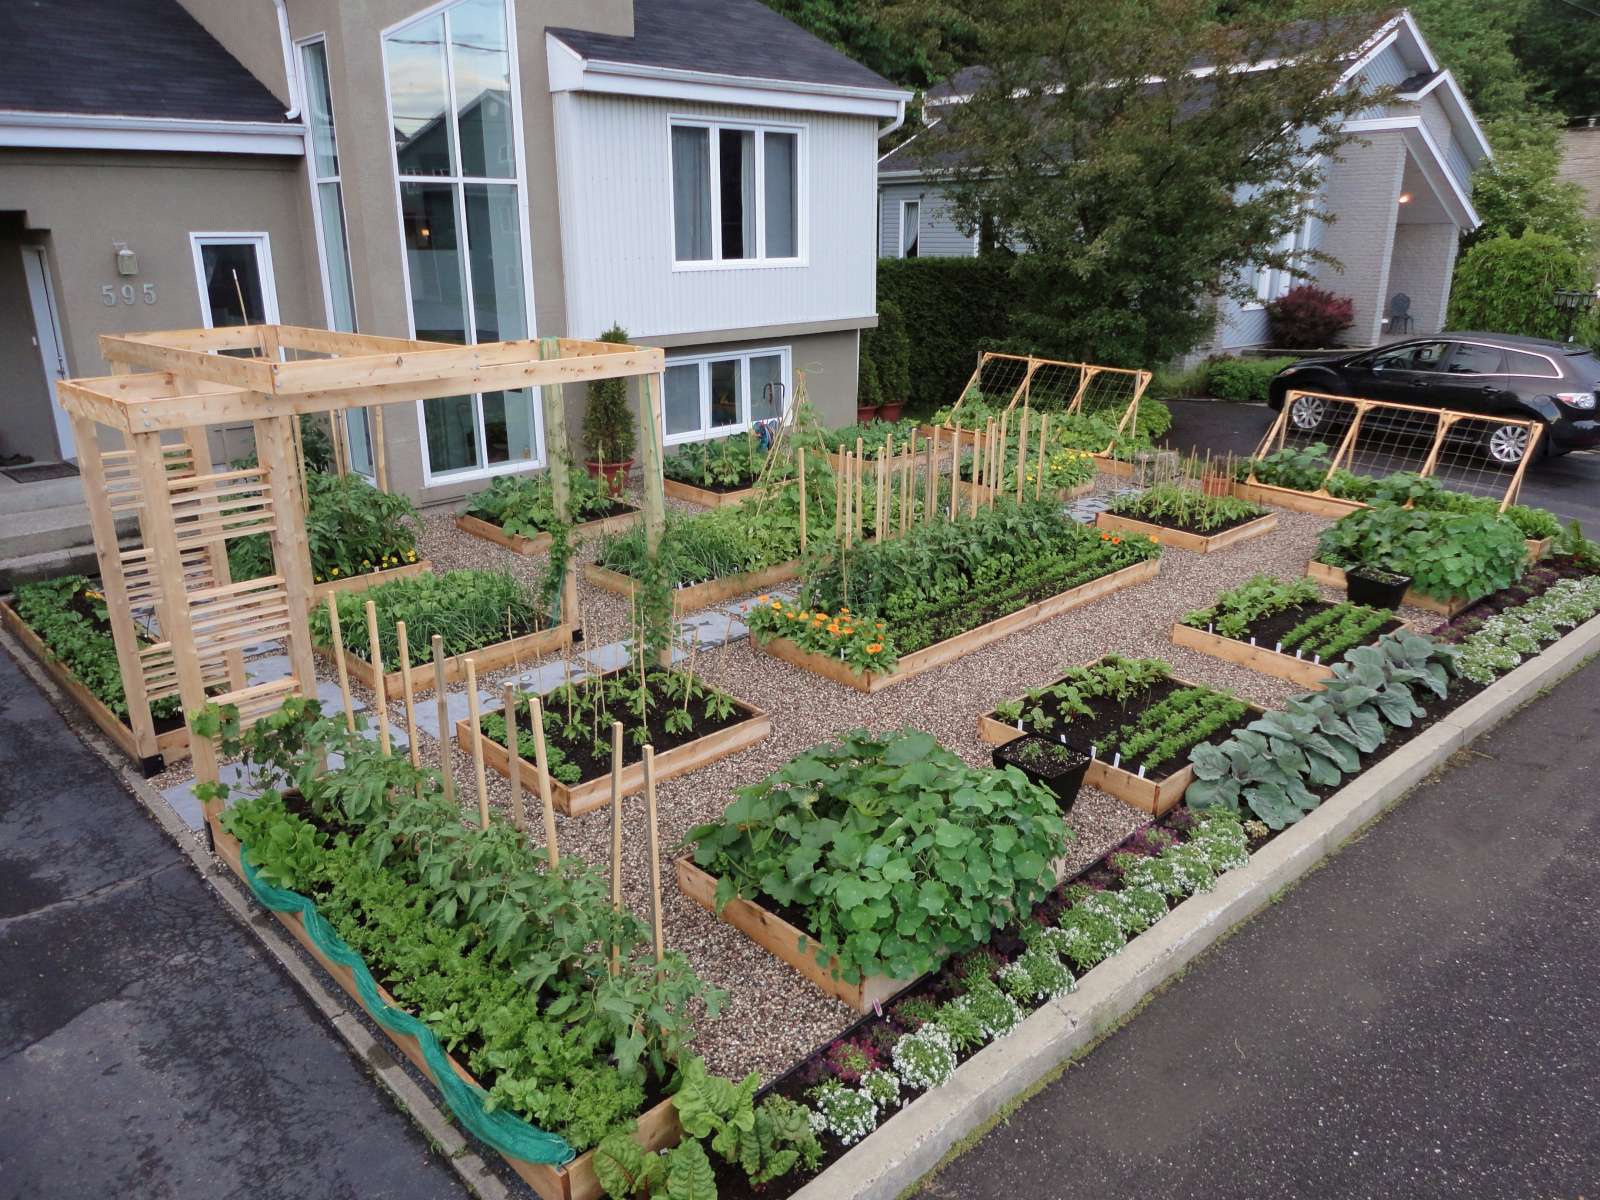
Garden vegetables are a delight to grow and enjoy during the growing season. However, as the season comes to an end, you may find yourself with an abundance of fresh produce that needs to be stored for later use. Properly storing garden vegetables ensures that you can continue to enjoy their flavors and nutrients long after the harvest is over.
Storing garden vegetables is a crucial step to maintain their quality and freshness. It allows you to extend the shelf life of your homegrown produce, reducing food waste and saving money in the process. Plus, there’s something truly satisfying about being able to enjoy the fruits of your labor all year round.
In this article, we will guide you through the process of storing different types of garden vegetables. From root vegetables like carrots and potatoes to leafy greens, tomatoes, onions, and more, we’ll cover everything you need to know to keep your produce in optimal condition.
Choosing the right vegetables for storage:
Not all vegetables are suitable for long-term storage. Some vegetables, like lettuce and radishes, are best consumed fresh and don’t keep well for an extended period. On the other hand, vegetables like carrots, potatoes, onions, and winter squash have a natural ability to stay fresh for several months if stored correctly.
Harvesting vegetables for storage:
Timing is crucial when it comes to harvesting vegetables for storage. You’ll want to harvest them at the peak of ripeness when they are at their nutritional best. Make sure to handle each vegetable with care to prevent bruising or damage.
Cleaning and preparing vegetables:
Properly cleaning and preparing your vegetables before storage is essential to remove any dirt, insects, or pathogens that could accelerate spoilage. Thoroughly wash and air dry your vegetables before moving on to the next step.
Choosing the Right Vegetables for Storage
Not all vegetables are suitable for long-term storage. Some vegetables are more prone to spoilage and are best consumed fresh. When selecting vegetables for storage, it’s important to choose varieties that have good keeping qualities.
Here are some vegetables that are known for their ability to be stored for extended periods:
- Root Vegetables: Carrots, beets, parsnips, and potatoes are excellent candidates for storage. Look for varieties that have a thick skin and are free from blemishes. These vegetables can be stored in a cool and dark location for several months.
- Winter Squash: Butternut squash, acorn squash, and pumpkins have a hard outer shell that helps preserve their freshness. Choose fully matured squash with a firm skin. Store them in a cool, dry place for up to several months.
- Onions and Garlic: Both onions and garlic have a long shelf life and can be stored in a cool, well-ventilated area. Avoid storing them in plastic bags, as they need airflow to prevent moisture buildup.
- Leafy Greens: While most leafy greens are best consumed fresh, some varieties like kale, collard greens, and Swiss chard can be stored for a short period. Remove any damaged leaves and store them in airtight bags or containers in the refrigerator.
It’s important to note that not all vegetables are suitable for long-term storage. Vegetables like lettuce, radishes, and cucumbers are best consumed fresh and do not store well. Focus on selecting the vegetables mentioned above for successful long-term storage.
Harvesting Vegetables for Storage
Harvesting vegetables at the right time is crucial for maximizing their storage potential. Each vegetable has its own optimal harvesting time, which is when it reaches its peak flavor and nutritional value. Here are some general tips for harvesting vegetables for storage:
- Carrots: Carrots are ready for harvest when they have a bright orange color and firm texture. Gently loosen the soil around the base of the carrot before pulling it out to avoid breaking the foliage.
- Potatoes: Wait until the foliage of the potato plant turns yellow and dies back before harvesting. Be careful not to damage the tubers during the digging process.
- Winter Squash: Allow winter squash to mature fully on the vine before harvesting. The skin should be hard and cannot be easily punctured with a fingernail. Cut the squash off the vine, leaving a few inches of stem attached.
- Onions: Harvest onions when the foliage turns yellow and falls over. Carefully lift the onions from the ground and let them dry in a well-ventilated area until the outer skins become papery.
- Leafy Greens: Pick leafy greens when the leaves are young and tender. Remove the outer leaves first, allowing the inner leaves to continue growing. Avoid taking more than one-third of the plant at a time to ensure regrowth.
After harvesting, handle your vegetables with care to prevent bruising or damage. Remove any excess soil and gently wipe off any dirt. Be sure to use a soft brush or cloth to avoid causing any scratches.
Remember, vegetables that are picked too early or too late may not store well. It’s crucial to follow the specific harvesting guidelines for each vegetable to ensure optimal storage and quality.
Cleaning and Preparing Vegetables
Properly cleaning and preparing your vegetables before storage is essential to maintain their freshness and prevent the growth of bacteria or mold. Here are some steps to follow when cleaning and preparing your vegetables:
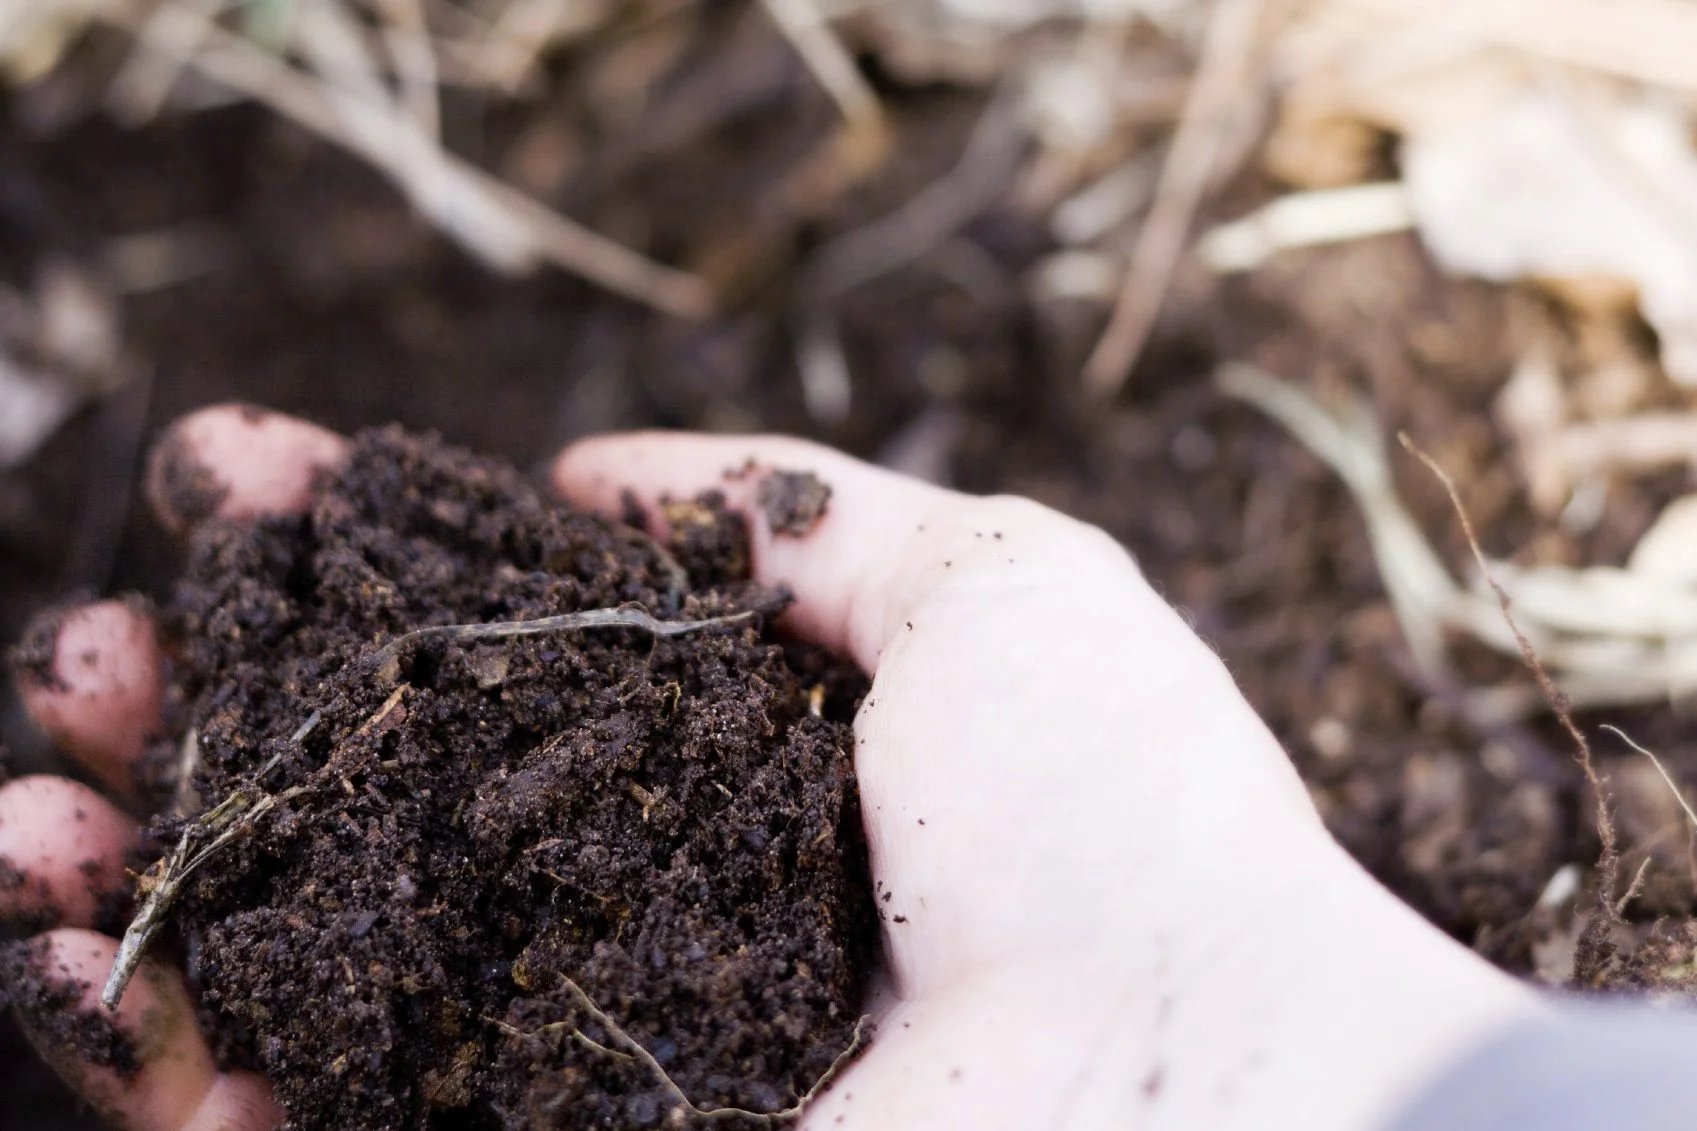
- Remove Excess Soil: Start by gently removing any excess soil from the vegetables. You can use a soft brush or your hands to loosen and brush off the dirt. Be careful not to damage the skin or leaves.
- Washing: Fill a clean sink or large bowl with cool water. Place the vegetables in the water and gently agitate them to remove any remaining dirt. You can also use a vegetable brush to scrub the surface of root vegetables like carrots and potatoes.
- Drying: After washing, allow the vegetables to air dry thoroughly. Dampness can promote the growth of mold or bacteria during storage, so it’s important to ensure they are completely dry before moving on to the next step.
- Trimming: Inspect your vegetables for any signs of damage or decay. Remove any bruised or spoiled areas with a clean knife or scissors. Trimming off damaged portions will help prevent the spread of decay and prolong the storage life of the vegetables.
It’s important to note that not all vegetables require washing. Some vegetables, like onions and garlic, can simply be wiped clean with a dry cloth. Leafy greens should be washed, but be sure to remove excess moisture by gently patting them dry with a clean towel or using a salad spinner.
By properly cleaning and preparing your vegetables, you can ensure that they are free from dirt and contaminants. This will help maintain the quality and nutritional value of the vegetables during storage.
Sorting and Inspecting Vegetables
Sorting and inspecting your vegetables before storage is an important step to identify any damaged or spoiled produce. By carefully examining each vegetable, you can remove any items that may negatively affect the storage conditions of others. Here are some tips for sorting and inspecting your vegetables:
- Group Similar Vegetables: Sort your vegetables into groups based on their type or storage requirements. This will help you manage and store them more efficiently.
- Inspect for Damage: Examine each vegetable for any signs of bruising, soft spots, or decay. If you spot any damaged areas, cut them off or remove the affected vegetable from the storage batch.
- Discard Spoiled Produce: If you come across any vegetables that are already spoiled or showing signs of rot or mold, it’s important to discard them to prevent the spread of decay to other vegetables.
- Separate Ripening Vegetables: Some vegetables, like tomatoes and peppers, continue to ripen after harvest. If you have vegetables at different stages of ripeness, it’s a good idea to separate them to avoid over-ripening or spoilage.
- Arrange in Proper Storage Containers: After sorting and inspecting your vegetables, arrange them in appropriate storage containers. Use breathable containers like mesh bags, wooden crates, or cardboard boxes to allow proper airflow.
By sorting and inspecting your vegetables before storage, you can ensure that only the best-quality produce is kept for long-term storage. This helps prevent the spread of disease or decay and maximizes the shelf life of your vegetables.
Proper Storage Containers
Choosing the right storage containers is crucial for maintaining the quality and freshness of your vegetables. The ideal containers should provide adequate airflow, protect the produce from light and moisture, and allow for easy access and monitoring. Here are some options for proper storage containers:
- Mesh Bags: Mesh bags are a popular choice for storing vegetables like onions, garlic, and potatoes. They allow for proper airflow and help prevent moisture buildup, reducing the risk of mold or rot.
- Wooden Crates: Wooden crates provide excellent ventilation and can be stacked for efficient use of space. They are ideal for storing root vegetables like carrots and beets.
- Cardboard Boxes: Cardboard boxes are an affordable and accessible option for storing vegetables. They can be lined with newspaper or straw to absorb excess moisture.
- Plastic Containers with Ventilation: If using plastic containers, make sure they have ventilation holes or slots to allow for airflow. Plastic containers are best for storing leafy greens, herbs, or smaller vegetables.
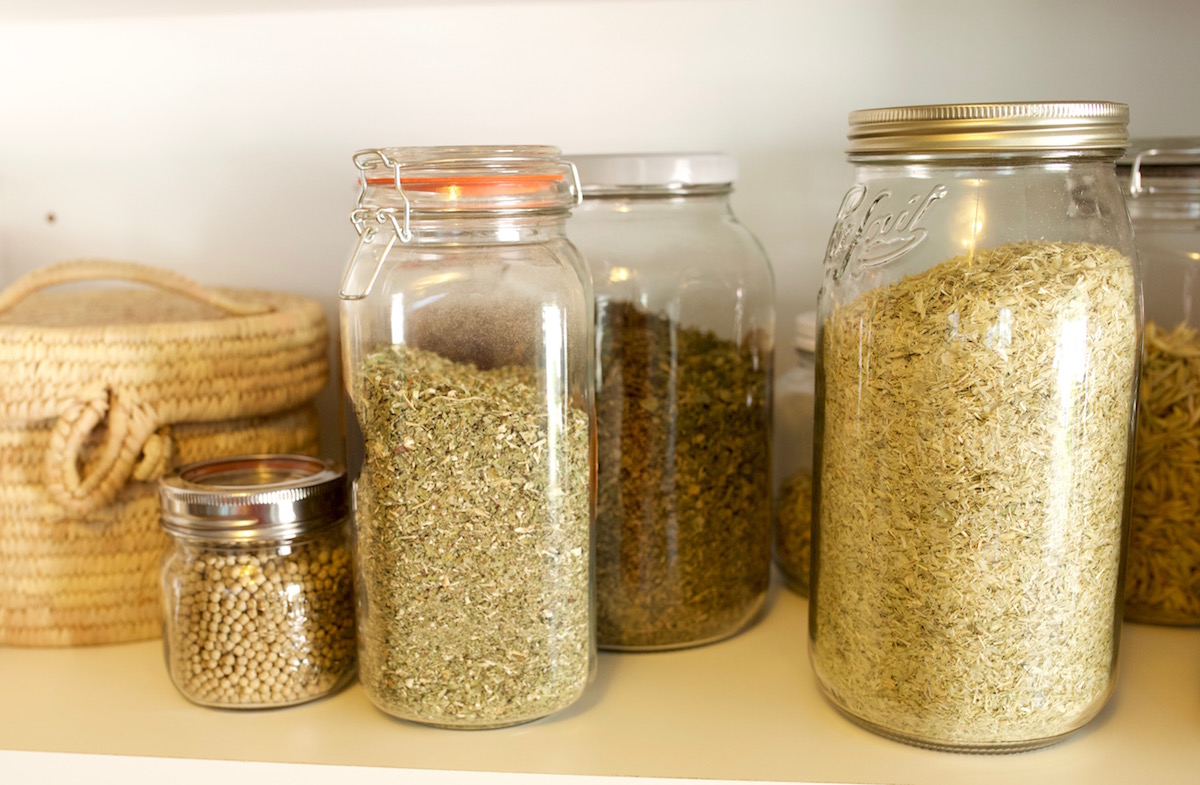
- Glass Jars: Glass jars are suitable for storing dried herbs or vegetables that have been blanched and frozen. They provide an airtight seal and protect the produce from moisture and pests.
When selecting storage containers, make sure they are clean and free from any residual chemicals or odors. Avoid using plastic bags, as they can lead to moisture buildup and increased chances of mold growth. Additionally, containers with transparent lids should be stored in a dark place to prevent exposure to light.
Remember to label your containers with the name and date of the vegetables stored. This will help you keep track of your inventory and ensure that you use the oldest vegetables first.
By choosing the right storage containers, you can create an optimal environment for your vegetables and prolong their shelf life.
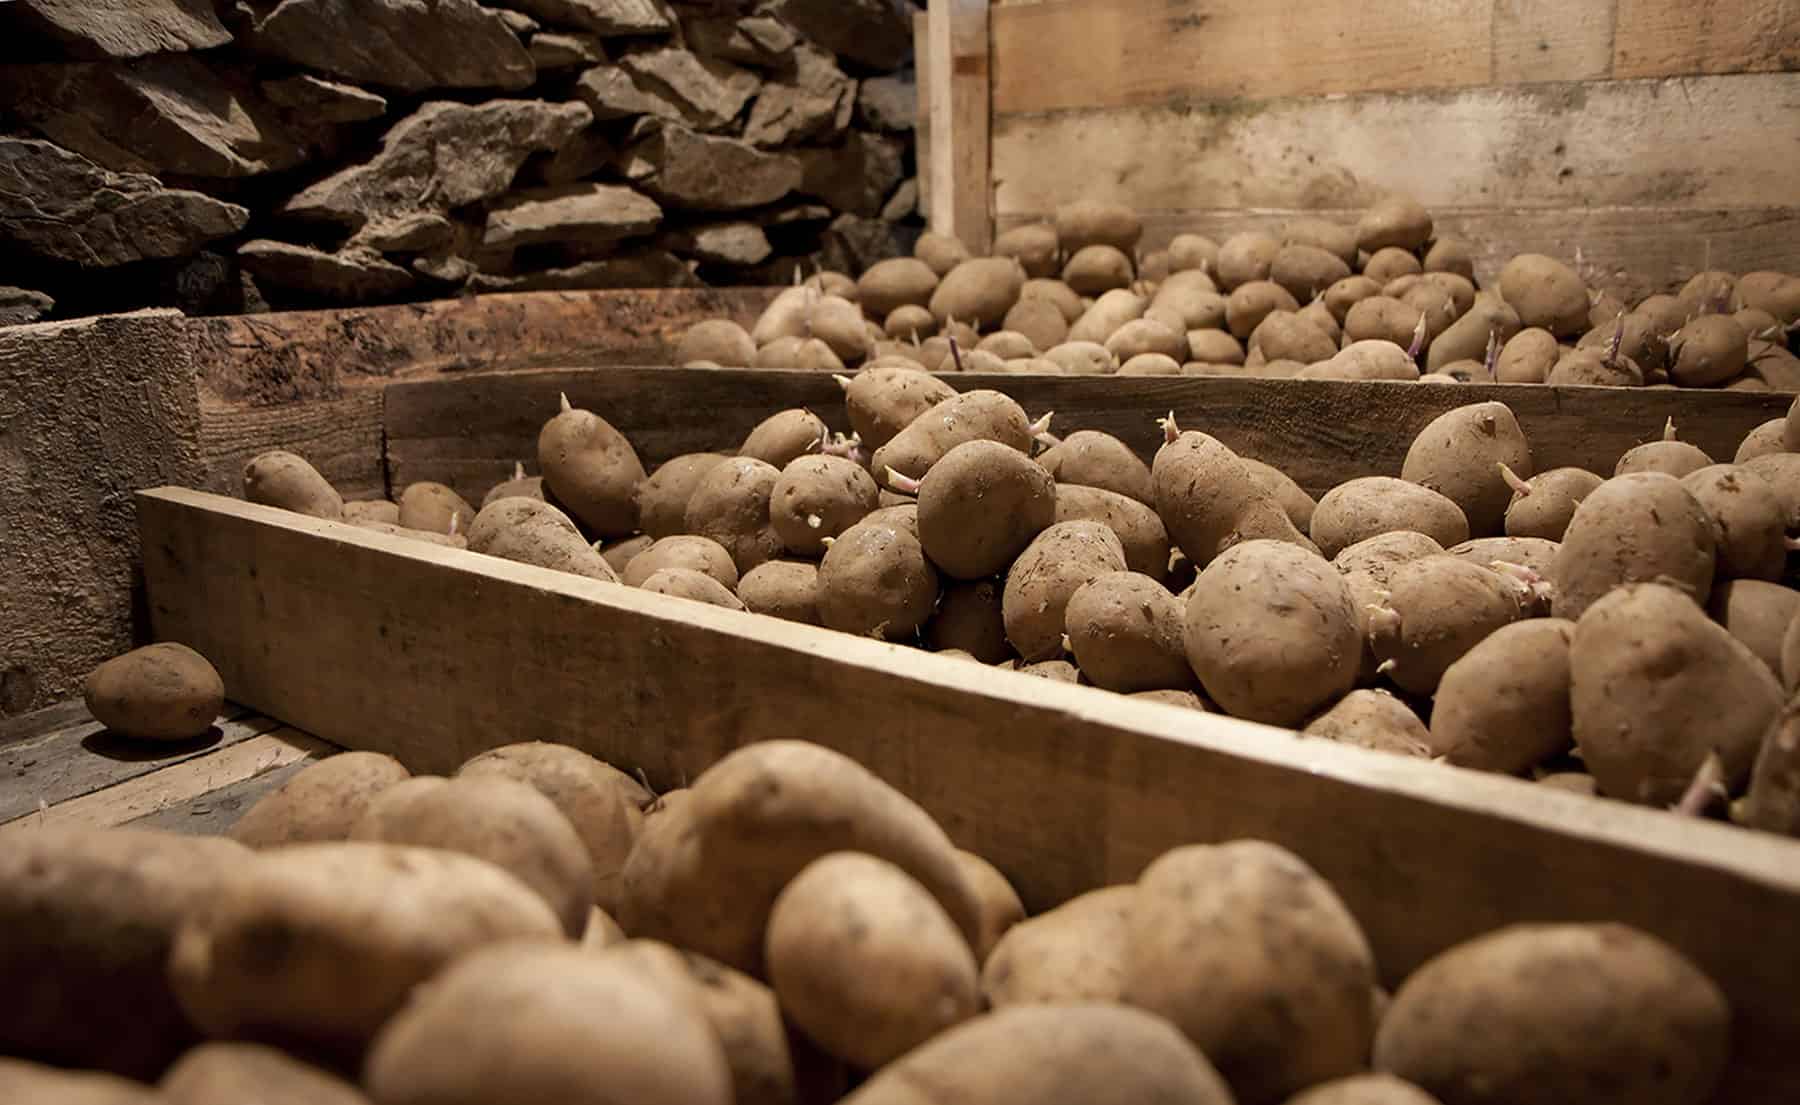
Storing Root Vegetables
Root vegetables like carrots, beets, parsnips, and potatoes have the ability to be stored for several months if the conditions are right. Here are some guidelines for storing root vegetables:
- Preparation: Before storing root vegetables, ensure that they are clean and dry. Remove any excess dirt or debris by gently brushing or rinsing them.
- Root Cellar: If you have access to a root cellar, it is the ideal storage location for root vegetables. A root cellar provides cool temperatures (around 32-40°F or 0-4°C) and high humidity, mimicking the conditions of the earth where these vegetables naturally grow.
- Cool and Dark Location: If you don’t have a root cellar, choose a cool and dark location in your home for storage. The temperature should be around 32-50°F (0-10°C), such as a basement, garage, or closet.
- Storage Containers: Use breathable containers such as wooden crates or mesh bags for storing root vegetables. Avoid using plastic bags, as they can lead to moisture buildup and rot. Make sure the containers provide ample airflow to prevent the vegetables from becoming damp.
- Separate Different Varieties: Keep different types of root vegetables separate to prevent them from affecting each other’s freshness. Some vegetables, like potatoes, emit ethylene gas, which can cause other vegetables to spoil more quickly.
- Check for Spoilage: Regularly inspect your stored root vegetables for any signs of spoilage. Remove any vegetables that have started to rot or mold to prevent the spread of decay to the others.
It’s important to note that not all root vegetables have the same storage requirements. Some, like carrots, prefer slightly moist conditions, while others, like onions, prefer drier conditions. Be sure to research the specific storage needs of each root vegetable to ensure optimal storage conditions.
By following these guidelines, you can store root vegetables and extend their shelf life, allowing you to enjoy the harvest well into the colder months.
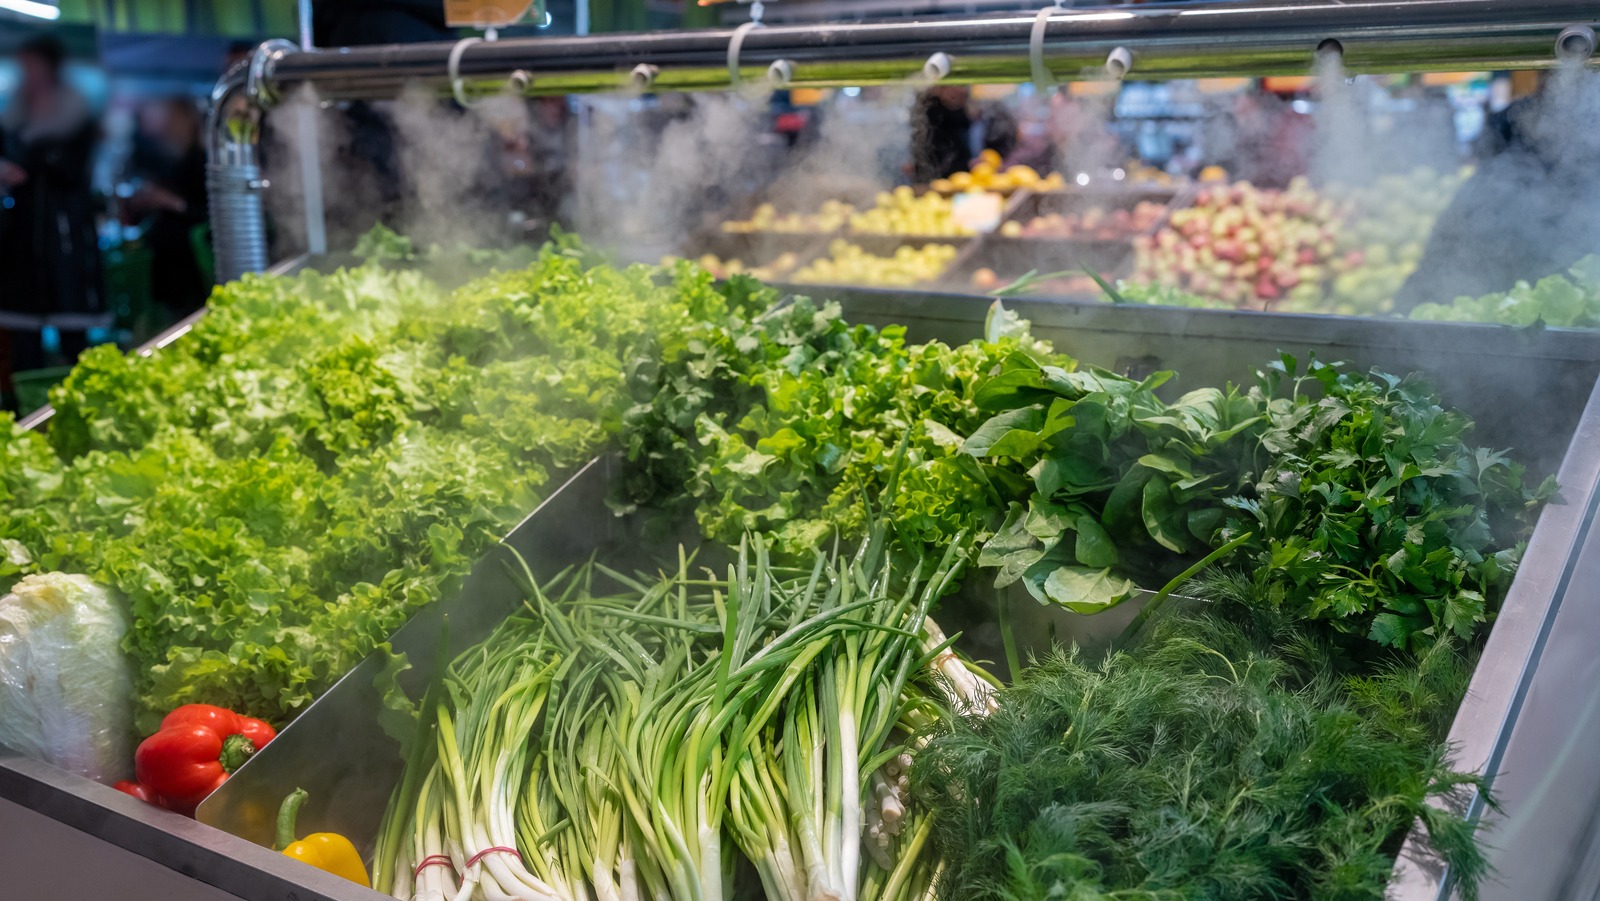
Storing Leafy Greens
Leafy greens like lettuce, spinach, and kale are best consumed fresh, but with the right storage techniques, you can extend their shelf life for a few extra days. Here’s how to store leafy greens:
- Preparation: Before storing leafy greens, remove any damaged or wilted leaves. Gently wash and dry the greens to remove any dirt or debris. Be sure to remove excess moisture to prevent the growth of bacteria or mold.
- Storage Bags or Containers: Place the leafy greens in airtight bags or containers. You can line the containers with paper towels to absorb excess moisture and keep the greens crisp.
- Refrigerator Storage: Store the leafy greens in the refrigerator, ideally in the crisper drawer. The temperature should be set between 32-40°F (0-4°C) to maintain freshness. Avoid placing leafy greens near fruits like apples or bananas, as they release ethylene gas, which can cause the greens to spoil more quickly.
- Moisture Management: Leafy greens like lettuce and spinach tend to wilt when they lose moisture. To keep them fresh, you can place a damp paper towel or a clean, dry cloth in the container with the greens. This will help maintain some moisture and prevent wilting.
- Check and Rotate: Regularly check for any signs of spoilage and remove any leaves that have started to wilt or turn slimy. Rotate the greens to ensure even exposure to the refrigerator’s cool air.
It’s important to note that while these storage techniques can help extend the shelf life of leafy greens, they are still best enjoyed within a few days of harvesting or purchasing. Freshly picked or locally sourced greens tend to have a shorter shelf life compared to store-bought greens that have already undergone some storage.
By following these storage guidelines, you can maximize the freshness and quality of your leafy greens, giving you more time to enjoy them in salads, sandwiches, or cooked dishes.
Storing Tomatoes and Peppers
Tomatoes and peppers are delicious summer vegetables that can be enjoyed even after the growing season ends. Proper storage techniques can help extend their shelf life and preserve their flavors. Here’s how to store tomatoes and peppers:
- Ripening: If your tomatoes or peppers are not fully ripened when harvested, allow them to ripen further at room temperature. Place them in a single layer on a countertop away from direct sunlight.
- Separate Ripe and Unripe: If you have a mix of ripe and unripe tomatoes or peppers, it’s best to store them separately. Ripe vegetables can release ethylene gas, which speeds up the ripening process and can cause nearby vegetables to spoil quicker.
- Cool and Dry Storage: Store ripe tomatoes at room temperature, preferably in a cool, dry place, away from direct sunlight. Keep them in a single layer to prevent them from getting squashed or crushed.
- Refrigerator Storage: If you need to store ripe tomatoes for a longer period, you can place them in the refrigerator. However, be aware that refrigeration can affect the texture and flavor of tomatoes. Bring them back to room temperature before consuming for optimal taste.
- Peppers: Peppers can be stored similarly to tomatoes. You can keep them at room temperature or in the refrigerator, depending on your preference. If using the refrigerator, place them in a perforated bag or an open container to allow for airflow.
It’s important to note that the taste and texture of tomatoes and peppers can change over time, even with proper storage. Freshly harvested or locally sourced vegetables tend to have the best flavor and should be consumed as soon as possible.
By following these storage guidelines, you can enjoy the flavors of tomatoes and peppers for a few extra days or weeks, allowing you to savor the taste of summer even when it’s no longer the season.
Storing Cucumbers and Zucchini
Cucumbers and zucchini are versatile and refreshing vegetables that are abundant during the summer months. To prolong their freshness and enjoy them beyond the harvest season, proper storage is essential. Here’s how to store cucumbers and zucchini:
- Handling: Handle cucumbers and zucchini with care to avoid bruising or damaging their delicate skin. Bruises can lead to faster deterioration and spoilage.
- Separate: Cucumbers and zucchini should be stored separately, as they have different storage requirements. Cucumbers prefer cooler temperatures, while zucchini prefers slightly warmer conditions.
- Cool Storage for Cucumbers: Cucumbers should be stored in a cool environment, ideally between 45-55°F (7-13°C). They can be placed in the refrigerator’s crisper drawer, but be mindful of not storing them near fruits that produce ethylene gas, as it can speed up the deterioration process.
- Room Temperature for Zucchini: Zucchini is best stored at room temperature, around 50-60°F (10-15°C). Place them in a cool and dry place away from direct sunlight. Do not refrigerate zucchini, as it can cause them to become mushy and lose flavor.
- Avoid Trapping Moisture: Excess moisture can lead to the development of mold or rot. Store cucumbers and zucchini in breathable containers or perforated plastic bags to allow proper airflow and prevent moisture buildup.
- Check for Spoilage: Regularly check stored cucumbers and zucchini for any signs of rot or decay. Remove any spoiled vegetables to prevent the spread of mold to other produce.
Both cucumbers and zucchini are best enjoyed when they are fresh. It’s recommended to consume them within a few days of harvesting or purchasing for the best texture and flavor.
By following these storage guidelines, you can savor the crispness of cucumbers and the tender texture of zucchini for a little while longer, even after the summer season has passed.
Storing Squash and Pumpkins
Squash and pumpkins are hearty vegetables that can be stored for several months, allowing you to enjoy their flavors well into the winter months. Proper storage techniques can help maintain their quality and prevent spoilage. Here’s how to store squash and pumpkins:
- Curing: After harvesting, allow squash and pumpkins to cure for around 10-14 days in a warm and dry location, such as a sunny windowsill or covered porch. Curing helps toughen their skin and prolong their shelf life.
- Cool and Dark Storage: Store squash and pumpkins in a cool, dry, and dark place with a temperature between 50-55°F (10-13°C). A basement or cellar is an ideal storage location. Keep them away from areas with high humidity or drastic temperature changes.
- Avoid Stacking: Do not stack squash or pumpkins on top of each other, as this can lead to excessive pressure and increased chances of bruising or rotting. Instead, place them in a single layer with space between them to allow for proper airflow.
- Inspect Regularly: Check your stored squash and pumpkins regularly for any signs of decay, such as soft spots or mold. Remove any damaged or spoiled vegetables immediately to prevent the spread of rot to others.
- Handle with Care: Handle squash and pumpkins with care, as rough handling can lead to bruising or damage. Even slight injuries to the skin can create an entry point for bacteria or mold.
It’s important to note that different varieties of squash and pumpkins have varying storage capabilities. Some varieties, like acorn squash and butternut squash, can be stored for several months, while others, like delicata squash, have a shorter storage life.
By following these storage guidelines, you can savor the flavors and nutritional benefits of squash and pumpkins long after the harvest season has ended.
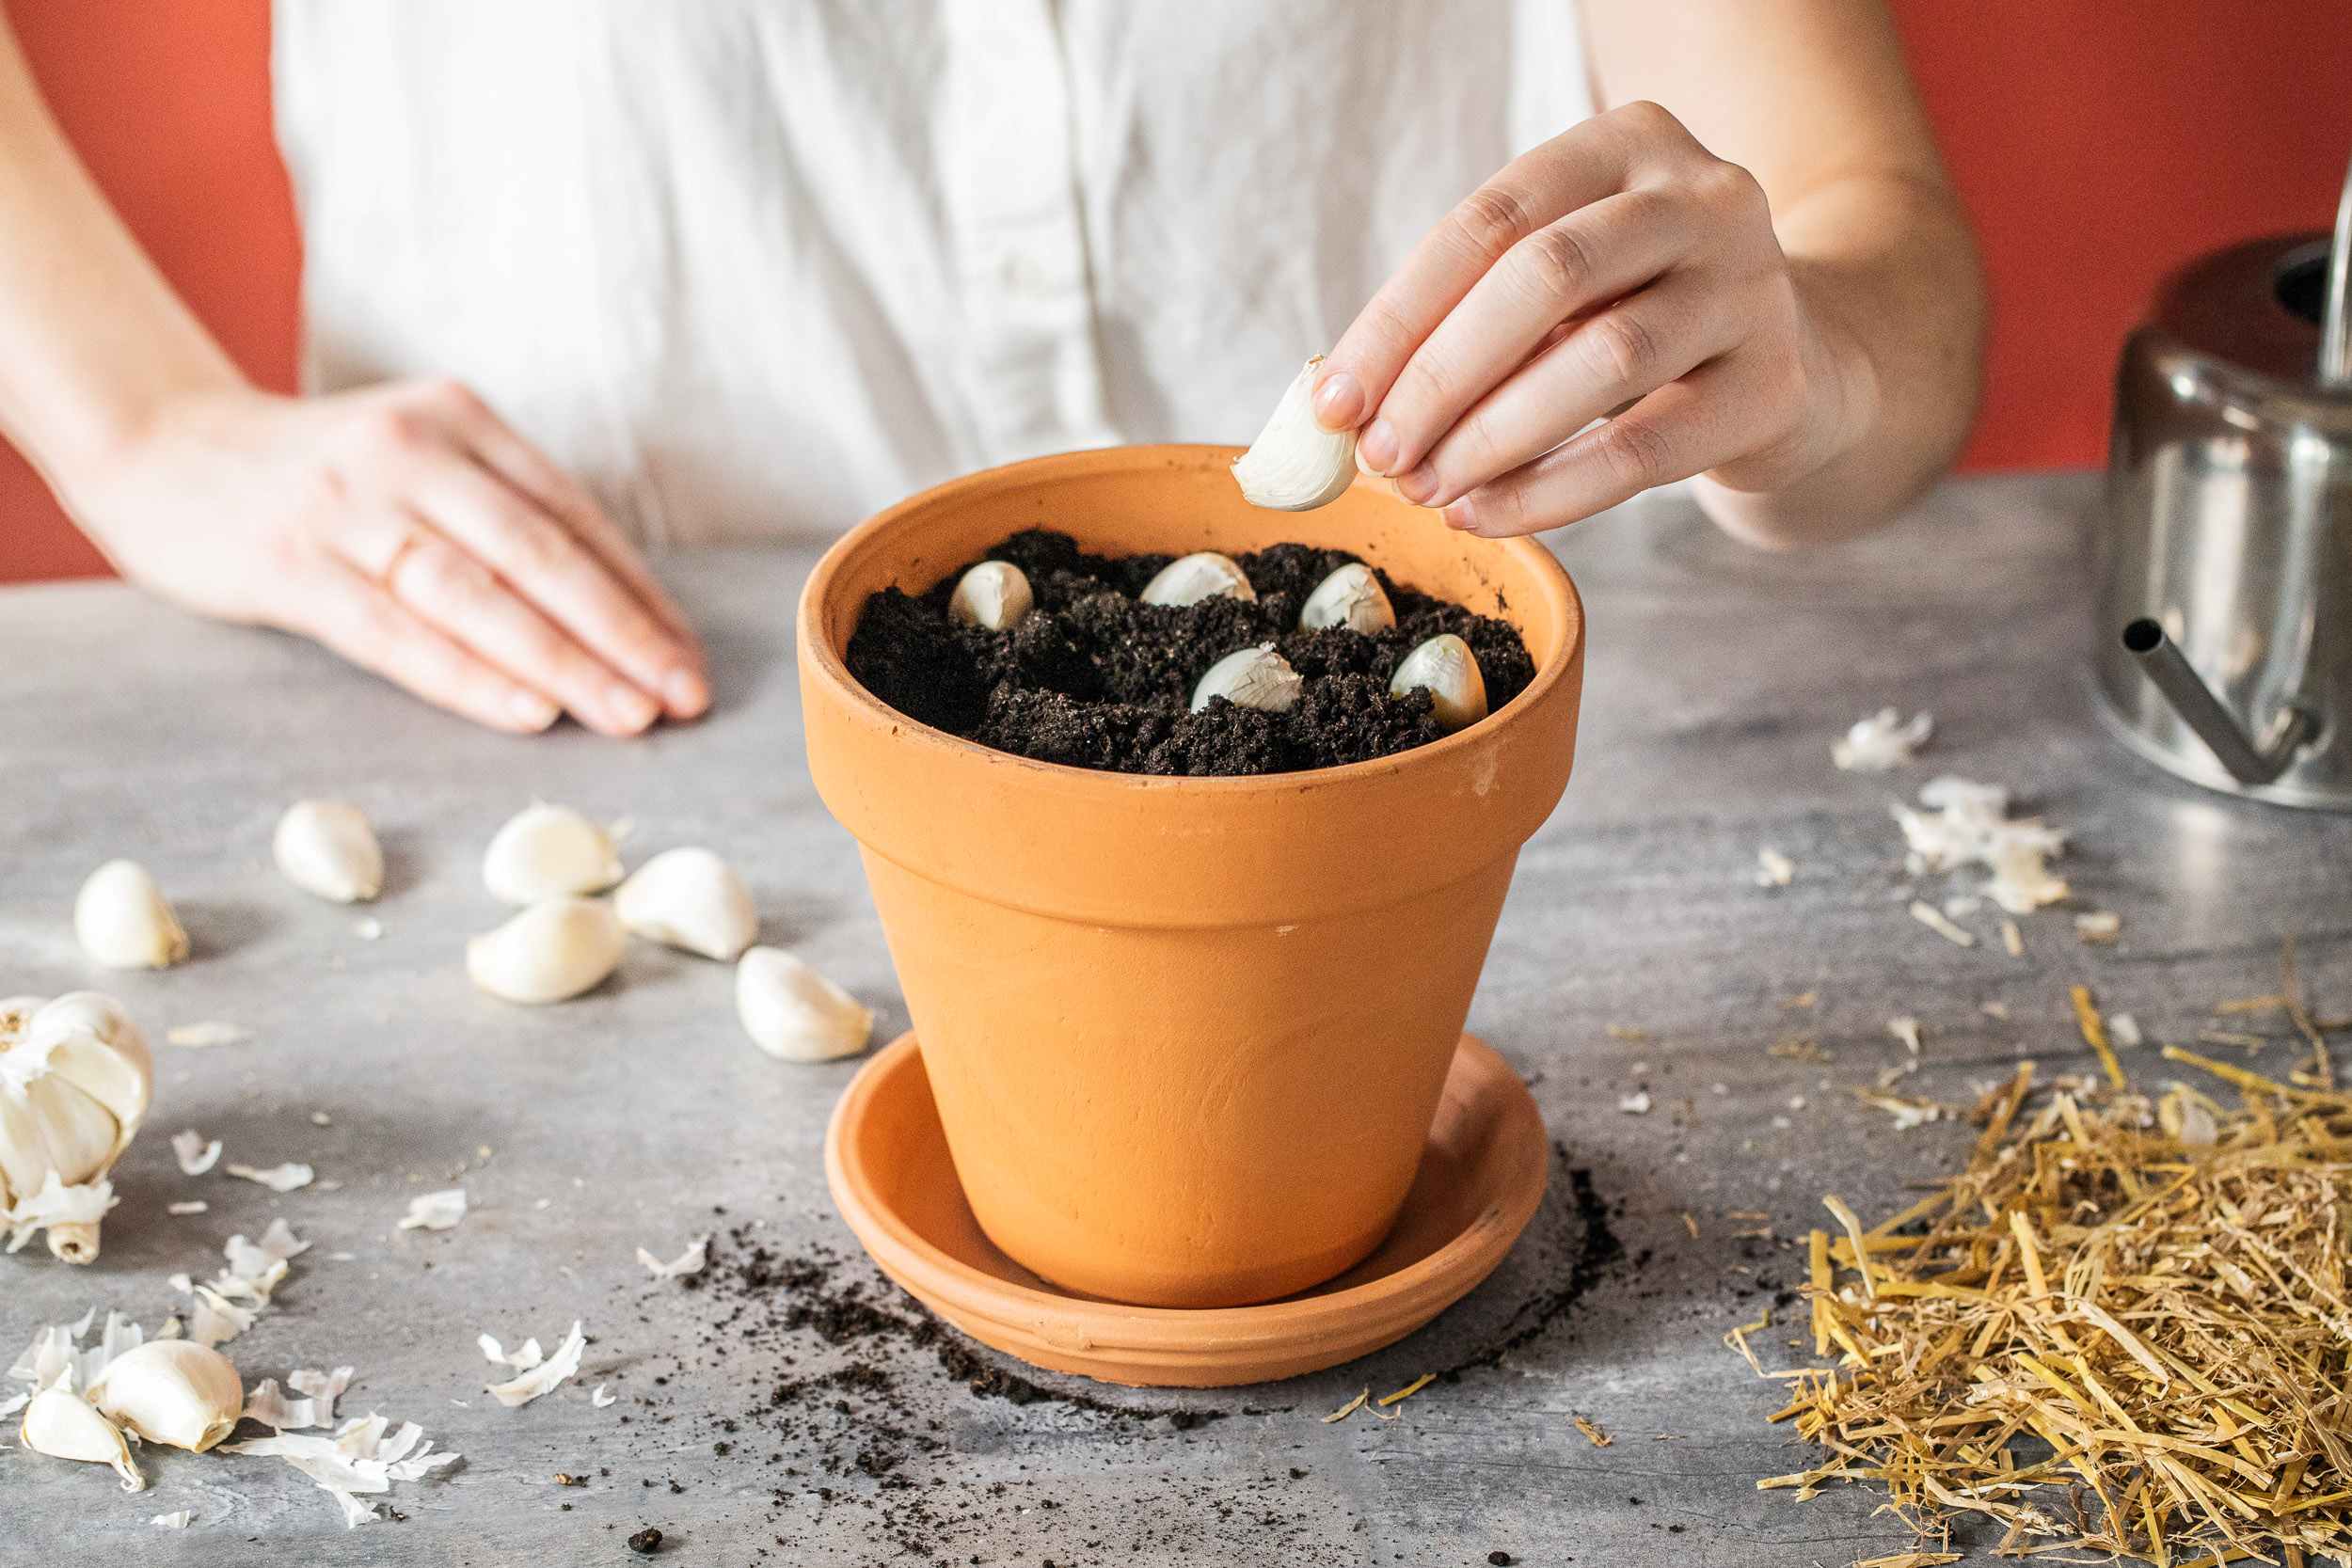
Storing Onions and Garlic
Onions and garlic are flavorful and versatile vegetables that can be stored for extended periods. With the right storage techniques, you can enjoy their pungent flavors and aromatic qualities well beyond the harvesting season. Here’s how to store onions and garlic:
- Drying: After harvesting, allow onions and garlic to dry in a well-ventilated area for a few weeks. Spread them out in a single layer or hang them in bunches, ensuring good airflow. This drying process helps remove excess moisture, allowing for longer storage.
- Cool and Dry Storage: Store onions and garlic in a cool and dry location, with temperatures between 32-40°F (0-4°C) and low humidity. Basements, pantries, or well-ventilated root cellars are suitable storage spaces.
- Containers: Choose containers that provide good airflow, such as mesh bags, netting, or baskets, to allow air circulation around the onions and garlic. Avoid storing them in plastic bags, as they can trap moisture and cause spoilage.
- Avoid Light: Keep onions and garlic away from direct sunlight or any sources of light, as exposure can lead to sprouting. Store them in a dark place to maintain their quality and prevent premature sprouting.
- Separate Storage: Ensure that onions and garlic are stored separately. They have different storage requirements, and storing them together can cause flavors to transfer. Onions can also emit gases that can accelerate the spoiling process of garlic.
- Regular Inspections: Regularly inspect your stored onions and garlic for any signs of spoilage, including soft spots, mold, or sprouting. Remove any affected bulbs promptly to prevent the spread of decay.
Properly stored onions and garlic can last for several months, gradually developing more complexity in flavor. However, it’s important to note that as time goes on, their flavors may intensify and change. Check periodically for quality, and use the onions and garlic accordingly.
By following these storage guidelines, you can enjoy the distinct flavors and culinary benefits of onions and garlic for an extended period, keeping your dishes well-seasoned and aromatic.
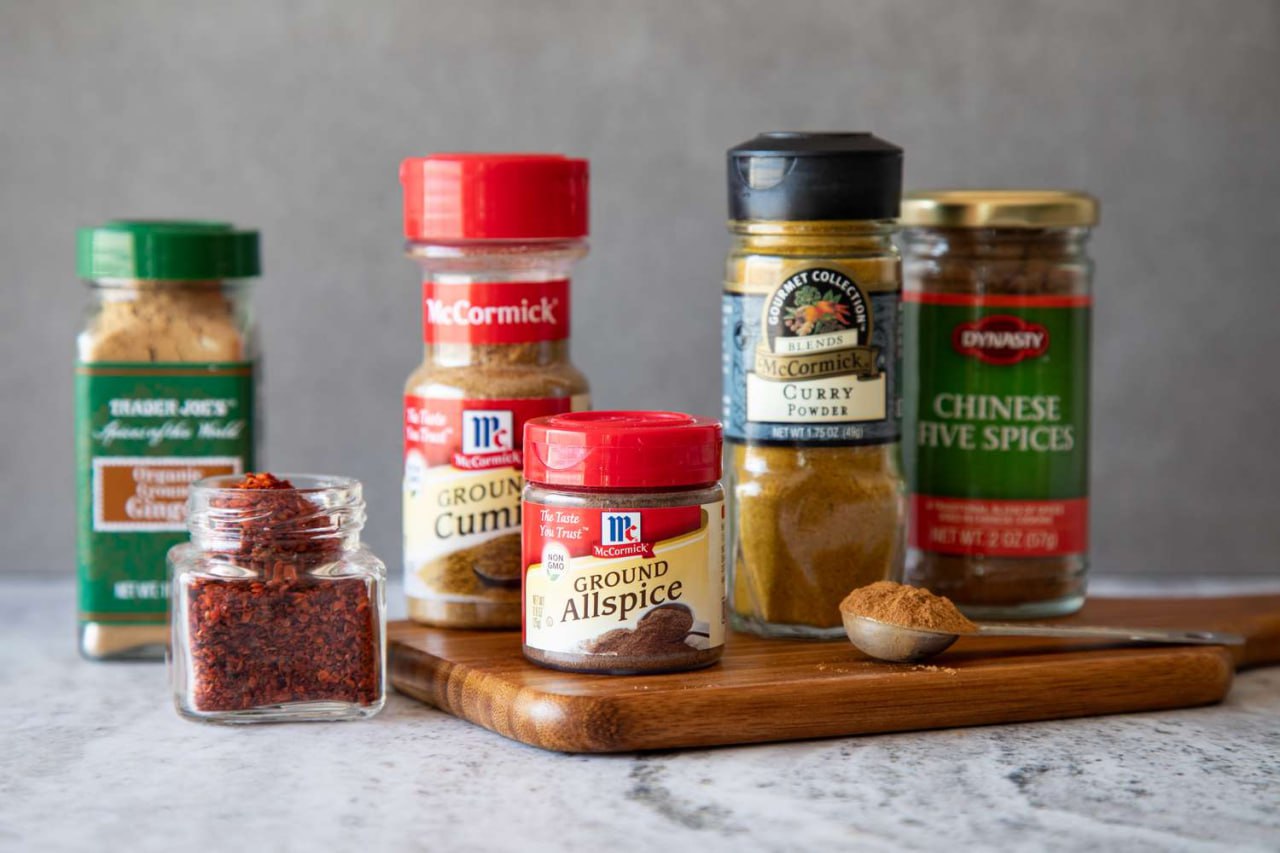
Storing Herbs
Fresh herbs not only add flavor but also a burst of fragrance to your culinary creations. Proper storage is key to preserving the delicate flavors and aromas of herbs. Here’s how to store herbs:
- Trimming: Trim any woody stems or damaged leaves from the herbs before storing. Avoid washing the herbs, as moisture can cause them to wilt more quickly.
- Water Method: Treat herbs like fresh-cut flowers by placing the stems in a glass of water. Cover them loosely with a plastic bag and store them in the refrigerator. This method works well for tender herbs like basil, parsley, and cilantro.
- Herb Keeper: Invest in an herb keeper, a container that helps maintain optimal moisture levels for herbs. Place the herbs in the keeper, add a little water to the reservoir, and store it in the refrigerator.
- Bag Method: Another method is to place the herbs in a plastic bag with a slightly damp paper towel. Leave the bag partially open to allow for some airflow and store it in the refrigerator.
- Freezing: Freezing herbs is an excellent way to preserve them for an extended period. Wash, dry, and chop the herbs, and then place them in ice cube trays, covered with water or oil. Once frozen, transfer the herb cubes to a freezer-safe container or bag.
It’s important to note that different herbs have varying storage characteristics. Leafy herbs like basil and cilantro are more delicate and prone to wilting, while hardy herbs like rosemary and thyme tend to hold up better.
When using stored herbs, remember that their flavors may slightly diminish over time. Adjust the quantity accordingly to compensate for any loss in potency. However, dried herbs tend to retain their flavors better than fresh herbs when stored for an extended period.
By employing these storage methods, you can enjoy the freshness and flavors of herbs even after they’ve been harvested, bringing that final touch of aromatic goodness to your favorite dishes.
Monitoring and Maintaining Storage Conditions
Properly monitoring and maintaining storage conditions is crucial to extend the shelf life of your stored vegetables. Here are some tips to help you maintain optimal conditions:
- Temperature: Regularly monitor the temperature of the storage area to ensure it remains within the recommended range for each type of vegetable. Fluctuations in temperature can accelerate spoilage, so try to maintain a consistent temperature.
- Humidity: Assess the humidity levels in your storage area. Leafy greens prefer higher humidity levels, while root vegetables and squash prefer lower humidity. Use a hygrometer to measure the humidity, and adjust it by adding or removing sources of moisture if necessary.
- Airflow: Good airflow is essential for preventing moisture buildup and maintaining freshness. Ensure that there is adequate ventilation in your storage space to allow for proper air circulation. Avoid overcrowding the storage containers to allow air to freely move around the vegetables.
- Inspect Regularly: Regularly inspect your stored vegetables for any signs of spoilage or pest activity. Remove any damaged or spoiled vegetables immediately to prevent the spread of decay. And if you notice any pests, take appropriate measures to eliminate them.
- Rotate and Use First-In, First-Out: When using your stored vegetables, practice the first-in, first-out method. This means using the oldest vegetables first to prevent them from going to waste. Regularly rotate your stock so that older vegetables are used first.
- Keep Records: Maintain a record of what vegetables you have stored and when they were stored. This helps you keep track of their shelf life and ensures that you use them within a reasonable timeframe.
By monitoring and maintaining the storage conditions, you can significantly prolong the lifespan of your vegetables, reducing waste, and ensuring the availability of homegrown produce throughout the year.
Checking and Rotating Vegetables
Regularly checking and rotating your stored vegetables is an essential part of proper storage management. By doing so, you can ensure that your vegetables remain fresh and in optimal condition. Here’s how to check and rotate your vegetables:
- Inspect for Spoilage: Regularly inspect your stored vegetables for any signs of spoilage, such as mold, soft spots, or unusual odors. Remove any damaged or spoiled vegetables immediately to prevent the spread of decay to other vegetables.
- Check for Sprouting: Certain vegetables, such as potatoes and onions, can start to sprout over time. Check your stored vegetables for any signs of sprouting and remove the sprouted ones as they may have altered texture and flavor.
- Rotate Stock: To maintain a proper rotation system, use the first-in, first-out approach. This means using the vegetables that were stored earlier before the newly harvested or purchased ones. This practice helps prevent older vegetables from going bad and ensures their timely usage.
- Organize Containers: Keep your storage containers organized to facilitate easy access and rotation. Label containers with the date of storage or purchase to easily identify which vegetables need to be used first.
- Monitor Moisture Level: Regularly check the moisture level in your storage containers. Excess moisture can lead to spoilage, while inadequate moisture can cause vegetables to become dried out. Adjust the moisture level accordingly to maintain optimal storage conditions.
- Control Temperature and Humidity: Monitor the temperature and humidity levels in your storage area and make any necessary adjustments. Different vegetables have specific temperature and humidity requirements, so ensure that you are providing the ideal conditions for each type of vegetable.
By regularly checking and rotating your stored vegetables, you can prevent waste, maintain the freshness of your produce, and ensure that you enjoy the maximum benefits of your homegrown or purchased vegetables.
Preventing Pests and Mold
Pests and mold can quickly wreak havoc on your stored vegetables, causing spoilage and rendering them inedible. Preventing pests and mold is essential to maintain the quality and freshness of your produce. Here are some tips to help prevent pests and mold:
- Proper Cleaning: Thoroughly clean and dry your vegetables before storage to remove any dirt, insects, or pathogens. This minimizes the chances of introducing pests or mold into your storage area.
- Avoid Waterlogged Conditions: Excess moisture can create an ideal environment for mold growth. Ensure that your storage containers are not waterlogged, and avoid placing wet vegetables directly into storage. Allow vegetables to dry completely before storing them.
- Proper Ventilation: Good airflow is crucial for preventing mold growth. Use breathable containers or mesh bags that allow air to circulate around the vegetables. Avoid tightly sealing containers, as this can lead to moisture buildup.
- Regular Inspections: Regularly inspect your stored vegetables for any signs of pest activity or early stages of mold growth. Look for holes, chew marks, or webbing that may indicate the presence of pests. Remove any affected vegetables immediately to prevent further damage or spread.
- Natural Pest Deterrents: Consider using natural pest deterrents, such as cedar chips, bay leaves, or dried chili peppers, to deter insects from approaching your stored vegetables. These natural repellents can help ward off pests without the use of harmful chemicals.
- Keep the Storage Area Clean: Keep the storage area clean and free of any debris or spilled food. Regularly sweep and wash the area to prevent attracting pests. Consider using traps or sticky pads to capture any crawling insects that may make their way into your storage space.
Vigilance and proactive measures are key to preventing pests and mold from ruining your stored vegetables. By implementing these prevention strategies, you can keep your produce safe and ensure that your efforts in growing or purchasing quality vegetables are not wasted.
Using Preserving Techniques
Preserving techniques can extend the lifespan of your vegetables, allowing you to enjoy them even when they are out of season. These techniques help retain the flavor, texture, and nutritional value of your produce. Here are some common methods for preserving vegetables:
- Canning: Canning involves preserving vegetables in jars or cans using heat to kill microorganisms. This method allows you to store vegetables for an extended period without losing their quality. Follow proper canning procedures and use tested recipes to ensure safe preservation.
- Freezing: Freezing is a popular and convenient method for preserving vegetables. Blanching the vegetables before freezing helps retain their color and nutrition. Once blanched, pack the vegetables in airtight containers or freezer bags, removing as much air as possible.
- Drying: Drying vegetables involves removing moisture from them to inhibit the growth of microorganisms. You can air dry vegetables by hanging them or use a dehydrator to speed up the process. Store dried vegetables in airtight containers away from heat and moisture.
- Pickling: Pickling involves preserving vegetables in a brine solution or vinegar, which helps enhance their flavor and prolong their storage life. You can make quick pickles by immersing vegetables in a vinegar-based liquid or try fermenting them for a more tangy flavor.
- Preserving in Oil: Preserving vegetables in oil helps preserve their flavors and prevent spoilage. This method involves immersing vegetables, like peppers or sun-dried tomatoes, in oil and storing them in airtight containers. Make sure the vegetables are fully submerged to prevent oxidation.
- Sauces and Condiments: Another way to preserve vegetables is by making sauces, salsa, or condiments. These can be cooked, blended, and then stored in sterilized jars. These homemade sauces can add flavor to your dishes even when the fresh produce is not available.
It’s important to follow proper techniques, guidelines, and recipes for each method of preservation to ensure food safety and maximum shelf life. Additionally, label your preserved vegetables with the date and contents to keep track of their freshness.
Preserving techniques allow you to enjoy the taste and nutritional benefits of your garden vegetables throughout the year, expanding your culinary possibilities and reducing food waste.
Conclusion
Properly storing garden vegetables is essential to maximize their freshness, flavor, and nutritional value. By following the guidelines outlined in this article, you can successfully store a variety of vegetables, from root vegetables to leafy greens, tomatoes, peppers, cucumbers, squash, onions, garlic, herbs, and more.
Choosing the right vegetables for storage, harvesting them at the optimal time, and cleaning and preparing them correctly are crucial steps to ensure successful storage. Additionally, using the appropriate storage containers, monitoring and maintaining storage conditions, checking and rotating the vegetables, and taking preventive measures against pests and mold are essential for preserving their quality.
Furthermore, you have learned about various preserving techniques such as canning, freezing, drying, pickling, preserving in oil, and making sauces and condiments. These methods allow you to enjoy your garden vegetables long after the growing season has ended.
Remember, while storing vegetables can help prolong their shelf life, it’s essential to regularly check them for any signs of spoilage or deterioration. Use the first-in, first-out method to ensure you consume the oldest vegetables first.
Proper storage not only reduces food waste but also allows you to reap the rewards of your garden throughout the year, saving money and increasing self-sufficiency. So, make the most of your garden harvest by implementing the storage techniques and preserving methods shared in this article. Enjoy the flavors, nutrition, and satisfaction of homegrown vegetables all year round!