Home>Gardening News and Trends>Latest News>How To Build Garden Boxes For Vegetables
Latest News
How To Build Garden Boxes For Vegetables
Modified: February 9, 2024
Discover the latest news on how to build garden boxes for vegetables. Get expert tips and step-by-step instructions for a successful vegetable garden.
(Many of the links in this article redirect to a specific reviewed product. Your purchase of these products through affiliate links helps to generate commission for Chicagolandgardening.com, at no extra cost. Learn more)
Table of Contents
- Introduction
- Materials Needed
- Step 1: Choosing the Location
- Step 2: Selecting the Size of the Garden Box
- Step 3: Gathering the Tools
- Step 4: Building the Base of the Garden Box
- Step 5: Constructing the Sides of the Garden Box
- Step 6: Fastening the Corners
- Step 7: Adding a Bottom (Optional)
- Step 8: Filling the Garden Box with Soil
- Step 9: Planting the Vegetables
- Step 10: Caring for Your Vegetable Garden Box
- Conclusion
Introduction
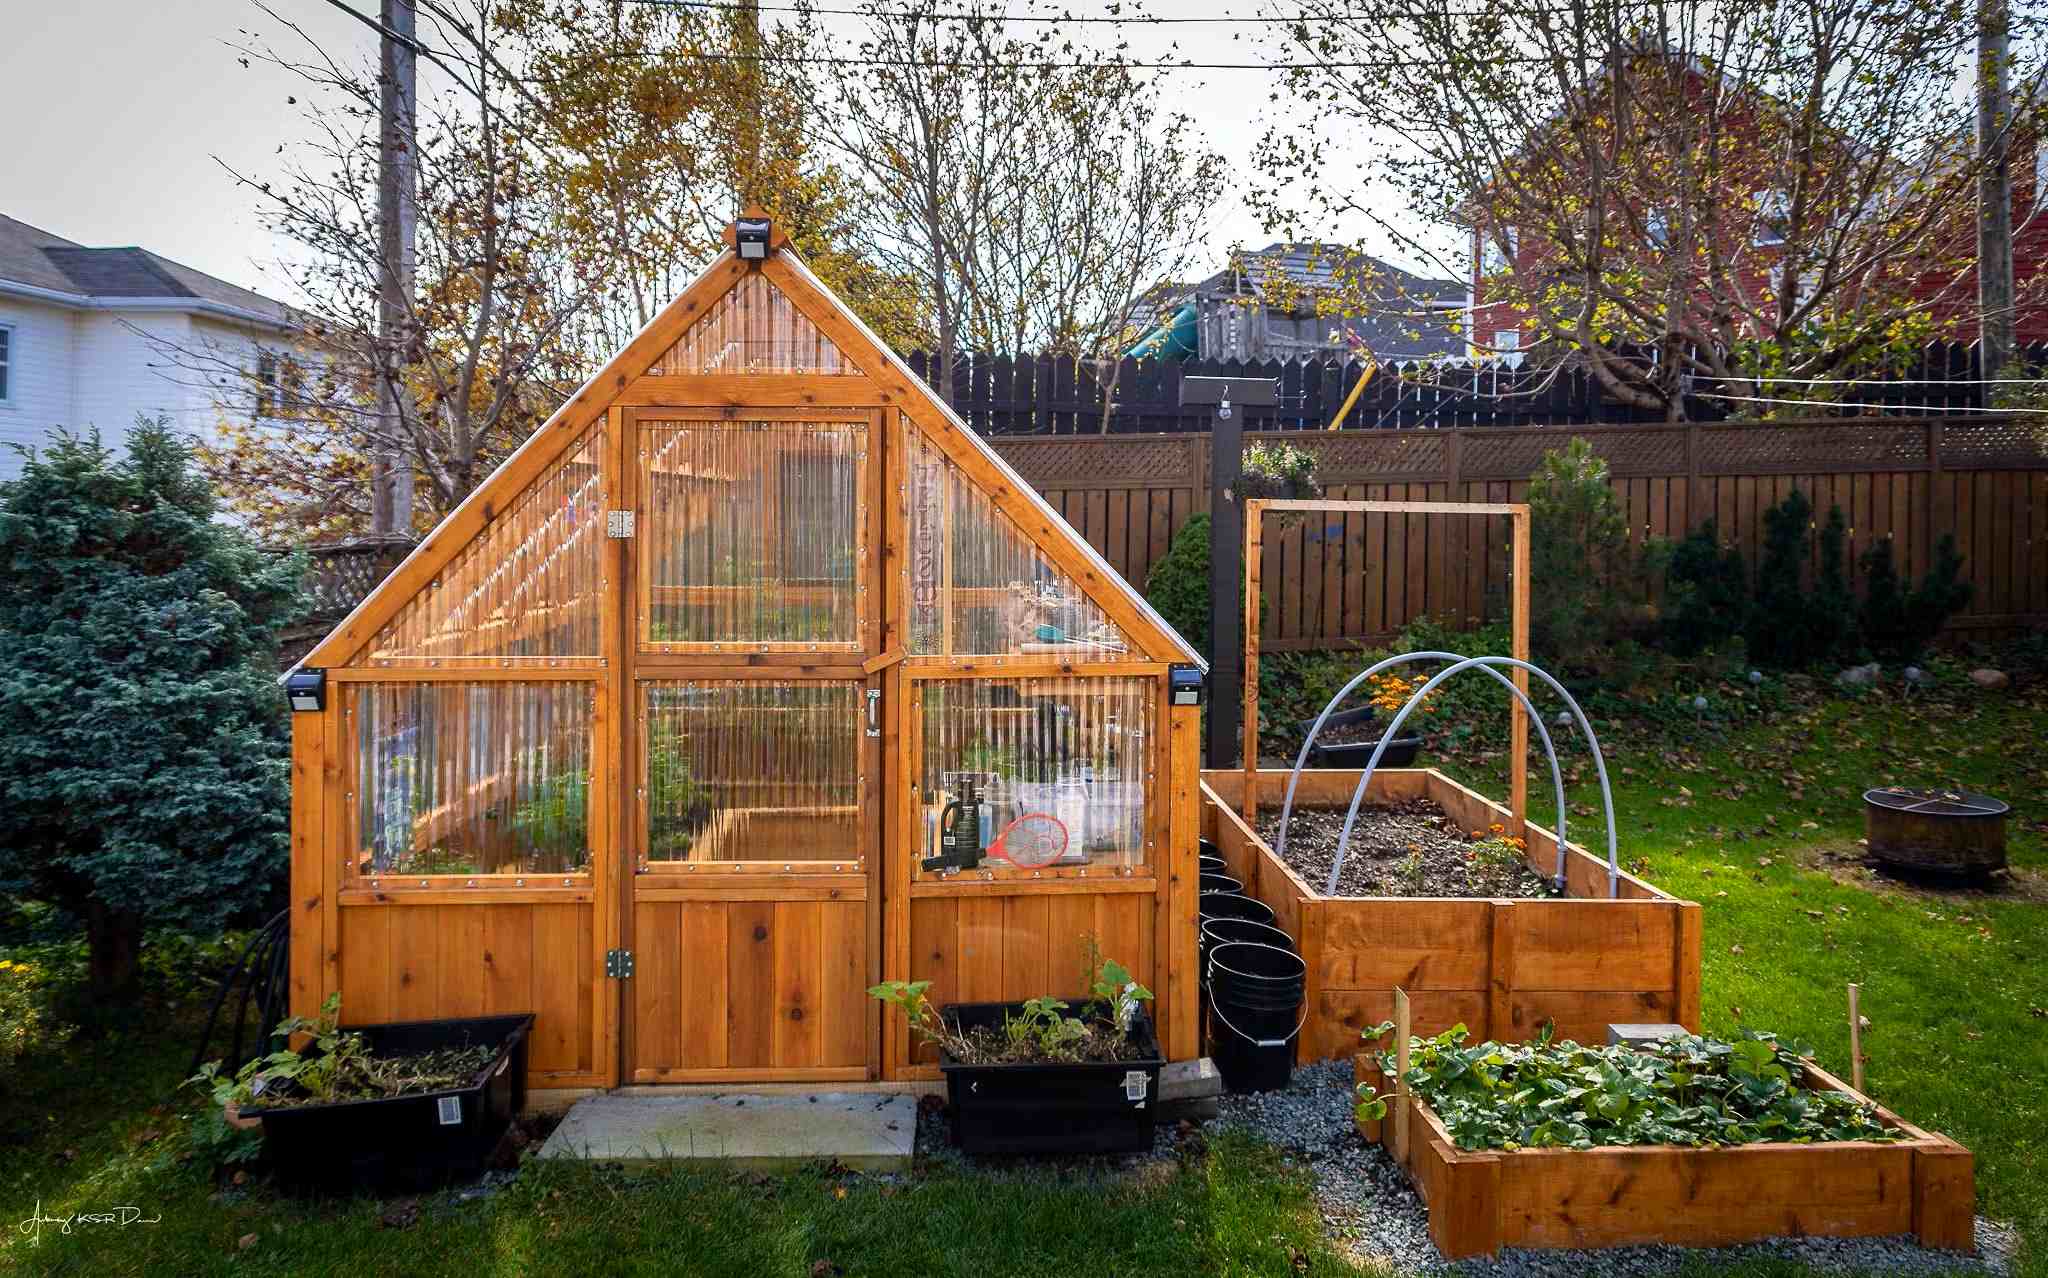
Welcome to the world of gardening! Growing your own vegetables is not only a rewarding experience but also a great way to ensure you have access to fresh and organic produce right in your backyard. One of the key components of a successful vegetable garden is the right container to grow your plants in. Garden boxes, also known as raised beds, provide an excellent option for cultivating vegetables.
Building your own garden boxes allows you to customize the size, shape, and materials used, giving you complete control over the growing conditions for your plants. Whether you have limited space, poor soil quality, or just want to elevate your gardening game, garden boxes are the perfect solution.
In this article, we will guide you through the step-by-step process of building garden boxes for vegetables. From selecting the location to planting your favorite veggies, we will cover all the essential aspects to ensure your gardening adventure is a success.
So, grab your tools and let’s get started on creating your very own vegetable garden boxes!
Materials Needed
Before you begin building your garden boxes, it’s important to gather all the necessary materials. Here’s a list of items you’ll need:
- Wood or alternative material for the sides of the garden box. Opt for rot-resistant wood such as cedar or redwood, or consider using composite lumber or recycled plastic alternatives.
- Screws or nails to fasten the sides together.
- A saw or another cutting tool to size the wood to your desired dimensions.
- A drill or screwdriver to secure the sides and corners.
- A level to ensure the garden box is even.
- Landscape fabric or cardboard to line the bottom of the garden box (optional).
- A staple gun or tape to secure the fabric or cardboard.
- High-quality soil or a mixture of compost, peat moss, and vermiculite.
- Vegetable seeds or starter plants of your choice.
- Watering can or garden hose for irrigation.
- Garden gloves and protective eyewear.
These materials will provide you with a solid foundation to create your garden boxes and ensure the healthy growth of your vegetables. Feel free to adjust the quantities based on the size and number of garden boxes you plan to build.
Step 1: Choosing the Location
The location of your garden boxes plays a crucial role in the success of your vegetable garden. Here are some factors to consider when choosing the ideal spot:
- Sunlight: Select an area that receives at least 6-8 hours of direct sunlight per day. Vegetables thrive in sunlight and need it to grow and produce a bountiful harvest.
- Accessibility: Choose a location that is easily accessible for watering, weeding, and harvesting. It should be convenient for you to tend to your garden on a regular basis.
- Drainage: Ensure that the area you choose has proper drainage to prevent waterlogging. Avoid low-lying spots that may retain excess water, as this can lead to root rot and other plant diseases.
- Proximity to water source: Having a water source nearby will make it easier to irrigate your garden. Consider the convenience of reaching a hose or water spigot to water your plants when needed.
- Protection from elements: Look for a location that provides some protection from strong winds or extreme weather conditions. A natural windbreak, such as a fence or shrubs, can help shield your plants.
- Space: Assess the available space and consider the number and size of garden boxes you plan to build. Make sure the area is large enough to accommodate the boxes and allow proper airflow between them.
Take some time to evaluate different spots in your yard that meet these criteria. Remember that the location you choose can have a significant impact on the overall health and productivity of your vegetable garden, so choose wisely.
Step 2: Selecting the Size of the Garden Box
Choosing the right size for your garden box is essential for proper plant growth and maximizing your available space. Here are some factors to consider when selecting the size of your garden box:
- Available Space: Measure the area where you plan to place your garden box. Consider the dimensions of the space and determine how many garden boxes can fit comfortably while leaving enough room to walk and work around them.
- Accessibility: Ensure that your garden box is of a size that allows you to reach the center from all sides without stepping into the growing area. This makes planting, weeding, and harvesting easier.
- Planting Needs: Consider the types of plants you intend to grow. Some vegetables, like tomatoes or cucumbers, require more space and may need larger garden boxes or individual containers. Smaller plants, such as herbs or leafy greens, can be grown in smaller boxes or even in vertical gardens.
- Soil Depth: The depth of the garden box influences the root depth of your plants. Most vegetables thrive in soil depths of at least 6-12 inches. However, root vegetables like carrots or potatoes might require deeper boxes ranging from 18-24 inches.
- Maintenance: Consider the level of maintenance you are willing to undertake. Larger garden boxes may require more time and effort for watering, weeding, and overall maintenance.
Based on these factors, you can determine the appropriate size for your garden box. A common size for a garden box is 4 feet x 4 feet, which provides ample space for a variety of vegetables. However, feel free to adjust the dimensions to suit your specific needs and available space.
By carefully selecting the size of your garden box, you’ll set the foundation for a productive and efficient vegetable garden.
Step 3: Gathering the Tools
Before you start building your garden box, it’s important to gather all the necessary tools. Having the right tools on hand will make the construction process smoother and more efficient. Here are the essential tools you’ll need:
- Measuring Tape: A measuring tape will help you accurately measure and mark the dimensions of your garden box.
- Saw: Depending on the material you’re using for your garden box, you’ll need a saw to cut the wood or alternative material to the desired lengths.
- Drill or Screwdriver: To fasten the sides and corners of the garden box, you’ll need either a drill or a screwdriver. Make sure you have the appropriate drill bits or screwdriver bits for your chosen fasteners.
- Level: A level will help you ensure that the garden box is even and properly aligned.
- Gloves and Protective Eyewear: Working with wood or other materials can be rough on your hands, so wearing gloves will protect them from splinters and cuts. Protective eyewear is also important to shield your eyes from any flying debris.
- Tape Measure: A tape measure will assist you in accurately measuring the dimensions of your garden box.
- Pencil or Marker: Have a pencil or marker nearby to mark the measurements and cut lines on the wood or alternative material.
- Screws or Nails: Depending on your preference and the material you’re using, you’ll need screws or nails to assemble the garden box. Make sure to choose ones that are appropriate for outdoor use and can withstand the elements.
- Staple Gun or Tape: If you choose to line the bottom of your garden box with landscape fabric or cardboard, you’ll need a staple gun or tape to secure it in place.
Having these tools readily available will make the construction process more efficient and enjoyable. Ensure that you have all the necessary tools before you begin building your garden box, so you can work smoothly without any interruptions.
Step 4: Building the Base of the Garden Box
The base of your garden box provides stability and support for your plants, so it’s important to construct it properly. Follow these steps to build the base of your garden box:
- Measure and cut the boards: Start by measuring and cutting the boards for the base of your garden box. These boards will form the bottom perimeter of the box.
- Align the boards: Lay the cut boards on a flat surface and align them to form a square or rectangular shape, depending on the dimensions you’ve chosen for your garden box.
- Secure the corners: Once the boards are aligned, use screws or nails to secure the corners. Make sure the boards are firmly joined together for stability.
- Add cross supports (optional): For added support, you can add cross supports in the middle of the base by cutting additional boards and attaching them perpendicular to the existing boards.
- Check for level: Use a level to ensure that the base of the garden box is even and flat. Adjust the boards if needed.
Building a sturdy and level base is essential to ensure that your garden box remains stable and provides a solid foundation for your plants. Take your time during this step to ensure accuracy and quality construction.
Remember to consider whether you want to add a bottom to your garden box. While it’s not necessary, adding a bottom can help prevent weeds from growing up into the box from below. If you decide to add a bottom, you can attach it to the base using screws or nails before moving on to the next step.
Step 5: Constructing the Sides of the Garden Box
Now that you have the base of your garden box ready, it’s time to move on to constructing the sides. Follow these steps to build the sides of your garden box:
- Measure and cut the side boards: Measure and cut the boards for the sides of your garden box. These boards will be attached to the base and form the vertical walls of the box.
- Align the boards: Lay the cut boards vertically along the edges of the base, making sure they are flush with the corners.
- Secure the boards: Use screws or nails to attach the side boards to the base. Make sure to drive the fasteners into the base to create a strong connection.
- Repeat on all sides: Repeat the process on all sides of the garden box, ensuring that the side boards are straight and securely fastened.
- Check for level: Use a level to ensure that the side boards are straight and level. Adjust as necessary.
When attaching the side boards, you can choose to overlap the corners by placing one board on top of the other or join them at 90-degree angles using bracing plates or corner brackets. Both methods are effective in providing stability and support to the garden box.
Remember to consider the desired height for your garden box. The height of the sides will determine the amount of soil your plants can root into, so take into account the needs of the vegetables you plan to grow. A height of 12-18 inches is common for most garden boxes, but you can adjust it to suit your preferences and plant requirements.
Constructing the sides of your garden box is an important step that defines the structure and shape of your container. Take your time to ensure that the sides are secure and aligned properly, as this will contribute to the long-term stability and functionality of your garden box.
Step 6: Fastening the Corners
Once you have the sides of your garden box constructed, it’s essential to secure the corners to ensure the stability and durability of the structure. Properly fastening the corners will prevent the sides from shifting or coming apart over time. Follow these steps to fasten the corners of your garden box:
- Align the corners: Make sure the corners of your garden box are aligned and flush with each other.
- Pre-drill holes: Use a drill or screwdriver to pre-drill pilot holes into the side boards at the corners. This will prevent the wood from splitting when screws or nails are inserted.
- Secure the corners: Drive screws or nails through the pre-drilled holes to fasten the corners together. Make sure the fasteners go through both side boards at the corner.
- Repeat for all corners: Repeat the process for each corner of the garden box, ensuring that all corners are securely fastened.
For added strength and stability, you can use corner brackets or metal braces at the corners. These brackets will provide additional support and help keep the corners square.
It’s important to choose the appropriate size and type of screws or nails for fastening the corners. Opt for durable outdoor-grade fasteners that can withstand outdoor elements and hold up well over time.
By properly fastening the corners, you will ensure that your garden box remains sturdy and can withstand the weight of the soil and plants. Take the time to securely fasten the corners, as this step is crucial for the long-term integrity of your garden box.
Step 7: Adding a Bottom (Optional)
While it’s not necessary to have a bottom on your garden box, adding one can provide several benefits. It can help prevent weeds and unwanted vegetation from growing up into the box from below. Additionally, a bottom can provide a barrier to prevent soil erosion and maintain the integrity of the garden box. Here’s how you can add a bottom to your garden box:
- Measure and cut the bottom material: Measure the dimensions of the base of your garden box and cut a piece of landscape fabric or cardboard to match these dimensions.
- Place the bottom material: Lay the landscape fabric or cardboard inside the garden box, covering the entire base area.
- Secure the bottom material: Use a staple gun or strong tape to secure the landscape fabric or cardboard to the sides of the garden box. Make sure it is taut and properly aligned.
When choosing a material for the bottom, landscape fabric is a popular choice as it allows water to drain while preventing weed growth. Cardboard can also be used as it is readily available and can provide a temporary barrier against weeds until it decomposes.
By adding a bottom to your garden box, you can create a clean and controlled environment for your plants. However, keep in mind that if you choose to add a bottom, you need to ensure proper drainage. If there are no drainage holes in the base, you can drill a few small holes to allow excess water to escape.
Remember that adding a bottom is optional and may depend on your specific needs and preferences. Evaluate the conditions in your garden and decide whether a bottom is necessary for your garden box.
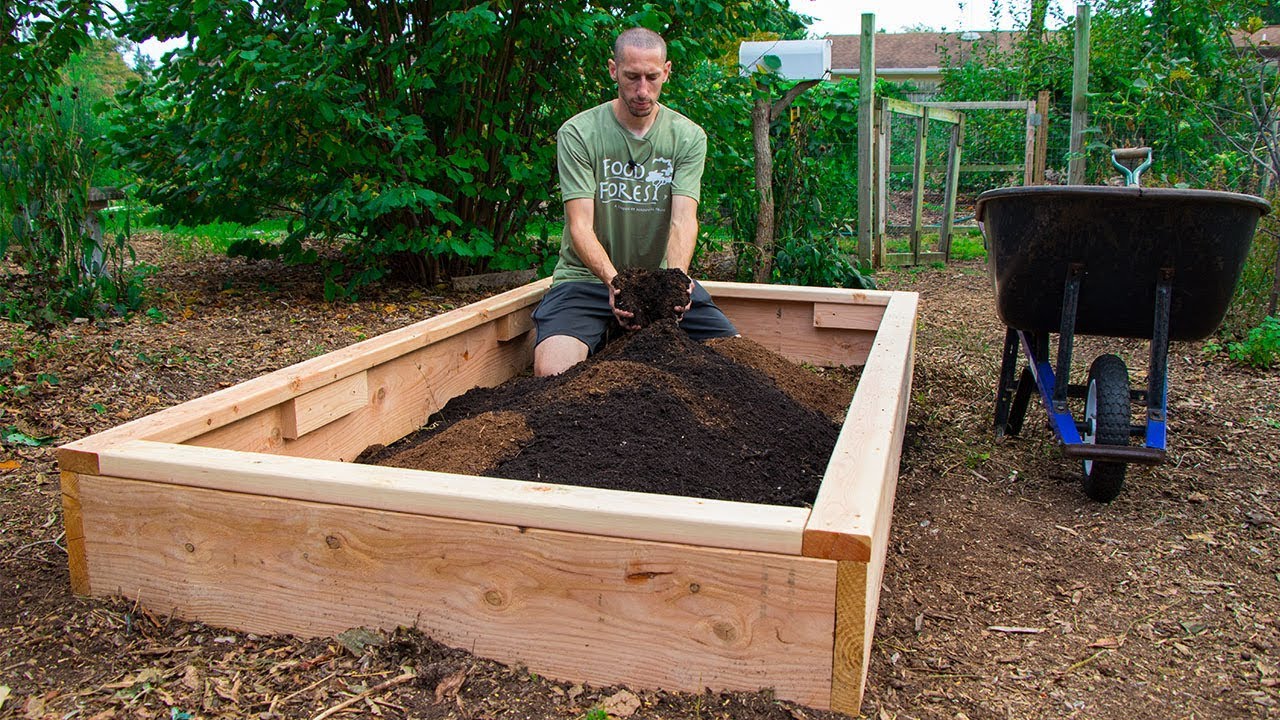
Step 8: Filling the Garden Box with Soil
With your garden box constructed, it’s time to fill it with soil to create a fertile growing environment for your plants. Follow these steps to fill your garden box with soil:
- Prepare the soil: If you’re using garden soil, make sure it is loose, free from debris, and well-amended with organic matter. Alternatively, you can create your own soil mix by combining equal parts of compost, peat moss, and vermiculite or perlite.
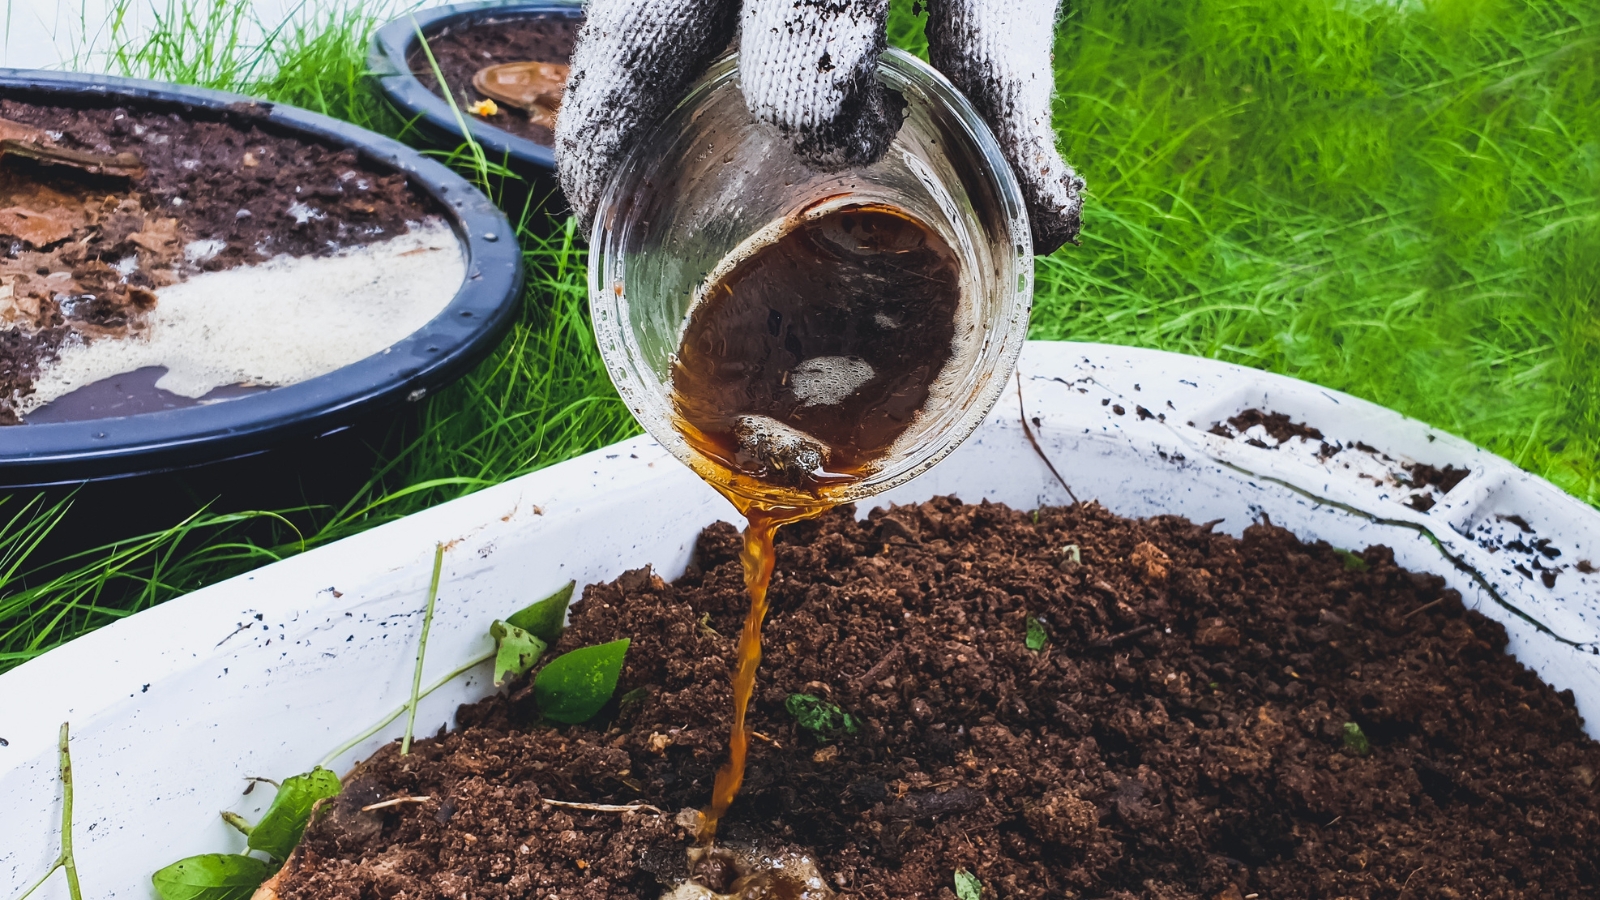
- Add amendments: Prior to filling the garden box, you can add soil amendments such as organic fertilizer or compost to enrich the soil and provide essential nutrients for your plants.
- Fill the garden box: Start by pouring a layer of soil into the garden box, covering the bottom. Use a rake or shovel to distribute the soil evenly. Continue filling the box with soil, layer by layer, until it reaches the desired depth.
- Level the soil: Use a rake or shovel to level the soil surface, ensuring it is even throughout the entire garden box. This will provide a consistent growing environment for your plants.
When filling the garden box, make sure not to over-compact the soil as it can impede root growth and water drainage. Aim for a loose and well-aerated soil bed to foster healthy plant development.
It’s important to note that the type of plants you’re growing will determine the depth of soil required. Shallower-rooted plants like lettuce or herbs may thrive in a shallower garden box, while deeper-rooted plants like tomatoes or carrots may require a deeper soil bed.
By properly filling your garden box with nutrient-rich soil, you’re providing your plants with a healthy growing medium that will support their growth and productivity throughout the growing season.
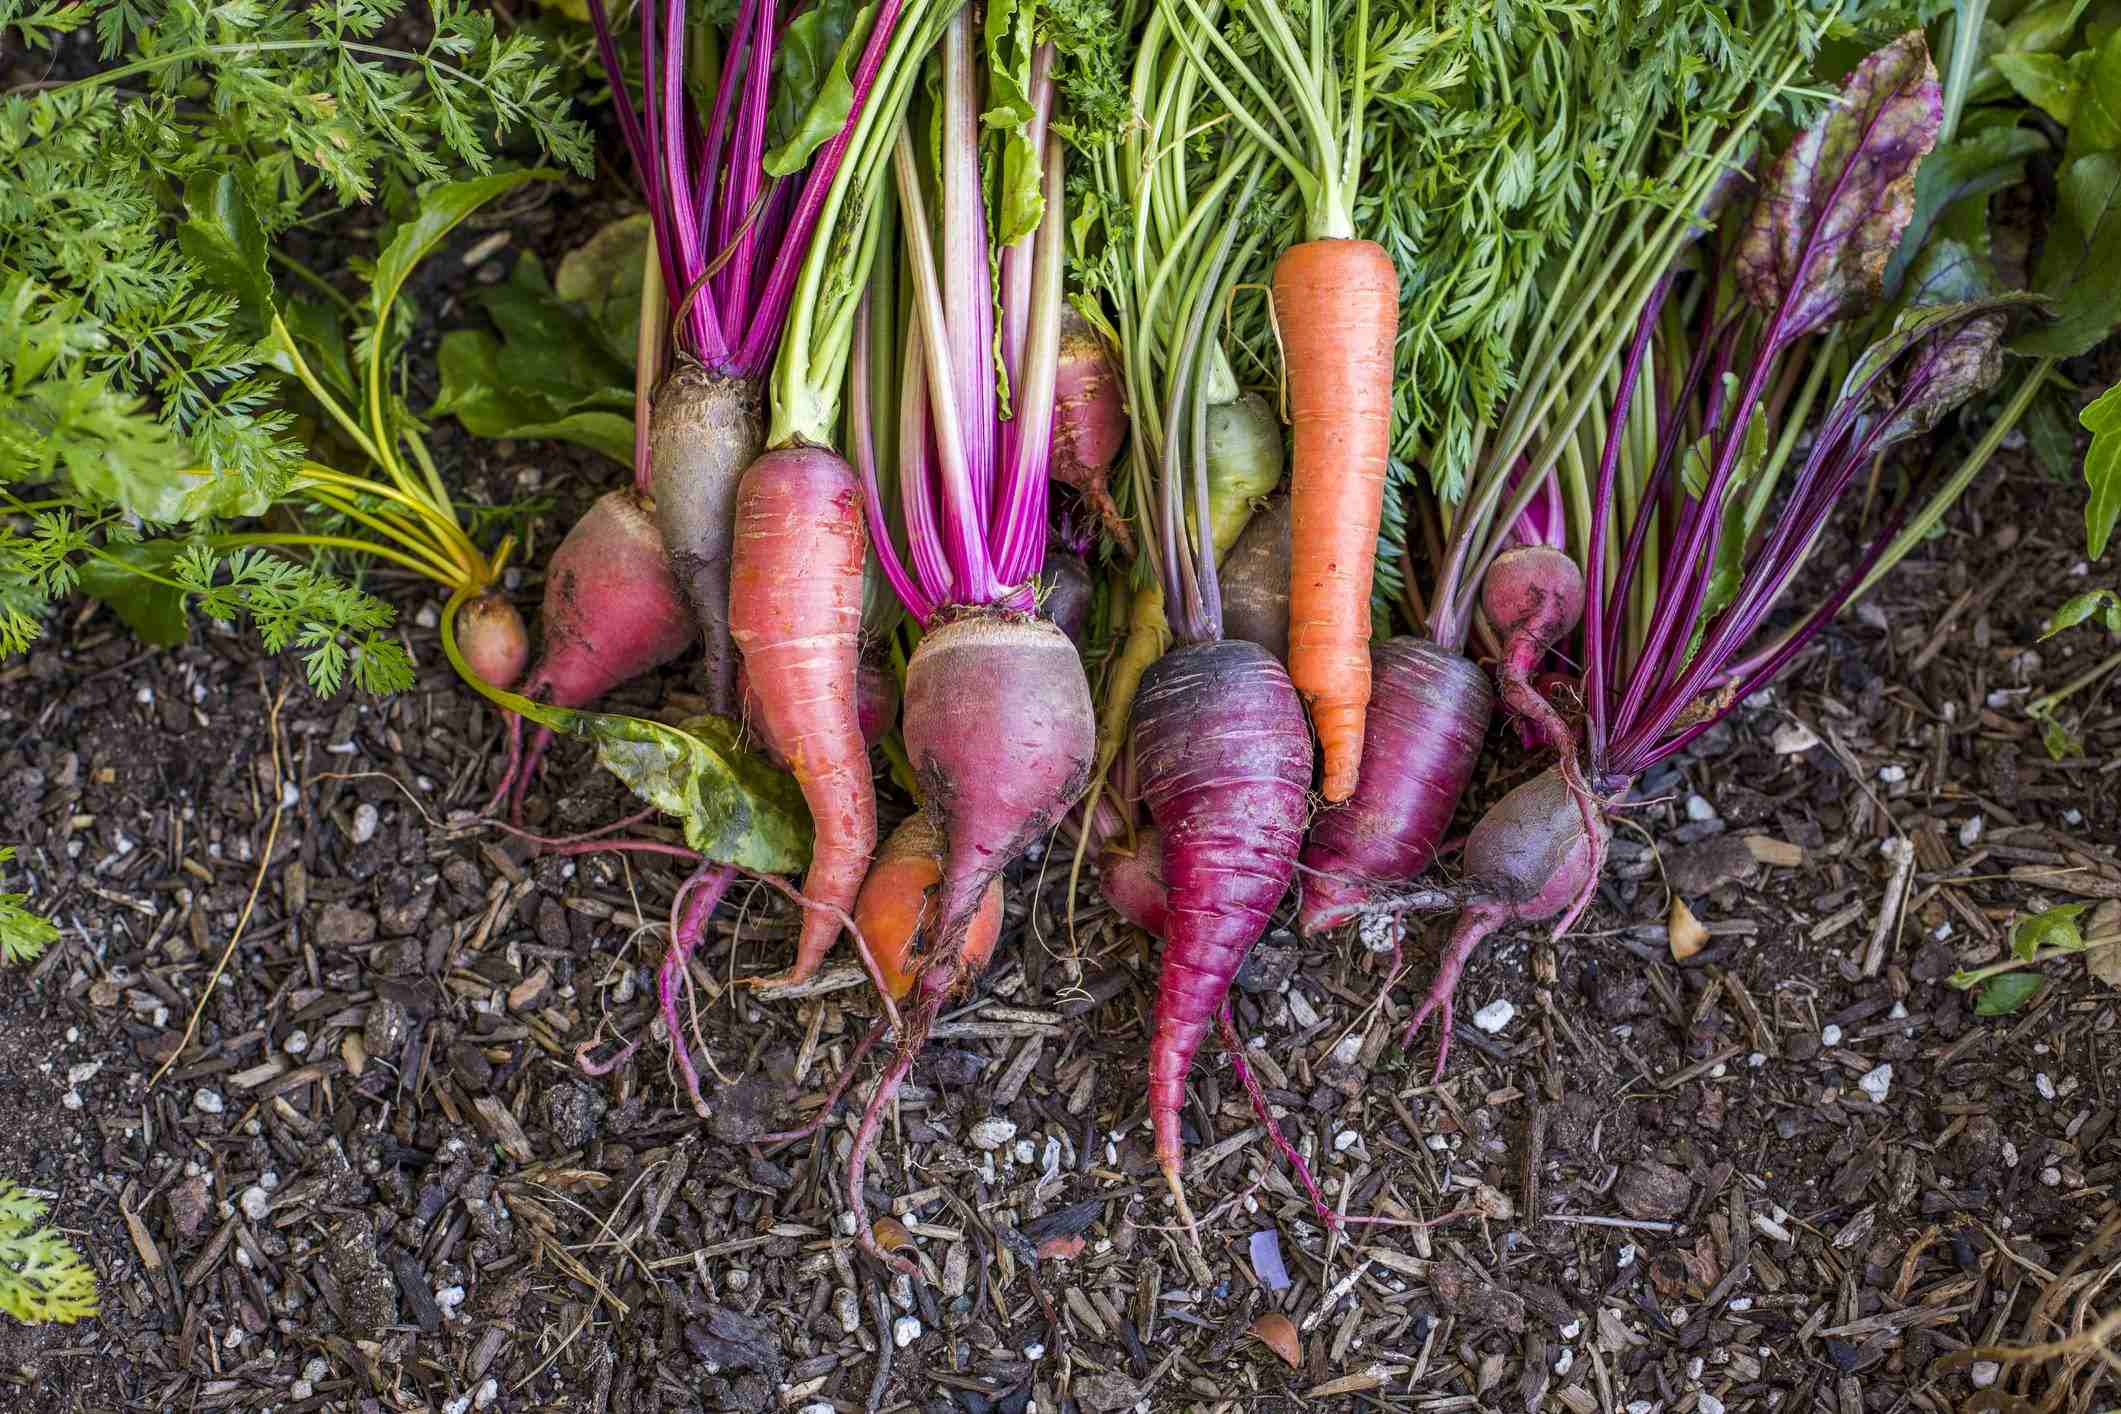
Step 9: Planting the Vegetables
Now that your garden box is prepared and filled with soil, it’s time to start planting your vegetables. Follow these steps to ensure successful planting:
- Plan your layout: Determine the spacing and arrangement of your plants based on their specific requirements. Consider factors such as the plant’s mature size, sun exposure, and compatibility with neighboring plants.
- Prepare the planting holes: Use a trowel or your hands to dig small holes in the soil at the appropriate spacing for each plant. The depth of the planting holes should match the size of the root ball of your seedlings or the recommended depth for direct-seeded vegetables.
- Place the plants in the holes: Gently remove the plants from their nursery containers and place them into the prepared holes. Ensure that the roots are positioned properly and not cramped or bent.
- Backfill the holes: Fill the holes with soil, lightly tamping it down to eliminate any air pockets. Be careful not to bury the stems of the plants, as this can lead to rotting or disease.
- Water the plants: After planting, thoroughly water the garden box to provide moisture to the roots and help settle the soil. Watering in the early morning or late afternoon is ideal to reduce evaporation and stress on the plants.
- Label your plants: It’s helpful to label your plants with plant markers or stakes to keep track of their variety and planting date.
Remember to consider the specific needs of your vegetable crops, such as their sun, water, and temperature requirements. Different vegetables have varying planting depths and spacing preferences, so refer to the seed packet or plant label for guidance.
Additionally, consider companion planting principles to optimize the growth and health of your plants. Some plants have natural pest-deterrent properties or can enhance each other’s growth when grown together.
By following these planting steps and providing proper care, you’ll set your vegetable garden up for a successful growing season.
Step 10: Caring for Your Vegetable Garden Box
Once you’ve planted your vegetable garden, it’s essential to provide ongoing care to ensure healthy plant growth and a bountiful harvest. Here are some key steps to take care of your vegetable garden box:
- Watering: Regular watering is crucial for the success of your plants. Monitor the moisture level of the soil and water your garden box accordingly. Aim to keep the soil consistently moist, but not waterlogged.
- Weeding: Remove any weeds that may appear in your garden box, as they compete with your plants for nutrients and water. Be diligent in pulling weeds to prevent them from taking over your garden.
- Fertilizing: Apply organic fertilizer or compost to replenish nutrients in the soil. Follow the instructions on the fertilizer package or refer to your composting schedule to determine when and how much to fertilize.
- Pest and disease control: Regularly inspect your plants for any signs of pests or diseases. Take proactive measures to prevent or control them, such as using organic pest control methods or removing affected plants to minimize the spread.
- Pruning and training: Depending on the type of vegetables you’re growing, pruning and training may be necessary. Trim excessive growth, remove dead or damaged foliage, and provide support for climbing plants like tomatoes or beans.
- Harvesting: Monitor your plants for when they are ready to harvest. Each vegetable has specific indicators of ripeness, such as color, size, or firmness. Harvest regularly to encourage continuous production.
- Seasonal care: Adapt your care routine to the changing seasons. Protect your garden box during extreme weather conditions, such as heavy rains or heatwaves, and make adjustments to watering and fertilizing schedules accordingly.
Observation is key when caring for your vegetable garden box. Regularly check the health of your plants, observe any changes, and address any issues promptly to ensure their well-being.
Lastly, enjoy the process of nurturing your vegetable garden. Take time to appreciate its beauty and the joy of growing your own food. With proper care and attention, your garden box will provide you with a rewarding and delicious harvest throughout the season.
Conclusion
Congratulations! You have successfully learned how to build a garden box for your vegetables. By following these steps, from choosing the location to caring for your plants, you are well on your way to enjoying a thriving and productive vegetable garden.
Building your own garden box offers numerous advantages. It allows you to customize the size, shape, and materials used, providing an optimal environment for your plants. Whether you have a small backyard or limited space, garden boxes can be tailored to fit your needs and maximize your growing potential.
Remember to carefully consider the location of your garden box, ensuring it receives ample sunlight and is easily accessible for maintenance. Choose the appropriate size for your garden box, taking into account the space available and the needs of the plants you wish to grow.
Gathering the right tools and materials is crucial for a smooth construction process. By using the correct tools and quality materials, you will ensure the long-term stability and durability of your garden box.
Once your garden box is built and filled with nutrient-rich soil, it’s time to plant your favorite vegetables. Be mindful of proper spacing and placement to optimize growth and minimize competition between plants.
Caring for your vegetable garden box involves regular watering, weeding, fertilizing, and pest control. Pay attention to the needs of your plants, adjust your care routine as necessary, and enjoy the process of tending to your garden.
As you harvest your fresh produce and enjoy the fruits of your labor, take pride in the fact that you have successfully created a flourishing vegetable garden. Your garden box is a testament to your hard work, dedication, and the joys of growing your own food.
Now that you have the knowledge and skills to build and maintain a garden box for your vegetables, it’s time to get started on your own garden box project. Embrace the experience, get your hands dirty, and watch as your garden thrives in the years to come. Happy gardening!