Home>Gardening Techniques>DIY Projects>How To Build A Wooden Greenhouse
DIY Projects
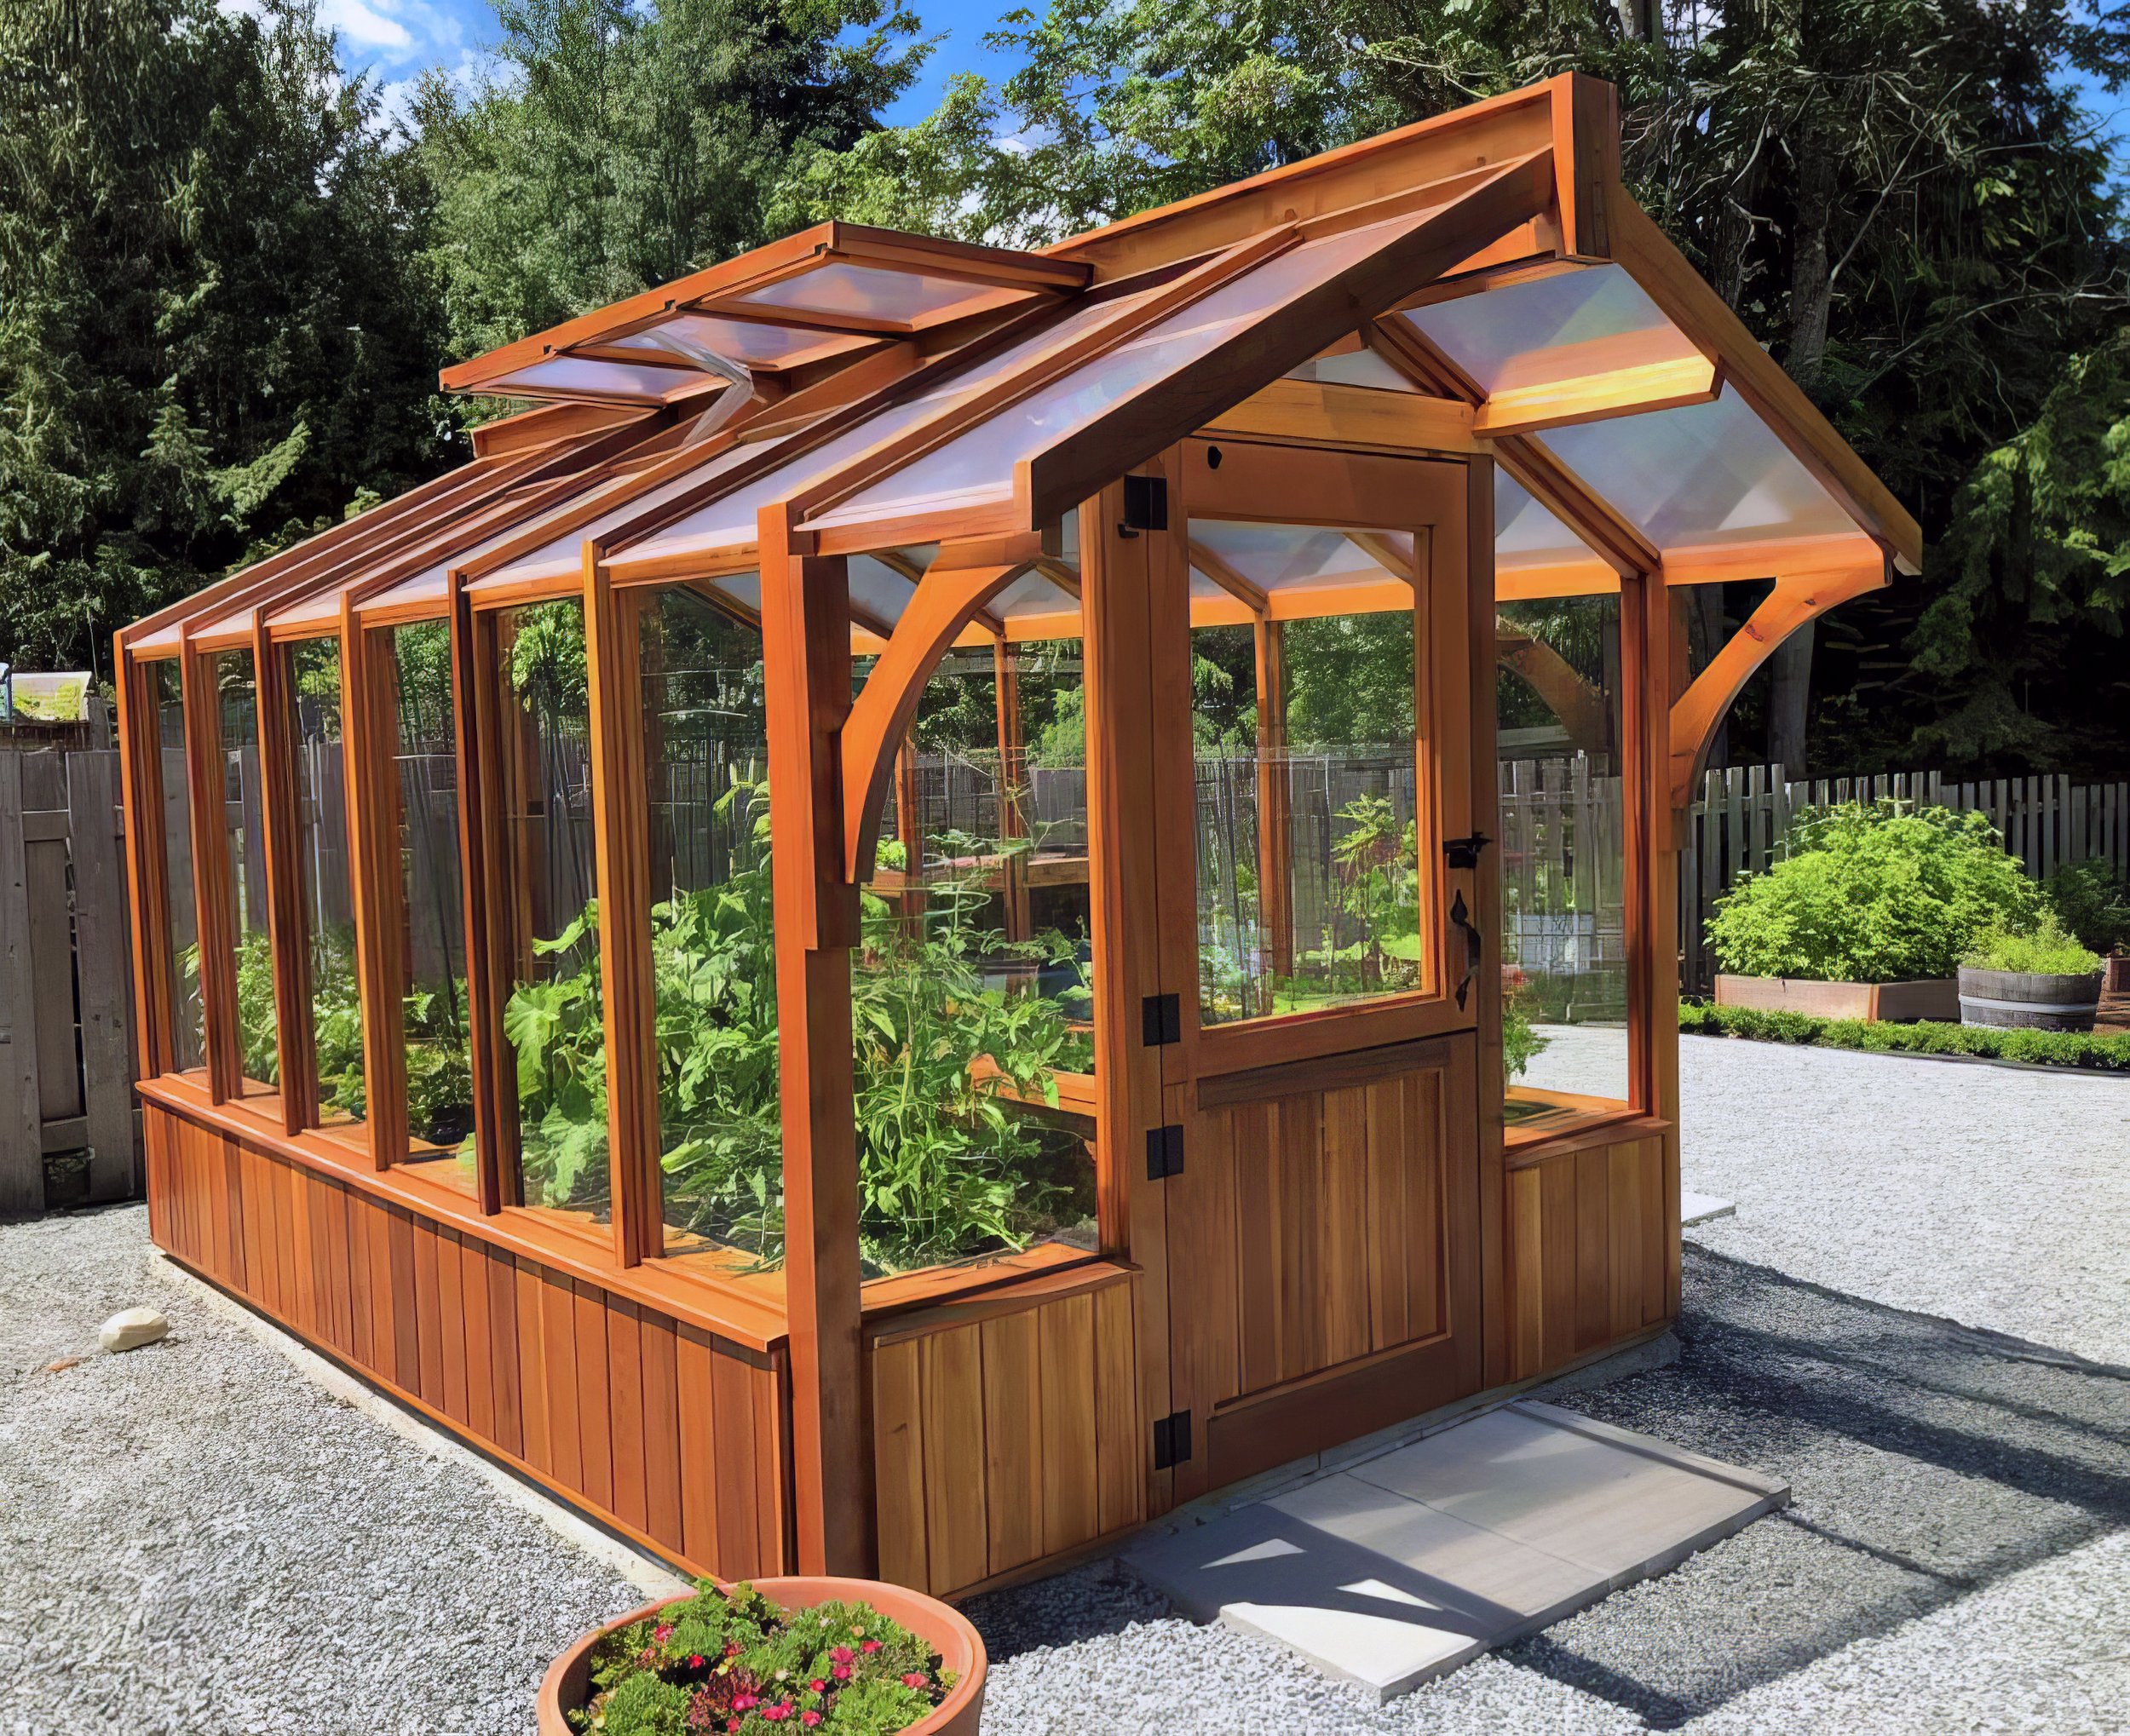
How To Build A Wooden Greenhouse
Modified: January 22, 2024
Learn how to build your own wooden greenhouse with this step-by-step DIY project guide. Start growing your own plants and vegetables today!
(Many of the links in this article redirect to a specific reviewed product. Your purchase of these products through affiliate links helps to generate commission for Chicagolandgardening.com, at no extra cost. Learn more)
Table of Contents
Introduction
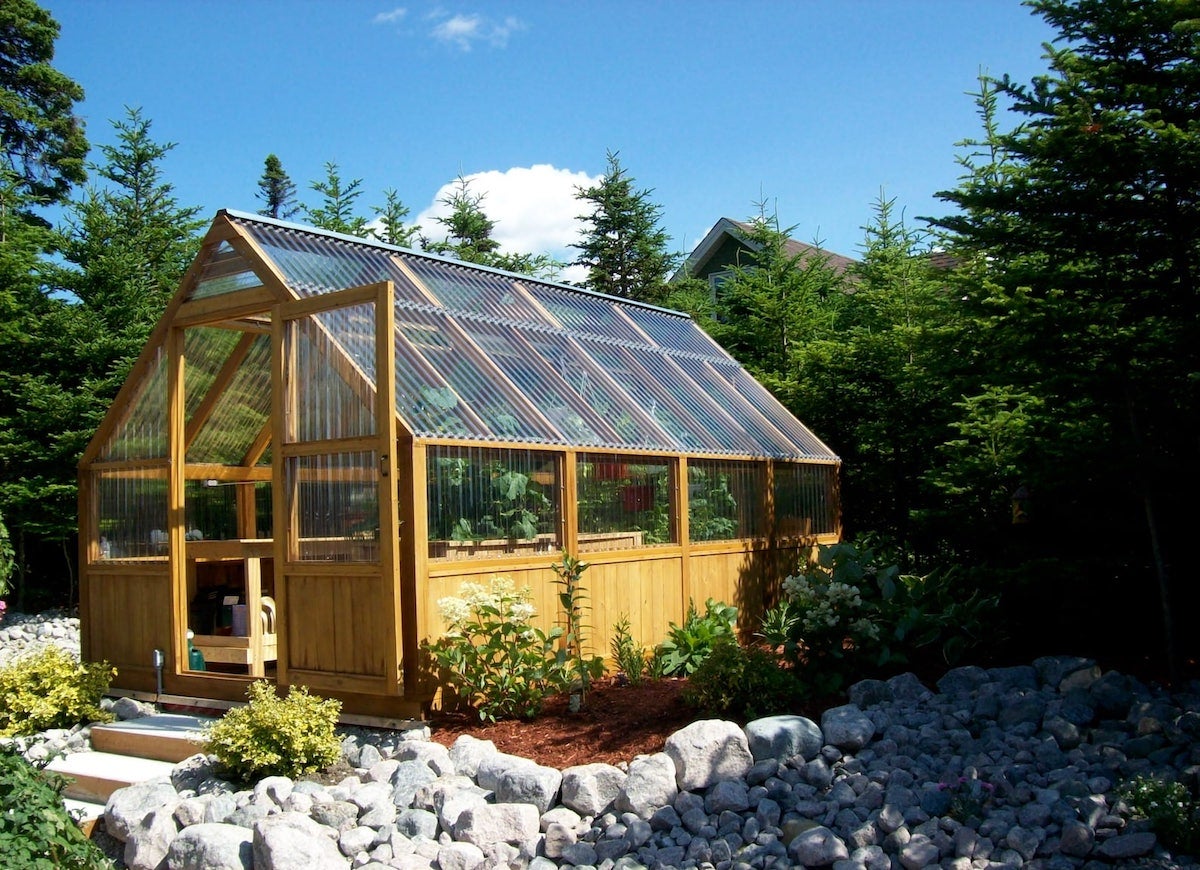
A wooden greenhouse is a fantastic addition to any garden, providing a controlled environment for growing a wide variety of plants throughout the year. Not only does it allow you to extend your growing season, but it also offers protection from harsh weather conditions, pests, and diseases. Building a wooden greenhouse can be a rewarding DIY project that allows you to customize the size and design to fit your specific needs.
In this article, we will guide you through the process of building a wooden greenhouse from start to finish. Whether you’re a seasoned DIY enthusiast or a beginner looking to dive into a new project, we’ve got you covered. We will cover everything from choosing the right location to putting on the finishing touches.
Before we begin, it’s important to note that building a wooden greenhouse requires time, effort, and some basic woodworking skills. However, with the right guidance and a patient approach, anyone can successfully complete this project. So, if you’re ready to boost your gardening experience and create a cozy space for your plants, let’s get started!
Step 1: Choosing the Location
The location of your wooden greenhouse is a critical factor that will directly impact the success of your plants. When selecting a spot, there are a few key considerations to keep in mind:
- Sunlight: Choose a location that receives ample sunlight throughout the day. Most plants require at least 6-8 hours of direct sunlight to thrive. Avoid placing the greenhouse in the shadow of tall trees or buildings, as this can limit the amount of sunlight your plants receive.
- Access to Water and Electricity: It’s essential to have easy access to a water source for irrigation and electricity for lighting, heating, and ventilation systems. Ideally, choose a spot near a water supply and electrical outlets to facilitate maintenance and operation.
- Drainage: Good drainage is crucial for the health of your greenhouse. Avoid areas prone to flooding or standing water, as excess moisture can lead to root rot and fungal diseases. If necessary, level the ground or consider installing a drainage system to prevent pooling.
- Wind Exposure: Consider the prevailing wind patterns in your area. A location sheltered from strong winds will help protect your greenhouse from damage and prevent excessive heat loss. If your chosen spot is exposed, you can mitigate the impact of strong winds by using windbreaks or positioning the greenhouse behind existing structures.
- Convenience: Think about accessibility and convenience when choosing the location. It should be easily accessible from your home or garden, making it convenient to tend to your plants and monitor their progress.
Take some time to evaluate different areas of your property before finalizing the location for your wooden greenhouse. Consider the needs of the plants you intend to grow and the specific requirements of your local climate. Once you have determined the best spot, you can move on to the next step of gathering materials and tools.
Step 2: Gathering Materials and Tools
Before you can start building your wooden greenhouse, it’s important to gather all the necessary materials and tools. Here’s a list of what you’ll need:
- Wood: Choose a suitable type of wood for your greenhouse. Cedar and redwood are popular choices due to their natural resistance to rot and moisture. Calculate the amount of wood needed based on the size of your greenhouse.
- Fasteners: Stock up on screws, nails, and brackets for attaching the wooden components together. Make sure to choose fasteners that are suitable for outdoor use and can withstand the elements.
- Glass or Polycarbonate Panels: Decide whether you want to use traditional glass or modern polycarbonate panels for the greenhouse walls and roof. Both have their advantages, with glass providing better aesthetics and polycarbonate being more lightweight and shatter-resistant.
- Foundations: Depending on your preference and local building codes, you may need to gather materials for the greenhouse foundation. This could include concrete blocks, treated lumber, or a poured concrete slab.
- Tools: Prepare a set of tools to assist you throughout the construction process. This may include a saw, drill, level, measuring tape, hammer, screwdrivers, and a ladder, among others.
- Additional Equipment: Consider any additional equipment you may need for your greenhouse, such as a ventilation system, heating source, or shading materials. Research the specific requirements of the plants you plan to grow to ensure you have the necessary equipment to create an optimal growing environment.
Ensure that you have all the required materials and tools before starting the construction to avoid delays and frustration. It’s also a good idea to have a plan or blueprint of your greenhouse design to guide you through the process.
Once you have gathered everything you need, you’re ready to move on to the next step: building the foundation for your wooden greenhouse.
Step 3: Building the Foundation
The foundation of your wooden greenhouse provides stability and support for the structure, ensuring it remains strong and durable. Here are the steps to follow when building the foundation:
- Choose the Foundation Type: Select the type of foundation that best suits your needs. Common options include concrete slabs, concrete blocks, or treated lumber frames. Consider factors such as cost, ease of installation, and local building codes.
- Prepare the Ground: Clear the area where you plan to build the foundation. Ensure the ground is level and free from any debris or vegetation. If necessary, use a shovel or a backhoe to level the area and remove any obstructions.
- Measure and Mark: Use a measuring tape and stakes to mark the outline of your foundation. Double-check the measurements to ensure accuracy and adjust as needed.
- Excavate and Level: Dig the foundation according to the depth and dimensions required for your chosen foundation type. Use a level to ensure the bottom of the excavation is even and flat.
- Build the Foundation: Follow the specific instructions for your chosen foundation type. This may involve pouring concrete, laying concrete blocks, or constructing a treated lumber frame. Ensure that the foundation is sturdy and level, as it will serve as the base for your greenhouse.
- Allow for Proper Drainage: Incorporate drainage systems, such as gravel or drainage pipes, to prevent water buildup under the foundation. This will help protect the wood from excess moisture and potential rot.
Building a solid foundation is essential for the stability and longevity of your wooden greenhouse. Take your time during this step to ensure that everything is level and properly constructed. Once the foundation is complete, you can move on to the next step: constructing the frame of your greenhouse.
Step 4: Frame Construction
Building the frame of your wooden greenhouse is an important step that will provide the structure and support for the walls, roof, and doors. Follow these steps to construct the frame:
- Measure and Cut the Wood: Measure and cut the wooden beams or lumber according to your greenhouse design. Use a saw to make precise cuts, ensuring that the pieces fit together correctly.
- Assemble the Base: Begin by assembling the base of the frame. Connect the beams or lumber using screws or nails, creating a sturdy foundation for the greenhouse structure.
- Erect the Side Walls: Attach the vertical beams to the base, creating the side walls. Ensure that the beams are plumb (vertically straight) and securely fastened to the base.
- Install the Roof Beams: Place the roof beams across the top of the side walls, forming the roof structure. Use appropriate fasteners to secure the beams in place.
- Add Cross Braces: Install cross braces diagonally between the vertical beams for added stability. These braces help to distribute the weight evenly and prevent the greenhouse from swaying or collapsing.
- Secure the Frame: Double-check all connections and ensure that the frame is securely fastened. Make any necessary adjustments to ensure a stable and robust structure.
During the frame construction, it’s crucial to regularly check for accuracy and precision. Ensure that all measurements are correct, and the frame is square and level. This will ensure that the subsequent steps, such as installing windows and doors, progress smoothly.
Once the frame is complete, you are ready for the next step: installing the windows and doors of your wooden greenhouse.
Step 5: Installing Windows and Doors
The windows and doors of your wooden greenhouse play a vital role in providing access, ventilation, and natural light for your plants. Here’s how to install them:
- Measure and Mark: Measure and mark the locations where the windows and doors will be installed. Take precise measurements to ensure a proper fit.
- Prepare the Openings: Cut the necessary openings in the frame to accommodate the windows and doors. Use a saw or other cutting tools appropriate for the type of wood you are working with.
- Install Window Frames: If you are using traditional glass windows, construct and install the window frames. Ensure that the frames are level, plumb, and securely attached to the greenhouse frame.
- Insert Glass or Polycarbonate Panels: Carefully insert the glass or polycarbonate panels into the window frames. Use glazing clips or silicone sealant to secure the panels in place.
- Hinge the Doors: Attach hinges to the door frames and the greenhouse frame, allowing the doors to open and close smoothly. Ensure that the doors fit snugly and latch securely.
- Weatherproofing: Apply weatherstripping or other appropriate sealing materials around the windows and doors to prevent drafts and moisture infiltration.
- Test and Adjust: Open and close the windows and doors to ensure that they operate correctly. Make any necessary adjustments to ensure a proper fit and smooth operation.
Installing windows and doors is an exciting step, as it gives your greenhouse a finished look and functionality. Take your time during this step to ensure that everything is properly aligned, sealed, and operational. Properly installed windows and doors will help create a controlled and comfortable environment for your plants.
Now that the windows and doors are in place, it’s time to move on to step 6: adding the roof to your greenhouse.
Step 6: Adding the Roof
The roof of your wooden greenhouse serves as a protective barrier against the elements and helps maintain a stable growing environment. Follow these steps to add the roof:
- Measure and Cut Roofing Material: Measure and cut the roofing material, whether it’s glass panels or polycarbonate sheets, according to the dimensions of your greenhouse. Ensure that the material fits properly and overlaps slightly for proper water drainage.
- Secure the Roofing Material: Use appropriate fasteners, such as glazing clips or screws, to secure the roofing material to the roof beams. Be sure to follow the manufacturer’s instructions for the specific type of material you are using.
- Seal the Joints: Apply a waterproof sealant along the joints of the roofing material to prevent leaks and increase durability. Pay special attention to areas where the panels or sheets meet and overlap.
- Check for Proper Slope: Ensure that the roof has a slight slope to allow for proper water drainage. This will prevent water from pooling on the roof and potentially causing damage to the structure.
- Inspect and Reinforce: Inspect the roof for any loose or insecure areas. Reinforce any weak spots or make necessary adjustments to ensure the roof is stable and able to withstand the elements.
- Consider Additional Roofing Features: Depending on your climate and specific needs, you may want to incorporate additional roofing features such as gutter systems for collecting rainwater or shading materials to provide protection from excessive sunlight.
Adding the roof is a critical step in completing the construction of your wooden greenhouse. The roof provides crucial protection for your plants against rain, snow, and excessive sunlight. Take your time during this step to ensure that the roofing material is properly secured and sealed for optimal performance.
With the roof installed, you’re almost there! The next step is step 7: ventilation and insulation for your wooden greenhouse.
Step 7: Ventilation and Insulation
Proper ventilation and insulation are crucial for maintaining a healthy and controlled environment inside your wooden greenhouse. Here’s what you need to do:
- Install Vents: Position vents strategically on the walls or roof of your greenhouse to allow for air circulation. This will help regulate temperature and humidity levels. Consider using automatic vent openers that are triggered by temperature changes.
- Add Fans: In addition to vents, you may want to install fans or exhaust systems to enhance air movement and promote even temperature distribution. Fans also help prevent stagnant air and reduce the risk of plant diseases.
- Insulate the Structure: Insulate the walls and roof of your greenhouse to help regulate temperatures and minimize heat loss during colder months. Common insulation materials include bubble wrap, polyethylene foam, or fiberglass insulation. Apply the insulation according to the manufacturer’s instructions.
- Consider Shade Cloth: If you live in an area with intense sunlight, consider installing shade cloth to protect your plants from excessive heat and sunlight. This can be especially useful during the hottest parts of the day or in the summer months.
- Monitor Temperature and Humidity: Regularly monitor the temperature and humidity levels inside your greenhouse. This can be done using a hygrometer and a thermometer. Adjust ventilation and insulation as needed to maintain optimal conditions for your plants.
Proper ventilation and insulation help create a stable and comfortable environment for your plants. They ensure that air circulates effectively, preventing the buildup of excessive heat, humidity, or stagnant air. Additionally, insulation helps conserve energy by reducing heat loss and maintaining a consistent temperature inside the greenhouse.
With proper ventilation and insulation in place, you’re almost ready to enjoy your wooden greenhouse. The final step is step 8: adding the finishing touches.
Step 8: Finishing Touches
Adding the finishing touches to your wooden greenhouse will not only enhance its functionality but also give it a personal touch. Here are some final steps you can take to complete your project:
- Interior Organization: Plan and organize the interior of your greenhouse to maximize space and accessibility. Install shelves, benches, or hanging systems to accommodate your plants and gardening tools.
- Watering System: Set up an efficient watering system, such as drip irrigation or soaker hoses, to ensure your plants receive adequate water without wasting it.
- Decorative Features: Consider adding decorative elements to personalize your greenhouse. Hang decorative lights, artwork, or create a cozy seating area where you can relax and enjoy your plants.
- Pathways and Flooring: Create pathways or install flooring materials inside your greenhouse to provide a clean and easy-to-navigate surface. Options include gravel, paving stones, or even recycled rubber mats.
- Organization and Storage: Designate areas for storing gardening tools, pots, and other supplies. Utilize hooks, racks, or storage bins to keep everything organized and easily accessible.
- Routine Maintenance: Develop a routine maintenance plan for your greenhouse. This may include cleaning the windows, checking for leaks, and replacing any damaged or worn-out components.
Remember to enjoy the process of building and creating your wooden greenhouse. Take pride in your work and continue to care for and nurture your plants within this new space. A well-designed and maintained greenhouse will provide you with joy and satisfaction for years to come.
With the finishing touches complete, you have successfully built your wooden greenhouse. Now it’s time to step back, admire your creation, and start filling it with the plants of your choice. Happy gardening!
Conclusion
Building a wooden greenhouse is a fulfilling DIY project that allows you to create a controlled and nurturing environment for your plants. From choosing the right location to adding the finishing touches, each step is crucial to ensure the success and longevity of your greenhouse.
By carefully selecting the ideal location, gathering the necessary materials and tools, and constructing a solid foundation and frame, you have set a strong foundation for your greenhouse. The installation of windows, doors, and the roof provides access, ventilation, and protection against the elements.
Ventilation and insulation help maintain optimal growing conditions inside the greenhouse, promoting healthy plant growth. Each step contributes to creating a comfortable and thriving space for your plants to flourish.
Finally, adding the finishing touches, such as interior organization, a watering system, decorative features, and proper maintenance, brings your greenhouse to life and ensures its functionality and longevity in the long run.
Remember to continue monitoring and adjusting the environment within your wooden greenhouse to meet the specific needs of your plants. Regular care and maintenance will help you enjoy the rewards of your hard work and dedication.
Building a wooden greenhouse is not only a practical investment for your gardening endeavors, but it also provides a tranquil and enjoyable space for you to immerse yourself in the world of plants. So, get started on your DIY greenhouse project and watch your plants thrive in their new home!