Home>Gardening Techniques>DIY Projects>How To Build A Lean-To Greenhouse
DIY Projects
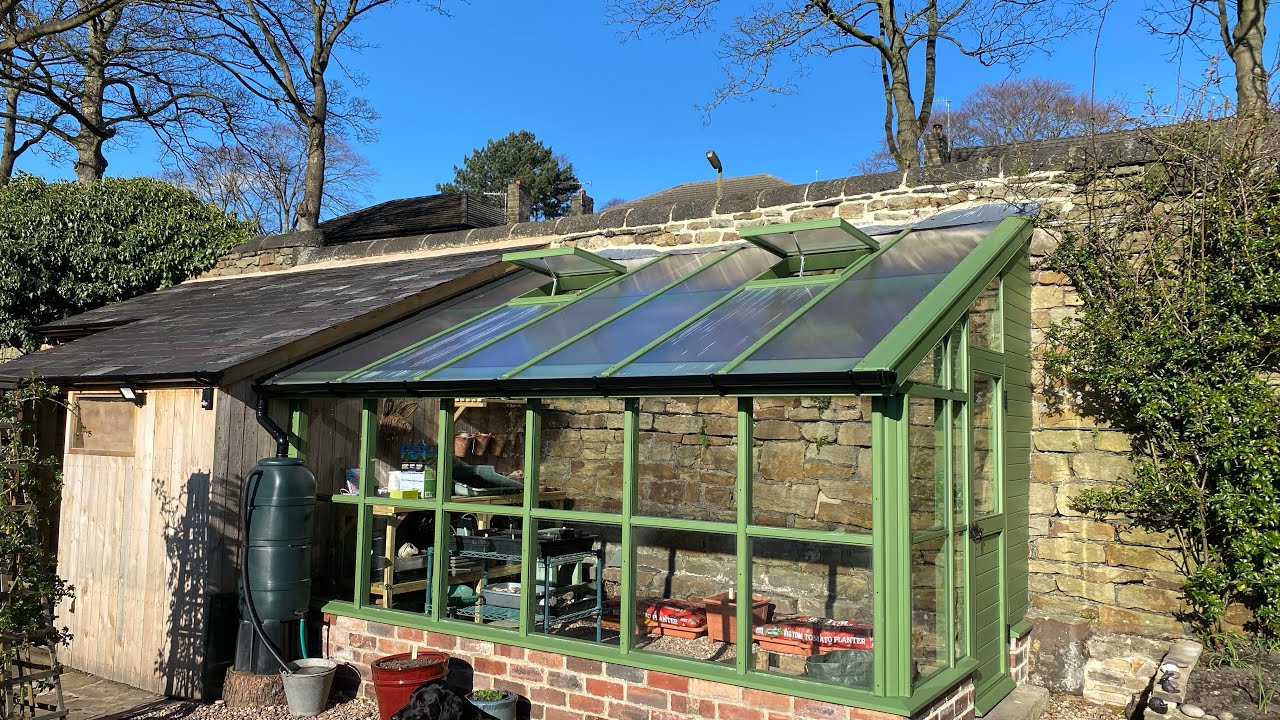
How To Build A Lean-To Greenhouse
Modified: January 22, 2024
Learn how to build your own DIY lean to greenhouse with this step-by-step guide. Create an eco-friendly space for your gardening projects.
(Many of the links in this article redirect to a specific reviewed product. Your purchase of these products through affiliate links helps to generate commission for Chicagolandgardening.com, at no extra cost. Learn more)
Table of Contents
Introduction
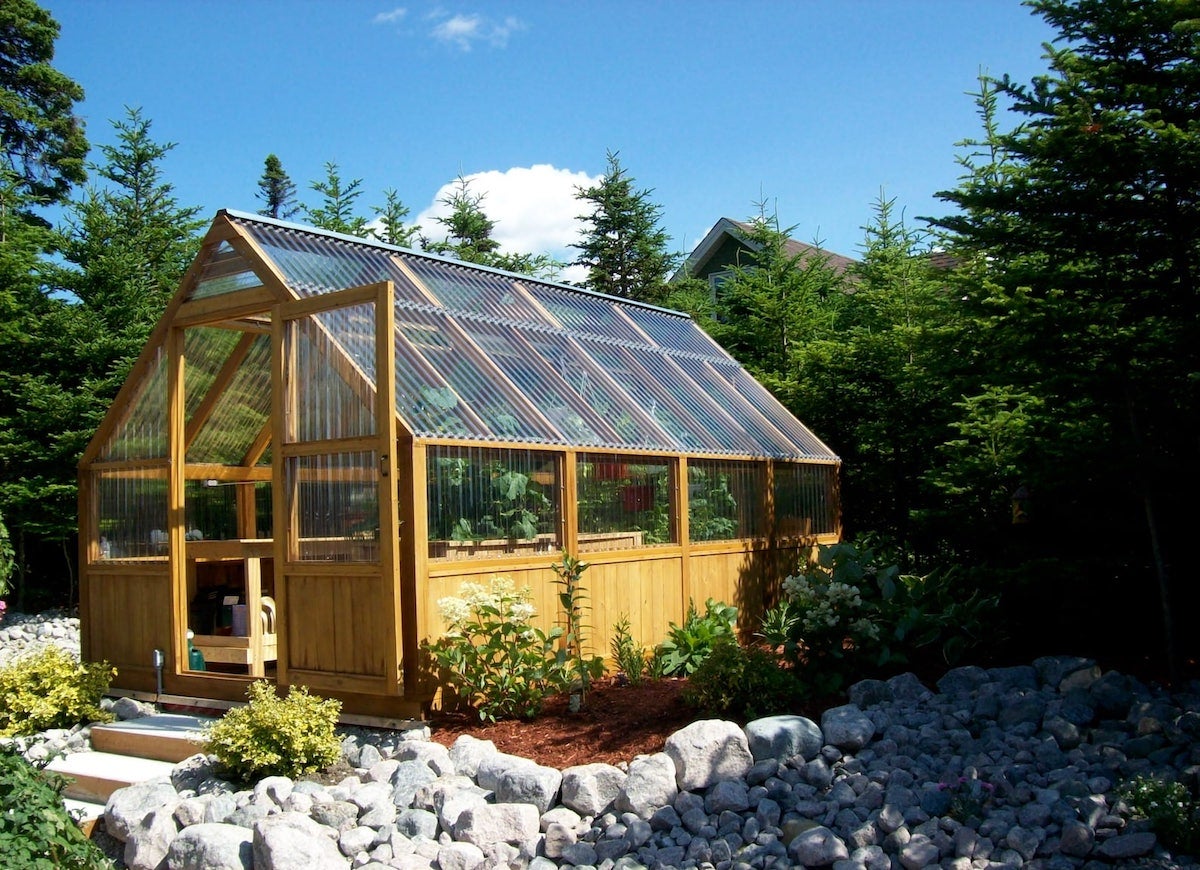
Welcome to the world of DIY projects, where imagination meets craftsmanship! If you have a green thumb and a love for nurturing plants, building a lean-to greenhouse is the perfect project for you. A lean-to greenhouse is a structure built against an existing wall, utilizing the warmth and shelter provided by the wall to create an ideal growing environment for your plants.
In this comprehensive guide, we will take you through the step-by-step process of building your very own lean-to greenhouse. Whether you are a seasoned DIY enthusiast or a beginner looking to start your first project, we have got you covered.
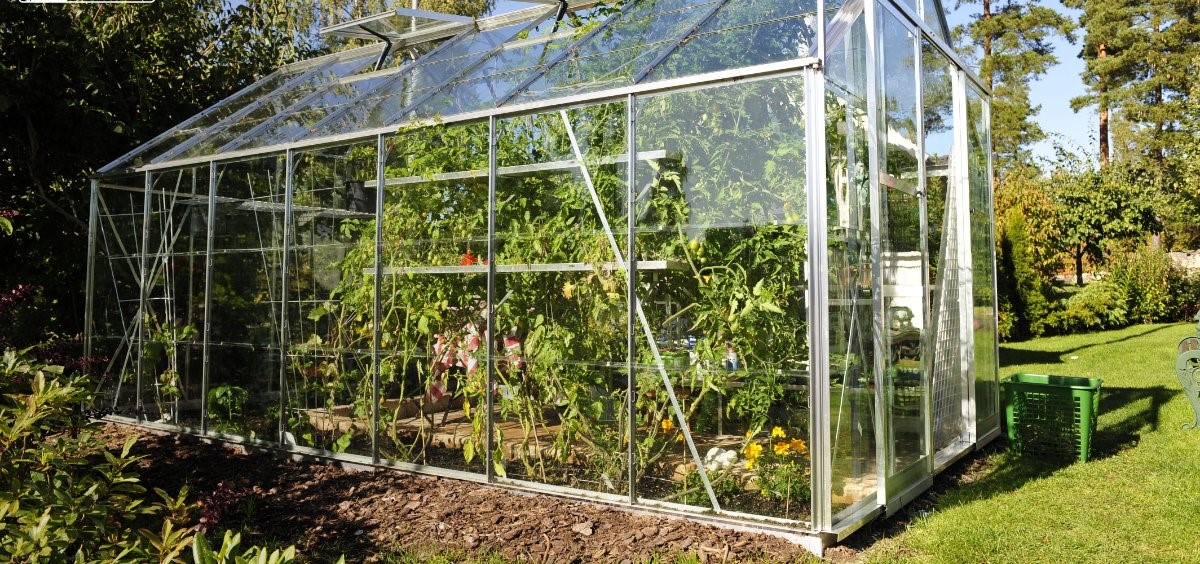
A lean-to greenhouse offers numerous benefits for both hobby and professional gardeners. It allows you to extend the growing season, provide protection from harsh weather conditions, and create a controlled environment for plants that require specific conditions to thrive. Additionally, it also serves as a beautiful addition to your backyard or garden, adding aesthetic value to your space.
While building a lean-to greenhouse may seem like a daunting task at first, with the right guidance and a little bit of patience, you can create a functional and beautiful greenhouse that will bring you years of gardening joy. So, grab your tools, roll up your sleeves, and let’s get started on this exciting DIY journey!
Choosing a Location
Before you start building your lean-to greenhouse, it is crucial to choose the right location for optimal growth and efficiency. Here are some factors to consider when selecting the perfect spot:
- Sunlight: Choose a location that receives ample sunlight throughout the day. Ideally, your greenhouse should be facing south to maximize exposure to the sun’s rays. Pay attention to any obstructions such as trees or buildings that may block sunlight.
- Accessibility: Make sure the location is easily accessible from your house or garden. Consider factors such as pathways, existing structures, and proximity to water sources for irrigation.
- Drainage: Ensure that the area has proper drainage to prevent waterlogging. Avoid low-lying areas that are prone to flooding.
- Wind Protection: Look for a location that offers some form of wind protection, such as a fence or a wall. Strong winds can damage the greenhouse and affect plant growth.
- Available Space: Consider the size of your greenhouse and make sure the chosen location can accommodate its dimensions without obstructing walkways or surrounding plants.
Take your time to assess different areas in your garden or backyard and weigh the pros and cons of each location. Remember, the right position can significantly impact the success and productivity of your lean-to greenhouse.
Once you have selected the ideal location, mark the area and remove any obstacles such as rocks, debris, or existing structures. Clearing the site will provide a clean slate for building your lean-to greenhouse and ensure a smooth construction process.
Gathering Materials
Now that you have chosen the location for your lean-to greenhouse, it’s time to gather all the necessary materials. Here is a list of items you will need:
- Lumber: Select high-quality pressure-treated lumber for the frame and support structure of your greenhouse. The specific dimensions will depend on the size and design of your lean-to greenhouse.
- Fasteners: Stock up on screws, nails, and other fasteners that are appropriate for outdoor use. Stainless steel or galvanized options are ideal, as they are resistant to rust and corrosion.
- Glass or Plastic Panels: Depending on your budget and preferences, you can choose between glass or polycarbonate panels, which are lightweight and durable. Ensure that the panels are UV-resistant to protect your plants from harmful rays.
- Sealant: Invest in a high-quality sealant to weatherproof and seal the gaps between panels for insulation and protection against leaks.
- Door and Windows: Choose a sturdy and secure door for easy access to your greenhouse. Additionally, consider incorporating windows for ventilation and airflow.
- Tools: Have essential tools on hand, including a saw, drill, hammer, measuring tape, level, and safety equipment such as gloves and goggles.
- Other Optional Accessories: Depending on your needs and preferences, you may also consider adding shelves, benches, irrigation systems, and climate control devices to optimize the functionality of your lean-to greenhouse.
Make a detailed list of the required materials and double-check to ensure that you have everything before starting the construction process. This will save you time and prevent any unwanted delays or interruptions along the way.
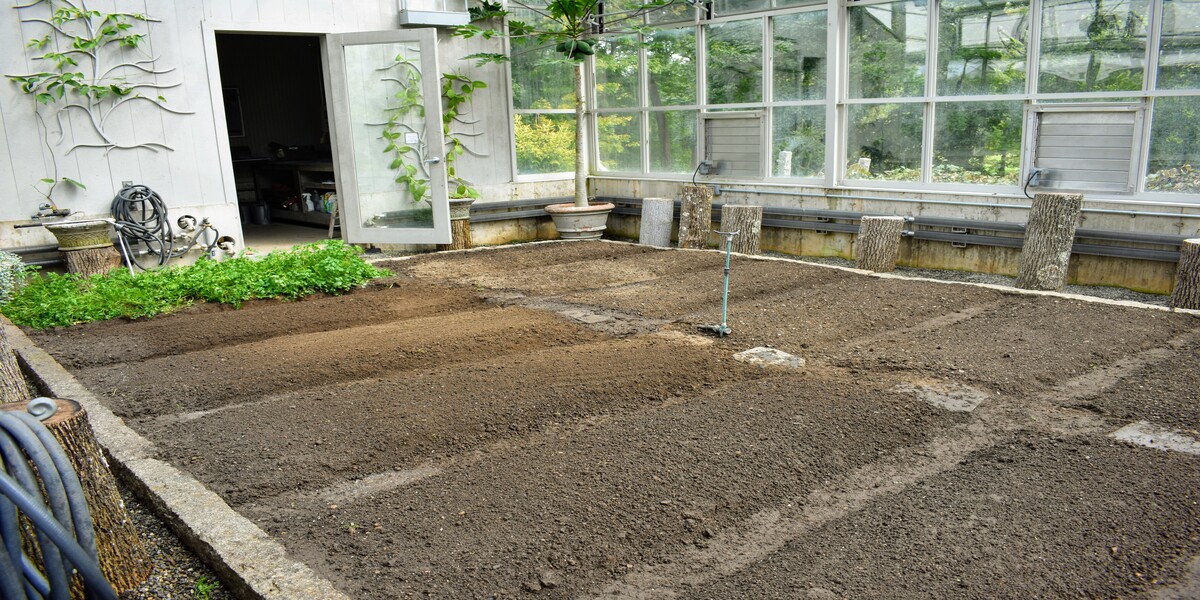
Clearing the Site
With the materials gathered, it’s time to clear the site where your lean-to greenhouse will be built. Follow these steps to ensure a clean and suitable foundation:
- Remove any vegetation: Start by clearing away any grass, weeds, or plants in the area where your greenhouse will be situated. Use a shovel or a garden rake to remove the vegetation and create a bare space.
- Level the ground: Use a level and a measuring tape to ensure that the ground is level and even. This step is important to prevent any structural issues in the foundation of your lean-to greenhouse.
- Prepare the soil: Take the time to prepare the soil by loosening it with a garden fork or rototiller. This will improve drainage and create a favorable environment for your plants.
- Clear any debris: Remove any rocks, roots, or other debris that may hinder the construction process or pose a tripping hazard.
- Mark the boundaries: Use stakes or spray paint to mark the boundaries of your lean-to greenhouse. This will help you visualize the space and ensure accurate measurements during the construction process.
By clearing the site thoroughly, you are creating a clean canvas for constructing your lean-to greenhouse. This will not only enhance the visual appeal but also provide a solid foundation for your structure. Take your time during this step to ensure a smooth and hassle-free building process.
Preparing the Foundation
Now that the site is cleared, it’s time to prepare a solid foundation for your lean-to greenhouse. The foundation provides stability and ensures that your greenhouse will withstand various weather conditions. Here are the steps to prepare the foundation:
- Measure and mark the foundation: Using the previously marked boundaries, measure and mark the dimensions of the foundation. This will help ensure accuracy during the construction process.
- Excavate the area: Use a shovel or a mini excavator to dig a trench for the foundation. The depth will depend on the local frost line and the specific requirements of your lean-to greenhouse. Typically, a depth of 6 to 8 inches is recommended.
- Level the excavation: Use a level and a rake to ensure that the bottom of the trench is level and even. This will provide a solid and stable base for the foundation.
- Add a layer of gravel: Place a layer of gravel at the bottom of the trench to enhance drainage. This will prevent water from pooling around the foundation and potentially causing damage.
- Create a concrete footing: Mix concrete according to the manufacturer’s instructions and pour it into the trench to create a solid footing. Use a trowel to level the concrete and ensure a smooth surface.
- Allow the concrete to cure: Follow the recommended curing time for the concrete to allow it to harden and strengthen. This typically ranges from a few days to a week, depending on the specific type of concrete used.
By preparing a sturdy foundation, you are setting the stage for a strong and durable lean-to greenhouse. The foundation will provide stability and support for the entire structure, ensuring its longevity and functionality for years to come.
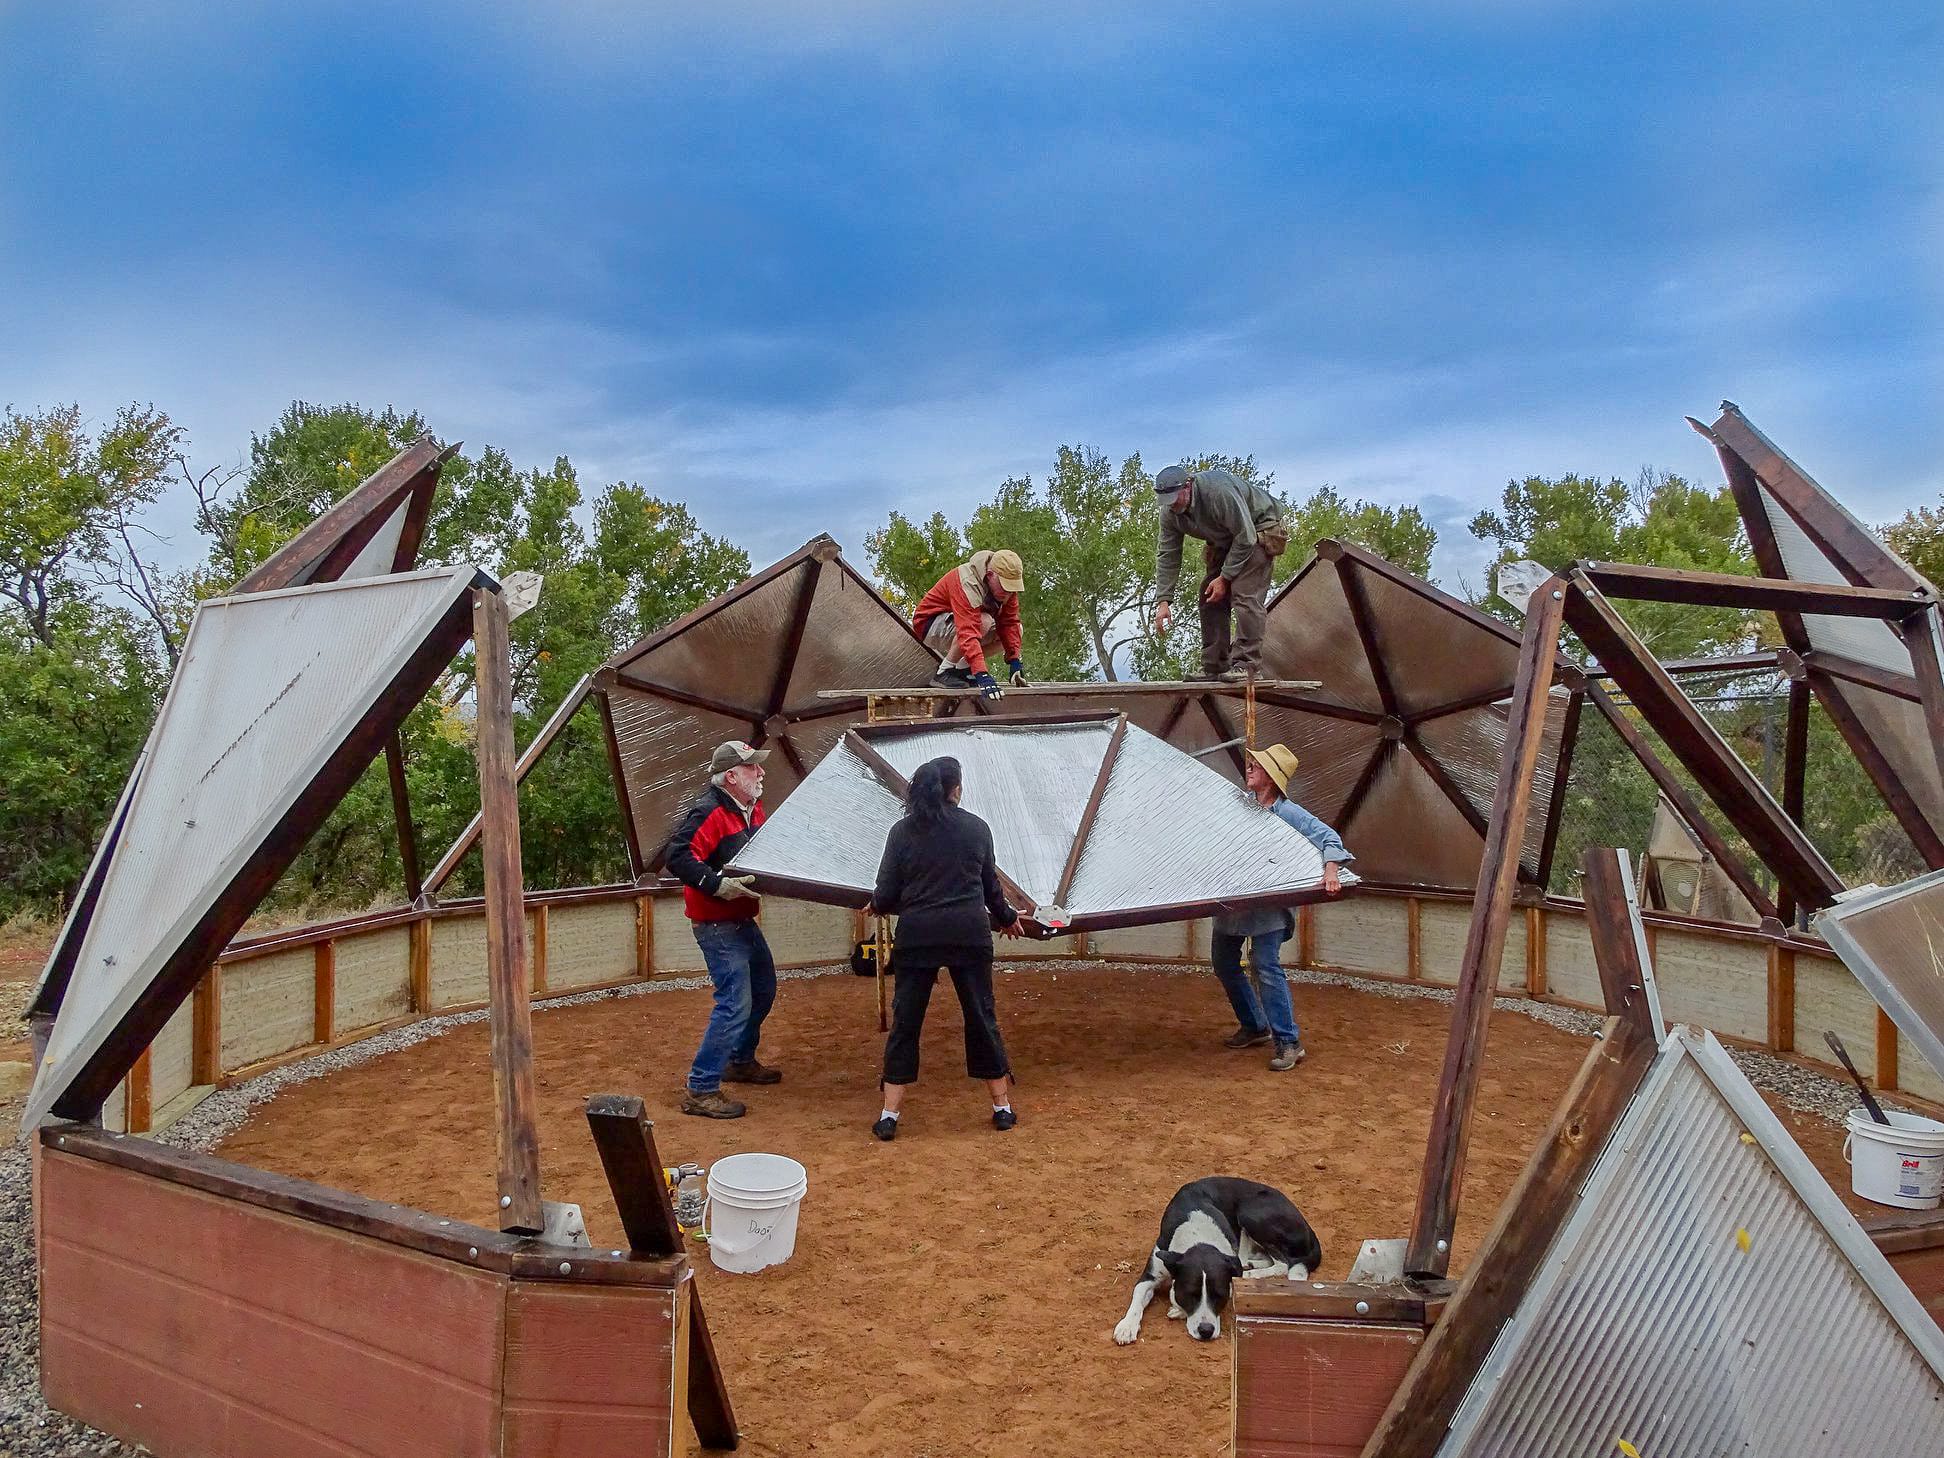
Building the Frame
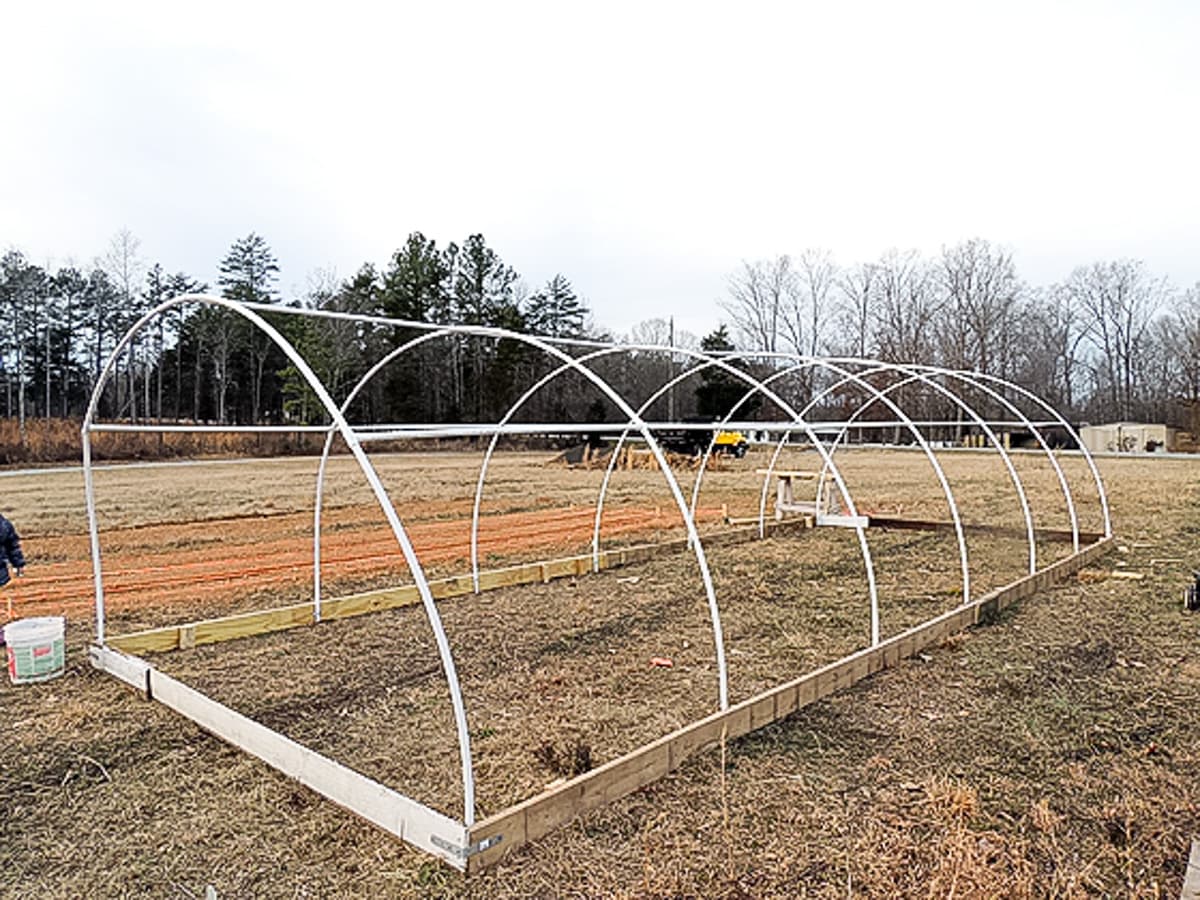
With the foundation in place, it’s time to start building the frame of your lean-to greenhouse. The frame serves as the skeleton of the structure and provides support for the covering material. Here’s how you can build the frame:
- Measure and cut the lumber: Use a saw to cut the lumber according to your design specifications. Measure and mark the lengths for the vertical posts, horizontal beams, and diagonal bracings.
- Assemble the vertical posts: Start by attaching the vertical posts to the foundation using screws or brackets. Ensure that they are securely fastened and plumb using a level.
- Connect the horizontal beams: Attach the horizontal beams to the top of the vertical posts, creating the roofline of the lean-to greenhouse. Use appropriate connectors or hardware to secure them in place.
- Add diagonal bracings: Install diagonal bracings between the vertical posts for added stability and strength. These braces will help prevent the frame from swaying or shifting.
- Check for squareness: Use a measuring tape or a carpenter’s square to ensure that the frame is square and aligned properly. Adjust as necessary to maintain uniformity.
As you build the frame, take extra care to ensure that all connections are tight and secure. This will create a sturdy structure that can withstand the elements and support the weight of the covering material. Remember to refer to your design plans and make any necessary adjustments according to the specific requirements of your lean-to greenhouse.
Installing the Covering
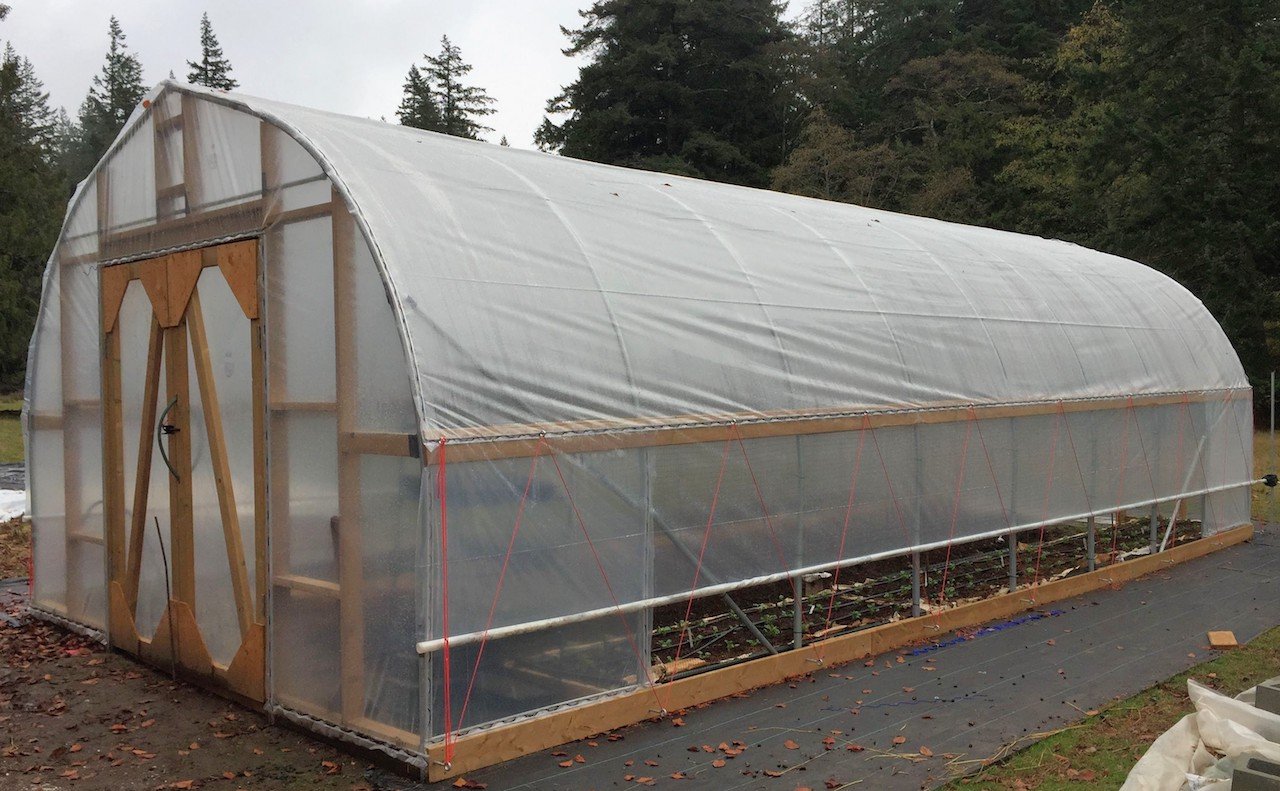
Now that the frame of your lean-to greenhouse is complete, it’s time to install the covering material. The covering provides insulation, protects your plants from the elements, and allows sunlight to filter through. Here’s how you can install the covering:
- Choose the covering material: Depending on your preference, budget, and climate, you can choose between glass or plastic panels. Glass offers durability and better light transmission, while polycarbonate panels are lightweight and impact-resistant.
- Start at one end: Begin at one end of the lean-to greenhouse and secure the first panel to the frame. Use appropriate clips, brackets, or screws to attach the panel securely.
- Continue with the remaining panels: Work your way along the frame, attaching each panel tightly to the frame. Ensure that there are no gaps or spaces between the panels.
- Seal the gaps: Once all the panels are in place, use a weatherproof sealant to seal any gaps or spaces between the panels. This will provide insulation and prevent water leakage.
- Install the door and windows: If your lean-to greenhouse includes a door and windows, install them according to the manufacturer’s instructions. Ensure that they are properly sealed and provide sufficient ventilation.
When installing the covering, pay attention to details and take your time to ensure a proper and secure fit. This will help create a well-insulated and protected environment for your plants, allowing them to thrive and grow throughout the year.
Adding Ventilation
Ventilation is a crucial aspect of maintaining a healthy and thriving environment inside your lean-to greenhouse. Proper airflow helps regulate temperature, reduces humidity, and prevents the buildup of harmful pests and diseases. Here’s how you can add ventilation to your greenhouse:
- Install vents: Consider adding vents on the roof or sidewalls of your lean-to greenhouse. These vents can be manual or automatic and allow hot air to escape while drawing in fresh air.
- Use windows: If your lean-to greenhouse has windows, ensure they can be opened and closed easily. This allows you to control the airflow inside the structure and adjust it according to the needs of your plants.
- Add louvers: Louvered panels can be installed in addition to or in place of windows. These panels have adjustable slats that allow you to regulate the amount of airflow entering the greenhouse.
- Consider fans: In areas with limited natural airflow, you may consider installing fans to circulate air within the greenhouse. This helps maintain a consistent temperature and prevents stagnant air.
- Install automatic vent openers: Automatic vent openers are an excellent addition to your greenhouse. They use temperature-sensitive technology to open and close vents or windows, ensuring optimal airflow without manual intervention.
Remember to position your vents or windows strategically to promote the best airflow. Place them at opposite ends of the lean-to greenhouse to maximize cross ventilation. Additionally, monitor the temperature and humidity levels inside your greenhouse regularly to ensure optimal conditions for your plants.
By incorporating ventilation systems into your lean-to greenhouse, you can create a healthy and thriving environment for your plants. Proper airflow will help them grow vigorously and increase the success of your gardening endeavors.
Setting up Shelving and Benches
Setting up shelving and benches inside your lean-to greenhouse is essential for maximizing space and organizing your plants and gardening supplies. Here are some tips for setting up shelving and benches:
- Assess your needs: Determine how much space you have available and consider what you will be growing in your lean-to greenhouse. This will help you decide the number of shelves and benches required.
- Choose materials: Select materials that are sturdy and resistant to moisture, such as metal or treated wood. Avoid materials that may rot or degrade over time.
- Install shelving: Attach sturdy shelving units to the walls of your lean-to greenhouse, making sure they are secure and level. Adjustable shelves are ideal as they allow you to customize the spacing according to the height of your plants.
- Add hanging hooks: Install hooks or rods along the walls or ceiling to hang tools, watering cans, and other accessories. This helps keep everything organized and within easy reach.
- Set up benches: If you have enough space, consider adding benches for potting or displaying plants. Make sure they are stable and level, providing a comfortable working surface.
- Utilize vertical space: Maximize your space by incorporating hanging baskets or tiered shelving units. This allows you to grow more plants without taking up valuable floor space.
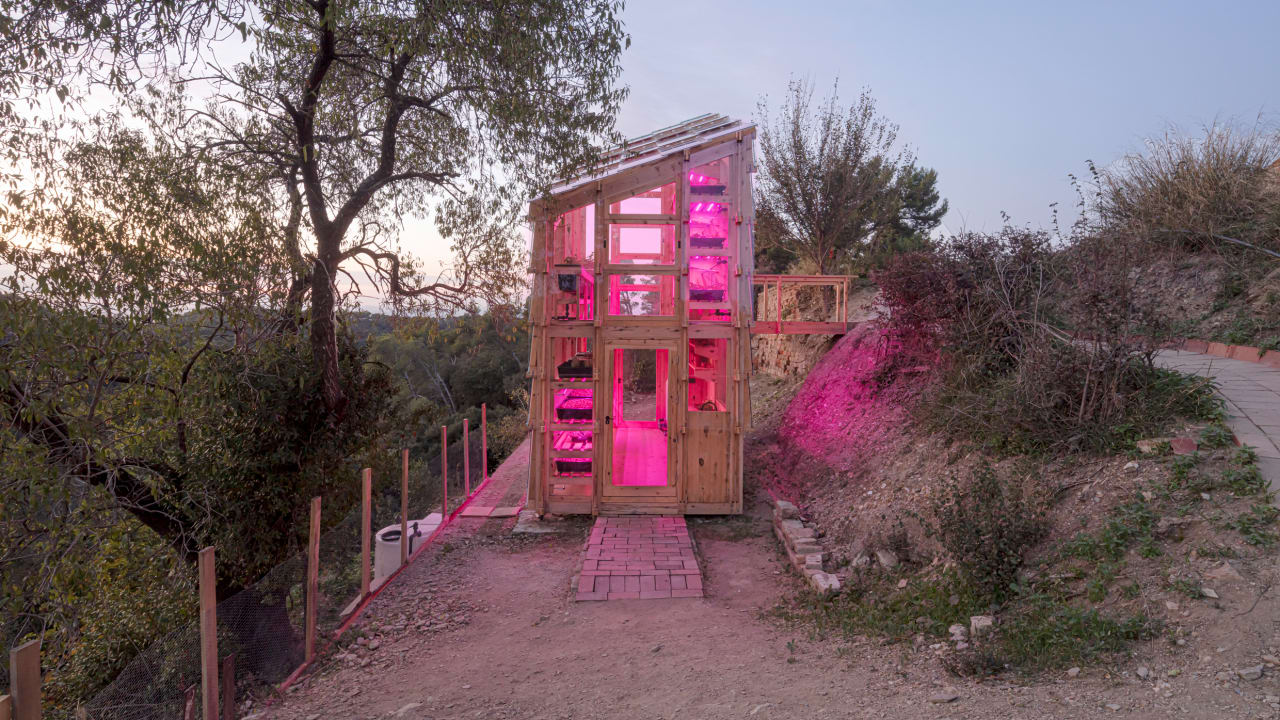
- Consider lighting: If your lean-to greenhouse does not receive ample natural light, incorporate grow lights above or below the shelves to provide supplemental lighting for your plants.
By setting up shelving and benches, you can optimize the space inside your lean-to greenhouse and create an organized and efficient working environment. This will make it easier for you to tend to your plants, propagate seedlings, and maintain a tidy space for successful gardening.
Maintaining the Lean-To Greenhouse
Maintaining your lean-to greenhouse is crucial to ensure the health and productivity of your plants. By implementing regular maintenance practices, you can create an optimal environment for growth. Here’s how you can maintain your lean-to greenhouse:
- Clean the greenhouse: Regularly clean the interior and exterior of the greenhouse to remove dust, dirt, and debris. This helps maximize light transmission and prevents potential pest and disease issues.
- Inspect for leaks: Check for any signs of water leakage or condensation inside the greenhouse. Repair any leaks promptly to avoid water damage to your plants and equipment.
- Monitor temperature and humidity: Keep an eye on temperature and humidity levels inside the greenhouse. Make adjustments as needed to ensure ideal conditions for your plants.
- Watering and fertilizing: Follow a regular watering and fertilizing schedule based on the needs of your plants. Avoid over or under watering, and ensure proper nutrient levels for healthy growth.
- Control pests and diseases: Regularly inspect your plants for signs of pests or diseases. Implement appropriate pest management strategies such as biological controls or organic treatments.
- Pruning and trimming: Prune plants regularly to remove dead or diseased branches and encourage healthy growth. Proper pruning promotes airflow and reduces the risk of fungal infections.
- Monitor for weeds: Keep an eye out for weeds and remove them promptly to prevent competition for nutrients and space with your desired plants.
- Ensure proper ventilation: Regularly check and maintain the ventilation system of your lean-to greenhouse. Ensure vents are clean and functioning properly to regulate airflow.
- Monitor for signs of stress: Keep a close eye on your plants for any signs of stress, such as wilting or discoloration. Take immediate action to identify and address the underlying cause.
- Regularly replace coverings: Over time, the covering material of your greenhouse may deteriorate. Regularly check for any signs of damage and replace the panels as needed to maintain the integrity and efficiency of the structure.
By implementing these maintenance practices, you can create a thriving and healthy environment for your plants inside the lean-to greenhouse. Regular monitoring and upkeep will help prevent issues and ensure the success of your gardening efforts.
Conclusion
Congratulations, you have successfully learned how to build and maintain your very own lean-to greenhouse! This DIY project allows you to extend your growing season, protect your plants, and create the perfect environment for gardening success. By choosing the right location, gathering the necessary materials, clearing the site, preparing a solid foundation, and constructing the frame, you have laid the groundwork for a functional and sturdy greenhouse.
Installing the covering and adding ventilation ensures that your plants receive the right amount of sunlight, air circulation, and protection from the elements. Setting up shelving and benches maximizes space and organization, while following regular maintenance practices keeps your lean-to greenhouse in optimal condition for healthy plant growth.
Remember to continuously monitor and adjust temperature, humidity, watering, and fertilizing to create the ideal growing environment for your specific plant varieties. Regular inspections for pests, diseases, and weeds will help you address issues promptly and maintain the overall health of your plants.
As you embark on this exciting journey of greenhouse gardening, have fun experimenting with different plant varieties, expanding your gardening knowledge, and enjoying the rewards of your efforts. Your lean-to greenhouse is not just a functional structure, but also a beautiful addition to your garden that you can be proud of!
So, grab your gardening tools and begin building your dream lean-to greenhouse. With patience, dedication, and a little bit of green thumb magic, your plants will thrive and reward you with a bountiful harvest for years to come.