Home>Gardening Techniques>DIY Projects>How To Build A Greenhouse Out Of Old Windows

DIY Projects
How To Build A Greenhouse Out Of Old Windows
Modified: January 22, 2024
Learn how to create a DIY greenhouse using recycled windows, perfect for anyone interested in sustainable DIY projects.
(Many of the links in this article redirect to a specific reviewed product. Your purchase of these products through affiliate links helps to generate commission for Chicagolandgardening.com, at no extra cost. Learn more)
Table of Contents
- Introduction
- Step 1: Gathering Materials
- Step 2: Preparing the Foundation
- Step 3: Assembling the Frame
- Step 4: Installing the Windows
- Step 5: Adding Insulation and Ventilation
- Step 6: Building the Entrance
- Step 7: Creating Shelving and Benches
- Step 8: Setting Up Irrigation System
- Step 9: Finishing Touches and Maintenance Tips
- Conclusion
Introduction
Welcome to the world of DIY greenhouse projects! If you have a passion for gardening and a love for sustainability, building a greenhouse out of old windows is the perfect project for you. Not only does it provide a practical solution for extending your growing season, but it also gives new life to discarded windows.
A greenhouse constructed from salvaged windows not only adds a unique touch to your garden, but it is also an eco-friendly alternative to traditional greenhouses. By repurposing materials that would otherwise end up in landfills, you are reducing waste and contributing to a greener future.
In this guide, we will take you through the step-by-step process of building your own greenhouse using old windows. From gathering materials to adding the finishing touches, we’ll cover everything you need to know to turn your DIY dreams into a reality.
Before we dive into the nitty-gritty details, it’s important to mention that building a greenhouse requires some basic carpentry skills. However, don’t let that discourage you! With a little patience, determination, and the right tools, even if you’re a beginner, you can successfully build your own greenhouse.
So, roll up your sleeves and let’s get started! By the end of this guide, you’ll have the knowledge and confidence to create a beautiful and functional greenhouse that will allow you to grow your favorite plants all year round.
Step 1: Gathering Materials
The first step in building your greenhouse is gathering all the necessary materials. Since we are using old windows, the main component of your greenhouse, you’ll need to start by sourcing these windows. Here’s a checklist of the materials you’ll need:
- Old Windows: Look for salvaged windows from demolition sites, Habitat for Humanity Restores, or online marketplaces. Make sure to choose windows that are in good condition and of similar sizes.
- Pressure-Treated Lumber: This will be used for the frame of your greenhouse. Measure the dimensions of your windows to determine the amount of lumber needed.
- Screws and Nails: To secure the frame and attach the windows, you’ll need a combination of screws and nails. Choose ones that are suitable for outdoor use.
- Hinges: These will be used to attach the windows to the frame, allowing for easy opening and closing.
- Sealant/Caulk: To ensure the greenhouse is properly sealed and insulated, you’ll need a high-quality sealant or caulk that is suitable for outdoor use.
- Weatherstripping: This will help to prevent any drafts and ensure optimal insulation inside the greenhouse.
- Polycarbonate or Polyethylene Sheets: Depending on the climate in your area, you may want to consider adding a layer of insulation to your greenhouse. Polycarbonate or polyethylene sheets are lightweight and provide good insulation.
- Optional Accessories: Depending on your needs and preferences, you may also want to consider adding accessories such as shelves, benches, a watering system, and lighting inside the greenhouse.
Once you have gathered all the necessary materials, you are ready to move on to the next step: preparing the foundation. Planning and gathering materials upfront will ensure a smooth building process and help you stay organized throughout the project.
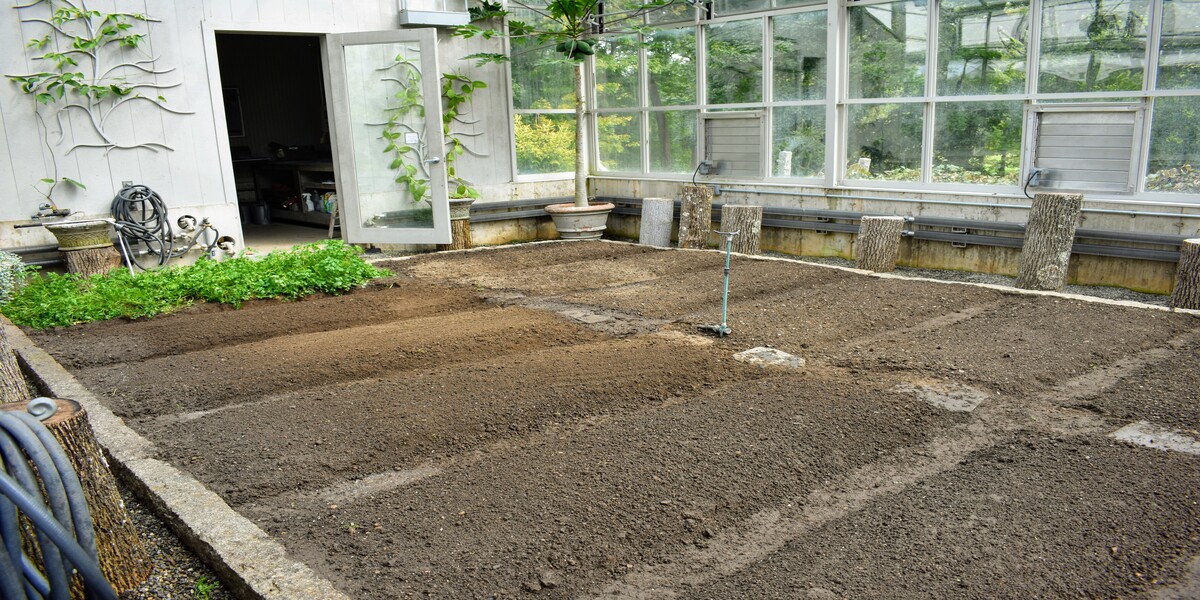
Step 2: Preparing the Foundation
Before you start building the frame of your greenhouse, it is essential to prepare a solid foundation. A properly prepared foundation will provide stability and ensure the longevity of your greenhouse. Here’s how to do it:
- Choose the location: Select a suitable spot in your garden that receives ample sunlight throughout the day. Ensure that the area is relatively level and free from any obstructions.
- Clear the area: Remove any vegetation, rocks, or debris from the chosen location. This will create a clean and level surface for your greenhouse.
- Mark the dimensions: Use stakes and string to outline the dimensions of your greenhouse. This will give you a clear visual of the space you’ll be working with and help you stay within the boundaries during construction.
- Level the ground: Use a shovel or a rake to level the ground within the marked area. This step is crucial to ensure a stable foundation. Check the level using a carpenter’s level to ensure accuracy.
- Add gravel or crushed stone: Lay a layer of gravel or crushed stone on top of the leveled ground. This will help with drainage and prevent water accumulation under the greenhouse.
- Compact the base: Use a hand tamper or a plate compactor to compact the gravel or crushed stone base. This will create a solid and stable foundation for your greenhouse.
Once you have prepared the foundation, it’s time to move on to building the frame. The foundation serves as the starting point and will provide a sturdy base for the rest of your greenhouse construction.
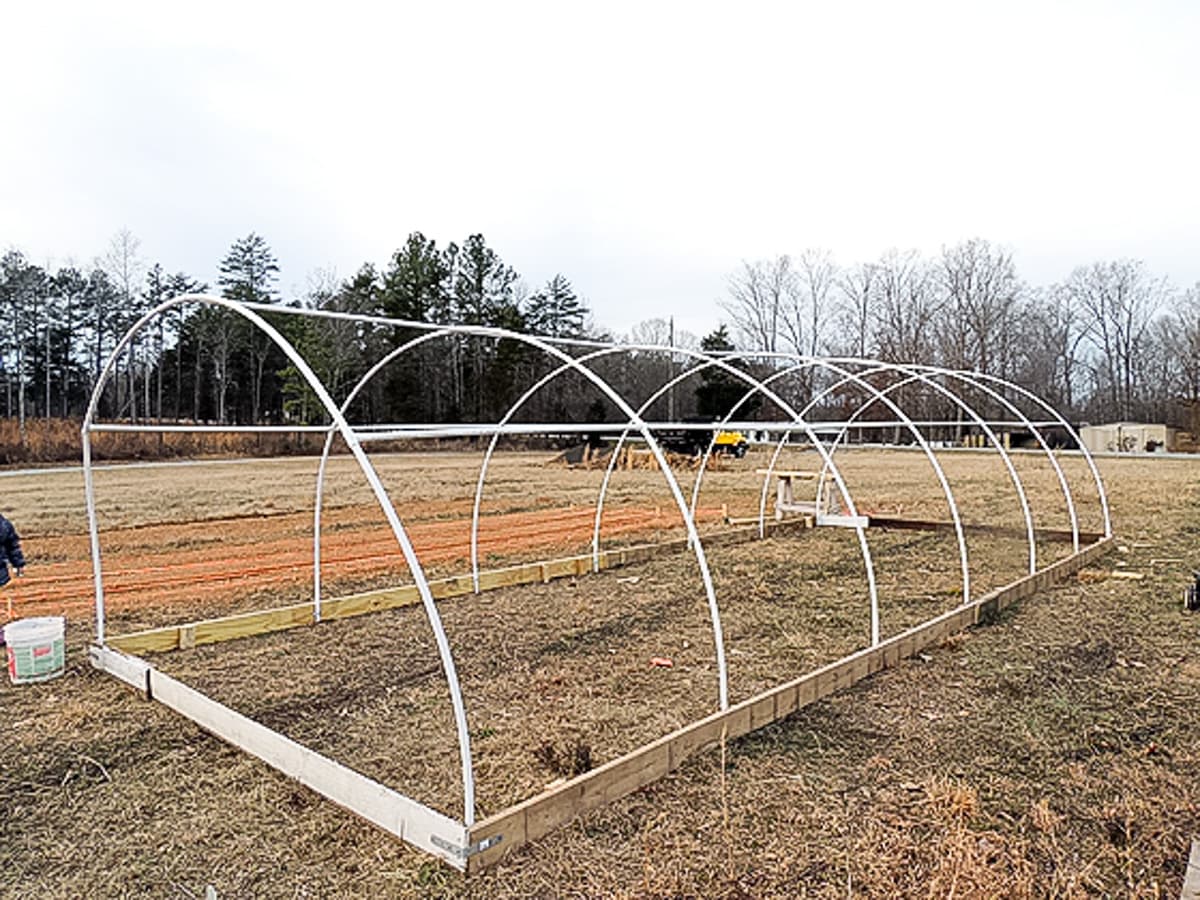
Step 3: Assembling the Frame
With the foundation in place, it’s time to start building the frame for your greenhouse. The frame provides the structure and support for the windows and plays a crucial role in the overall stability of the greenhouse. Here’s how you can assemble the frame:
- Cut the lumber: Measure and cut the pressure-treated lumber according to the dimensions of your greenhouse. 2x4s are commonly used for the frame, but the exact dimensions will depend on the size and design of your greenhouse.
- Position the corner posts: Lay out the lumber pieces in the desired shape of your greenhouse. Place the corner posts at each corner and secure them by hammering them into the ground or using post brackets.
- Attach the horizontal beams: Attach the horizontal beams between the corner posts, creating the top and bottom frames of the greenhouse. Use screws or nails to secure them in place.
- Add additional support: Depending on the size of your greenhouse, you may need to add additional vertical and horizontal beams for extra support. This will ensure the frame is sturdy and can withstand the weight of the windows.
- Double-check for squareness: Use a carpenter’s square to ensure that all corners are properly aligned and the frame is square. Adjust as necessary to achieve perfect squareness.
- Secure the frame: Once the frame is properly aligned and square, secure all the joints and connections with screws or nails. This will provide additional stability and ensure the frame remains solid.
Remember to take your time and double-check your measurements and connections during this step. A well-built frame is crucial for the overall success of your greenhouse construction. Once the frame is assembled, you are ready to move on to the next step: installing the windows.
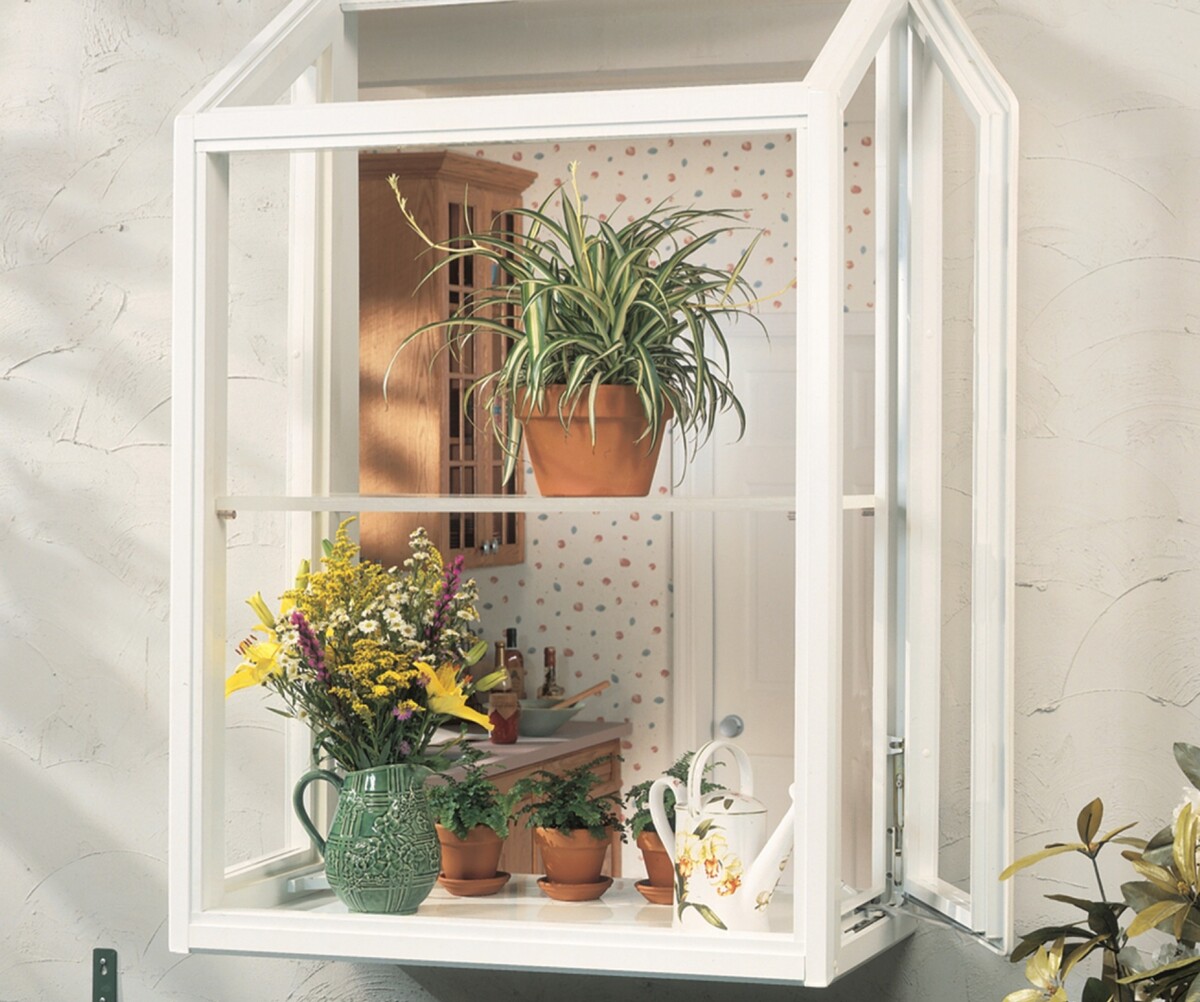
Step 4: Installing the Windows
Now that you have the frame in place, it’s time to install the windows in your greenhouse. The windows provide the enclosure and allow for natural light to enter the space. Follow these steps to ensure proper installation:
- Clean the windows: Before installing the windows, clean them thoroughly to remove any dust, dirt, or debris. This will ensure clarity and maximize the amount of light entering your greenhouse.
- Position the windows: Start by positioning the first window in one of the openings of the frame. Make sure it fits snugly and aligns properly with the frame. Use shims if necessary to achieve a level and even installation.
- Secure the windows: Once the window is in position, use screws to secure it to the frame. Place the screws through the window frame and into the wooden frame of the greenhouse. Ensure that the screws are long enough to hold the window securely.
- Continue with the remaining windows: Repeat the process for each window, positioning them in the remaining openings and securing them to the frame. Take your time to ensure that each window fits properly and is securely fastened.
- Check for gaps: After all the windows are installed, check for any gaps or spaces between the windows and the frame. Use weatherstripping or caulk to seal any openings, ensuring that the greenhouse is properly insulated.
- Test the windows: Open and close each window to ensure they operate smoothly. Make any necessary adjustments to the hinges or hardware to achieve proper functionality.
Once all the windows are installed and properly sealed, your greenhouse structure is starting to take shape. The next step is to add insulation and ventilation to create an optimal growing environment.
Step 5: Adding Insulation and Ventilation
To create an ideal environment for your plants, it’s important to add insulation and ventilation to your greenhouse. These elements will help regulate temperature, control humidity, and maintain proper air circulation. Here’s what you need to do:
- Insulate the windows: To improve insulation, consider adding a layer of polycarbonate or polyethylene sheets to the inside of the windows. Cut the sheets to fit the size of the windows and secure them with clips or adhesive.
- Install automatic vents: Automatic vents or windows with built-in vents are a great addition to provide proper air circulation. These vents open and close automatically based on temperature, ensuring that your greenhouse remains well-ventilated.
- Add a louvre window: A louvre window can be installed at one end of the greenhouse to promote cross ventilation. This adjustable window allows for better airflow control and helps prevent overheating.
- Consider shade cloth: If your greenhouse receives excessive sunlight and heat, especially during the summer months, use shade cloth to provide shade and reduce the intensity of sunlight. This will prevent overheating and protect your plants from sunburn.
- Install a fan: In areas with limited natural ventilation, installing a fan can help circulate air and prevent stagnant air pockets. A fan also helps regulate temperature and humidity levels.
Remember, insulation and ventilation are key factors in creating a comfortable growing environment for your plants. Finding the right balance will ensure your greenhouse stays cool in the summer and warm in the winter.
Now that your greenhouse has insulation and ventilation in place, it’s time to move on to building the entrance and ensuring easy access to your gardening haven.
Step 6: Building the Entrance
An effective entrance is essential for easy access to your greenhouse and convenient maintenance. Building a sturdy and functional entrance will make your gardening experience much more enjoyable. Follow these steps to create the perfect entrance:
- Decide on the entrance type: Consider the design and layout of your greenhouse to determine the best entrance option. Common choices include a single or double hinged door, sliding doors, or even a roll-up door.
- Measure and mark the entrance location: Determine the desired location for the entrance and mark the dimensions on the frame. Ensure that the opening is wide enough to accommodate your chosen entrance type.
- Frame the entrance: Using the same type of lumber used for the frame, construct a smaller frame within the marked entrance area. Ensure that it is securely attached to the existing greenhouse frame.
- Install the door: If you’ve opted for a hinged door, align it with the frame and attach it using hinges. Make sure the door swings freely and smoothly. For other types of doors, follow the manufacturer’s instructions for installation.
- Add latches and handles: Install latches or locks to secure the entrance when closed. Depending on the type of door, you may also need handles or pulls for easy opening and closing.
- Test the entrance: Open and close the door multiple times to ensure smooth operation. Make any necessary adjustments to the hinges or hardware for proper functionality.
A well-constructed entrance will not only provide easy access to your greenhouse but also maintain the integrity of the structure. Additionally, it will help regulate the temperature and airflow within the greenhouse.
Now that your greenhouse has a functional entrance, it’s time to move on to adding shelving and benches to maximize your growing space and organize your plants.
Step 7: Creating Shelving and Benches
Creating shelving and benches inside your greenhouse is a practical way to maximize your growing space and provide a dedicated area for your plants. Follow these steps to create functional and organized shelving and benches:
- Determine the layout: Assess the available space and determine the best layout for your shelving and benches. Consider factors such as access to sunlight, the height of plants, and the type of plants you’ll be growing.
- Choose the materials: Select materials that are suitable for the humid greenhouse environment. Pressure-treated lumber or plastic-coated wire shelves are popular choices, as they are durable and resistant to moisture.
- Measure and cut: Measure the dimensions of your desired shelving and benches and cut the materials accordingly. Ensure that the measurements align with the available space and fit seamlessly within the greenhouse.
- Assemble the shelving and benches: Using screws or brackets, assemble the shelves and benches according to your measurements. Follow the manufacturer’s instructions if using pre-made shelving or bench kits.
- Secure the shelving and benches: Attach the shelves and benches to the greenhouse frame or walls securely. Ensure they are level and stable to prevent any accidents or damage to your plants.
- Organize your plants: Once the shelving and benches are in place, organize your plants based on their preferred lighting and space requirements. Use the shelves and benches to create different levels and sections for your plant collection.
By creating shelving and benches in your greenhouse, you’ll be able to utilize the available space efficiently and keep your plants well-organized. It also provides easy access for watering, pruning, and harvesting.
Now that your greenhouse is taking shape with shelving and benches, it’s time to consider setting up an irrigation system for efficient and effortless watering.
Step 8: Setting Up Irrigation System
Setting up an efficient irrigation system in your greenhouse is essential for providing your plants with the proper amount of water they need to thrive. Follow these steps to establish an effective irrigation system:
- Determine your watering needs: Assess the watering requirements of the plants in your greenhouse. Consider factors such as the type of plants, their water preferences, and the climate conditions in your area.
- Select the irrigation method: Choose the appropriate irrigation method based on your watering needs. Options include drip irrigation, soaker hoses, sprinklers, or a combination of methods.
- Lay out the irrigation lines: Designate the placement of your irrigation lines, taking into account the location and spacing of your plants. Lay out the lines along the base of the plants or suspend them above for overhead irrigation.
- Install the irrigation system: Install the necessary components, such as drip emitters, sprinkler heads, or soaker hoses, along the irrigation lines. Follow the manufacturer’s instructions for proper installation and placement.
- Set the watering schedule: Determine the appropriate watering schedule for your plants. Consider factors such as the plant’s water requirements, the time of year, and the climate. Adjust the watering schedule as needed.
- Monitor and maintain the system: Regularly inspect and maintain your irrigation system. Check for any clogs, leaks, or malfunctions. Clean or replace the components as necessary to ensure optimal performance.
An irrigation system will save you time and effort in watering your plants while ensuring they receive consistent moisture. It also helps to prevent overwatering or underwatering, promoting healthier growth.
Now that your greenhouse is equipped with an irrigation system, it’s time to focus on the final touches and maintenance tips to keep your greenhouse in optimal condition.
Step 9: Finishing Touches and Maintenance Tips
As you near the completion of your greenhouse project, it’s time to add those finishing touches that will enhance its functionality and appearance. Here are some final steps and maintenance tips to consider:
- Install shading and insulation: If your greenhouse tends to get too hot during the summer or too cold during the winter, consider adding additional shading or insulation to regulate the temperature and create an optimal growing environment.
- Paint or seal the frame: Give your greenhouse a polished look by painting or sealing the frame with a weather-resistant finish. This will protect the wood from moisture and extend its lifespan.
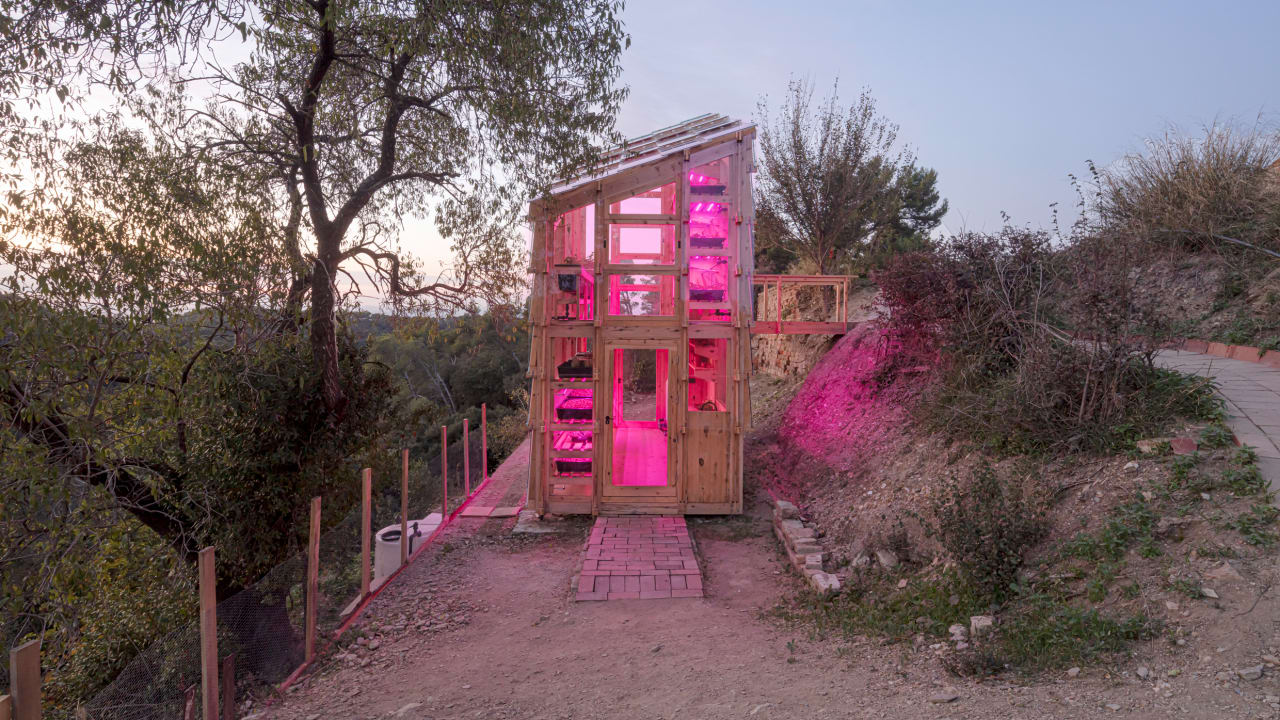
- Add lighting: If you plan to work in your greenhouse during the evenings or on gloomy days, install proper lighting to ensure your plants receive adequate light. Consider using energy-efficient LED lights for indoor gardening.
- Maintain proper ventilation: Regularly check the vents and windows to ensure they are functioning properly. Clean them from any debris that may obstruct airflow and monitor the temperature and humidity levels regularly.
- Water and fertilize appropriately: Follow a consistent watering and fertilizing schedule based on the needs of your plants. Overwatering or applying too much fertilizer can harm your plants, so find the right balance.
- Monitor pests and diseases: Regularly inspect your plants for signs of pests or diseases. Take immediate action if necessary, using organic methods or natural pest control solutions to protect your plants.
- Clean and maintain the space: Keep your greenhouse clean and organized by regularly removing debris, fallen leaves, and weeds. This will help prevent the spread of pests and diseases and create a more enjoyable gardening experience.
Remember, proper maintenance and care will ensure the longevity and productivity of your greenhouse. Regularly assess the condition of your greenhouse and make the necessary adjustments or repairs as needed.
Now that you have completed all the steps and have some maintenance tips in mind, it’s time to sit back, relax, and enjoy the fruits of your labor in your beautiful DIY greenhouse.
Conclusion
Congratulations on successfully building your own greenhouse out of old windows! By embarking on this DIY project, you have not only created a functional and sustainable space for your plants but also contributed to reducing waste and promoting a greener future.
Throughout this guide, we’ve covered the step-by-step process of building a greenhouse using salvaged windows. From gathering materials to installing windows, adding insulation, setting up irrigation, and adding finishing touches, you have learned the essential elements of constructing a greenhouse that meets your gardening needs.
Remember, building a greenhouse requires some basic carpentry skills, but don’t be discouraged if you’re a beginner. With patience, determination, and the right tools, you can successfully build a greenhouse that allows you to extend your growing season and enjoy gardening year-round.
As you continue your greenhouse journey, keep in mind the importance of proper maintenance and care. Regularly monitor temperature and humidity levels, inspect for pests and diseases, and maintain the cleanliness of your greenhouse to ensure optimal plant growth.
Lastly, let your greenhouse be a space of creativity and joy. Experiment with different plant varieties and techniques, and enjoy the fruits, flowers, and vegetables that you will be able to nurture year-round in your own personal oasis.
Now, go ahead and explore the possibilities of your new DIY greenhouse—a space that not only offers endless gardening opportunities but also exudes sustainability, creativity, and the joy of self-sufficiency.