Home>Types of Gardening>Ornamental Gardening>How To Store Marigold Seeds
Ornamental Gardening
How To Store Marigold Seeds
Modified: January 22, 2024
Learn the best techniques for storing marigold seeds to ensure successful ornamental gardening. Find out how to properly harvest, dry, and store marigold seeds for future planting.
(Many of the links in this article redirect to a specific reviewed product. Your purchase of these products through affiliate links helps to generate commission for Chicagolandgardening.com, at no extra cost. Learn more)
Table of Contents
Introduction
Welcome to the wonderful world of ornamental gardening! If you’re a gardening enthusiast, you know how rewarding it can be to cultivate a beautiful garden filled with vibrant and colorful flowers. One such flower that adds a touch of charm and elegance to any garden is the marigold. With its bright blooms and distinct fragrance, the marigold is a popular choice for both novice and experienced gardeners.
Once the marigold blooms have faded and the growing season comes to an end, you may find yourself wanting to preserve and store the seeds for future planting. Storing marigold seeds not only allows you to propagate these lovely flowers again in the next season but also gives you the opportunity to share seeds with fellow gardening enthusiasts.
In this article, we will guide you through the process of storing marigold seeds. We’ll cover step-by-step instructions on harvesting, drying, cleaning, and proper storage techniques. By following these guidelines, you can ensure that your marigold seeds remain viable and ready for planting when the time comes.
Whether you’re an avid gardener looking to expand your collection or a beginner eager to explore the art of seed saving, this comprehensive guide will equip you with all the knowledge you need to successfully store marigold seeds. So let’s get started on this exciting journey of preserving the beauty of marigolds and enhancing your gardening skills!
Step 1: Harvesting the Marigold Seeds
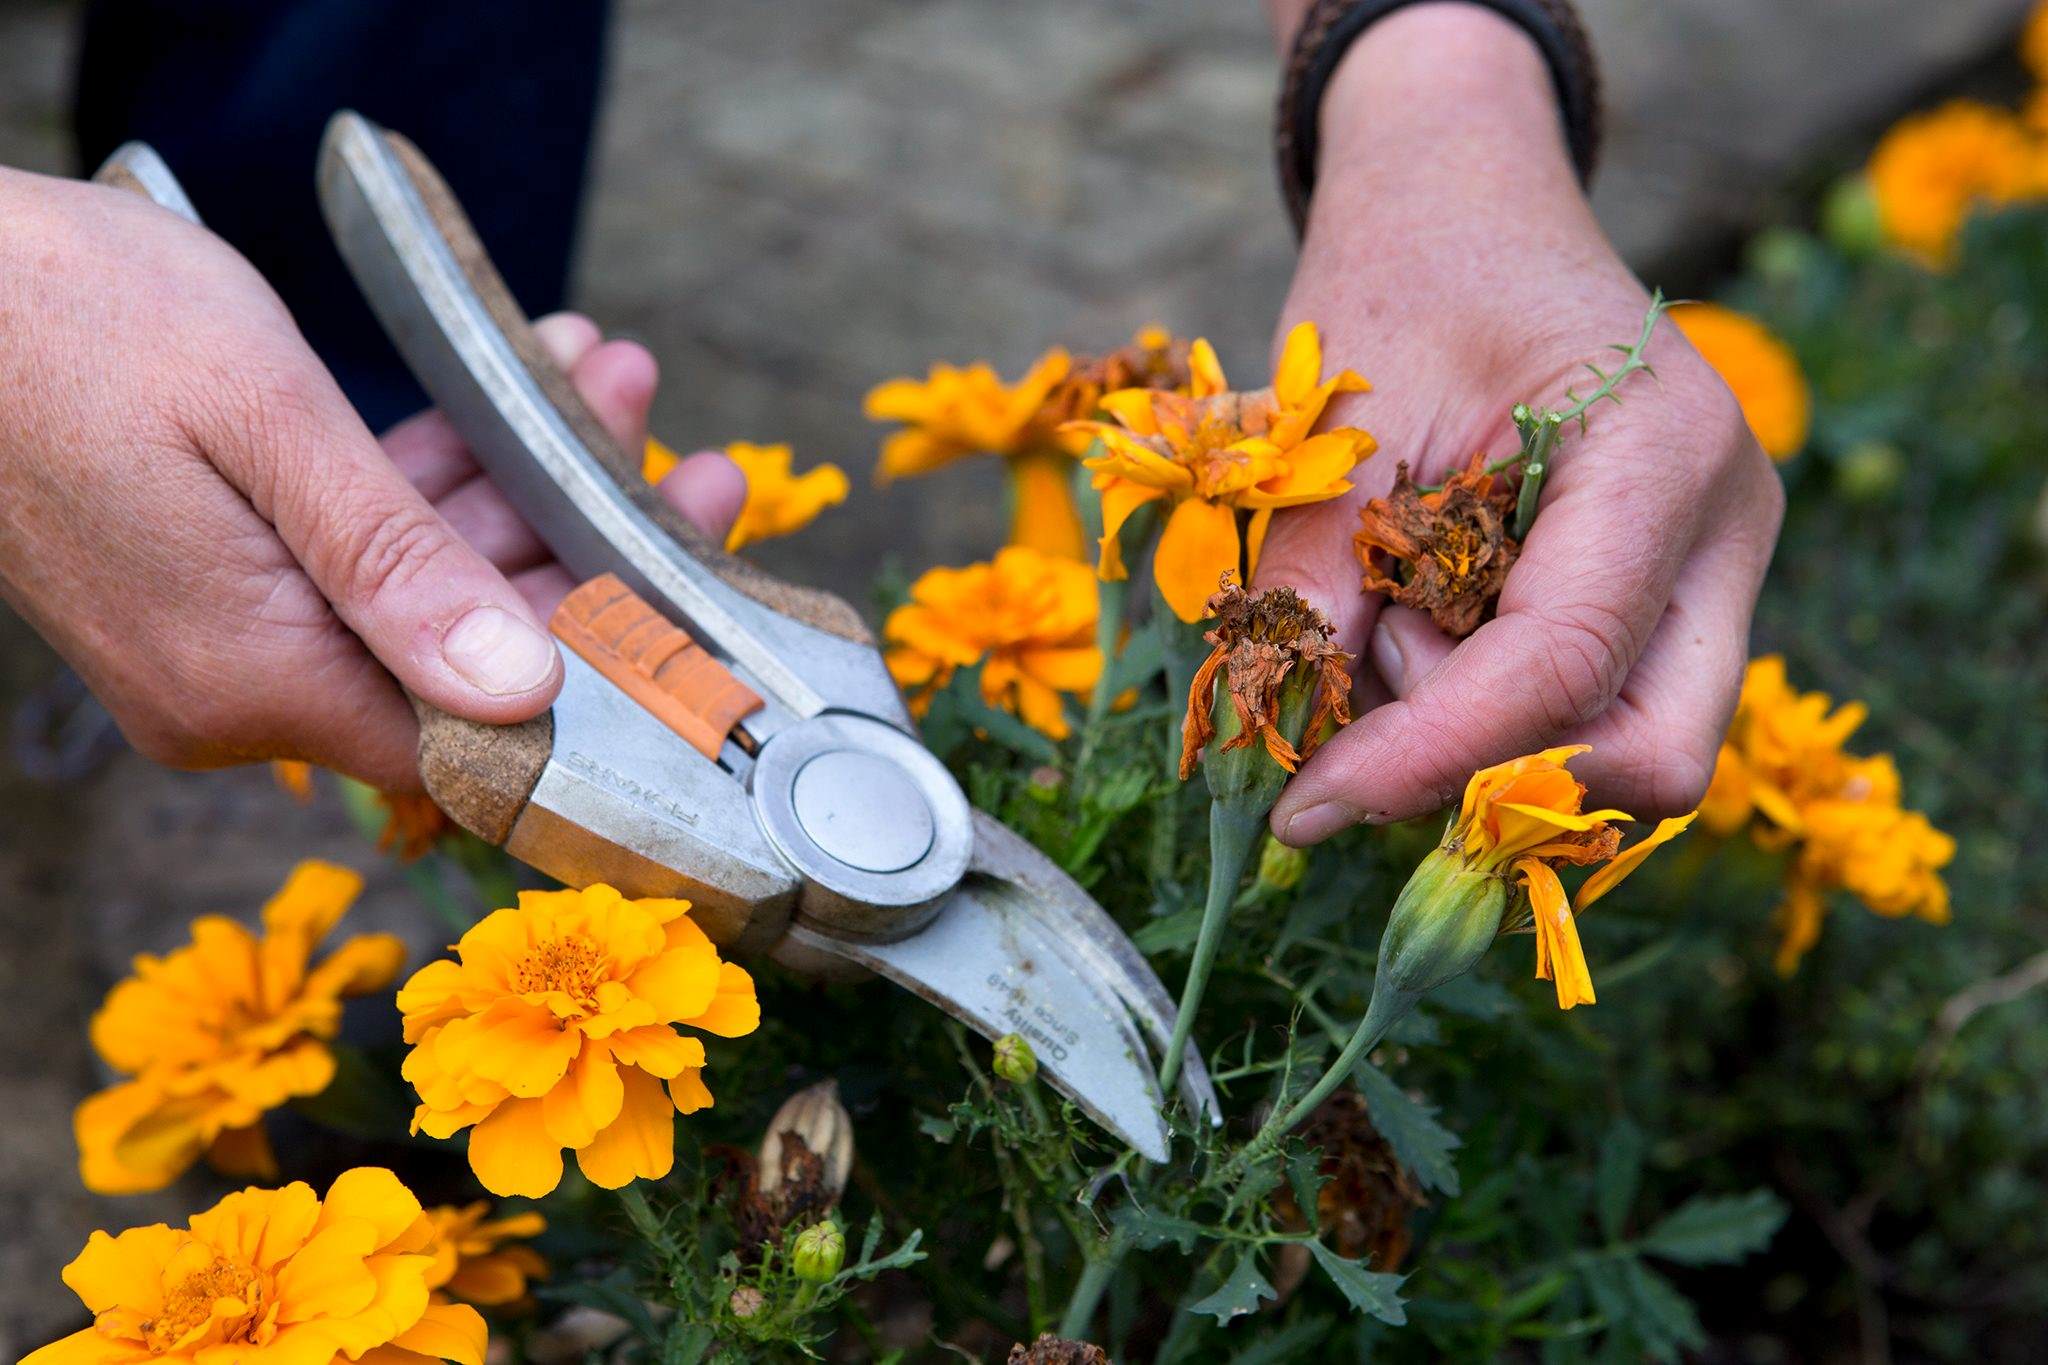
When it comes to storing marigold seeds, the first step is to harvest them from the flower heads. It’s important to wait until the marigold blooms have completely dried out before attempting to collect the seeds. This ensures that the seeds are fully mature and ready for storage.
To start, identify the flower heads on your marigold plants that have begun to wither and dry up. These are the flower heads that will contain the seeds. Gently pluck these dried flower heads from the stem of the plant, taking care not to damage any surrounding flowers or buds.
Once you have collected the dried flower heads, it’s time to extract the seeds. Simply hold the flower head over a clean, dry container or a piece of paper and gently rub the base of the flower head between your fingers. This will cause the seeds to separate and fall into the container.
Continue rubbing and shaking the flower head until all the seeds have been released. You may need to break apart the flower head slightly to ensure that all the seeds are properly collected. Remember to do this in a well-ventilated area to avoid dispersing the delicate seeds.
Keep in mind that marigold plants often produce a variety of colors and types of flowers. If you want to maintain specific varieties, it’s best to harvest and store the seeds from each variety separately to prevent cross-pollination. This way, you can ensure that the next generation of marigolds will retain their unique characteristics.
Now that you’ve successfully harvested the marigold seeds, it’s time to move on to the next step: drying them properly. Drying the seeds is crucial for their long-term viability and storage. Let’s explore this step in detail in the next section.
Step 2: Drying the Marigold Seeds
After harvesting the marigold seeds, it’s essential to dry them thoroughly before storing them. Proper drying helps to eliminate any excess moisture, which can lead to mold and rot during storage. Additionally, drying the seeds helps to increase their longevity and maintain their viability for future planting.
To dry the marigold seeds, spread them out in a single layer on a clean, dry surface such as a paper towel or a mesh screen. Ensure that the seeds are evenly spaced and not clumped together to allow for proper airflow. Avoid using plastic or metal containers, as they can trap moisture and impede the drying process.
Place the seeds in a warm, well-ventilated area away from direct sunlight. The ideal temperature for drying marigold seeds is around 70-80°F (21-27°C). You can use a well-ventilated room or a dry outdoor area, depending on the climate and weather conditions in your location.
Allow the seeds to air dry for approximately one to two weeks. During this time, periodically check on the seeds to ensure that they are drying uniformly and are not developing any signs of mold or mildew. If you notice any signs of moisture or mold, discard those seeds and continue drying the remaining ones.
As the seeds dry, you may notice that the once plump and fleshy seeds shrivel and become smaller. This is a normal part of the drying process, and it indicates that the seeds are losing excess moisture. Once the marigold seeds are completely dry, they should appear slightly shriveled and rigid.
To test if the seeds are fully dried, you can perform a quick moisture test. Take a random sample of seeds and press them with your fingernail. If they are hard and do not leave an indentation, they are ready for storage. If they are still soft or leave a mark, they need more drying time.
Now that your marigold seeds have been properly dried, it’s time to move on to the next step: cleaning them to remove any debris or impurities. Let’s dive into this crucial step in the following section.
Step 3: Cleaning the Marigold Seeds
Once your marigold seeds have been dried, it’s important to clean them thoroughly to remove any debris, chaff, or other impurities that may have accumulated during the drying process. Cleaning the seeds not only ensures their cleanliness but also helps prevent the growth of mold or pathogens during storage.
To clean the marigold seeds, start by gently sifting them through a fine-mesh sieve or strainer. This will help separate the seeds from any larger bits of plant material or chaff. As you sift the seeds, you may notice that some debris rises to the top. You can gently blow on the seeds to help remove this lighter debris.
Next, transfer the seeds to a bowl of clean water. Swirl the seeds around gently with your fingers to dislodge any remaining particles. You’ll notice that any extra debris or chaff will float to the top of the water. Carefully pour off this water along with the floating debris, being careful not to pour out any of the seeds.
Repeat the process of rinsing the seeds with clean water a few times until the water remains clear and free of any visible impurities. This will ensure that your marigold seeds are clean and ready for storage.
After rinsing, it’s essential to dry the seeds once again. Lay them out on a clean, dry surface and allow them to air dry completely. Make sure the seeds are spread out in a single layer and not touching each other to prevent any moisture from accumulating.
As the seeds dry, you may notice that they clump together. To prevent this, gently break apart any seed clusters, ensuring that each seed is separate from the others. This will help prevent mold growth and make it easier to distribute the seeds evenly when it’s time to sow them.
Now that your marigold seeds are clean and dry, the final step is to store them correctly to maintain their viability. Let’s explore the proper storage techniques in the next section.
Step 4: Storing the Marigold Seeds
After harvesting, drying, and cleaning your marigold seeds, it’s crucial to store them properly to ensure their long-term viability and successful germination in the future. By following the correct storage techniques, you can keep your marigold seeds healthy and ready for the next planting season.
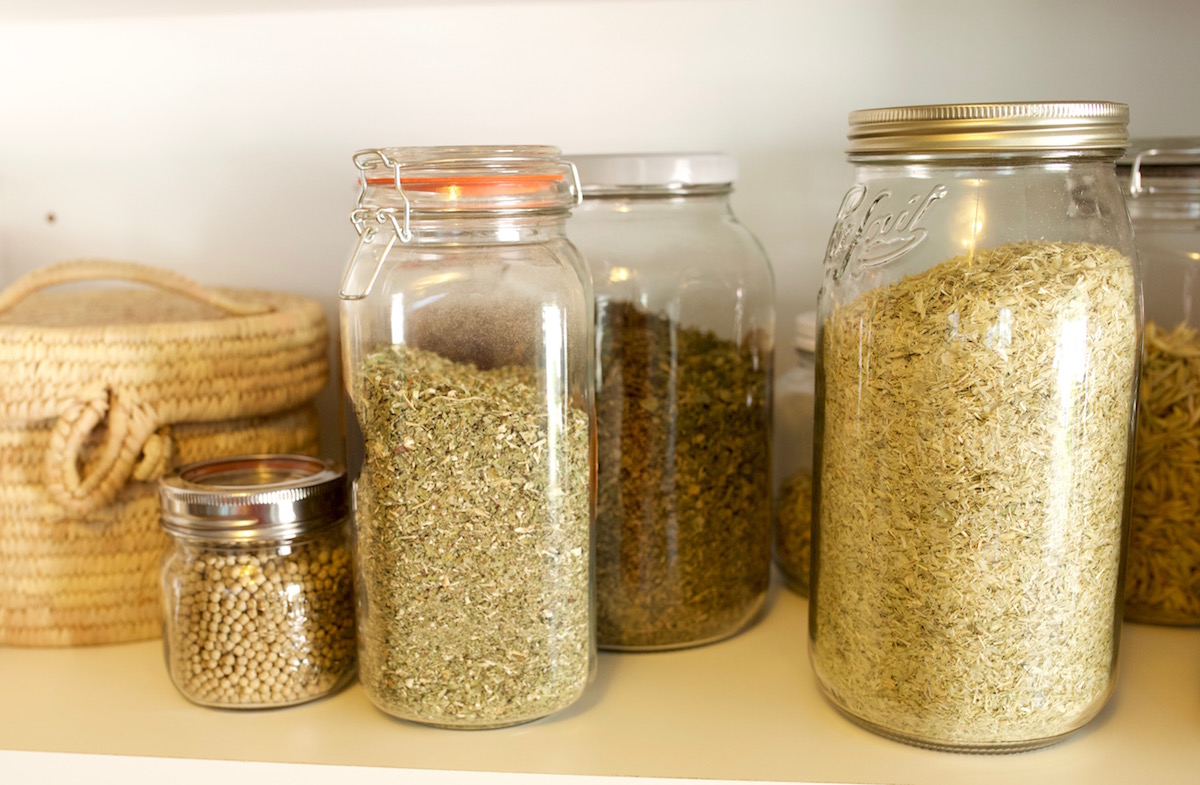
The first rule of thumb for storing marigold seeds is to keep them in a cool and dry environment. Excess heat and moisture can damage the seeds and significantly reduce their viability. Ideally, store the seeds in airtight containers, such as glass jars or resealable plastic bags, to protect them from moisture and pests.
Before placing the seeds into the containers, ensure that they are completely dry. Any residual moisture can lead to mold or rot during storage. Additionally, it’s a good practice to label the containers with the variety and date of collection. This will help you keep track of your seed collection and maintain accurate gardening records.
Store the sealed containers in a cool and dark location, such as a refrigerator or a cool basement, where the temperature remains relatively constant. The recommended temperature for storing marigold seeds is around 32-41°F (0-5°C). Avoid storing them in areas prone to temperature fluctuations, such as attics or near heating sources.
It’s important to note that marigold seeds can remain viable for several years if stored under optimal conditions. However, their overall germination rate may gradually decrease over time. To maintain the highest germination rates, it’s advisable to use the seeds within two to three years of harvesting.
When the next planting season arrives, you can easily retrieve the stored marigold seeds by removing them from the containers with clean and dry hands. Avoid exposing the seeds to excessive light or humidity during this process to prevent any potential damage.
By following these storage guidelines, you can ensure that your marigold seeds remain viable and ready for planting when the time comes. Now, armed with the knowledge of harvesting, drying, cleaning, and storing marigold seeds, you can enjoy the beauty of these vibrant flowers year after year.
Conclusion
Preserving and storing marigold seeds allows you to continue enjoying the beauty and vibrancy of these stunning flowers year after year. With just a few simple steps, you can successfully harvest, dry, clean, and store your marigold seeds for future planting.
Remember to wait until the marigold blooms have completely dried before harvesting the seeds. Ensuring that the seeds are fully mature will increase their chances of successful germination. Additionally, drying the seeds thoroughly before storage helps eliminate excess moisture and prevent mold or rot.
Cleaning the marigold seeds is an important step to remove any debris or impurities. By rinsing the seeds with clean water and drying them again, you can ensure that they are free of any potential contaminants that could harm their viability.
Proper storage is key to maintaining the longevity of your marigold seeds. Keep them in a cool and dry environment, such as a refrigerator or cool basement, in sealed containers. Remember to label the containers for easy identification and keep them away from fluctuating temperatures and excessive light or humidity.
Throughout the storage period, periodically check on your stored seeds to ensure their condition. If any signs of moisture or mold are detected, discard those seeds to avoid any negative impact on the remaining collection.
By following these steps and guidelines, you can successfully store your marigold seeds and have a bountiful supply for future plantings. So, don’t let your marigold blooms go to waste – harvest, dry, clean, and store those seeds with care. Enjoy the beauty of marigolds year after year, creating a garden filled with color, fragrance, and joy.