Home>Types of Gardening>Edible Gardening>How To Get Seedlings To Grow Faster
Edible Gardening
How To Get Seedlings To Grow Faster
Modified: February 9, 2024
Learn the secrets to accelerate the growth of your edible garden seedlings with our expert tips on how to get seedlings to grow faster.
(Many of the links in this article redirect to a specific reviewed product. Your purchase of these products through affiliate links helps to generate commission for Chicagolandgardening.com, at no extra cost. Learn more)
Table of Contents
Introduction
Growing your own edible garden is a rewarding and fulfilling endeavor. Not only do you get to enjoy fresh and nutritious produce, but you also have complete control over how your food is grown. Whether you have a spacious backyard or just a small balcony, edible gardening is possible for everyone.
But where do you start? How can you ensure that your seedlings grow faster and thrive? In this article, we will dive into the world of seedling growth and explore various techniques and strategies to help your plants flourish.
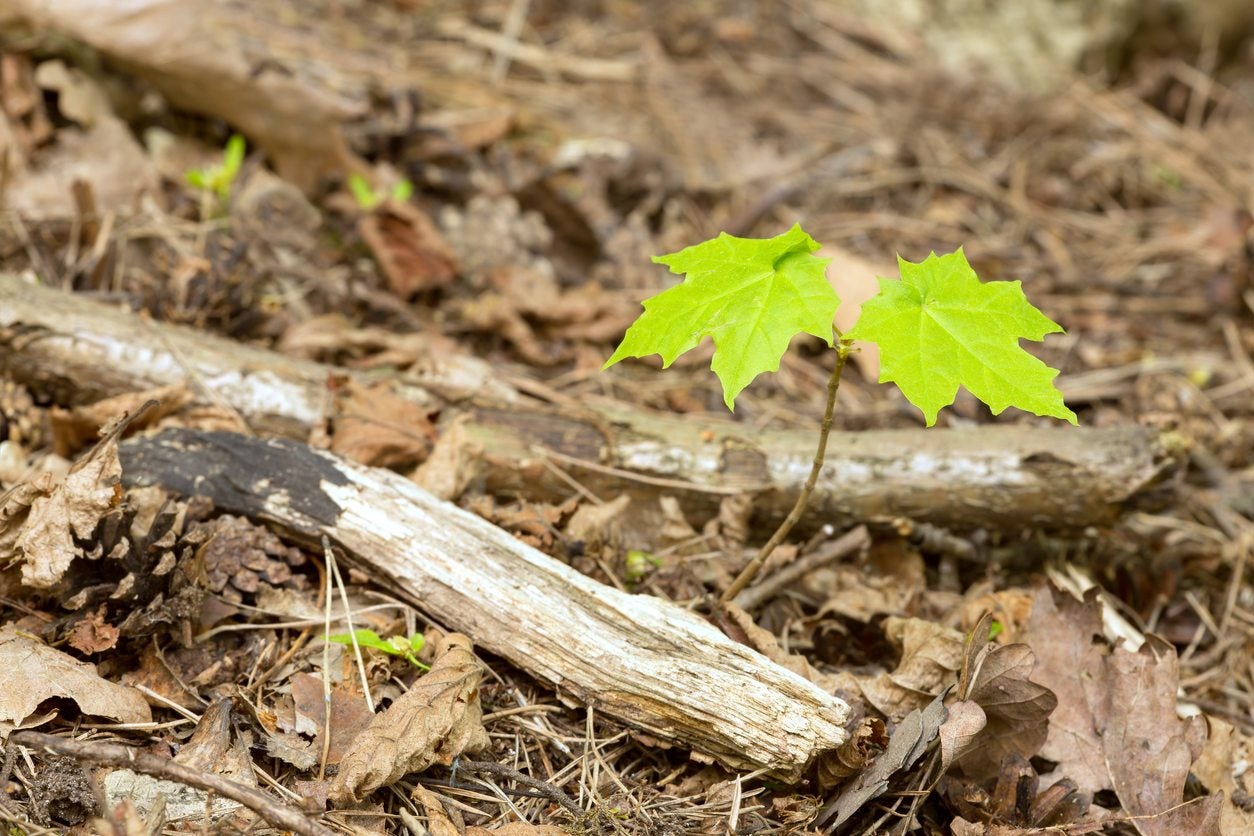
Seedlings are young plants that have just emerged from seeds. At this stage, they are delicate and require special care to establish strong roots, develop sturdy stems, and grow healthy foliage. By providing the right conditions and using proper gardening practices, you can speed up the growth process and ensure successful plant development.
Throughout this article, we will discuss key factors that influence seedling growth, including adequate light, optimal temperature and humidity, choosing the right containers, using high-quality potting soil, proper watering techniques, fertilizing, pruning and thinning, and preventing pests and diseases. Each of these elements plays a crucial role in the overall health and development of your seedlings, so it’s important to understand their significance and implement them effectively.
By following the tips and techniques outlined in this article, you can give your seedlings the best possible start, setting them on a path to robust growth and bountiful harvests. So, let’s dig in and discover how to get your seedlings to grow faster!
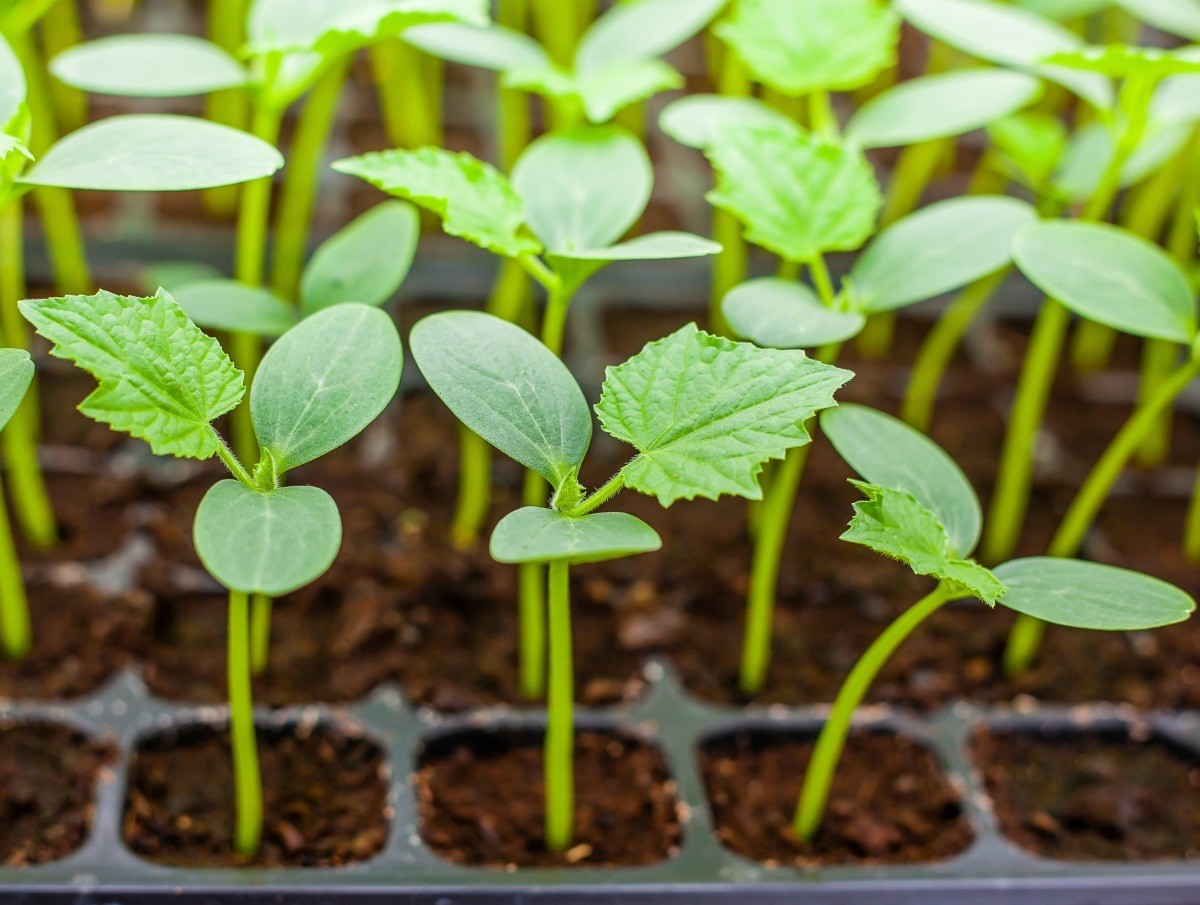
Understanding Seedling Growth
Before we delve into the various techniques to speed up your seedling growth, let’s first take a closer look at the natural process of seedling development. Understanding how seedlings grow will give you valuable insights into their needs and requirements.
When you plant a seed, it goes through a process called germination, where it absorbs water and initiates growth. As the seedling emerges from its protective outer shell, it begins to send out roots to anchor itself in the soil and absorb essential nutrients and water. At the same time, a shoot starts to grow upward, developing leaves to capture sunlight and perform photosynthesis.
The growth of seedlings is influenced by various factors, including genetics, environmental conditions, and the care provided by the gardener. By understanding these factors, you can actively manipulate them to create the ideal environment for faster and healthier seedling growth.
One crucial aspect of seedling growth is providing the right amount of light. Light is essential for photosynthesis, the process by which plants convert sunlight into energy. Without sufficient light, seedlings may become stretched and leggy, as they try to reach for the light source. This results in weak stems and decreases their overall vigor.
Another vital factor is temperature and humidity. Seedlings prefer warm and consistent temperatures, typically between 65°F and 75°F (18°C to 24°C). Maintaining proper humidity levels also ensures that seedlings do not dry out or become overly damp, which can lead to diseases and stunted growth.
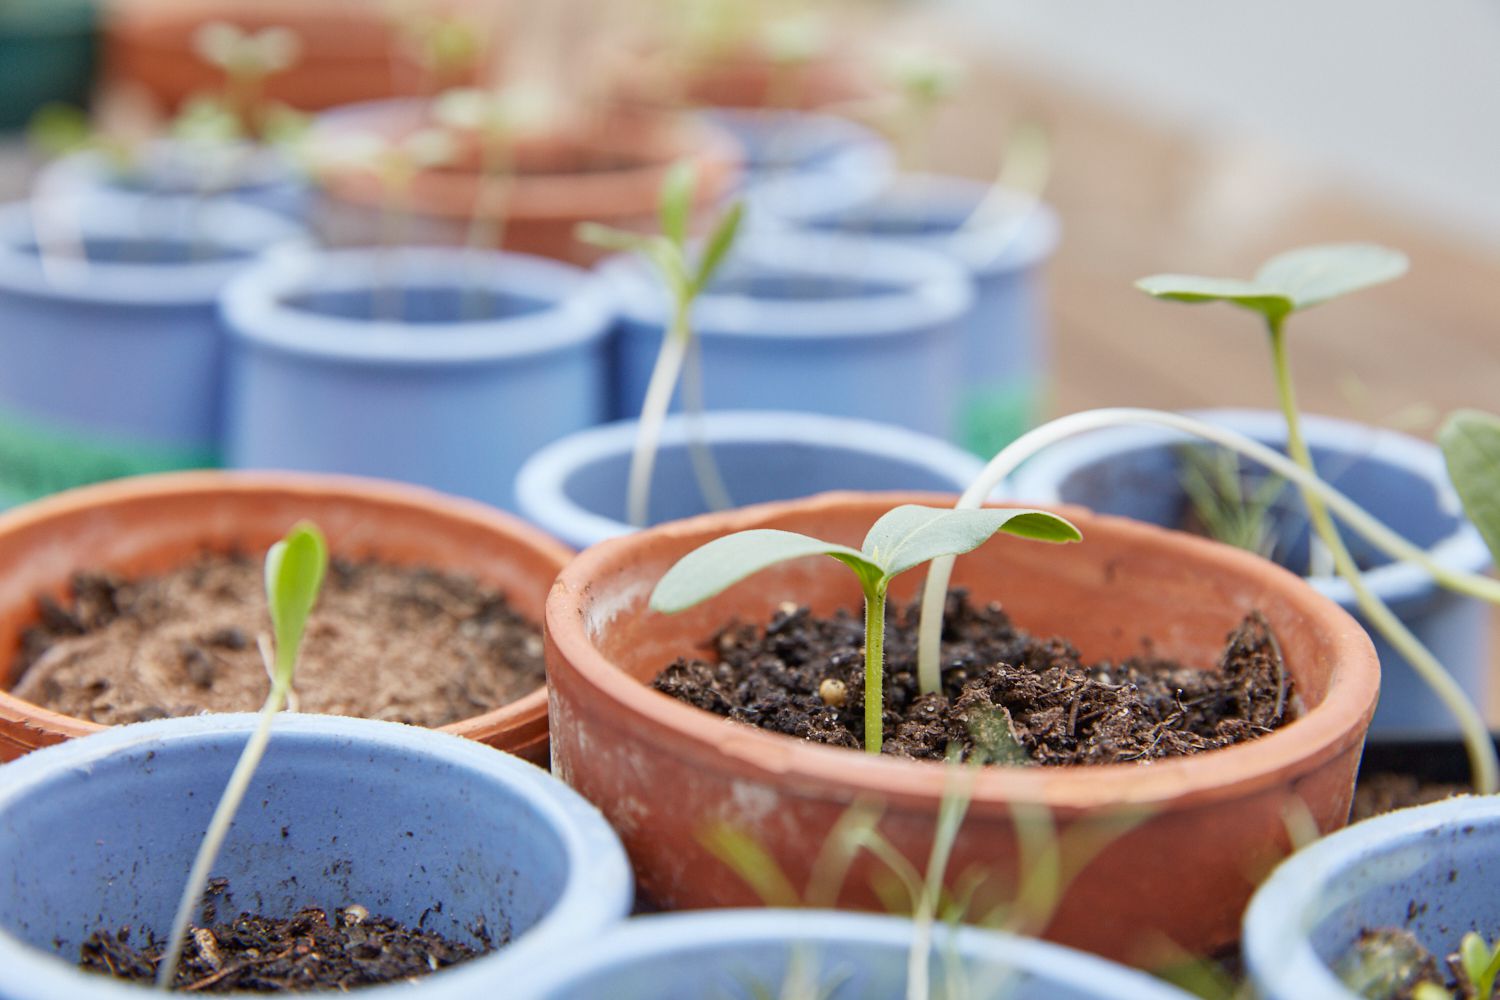
The type of container you use for your seedlings also affects their growth. Choose containers that provide adequate drainage to prevent waterlogging and promote healthy root development. Additionally, containers that allow for air circulation can help strengthen the stems and prevent damping off, a common fungal disease that affects seedlings.
Furthermore, the quality of the potting soil is crucial for seedling growth. Use a well-draining and nutrient-rich potting mix specifically formulated for seedlings. Avoid using garden soil or heavy clay soil, as they may hinder root growth and make it harder for your seedlings to establish themselves.
With a solid understanding of the natural growth process of seedlings and the factors that influence their development, you can now implement the necessary measures to optimize their growth. In the following sections, we will explore these techniques in greater detail, guiding you on how to get your seedlings to grow faster and stronger.
Providing Adequate Light
Light is one of the most critical factors in seedling growth. Adequate light ensures that your seedlings develop strong stems and healthy foliage. Without enough light, seedlings may become weak and leggy, ultimately hindering their overall growth and productivity.
When it comes to providing light for your seedlings, natural sunlight is ideal. Find a location in your home or garden where your seedlings can receive direct sunlight for at least 6 to 8 hours a day. South-facing windows are often the best option as they receive the most sunlight throughout the day.
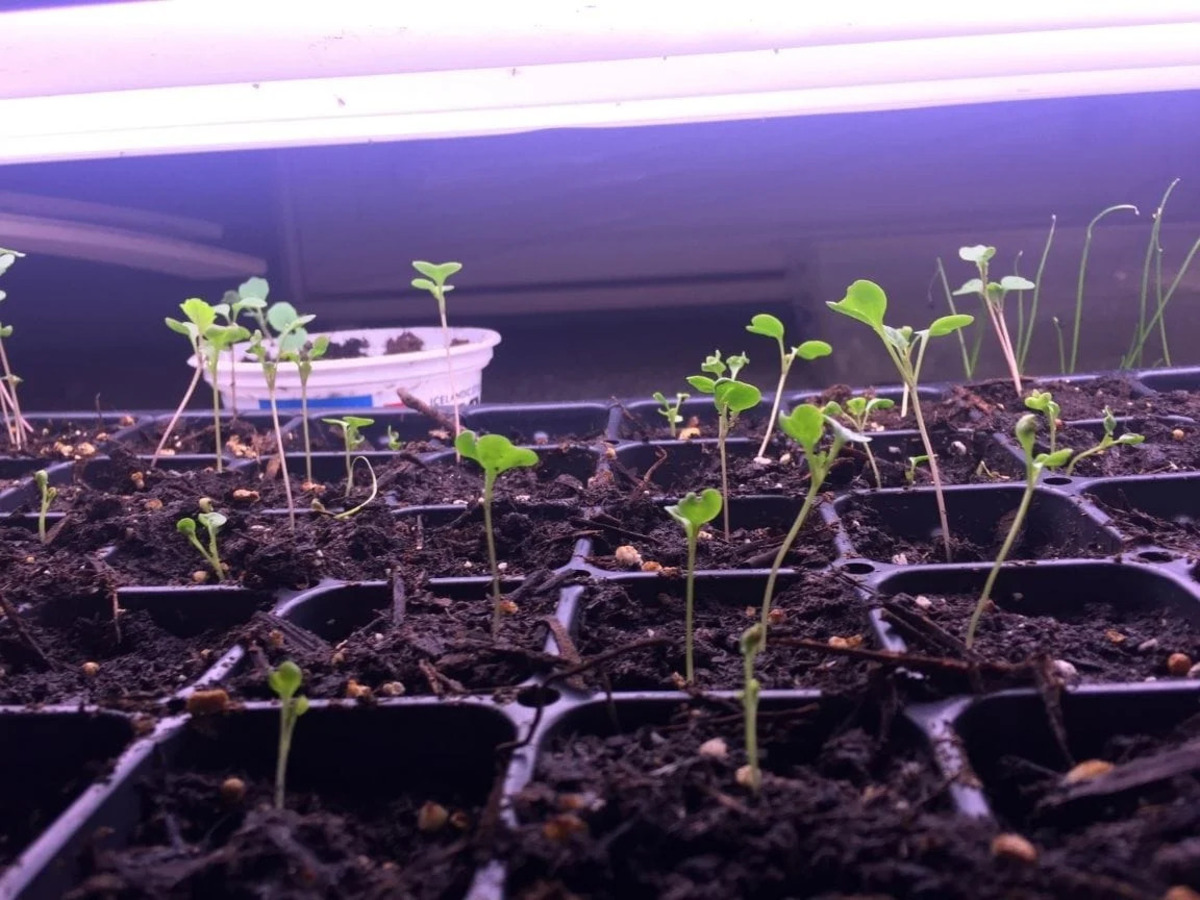
If natural sunlight is limited or not available, you can supplement it with artificial lighting. Grow lights, such as fluorescent or LED lights, are an excellent alternative to sunlight. These lights emit the full spectrum of light that plants need for optimal growth.
When positioning your lights, make sure they are close to your seedlings. The lights should be about 2 to 4 inches above the top of the plants. As the seedlings grow, adjust the height of the lights accordingly to maintain the optimal distance.
It is also important to provide a consistent light source for your seedlings. Ideally, you should provide 12 to 16 hours of light per day. Use a timer to automate the light schedule and ensure your seedlings receive the necessary amount of light each day.
Additionally, as your seedlings grow, it is crucial to rotate them regularly. This helps prevent them from leaning towards the light source, ensuring even growth and sturdy stems.
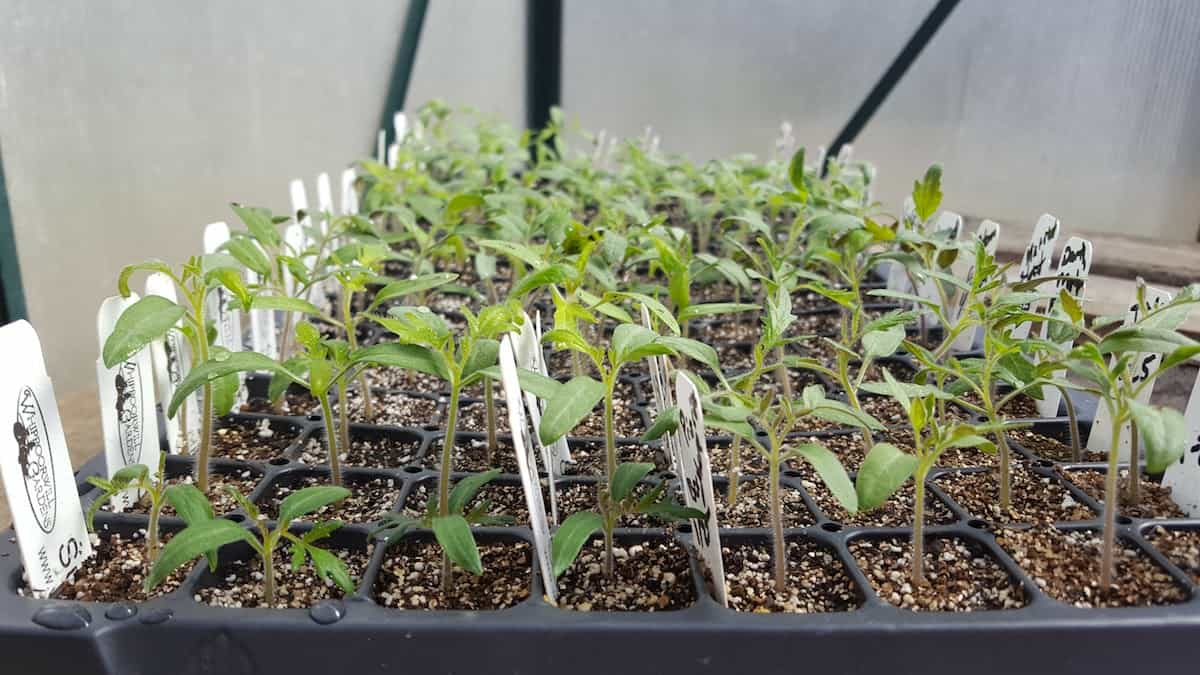
Remember, different plants have different light requirements. Some plants, such as tomatoes and peppers, require more light than others. Research the specific light needs of the plants you are growing to provide them with the appropriate intensity and duration.
By providing adequate light to your seedlings, whether through natural sunlight or artificial lighting, you will promote strong and healthy growth. Your seedlings will develop into robust plants ready for transplantation, setting the foundation for a successful edible garden.
Managing Temperature and Humidity
Temperature and humidity are key factors that significantly influence seedling growth and development. Providing the optimal conditions for your seedlings ensures their health, vigor, and faster growth.
Most seedlings thrive in temperatures between 65°F and 75°F (18°C to 24°C). Maintaining a consistent temperature within this range helps facilitate proper metabolic processes and growth. If temperatures are too low, seedlings may become sluggish and prone to diseases. On the other hand, if temperatures are too high, seedlings can become stressed and wilt.
To manage temperature, consider utilizing a seedling heat mat. This mat provides gentle bottom heat, promoting root development and maintaining an ideal temperature for seed germination and growth. Place the heat mat beneath your seed trays or pots and adjust the temperature to the recommended range for the specific plant species.
In addition to temperature, humidity also plays a crucial role in seedling growth. Adequate humidity helps prevent seedlings from drying out and promotes healthy foliage development. Consistently dry air can lead to stunted growth and increased susceptibility to pests and diseases.
One effective way to increase humidity is by using a humidity dome or cover. These covers trap moisture around the seedlings, creating a microclimate with higher humidity levels. Remove the cover once the seedlings have established, as excessive humidity can lead to fungal diseases.
If the air in your indoor growing space is too dry, consider using a humidifier to increase moisture levels. A small tabletop humidifier or even a tray filled with water placed near the seedlings can provide the necessary humidity.
On the other hand, if the air is too humid and stagnant, you can introduce air circulation using a fan. The gentle movement of air helps prevent mold and fungal growth and strengthens the stems of your seedlings.
Remember to monitor both temperature and humidity regularly, as they can fluctuate throughout the day and night. Use a thermometer and hygrometer to gauge the conditions accurately and make adjustments as needed to maintain the ideal environment for your seedlings.
By managing temperature and humidity levels appropriately, you create an optimal growing environment for your seedlings. This fosters healthy growth, ensuring that your seedlings develop into strong plants ready for transplantation into the garden.
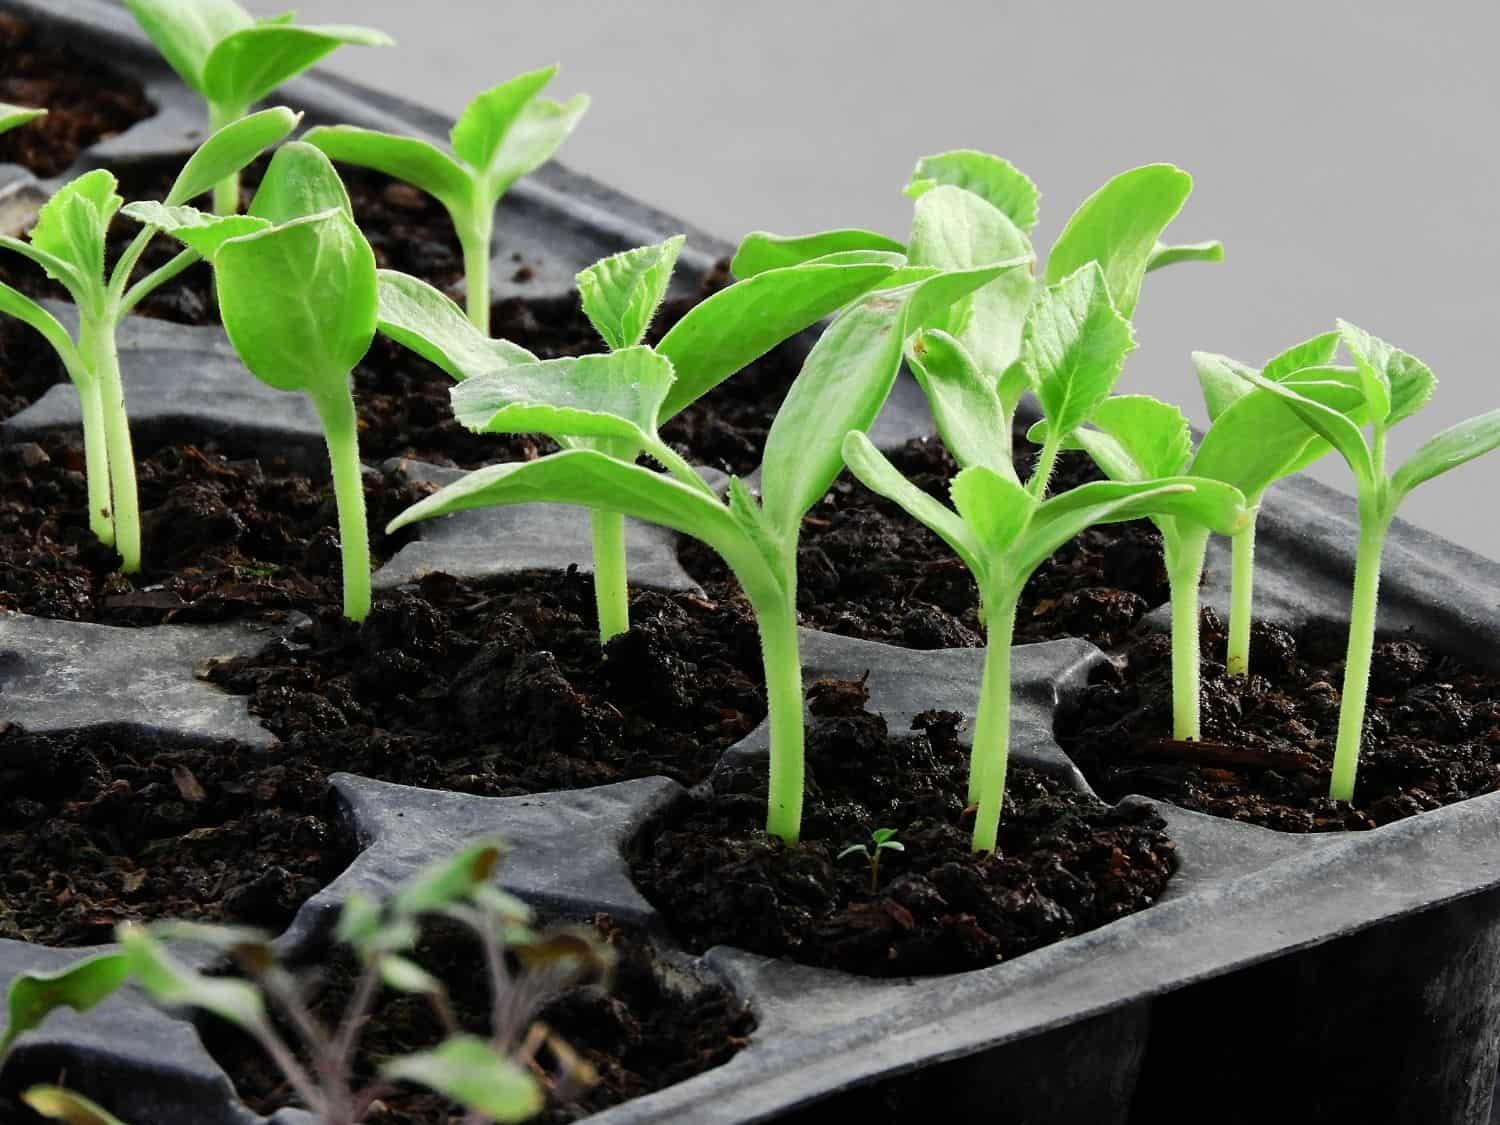
Choosing the Right Containers
When it comes to growing seedlings, choosing the right containers is essential for their successful growth and development. The containers you select impact factors such as drainage, airflow, and root development— all of which play a crucial role in ensuring healthy and robust seedlings.
Firstly, it’s important to choose containers with adequate drainage. Proper drainage prevents waterlogging, which can lead to root rot and hinder seedling growth. Look for containers with drainage holes at the bottom to allow excess water to escape. Alternatively, you can use trays with raised platforms or insert a layer of gravel at the bottom of the container to facilitate drainage.
Airflow is another critical consideration. Seedlings need fresh air circulation to strengthen their stems and prevent diseases such as damping off. Opt for containers with ventilation holes or gaps that allow air to flow through the plants. This will promote healthy growth and help your seedlings develop sturdy stems.
The size of the container also matters. Seedlings need enough space for their roots to grow and expand. If the container is too small, the roots can become crowded, leading to stunted growth. On the other hand, if the container is too large, excess soil can stay moist for longer periods, increasing the risk of root diseases. Choose containers that are appropriate for the size of your seedlings, allowing adequate room for root development without excess soil.
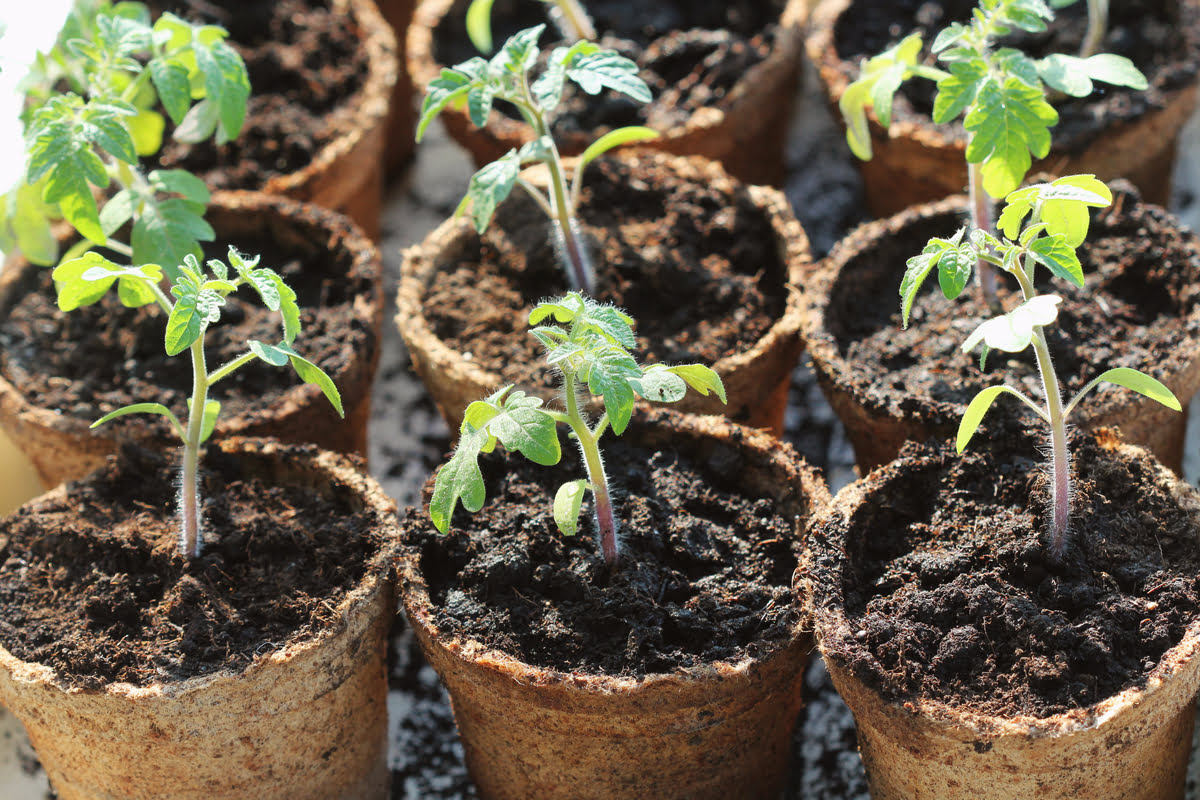
Consider using biodegradable pots, such as peat pots or coconut coir pots. These types of containers can be planted directly into the ground, minimizing transplant shock and disturbance to the seedlings’ roots. The pots will break down over time, providing organic matter to the soil.
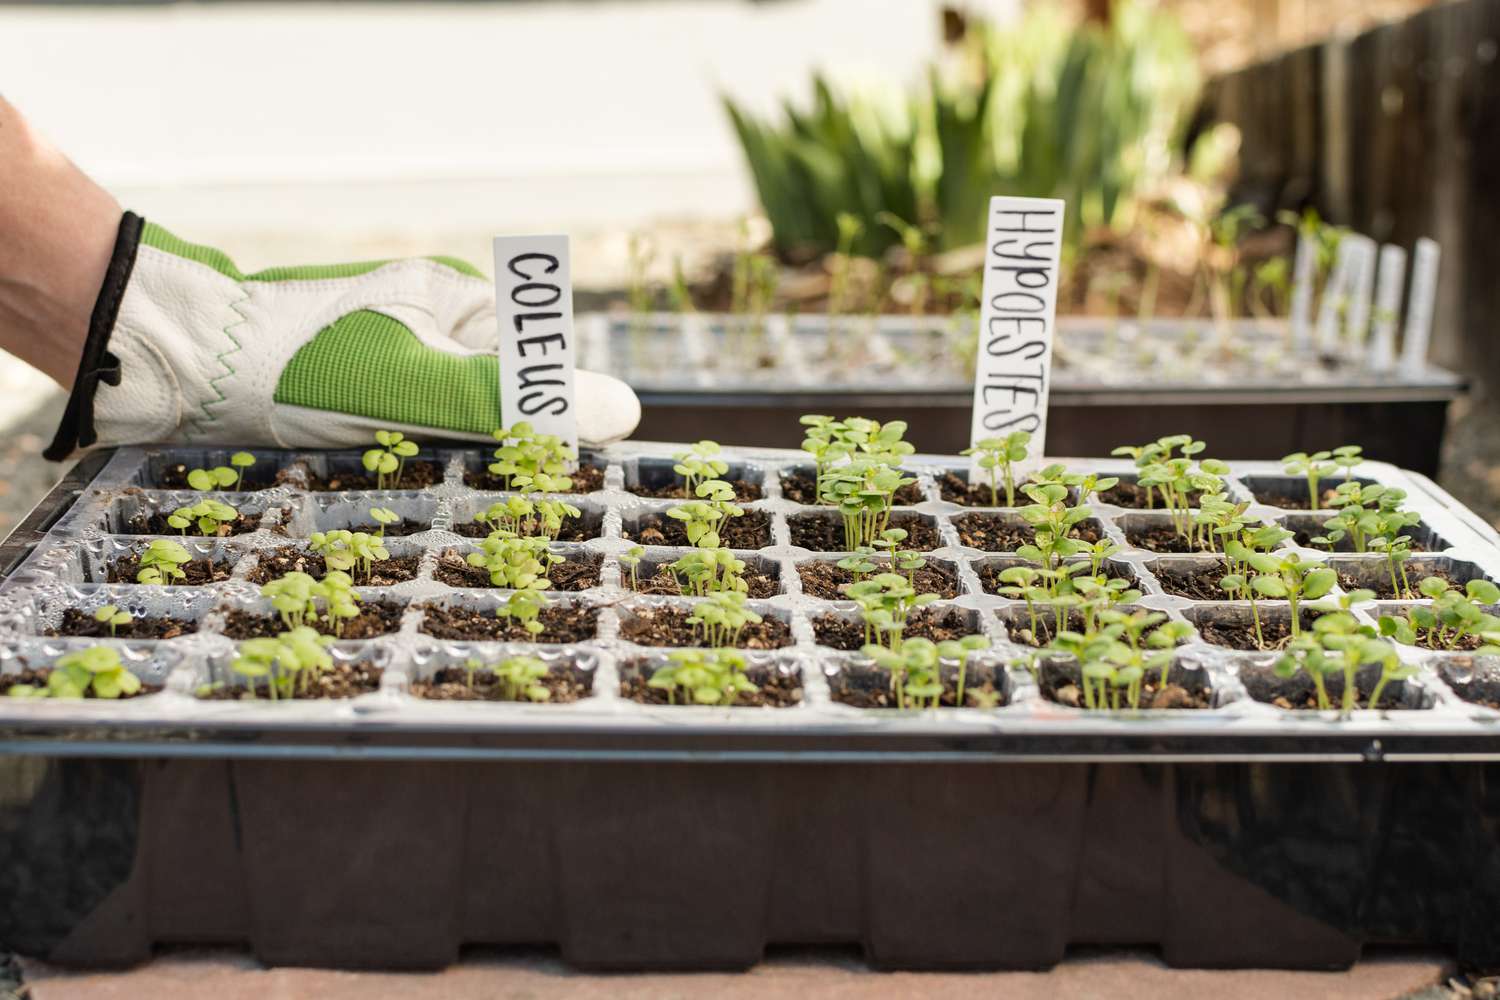
Another option is to use seedling trays or cells with individual compartments. These trays provide separate spaces for each seedling, preventing root entanglement and promoting healthy growth. Seedling trays can be made of plastic or biodegradable materials and are suitable for bulk planting or starting multiple types of seedlings in a compact space.
Remember to sterilize your containers before use to eliminate any potential pathogens and ensure a clean environment for your seedlings. Wash the containers with warm, soapy water and rinse them thoroughly. Alternatively, you can soak them in a solution of 1 part bleach to 10 parts water for 10-15 minutes, then rinse well before use.
By choosing the right containers for your seedlings, you provide them with the ideal growing environment. Proper drainage, airflow, and appropriate sizing support healthy root development and contribute to successful seedling growth. Take the time to select the right containers, and you’ll set the stage for thriving seedlings ready for transplantation.
Using High-Quality Potting Soil
The type of potting soil you choose for your seedlings can significantly impact their growth and overall health. High-quality potting soil provides the necessary nutrients, aeration, and moisture retention for proper seedling development.
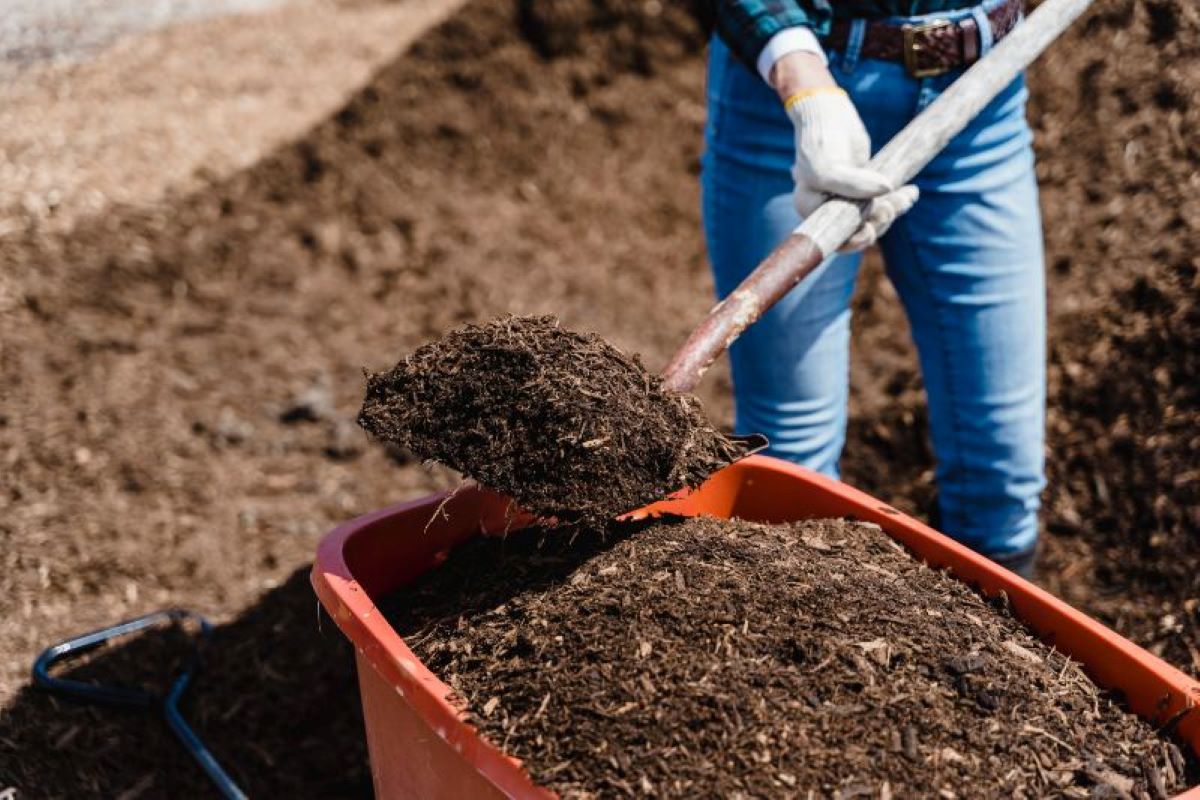
When selecting potting soil, opt for a well-draining and lightweight mix specifically formulated for seedlings. Avoid using garden soil or heavy clay soil as they can compact easily, restricting root growth and water penetration. Look for a potting mix that contains a blend of organic materials such as peat moss, coconut coir, or compost, which provide essential nutrients and improve soil structure.
A particle size that allows for good airflow is crucial. Fine-textured potting soil can become dense and hinder root development and water drainage. Choose a potting mix with medium-sized particles to facilitate root growth and aeration.
Additionally, high-quality potting soil should have good moisture retention capabilities. It should hold enough water to provide adequate hydration for the seedlings, but also drain excess water to prevent waterlogging and root rot. Test the moisture retention of the potting soil by squeezing a handful – it should feel slightly damp but should not be dripping wet.
Some commercially available potting soils are pre-mixed with slow-release fertilizers, which can provide a nutrient boost for your seedlings. However, it’s important to remember that seedlings have delicate root systems and can be sensitive to excessive fertilizer. If the potting soil contains a pre-mixed fertilizer, monitor the seedlings closely for any signs of nutrient burn and adjust your fertilization regimen accordingly.
Ensure that the potting soil is sterilized or certified pest and disease-free. Sterilized soil helps minimize the risk of introducing pathogens that can harm your seedlings. If you’re using your own homemade potting soil, consider sterilization methods such as baking it in the oven or microwaving it to kill any potential pests or diseases.
As your seedlings grow, they will require additional nutrients to support their development. Begin fertilizing with a balanced, water-soluble fertilizer once the seedlings have established their second set of true leaves. Follow the recommended dosage instructions on the fertilizer packaging and avoid over-fertilizing, as this can burn the roots and hinder growth.
By using high-quality potting soil, you provide your seedlings with a healthy growing medium that promotes proper root development, moisture retention, and nutrient availability. Take the time to select the right potting soil, and you’ll set the stage for thriving and vigorous seedlings ready for transplantation into your garden.
Watering Techniques
Proper watering is essential for the healthy growth of seedlings. While it may seem simple, knowing when and how to water your seedlings can make a significant difference in their overall development.
The key to watering seedlings is to keep the soil consistently moist, but not soggy. Overwatering can lead to root rot and other moisture-related diseases, while underwatering can cause drought stress and stunted growth.
When watering seedlings, it’s best to use a gentle and fine misting nozzle or sprayer. This helps prevent soil disturbance and avoids dislodging the delicate seedlings. Start by moistening the soil surface evenly, allowing the water to penetrate into the root zone. Avoid excess water pooling on the surface or in the saucer beneath the container, as it can lead to overwatering.
Pay attention to the moisture level of the soil by inserting your finger about an inch into the soil. If it feels dry at that depth, it’s time to water. However, if the soil feels damp, you can hold off on watering for a little longer. Consistently check the moisture level to gauge when to water, as it can vary depending on factors such as temperature and humidity.
It’s important to note that different plants have different water requirements. Some plants may prefer slightly drier conditions, while others may need more frequent watering. Research the specific watering needs of the plants you are growing to ensure you provide them with the appropriate amount of water.
Another watering technique to consider is bottom watering. This involves placing your seedling containers in a shallow tray filled with water and allowing the soil to absorb the moisture from the bottom. Bottom watering helps promote healthy root growth by encouraging roots to reach down into the soil. It also minimizes the risk of soil splashing onto the leaves, reducing the chances of fungal diseases.
One common mistake to avoid is overwatering your seedlings. It’s better to slightly underwater and adjust as needed rather than overwater and risk root rot. Over time, you will develop a sense of the watering needs of your specific plants and containers.
Lastly, it’s important to note that as your seedlings grow, their water requirements may change. Pay attention to any signs of drought stress, such as wilting or yellowing leaves, and adjust your watering accordingly. Also, consider adjusting the frequency and amount of water as the seedlings mature and their root systems develop.
By mastering proper watering techniques, you provide your seedlings with the moisture they need for healthy growth. Consistent moisture levels ensure strong root development, vibrant foliage, and robust seedlings ready for transplantation.
Fertilizing Seedlings
Fertilizing your seedlings is an important aspect of their growth and development. While potting soil provides initial nutrients, additional fertilization ensures that your seedlings have the necessary nutrients for robust growth and healthy foliage.
Before starting to fertilize, it’s important to note that young seedlings have delicate roots and can be sensitive to excessive fertilizer. It’s crucial to follow the recommended dosage instructions on the fertilizer packaging and avoid over-fertilization, as this can lead to nutrient burn and hinder growth.
When choosing a fertilizer for seedlings, look for a balanced, water-soluble fertilizer specifically formulated for young plants. These fertilizers contain essential nutrients, including nitrogen (N), phosphorus (P), and potassium (K), which support overall plant growth and development.
Start fertilizing your seedlings once they have established their second set of true leaves. At this stage, they have exhausted most of the nutrients present in the potting soil. Dilute the fertilizer following the package instructions, and apply it to the soil around the base of the seedlings. Avoid getting the fertilizer directly on the foliage, as it can cause leaf burn.
As your seedlings continue to grow, you may need to fertilize them periodically to sustain their nutrient needs. This can be done every two to three weeks, or as recommended for the specific fertilizer brand. Always monitor your seedlings for any signs of nutrient deficiencies, such as yellowing leaves or slow growth, and adjust your fertilization schedule accordingly.
Organic fertilizers, such as compost or worm castings, can also be used to nourish your seedlings. These natural fertilizers provide a slow-release of nutrients, enrich the soil, and improve overall plant health. Apply organic fertilizers following the recommended dosages on the product packaging.
It’s important to note that every plant has different nutrient requirements. Some plants, like leafy greens, prefer higher nitrogen levels, while fruiting plants may require a higher phosphorus and potassium ratio. Research the specific fertilization needs of the plants you are growing to ensure they receive the appropriate nutrients.
In addition to fertilizers, incorporating organic matter into the potting soil can provide long-term nutrient benefits. Adding compost, well-rotted manure, or organic amendments to the soil before planting enhances its fertility and supports healthy seedling growth.
Remember to always water your seedlings well after fertilization to ensure proper nutrient uptake. Keep an eye out for any signs of over-fertilization or nutrient deficiencies, and make adjustments as necessary to ensure your seedlings are receiving the optimal nutrient balance for vigorous growth.
By fertilizing your seedlings appropriately, you provide them with the essential nutrients necessary for healthy growth and development. Regular fertilization ensures that your seedlings have a strong foundation, setting them up for success as they continue to flourish.
Pruning and Thinning
Pruning and thinning are important techniques for promoting healthy growth and maximizing the potential of your seedlings. When done correctly, pruning and thinning help improve airflow, prevent overcrowding, and redirect energy towards essential parts of the plant.
Pruning involves the selective removal of certain parts of the plant, such as branches, leaves, or flowers. It helps shape the plant, remove damaged or diseased parts, and encourage stronger and more productive growth.
When it comes to seedlings, pruning is primarily focused on removing the lower leaves or cotyledons as the plant develops. These lower leaves can hinder airflow and create a favorable environment for diseases. By removing them, you allow more air circulation and prevent moisture buildup on the soil surface.
Use clean and sterilized pruning shears or scissors when pruning your seedlings. This helps minimize the risk of spreading diseases from one plant to another. Make clean cuts just above the main stem or branch junction, leaving a small portion of the leaf or stem intact.
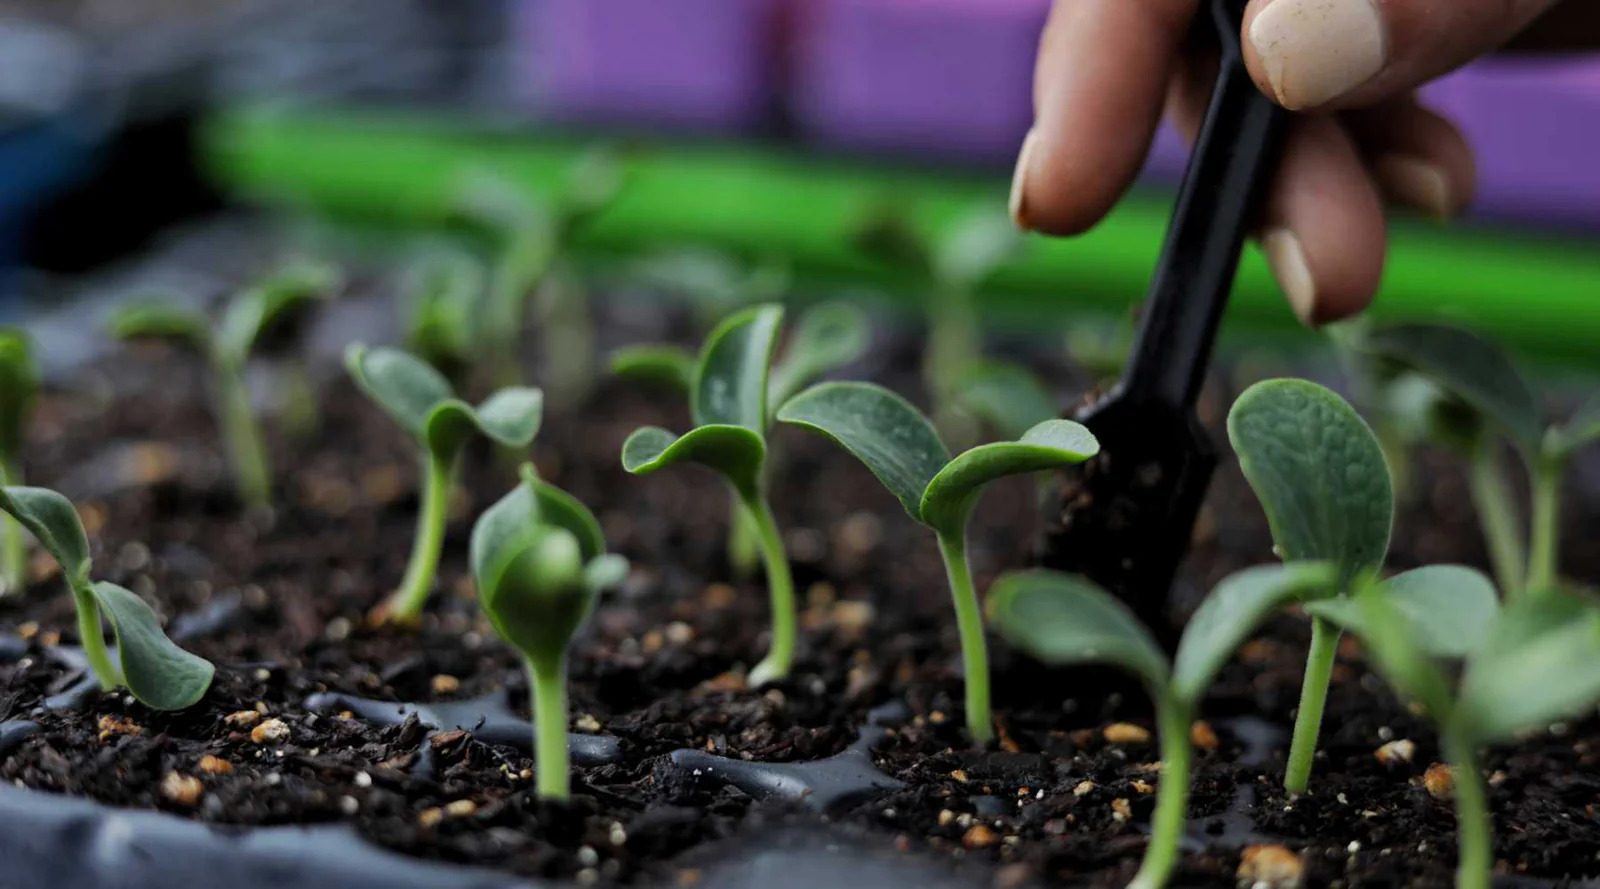
Thinning, on the other hand, involves removing excess seedlings or seedlings that are weak or not growing well. Overcrowding can lead to competition for nutrients, light, and space, resulting in stunted growth for all the seedlings involved. By thinning out the weaker or excess seedlings, you provide more resources for the remaining ones and allow them to grow stronger.
When thinning, choose the healthiest and most vigorous seedlings to keep. Gently pull out the weaker seedlings from the soil, being careful not to disturb the roots of the remaining seedlings. Provide enough space between the remaining seedlings to allow for proper airflow and future growth.
Timing is crucial when it comes to pruning and thinning. Start pruning once your seedlings have a few sets of true leaves, usually after the cotyledons (the first seed leaves) have fully developed. Thin out your seedlings when they are still in the early stages of growth, as it becomes more challenging to remove them once they become more established.
Regularly examine your seedlings for any signs of crowding or weak growth, and adjust your pruning and thinning practices accordingly. It’s important to strike a balance between removing enough foliage and seedlings to encourage optimal growth while still maintaining adequate foliage for photosynthesis.
By incorporating pruning and thinning into your gardening routine, you create an environment that encourages strong and healthy seedling growth. Proper airflow, reduced disease risks, and optimal resource allocation will result in more vigorous and productive plants as they continue to mature.
Preventing Pests and Diseases
Pests and diseases can cause significant damage to your seedlings if left unchecked. Prevention is key when it comes to keeping your young plants healthy and vigorous. By implementing a few strategies, you can create an environment that is less hospitable to pests and diseases, ensuring the well-being of your seedlings.
One of the most effective ways to prevent pests and diseases is by maintaining proper cleanliness and hygiene in your garden area. Remove any plant debris, fallen leaves, or decaying material that can harbor pests or serve as a breeding ground for diseases. Regularly inspect your seedlings for any signs of pests or diseases, such as chewed leaves, discoloration, or wilting.
Another preventive measure is practicing good crop rotation. Avoid planting seedlings of the same plant family in the same location every year. Rotating your crops helps disrupt the life cycles of pests and diseases that are specific to certain plant families, reducing their chances of establishing themselves in your garden.
Creating a physical barrier around your seedlings can help deter pests. Use row covers or nets to keep insects and animals away from your young plants. These barriers allow air and light to pass through while keeping unwanted visitors at bay. Be sure to secure the edges of the covers tightly to prevent any pests from finding their way in.
Companion planting is another effective method to prevent pests. Some plants naturally repel pests or attract beneficial insects that keep pest populations under control. For example, planting marigolds alongside your seedlings can deter aphids, while attracting ladybugs that feed on these pests. Research companion plants specific to the crops you’re growing to create a natural defense against pests.
To further prevent pest infestations, use organic pest-control methods, such as neem oil, insecticidal soaps, or homemade remedies. These natural solutions help control common pests without harming beneficial insects or the environment. Follow the instructions provided and use these methods sparingly, focusing on affected areas or as a preventive measure when necessary.
Healthy seedlings are less susceptible to pests and diseases, so maintaining optimal growing conditions is essential. Provide your seedlings with adequate light, proper watering, and nutrient-rich soil. Strong and healthy seedlings are better equipped to withstand pest attacks and recover from diseases.
Frequent monitoring of your seedlings is crucial. Regularly inspect your plants for any signs of pests, diseases, or abnormal growth. Early detection allows for prompt action, reducing the impact and spread of any potential problems.
Incorporating these preventative measures into your gardening routine will help create a resilient and thriving environment for your seedlings. By focusing on prevention, you can minimize the need for more aggressive pest control methods and promote the long-term health and productivity of your plants.
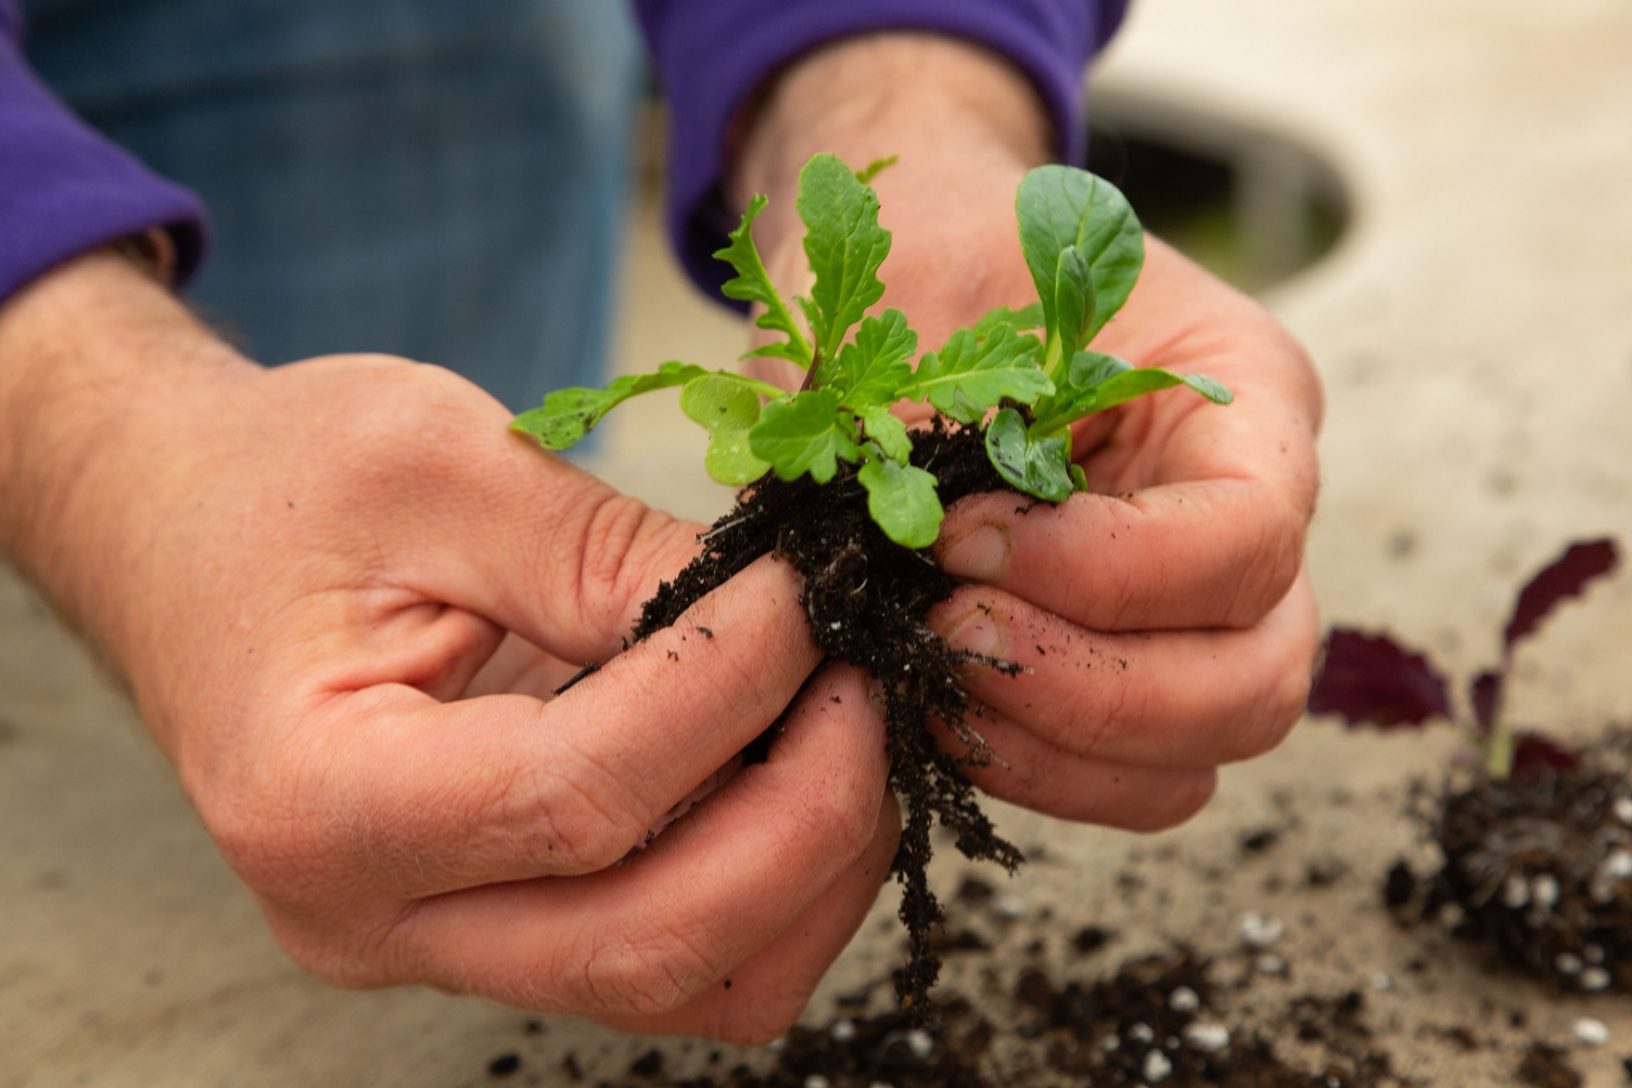
Transplanting Seedlings
Transplanting seedlings is a critical step in the growth process, as it involves moving young plants from their initial containers to their permanent garden location. Careful handling and timing are crucial to minimize transplant shock and ensure that your seedlings continue to thrive after being moved to their new environment.
Timing is important when it comes to transplanting seedlings. It’s generally best to wait until the seedlings have developed several sets of true leaves and strong root systems. This indicates that the seedlings are mature enough to handle the stress of transplanting. Transplanting too early can lead to stunted growth and increased vulnerability to diseases and pests.
Prior to transplanting, it’s essential to prepare the planting area. Clear the area of any weeds or debris and amend the soil as needed to provide optimal growing conditions for the specific plants you are transplanting. Loosen the soil and remove any large clumps or rocks, ensuring a smooth transition for the seedlings.
Water the seedlings thoroughly before transplanting. This helps hydrate the roots, making it easier to remove them from their containers without causing damage. Moist soil also improves the chances of successful transplanting and reduces the risk of dehydration in the newly transplanted seedlings.
Gently remove the seedlings from their containers, being careful not to disturb the fragile roots. If the seedlings are tightly packed, use a butter knife or your fingers to gently loosen the roots before lifting them out. Avoid pulling the seedlings by their stems, as this can damage the delicate tissues.
Dig holes in the prepared planting area that are slightly larger than the root balls of the seedlings. Place the seedlings in the holes, ensuring that they are at the same depth as they were in their original containers. Gently backfill the holes with soil and lightly firm the soil around the base of the seedlings.
After transplanting, water the seedlings thoroughly to help settle the soil and remove any air pockets around the roots. This ensures good root-to-soil contact and promotes proper hydration. Provide regular watering as needed in the initial days after transplanting, making sure to keep the soil evenly moist but not waterlogged.
To protect the transplanted seedlings from the elements, you can also use temporary shading or coverings such as row covers or cloches. This helps reduce the stress on the seedlings by protecting them from excessive sun or wind exposure. Gradually acclimate the seedlings to the full sun and remove the shading as they become more established.
Monitor the transplanted seedlings closely for the first few weeks after transplanting. Keep an eye out for any signs of stress, such as wilting or yellowing leaves, and take appropriate actions, such as adjusting watering or providing additional support as needed.
By following proper transplanting techniques, you can ensure a successful transition for your seedlings from their containers to the garden. With care and attention, the transplanted seedlings will continue to grow and flourish, setting the stage for a thriving edible garden.