Home>Types of Gardening>Edible Gardening>How To Grow Seedlings
Edible Gardening
How To Grow Seedlings
Modified: February 9, 2024
Learn how to grow seedlings for your edible gardening needs. Find out the best techniques and tips to ensure successful planting and harvesting.
(Many of the links in this article redirect to a specific reviewed product. Your purchase of these products through affiliate links helps to generate commission for Chicagolandgardening.com, at no extra cost. Learn more)
Table of Contents
Introduction
Welcome to the world of edible gardening! Growing your own food can be a rewarding and fulfilling experience. Not only does it allow you to have fresh, organic produce at your fingertips, but it also connects you to nature and provides a sense of self-sufficiency.
Whether you have a backyard garden, a small balcony, or even just a sunny windowsill, you can grow your own seedlings and enjoy the excitement of watching them flourish into hearty plants that will eventually yield a bounty of delicious fruits, vegetables, and herbs.
In this article, we will explore the essential factors and techniques for successfully growing seedlings. We’ll discuss everything from choosing the right seeds and preparing the growing medium to providing adequate light, maintaining proper temperature and humidity, watering and feeding the seedlings, transplanting them into the garden, and protecting them from pests and diseases.
So, if you’re ready to embark on a journey to becoming a master gardener, put on your gardening gloves and let’s get started!
Choosing the Right Seeds
When it comes to growing seedlings, selecting the right seeds is crucial for a successful garden. Here are some important factors to consider:
- Plant Variety: Determine what types of plants you want to grow. Do you want to cultivate vibrant tomatoes, leafy greens, fragrant herbs, or colorful flowers? Consider your preferences, climate, and available space before choosing the seeds.
- Seed Quality: Opt for high-quality seeds from reputable sources. Look for seeds that are organically grown, non-GMO (genetically modified organisms), and from varieties that are known to thrive in your region. These factors play a significant role in the success and health of your seedlings.
- Seed Viability: Check the expiration date on the seed packet to ensure the seeds are still viable. Older seeds may have a lower germination rate, which can result in poor seedling development.
- Seed Germination Time: Be aware of the germination time required for each type of seed. Some seeds sprout quickly, while others take more time. If you have a short growing season or limited time, choose seeds with a faster germination rate.
- Space and Environmental Requirements: Consider the space available in your garden or containers and the environmental conditions in your region. Some plants require full sun, while others thrive in partial shade. Choose seeds that align with your specific growing conditions.
Remember, variety is the spice of life! Experiment with different plant varieties to add diversity to your garden. Additionally, consider saving seeds from your own harvest to preserve heirloom varieties and develop a deeper connection to your plants.
By carefully selecting the right seeds, you’re setting the foundation for a thriving and fruitful garden. So, take your time, do your research, and choose wisely!
Preparing the Growing Medium
The growing medium, or soil, plays a vital role in the health and development of your seedlings. It provides essential nutrients, moisture, and aeration for the plants’ roots. Here are some key steps to prepare an optimal growing medium:
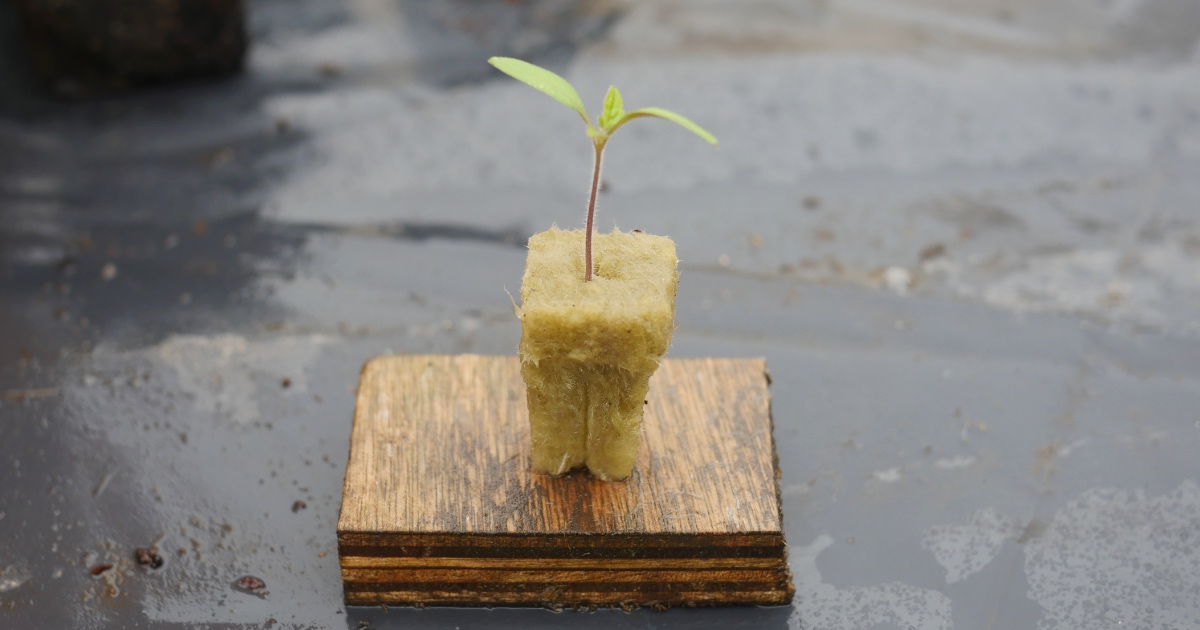
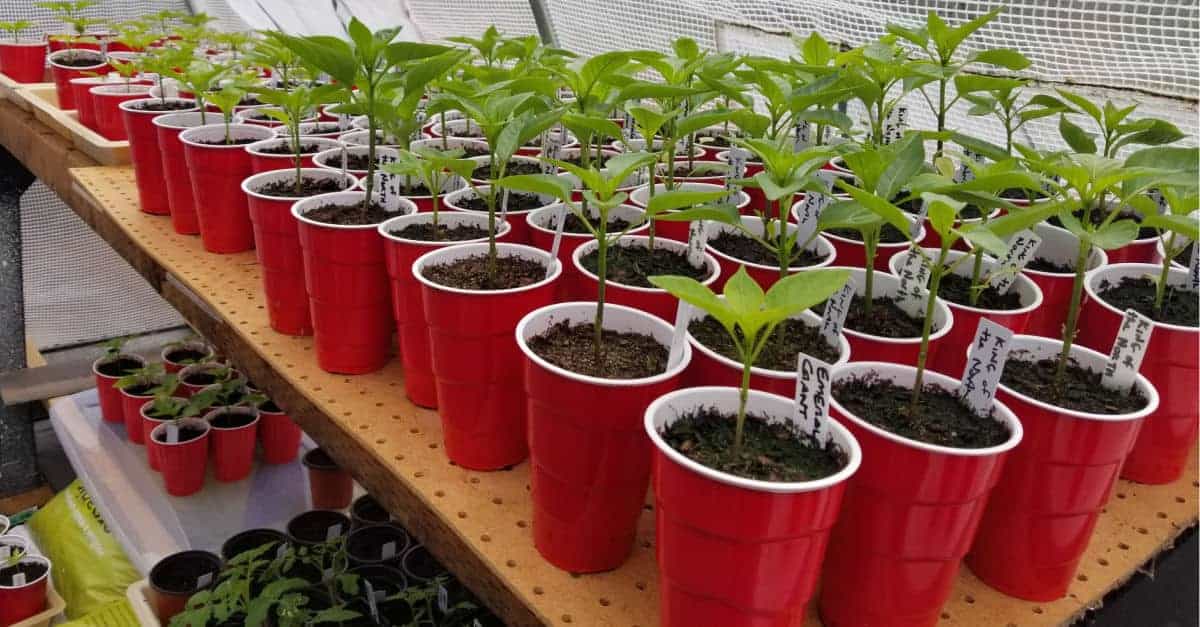
- Choose the Right Container: Select containers that are appropriate for the size of your seedlings. Use seed trays, pots, or biodegradable containers that have drainage holes to prevent waterlogged roots.
- Use a High-Quality Potting Mix: Avoid using garden soil as it can be too heavy and may contain weed seeds or diseases. Instead, choose a well-draining, sterile potting mix specifically formulated for seed starting. These mixes are light, nutrient-rich, and have good water-holding capacity.
- Add Organic Matter: Enhance the potting mix by adding organic matter such as compost, vermicompost, or well-rotted manure. Organic matter improves soil structure, adds nutrients, and promotes microbial activity, resulting in healthier seedlings.
- Mix in Perlite or Vermiculite: To improve drainage and aeration, mix in perlite or vermiculite with the potting mix. These lightweight materials help prevent soil compaction and allow roots to breathe easily.
- Ensure Proper Moisture Retention: The growing medium should be damp but not waterlogged. Before planting the seeds, moisten the potting mix thoroughly and let it drain excess water. It should be moist enough to hold together when squeezed but not dripping wet.
Preparing a high-quality growing medium sets the stage for healthy root development and strong seedling growth. It provides the foundation for your plants to thrive and produce abundant harvests. Take the time to prepare the growing medium properly, and your seedlings will thank you for it!
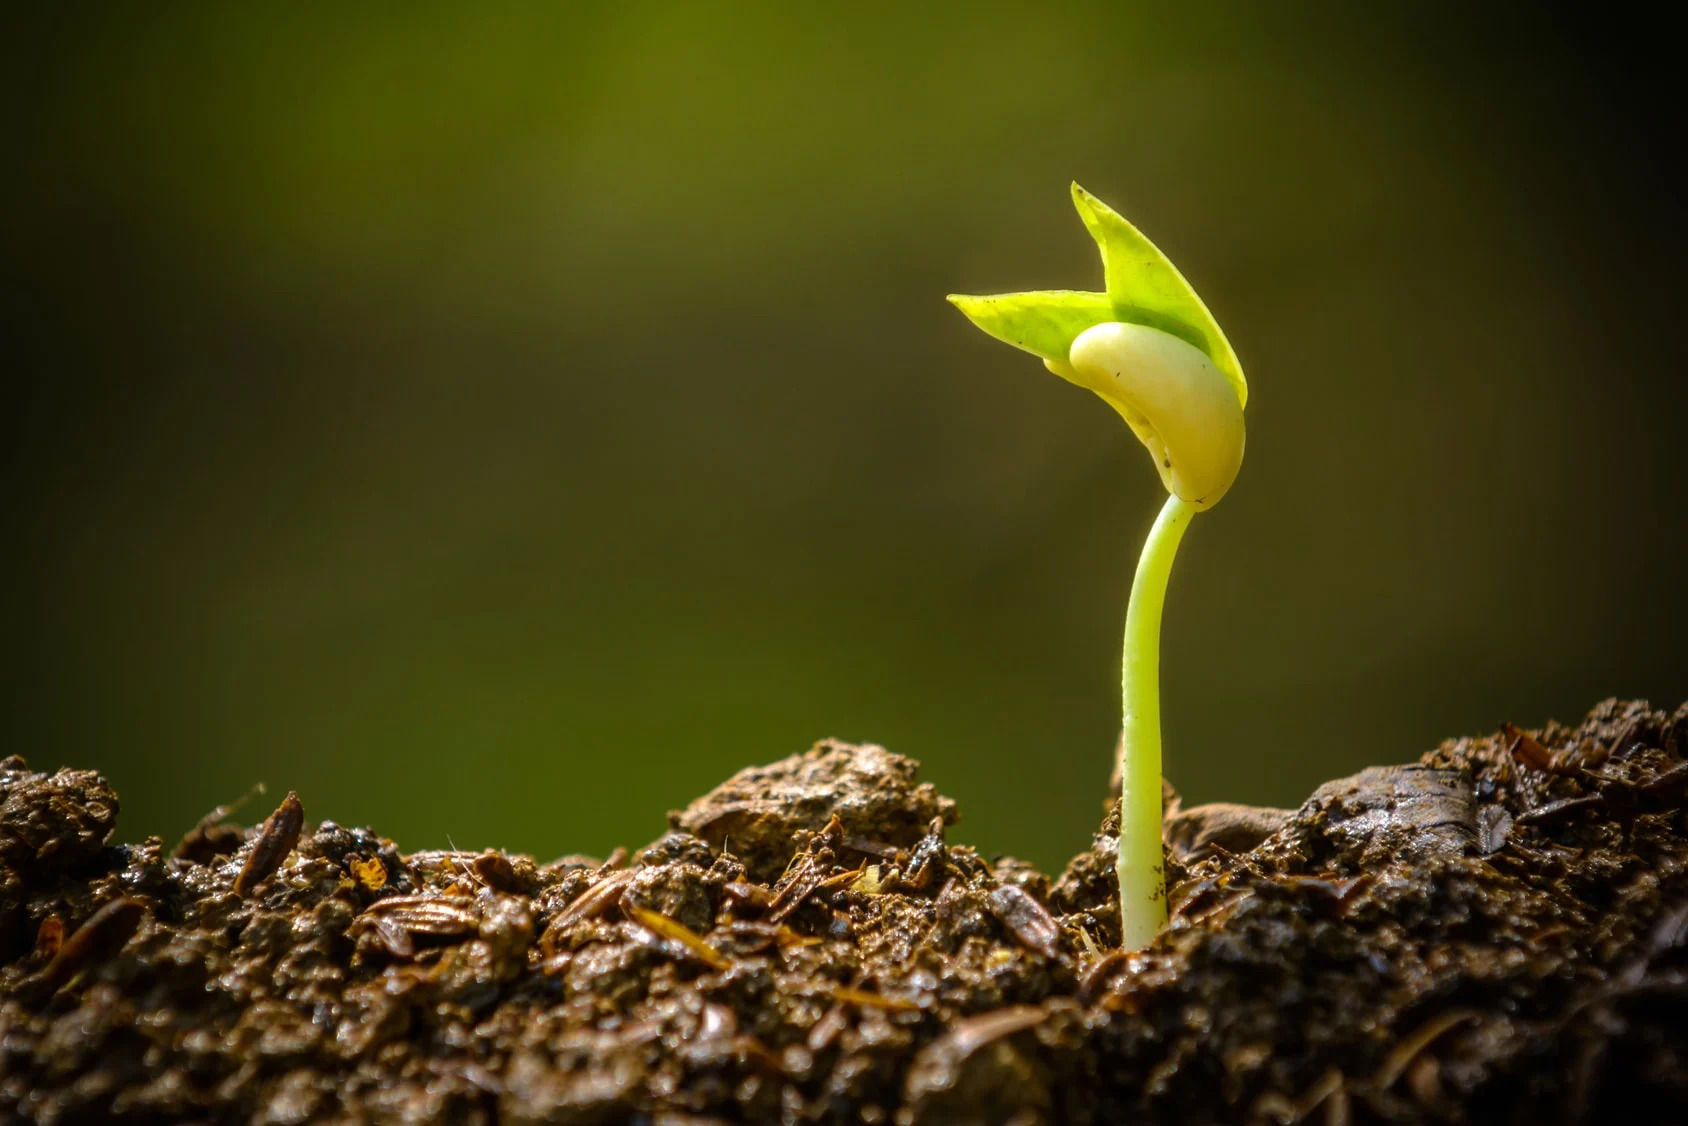
Planting the Seeds
Now that you have chosen the perfect seeds and prepared the growing medium, it’s time to plant your seeds and kickstart the growth of your seedlings. Follow these steps to ensure successful seed planting:
- Read the Seed Packet: Each seed packet contains valuable information about the specific requirements of the seeds. Read the instructions carefully for planting depth, spacing, and any other specific recommendations.
- Prepare the Seed Holes: Use your finger or a pencil to create small indentations in the growing medium according to the recommended planting depth. Generally, plant the seeds twice as deep as their width.
- Plant the Seeds: Place one or two seeds in each prepared hole. If multiple seeds are planted, thin them later to allow the strongest seedling to thrive. Gently cover the seeds with the potting mix and pat it down lightly.
- Water the Seeds: Water the seeds gently using a misting spray bottle or a watering can with a fine rose attachment. Ensure that the top layer of the potting mix is evenly moist, but be careful not to create puddles or disturb the seeds.
- Label and Track: Label your containers or seed trays with the date and the plant variety to keep track of your progress. This will help you identify and monitor the seedlings as they grow.
- Provide Proper Care: Place the planted seeds in a warm, well-lit area with consistent temperature and humidity. Monitor the moisture level in the growing medium and water as needed, keeping it consistently moist but not soggy.
Remember to be patient. Germination times can vary depending on the type of seed. Once the seeds sprout, provide them with adequate light and maintain the ideal growing conditions to ensure strong, healthy seedling growth.
By following these steps and giving your seeds the care they need, you are well on your way to growing a thriving garden filled with beautiful, delicious plants. Enjoy the process and watch as your seedlings transform into flourishing plants!
Providing Adequate Light
Light is an essential factor in the growth and development of seedlings. It provides the energy needed for photosynthesis, which is crucial for strong, healthy plants. Here’s how you can ensure your seedlings receive adequate light:
- Place Near a Window: Position your seedlings near a south-facing window where they can receive maximum sunlight. Avoid windowsills that are shaded by trees or buildings, as this can limit the amount of light the plants receive.
- Use Artificial Lighting: If you don’t have access to sufficient natural light, consider using fluorescent or LED grow lights. These lights are designed to emit the specific wavelengths needed for plant growth. Place the lights close to the seedlings, keeping them on for 12-16 hours a day to mimic natural sunlight.
- Monitor Light Intensity: Different plants have varying light requirements. Pay attention to the intensity of light your seedlings need and adjust the distance between the light source and the plants accordingly. Too much light can lead to scorched leaves, while too little light can cause weak, leggy growth.
- Rotate Seedlings: To prevent uneven growth, rotate your seedlings every few days. This ensures that all sides of the plants receive an equal amount of light and helps them grow straight and sturdy.
- Consider Light Duration: As your seedlings grow, gradually decrease the duration of light exposure to simulate the outdoor conditions they will eventually face. This will help strengthen the plants and prepare them for the transition to outdoor growing.
Remember that light is a vital component of healthy seedling development. Insufficient light can lead to leggy, weakened plants that struggle to thrive. Providing adequate light ensures strong, vigorous growth and sets the stage for successful transplanting and future yields in your garden.
By paying attention to light requirements and offering the right conditions, you’ll give your seedlings the radiant energy they need to flourish into robust, productive plants.
Maintaining Proper Temperature and Humidity
Temperature and humidity are critical factors in the successful growth of seedlings. Providing the right conditions will ensure their optimal development. Here are some tips for maintaining proper temperature and humidity:
- Temperature: Most seedlings require temperatures between 65°F and 75°F (18°C and 24°C) for optimal growth. Use a thermometer to monitor the temperature. If necessary, use a heating mat or a heat lamp to provide supplemental warmth and maintain consistent temperatures. Avoid placing seedlings in areas with extreme temperature fluctuations or drafts.
- Humidity: Seedlings benefit from higher humidity levels, which help prevent moisture loss and promote healthy growth. To increase humidity, place a tray of water near the seedlings or use a humidifier. You can also cover the seed containers or trays with plastic wrap or a humidity dome to create a mini greenhouse effect that traps moisture.
- Ventilation: Proper air circulation is important to prevent diseases and mold growth. Use a small fan set on low to provide gentle air movement around the seedlings. This also helps strengthen the stem and prepare the plants for outdoor conditions.
- Monitoring: Regularly check the temperature and humidity levels in the growing area. Keep in mind that different plants may have specific temperature and humidity requirements, so be sure to research the ideal conditions for the seeds you are growing.
- Adjusting: If the temperature or humidity levels are outside the optimal range, make adjustments as needed. Use a fan or open a window to lower temperature, or use a humidifier or misting spray to increase humidity. Maintaining a stable environment is crucial for the healthy development of seedlings.
Remember, different plants have different temperature and humidity preferences, so it’s essential to research and cater to their specific needs. Maintaining proper temperature and humidity levels will promote robust growth, reduce stress on the seedlings, and help them establish strong root systems.
By providing the right combination of temperature and humidity, you are creating a nurturing environment for the seedlings to flourish. Keep a close eye on these factors and make adjustments as necessary to ensure the health and vitality of your growing plants.
Watering and Feeding the Seedlings
Proper watering and feeding are essential for the healthy growth and development of seedlings. Consistent moisture and nutrients support robust root development and overall plant vigor. Here are some guidelines for watering and feeding your seedlings:
- Watering: Seedlings need consistent and adequate moisture. Avoid overwatering, as it can lead to root rot and other issues. Use a watering can with a fine spout or a misting spray bottle to gently water the seedlings. Water the soil evenly, making sure to moisten the entire root zone. Avoid wetting the foliage, as this can promote the growth of fungal diseases. Check the moisture level regularly by inserting your finger into the soil. If it feels dry at a depth of about an inch, it’s time to water again.
- Feeding: As the seedlings grow, they will require additional nutrients to support their development. Begin feeding them with a diluted, balanced liquid fertilizer once they have developed their first true leaves. Follow the instructions on the fertilizer packaging for the proper dilution ratio and frequency of application. As the seedlings mature, gradually increase the strength of the fertilizer. Remember to fertilize only when the plants are actively growing, and be cautious not to over-fertilize, as this can lead to nutrient burn.
- Organic Options: If you prefer organic gardening, consider using organic fertilizers or natural remedies such as compost tea or seaweed extract. These provide essential nutrients while promoting soil health and sustainability.
- Observation: Pay close attention to the water and nutrient needs of your seedlings. Different plants have varying requirements, so monitor their growth and adjust your watering and feeding routines accordingly. Beware of signs of overwatering or underwatering, such as wilting, yellowing leaves, or stunted growth.
- Timing: Water and feed your seedlings in the morning to allow the foliage to dry before the cooler evening temperatures. This reduces the risk of fungal diseases and enables the plants to absorb the nutrients efficiently.
Remember, consistency is key when it comes to watering and feeding. Strive to provide your seedlings with the right amount of water and nutrients at the appropriate times. By doing so, you’ll foster healthy and vigorous growth, setting the stage for a productive and thriving garden.
Enjoy the process of nurturing and taking care of your seedlings. With each watering and feeding session, you’re investing in the future success of your plants.
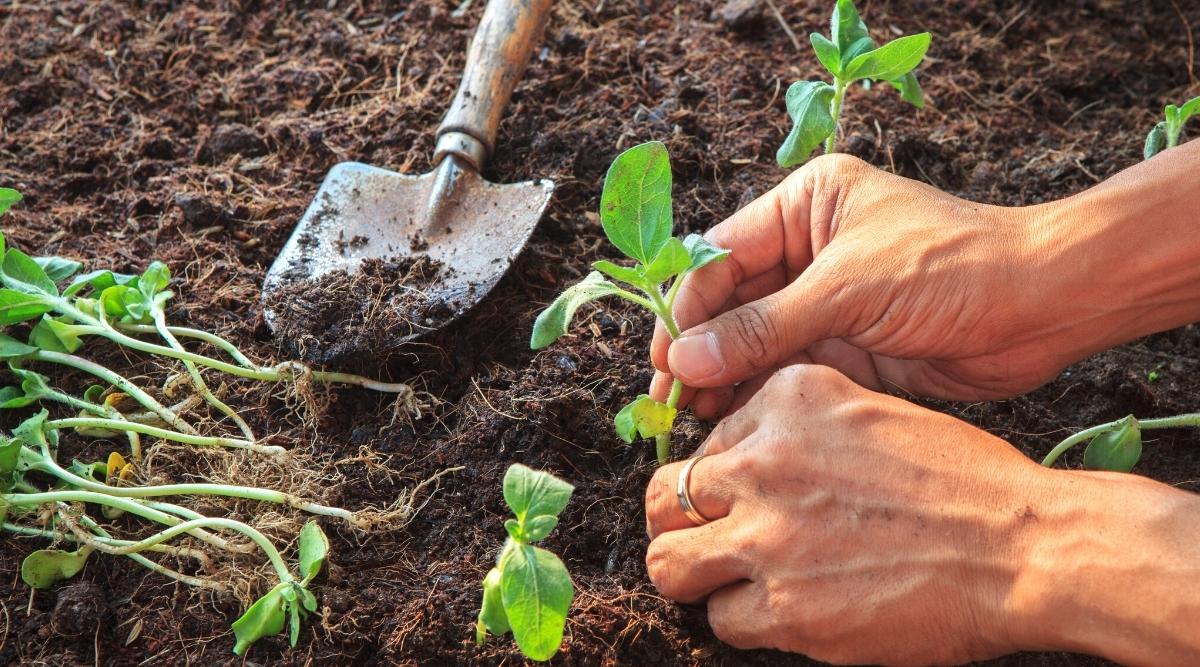
Transplanting the Seedlings
Transplanting seedlings is a crucial step in the journey of turning them into thriving plants in your garden. It’s important to wait until the seedlings are strong enough and the conditions are favorable for a successful transition. Here’s how to transplant your seedlings:
- Timing: Seedlings should be transplanted outdoors when they have developed a strong root system and when the weather conditions are suitable. The timing may vary depending on the plant variety and your specific climate. Check the recommended transplanting guidelines for each type of seedling.
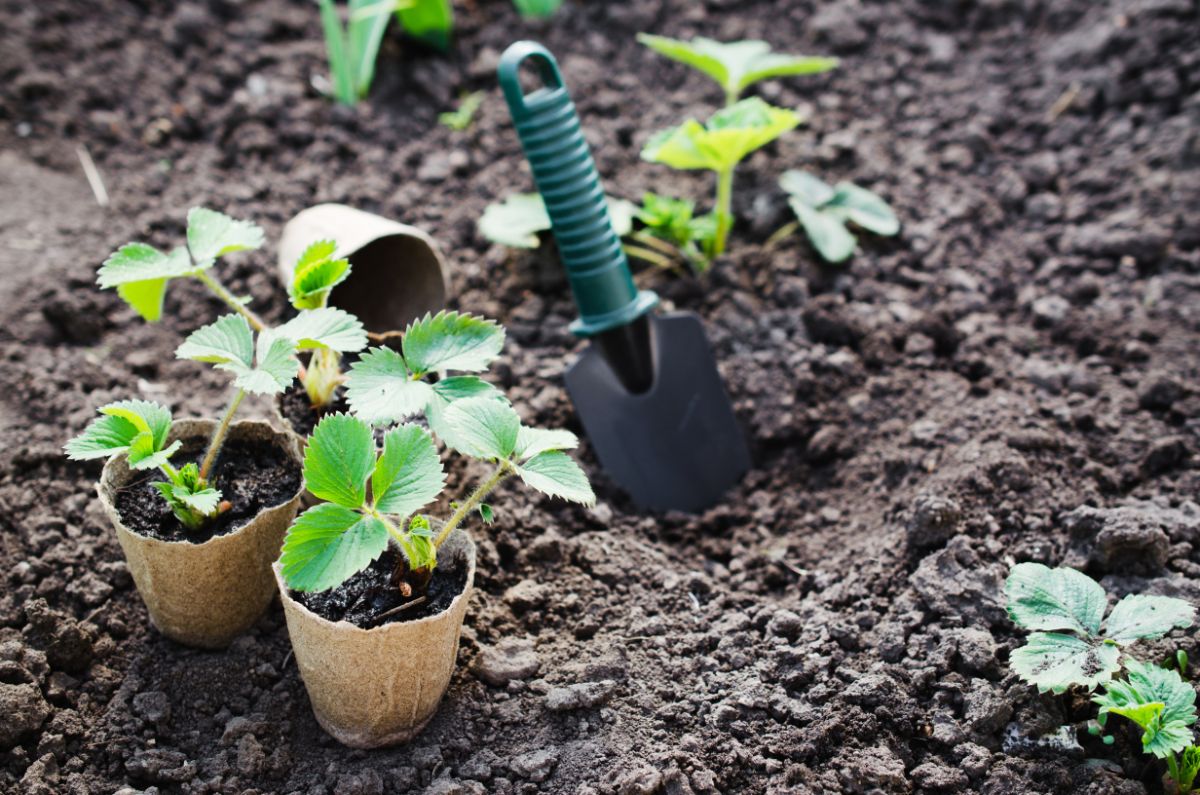
- Prepare the Soil: Choose a sunny location in your garden with well-draining soil. Remove any weeds or debris and cultivate the soil to loosen it. Add compost or well-rotted organic matter to enrich the soil and improve its structure.
- Water the Seedlings: Before transplanting, water the seedlings gently to ensure that the roots are well-hydrated. This will help minimize transplant shock and ease the transition to the new growing environment.
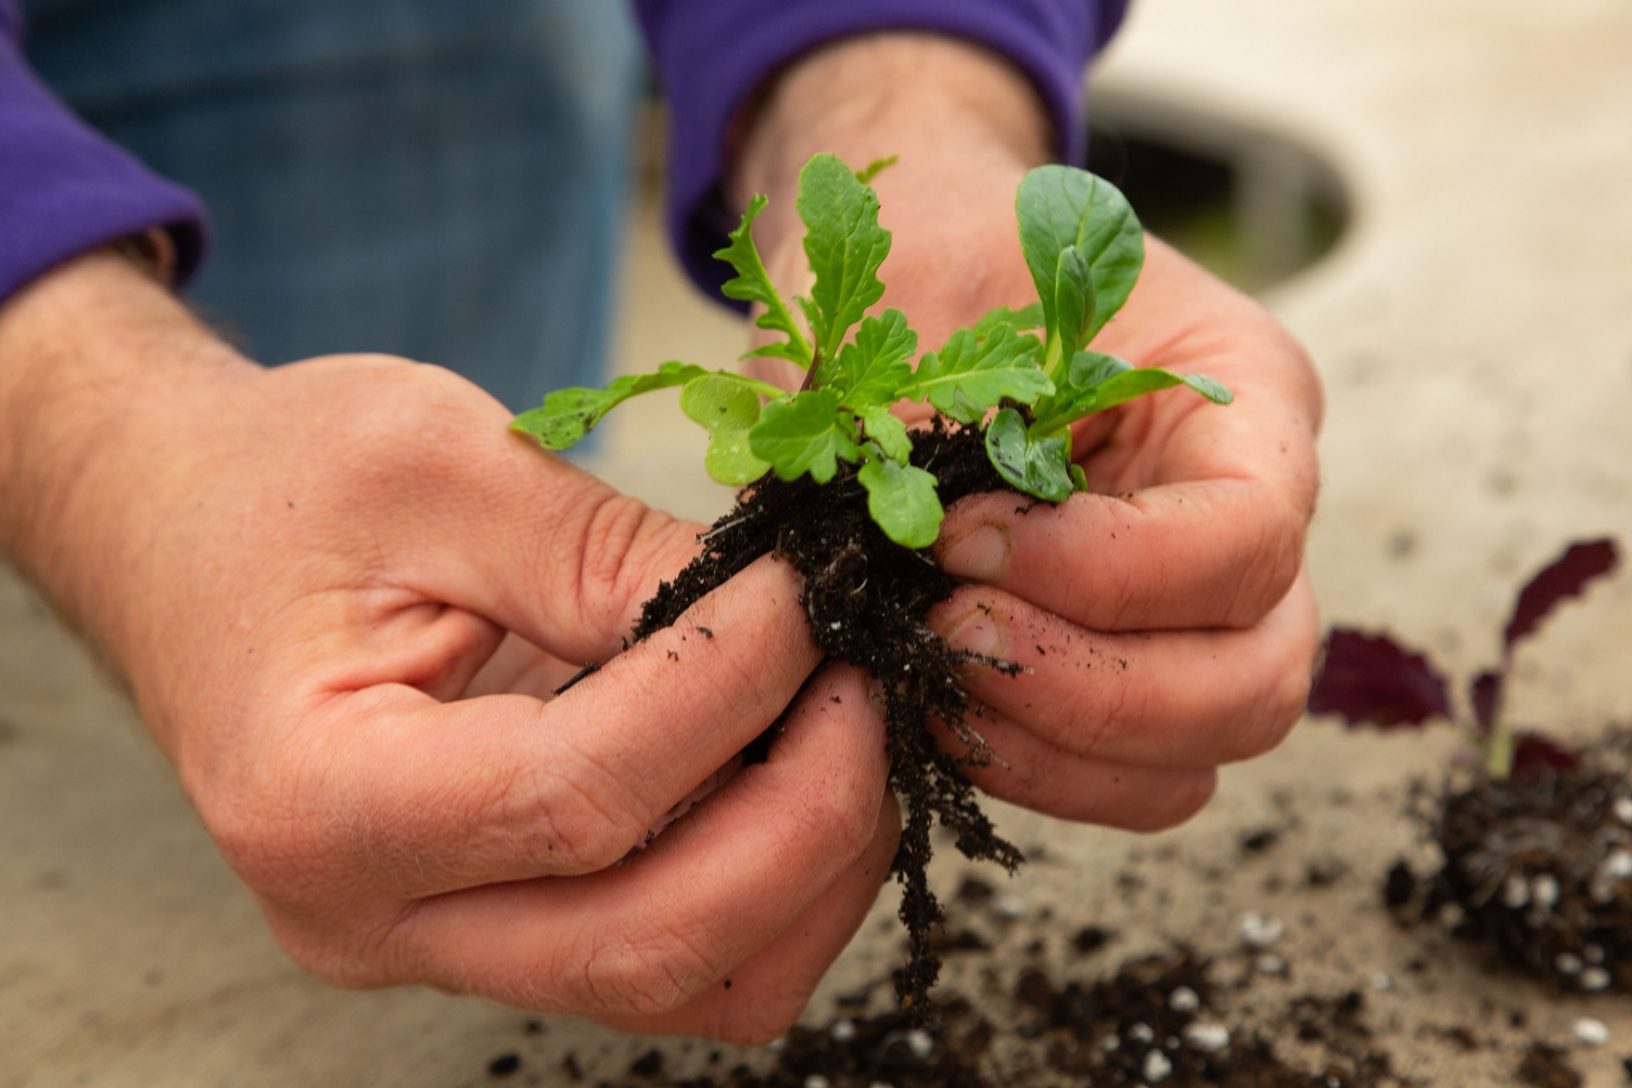
- Dig Proper Holes: Dig holes in the garden bed that are slightly larger than the root ball of the seedlings. Gently remove the seedlings from their containers, taking care not to damage the delicate roots.
- Planting: Place the seedlings in the prepared holes, making sure that the soil level is the same as it was in the containers. Gently fill the holes with soil and firmly press down around the base of the seedlings to secure them in place.
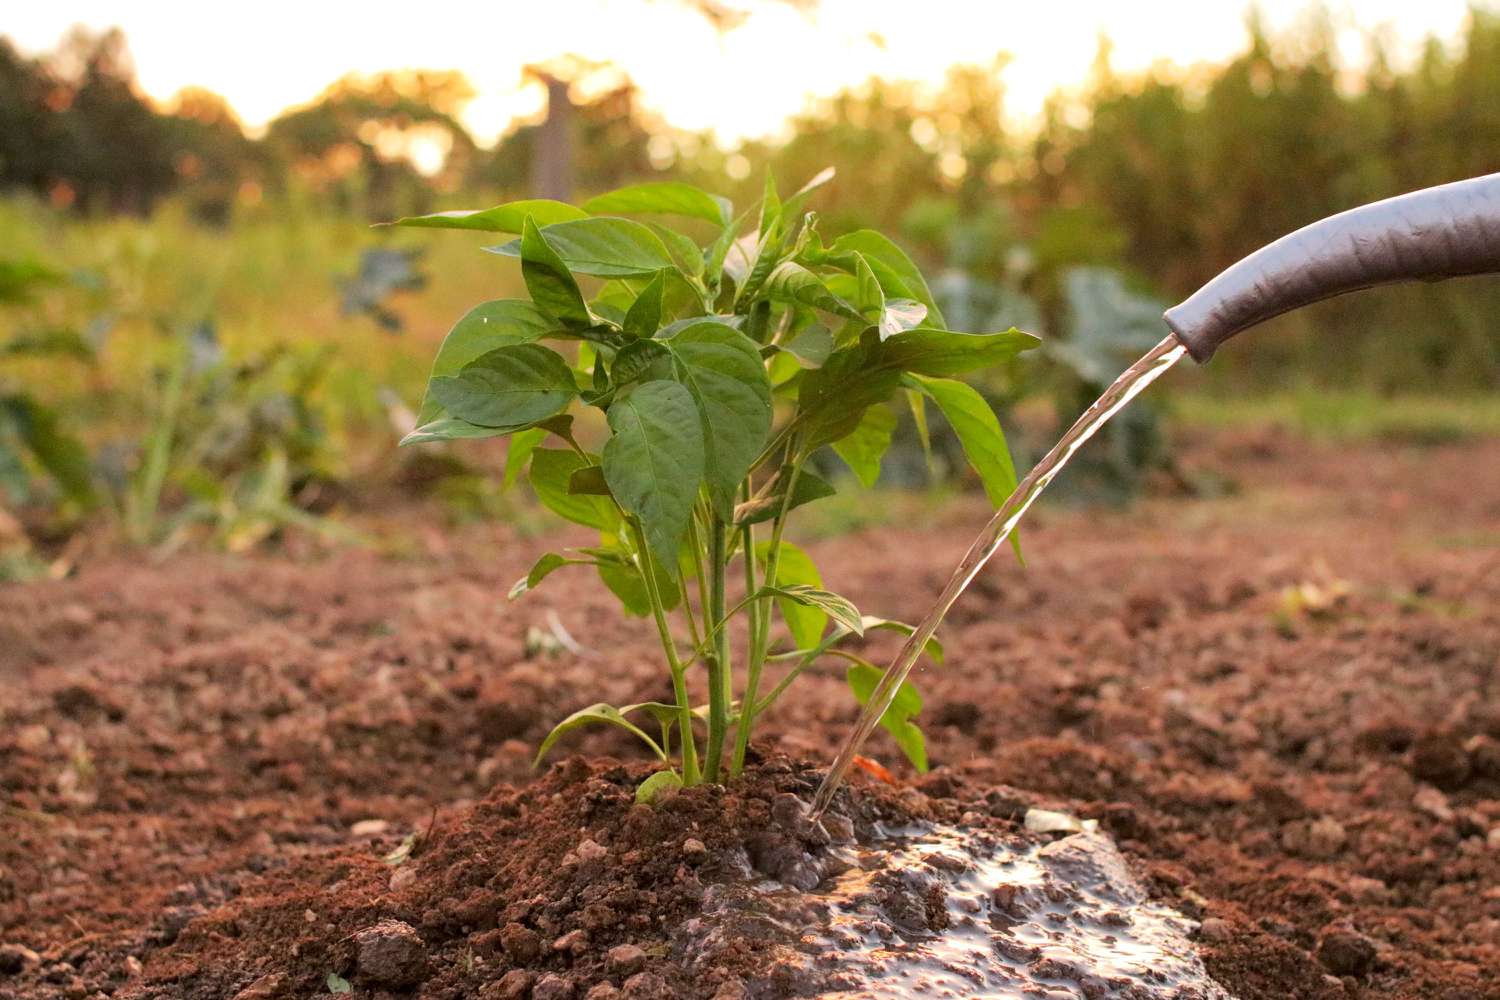
- Watering: After transplanting, water the seedlings thoroughly to settle the soil and provide them with moisture. This helps them establish their roots in the new location. Ensure the soil remains consistently moist during the initial stages of transplanting.
- Provide Support if Needed: If you’re transplanting tall or top-heavy seedlings, provide support such as stakes or cages to prevent them from bending or breaking. This will help them grow straight and upright.
Transplanting seedlings requires gentle handling and attention to detail. Remember to gradually acclimate the seedlings to outdoor conditions by placing them in a shaded area for a few hours each day, gradually increasing their exposure to direct sunlight over the course of a week or two.
By following these steps and providing the right care after transplanting, you’ll give your seedlings the best chance to thrive in their new home. Enjoy watching them grow and develop into flourishing plants in your garden!
Protecting Seedlings from Pests and Diseases
Seedlings are particularly vulnerable to pests and diseases as they are young and tender. Protecting them from potential threats is crucial to ensure their healthy growth. Here are some effective strategies to safeguard your seedlings:
- Inspect Regularly: Keep a close eye on your seedlings and inspect them regularly for any signs of pests or diseases. Look for chewed leaves, holes, discoloration, or wilting. Early detection allows for prompt treatment.
- Practice Good Sanitation: Maintaining a clean growing area is essential in preventing the spread of diseases. Remove any fallen leaves or plant debris promptly to minimize hiding places for pests and reduce the likelihood of infections.
- Companion Planting: Take advantage of companion planting by growing pest-repellent plants alongside your seedlings. Plants like marigolds, nasturtiums, and basil can help deter pests with their natural repellent properties.
- Physical Barriers: Create physical barriers to protect your seedlings from pests. Use row covers, netting, or cages to shield your plants from insects, birds, and larger animals like rabbits or deer.
- Organic Pest Control: Utilize organic pest control methods to manage pests without resorting to harmful chemicals. Techniques like handpicking pests, using insecticidal soaps or oils, or introducing beneficial insects like ladybugs or lacewings can help keep pest populations in check.
- Maintain Healthy Soil: Healthy soil leads to healthy plants. Ensure your seedlings are growing in nutrient-rich soil and supplement with organic matter or compost. Strong, well-nourished plants are better equipped to resist pests and diseases.
- Watering and Feeding: Water your seedlings carefully, avoiding overwatering, as excess moisture can create favorable conditions for fungal diseases. Proper nutrition with balanced fertilization strengthens plants’ immune systems, making them more resistant to pests and diseases.
- Crop Rotation: Practice crop rotation to prevent the buildup of pests and diseases in the soil. Avoid planting the same family of plants in the same location each year. This breaks the cycle and reduces the risk of recurring issues.
Remember, prevention is key when it comes to protecting your seedlings. By implementing these strategies, you’ll be proactive in safeguarding your plants against potential threats and ensuring their healthy growth.
Enjoy the journey of nurturing and protecting your seedlings as they grow into strong, resilient plants, ready to produce a bountiful harvest in your garden!
Conclusion
Congratulations on completing this comprehensive guide to growing seedlings for your edible garden! By now, you have learned the essential steps and techniques to start your seeds, prepare the growing medium, provide adequate light, maintain proper temperature and humidity, water and feed your seedlings, transplant them into the garden, and protect them from pests and diseases.
Remember, edible gardening is a rewarding and fulfilling journey that allows you to grow your own fresh and organic produce. It connects you to nature, promotes self-sufficiency, and provides a sense of accomplishment.
As you embark on your edible gardening adventure, continue to expand your knowledge and experiment with different plant varieties and growing techniques. Every garden is unique, and you’ll discover what works best in your specific environment over time.
Be patient and attentive to your seedlings’ needs. Observe and adjust as necessary, providing them with the optimal conditions for growth. Embrace the learning process, as every triumph and setback can teach valuable lessons and contribute to your gardening expertise.
Remember to enjoy the journey. Gardening is not only about the end result of a bountiful harvest but also about the joy, relaxation, and fulfillment it brings along the way. Take the time to appreciate the beauty of nature, the miracles of plant growth, and the satisfaction of nurturing life.
Now, armed with the knowledge and guidance provided in this guide, go forth and cultivate your own edible garden. Watch in awe as your seedlings transform into vibrant, flourishing plants that provide you with an abundance of fresh, flavorful produce.
Happy growing!