Home>Types of Gardening>Ornamental Gardening>How To Repot A Bonsai Seedling

Ornamental Gardening
How To Repot A Bonsai Seedling
Published: January 19, 2024
Learn the step-by-step process of repotting a bonsai seedling for successful ornamental gardening. Find expert tips and guidance here.
(Many of the links in this article redirect to a specific reviewed product. Your purchase of these products through affiliate links helps to generate commission for Chicagolandgardening.com, at no extra cost. Learn more)
Table of Contents
Introduction
Welcome to the wonderful world of bonsai gardening! Repotting a bonsai seedling is a crucial aspect of nurturing these exquisite miniature trees. It allows the roots to spread and the plant to thrive, ensuring its longevity and health. In this guide, we will walk you through the essential steps of repotting a bonsai seedling, providing insights and tips to help you carry out this task with confidence.
Repotting a bonsai seedling is not merely a routine chore; it is a nurturing and transformative process that fosters the growth and development of the plant. By understanding the intricacies of repotting, you can cultivate a deeper connection with your bonsai and contribute to its overall well-being.
As we delve into the art of repotting a bonsai seedling, we will explore the significance of choosing the right pot, preparing it meticulously, and executing the repotting process with care and precision. Additionally, we will discuss the crucial aftercare and maintenance practices that will support the bonsai seedling's adaptation to its new environment.
Whether you are a seasoned bonsai enthusiast or a newcomer to this enchanting hobby, this guide aims to equip you with the knowledge and expertise to undertake the repotting process successfully. So, roll up your sleeves, gather your tools, and let's embark on this enriching journey of repotting a bonsai seedling together.
Choosing the Right Pot
When it comes to repotting a bonsai seedling, selecting the appropriate pot is a pivotal decision that directly influences the plant's growth and vitality. The pot serves as the bonsai's home, providing essential support and space for the roots to thrive. Here are key considerations to keep in mind when choosing the right pot for your bonsai seedling:
- Size and Proportion: The pot should complement the size and style of the bonsai, allowing ample room for root development while maintaining aesthetic harmony. A general rule of thumb is that the depth of the pot should be roughly equal to the trunk's diameter at its base.
- Drainage Holes: Opt for a pot with adequate drainage holes to prevent waterlogging, which can lead to root rot. Proper drainage is essential for the bonsai's overall health and resilience.
- Material: Consider the material of the pot, such as ceramic, clay, or plastic. Each material has distinct characteristics in terms of moisture retention, insulation, and aesthetic appeal. Select a material that aligns with the specific needs of your bonsai species and the environmental conditions in which it will be placed.
- Style and Aesthetics: The pot should complement the bonsai's style and evoke a sense of harmony. Traditional bonsai styles often pair well with classic, unglazed pots, while more contemporary designs may benefit from sleek, modern containers.
By thoughtfully considering these factors, you can choose a pot that not only provides a conducive environment for the bonsai seedling's growth but also enhances the overall visual appeal of your miniature tree. The selection of the right pot sets the stage for a successful repotting process and establishes a nurturing environment for the bonsai seedling to flourish.
Preparing the Pot
Before repotting your bonsai seedling, it is essential to prepare the new pot meticulously to ensure an optimal environment for the plant's growth. This preparatory phase sets the foundation for a successful repotting process and contributes to the overall well-being of the bonsai. Here are the key steps to prepare the pot for repotting:
- Cleaning and Sterilization: Thoroughly clean the new pot, removing any debris or mineral deposits. Sterilize the pot by soaking it in a diluted bleach solution, then rinsing it thoroughly to eliminate any potential pathogens or contaminants that could harm the bonsai seedling.
- Drainage Layer: Place a layer of coarse-grained soil or drainage material at the bottom of the pot to facilitate proper drainage. This layer helps prevent water from accumulating at the roots, safeguarding the bonsai against water-related issues.
- Soil Preparation: Select a well-draining, nutrient-rich soil mix suitable for the specific needs of your bonsai species. Fill the pot partially with the prepared soil, ensuring that it will provide a supportive medium for the bonsai's roots to establish and thrive.
- Positioning: Determine the optimal positioning of the bonsai within the pot, considering its front-facing angle and overall balance within the container. Visualize how the bonsai will interact with the pot's dimensions and features to achieve a harmonious composition.
By meticulously preparing the pot, you create an environment that promotes the bonsai seedling's health and stability, setting the stage for a successful repotting process. This preparatory phase demonstrates your commitment to providing the best possible conditions for your bonsai's growth and ensures that the plant will thrive in its new home.
Removing the Seedling from its Current Pot
As you embark on the journey of repotting your bonsai seedling, the process of carefully removing it from its current pot is a critical step that requires precision and gentleness. By delicately extricating the root system from its existing environment, you pave the way for the plant’s transition to a new home. Here are essential guidelines for effectively removing the seedling from its current pot:
- Preparation: Water the bonsai thoroughly a day or two before the planned repotting, ensuring that the soil is adequately moist but not waterlogged. This facilitates the extraction of the root system and minimizes stress on the plant during the transition.
- Loosening the Soil: Gently run a root hook or a chopstick around the inner edges of the pot to loosen the soil and dislodge the root ball. Exercise caution to avoid damaging the delicate roots while creating space for the subsequent extraction.
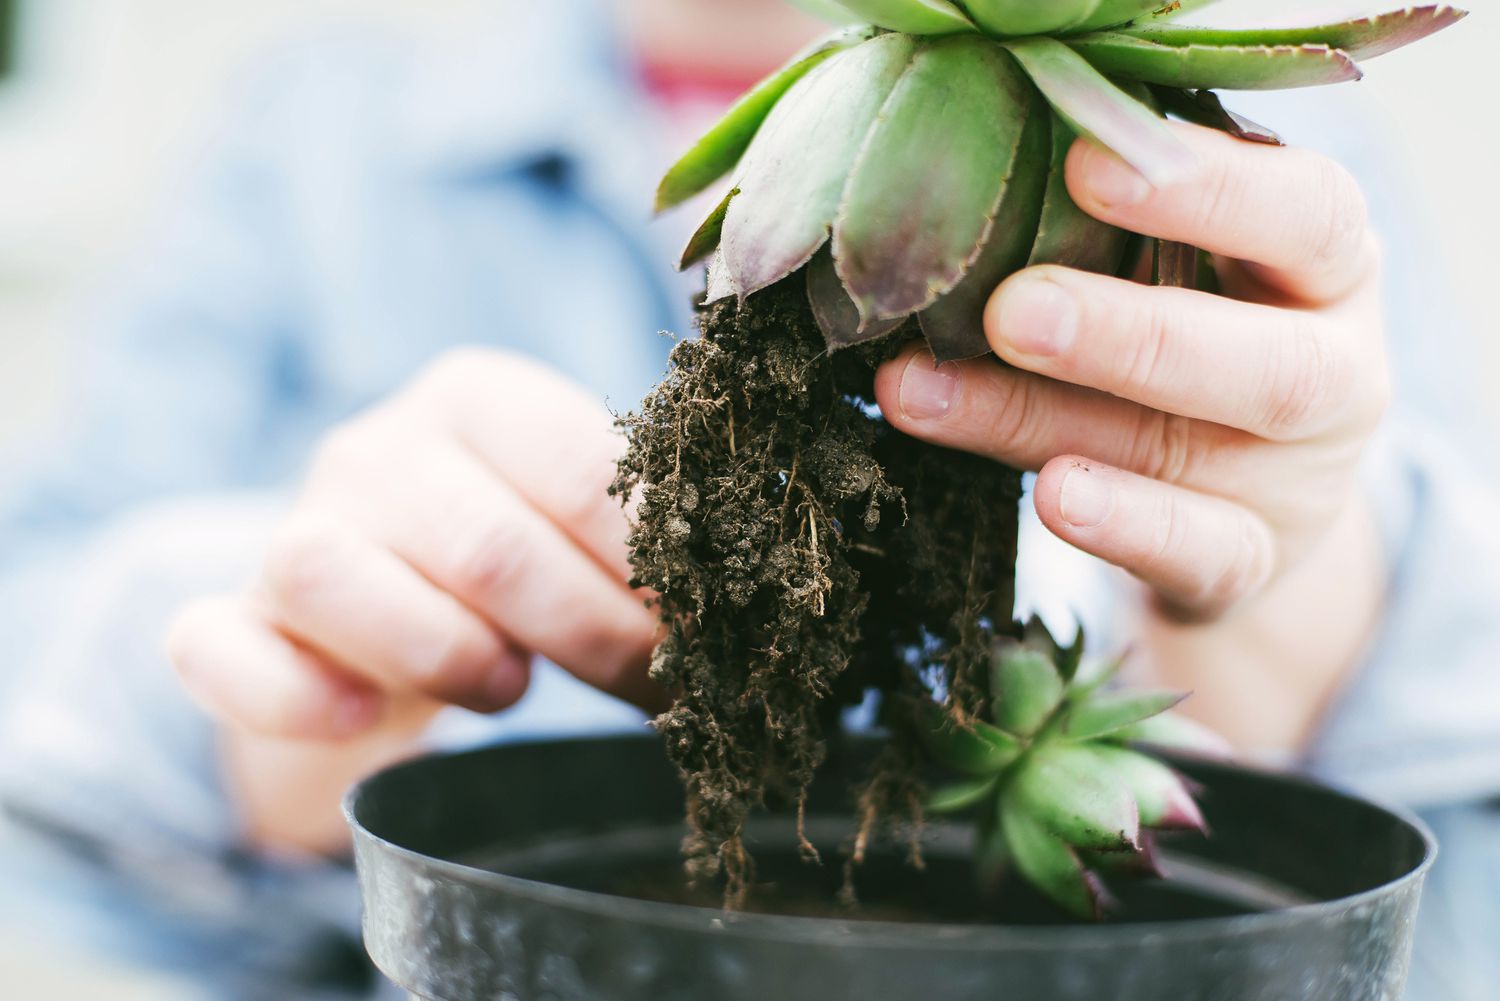
- Removing the Seedling: Carefully tilt the pot and support the base of the bonsai while tapping the pot’s edges to release the root ball. Once the root ball is free, carefully lift the bonsai from the pot, cradling the base and supporting the root system to prevent any undue stress or damage.
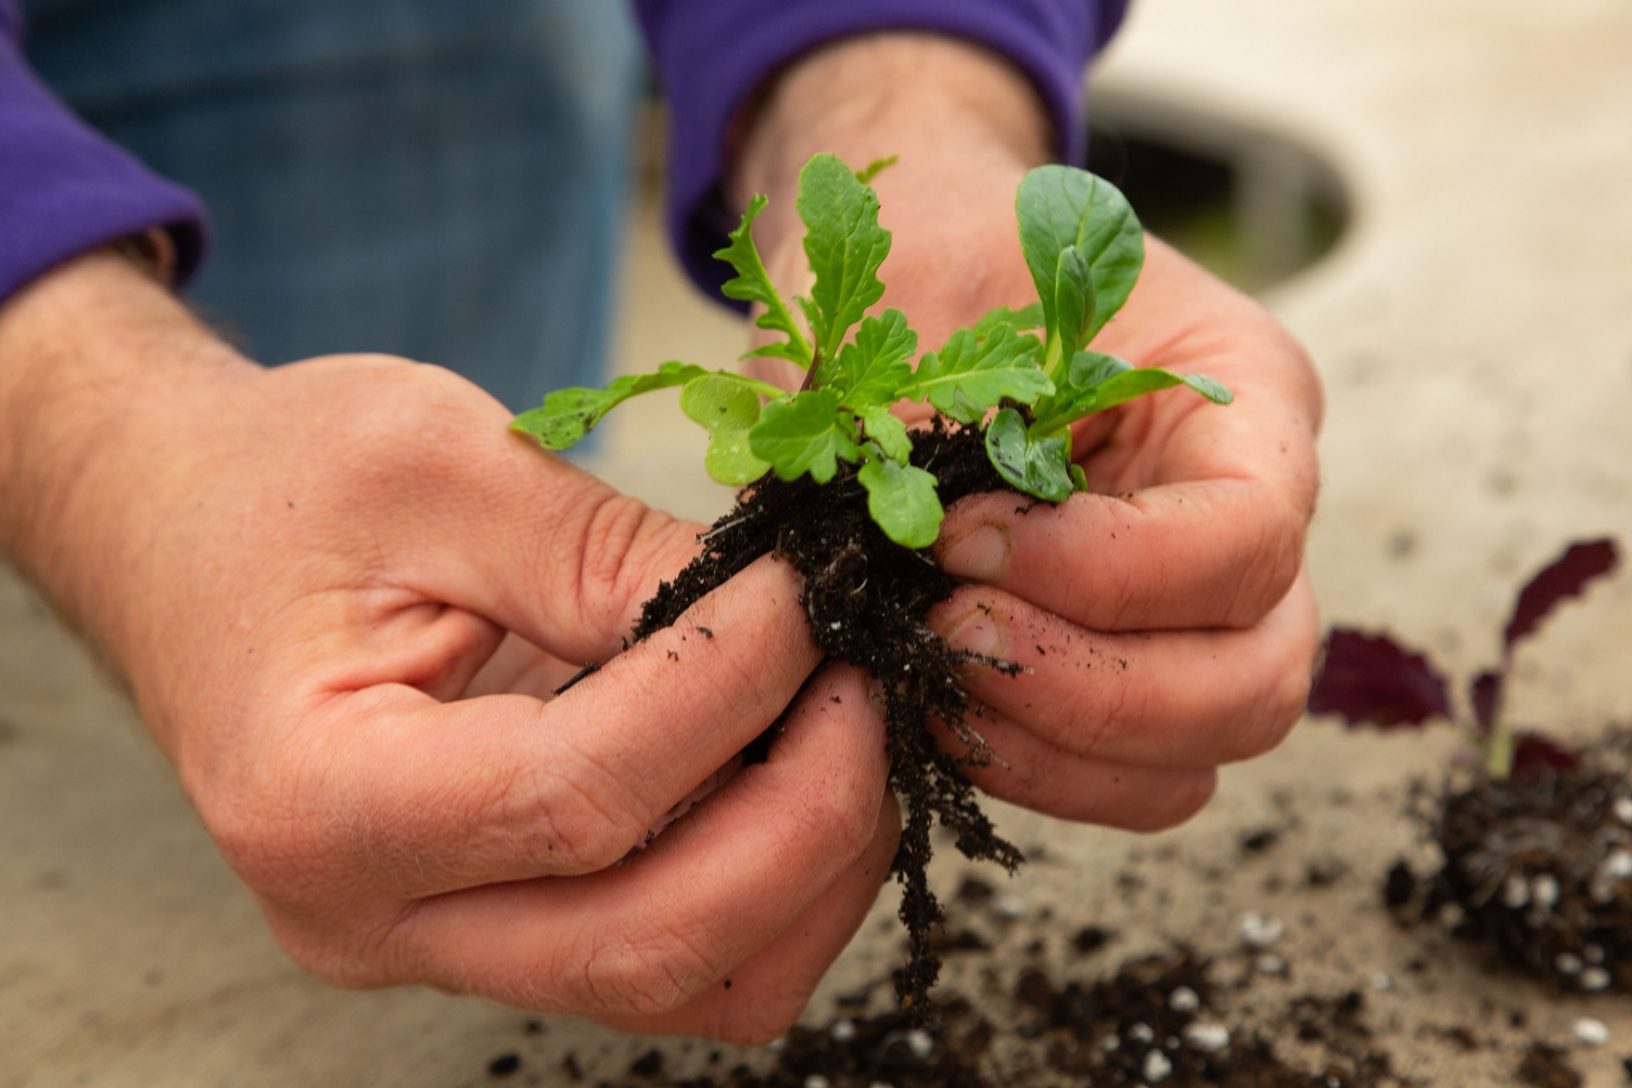
- Inspecting the Roots: Upon removing the seedling, take the opportunity to inspect the root system. Gently untangle any circling roots and trim any excessively long or damaged roots to encourage healthy regrowth in the new pot.
By delicately executing these steps, you can ensure a smooth and seamless transition for the bonsai seedling from its current pot to its new home. This process requires patience and attentiveness, as it sets the stage for the plant’s continued growth and vitality in its fresh environment. With the seedling successfully removed from its current pot, you are now ready to proceed with the next phase of the repotting process.
Preparing the New Pot
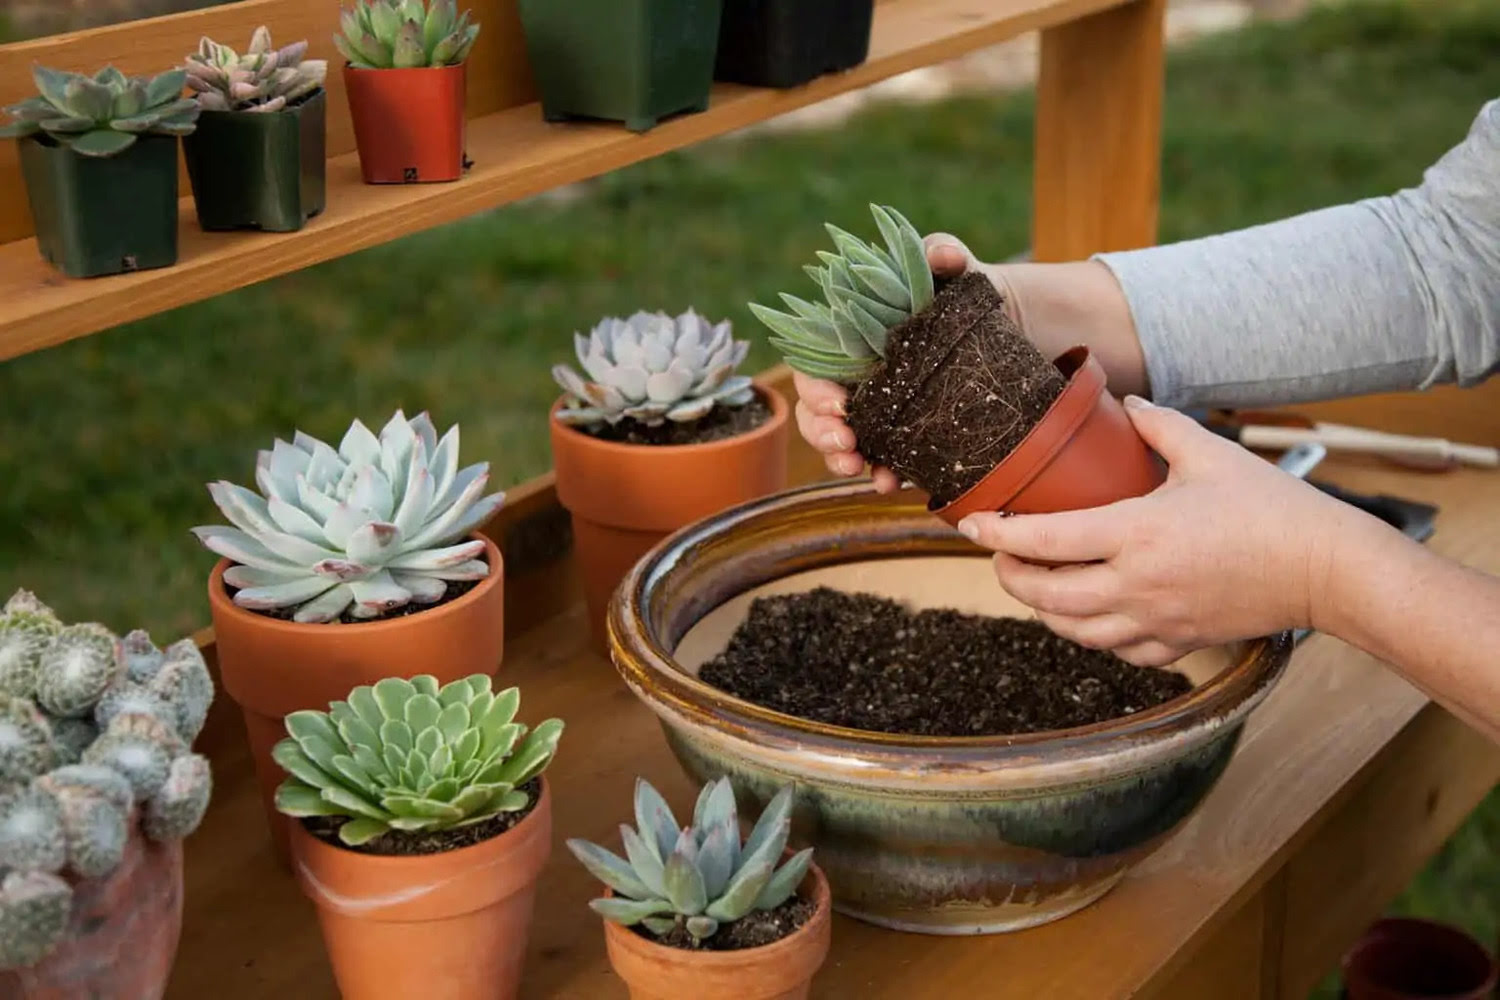
As you prepare to repot your bonsai seedling, the meticulous preparation of the new pot is a crucial step that directly influences the plant’s future growth and well-being. By creating an optimal environment within the new pot, you set the stage for the bonsai to thrive in its fresh surroundings. Here are essential steps to prepare the new pot for repotting:
- Size and Depth: Ensure that the new pot provides adequate space for the bonsai’s root system to expand and develop. The depth of the pot should accommodate the length of the bonsai’s roots while allowing room for future growth.
- Drainage Holes: Verify that the new pot has ample drainage holes to facilitate the swift exit of excess water. Proper drainage is essential to prevent waterlogging, which can compromise the health of the bonsai’s roots.
- Soil Placement: Add a layer of well-draining soil to the bottom of the pot, providing a stable foundation for the bonsai’s root system. The soil layer should be sufficient to support the roots while allowing for proper aeration and moisture distribution.
- Positioning: Determine the optimal placement of the bonsai within the new pot, considering its front-facing orientation and overall balance. Visualize how the bonsai will interact with the pot’s dimensions to achieve an aesthetically pleasing composition.
By meticulously preparing the new pot, you create an environment that fosters the bonsai seedling’s health and stability, setting the stage for a successful repotting process. This preparatory phase demonstrates your dedication to providing the best possible conditions for your bonsai’s growth and ensures that the plant will thrive in its new home.
Repotting the Bonsai Seedling
As you embark on the pivotal stage of repotting your bonsai seedling, it is essential to approach the process with care and precision, ensuring a smooth transition to its new home. The repotting phase marks a transformative moment in the bonsai’s journey, providing an opportunity for rejuvenation and sustained growth. Here are the fundamental steps to repotting the bonsai seedling:
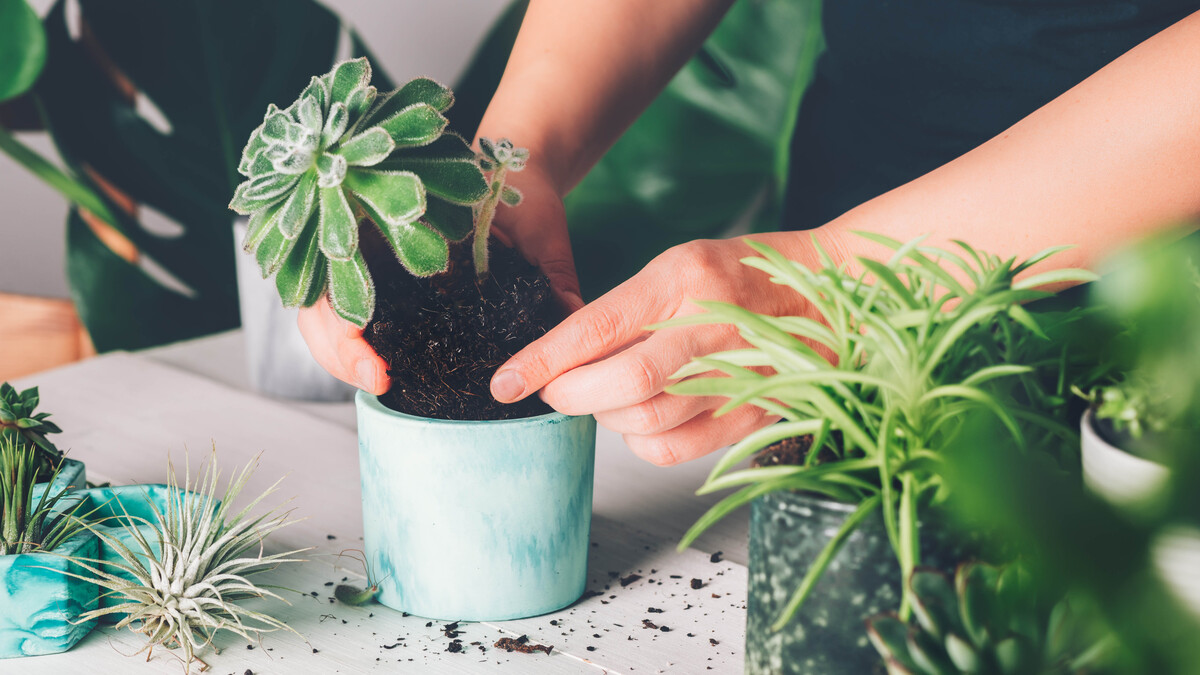
- Positioning in the New Pot: Carefully place the bonsai seedling in the prepared new pot, ensuring that its roots are evenly spread and positioned comfortably within the container. Adjust the soil level as needed to maintain the bonsai’s desired height within the pot.
- Backfilling with Soil: Gently add the prepared soil mix around the bonsai’s root system, ensuring that the soil fills the spaces between the roots while providing ample support. Tamp the soil lightly to remove air pockets and establish stability within the pot.
- Watering and Settling: Thoroughly water the repotted bonsai, allowing the water to permeate the soil and settle around the roots. The watering process aids in the initial adjustment of the bonsai to its new environment, promoting root establishment and hydration.
- Aftercare: Place the repotted bonsai in a location that aligns with its specific light and temperature requirements, providing a conducive setting for acclimatization. Monitor the bonsai closely in the days following repotting, ensuring that it receives adequate care and attention as it adjusts to its new pot.
By meticulously executing these steps, you facilitate a seamless transition for the bonsai seedling to its new pot, fostering an environment that supports its continued growth and vitality. The repotting process represents a nurturing gesture that contributes to the bonsai’s long-term health and resilience, marking a significant milestone in its ongoing development.
Aftercare and Maintenance
Following the repotting of your bonsai seedling, diligent aftercare and maintenance are essential to support its adaptation to the new environment and ensure its continued well-being. By providing attentive care in the aftermath of repotting, you can nurture the bonsai’s resilience and promote its sustained growth. Here are key practices for aftercare and maintenance:
- Monitoring: Regularly observe the bonsai for any signs of stress or adjustment issues, such as wilting or discoloration. Monitoring the plant’s condition allows you to address any concerns promptly and provide necessary interventions.
- Watering: Maintain a consistent watering routine, ensuring that the soil remains evenly moist without becoming waterlogged. Adjust the watering frequency based on environmental factors and the specific moisture needs of your bonsai species.
- Light and Temperature: Position the bonsai in an area that receives appropriate light levels and maintains consistent, suitable temperatures. Avoid exposing the bonsai to extreme conditions that could impede its recovery and growth.
- Fertilization: As the bonsai acclimates to its new pot, consider implementing a balanced fertilization regimen to provide essential nutrients for healthy growth. Select a fertilizer tailored to the needs of your bonsai species and apply it according to recommended guidelines.
- Pruning and Training: As the bonsai resumes its growth, engage in regular pruning and training to maintain its desired shape and encourage branching and ramification. Pruning also helps manage the plant’s energy distribution as it adjusts to its new pot.
By prioritizing aftercare and maintenance, you demonstrate your commitment to the bonsai’s ongoing well-being and development. These attentive practices contribute to the plant’s resilience and vitality, fostering a harmonious relationship between the bonsai and its nurturing caretaker. Through dedicated aftercare, you can witness the bonsai seedling thrive and flourish in its new pot, embodying the enduring beauty and resilience of this cherished art form.