Home>Types of Gardening>Ornamental Gardening>How Do I Repot Succulents
Ornamental Gardening
How Do I Repot Succulents
Modified: January 22, 2024
Learn how to repot succulents with our comprehensive guide on ornamental gardening. Discover the best techniques and tips for a successful repotting process.
(Many of the links in this article redirect to a specific reviewed product. Your purchase of these products through affiliate links helps to generate commission for Chicagolandgardening.com, at no extra cost. Learn more)
Table of Contents
Introduction
Welcome to the world of ornamental gardening! If you’re looking to add a touch of beauty and elegance to your outdoor space, ornamental gardening is the perfect way to achieve that. And what better way to start your ornamental gardening journey than by learning how to repot succulents?
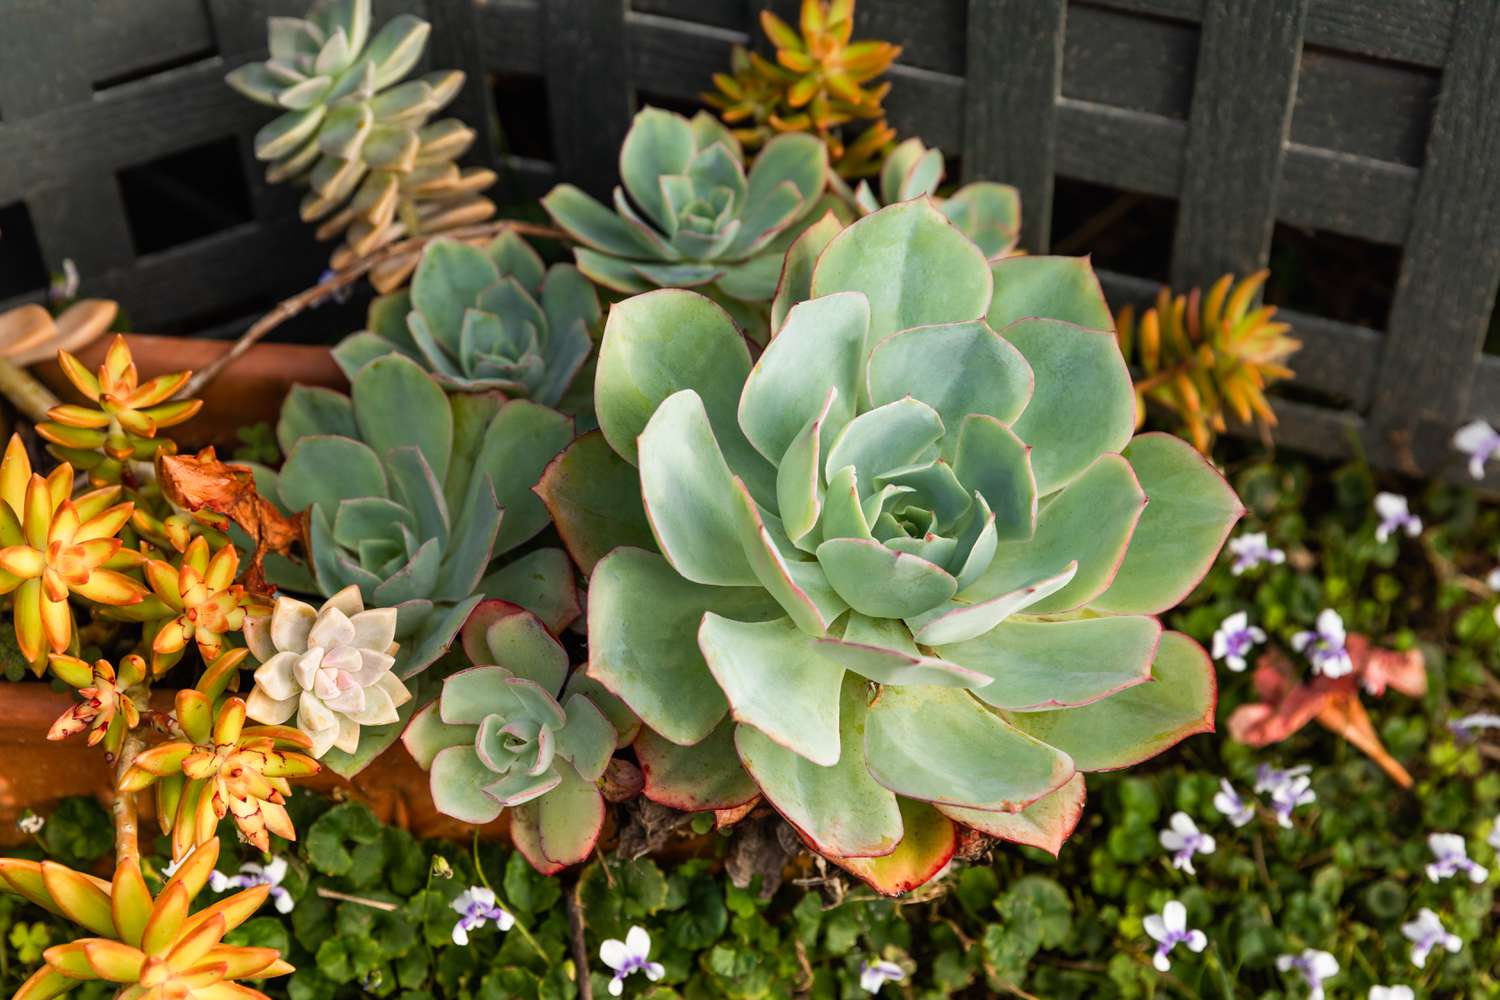
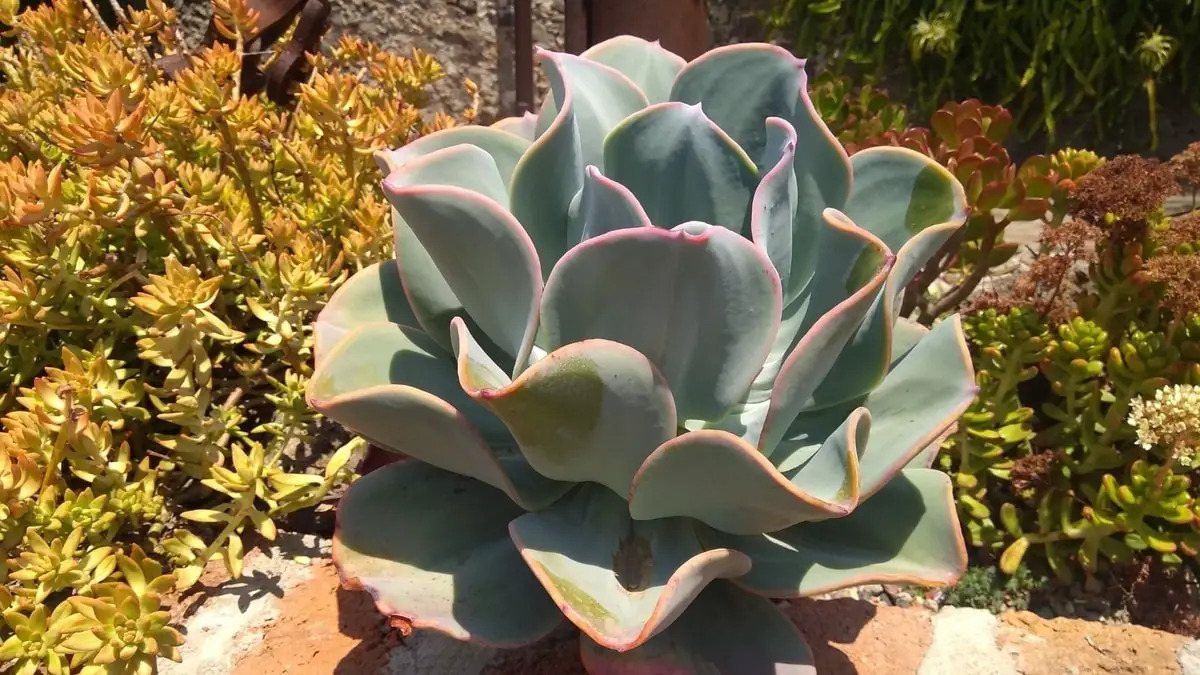
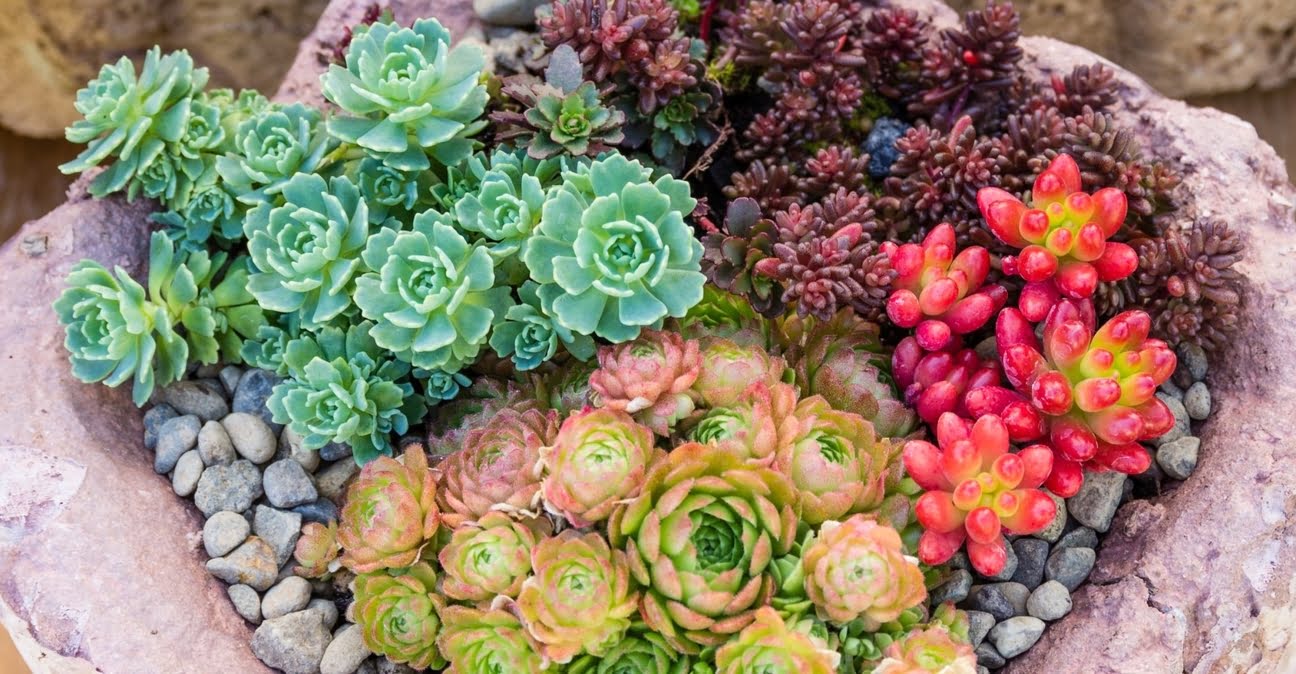
Succulents have gained immense popularity among gardening enthusiasts in recent years, thanks to their stunning shapes, vibrant colors, and low-maintenance nature. Repotting succulents is an essential skill every gardener should possess to ensure the health and longevity of these beautiful plants.
In this comprehensive guide, we will explore the art of repotting succulents, step-by-step. From choosing the right potting mix to properly preparing the succulent for repotting, we will cover everything you need to know to successfully repot your precious succulents.
Repotting provides various benefits for succulents, including providing fresh nutrients, promoting healthy root growth, and preventing issues like root rot and overcrowding. By repotting your succulents, you are giving them the opportunity to thrive and flourish.
Whether you are a beginner or an experienced gardener, this guide will equip you with the knowledge and skills needed to successfully repot your beloved succulents. So grab your gardening tools and let’s dive into the world of repotting succulents!
Choosing the Right Potting Mix
When it comes to repotting succulents, choosing the right potting mix is crucial for their overall health and growth. Succulents have unique soil requirements due to their ability to store water in their fleshy leaves and stems. Here are some factors to consider when selecting the perfect potting mix:
- Drainage: Succulents are highly susceptible to root rot if their roots are constantly sitting in water. A well-draining potting mix is essential to prevent excess moisture from accumulating around the roots. Look for a mix that contains ingredients like perlite, pumice, or coarse sand to ensure excellent drainage.
- Aeration: Good airflow is crucial for succulents to thrive. Aeration allows the roots to absorb oxygen, preventing them from suffocating or rotting. An ideal potting mix should be light, loose, and well-aerated to facilitate root respiration.
- Water Retention: While succulents prefer dry conditions, they still require some moisture to survive. A potting mix that retains a moderate amount of water can help keep the roots hydrated during dry periods. Look for mixes that balance drainage and moisture retention, such as those containing coconut coir or peat moss.
- Nutrient Content: Although succulents are known for their ability to grow in nutrient-poor environments, they still require essential minerals and nutrients to thrive. Opt for a potting mix that contains a balanced blend of organic matter and slow-release fertilizers to provide long-term nutrition for your succulents.
- pH Level: Succulents generally prefer slightly acidic to neutral soil pH. Test the pH level of your potting mix and ensure it falls within the suitable range for succulents’ growth, usually between 6.0 and 7.0.
It’s important to note that ready-made succulent potting mixes are available in garden centers and online. These mixes are specifically formulated to meet the unique needs of succulents, saving you time and effort. However, if you prefer a DIY approach, you can create your own potting mix by combining equal parts of well-draining materials like coarse sand, perlite, and cactus soil.
Remember, the quality of the potting mix plays a significant role in the overall health and growth of your succulents. By choosing the right mix, you are giving your succulents the best possible foundation for thriving in their new pot.
Selecting the Appropriate Pot
Choosing the right pot for your succulents is just as important as selecting the appropriate potting mix. The right pot not only enhances the aesthetic appeal of your plants but also provides the ideal environment for their growth. Here are some factors to consider when selecting the perfect pot:
- Size: Succulents prefer snug pots rather than pots that are too large. A pot that is just slightly bigger than the root ball allows for better moisture control and prevents overwatering. Aim for a pot with a diameter that is about 1-2 inches wider than the succulent’s current pot.
- Drainage Holes: Proper drainage is vital for the health of succulents. Ensure that the pot you choose has drainage holes at the bottom to allow excess water to escape. This prevents water from pooling around the roots and causing rot.
- Material: The material of the pot can impact the moisture retention and breathability of the soil. Terracotta pots, for example, are porous and allow excess water to evaporate more quickly, making them suitable for succulents. Ceramic and plastic pots are also commonly used but may require extra attention to ensure adequate drainage.
- Color: The color of the pot can influence the temperature of the soil. Dark-colored pots absorb more heat, which can increase the risk of the soil becoming too hot and potentially damaging the succulent’s roots. Opt for lighter-colored pots to help regulate soil temperature.
- Style and Design: Consider the overall style and design of the pot to complement your succulents and fit into your existing garden aesthetics. From terracotta clay pots to modern ceramic designs, there is a wide variety of pot styles available to suit different preferences.
Keep in mind that it’s essential to choose a pot that matches the specific needs of your succulent species. Consider factors such as their growth habits and size when selecting an appropriate pot. Additionally, opt for pots with detachable saucers or trays to catch excess water, preventing it from damaging your surfaces or furniture.
By selecting the right pot, you are creating an ideal environment for your succulents to thrive. Remember to combine it with a well-draining potting mix to provide the best possible growing conditions for your beloved succulents.
Preparing the Plant for Repotting
Before diving into the repotting process, it’s crucial to prepare your succulent for the transition. Preparing the plant helps minimize stress and increases the chances of successful repotting. Follow these steps to ensure a smooth and seamless process:
- Choose the right time: Repotting is best done during the active growing season, usually in spring or early summer. This is when succulents experience the most vigorous growth and can recover quickly from any stress caused by repotting.
- Water the succulent: A day or two before repotting, give your succulent a good soak of water. This helps loosen the soil and makes it easier to remove the plant from its current pot. Be sure not to overwater, as succulents prefer dry conditions.
- Remove any dead leaves: Take this opportunity to remove any dead or damaged leaves from the succulent. This not only improves the overall appearance but also prevents the spread of diseases or pests to the new pot.
- Inspect for pests or diseases: Examine the succulent carefully for any signs of pests or diseases. If you notice any issues, treat them accordingly before proceeding with the repotting process. This helps prevent the spread of pests or diseases to the new potting mix.
- Trim excessively long roots: If the succulent has roots that are excessively long and tangled, you can trim them slightly to promote a more compact root system. Use clean, sharp scissors or pruning shears to make clean cuts, avoiding any tearing or damage to the roots.
By adequately preparing your succulent before repotting, you are setting the stage for a successful transition to its new pot. These simple steps ensure that the plant is in optimal condition and ready to thrive in its fresh potting mix. Now let’s move on to the exciting part – removing the succulent from its current pot!
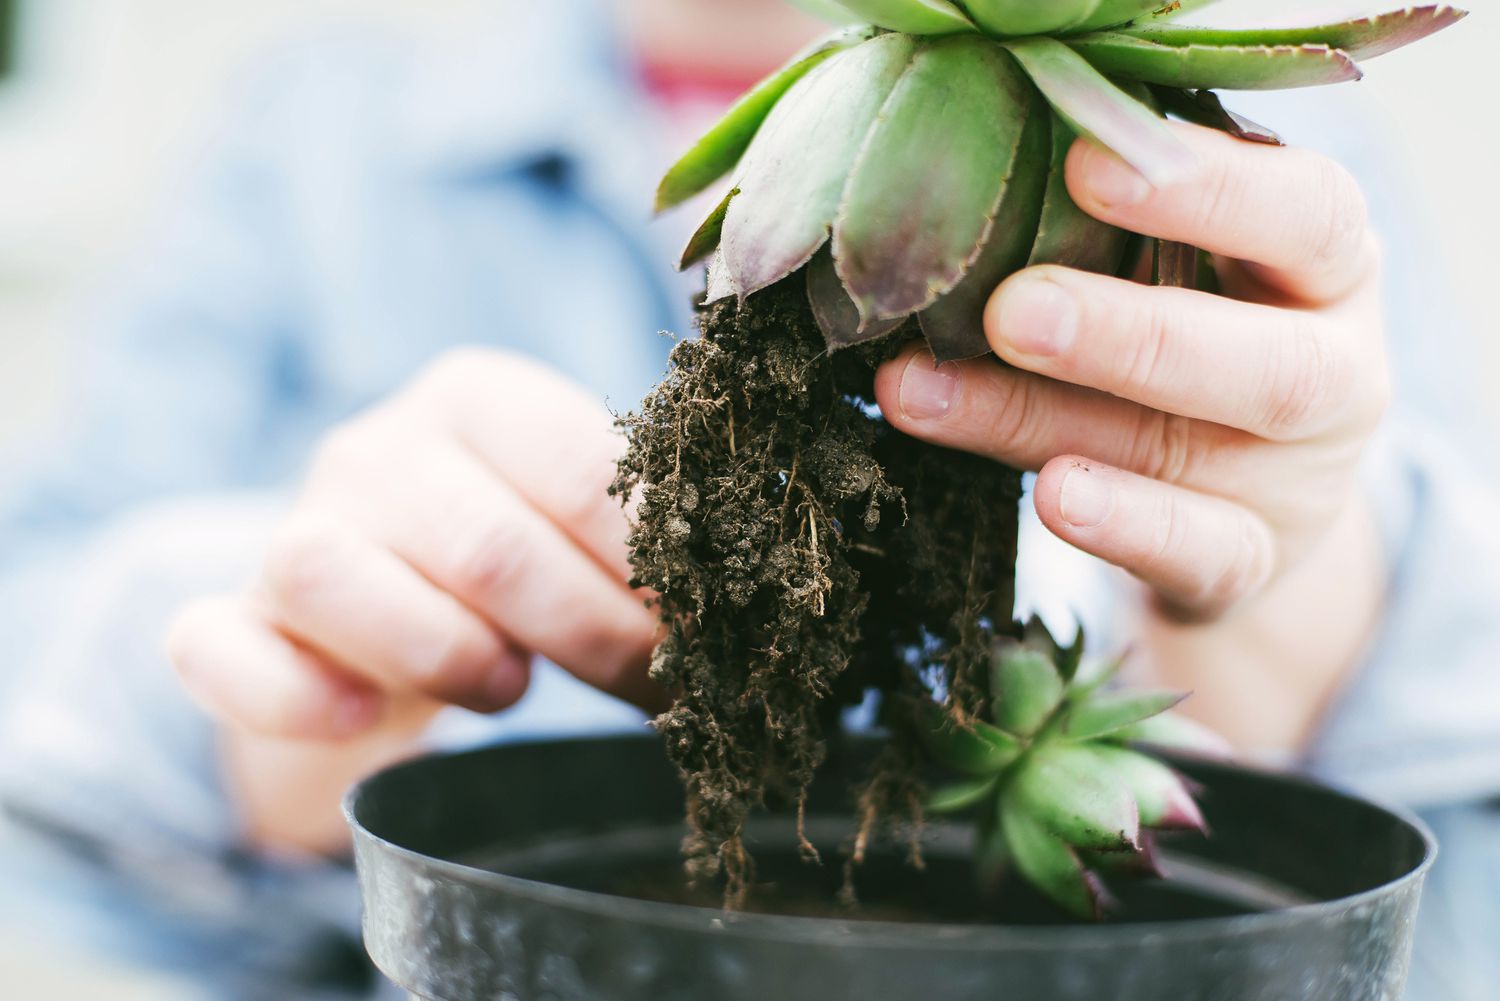
Removing the Succulent from its Current Pot
Now that you have prepared your succulent for repotting, it’s time to carefully remove it from its current pot. Follow these steps to ensure a smooth and gentle extraction:
- Gently tap the sides of the pot: Start by tapping the sides of the pot to loosen the soil and roots. This helps the succulent separate more easily from the pot walls.
- Support the plant: Hold the succulent gently but firmly near the base, supporting the stem or leaves. Avoid grasping the plant too tightly, as this can cause damage or breakage.
- Invert the pot: With one hand supporting the plant, carefully invert the pot. Tap the bottom of the pot or gently squeeze the sides to release the root ball. If necessary, you can use a knife or a small trowel to loosen the edges without damaging the plant.
- Slowly lift the plant: Once the plant is loosened, slowly lift it out of the pot. Be cautious not to tug or pull forcefully, as this can damage the roots or separate them from the stem.
- Inspect the root system: Take a moment to inspect the roots of the succulent. Look for any signs of rot, mushiness, or pests. If you notice any issues, use clean scissors or pruning shears to trim away the affected parts before proceeding to the next step.
Remember, the key when removing a succulent from its pot is to be patient and gentle. Rushing or applying too much force can result in damage to the plant’s delicate root system. Taking the time to properly remove the succulent sets the foundation for a successful repotting process. Now, let’s move on to inspecting and trimming the roots, ensuring your succulent is ready for its new home.
Inspecting and Trimming Roots
After successfully removing your succulent from its current pot, it’s time to inspect and trim the roots if necessary. This step is crucial for ensuring the overall health and vitality of the plant. Follow these guidelines when inspecting and trimming the roots:
- Inspect for root health: Carefully examine the roots of your succulent. Look for any signs of rot, discoloration, or mushiness. Healthy roots should be firm, fleshy, and white or light in color.
- Trim damaged or rotting roots: If you notice any unhealthy or decaying roots, use clean and sharp scissors or pruning shears to carefully trim them away. Make clean cuts, avoiding any tearing or damage to the healthy roots. This will help promote a healthier root system overall.
- Remove any tangled roots: If the roots are heavily tangled or circling the root ball, gently tease and separate them. This prevents them from continuing to grow in a circular pattern and encourages a more outward growth habit.
- Avoid excessive root pruning: While it’s important to remove damaged or unhealthy roots, avoid excessive root pruning, as this can cause stress to the plant. Aim to preserve the majority of the healthy root system.
- Dust with rooting hormone (optional): If you have rooting hormone on hand, you can lightly dust the cut ends of the roots before planting. This can help promote root development and faster establishment in the new pot.
Trimming and inspecting the roots allows you to ensure the overall health and vitality of your succulent. By removing any damaged or rotting roots, you are setting the stage for proper growth and development. Once you have finished inspecting and trimming the roots, it’s time to move on to the next step – filling the new pot with potting mix.
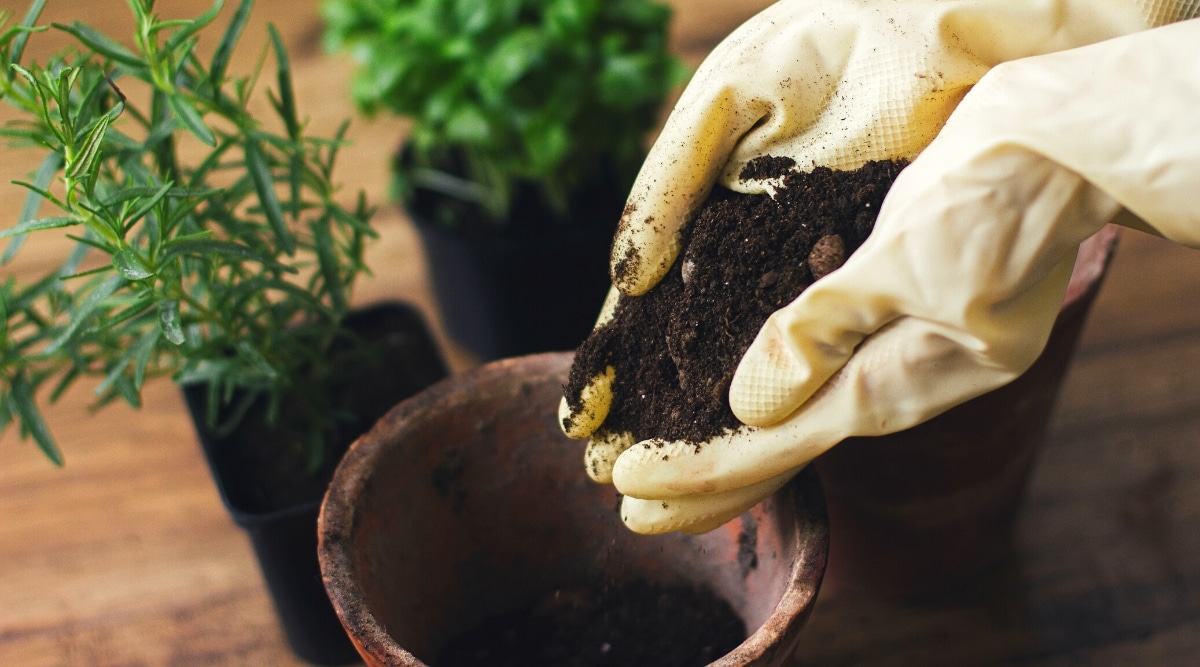
Filling the New Pot with Potting Mix
With your succulent inspected and its roots trimmed, it’s time to provide a new home by filling the new pot with a suitable potting mix. Follow these steps to ensure proper filling of the new pot:
- Add a layer of drainage: Before adding the potting mix, it’s essential to create a layer of drainage at the bottom of the new pot. This can be done by placing small rocks, broken pottery shards, or a layer of horticultural charcoal to facilitate proper drainage and prevent waterlogged soil.
- Fill the pot partially: Begin filling the new pot with the potting mix, leaving enough space to accommodate the root ball of the succulent. Gently tap the pot on a flat surface to help settle the mix and remove any air pockets.
- Plant the succulent: Carefully place the succulent in the center of the pot, ensuring that the roots are spread out evenly. Adjust the position of the plant if needed, ensuring it is upright and well-centered.
- Continue filling with more potting mix: Gradually add more potting mix around the roots, gently pressing it down to secure the plant in place. Add the mix in layers, slowly building up until it reaches the desired level, leaving a small gap between the soil surface and the rim of the pot.
- Level the soil surface: Once the potting mix is added, use your fingers or a small tool to gently level the soil surface. Avoid compacting the soil too tightly, as succulents prefer loose, well-aerated soil.
It’s important to note that while filling the new pot, you should avoid burying the succulent too deeply. Aim to keep the base of the plant at or slightly above the level of the potting mix to prevent the stem or crown from rotting. Once you have finished filling the pot with the potting mix, it’s time to move on to the exciting step of placing the succulent in its new home.
Placing the Succulent in the New Pot
With the new pot filled with potting mix, it’s time to carefully place your succulent into its new home. Follow these steps to ensure proper placement of the succulent:
- Create a well: Use your fingers or a small tool to create a well or indentation in the center of the potting mix. This well will provide a space for the succulent’s root ball.
- Lower the succulent: Gently lower the succulent into the well, ensuring that the root ball settles comfortably in the indentation. Hold the plant upright and adjust its position if needed.
- Backfill with potting mix: Gradually backfill the well and the space around the root ball with additional potting mix. Place the mix carefully, ensuring that it surrounds the roots and fills any empty spaces. Lightly press down the potting mix to stabilize the plant.
- Level the soil surface: Once the potting mix is added, use your fingers or a small tool to gently level the soil surface around the succulent. Ensure that the soil is evenly distributed and there are no air pockets.
- Inspect the succulent’s height: Check the height of the succulent in the new pot. The base of the plant should be at or slightly above the level of the potting mix. Adjust the amount of potting mix if needed to achieve the desired height.
Placing the succulent in the new pot requires delicate handling and attention to detail. By creating a suitable well and ensuring the proper height, you are setting the stage for healthy growth and stability. Once the succulent is securely placed, it’s time to move on to the next step – watering and post-repotting care.
Watering and Post-Repotting Care
After successfully placing your succulent in its new pot, it’s time to provide it with proper watering and post-repotting care. Follow these guidelines to ensure the health and vitality of your succulent:
- Water sparingly: After repotting, it’s important to avoid overwatering your succulent. Allow the potting mix to dry out slightly before watering again. Succulents are adapted to dry conditions and prefer a thorough watering followed by a period of drying out.
- Water at the base: When you do water your succulent, aim to water at the base of the plant rather than directly on the leaves. This helps prevent excess moisture on the leaves, which can lead to rot or fungal diseases.
- Observe signs of thirst: Pay attention to signs that your succulent needs water, such as wilting leaves or wrinkling. However, it’s important not to water on a strict schedule. Let the plant’s condition guide your watering frequency.
- Provide adequate sunlight: Succulents thrive in bright, indirect sunlight. Place your repotted succulent in a location where it can receive at least 4-6 hours of sunlight per day. Be mindful of intense, direct sunlight, as it can scorch the leaves.
- Monitor for signs of stress: After repotting, your succulent may experience a period of adjustment. Keep an eye out for any signs of stress, such as drooping leaves or discoloration. With time and proper care, the plant should recover and resume healthy growth.
- Avoid fertilizing immediately: It’s generally recommended to wait a few weeks after repotting before applying any fertilizers. This allows the succulent to settle and adjust to its new potting mix. Once the plant has acclimated, you can resume your regular fertilization routine.
Remember, every succulent is unique, and factors such as species, climate, and environmental conditions can influence their care requirements. Therefore, it’s important to closely observe your succulent and adjust your care regimen accordingly.
By providing proper watering and post-repotting care, you are giving your succulent the best chance to thrive in its new home. With time and consistent care, your repotted succulent will continue to grow and bring joy to your ornamental garden.
Conclusion
Congratulations on successfully repotting your succulents! By following the steps outlined in this comprehensive guide, you have equipped yourself with the knowledge and skills needed to ensure the health and vitality of your precious plants. Remember, repotting is an essential practice that promotes healthy root growth, prevents disease, and provides the opportunity for your succulents to thrive.
Choosing the right potting mix and pot, preparing the succulent for repotting, removing it from its current pot with care, inspecting and trimming the roots, filling the new pot with suitable potting mix, placing the succulent in its new home, and providing proper watering and post-repotting care are all crucial steps in the repotting process.
Throughout the journey, it’s important to observe your succulent, adjust your care routine as needed, and be patient. Each succulent is unique, and with time and attention, you will develop a deeper understanding of its specific needs.
Now that you have mastered the art of repotting succulents, continue to explore and cultivate your ornamental garden. Enjoy the beauty and elegance these plants bring to your outdoor space. Whether you have a few succulents or a collection, the process of repotting will serve as a rewarding and fulfilling experience.
Remember to share your newfound knowledge with fellow gardening enthusiasts and continue to expand your understanding of ornamental gardening. With each successful repotting, you are contributing to the overall health and resilience of your succulents, ensuring their longevity and enjoyment for years to come.