Home>Types of Gardening>Ornamental Gardening>How To Regrow Succulents From Cuttings
Ornamental Gardening
How To Regrow Succulents From Cuttings
Modified: February 9, 2024
Learn how to regrow succulents from cuttings in your ornamental gardening practice. Discover simple techniques for successful propagation and enjoy a thriving succulent collection.
(Many of the links in this article redirect to a specific reviewed product. Your purchase of these products through affiliate links helps to generate commission for Chicagolandgardening.com, at no extra cost. Learn more)
Table of Contents
Introduction
Welcome to the world of ornamental gardening! If you’re a plant lover and looking to expand your green thumb, regrowing succulents from cuttings is an exciting and rewarding project to embark on. Whether you’re a beginner or seasoned gardening enthusiast, this method allows you to propagate new plants from existing ones, enabling you to create a thriving succulent collection in no time.
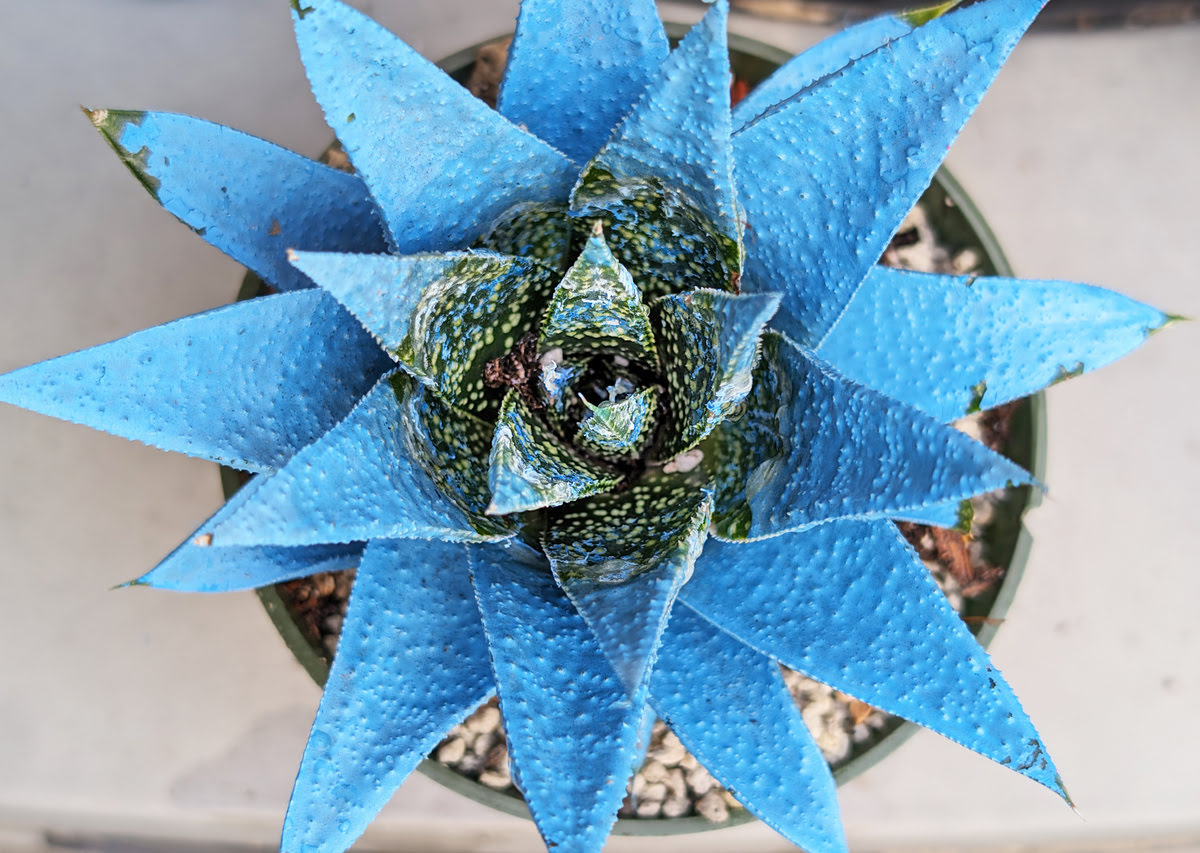
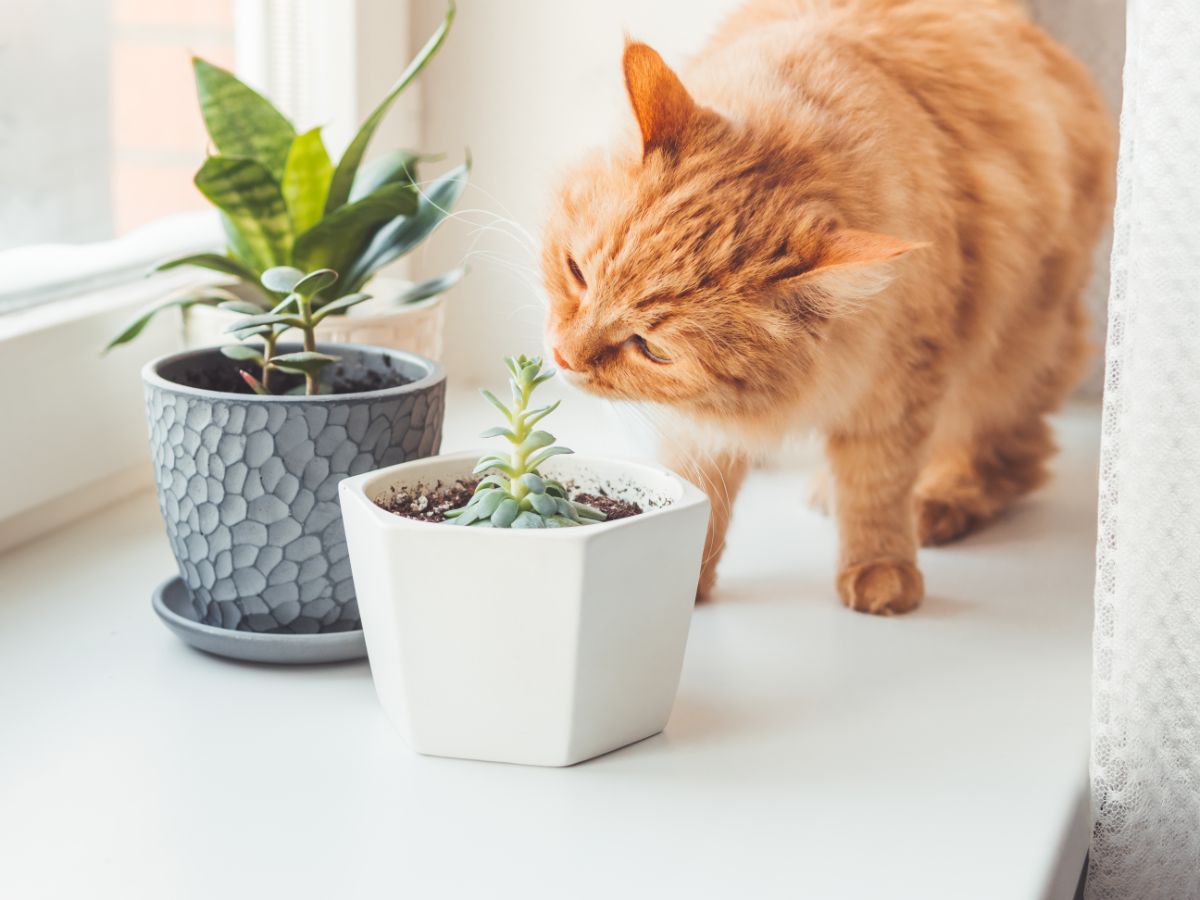
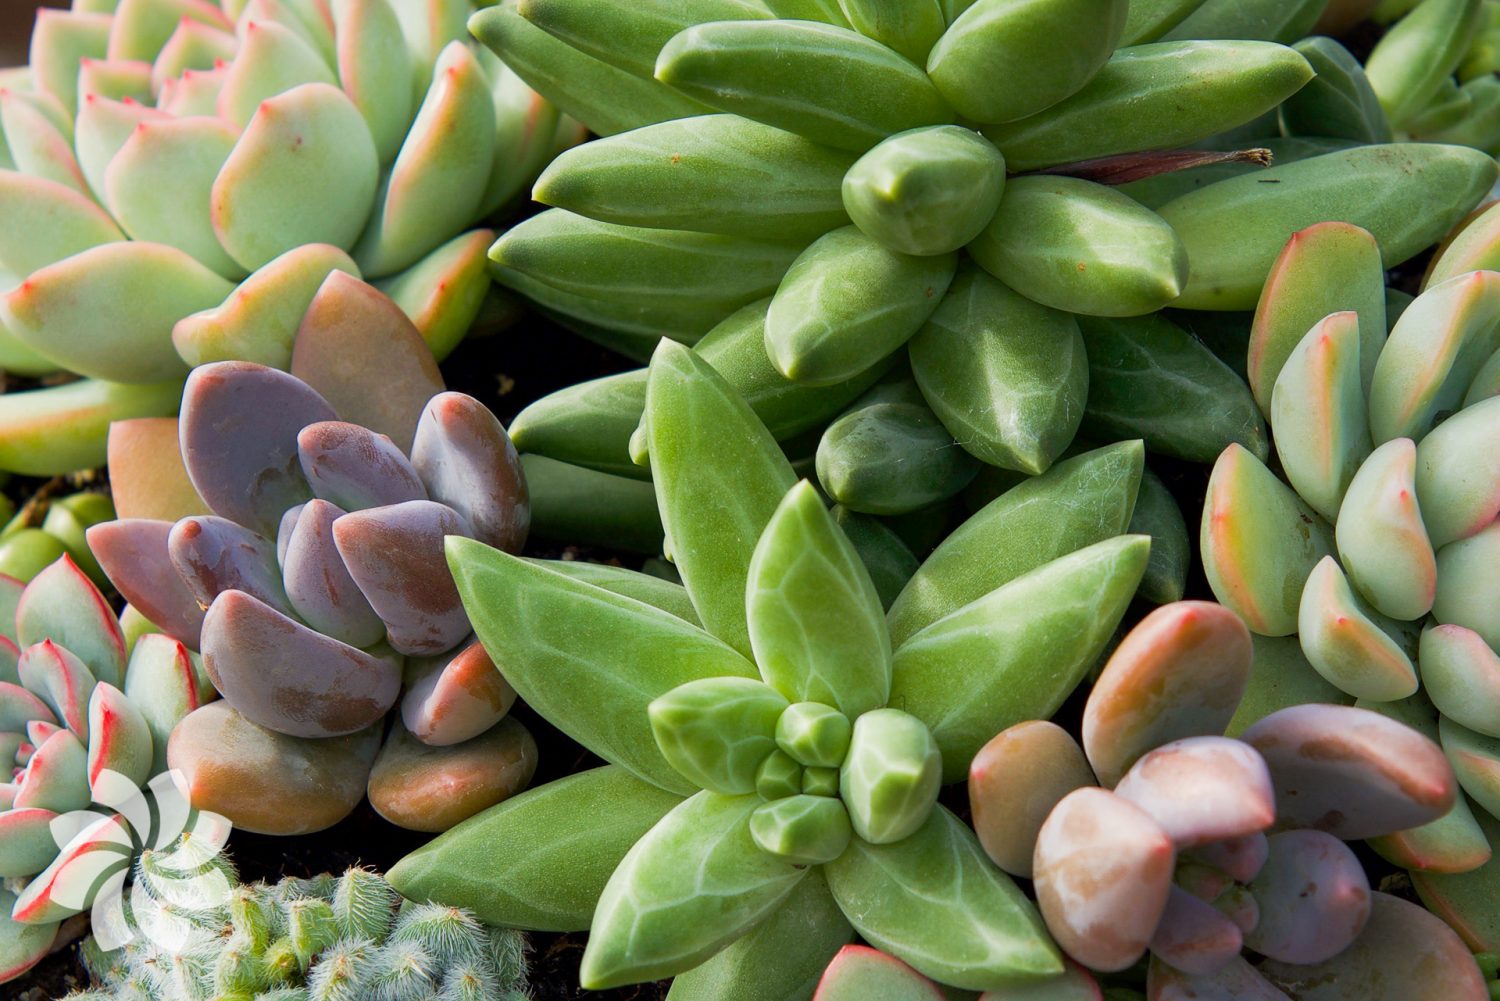
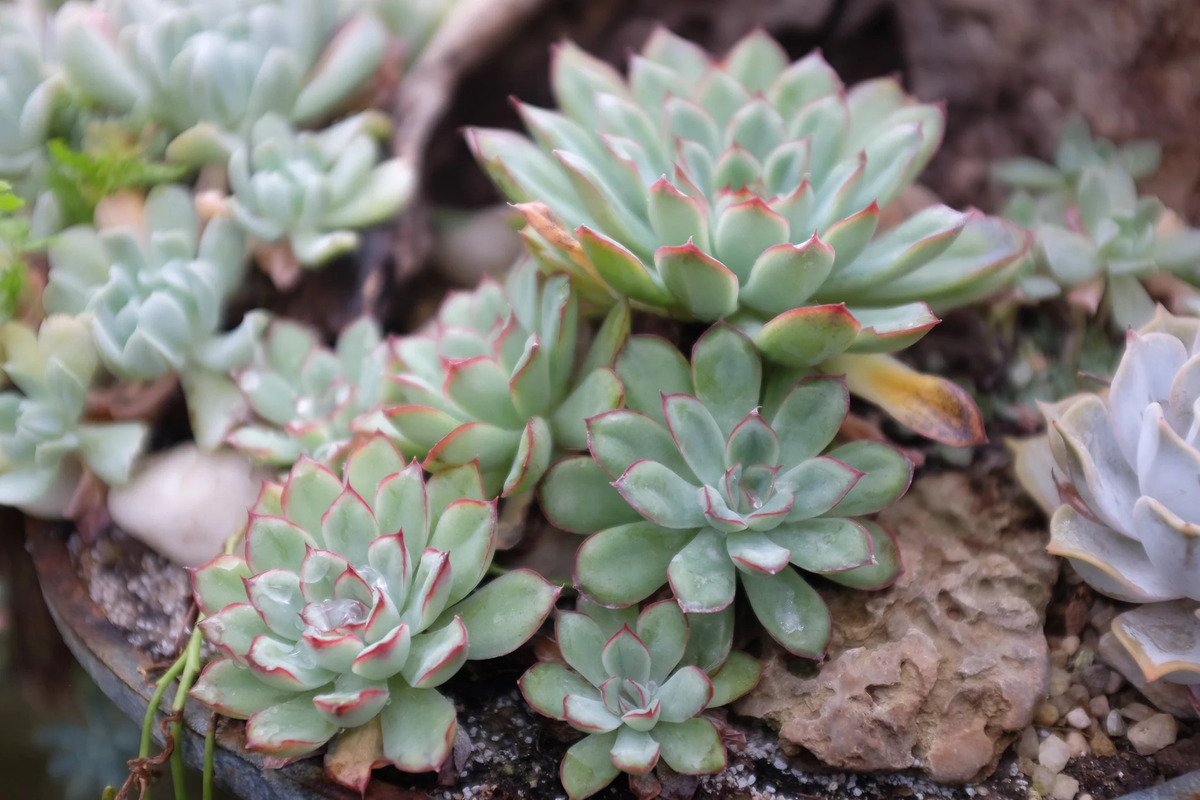
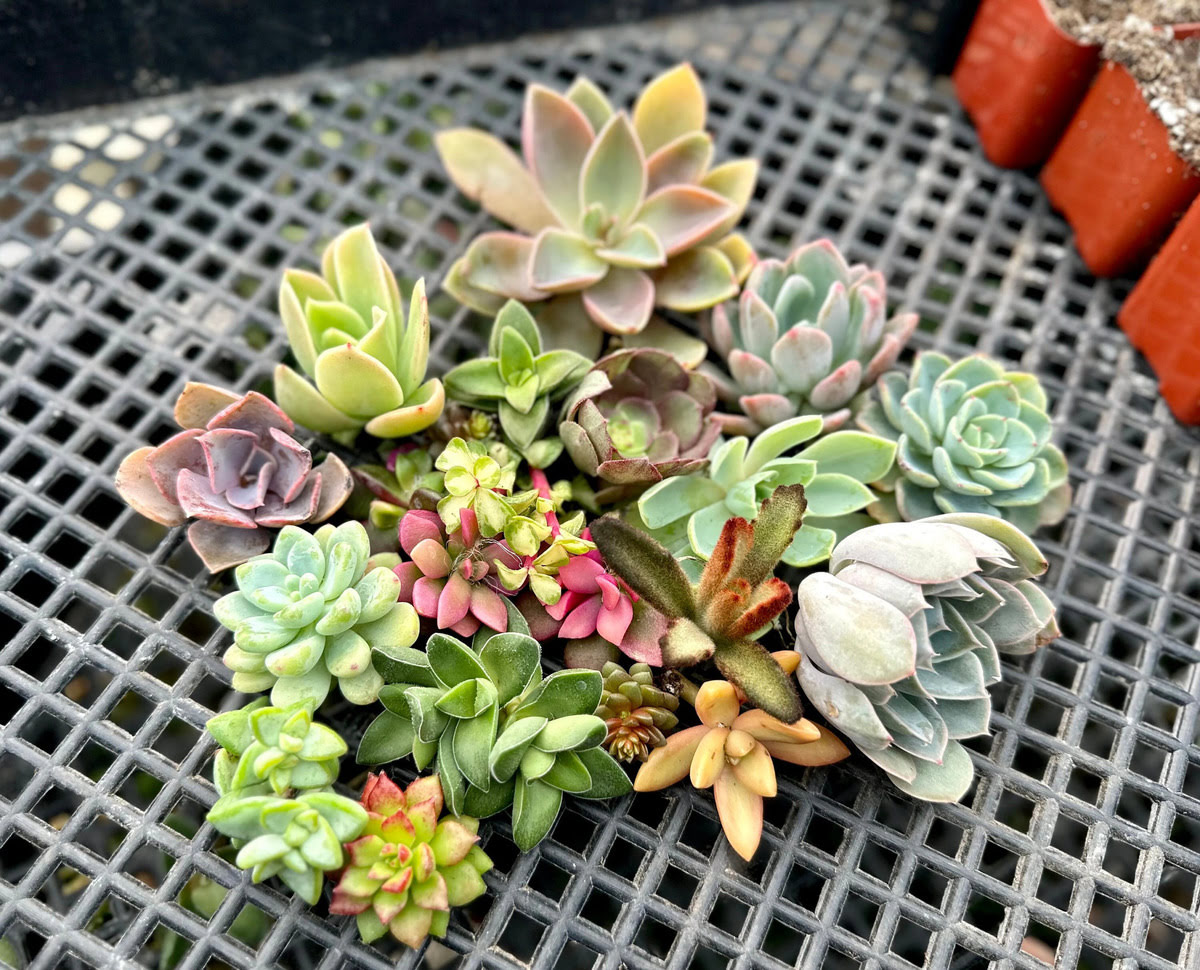
Succulents are known for their unique, fleshy leaves and ability to store water, making them resilient and low-maintenance plants. With a wide variety of shapes, colors, and sizes to choose from, succulents have become increasingly popular among gardeners and plant enthusiasts alike.
Regrowing succulents from cuttings not only allows you to expand your collection, but it also adds a personal touch to your garden as you witness new plants sprout and flourish. It’s also a cost-effective way to acquire more succulents, as purchasing new plants can often be expensive.
In this guide, we will take you through the step-by-step process of regrowing succulents from cuttings. From selecting the ideal cutting to caring for the new plant, we’ll cover everything you need to know to ensure successful propagation.
So, grab your gardening tools and let’s get started on this exciting journey of regrowing succulents from cuttings!
What You Will Need
Before you begin regrowing succulents from cuttings, it’s important to gather the necessary tools and materials. Here’s a list of items you will need:
- Succulent cuttings: Choose healthy, mature stems or leaves from your existing succulent plants. Make sure they are free from any signs of disease or damage.
- Sharp, sterilized scissors or pruners: These will be used to cut the succulent stems or leaves cleanly without causing any unnecessary damage.
- Well-draining soil: Succulents thrive in well-draining soil that allows excess water to drain away quickly. You can use a specialized succulent or cactus mix, or create your own by mixing regular potting soil with perlite or pumice.
- Small pots or containers: Opt for containers with drainage holes to prevent waterlogging. You can choose ceramic, plastic, or terracotta pots, depending on your preference.
- Rooting hormone (optional): While not necessary, a rooting hormone can promote root development and increase the chances of success when regrowing succulents from cuttings.
- Misting bottle: Succulents prefer dry conditions, but misting can help provide moisture during the rooting phase without saturating the soil.
- Indirect sunlight: Find a spot that receives bright, indirect sunlight for the newly planted cuttings. Avoid placing them in direct sunlight as it can scorch the delicate leaves.
Once you have gathered these essential items, you’re ready to dive into the process of regrowing succulents from cuttings. Remember to sanitize your tools before and after use to prevent the spread of any potential diseases or pests. With everything in place, you’re all set to embark on this rewarding gardening adventure!
Step 1: Selecting and Preparing the Cutting
The first step in regrowing succulents from cuttings is to carefully select and prepare the cutting. Follow these steps:
- Choose a healthy cutting: Look for a mature stem or leaf on your existing succulent plant that is free from any signs of damage or disease. It’s important to use a healthy cutting to increase the chances of successful propagation.
- Make a clean cut: Using sharp, sterilized scissors or pruners, make a clean cut just below a leaf node or joint. This is where the roots will eventually form. Ensure that the cutting is a few inches long to provide enough room for root development.
- Remove bottom leaves (for stem cuttings): If you’re using a stem cutting, gently remove the bottom leaves, leaving about an inch of bare stem. This will allow the cutting to have sufficient space to callous and root.
- Allow the cutting to callous: Place the cutting in a well-ventilated area away from direct sunlight and allow it to dry and callous for a few days. This step is crucial as it helps prevent the cutting from rotting once it’s planted.
- Check for callous formation: After a few days, check the cutting to ensure that a callous has formed at the cut end. The calloused surface will be dry and slightly hardened, indicating that the cutting is ready for planting.
Preparing the cutting is an essential step in the success of regrowing succulents from cuttings. By selecting a healthy cutting and allowing it to callous properly, you set the foundation for successful propagation. Now that you have prepared the cutting, it’s time to move on to the next step: planting.
Step 2: Allowing the Cutting to Callous
Once you have prepared the cutting, it’s important to allow it to callous before proceeding with the planting process. Follow these steps to ensure proper callous formation:
- Find a well-ventilated area: Place the cutting in a location with good airflow and away from direct sunlight. This will prevent moisture build-up and promote healthy callous formation.
- Avoid excessive moisture: Succulents are susceptible to rot if exposed to excessive moisture. Therefore, it’s crucial to keep the cutting dry during the callousing period. Avoid misting or watering the cutting.
- Allow sufficient time for callous formation: The callousing process usually takes around 2-7 days, depending on the environmental conditions. Monitor the cutting closely during this time to ensure that a dry, hardened callous forms.
- Check for callous formation: After a few days, gently touch the cut end of the succulent cutting to check for callous formation. If it feels dry and slightly hardened, it’s an indication that the callous has formed.
The callousing period is essential because it creates a protective barrier for the cut end, preventing moisture penetration and potential rot. Once the cutting has formed a callous, you can now proceed to the next step: planting it in well-draining soil.
Step 3: Planting the Cutting
Now that the cutting has properly calloused, it’s time to plant it and provide the optimal conditions for root development. Follow these steps to ensure successful planting:
- Prepare the pot and soil: Choose a small pot or container with drainage holes to prevent waterlogging. Fill it with well-draining soil, such as a specialized succulent or cactus mix, or a combination of regular potting soil and perlite or pumice.
- Make a hole: Use your finger or a pencil to make a small hole in the soil where you will place the cutting. Make sure the hole is deep enough to accommodate the length of the cutting and allow for root growth.
- Optional: Use rooting hormone: Dip the cut end of the succulent cutting into rooting hormone powder to promote root development. While this step is optional, it can increase the chances of successful rooting.
- Plant the cutting: Gently insert the cut end of the succulent cutting into the prepared hole in the soil. Ensure that the cutting is planted firmly and upright, with the calloused end covered and the leaves or stem above the soil line.
- Press the soil around the cutting: Lightly press the soil around the base of the cutting to provide stability and promote contact between the cutting and the soil.
Once the cutting is planted, avoid watering it immediately. Succulents are susceptible to root rot, and allowing the cutting to dry out for a few days before watering will help prevent excessive moisture. Now that the cutting is securely planted, we can move on to the next step: caring for the newly planted cutting.
Step 4: Caring for the New Cutting
After successfully planting the succulent cutting, it’s crucial to provide the right care to ensure its healthy growth and development. Follow these steps to properly care for the new cutting:
- Place in a bright, indirect sunlight: Find a location where the cutting will receive bright, indirect sunlight. Avoid placing it in direct sunlight as it may cause sunburn or stress the delicate cutting.
- Avoid excessive watering: Succulents are adapted to arid environments and do not require frequent watering. Allow the soil to dry out completely between waterings. Overwatering can lead to root rot and other plant health issues.
- Mist occasionally: Use a misting bottle to provide a light misting of water to the leaves of the cutting. This can help provide moisture without saturating the soil. Avoid spraying directly onto the soil.
- Monitor for root development: After a few weeks, gently tug on the cutting to check for any resistance, indicating the growth of new roots. Be patient, as root development can take time and vary between different succulent species.
- Gradually acclimate to regular watering: Once the cutting has established roots, gradually transition it to a regular watering schedule. Water deeply, allowing the soil to become moist but not waterlogged. Ensure the excess water drains out of the pot.
- Protect from extreme temperatures: Avoid exposing the cutting to extreme temperature fluctuations or freezing temperatures. Succulents thrive best in temperatures between 60°F to 85°F (15°C to 29°C).
By providing the right amount of sunlight, careful watering, and a suitable temperature range, your newly planted succulent cutting will have the best chances of thriving and growing into a mature, healthy plant. So, keep an eye on its progress, be patient, and enjoy the process of watching it grow.
Step 5: Monitoring and Growth Expectations
Once you have planted and cared for your succulent cutting, it’s important to monitor its progress and have realistic expectations about its growth. Here are some key points to keep in mind:
- Patience is key: Succulents are known for their slow growth rates, so it’s important to be patient. It can take several weeks or even months for the cutting to establish roots and show signs of new growth.
- Observe for signs of growth: Keep a close eye on the cutting for any signs of new shoots, roots, or leaf growth. These are positive indicators that the cutting has successfully rooted and is establishing itself.
- Adjust care as needed: Pay attention to how the succulent cutting is responding to its environment and adjust your care routine accordingly. If the leaves start to wrinkle or curl, it may be a sign of underwatering, while yellowing or mushy leaves could indicate overwatering or root rot.
- Expect variability: Keep in mind that not all succulent cuttings will successfully root. It’s natural for some cuttings to not take root or fail to thrive. Don’t be discouraged by this; it’s part of the propagation process.
- Plan for growth: As your succulent cutting grows and develops, you may eventually need to repot it into a larger container to allow for more root and plant growth. Choose a container that is slightly larger than the current one and use fresh, well-draining soil.
Remember, each succulent cutting is unique, and individual growth rates may vary depending on factors such as the succulent species, care provided, and environmental conditions. Enjoy the journey of watching your cutting transform into a mature plant, and don’t be afraid to experiment with different techniques and varieties as you further develop your green thumb.
Conclusion
Congratulations on learning how to regrow succulents from cuttings! By following the step-by-step process outlined in this guide, you have gained the knowledge and skills to propagate new succulent plants and expand your collection.
Regrowing succulents from cuttings is a fun and fulfilling endeavor that allows you to witness the growth and development of new plants right before your eyes. Not only is it a cost-effective way to acquire more succulents, but it also adds a personal touch to your garden as you watch these cuttings transform into thriving plants.
Remember, the success of regrowing succulents from cuttings relies on selecting healthy cuttings, allowing them to callous, planting them in well-draining soil, providing proper care, and monitoring their growth. Each step plays an essential role in the overall success of propagation.
Be patient and attentive as you care for your new succulent cuttings. Give them the right amount of sunlight, water sparingly, and adjust their care as needed. Keep in mind that some cuttings may not successfully root, and that’s alright. It’s all part of the learning process and the natural variability of succulent growth.
Now that you have the knowledge and tools to regrow succulents from cuttings, it’s time to put it into practice and enjoy the rewarding experience of nurturing new plants. Get creative with different succulent varieties, experiment with different planting techniques, and watch your collection flourish.
So, go ahead and start propagating your succulent cuttings. With a little patience, care, and a touch of nature’s magic, you’ll be rewarded with a stunning succulent garden that brings joy and beauty to your home or outdoor space. Happy gardening!