Home>Types of Gardening>Ornamental Gardening>How To Transfer Succulents To Another Pot
Ornamental Gardening
How To Transfer Succulents To Another Pot
Modified: February 9, 2024
Learn how to transfer succulents to another pot with expert tips and advice. Enhance your ornamental gardening skills with this step-by-step guide.
(Many of the links in this article redirect to a specific reviewed product. Your purchase of these products through affiliate links helps to generate commission for Chicagolandgardening.com, at no extra cost. Learn more)
Table of Contents
- Introduction
- Step 1: Choose the Right Pot
- Step 2: Prepare the New Pot
- Step 3: Remove the Succulent from its Current Pot
- Step 4: Inspect the Roots and Remove Excess Soil
- Step 5: Place the Succulent in the New Pot
- Step 6: Backfill with Potting Mix
- Step 7: Water the Succulent
- Step 8: Allow the Succulent to Adjust
- Step 9: Care for the Newly Transferred Succulent
- Conclusion
Introduction
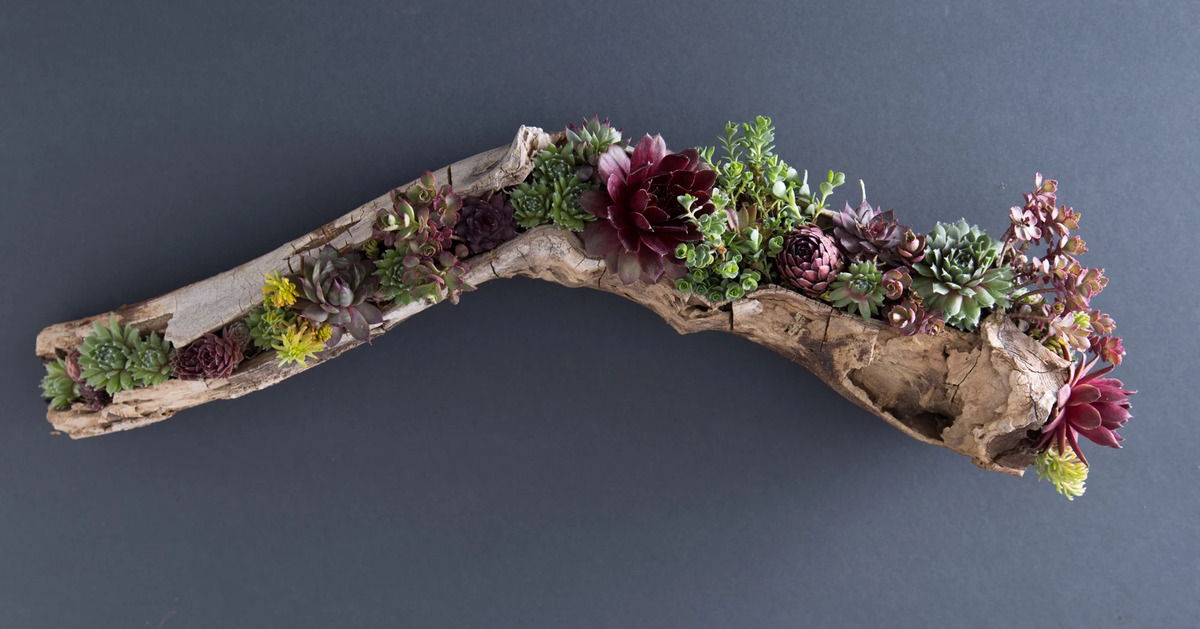
Welcome to the world of ornamental gardening, where beauty and nature converge to create stunning displays of plants and flowers. One of the joys of ornamental gardening is the ability to cultivate a wide variety of plants, including succulents. These resilient and visually appealing plants have gained popularity in recent years, thanks to their unique shapes, vibrant colors, and low maintenance requirements.
If you’re a succulent enthusiast, you may find yourself needing to transfer your beloved plants to new pots from time to time. Whether it’s due to the plant outgrowing its current container or the desire to freshen up your indoor or outdoor space, transferring succulents to a new pot is a simple and rewarding process.
In this article, we will guide you through the step-by-step process of transferring succulents to another pot. From choosing the right pot to caring for the newly transferred succulent, we will cover everything you need to know for a successful transfer. So, grab your gardening gloves and let’s get started on this exciting journey!
Step 1: Choose the Right Pot
The first step in successfully transferring your succulent to a new pot is selecting the right container. The pot you choose should provide adequate drainage, be appropriate in size for your succulent, and complement the overall aesthetic of your garden or living space.
When it comes to drainage, succulents prefer pots with drainage holes to prevent water from sitting in the soil and causing root rot. This is essential because succulents are adapted to arid conditions and are highly susceptible to overwatering. Look for pots made of materials like terracotta or ceramic that naturally allow excess water to evaporate.
In terms of size, choose a pot that is slightly larger than the root ball of your succulent. Avoid pots that are too large, as they can lead to excess moisture retention and increase the risk of root rot. A general rule of thumb is to select a pot that is 1 to 2 inches larger in diameter than the current pot.
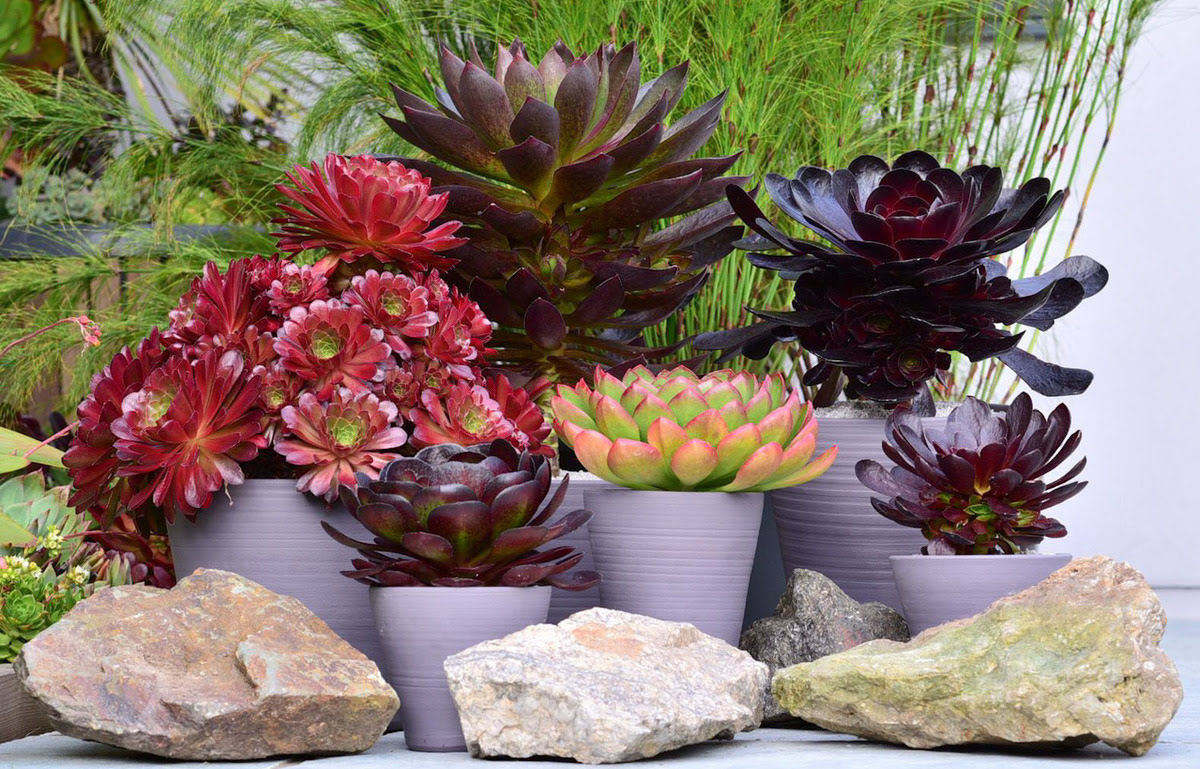
In addition to functionality, consider the aesthetics of the pot. Select a container that complements the color, texture, and shape of your succulent. This will enhance the overall visual appeal of your garden or indoor space. Get creative with options like colorful ceramic pots, rustic terracotta containers, or modern geometric planters.
Once you have chosen the perfect pot, ensure it is clean and free of any residue or contaminants. Wash the pot with mild soap and water, and rinse thoroughly to remove any traces of debris. This will provide a clean and healthy environment for your succulent to thrive.
Step 2: Prepare the New Pot
Now that you have chosen the right pot for your succulent, it’s time to prepare it before transferring the plant. Proper preparation ensures that the new pot is ready to provide the optimal growing conditions for your succulent.
Start by filling the bottom of the pot with a layer of well-draining soil. This will help promote proper drainage and prevent the roots from sitting in excess moisture. You can use a pre-mixed cactus and succulent potting mix or create your own by combining equal parts of regular potting soil, coarse sand, and perlite or pumice.
Next, consider adding a layer of activated charcoal to the soil. Activated charcoal helps absorb any excess moisture, prevents odors, and promotes air circulation within the pot. This can be particularly beneficial for succulents, as it helps prevent root rot and other soil-borne diseases.
Before transferring the succulent, it’s also important to check for any pests that may be present in the new pot. Inspect the pot carefully, especially around the drainage holes and inner surfaces. If you notice any signs of infestation, such as webs or tiny insects, treat the pot with a natural insecticide or wash it with a mixture of mild soap and water.
To further ensure the success of the transfer, consider adding a layer of small rocks or broken pottery shards at the bottom of the pot. This will provide additional drainage and prevent the soil from compacting over time.
Once the new pot is prepared, place it in the desired location, taking into account the light requirements of your succulent. Remember, most succulents thrive in bright, indirect sunlight, but there are variations in light preferences depending on the species. Consider factors like the direction of natural light and the presence of any shade-causing objects when deciding on the pot’s placement.
Step 3: Remove the Succulent from its Current Pot
Now that you have prepared the new pot, it’s time to carefully remove the succulent from its current container. This step requires some finesse to avoid damaging the plant and its delicate roots.
Start by watering the succulent a few days before the transfer. This will help loosen the soil and make it easier to remove the plant from its current pot. However, avoid overwatering, as excessively wet soil can make the roots more prone to damage.
Before attempting to remove the succulent, gently tilt the pot on its side and tap the container’s sides. This loosens the soil and helps the plant slide out more easily. If the succulent is firmly stuck, you can use a small gardening trowel or a blunt tool to carefully loosen the soil around the edges of the pot.
Once the plant is loosened, carefully grasp the base of the succulent near the soil line. Gently wiggle and lift the plant out of the pot, exerting minimal pressure to avoid breaking or damaging the roots. If the succulent is deeply rooted, use your fingers or a clean, small brush to remove any excess soil clinging to the roots.
Inspect the roots of the succulent for any signs of rot or damage. Healthy roots are firm and fleshy, while rotted or damaged roots may feel mushy, discolored, or have a foul odor. If you notice any signs of root rot, carefully trim away the affected roots with a clean pair of pruning shears.
It’s also a good practice to check for any pests that may be hiding in the soil or on the roots. Look for signs of mealybugs, aphids, or fungus gnats. If you spot any pests, treat the plant with an appropriate organic pest control method or wash the roots with a diluted mixture of mild soap and water.
Once you have inspected and tidied up the succulent’s roots, you’re ready to move on to the next step: transferring the plant to its new pot.
Step 4: Inspect the Roots and Remove Excess Soil
After removing the succulent from its current pot, it’s important to inspect the roots and remove any excess soil. This step allows you to assess the health of the plant’s root system and provide the necessary care for a successful transfer.
Start by gently shaking off any loose soil from the roots of the succulent. This will help expose the true condition of the roots and make it easier to assess their health. Be careful not to apply too much pressure or pull forcefully, as this can damage the delicate roots.
Once the excess soil has been removed, take a closer look at the roots. Healthy roots should be firm and light in color. They may have fine hair-like rootlets branching out from the main roots. If you notice any dark, mushy, or foul-smelling roots, these could be signs of root rot or disease.
If you suspect any root rot, carefully trim away the affected roots using a clean pair of pruning shears or scissors. Make clean cuts just above the healthy root tissue, ensuring that you remove all diseased portions. After each cut, clean the blades with rubbing alcohol to prevent the spread of any potential pathogens.
After trimming, allow the cut ends of the roots to callous over for a day or two. This helps prevent moisture loss and encourages the development of healthy new roots. Once calloused, the roots will be better equipped to absorb water and nutrients from the new potting mix.
If the succulent has a tight root ball or if the roots appear crowded, you can gently loosen them with your fingers. Gently tease apart the roots, taking care not to break or damage them. This will encourage new root growth and better nutrient absorption once the plant is transferred to the new pot.
While inspecting and untangling the roots, it’s important to handle them delicately and avoid excessive manipulation. Succulent roots are sensitive and can easily break, leading to stress or damage to the plant.
Once the roots have been inspected and any necessary trimming or untangling has been done, the succulent is ready to be placed in its new pot. In the next step, we will guide you through the process of transferring the plant and ensuring a secure and healthy placement.
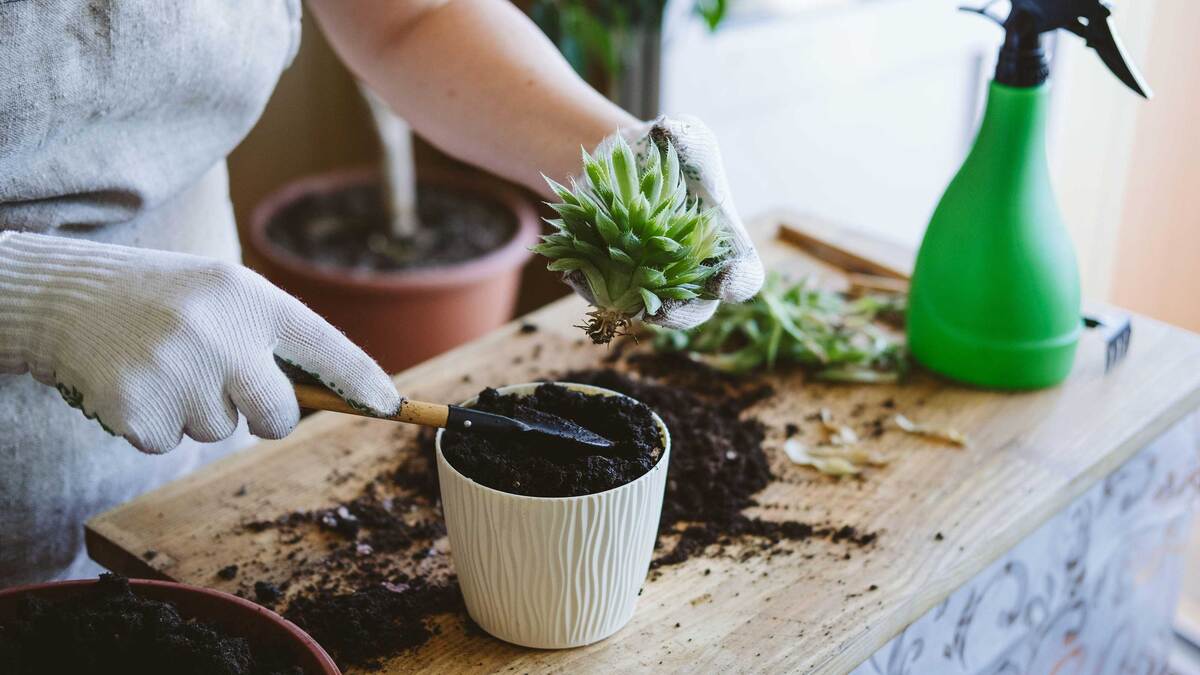
Step 5: Place the Succulent in the New Pot
Now that the roots have been inspected and any excess soil has been removed, it’s time to place the succulent into its new pot. Proper positioning and handling during this step will ensure that the plant is securely and comfortably situated in its new home.
Start by creating a small indentation in the center of the potting mix in the new pot. This will provide a space for the succulent’s root ball to rest. Gently place the succulent into the indentation, ensuring that it sits upright and centered in the pot.
As you lower the plant into the pot, be cautious not to press down on the plant or root ball too firmly. Instead, gently anchor the succulent in place by adding a small amount of the potting mix around the sides. Use your fingers or a small spoon to carefully fill in the gaps between the root ball and the sides of the pot.
Continue adding the potting mix, firming it slightly as you go, to secure the succulent in place. Be careful not to bury the succulent too deeply. The top of the root ball should be slightly above the rim of the pot, allowing for proper air circulation and preventing water from pooling around the stem and potentially causing rot.
As you backfill the pot, take care to leave enough space at the top to allow for watering. Overfilling the pot with soil can cause water to overflow and lead to damage or displacement of the plant.
Once the succulent is properly positioned and secured in the new pot, gently tap the sides of the pot to settle the soil. This helps eliminate any air pockets and ensures that the roots make good contact with the potting mix.
Inspect the succulent from different angles to ensure it is centered and visually balanced in the pot. Adjust the position if necessary before proceeding to the next step.
Congratulations! The succulent is now comfortably and securely placed in its new pot. In the next step, we will cover how to backfill the pot with potting mix, providing the necessary nutrients for the succulent’s growth and overall well-being.
Step 6: Backfill with Potting Mix
After placing the succulent in its new pot, it’s time to backfill the space around the root ball with potting mix. Backfilling ensures that the plant is properly supported, has access to nutrients, and promotes healthy growth.
Start by adding the potting mix around the sides of the succulent, gently filling in the gaps between the root ball and the pot. Use your fingers or a small spoon to carefully add the potting mix, taking care not to disturb the plant or its roots.
As you backfill, lightly tamp down the potting mix to remove any air pockets. Avoid pressing down too firmly, as compacted soil can prevent proper drainage and airflow. Instead, use a gentle patting motion to ensure the soil is settled around the roots.
Continue adding the potting mix until the space around the root ball is filled, leaving a small gap at the top to allow for watering. Avoid overfilling the pot, as this can cause water to overflow and potentially disrupt the position of the succulent.
Once the potting mix is added, gently tap the sides of the pot to settle the soil. This will help remove any remaining air pockets and ensure good contact between the roots and the potting mix.
Take a moment to inspect the overall level of the potting mix. The top of the root ball should be slightly above the rim of the pot. Adjust the level as necessary by adding or removing potting mix.
After backfilling, it’s important to refrain from watering the succulent right away. Watering immediately can cause the soil to settle and potentially displace the succulent. Instead, move on to the next step, which covers the initial watering process.
Backfilling with the appropriate potting mix creates the optimal growing environment for your succulent. The next step, watering the plant, ensures that it receives the necessary moisture for healthy development and growth.
Step 7: Water the Succulent
Now that the succulent is securely in its new pot and backfilled with potting mix, it’s time to provide the first watering. Proper watering is crucial for the health and growth of succulents, as they thrive in well-draining soil and prefer infrequent but thorough watering.
Before watering, ensure that the potting mix has completely settled around the roots. Gently tap the sides of the pot to check for any settling or sinking that may have occurred during the backfilling process.
When watering a newly transferred succulent, it’s important to avoid overwatering. Succulents are adapted to arid conditions and are highly susceptible to root rot if exposed to excessive moisture. As a general rule, water the succulent thoroughly until the water begins to drain out from the bottom of the pot.
Allow the water to completely drain out of the pot and make sure to discard any excess water that accumulates in the saucer or tray. Leaving the pot standing in water can lead to root rot and other moisture-related issues.
After watering, it’s important to allow the potting mix to dry out completely before watering again. Succulents are able to store water in their leaves and stems, so they are well-equipped to withstand periods of drought. Overwatering can lead to root rot and the decline of the plant’s overall health.
Monitor the moisture levels of the potting mix by inserting your finger about an inch into the soil. If it feels dry at this depth, it’s time to water the succulent. If the soil is still moist, wait a few more days and check again. Remember, it’s better to underwater than to overwater when it comes to succulents.
As you establish a watering routine for your newly transferred succulent, pay attention to its individual needs. Factors such as the type of succulent, the environmental conditions, and the size of the pot can influence the watering frequency. Observe the plant for signs of dehydration or overwatering, such as shriveled leaves or yellowing and mushy roots.
Proper watering is essential to the overall health and longevity of your succulent. By providing the right amount of moisture, you’ll ensure that your newly transferred plant has the best possible start in its new pot.
Step 8: Allow the Succulent to Adjust
After transferring and watering your succulent in its new pot, it’s important to allow the plant time to adjust to its new environment. Succulents can experience some stress and shock during the transplantation process, so giving them a period of adjustment is essential for their well-being.
Place the newly potted succulent in a location that provides the appropriate amount of light based on its specific requirements. Most succulents thrive in bright, indirect sunlight, but some can tolerate more shade or direct sunlight. Consult the care instructions for your particular succulent to ensure the optimal lighting conditions.
Avoid moving or repositioning the succulent during this adjustment period. Frequent movement can hinder the plant’s ability to establish itself in its new pot and can lead to additional stress. Allow the succulent to settle in its new home for a few weeks before considering any changes in its placement.
During the adjustment period, be mindful of the plant’s watering needs. While succulents generally require less frequent watering, it’s important to monitor the moisture levels of the potting mix. Water only when the soil has dried out completely, as overwatering can lead to root rot.
Observe the succulent closely for any signs of stress or potential problems. Look out for wilting, yellowing, or shriveled leaves, as these may indicate issues with watering, improper light conditions, or other factors. Promptly address any concerns to ensure the succulent’s health and well-being.
While the succulent adjusts to its new pot, resist the urge to fertilize immediately. Newly transplanted succulents need time to acclimate before being exposed to additional nutrients. Once the plant has settled and shows signs of new growth, you can gradually introduce a diluted succulent fertilizer according to the manufacturer’s instructions.
Be patient during this adjustment period. Succulents are resilient plants, and with proper care and patience, they will acclimate to their new pot and begin to thrive. Monitor their progress and make any necessary adjustments to their care routine as needed.
By allowing the succulent time to adjust to its new pot and surroundings, you are giving it the best chance to establish itself and flourish in its new environment. The next step covers the ongoing care and maintenance needed to ensure the long-term health of your transferred succulent.
Step 9: Care for the Newly Transferred Succulent
Now that your succulent has had time to adjust to its new pot, it’s important to provide ongoing care to ensure its continued health and vitality. With the right care and attention, your newly transferred succulent will thrive for years to come.
Continue to monitor the lighting conditions for your succulent. Most succulents prefer bright, indirect sunlight, although some varieties may have specific light requirements. Adjust the placement of the pot as needed to provide the optimal light exposure for your succulent.
Maintain a regular watering routine, keeping in mind the succulent’s water needs. While succulents are drought-tolerant, they still require periodic watering. Water deeply, allowing the potting mix to dry out completely between waterings to prevent overwatering and root rot. Remember, it’s better to underwater than to overwater.
Regularly check the condition of the leaves, looking out for signs of dehydration or overwatering. Shriveled or yellowing leaves can indicate a need for more water, while mushy or discolored leaves may indicate overwatering. Adjust your watering schedule accordingly to provide just the right amount of moisture.
Provide proper airflow around the succulent to prevent stagnant air and potential fungal or pest issues. Ensure that the pot is not crowded against other plants or objects, allowing for adequate air circulation. This will help the succulent stay healthy and avoid issues like rot or pest infestation.
When it comes to fertilizing, apply a diluted succulent fertilizer during the growing season. Follow the manufacturer’s instructions and fertilize sparingly, as succulents have relatively low nutritional requirements. Too much fertilizer can result in excessive growth or damage to the plant.
Inspect your succulent regularly for any signs of pests or disease. Common pests that can affect succulents include aphids, mealybugs, and spider mites. If you notice any signs of infestation, treat the plant with appropriate organic pest control methods to keep it healthy and pest-free.
Prune or trim your succulent as necessary to maintain its shape and remove any dead or yellowing leaves. Use clean pruning shears or scissors to make sharp, clean cuts, taking care not to damage the healthy parts of the plant.
Lastly, enjoy your newly transferred succulent and take the time to appreciate its beauty and unique characteristics. With proper care, your succulent will continue to grow and bring you joy for years to come.
By providing ongoing care and attending to your succulent’s needs, you are ensuring its longevity and creating an environment where it can thrive. With time and attention, your newly transferred succulent will become a stunning addition to your ornamental garden or indoor space.
Conclusion
Transferring a succulent to a new pot can be a rewarding and exciting process for any ornamental gardener. By following the steps outlined in this guide, you can confidently navigate the transfer process and provide the best possible environment for your succulent to thrive.
From choosing the right pot and preparing it properly, to removing the succulent from its current pot and inspecting the roots, each step plays a crucial role in ensuring a successful transfer. By taking the time to carefully place the succulent in its new pot and backfilling with the appropriate potting mix, you are setting the stage for optimal growth and health.
Remember to give your succulent time to adjust to its new environment and provide ongoing care. Monitor lighting conditions, water appropriately, and check for any signs of stress or pests. With regular care and attention, your transferred succulent will continue to bring beauty and joy to your ornamental garden or indoor space.
So, embrace the world of ornamental gardening and indulge in the beauty of succulents. Enjoy the process of transferring your beloved plants to new pots, and relish in the satisfaction of seeing them thrive and flourish. Happy gardening!