Home>Gardening Techniques>Plant Care>How To Repot A Rosemary Plant
Plant Care
How To Repot A Rosemary Plant
Published: January 27, 2024
Learn how to properly repot your rosemary plant with our step-by-step guide. Discover essential plant care tips for maintaining a healthy and flourishing rosemary plant.
(Many of the links in this article redirect to a specific reviewed product. Your purchase of these products through affiliate links helps to generate commission for Chicagolandgardening.com, at no extra cost. Learn more)
Table of Contents
- Introduction
- Materials Needed
- Step 1: Choose the Right Pot
- Step 2: Prepare the Potting Mix
- Step 3: Gently Remove the Rosemary Plant from its Current Pot
- Step 4: Loosen and Trim the Roots
- Step 5: Place the Rosemary Plant in the New Pot
- Step 6: Fill in the Potting Mix
- Step 7: Water the Rosemary Plant
- Step 8: Place the Repotted Rosemary Plant in an Ideal Location
- Step 9: Care Tips for the Repotted Rosemary Plant
- Conclusion
Introduction
Repotting a rosemary plant is a necessary task to ensure its healthy growth and longevity. Over time, potted plants can become root-bound, meaning their roots outgrow the current pot and need more space to spread and flourish. Additionally, repotting allows you to refresh the soil, providing the plant with essential nutrients and improving its overall health.
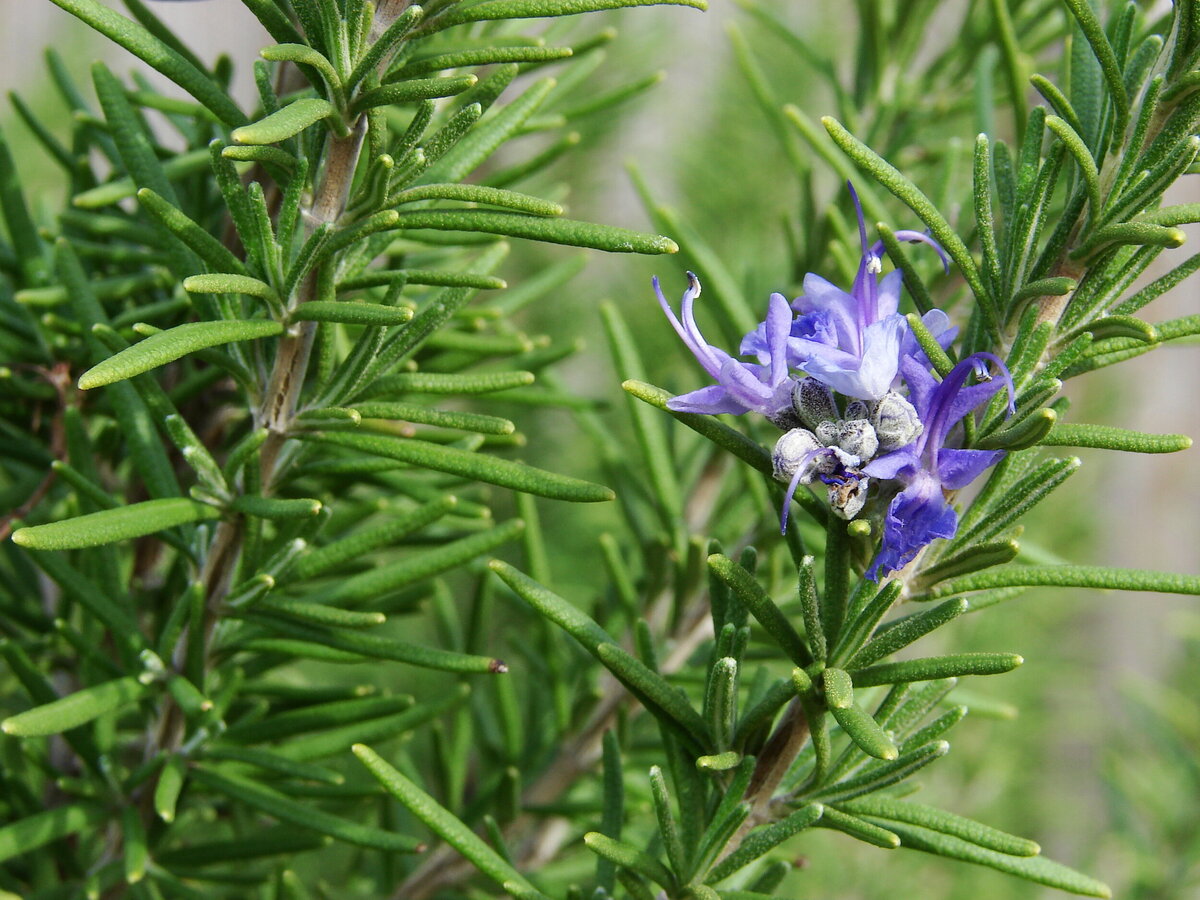
As a fragrant and versatile herb, rosemary is a popular choice among gardeners and culinary enthusiasts. Its distinctive aroma and flavorful leaves make it a delightful addition to various dishes, from roasted meats to savory sauces. To keep your rosemary plant thriving, it’s crucial to repot it periodically, allowing it to develop a strong root system and have room to grow.
In this article, we will guide you through the process of repotting a rosemary plant, step by step. We will provide you with useful tips and insights to ensure a successful transition for your beloved herb.
Note: Before starting the repotting process, it’s important to have all the necessary materials at hand. Let’s explore what you’ll need for this task.
Materials Needed
Before you begin repotting your rosemary plant, ensure you have the following materials ready:
- New Pot: Select a pot that is slightly larger than the current one, with drainage holes at the bottom. This will allow excess water to escape and prevent waterlogging.
- Potting Mix: Use a well-draining potting mix specifically designed for herbs or a combination of equal parts of potting soil, perlite, and coarse sand. This will provide the necessary nutrients and proper drainage for the rosemary plant.
- Trowel or Garden Spade: These tools will help you dig and handle the potting mix during the repotting process.
- Watering Can or Spray Bottle: You’ll need a watering can or spray bottle to water the plant after repotting.
- Pruning Shears: Pruning shears will come in handy for trimming any overgrown or damaged roots.
- Newspaper or Tarp: To prevent a mess, place newspaper or a tarp on your work surface to catch any soil or debris while repotting.
- Gloves: Wearing gardening gloves will protect your hands from thorns or prickly parts of the plant.
Once you have gathered all the necessary materials, you’re ready to proceed with repotting your rosemary plant. Follow the step-by-step instructions below for a successful repotting experience.
Step 1: Choose the Right Pot
Choosing the right pot is essential for the health and growth of your rosemary plant. Here are some factors to consider:
Size: Select a pot that is slightly larger than the current one. This will provide enough room for the plant’s roots to spread and grow. However, avoid choosing a pot that is too big, as an excessively large pot can lead to overwatering and stagnation of the soil.
Drainage: Ensure that the pot has drainage holes at the bottom. Adequate drainage is crucial to prevent waterlogging, which can lead to root rot and other plant diseases. If the pot you choose doesn’t have drainage holes, you can create them using a drill or by placing a layer of rocks or broken pottery shards at the bottom.
Material: Opt for a pot made of a porous material such as terracotta or clay. These materials allow air and moisture to circulate more freely, promoting healthy root growth. Plastic pots can be used as well, but they tend to retain more moisture, so extra caution is needed to prevent overwatering.
Appearance: While the functionality of the pot is important, it’s also nice to choose one that complements your home or garden aesthetic. Consider the color, shape, and design of the pot to enhance the visual appeal of your rosemary plant.
Once you have found the perfect pot for your rosemary plant, move on to the next step: preparing the potting mix.
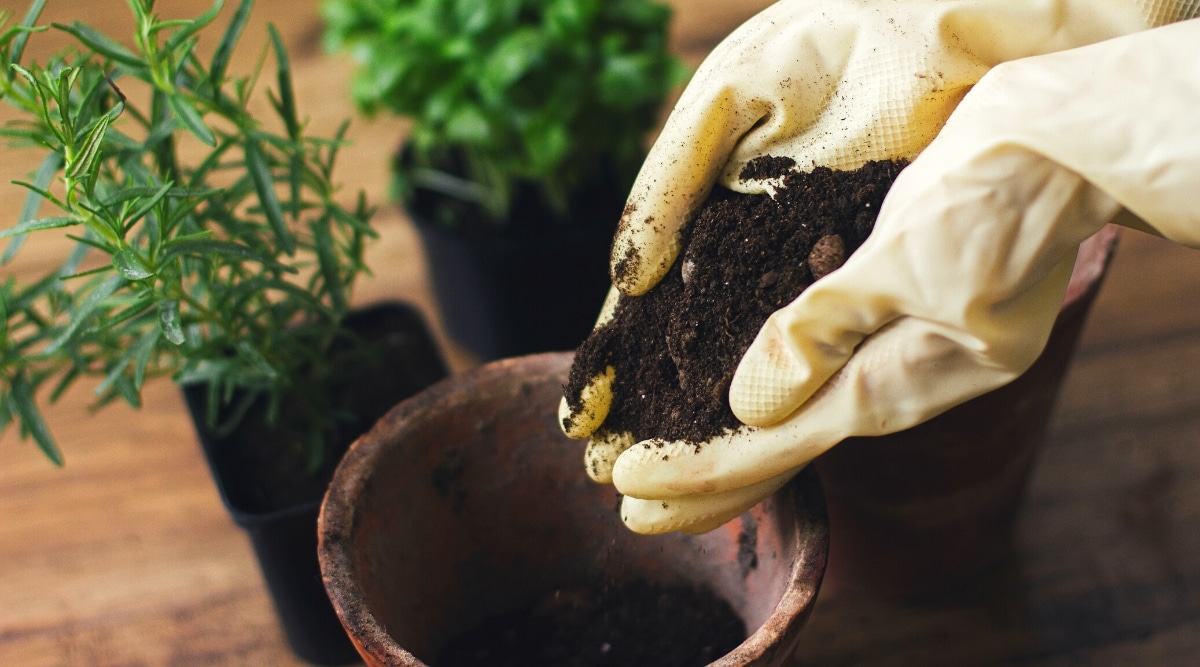
Step 2: Prepare the Potting Mix
Preparing the right potting mix is crucial for the health and growth of your repotted rosemary plant. Here’s how to do it:
1. Choose the Right Ingredients: Use a well-draining potting mix specifically formulated for herbs or create your own mix. A good homemade mix consists of equal parts potting soil, perlite, and coarse sand. This combination provides proper drainage while retaining enough moisture for the plant’s roots.
2. Mix the Ingredients: In a large container or bucket, combine the potting soil, perlite, and coarse sand. Mix them thoroughly until they are well incorporated. This will ensure a consistent texture and distribution of nutrients throughout the mix.
3. Check the Moisture Level: Before using the potting mix, check its moisture level. It should be slightly damp but not overly wet. If it feels too dry, mist it with water and mix again. Avoid using a potting mix that is too wet, as it can lead to waterlogged roots and root rot.
Properly preparing the potting mix will provide your rosemary plant with the ideal growing environment. Now that the potting mix is ready, let’s move on to the next step: removing the rosemary plant from its current pot.
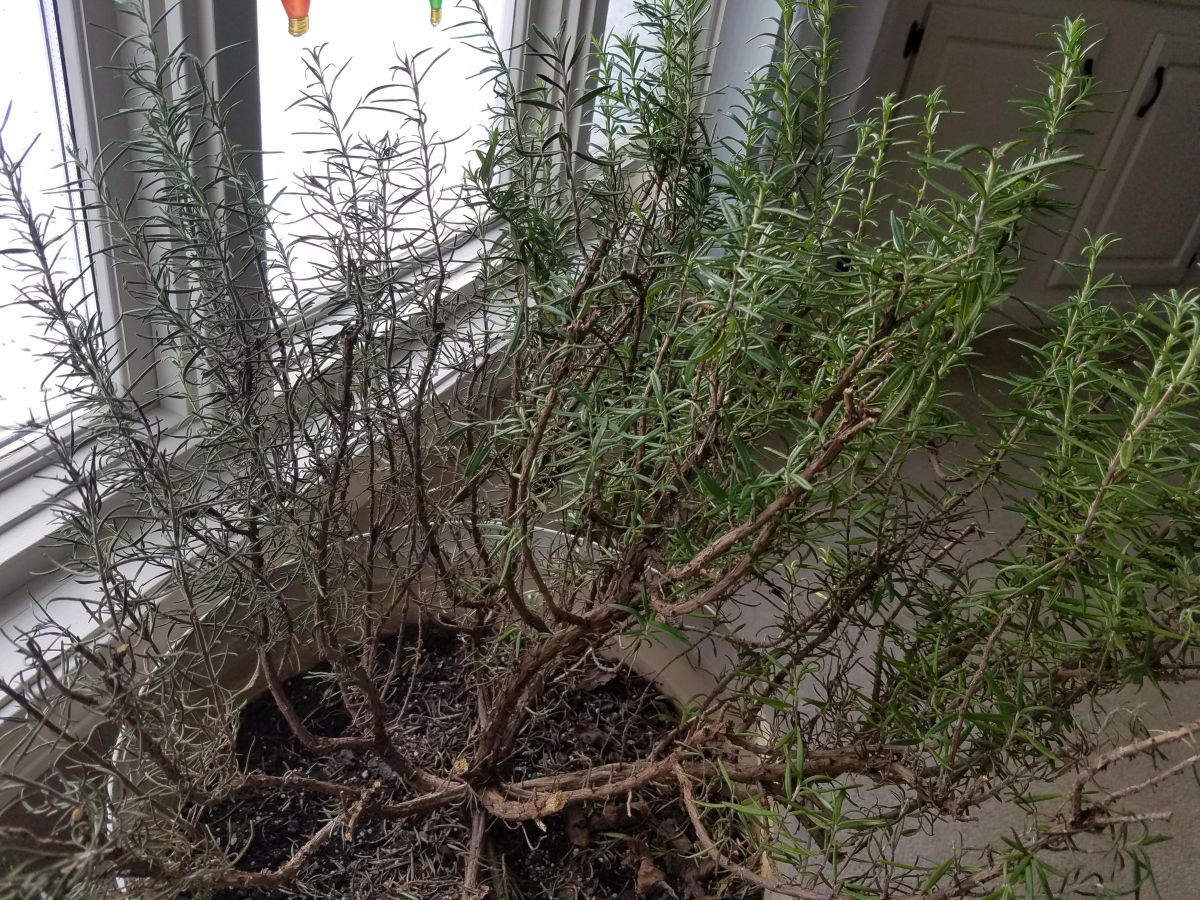
Step 3: Gently Remove the Rosemary Plant from its Current Pot
Now that you have the right pot and potting mix prepared, it’s time to carefully remove the rosemary plant from its current pot. Follow these steps:
1. Water the Plant: Before removing the plant, give it a thorough watering. Moist soil will help the roots hold together during the transplanting process.
2. Loosen the Soil: Gently tap the sides of the current pot to loosen the soil around the edges. You can also use a trowel or your hands to carefully separate the soil from the sides of the pot.
3. Support the Plant: Hold the rosemary plant by the base of its stem with one hand, using your other hand to support the pot. This will ensure stability and prevent damage to the plant.
4. Invert the Pot: Turn the pot upside down while still supporting the plant. Gently tap or squeeze the sides of the pot to release the root ball. If the plant is stubborn, carefully slide a trowel or your fingers along the inner edges of the pot to loosen the root ball.
5. Remove the Plant: Once the root ball is loose, gently lift the plant out of the pot. Be careful not to tug or force the plant, as this may damage the roots.
By using these techniques, you can safely remove the rosemary plant from its current pot without causing stress or harm. In the next step, we’ll discuss how to care for the plant’s roots during the repotting process.
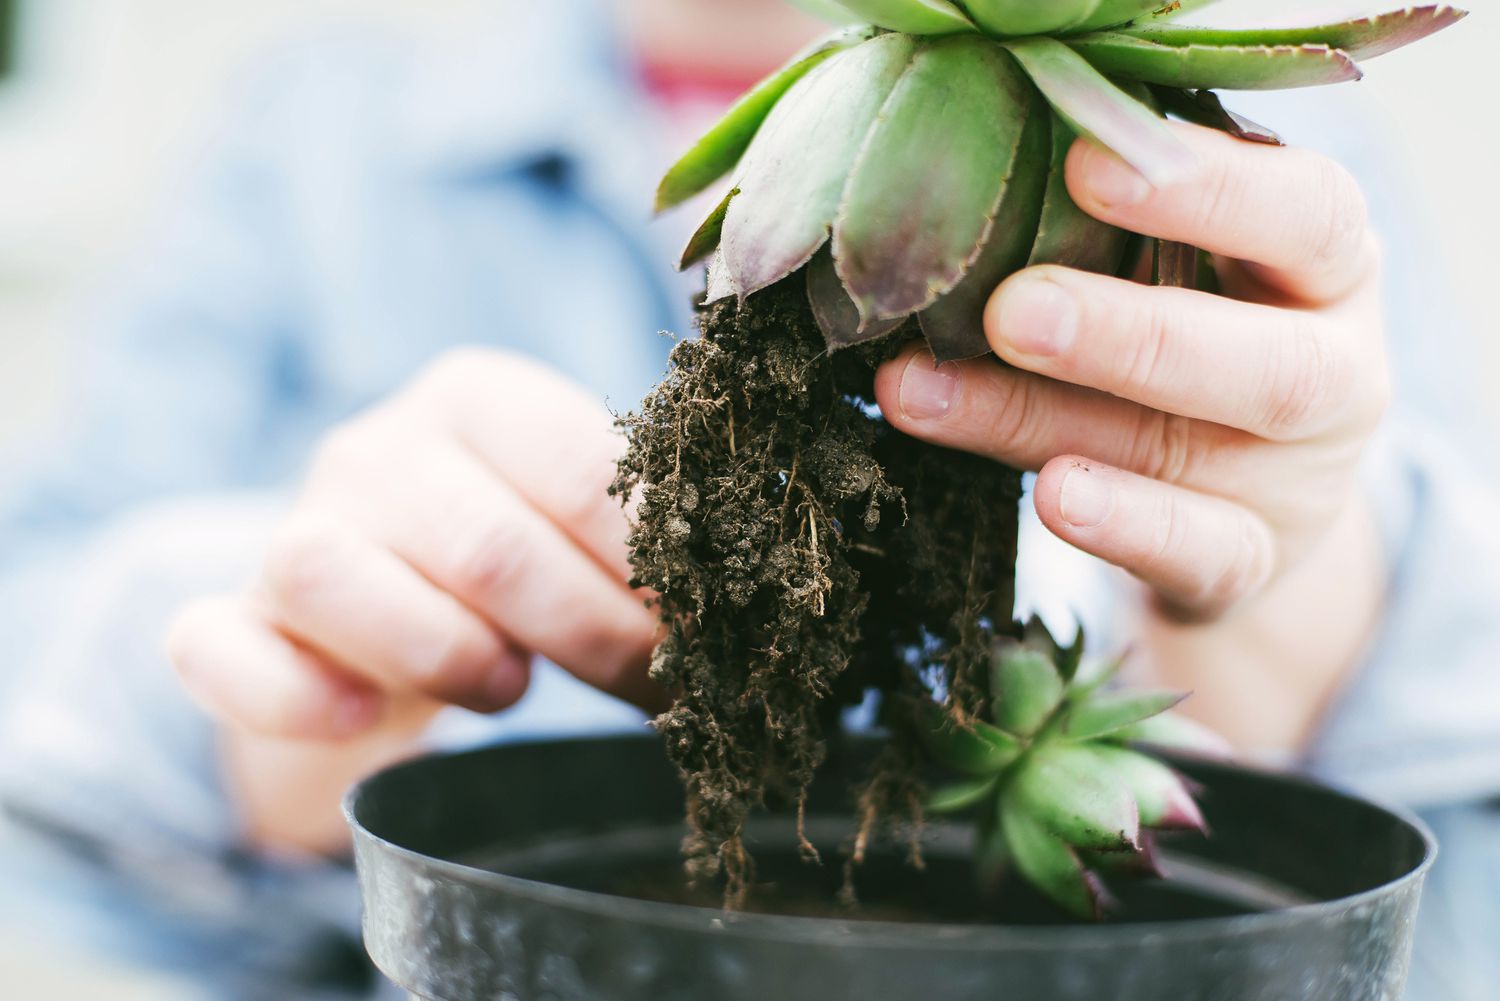
Step 4: Loosen and Trim the Roots
After gently removing the rosemary plant from its current pot, it’s important to inspect and prepare the roots before transferring it to the new pot. Follow these steps:
1. Inspect the Roots: Carefully examine the roots to look for any signs of damage, rot, or disease. Healthy roots are firm, white, and free from any dark or mushy spots. If you notice any unhealthy roots, trim them off using clean pruning shears.
2. Loosen the Roots: Gently loosen the root ball by lightly teasing apart the roots with your fingers. This will help stimulate new root growth and prevent them from becoming too tightly bound in the new pot.
3. Trim the Roots (if necessary): If the root ball is excessively large or tangled, it may be beneficial to trim some of the roots. Use sharp, clean pruning shears to remove any overly long or damaged roots. This will encourage new root growth and allow the plant to establish itself in the new pot more easily.
4. Be Mindful of the Taproot: Rosemary plants have a deep taproot, which serves as their main anchor and nutrient source. Be gentle and avoid cutting or damaging the taproot during the trimming process.
5. Remove Excess Soil: Shake off any excess soil clinging to the roots, but avoid completely bare-rooting the plant. Leaving some soil intact will help minimize transplant shock and provide the plant with essential nutrients.
By taking the time to loosen and trim the roots, you are ensuring that the rosemary plant has the best chance of establishing itself in its new pot. The next step will guide you through the process of placing the repotted rosemary plant in its new home.
Step 5: Place the Rosemary Plant in the New Pot
Now that you have prepared the rosemary plant’s roots, it’s time to transfer it to the new pot. Follow these steps:
1. Add Potting Mix to the New Pot: Fill the new pot with enough potting mix so that the rosemary plant’s root ball will sit at the same level it was in the previous pot. Gently pat down the soil to ensure a stable base for the plant.
2. Create a Hole: With your fingers or a trowel, create a small hole in the center of the potting mix where you will place the rosemary plant. The hole should be deep enough to accommodate the root ball without bending or cramming the roots.
3. Position the Rosemary Plant: Carefully place the rosemary plant’s root ball into the hole, ensuring that it sits upright and the plant is centered in the pot. The top of the root ball should be level with or slightly above the rim of the pot.
4. Fill in the Gaps: Fill in the gaps around the root ball with additional potting mix. Gently press the soil down to eliminate any air pockets and provide stability for the plant. Avoid compacting the soil too firmly, as this can hinder water drainage.
5. Check the Plant’s Height: Ensure that the rosemary plant is at the desired height in the pot. Adjust the level by adding or removing soil as needed. The goal is to have the top of the root ball just below the pot rim.
Placing the rosemary plant in its new pot is a critical step in the repotting process. It sets the stage for the plant’s growth and establishes its foundation. In the next step, we’ll discuss how to properly fill in the potting mix around the root ball.
Step 6: Fill in the Potting Mix
With the rosemary plant securely placed in the new pot, it’s time to fill in the spaces around the root ball with potting mix. Follow these steps to ensure proper filling:
1. Add Potting Mix: Start by adding small amounts of potting mix around the root ball. Gently tap the pot or use your fingers to settle the mix and eliminate any air pockets.
2. Fill Gradually: Gradually add more potting mix, layer by layer, until it reaches the desired level. Take your time and avoid overfilling the pot, as this can put unnecessary pressure on the roots.
3. Tap and Settle: After each layer of potting mix, lightly tap the pot to encourage settling and eliminate any gaps or air pockets. This will ensure that the soil is evenly distributed and provides a stable environment for the plant.
4. Leave Some Space: When filling the pot, leave a small gap (around 1 inch) between the top of the potting mix and the rim of the pot. This space will allow for proper watering without overflow.
5. Avoid Overcompaction: While it’s important to settle the potting mix, be cautious about overcompacting it. Overly compacted soil can hinder water drainage and restrict root growth. Maintain a loose, fluffy texture that allows for proper air circulation.
By following these steps, you will ensure that the potting mix is properly filled around the rosemary plant’s root ball, providing a stable and nutrient-rich environment for healthy growth. In the next step, we’ll discuss the importance of watering the repotted rosemary plant.
Step 7: Water the Rosemary Plant
After repotting the rosemary plant, it’s crucial to provide it with proper hydration. Follow these steps to water the plant effectively:
1. Water Thoroughly: Give the repotted rosemary plant a thorough watering immediately after repotting. This will help settle the potting mix and ensure contact between the roots and the soil.
2. Water at the Base: Direct the water at the base of the plant, avoiding the foliage as much as possible. Watering at the base will allow the roots to absorb moisture efficiently.
3. Allow Drainage: Ensure that the pot has sufficient drainage, allowing excess water to escape. After watering, wait for a few minutes and then empty the saucer or dish to prevent water from pooling around the roots.
4. Monitor Moisture Levels: Keep an eye on the moisture levels of the potting mix. Rosemary prefers slightly drier conditions, so allow the top inch of the soil to dry out before watering again.
5. Avoid Overwatering: Overwatering can lead to root rot and other plant diseases. Always err on the side of underwatering rather than overwatering. It’s better to let the soil dry out slightly between waterings than to keep it consistently wet.
6. Consider Environmental Factors: Take into account the climate, temperature, and humidity in your location when determining the frequency of watering. These factors can affect how quickly the potting mix dries out.
Proper watering is essential for the health and growth of the repotted rosemary plant. By following these steps, you will provide it with the right amount of water to thrive. In the next step, we’ll discuss the ideal location for your repotted rosemary plant.
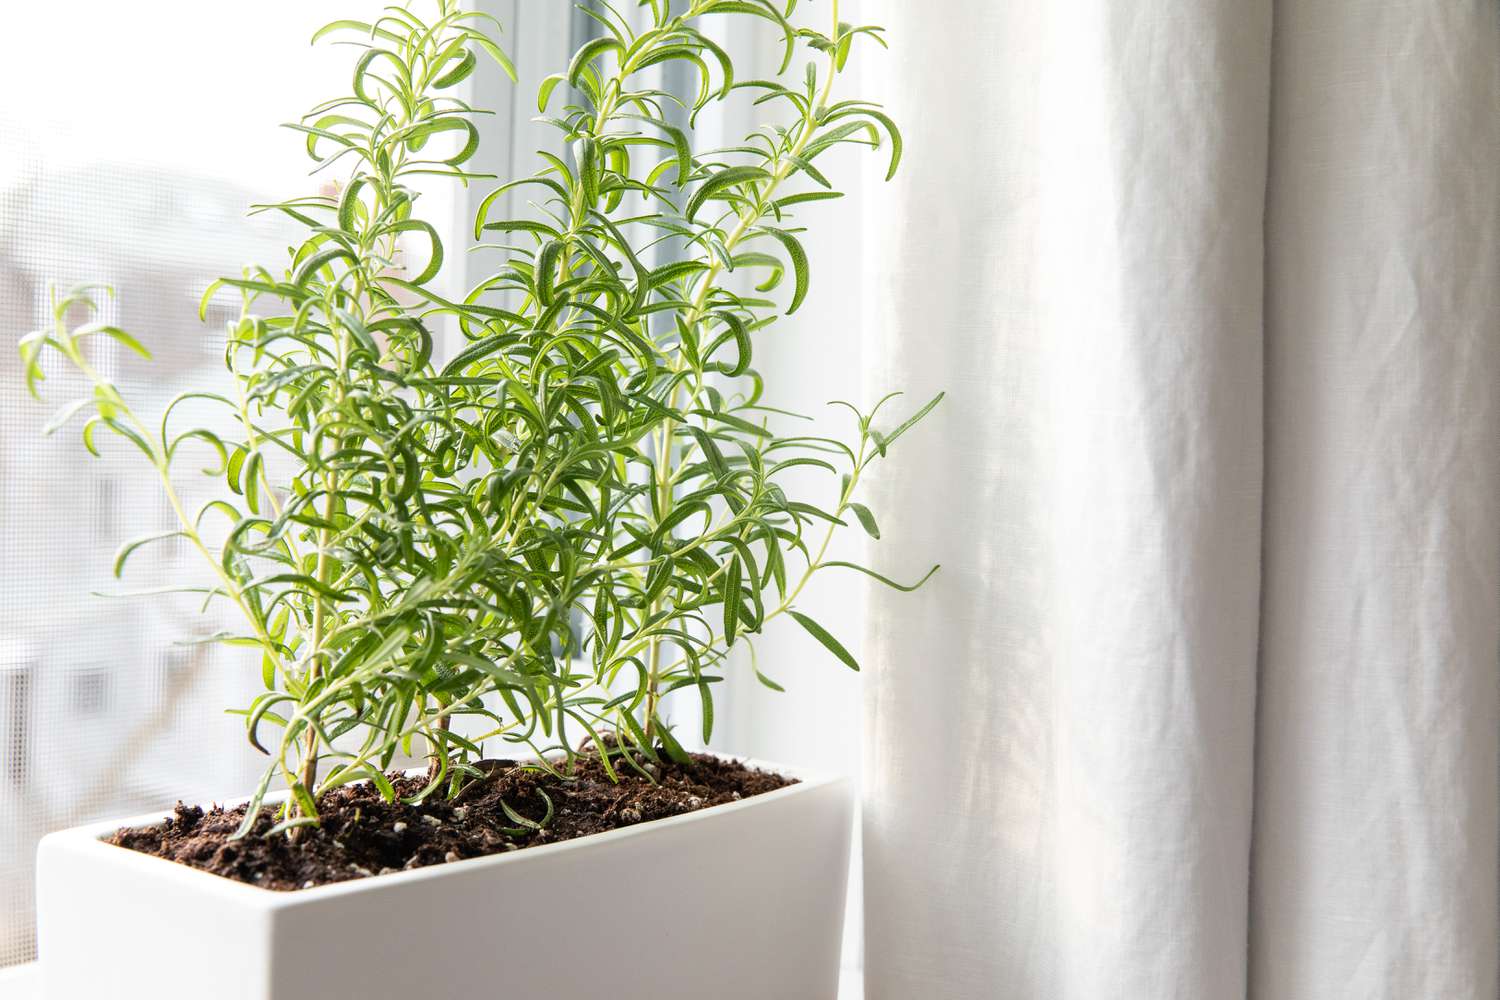
Step 8: Place the Repotted Rosemary Plant in an Ideal Location
Choosing the right location for your repotted rosemary plant is crucial for its overall health and development. Here are some guidelines to follow:
1. Sunlight: Rosemary plants thrive in a sunny location, so choose a spot that receives at least 6-8 hours of direct sunlight per day. Place the plant near a south-facing window or in a sunny outdoor spot if the weather allows.
2. Temperature: Rosemary plants prefer moderate temperatures between 60-75°F (15-24°C). Avoid placing the plant in areas with extreme heat or cold, such as near heating vents or drafty windows.
3. Air Circulation: Good air circulation is important for preventing fungal diseases and promoting healthy growth. Avoid placing the rosemary plant in a congested or stuffy location.
4. Humidity: Rosemary plants prefer drier conditions, so they are well-suited for indoor environments with lower humidity levels. Avoid placing the plant in areas with high humidity, such as bathrooms or laundry rooms.
5. Pests: Keep an eye out for common pests that can affect rosemary plants, such as aphids and spider mites. If necessary, take preventive measures or treat any infestations promptly to protect the plant.
6. Accessibility: Consider the convenience of accessing the plant for regular watering, maintenance, and harvesting. Choose a location that is easily reachable and allows you to care for the plant without difficulty.
By placing your repotted rosemary plant in an ideal location, you are ensuring that it receives the right amount of light, temperature, and air circulation for optimal growth. In the next step, we’ll provide you with some care tips to keep your repotted rosemary plant healthy and thriving.
Step 9: Care Tips for the Repotted Rosemary Plant
After repotting your rosemary plant, it’s important to provide ongoing care to ensure its continued health and success. Follow these care tips for your repotted rosemary plant:
1. Watering: Water the plant when the top inch of the soil feels dry. Remember, rosemary prefers slightly drier conditions, so avoid overwatering. Ensure that the pot has proper drainage to prevent waterlogging.
2. Fertilization: Feed your rosemary plant with a balanced, water-soluble fertilizer specifically formulated for herbs. Apply the fertilizer according to the package instructions, usually once a month during the growing season.
3. Pruning: Regularly prune your rosemary plant to maintain its shape and promote bushiness. Use clean and sharp pruning shears to remove any dead or yellowing leaves, as well as to shape the plant as desired.
4. Sunlight: Ensure that your rosemary plant receives ample sunlight. If growing indoors, rotate the pot occasionally to ensure even exposure to sunlight and prevent the plant from leaning towards one side.
5. Pest Control: Keep an eye out for common pests such as aphids, spider mites, or mealybugs. If you spot any infestation, remove the affected leaves or treat the plant with an appropriate organic insecticide.
6. Harvesting: Harvest the leaves of your rosemary plant as needed for culinary purposes. Trim the sprigs with clean pruning shears, cutting just above a node to encourage new growth.
7. Winter Care: During the winter months, provide extra protection for your rosemary plant if grown in a cold climate. Move it indoors to a cool, well-lit location, or cover it with a frost blanket to shield it from freezing temperatures.
By following these care tips, your repotted rosemary plant will thrive and provide you with flavorful leaves for culinary use. Enjoy the benefits of having this fragrant and versatile herb right at your fingertips!
Conclusion
Repotting a rosemary plant is a necessary task to ensure its health and longevity. By providing the plant with a larger pot and fresh potting mix, you give its roots room to grow and access to essential nutrients. Following the step-by-step guide outlined in this article, you can successfully repot your rosemary plant and set it up for continued growth in an ideal location.
Remember to choose a pot that allows for proper drainage and select a well-draining potting mix. Gently remove the plant from its current pot, loosen and trim the roots if necessary, and then carefully place it in the new pot. Fill in the potting mix, water the plant thoroughly, and find a suitable spot with ample sunlight and good air circulation.
To maintain the health of your repotted rosemary plant, water it appropriately, fertilize when needed, and provide regular pruning and pest control. Harvest the leaves as desired for culinary use, and during winter months, protect the plant from freezing temperatures.
With proper care, your repotted rosemary plant will continue to provide you with its delightful fragrance, flavorful leaves, and a touch of greenery to enhance your home or garden. Enjoy the benefits of nurturing and growing this versatile herb, and explore the many culinary possibilities it offers.