Home>Gardening Techniques>DIY Projects>How To Repot Juniper Bonsai Tree

DIY Projects
How To Repot Juniper Bonsai Tree
Modified: February 9, 2024
Learn how to repot a juniper bonsai tree with our step-by-step guide. Perfect for DIY projects and bonsai enthusiasts. Grow a healthy and beautiful bonsai tree today!
(Many of the links in this article redirect to a specific reviewed product. Your purchase of these products through affiliate links helps to generate commission for Chicagolandgardening.com, at no extra cost. Learn more)
Table of Contents
Introduction
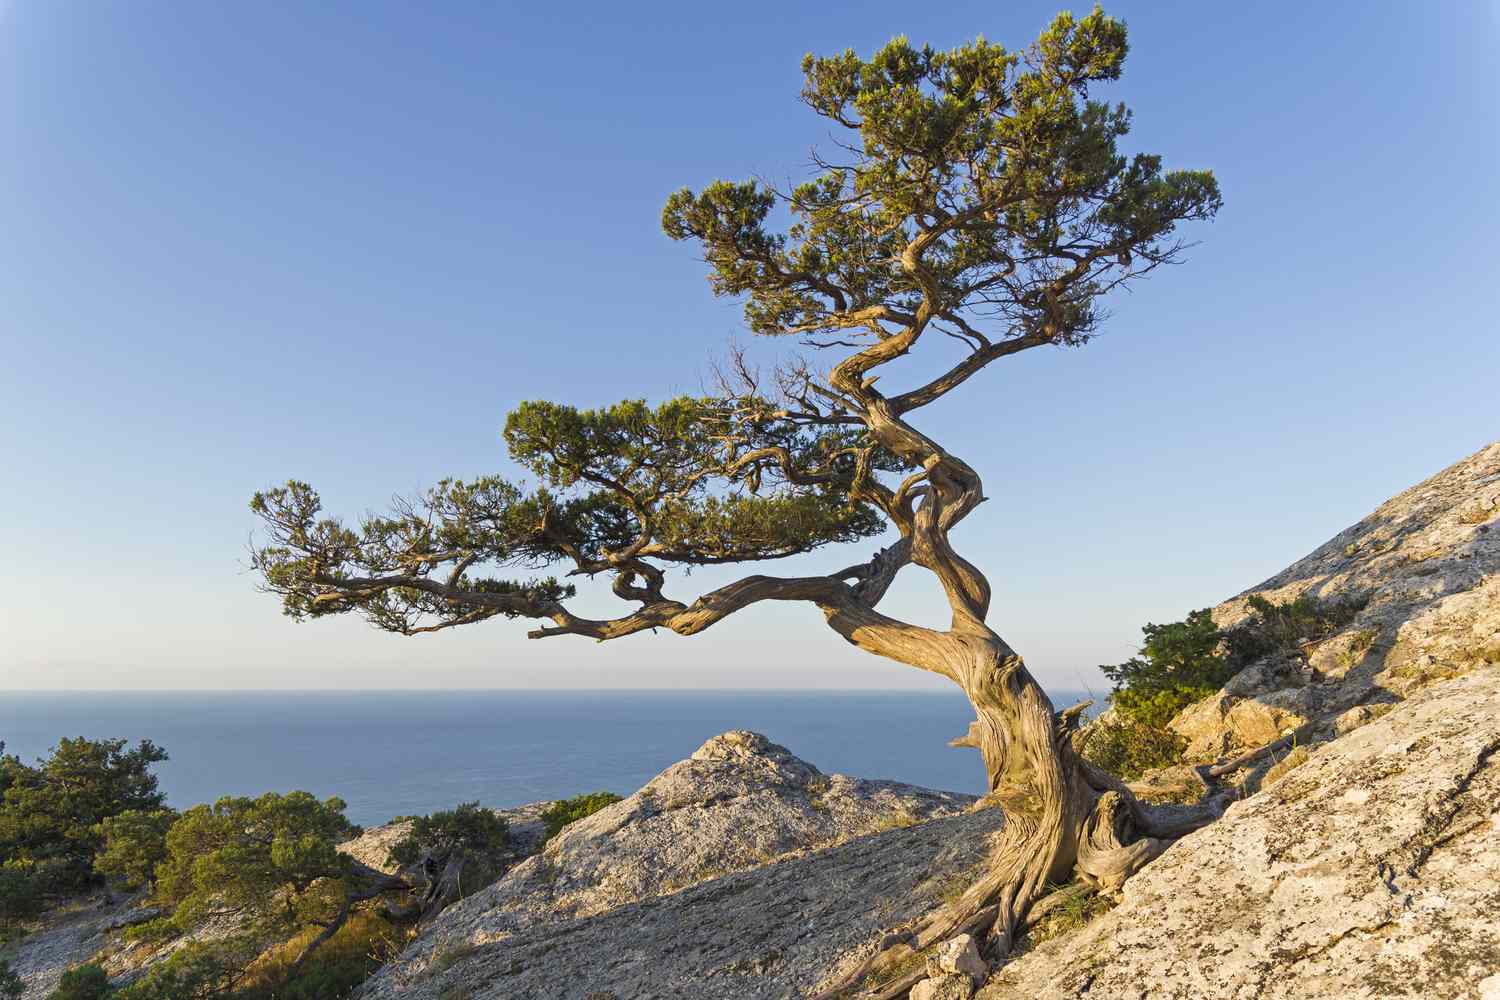
Welcome to the world of bonsai! If you’re a proud owner of a juniper bonsai tree, you’re likely aware of the delicate balance required to maintain its health and beauty. Repotting is a crucial aspect of bonsai care, ensuring that the tree remains healthy and continues to thrive. In this comprehensive guide, we will walk you through the intricate process of repotting your juniper bonsai tree, providing you with the knowledge and confidence to undertake this essential task with ease.
Repotting a juniper bonsai tree is a fundamental aspect of its long-term care, as it allows the tree to receive fresh nutrients, promotes root health, and provides ample space for growth. While the process may seem daunting at first, with the right guidance and a gentle touch, you can successfully repot your juniper bonsai tree, contributing to its overall well-being and longevity.
Throughout this guide, we will delve into the nuances of repotting, from choosing the right time for the task to aftercare and maintenance. By the end, you will possess a comprehensive understanding of the repotting process, empowering you to nurture your juniper bonsai tree with the care and attention it deserves.
Choosing the Right Time
Timing is crucial when it comes to repotting a juniper bonsai tree. The optimal time for this task is during the tree’s dormant period, which typically occurs in early spring or late winter. This period is ideal as the tree is less susceptible to stress and can recover more effectively after the repotting process. Additionally, repotting during the dormant season minimizes the risk of damaging the tree’s delicate root system, allowing it to adjust to its new environment with greater ease.
It’s important to observe the tree closely and identify signs that indicate the need for repotting. If you notice the roots circling the inside of the pot, the soil drying out too quickly, or a general decline in the tree’s health, these are indications that it may be time to repot your juniper bonsai. Keep in mind that repotting too frequently can also disrupt the tree’s growth and should be avoided unless absolutely necessary.
While the dormant season is the preferred time for repotting, certain circumstances may necessitate an off-season repotting, such as root rot or other critical issues. In such cases, it’s essential to proceed with caution and provide extra care to help the tree recover from the repotting process.
By carefully considering the timing of the repotting process, you can ensure that your juniper bonsai tree has the best chance of thriving in its new environment, setting the stage for healthy growth and development.
Preparing the New Pot
Before repotting your juniper bonsai tree, it’s essential to select a suitable new pot that provides ample space for the tree’s roots to spread and grow. The new pot should be slightly larger than the current one, allowing for the tree’s continued development while preventing it from becoming root-bound. Additionally, the new pot should have drainage holes to facilitate proper water drainage, preventing waterlogged soil and root rot.
When choosing a new pot, consider the aesthetic appeal and how it complements the overall design of your juniper bonsai. Whether you opt for a traditional ceramic pot or a more contemporary design, ensure that the pot’s style harmonizes with the tree’s unique character, creating a visually captivating display.
Once you’ve selected the new pot, it’s crucial to prepare it for the repotting process. Begin by cleaning the pot thoroughly to remove any debris or remnants of old soil, promoting a clean and healthy environment for the tree’s roots. Next, place a layer of mesh or a drainage screen over the pot’s drainage holes to prevent soil from escaping while allowing water to flow freely.
After preparing the pot, fill the bottom with a layer of fresh bonsai soil, ensuring that it is evenly distributed and provides a stable foundation for the tree. The soil should be well-draining and provide the necessary nutrients for the juniper bonsai to thrive. By taking the time to prepare the new pot thoughtfully, you set the stage for a successful repotting process and the continued well-being of your cherished juniper bonsai tree.
Removing the Bonsai from the Old Pot
As you embark on the repotting journey, delicately removing the juniper bonsai from its old pot is a pivotal step that requires precision and care. Start by gently pruning any overgrown or protruding roots, aiming to maintain a balanced and healthy root system. Next, carefully loosen the soil around the edges of the pot using a root hook or a chopstick, ensuring that you do not damage the roots in the process.
Once the soil has been loosened, it’s time to remove the bonsai from the pot. Grasp the trunk of the tree firmly but gently, and with the other hand, support the base of the pot as you carefully tilt and maneuver it to release the tree. Exercise patience and avoid rushing this step, as abrupt movements can cause damage to the tree’s roots and disrupt its overall stability.
Upon successfully removing the juniper bonsai from the old pot, take a moment to inspect the root system, ensuring that it is healthy and free from any signs of disease or decay. If you notice any damaged or unhealthy roots, carefully trim them with sterilized pruning shears, promoting the growth of new, vigorous roots.
As you transition the tree from its old home to the new pot, treat it with the utmost care and respect, recognizing the significance of this moment for the tree’s well-being. By approaching this step with patience and attentiveness, you lay the groundwork for a smooth and successful repotting process, setting the stage for the juniper bonsai’s continued vitality and growth.
Trimming the Roots
Trimming the roots of your juniper bonsai is a delicate yet essential aspect of the repotting process, contributing to the tree’s overall health and vitality. As you carefully inspect the root system, identify any excessively long or tangled roots that may impede the tree’s growth in its new pot. Using sterilized pruning shears, gently trim these roots, maintaining a balance between removing excess growth and preserving the tree’s essential root structure.
When trimming the roots, it’s crucial to approach the task with precision and mindfulness, ensuring that you do not remove more than one-third of the root mass. This conservative approach minimizes stress on the tree and allows it to recover more effectively after the repotting process. As you trim the roots, envision the tree’s future growth and consider how your actions will promote its stability and well-being in the long run.
While trimming the roots, pay close attention to any damaged or decaying roots, removing them carefully to prevent the spread of disease and promote the growth of healthy new roots. By maintaining a keen eye and a steady hand, you contribute to the overall resilience of the juniper bonsai, fostering a strong and vigorous root system that will support its growth for years to come.
Throughout the root trimming process, maintain open communication with your bonsai tree, acknowledging the significance of this transformative moment in its life. By approaching the task with reverence and a deep understanding of the interconnectedness between the tree and its roots, you honor the timeless art of bonsai cultivation and nurture the enduring beauty of your juniper bonsai.
Placing the Bonsai in the New Pot
As you prepare to transfer your juniper bonsai to its new home, it’s essential to approach this step with care and precision, ensuring that the tree’s transition is seamless and nurturing. Begin by positioning the tree in the center of the new pot, allowing ample space for the roots to spread evenly in their fresh environment. Take the time to adjust the tree’s placement, ensuring that it aligns harmoniously with the pot’s overall aesthetic and design.
Once the juniper bonsai is positioned within the new pot, carefully add fresh bonsai soil around the roots, gently pressing it down to provide stability and support. As you add the soil, periodically tap the pot against a solid surface to help the soil settle and eliminate air pockets, promoting a secure foundation for the tree. Be mindful not to bury the trunk too deeply, as this can lead to issues with moisture retention and root health.
Throughout this process, maintain a deep connection with your juniper bonsai, acknowledging the significance of this transition and the tree’s resilience in adapting to its new surroundings. By fostering a sense of harmony and balance between the tree and its pot, you contribute to the overall well-being and vitality of your cherished bonsai.
After placing the bonsai in the new pot, take a moment to admire the symbiotic relationship between the tree and its environment, recognizing the beauty of this timeless art form and the transformative journey that lies ahead for your juniper bonsai. With the tree now nestled in its new home, you have set the stage for its continued growth and development, nurturing its enduring grace and presence in your life.
Adding Soil and Watering
As you complete the repotting process for your juniper bonsai, the addition of fresh soil and proper watering are essential steps that will contribute to the tree’s health and vitality in its new environment. When adding soil, ensure that it is well-draining and provides the necessary nutrients for the tree’s growth. Gently layer the soil around the roots, taking care to maintain a balanced distribution that supports the tree’s stability and nourishment.
After adding the soil, it’s crucial to water the tree thoroughly, allowing the water to penetrate the soil and reach the roots. Use a gentle stream of water to avoid displacing the soil, ensuring that the water permeates the entire root system. As you water the tree, observe the soil’s absorption capacity, adjusting the watering process to prevent waterlogging and promote optimal moisture levels for the tree.
Following the initial watering, continue to monitor the soil’s moisture levels, ensuring that it remains consistently moist but not waterlogged. Strike a delicate balance in your watering routine, acknowledging the tree’s unique needs and the environmental factors that influence its hydration requirements. By nurturing a mindful and attentive approach to watering, you provide the juniper bonsai with the essential care it needs to thrive in its new pot.
Throughout the soil addition and watering process, maintain a deep connection with your juniper bonsai, recognizing the significance of this nurturing gesture and the tree’s resilience in adapting to its new surroundings. By fostering a sense of harmony and balance between the tree and its environment, you contribute to the overall well-being and vitality of your cherished bonsai.
Aftercare and Maintenance
After successfully repotting your juniper bonsai, diligent aftercare and ongoing maintenance are essential to ensure the tree’s continued health and vitality. Place the newly potted bonsai in a location that provides the appropriate light and temperature conditions for its specific species. Ensure that it receives adequate sunlight, but be mindful of protecting it from harsh midday sun, which can cause stress and dehydration.
Monitor the tree’s moisture levels regularly, adjusting your watering routine as needed to maintain optimal soil moisture. Avoid overwatering, as this can lead to root rot, and be attentive to signs of underwatering, such as wilting foliage. Throughout the aftercare process, observe the tree closely, developing a deep understanding of its individual needs and responding with care and attentiveness.
As the tree acclimates to its new pot, refrain from fertilizing for the first few weeks to allow the roots to recover and establish themselves. Once the tree has settled into its new environment, introduce a balanced fertilizer specifically formulated for bonsai trees, providing essential nutrients for healthy growth. Follow the recommended fertilization schedule, adjusting the frequency and potency based on the tree’s response and seasonal variations.
Regularly inspect the juniper bonsai for any signs of pests or diseases, addressing any issues promptly to prevent them from affecting the tree’s well-being. Prune the tree as needed to maintain its desired shape and encourage new growth, but be mindful of the juniper’s growth patterns and avoid excessive pruning, which can weaken the tree.
By embracing the aftercare and maintenance of your juniper bonsai as a mindful and nurturing practice, you cultivate a deep bond with the tree and honor the timeless art of bonsai cultivation. Embrace the journey of caring for your bonsai, recognizing the profound connection between the tree and its caretaker, and savor the beauty and tranquility it brings to your life.