Home>Types of Gardening>Ornamental Gardening>How To Replant A Bonsai Plant

Ornamental Gardening
How To Replant A Bonsai Plant
Modified: February 9, 2024
Learn the art of replanting a bonsai plant with our expert tips and advice. Enhance your ornamental gardening skills and keep your bonsai thriving.
(Many of the links in this article redirect to a specific reviewed product. Your purchase of these products through affiliate links helps to generate commission for Chicagolandgardening.com, at no extra cost. Learn more)
Table of Contents
- Introduction
- Choosing the Right Time and Place
- Gathering the Necessary Tools and Materials
- Preparing the Bonsai Plant
- Removing the Plant from Its Container
- Inspecting and Trimming the Roots
- Preparing the New Container
- Placing the Bonsai Plant in the New Container
- Adding Fresh Soil and Watering the Plant
- Caring for the Replanted Bonsai Plant
- Conclusion
Introduction
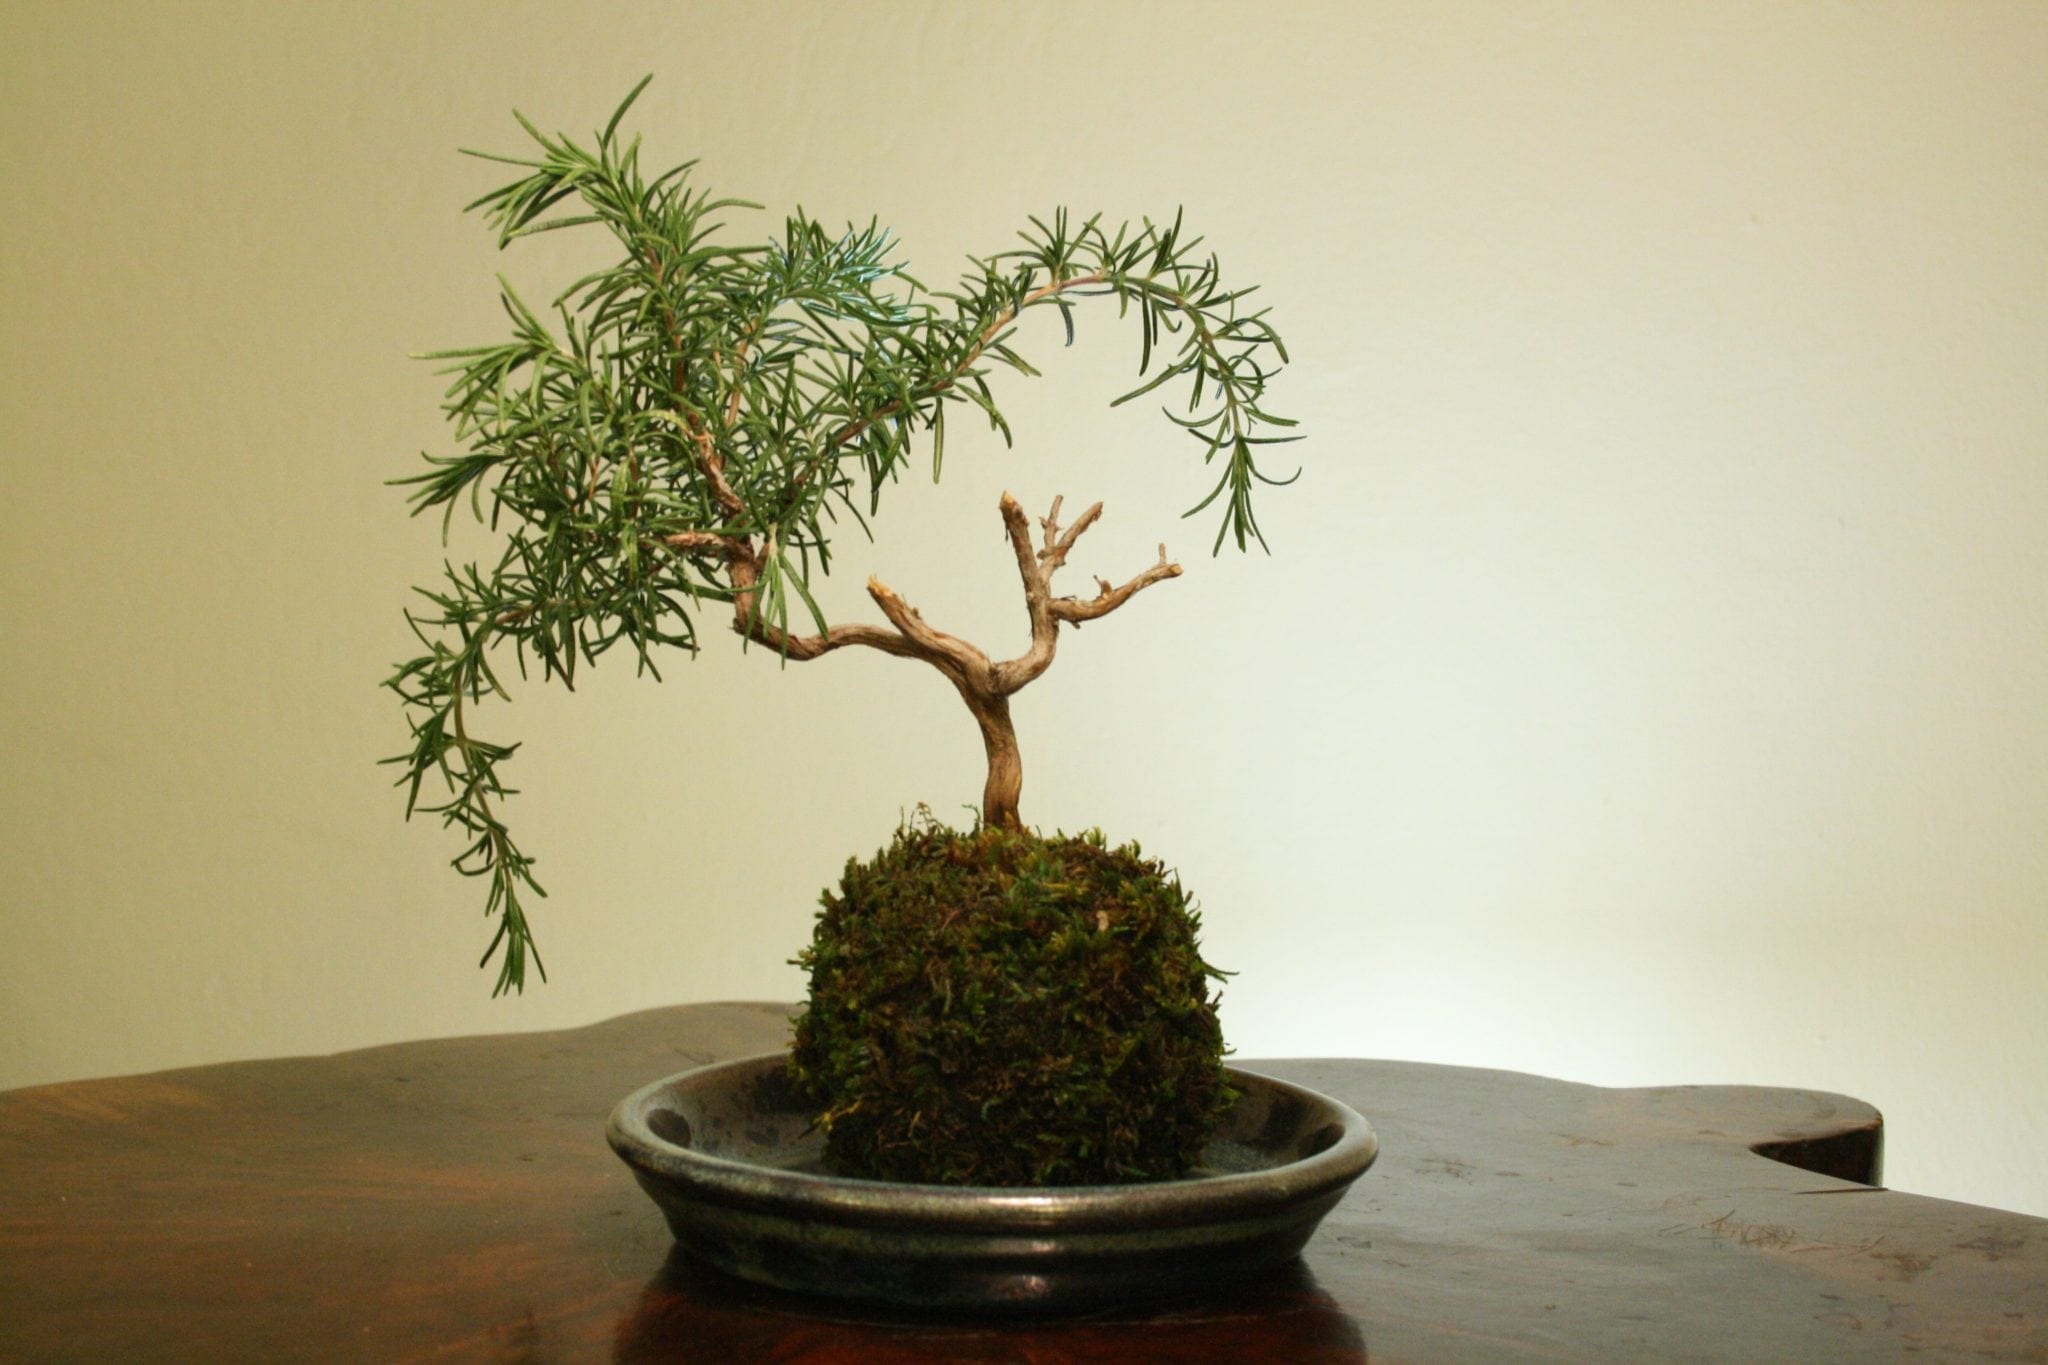
Welcome to the world of ornamental gardening, where the beauty of nature is cultivated and showcased in intricate and captivating ways. One aspect of ornamental gardening that has gained immense popularity is the art of growing and maintaining bonsai plants. Bonsai, a traditional Japanese art form, involves the cultivation of miniature trees in containers. These carefully pruned and trained plants evoke a sense of tranquility and harmony, making them a delightful addition to any garden or living space.
While bonsai plants are known for their longevity, there may come a time when they need to be replanted. Whether it’s due to outgrowing their current containers, root congestion, or the desire to refresh the soil and promote healthy growth, replanting a bonsai plant is an essential task for maintaining its vitality and beauty. In this article, we will guide you through the process of replanting a bonsai plant, providing step-by-step instructions and valuable insights to ensure a successful transplant.
Replanting a bonsai plant may seem like a daunting task, especially for beginners, but fear not! With the right knowledge and tools, you can undertake this rewarding endeavor and give your bonsai a new lease on life. We will discuss the ideal time for replanting, the necessary tools and materials, the process of preparing the plant, and how to care for it after replanting. So, grab your gardening gloves and let’s get started on this exciting journey!
Choosing the Right Time and Place
When it comes to replanting a bonsai plant, timing is crucial. The best time to undertake this task is during the early spring or late winter when the plant is dormant. This ensures that the bonsai experiences minimal stress during the transplant process. Additionally, avoid replanting during extreme weather conditions, such as hot summers or freezing winters, as this can further stress the plant and inhibit its ability to recover.
Next, consider the location where you will be replanting your bonsai. Choose a well-lit area that receives the appropriate amount of sunlight for the particular species of bonsai you have. Most bonsai varieties thrive in direct or partial sunlight, but it is essential to research the specific light requirements for your tree. Ensuring sufficient light will promote healthy growth and allow the bonsai to thrive in its new container.
In terms of the replanting location, it is best to perform the task outdoors where you have ample space and access to water. Working outside also allows for better ventilation, reducing the risk of inhaling dust or potentially harmful substances during the replanting process. However, if outdoor space is limited, you can choose a well-lit and well-ventilated indoor area as an alternative.
Now that you have chosen the right time and place for replanting, it is time to gather the necessary tools and materials to ensure a successful transplant.
Gathering the Necessary Tools and Materials
Before embarking on the replanting process, it is essential to have the right tools and materials at hand. Here is a list of items you will need:
- Bonsai shears or pruning scissors: These specialized tools are designed to trim and shape the bonsai branches and roots effectively. They have sharp blades that provide clean cuts, minimizing damage to the plant.
- Bonsai wire: This wire is used to gently bend and shape the branches of the bonsai during the replanting process. It is available in various thicknesses, so choose the appropriate size for your specific bonsai tree.
- Bonsai soil: A well-draining soil mix specifically formulated for bonsai plants is crucial for their health and growth. You can purchase premixed bonsai soil or create your own by combining organic materials such as peat moss, perlite, and pine bark.
- Bonsai container: The container you choose for replanting should be appropriate in size and style for your bonsai plant. Ensure that it has drainage holes to prevent waterlogged soil, which could lead to root rot.
- Moss or decorative rocks: Adding moss or decorative rocks to the surface of the soil can enhance the aesthetic appeal of your bonsai and help retain moisture.
- Watering can or spray bottle: A watering can or spray bottle with a fine mist setting will allow you to water your replanted bonsai gently.
- Root rake or chopstick: These tools are helpful in loosening and combing through the roots during the replanting process.
- Bucket or basin: A container large enough to soak the bonsai root ball before the replanting process is necessary to ensure thorough hydration.
By gathering these tools and materials in advance, you will have everything you need to successfully replant your bonsai with ease. Now that you have everything prepared, let’s move on to the next step of preparing the bonsai plant for replanting.
Preparing the Bonsai Plant
Preparing the bonsai plant before the replanting process is a crucial step in ensuring its successful transition to a new container. Here are the steps to follow:
- Water the bonsai thoroughly: Before beginning the replanting process, ensure that the bonsai plant is well-hydrated. This will make it easier to remove the plant from its current container without causing damage to the roots.
- Trim unnecessary growth: Take the bonsai shears or pruning scissors and carefully trim any excess foliage or branches that may hinder the replanting process. This step will also help maintain the desired shape and form of the bonsai.
- Inspect the roots: Gently remove the bonsai from its container and carefully inspect the roots. Look for signs of root circling or congestion, as well as any signs of disease or pest infestation. If necessary, prune away any damaged or unhealthy roots using the bonsai shears.
- Loosen the root ball: Use a root rake or chopstick to comb through the root ball and gently loosen the tightly packed soil. This step will improve the plant’s ability to receive nutrients and water in its new container.
- Remove excess soil: Shake off any excess soil from the root ball to expose the true structure of the bonsai’s roots. This will help you determine the appropriate size of the new container.
By following these preparation steps, you are ensuring that your bonsai plant is in the best possible condition for replanting. Now that you have prepared the bonsai, it is time to carefully remove it from its current container.
Removing the Plant from Its Container
Removing the bonsai plant from its current container is a delicate process that requires patience and precision. Follow these steps to ensure a successful removal:
- Prepare a workspace: Find a clean and spacious area where you can safely work on removing the bonsai from its container. It is recommended to lay down a protective sheet or towel to catch any soil or debris.
- Tap the container: Gently tap the sides and bottom of the container to loosen the soil and roots. This will help the bonsai plant detach from the container more easily.
- Support the plant: Place one hand over the soil surface to hold the bonsai in place, while using your other hand to carefully tilt and tap the container. Slowly and gently ease the bonsai out of the container, being careful not to damage the roots or branches.
- Inspect the root ball: Once the bonsai is out of its container, inspect the root ball for any signs of root circling or congestion. Gently loosen the roots using your fingers or a root rake, being mindful not to overly disturb the root system.
- Remove excess soil: Carefully remove any excess soil from the root ball using your fingers or a small brush. This will allow you to better assess the health and structure of the bonsai roots.
By following these steps, you can safely remove the bonsai plant from its container without causing harm to its delicate structure. Once the plant is out and the root ball has been inspected and prepared, it’s time to move on to the next stage: inspecting and trimming the roots.
Inspecting and Trimming the Roots
Inspecting and trimming the roots of your bonsai plant is a crucial step in ensuring its health and promoting optimal growth in the new container. Here’s how to go about it:
- Examine the roots: Take a close look at the roots of your bonsai plant, keeping an eye out for any signs of rot, disease, or pest infestation. Look for roots that are excessively long, tangled, or circling around the root ball. These issues can impede the plant’s ability to absorb nutrients and water.
- Trim the roots: Using a pair of bonsai shears or pruning scissors, carefully trim away any damaged, diseased, or overly long roots. Make clean, precise cuts to minimize stress on the plant. Additionally, if you notice any roots that are circling around the root ball, you can gently tease them out and trim them back to encourage new, healthy growth.
- Avoid over-pruning: While it’s important to remove unhealthy or excessive roots, be cautious not to trim too much. Aim to maintain a balanced ratio of roots to foliage to ensure the plant’s overall health and stability.
- Soak the roots: After trimming the roots, soak the bonsai root ball in a bucket or basin of water. This will help hydrate the plant and prepare it for the replanting process.
By inspecting and trimming the roots, you are setting the stage for a healthy and thriving bonsai plant. Remember to handle the roots with care and avoid excessive removal, as a delicate balance is crucial for the plant’s overall well-being. With the roots inspected and trimmed, it’s time to move on to preparing the new container for the replanting process.
Preparing the New Container
Preparing the new container is a crucial step in ensuring the successful replanting of your bonsai. Follow these steps to get your container ready:
- Select an appropriate container: Choose a new container that is slightly larger than the current one, allowing room for the bonsai to grow. Consider the overall style and aesthetics, ensuring it complements the beauty of your bonsai. The container should have drainage holes to prevent waterlogging.
- Clean the container: Thoroughly clean the new container to remove any dirt or debris. Use water and a mild soap if needed. This step helps prevent the transmission of diseases or pests to your replanted bonsai.
- Add a drainage layer: Place a layer of small stones or ceramic shards at the bottom of the container to promote drainage and prevent the roots from sitting in stagnant water. This layer also helps create airflow within the container.
- Prepare the bonsai soil: If you are using pre-mixed bonsai soil, moisten it slightly to make it easier to work with. If you are creating your own soil mixture, combine the appropriate ratio of organic materials, such as peat moss, perlite, and pine bark, to ensure good drainage and nutrient retention.
- Position the wiring anchors (optional): If you plan to wire and shape the bonsai, you can position the wiring anchors in the new container before adding the soil. This will give you easy access to anchor and secure the branches.
By properly preparing the new container, you are creating an ideal environment for your bonsai’s roots to thrive and grow. Now that the new container is ready, it’s time to carefully place the bonsai plant into its new home.
Placing the Bonsai Plant in the New Container
Placing the bonsai plant in its new container is an important step in the replanting process. Follow these steps to ensure a successful transfer:
- Position the plant: Carefully place the bonsai plant into the new container, ensuring that it is centered and positioned at the desired angle. Gently adjust the roots, spreading them out evenly to encourage healthy growth.
- Anchor the plant: If you plan to wire and shape the branches, now is the time to anchor the wires to the wiring anchors or use other methods to secure the branches in the desired position.
- Add fresh soil: Gradually add the prepared bonsai soil around the root ball, gently firming it to provide support. Ensure that the soil reaches all the crevices and fills the empty spaces between the roots.
- Avoid air pockets: As you add soil, be careful to avoid creating air pockets. Gently tap the container on a firm surface to settle the soil and eliminate any trapped air.
- Check the level: Ensure that the bonsai is sitting at the appropriate height in the new container. The soil surface should be slightly below the rim of the container to allow for proper watering and prevent overflow.
By following these steps, you are successfully placing your bonsai plant into its new container. Take care to be gentle and attentive throughout the process to avoid damaging the plant or its delicate roots. With the plant securely positioned, it’s time to add the finishing touches by adding fresh soil and watering the plant.
Adding Fresh Soil and Watering the Plant
Once the bonsai plant is securely placed in its new container, it’s time to add fresh soil and provide proper hydration. Follow these steps to complete the replanting process:
- Fill the container: Slowly add fresh bonsai soil around the plant, taking care to fill in all the gaps and ensure even distribution. Gently press down the soil to provide stability and support to the bonsai.
- Water the plant: After adding the soil, it’s time to give your bonsai a thorough watering. Gradually pour water over the soil surface until it starts to drain out of the drainage holes. This ensures proper hydration and helps settle the soil.
- Avoid over-watering: Bonsai plants require proper balance in watering. It’s important not to over-water, as it can lead to root rot. Monitor the moisture levels of the soil and adjust your watering schedule accordingly. A good practice is to allow the top layer of soil to dry out slightly before watering again.
- Apply moss or decorative rocks (optional): If desired, you can add a layer of moss or decorative rocks to the soil surface of your bonsai. This not only enhances the aesthetics but also helps to retain moisture and prevent weed growth.
By adding fresh soil and providing adequate watering, you are giving your replanted bonsai the essential elements for healthy growth. Remember to maintain a proper watering routine and monitor the moisture level to ensure the well-being of your bonsai plant. Now that the replanting process is complete, let’s move on to caring for the bonsai post-replanting.
Caring for the Replanted Bonsai Plant
After replanting your bonsai, it is crucial to provide proper care to help it adjust and thrive in its new container. Follow these guidelines to ensure the continued health and beauty of your bonsai:
- Place the bonsai in an appropriate location: Choose a spot that provides the right amount of sunlight for your bonsai species. Most bonsai thrive in direct or partial sunlight, but it is essential to research the specific light requirements for your tree. Additionally, ensure the bonsai is protected from extreme weather conditions and strong winds.
- Water regularly: Maintain a regular watering schedule to keep the soil evenly moist. Avoid over-watering, as this can lead to root rot, but also be cautious not to let the soil dry out completely. Strike a balance by monitoring the moisture levels and adjusting your watering routine accordingly.
- Consider humidity: Bonsai plants generally prefer a higher level of humidity. To increase humidity around the plant, you can place a humidity tray filled with water near the bonsai or use a room humidifier.
- Fertilize appropriately: Use a balanced bonsai fertilizer to provide essential nutrients to your replanted bonsai. Follow the recommended dosage and frequency based on the specific fertilizer and your tree’s needs. Be careful not to over-fertilize, as this can cause damage to the roots.
- Prune and shape: Regular pruning is important for maintaining the desired shape and size of your bonsai. Trim back new growth, remove any dead or weak branches, and continuously monitor the overall form of the tree.
- Monitor for pests and diseases: Regularly inspect your bonsai for any signs of pests or diseases. Common pests include aphids, scale insects, and spider mites. Treat any infestations promptly using appropriate methods, such as organic insecticides or insecticidal soaps.
- Protect during extreme weather: During extreme weather conditions, such as heavy rains or frost, it is advisable to bring your bonsai indoors or provide protection using a greenhouse or protective cover.
By following these care guidelines, you are ensuring the long-term health and beauty of your replanted bonsai. Remember that each species of bonsai may have specific care requirements, so it is essential to research and understand the needs of your particular tree. With proper care, your bonsai will continue to thrive and bring joy and beauty for years to come.
Conclusion
Replanting a bonsai plant is a rewarding experience that allows you to rejuvenate and care for these miniature natural works of art. By following the steps outlined in this guide, you can successfully replant your bonsai and provide it with a fresh start in a new container. Remember to choose the right time and place for replanting, gather the necessary tools and materials, and carefully prepare the bonsai plant by inspecting, trimming, and loosening its roots. Additionally, ensure that the new container is properly prepared with drainage, fresh soil, and appropriate anchoring if necessary.
Once the replanting process is complete, caring for your bonsai becomes crucial. Place the bonsai in a suitable location with adequate light, maintain a regular watering routine, and monitor the humidity levels to ensure optimal conditions for growth. Regular pruning and shaping will help maintain the desired form and size of the bonsai, while keeping an eye out for pests and diseases will help prevent any potential issues.
Remember, each bonsai species has its unique care requirements, so it’s important to understand and tailor your care routine accordingly. With patience, dedication, and proper care, your replanted bonsai will continue to bring joy and beauty to your life for years to come.