Home>Gardening Techniques>Plant Care>How To Separate Seedlings
Plant Care
How To Separate Seedlings
Modified: February 9, 2024
Learn the best techniques for plant care, including how to separate seedlings for optimal growth. Discover expert tips and tricks to nurture your plants to their fullest potential.
(Many of the links in this article redirect to a specific reviewed product. Your purchase of these products through affiliate links helps to generate commission for Chicagolandgardening.com, at no extra cost. Learn more)
Table of Contents
- Introduction
- Materials Needed
- Step 1: Prepare the Seedlings
- Step 2: Gather the Necessary Tools
- Step 3: Identify the Optimal Time for Separation
- Step 4: Loosen the Soil
- Step 5: Gently Remove the Seedlings
- Step 6: Separate the Seedlings
- Step 7: Transplant the Seedlings
- Step 8: Water and Care for the Newly Separated Seedlings
- Conclusion
Introduction
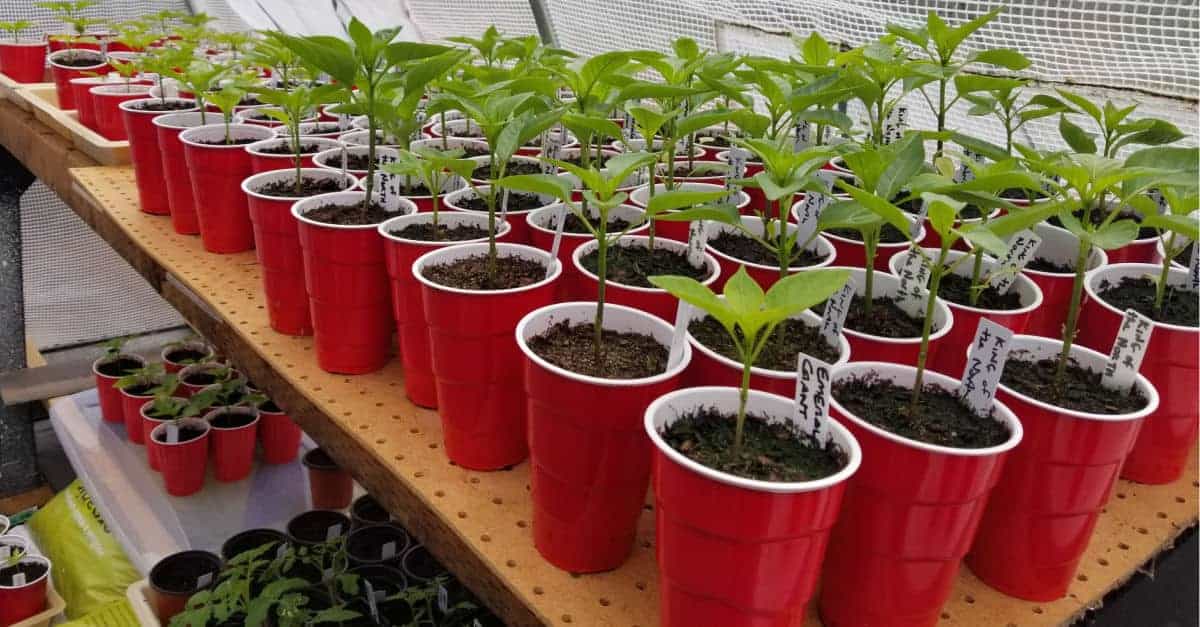
When it comes to plant care, one important aspect is knowing how to separate seedlings. Whether you are starting a garden from seeds or received a tray of densely grown seedlings, separating them is crucial for their healthy growth. Separating seedlings allows each individual plant to have more space, nutrients, and sunlight to thrive.
In this article, we will guide you through the step-by-step process of separating seedlings. We will cover everything from preparing the seedlings to caring for them after separation. By following these instructions, you can ensure that your seedlings have the best chance of developing into strong and vibrant plants.
Before we dive into the details, it is essential to note that not all seedlings need to be separated. Some plants, such as lettuce or radishes, can be sown directly into the ground and thinned out as they grow. However, for plants that require more space to develop, like tomatoes or peppers, separating the seedlings is essential.
Separating seedlings not only provides them with more room to grow, but it also helps prevent crowding, competition for resources, and the spread of diseases. Additionally, it allows for easier transplanting into larger pots or your garden.
Now that we understand the importance of separating seedlings, let’s move on to the materials you will need for this task.
Materials Needed
Before you start separating your seedlings, it’s important to gather all the necessary materials. Having everything prepared beforehand will make the process smoother and more efficient. Here are the materials you will need:
- Gardening gloves: Protect your hands from dirt and potential sharp edges while handling the seedlings.
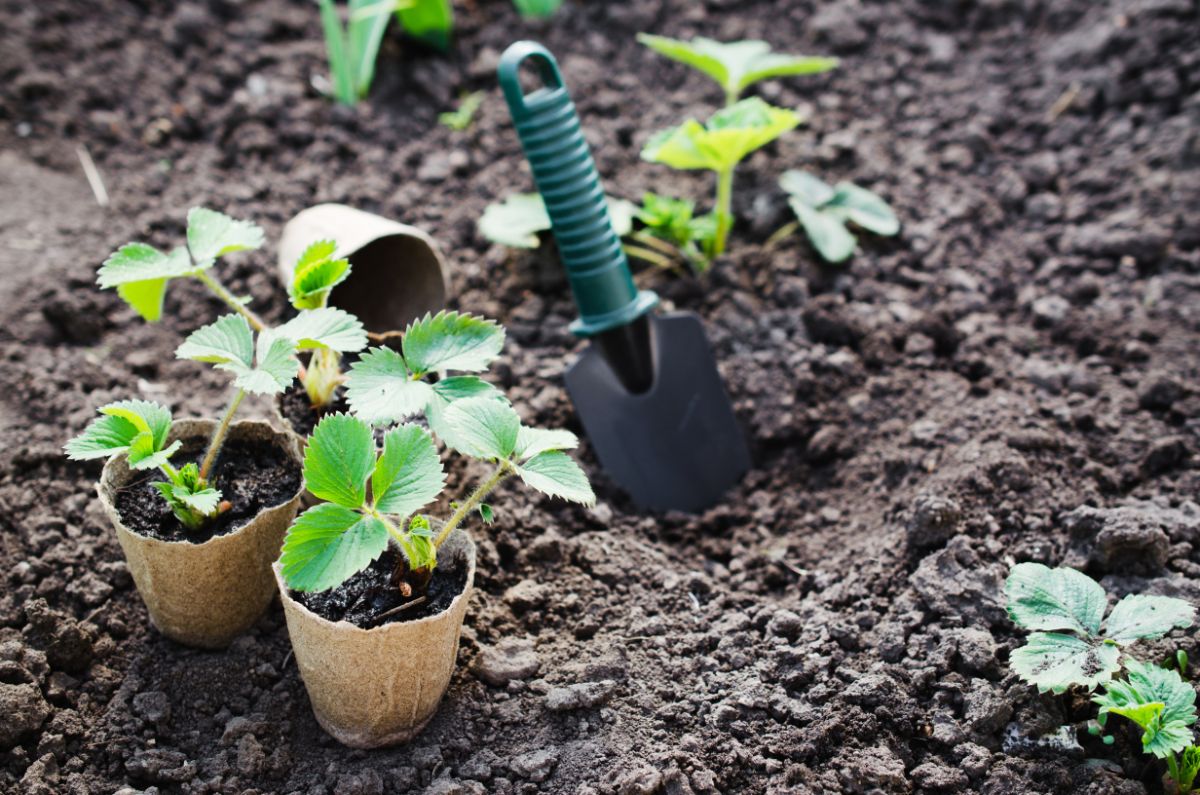
- Garden trowel or small shovel: Used for loosening the soil and digging around the seedlings.
- Watering can or spray bottle: Make sure to have a water source nearby to keep the seedlings hydrated before and after separation.
- Small pots or containers: You will need individual pots or containers to transplant the separated seedlings into.
- Seedling mix or potting soil: Ensure you have enough soil to fill the new pots or containers to support the seedlings’ growth.
- Plant labels: It’s helpful to label each pot with the name of the plant to avoid confusion.
- Marker or pen: Use a marker or pen to write on the plant labels.
- Optional: Rooting hormone: Some gardeners prefer to use rooting hormone to promote faster root development in the separated seedlings.
Having these materials ready will create a smooth and efficient workflow when it’s time to separate your seedlings. Now that you have everything you need, let’s move on to the step-by-step process of separating the seedlings.
Step 1: Prepare the Seedlings
Before you begin the process of separating your seedlings, it’s important to ensure that they are ready for transplantation. Here’s what you need to do:
- Water the seedlings: Give the seedlings a thorough watering a day or two before you plan to separate them. This will help loosen the soil and ease the removal of the seedlings.
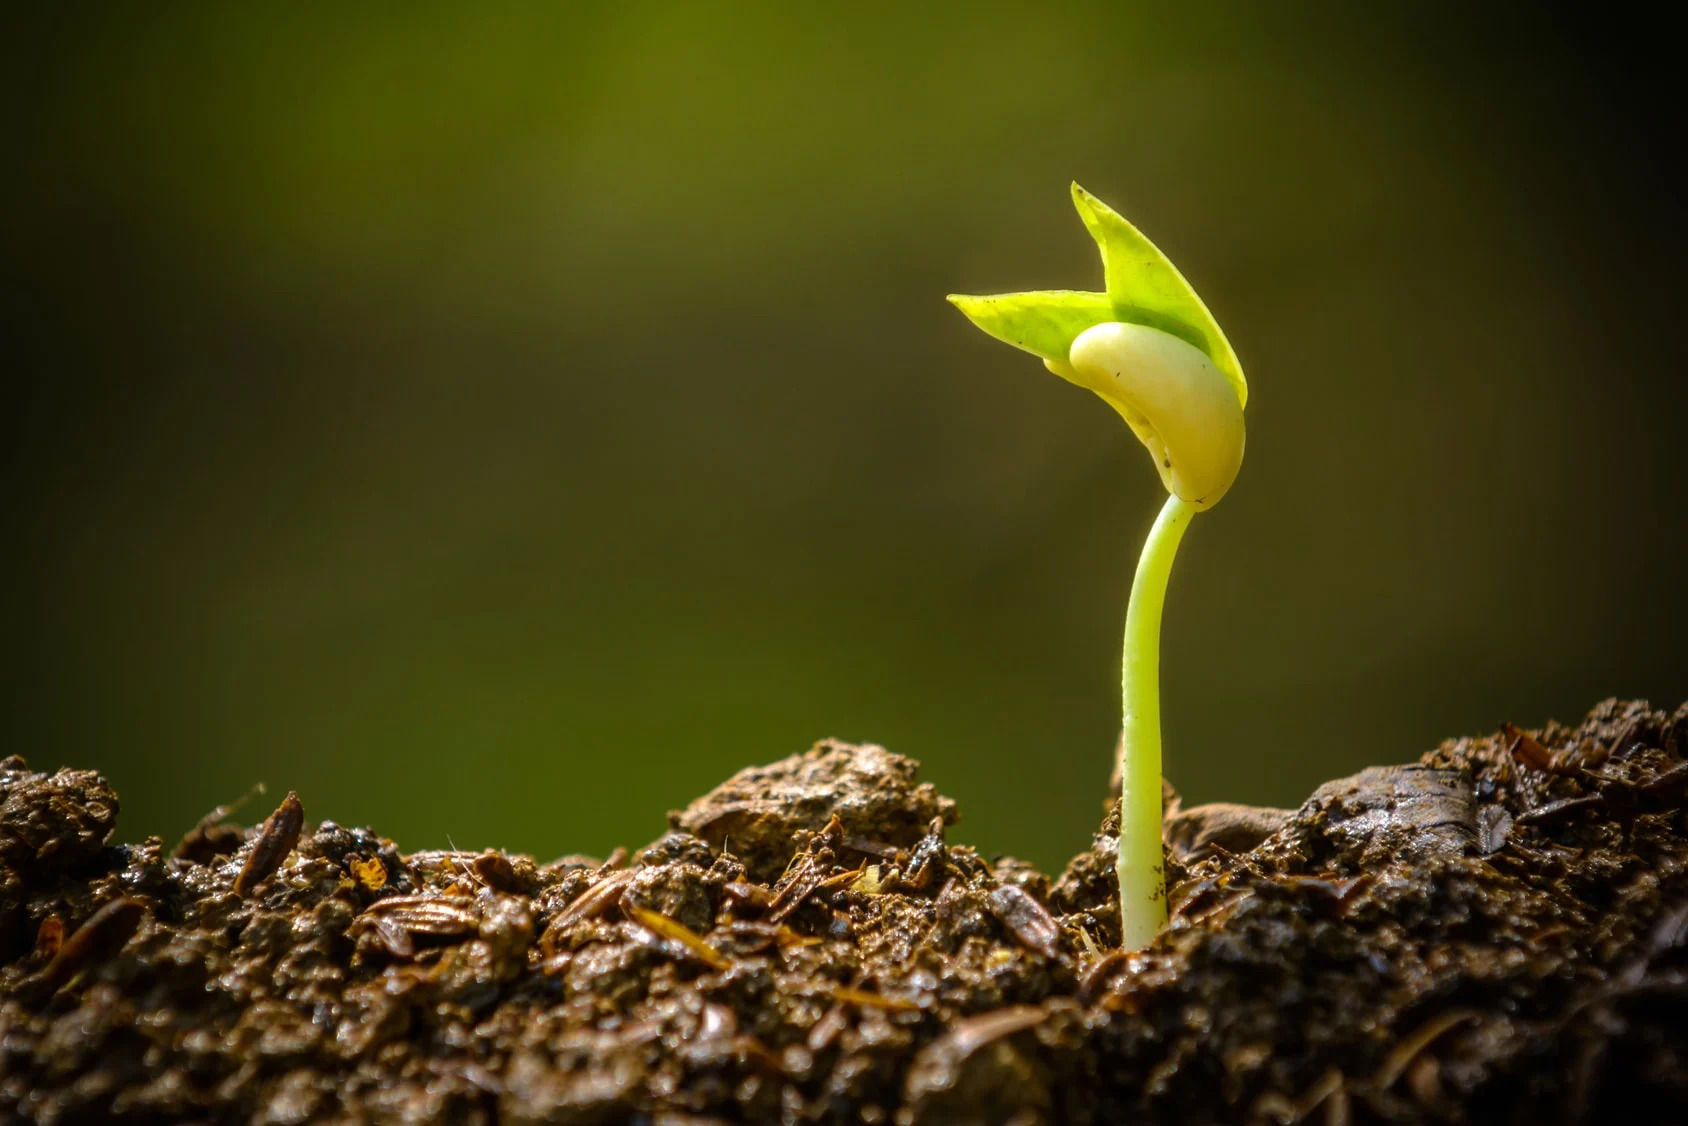
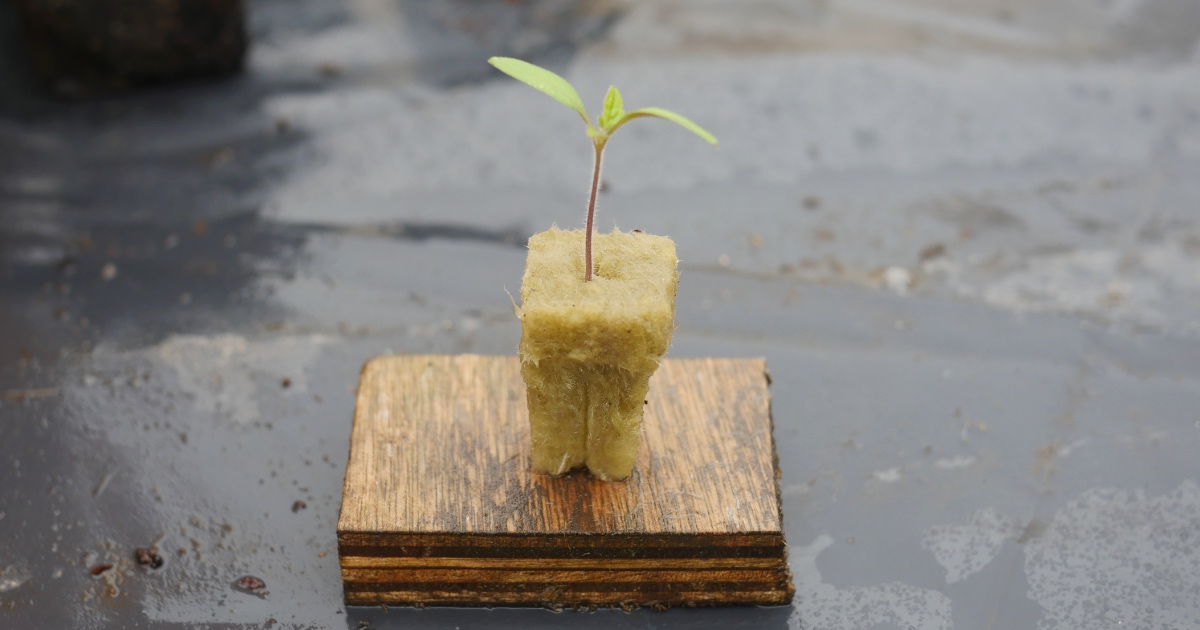
- Choose the right time: It is best to separate the seedlings when they have developed a few true leaves. True leaves are the second set of leaves that develop after the initial seed leaves.
- Prepare the new planting containers: Ensure that the pots or containers you will be transplanting the seedlings into are clean and have drainage holes. Fill them with a high-quality seedling mix or potting soil.
- Label your containers: Use plant labels and a marker or pen to label each container with the name of the plant or the variety. This will help you keep track of which seedling is which.
By following these preparations, you can ensure that your seedlings are healthy, hydrated, and ready for separation. Now that you have prepared the seedlings, it’s time to gather the necessary tools for the actual separation process.
Step 2: Gather the Necessary Tools
Having the right tools on hand is essential for successfully separating your seedlings. Make sure to gather the following tools before you begin:
- Garden trowel or small shovel: This tool will be used to loosen the soil around the seedlings, making it easier to lift them out.
- Gardening gloves: Protect your hands from dirt and potential sharp edges while handling the seedlings.
- Watering can or spray bottle: Keep a water source nearby to keep the seedlings hydrated before and after separation.
- Small pots or containers: You will need individual pots or containers to transplant the separated seedlings into.
- Seedling mix or potting soil: Ensure you have enough soil to fill the new pots or containers to support the seedlings’ growth.
- Plant labels: It’s helpful to label each pot with the name of the plant to avoid confusion.
- Marker or pen: Use a marker or pen to write on the plant labels.
- Optional: Rooting hormone: Some gardeners prefer to use rooting hormone to promote faster root development in the separated seedlings.
By having these tools ready and easily accessible, you can streamline the seedling separation process and ensure that you have everything you need to care for the seedlings post-separation. Now that you have the tools ready, let’s move on to determining the best time to separate your seedlings.
Step 3: Identify the Optimal Time for Separation
Timing is crucial when it comes to separating seedlings. It’s important to identify the optimal time for separation to ensure the best chance of survival and growth for the seedlings. Here’s how you can determine the right time to separate them:
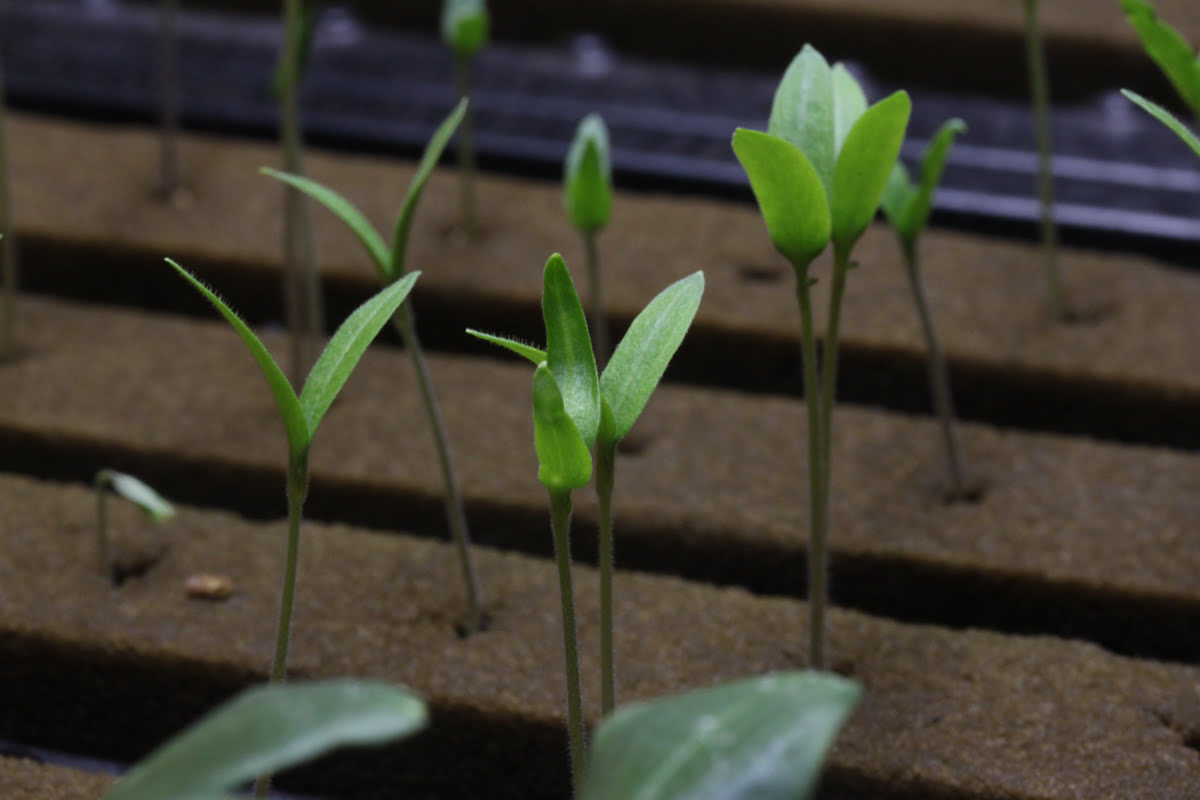
- Look for true leaves: Wait until your seedlings have developed their first few true leaves. True leaves are the second set of leaves that appear after the initial seed leaves. This indicates that the seedlings have established a strong enough root system to be transplanted.
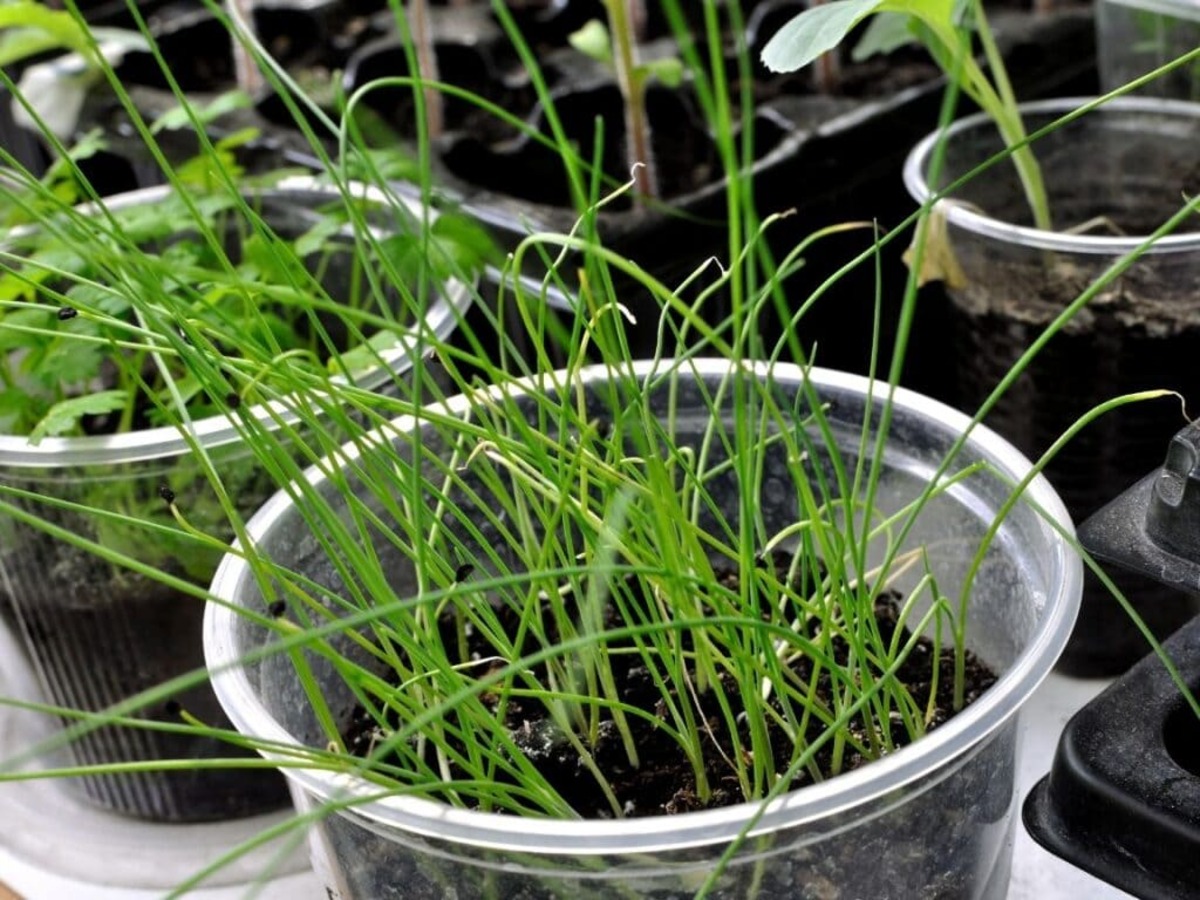
- Check for overcrowding: If the seedlings are growing in a shared container or tray, monitor for overcrowding. Once the seedlings start competing for space and resources, it’s time to separate them to allow for proper growth.
- Consider the plant variety: Different plants have varying rates of growth and tolerance for crowding. Research the specific plant varieties you are growing to determine the optimal time for separation based on their growth patterns.
Separating the seedlings at the right time ensures that they have adequate space to develop robust root systems and access to essential nutrients. When the seedlings have reached the ideal growth stage, it’s time to move on to the next step: loosening the soil.
Step 4: Loosen the Soil
Before you can separate the seedlings, it’s important to loosen the soil surrounding their roots. Loosening the soil allows for easier removal and minimizes damage to the delicate root systems. Follow these steps to effectively loosen the soil:
- Prepare the area: If the seedlings are in a shared container or tray, gently transfer them to a clean workspace. This will give you better access to the soil and make it easier to loosen.
- Use a garden trowel or small shovel: Carefully insert the trowel or shovel into the soil around the seedlings, angling it away from the base of the plants. Gently push or wiggle the tool to loosen the soil without causing damage.
- Work around the seedlings: Gradually move around the seedlings, loosening the soil in a circular motion. Be mindful not to disturb the roots or damage the stems of the seedlings.
- Continue loosening the soil: Work your way deeper into the soil, going as far along the root system as possible without causing harm. Take your time and be patient to ensure the soil is adequately loosened.
- Check the looseness of the soil: Gently tug on a seedling to see if it comes out easily. If the seedling resists, continue to loosen the soil until it can be lifted out without resistance.
By taking the time to loosen the soil properly, you are preparing the seedlings for seamless separation without causing undue stress or damage to their fragile roots. Now that the soil is loosened, let’s move on to the next step: gently removing the seedlings.
Step 5: Gently Remove the Seedlings
With the soil loosened, it’s time to carefully remove the seedlings from their current container or tray. Taking a gentle and cautious approach will help protect the fragile roots and ensure successful transplantation. Follow these steps to gently remove the seedlings:
- Moisten the soil: If the soil has dried out since you loosened it, moisten it slightly to prevent damage to the roots during removal.
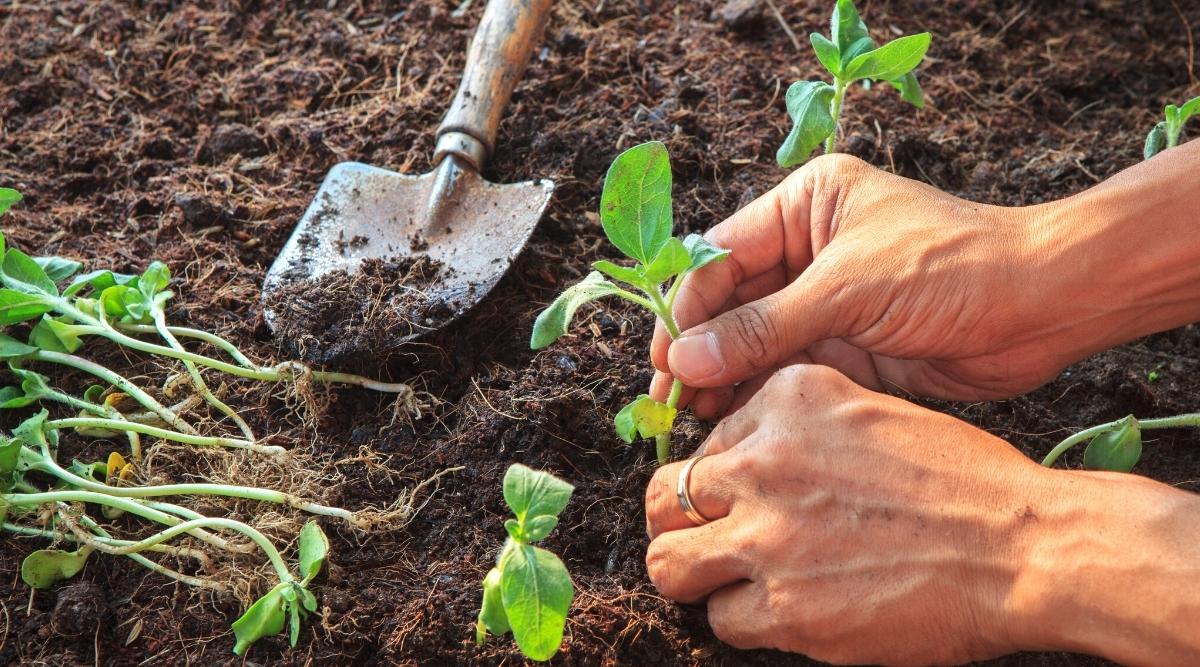
- Use your fingers or a spoon: Gently dig around the base of each seedling with your fingers or a spoon, ensuring you do not disturb the roots. Create a space to lift the seedling out without damaging the delicate roots.
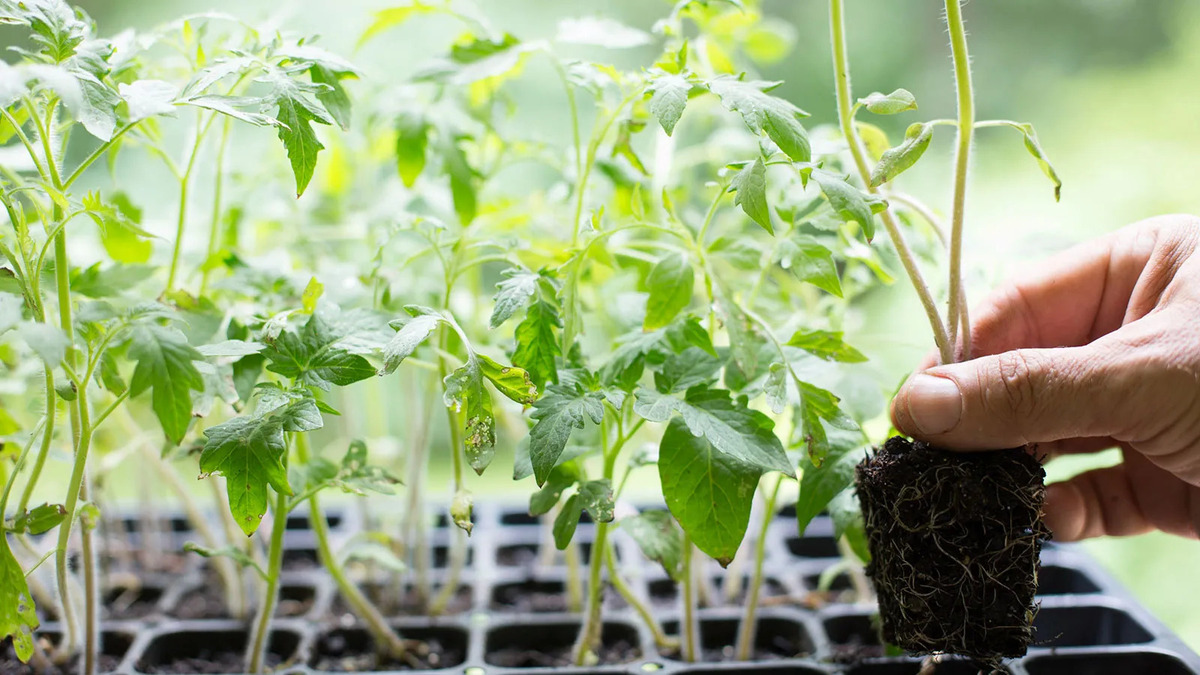
- Lift the seedling: Carefully lift the seedling from the soil, holding it by the leaves or the root ball. Avoid pulling on the stem, as this can cause damage.
- Inspect the roots: Take a moment to inspect the roots of each seedling. Trim any excessively long or damaged roots with clean, sharp scissors.
- Separate any tangled roots: If the roots of multiple seedlings have grown together, gently separate them, ensuring each seedling has its own intact root system.
Remember to handle the seedlings with utmost care during this step. Damaging the roots can hinder the plant’s ability to establish itself in its new location. Once the seedlings have been gently removed, it’s time to move on to the next step: separating the seedlings.
Step 6: Separate the Seedlings
Now that you have gently removed the seedlings from the soil, it’s time to separate them into individual plants. This step ensures that each seedling has its own space to grow, access to nutrients, and room for its roots to spread. Follow these steps to separate the seedlings:
- Inspect the seedlings: Examine each seedling carefully, paying close attention to the roots and any signs of damage or disease. Discard any seedlings that appear unhealthy or are unlikely to recover.
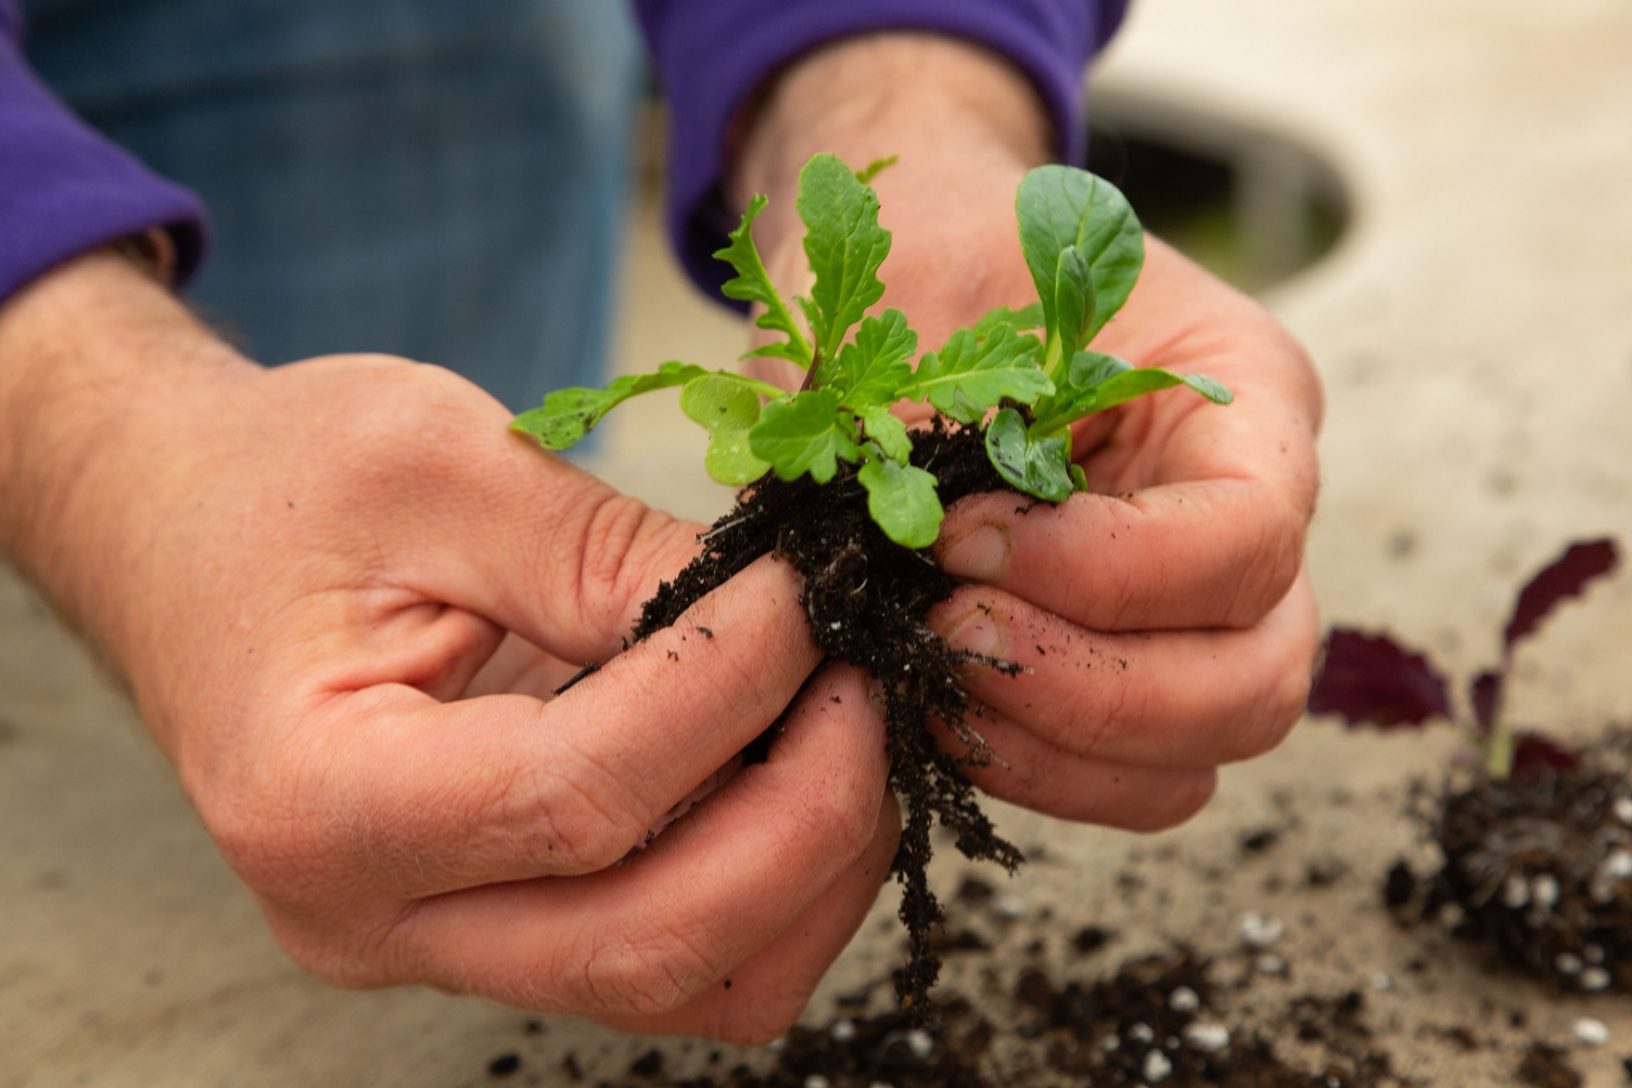
- Gently tease the roots apart: If the seedlings are tightly entangled, carefully separate their roots using your fingers. Be gentle to avoid damaging the fragile roots.
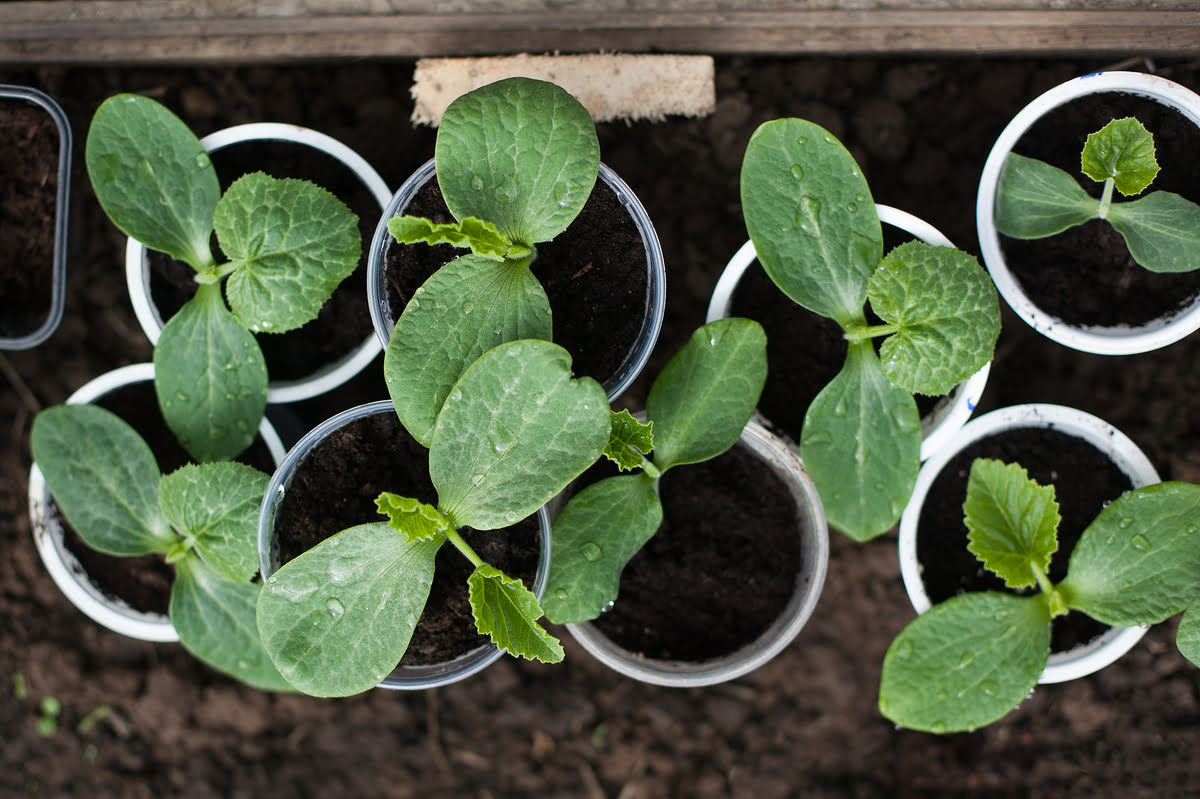
- Plant each seedling individually: Prepare your new pots or containers with fresh potting soil. Create a small hole in the center of each pot and carefully place a seedling, spreading out its roots in the hole.
- Backfill the pot with soil: Lightly fill the pot with soil, making sure not to bury the seedling too deeply. Gently press down the soil around the seedling to provide stability.
- Repeat for all seedlings: Repeat the process for each seedling, giving them enough space in their new pots or containers.
By separating the seedlings and giving them their own space, you are ensuring that they have the best chance of thriving and establishing strong root systems. Now that the seedlings are separated, it’s time to move on to the next step: transplanting the seedlings into their new homes.
Step 7: Transplant the Seedlings
Now that the seedlings have been separated, it’s time to transplant them into their new pots or containers. Transplanting will provide the seedlings with the space and nutrients they need to continue growing and thriving. Follow these steps to transplant the seedlings:
- Prepare the new pots or containers: Ensure that the pots or containers are clean and have drainage holes to allow excess water to escape.
- Add potting soil: Fill each pot or container with fresh potting soil, leaving enough space at the top for watering.
- Make a hole for the seedling: Create a small hole in the center of the pot or container, deep enough to accommodate the seedling’s root system.
- Place the seedling: Gently place the seedling into the hole, ensuring that its roots are positioned appropriately.
- Fill with soil: Carefully backfill the hole with soil, gently pressing it around the seedling’s base to provide support.
- Water the transplanted seedlings: After transplanting, give the seedlings a thorough watering to settle the soil and provide moisture to their roots.
- Place in an appropriate location: Find a suitable location for the transplanted seedlings, taking into consideration their light and temperature requirements.
Transplanting the seedlings into their new pots or containers allows them to continue growing in a spacious and favorable environment. It’s important to provide them with proper care and attention as they adjust to their new homes. Speaking of care, let’s move on to the final step: watering and caring for the newly separated seedlings.
Step 8: Water and Care for the Newly Separated Seedlings
After transplanting the seedlings, it’s crucial to provide them with appropriate care to ensure their survival and healthy growth. This includes regular watering, monitoring for pests and diseases, and providing the necessary environmental conditions. Follow these steps to properly water and care for your newly separated seedlings:
- Watering: Keep the soil consistently moist but not waterlogged. Water the seedlings thoroughly, making sure the water reaches the roots. Avoid overwatering, as this can lead to root rot.
- Monitoring: Regularly check the seedlings for any signs of pests or diseases. Remove any pests manually or treat accordingly to prevent damage to the plants.
- Provide adequate light: Place the seedlings in a location that receives the appropriate amount of light for the specific plant variety. Most seedlings require bright, indirect light to thrive.
- Adjust temperature: Ensure the seedlings are kept in an environment with a suitable temperature range for their specific needs. Avoid exposing them to extreme temperatures or drafts.
- Provide support if needed: Some seedlings, such as tall plants or those with delicate stems, may require support as they grow. Use stakes or small trellises to provide stability.
- Fertilization: As the seedlings grow, you may need to provide them with additional nutrients. Use a balanced, water-soluble fertilizer according to the guidelines on the packaging.
- Transplanting to the garden: Once the seedlings have grown stronger and the risk of frost has passed, you can transplant them into your garden. Choose an appropriate planting location and carefully acclimate them to the outdoor conditions.
By consistently providing proper watering, monitoring for pests, and creating an optimal growing environment, you give your newly separated seedlings the best chance to thrive and develop into healthy plants. Remember to adjust care as the seedlings grow and adapt to their new surroundings.
Conclusion
Separating seedlings is an essential step in plant care that promotes healthier growth and ensures the best chance for your plants to thrive. By following the step-by-step process outlined in this guide, you can successfully separate your seedlings and provide them with the space and resources they need to flourish.
From preparing the seedlings to gently removing them from the soil and separating them, each step plays a vital role in the transplantation process. Taking the time to loosen the soil, inspect the seedlings, and transplant them into individual pots or containers will help minimize shock and maximize their chances of establishing robust root systems.
After the seedlings are separated, it’s important to provide them with proper care. This includes regular watering, monitoring for pests and diseases, and providing appropriate lighting and temperature conditions. Adjusting these care factors as the seedlings grow will support their development into strong and healthy plants.
Remember, successful plant care requires patience and attention to detail. As you gain experience, you will become more skilled at identifying the optimal time for seedling separation and providing the specific care each plant needs. With time and dedication, your seedlings will grow into beautiful, thriving plants that bring joy and beauty to your garden.