Home>Types of Gardening>Ornamental Gardening>How To Separate Canna Lily Bulbs


Ornamental Gardening
How To Separate Canna Lily Bulbs
Published: January 24, 2024
Learn how to separate canna lily bulbs in your ornamental gardening journey. Discover the step-by-step process to ensure successful bulb division.
(Many of the links in this article redirect to a specific reviewed product. Your purchase of these products through affiliate links helps to generate commission for Chicagolandgardening.com, at no extra cost. Learn more)
Table of Contents
Introduction
Welcome to the world of ornamental gardening, where you can transform your outdoor space into a stunning oasis of beauty, color, and tranquility. Whether you’re a seasoned gardener or just starting your journey, one plant that is sure to add a touch of elegance and allure to your garden is the Canna Lily (Canna indica).
The Canna Lily is renowned for its vibrant and exotic flowers, tall and graceful stalks, and lush green foliage. These show-stopping plants can make a bold statement in any garden or landscape. One of the great advantages of growing Canna Lilies is their ability to produce abundant bulbs, which can be separated and propagated to create even more stunning displays.
If you’re wondering how to separate Canna Lily bulbs, you’ve come to the right place. In this article, we’ll guide you through the step-by-step process of successfully dividing these bulbs. Not only will this help you expand your Canna Lily collection, but it will also give you the opportunity to share these beautiful plants with friends and family.
Before we dive into the details, let’s take a moment to appreciate the importance of proper bulb separation. By dividing the bulbs, you are promoting healthy growth and rejuvenation. Over time, Canna Lily bulbs can become overcrowded, leading to reduced flower production and overall plant vigor. Separating the bulbs allows each plant to have enough space, nutrients, and room to grow, resulting in stronger and more vibrant blooms.
Now that you understand the significance of separating Canna Lily bulbs, let’s get our hands dirty and begin the process of creating more beauty in your garden!
Step 1: Digging up the bulbs
Before you can begin separating Canna Lily bulbs, you’ll need to dig them up from the ground. This is typically done in late autumn or early winter, before the first frost sets in. Follow these simple steps to ensure a successful bulb excavation:
- Start by cutting back the foliage: Use pruning shears or a sharp knife to cut the foliage back to about 6 inches above the ground. This will make it easier to locate and dig up the bulbs.
- Choose the right tools: To dig up the bulbs, you will need a garden fork or a shovel. The choice of tool depends on the size of the clump and the condition of the soil. If the soil is loose and easily penetrable, a garden fork will be sufficient. For compacted or heavy soil, a shovel may be necessary.
- Locate the bulb clump: Carefully dig around the base of the plant, starting a few inches away from the stems. Gradually work your way around the clump, loosening the soil and lifting it gently. Be cautious not to damage the bulbs or the rhizomes (thickened underground stems).
- Remove excess soil: Once the clump is lifted, gently shake off any loose soil or debris. Avoid washing the bulbs, as excess moisture can lead to rot.
- Inspect the bulbs: Take a close look at the bulbs and rhizomes. Discard any that appear damaged, diseased, or shriveled. Healthy bulbs will have firm, plump bodies and no signs of rot or decay.
By following these steps, you have successfully dug up the Canna Lily bulbs, preparing them for the next stage of the separation process. In the next step, we will learn how to clean and inspect the bulbs to ensure optimal health and vitality. Get ready to give these bulbs some tender loving care!
Step 2: Cleaning and inspecting the bulbs
Now that you have successfully dug up the Canna Lily bulbs, it’s time to give them a thorough cleaning and inspection. This step is crucial in ensuring the health and vitality of the bulbs, which will directly impact their ability to thrive and produce beautiful blooms. Follow these steps to clean and inspect your Canna Lily bulbs:
- Remove excess soil: Using your hands or a soft brush, gently remove any remaining soil clinging to the bulbs. Be careful not to damage the delicate roots.
- Trim the roots: Inspect the roots of each bulb and trim away any damaged or rotten portions. Healthy roots are firm and white, while damaged roots may appear brown or mushy.
- Inspect for pests or disease: Take a close look at each bulb for any signs of pests, such as aphids or mealybugs, and remove them manually if found. Additionally, check for any signs of disease, including black or brown spots or moldy patches.
- Sanitize the bulbs: To prevent the spread of disease, it’s important to sanitize the bulbs. You can do this by soaking them in a solution of one part bleach to ten parts water for about 10 minutes. Rinse them thoroughly with clean water afterwards.
- Drying the bulbs: After sanitizing, allow the bulbs to dry completely before moving on to the next step. Place them in a well-ventilated area and avoid direct sunlight or excessive moisture.
Through this cleaning and inspection process, you are not only removing any potential threats to the health of your Canna Lily bulbs but also preparing them for the upcoming dividing stage. Proper cleaning and inspection will help ensure that only the healthiest bulbs are selected for propagation, leading to stronger and more robust plants in the future.
Now that the bulbs are clean and dry, it’s time to divide them and create new Canna Lily plants. In the next step, we will explore how to successfully divide the bulbs, enabling you to expand your garden and share the beauty of these lilies with others.
Step 3: Dividing the bulbs
With clean and dry bulbs in hand, it’s time to divide them and create new Canna Lily plants. Dividing the bulbs not only allows you to expand your garden but also promotes healthier growth and better blooming. Follow these steps to successfully divide your Canna Lily bulbs:
- Identify the natural divisions: Take a close look at the bulbs and locate any natural divisions or “eyes.” These divisions are often visible as small, bud-like growth points on the bulbs.
- Prepare the tools: To divide the bulbs, you will need a sharp and sterilized knife or garden shears. Make sure the tools are clean and disinfected to prevent the spread of disease.
- Make clean cuts: Carefully cut the bulbs apart at the natural divisions, ensuring that each division has at least one eye. Make clean cuts, avoiding any jagged edges that could potentially introduce infection.
- Trim away excess material: If the bulbs have a large mass of rhizomes, you may need to trim away some of the excess material to promote better growth. Trim away any damaged or dead rhizomes as well.
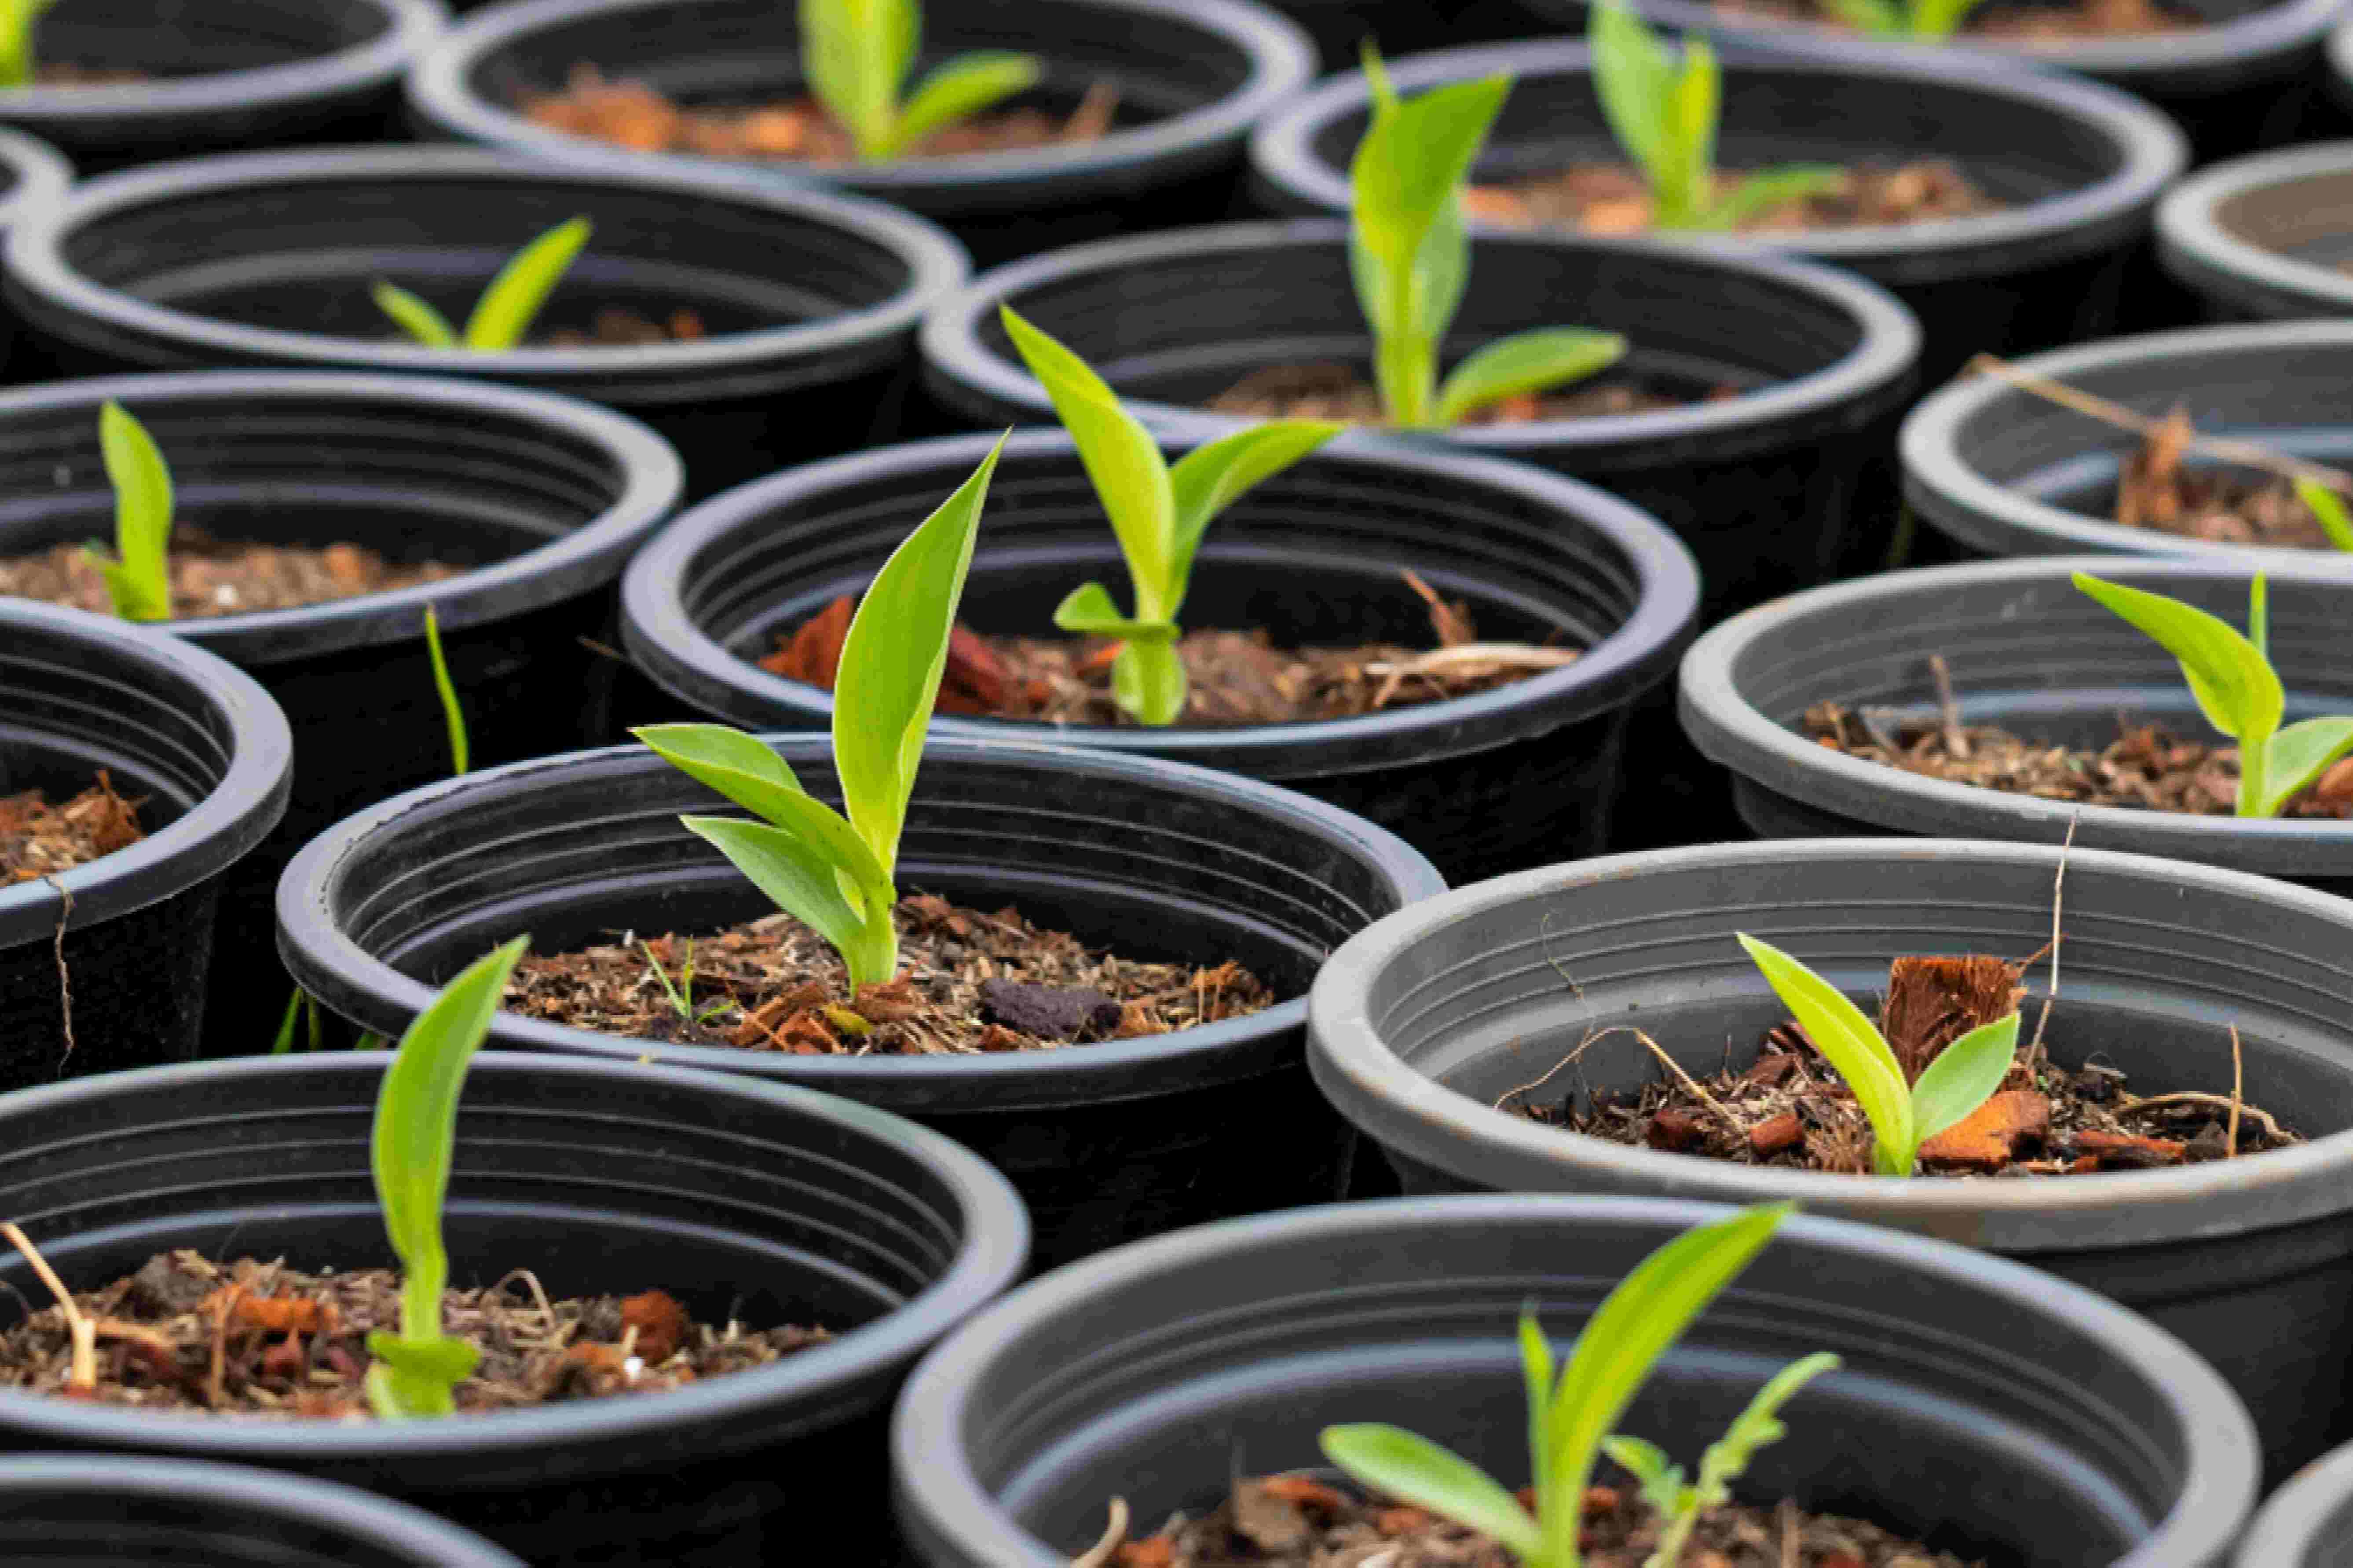
- Pot or replant the divisions: Once divided, you can either pot up the individual divisions or directly replant them in the garden. If potting, use a well-draining soil mix and place each division in its own pot. If replanting, dig a hole and place each division with the eye facing up, covering it with soil.
Dividing the bulbs is an exciting process that allows you to expand your Canna Lily collection and create new focal points in your garden. By ensuring that each division has a healthy eye and providing proper care and growing conditions, you can look forward to a vibrant and flourishing display of Canna Lilies in the future.
Now that you’ve divided the bulbs and planted or potted the divisions, it’s time to move on to the next important step: preparing for storage. This will ensure the bulbs survive the dormant period and emerge with renewed vigor in the next growing season.
Step 4: Preparing for storage
Now that you have divided the Canna Lily bulbs and planted or potted the divisions, it’s essential to prepare them for storage. Proper storage is crucial to ensure the bulbs remain healthy and dormant during the winter months, ready to sprout with renewed vigor in the next growing season. Follow these steps to prepare your bulbs for storage:
- Allow the divisions to settle: If you have potted the divisions, place them in a cool and dry location for a week or two to allow the roots to establish and the plants to acclimate.
- Trim the foliage: Prior to storing the bulbs, trim the foliage down to a few inches above the soil level. This helps conserve energy and reduces the risk of fungal diseases during storage.
- Choose the right storage containers: Select containers that provide adequate airflow to prevent excess moisture buildup. Mesh bags or ventilated crates work well for storing Canna Lily bulbs. Avoid using sealed plastic bags, as they can promote mold or rot.
- Prepare the storage medium: Choose a storage medium such as peat moss, vermiculite, or dry sand. These materials help maintain a stable storage environment by absorbing excess moisture and providing insulation.
- Layer the bulbs: Place a layer of the storage medium in the bottom of the container. Arrange the bulbs in a single layer on top, making sure they do not touch each other. Add another layer of the storage medium, ensuring the bulbs are completely covered.
By following these steps, you are creating an ideal storage environment for your Canna Lily bulbs. The cool and dry conditions, along with the proper storage medium, will help prevent rot, mold, and damage during the dormant period.
Now that you’ve prepared the bulbs for storage, it’s time to move on to the final step: storing the bulbs. This step ensures that your hard work and careful preparation will pay off when the growing season arrives, and your Canna Lilies emerge stronger and more beautiful than ever.
Step 5: Storing the bulbs
After preparing your Canna Lily bulbs for storage, it’s crucial to find the right conditions to store them in. Proper storage will ensure the bulbs remain dormant and protected throughout the winter months. Follow these steps to store your bulbs successfully:
- Choose an appropriate storage location: Find a cool and dark area for storing the bulbs. A basement, garage, or a cool corner of a shed are ideal options. The temperature should be between 40°F (4°C) and 50°F (10°C) to prevent premature sprouting.
- Ensure proper air circulation: Good airflow is essential for preventing the growth of mold or rot. If storing the bulbs in containers, avoid sealing them completely. If storing them in mesh bags or crates, make sure they are not stacked or crowded together.
- Regularly check the bulbs: Throughout the storage period, periodically check on the bulbs to make sure they are healthy. Remove any bulbs showing signs of decay, as they can quickly spread to the surrounding bulbs.
- Maintain optimal moisture levels: Keep the storage medium slightly moist to prevent the bulbs from drying out. However, be cautious not to make it too wet, as excess moisture can lead to rot or fungal growth. Check the bulbs regularly and adjust the moisture levels if necessary.
- Keep track of the storage duration: It’s essential to remember the storage duration, as Canna Lily bulbs should ideally be replanted or potted up in the spring, before they start to sprout. Note the date of storage to ensure timely action.
By following these steps, you are taking the necessary precautions to safeguard your Canna Lily bulbs during their dormant period. Providing them with the right storage conditions will help maintain their viability and ensure a successful planting or potting experience in the spring.
Congratulations! You’ve completed all the necessary steps to separate, clean, divide, and store your Canna Lily bulbs. By investing some time and effort into this process, you’ve set the stage for a stunning and colorful garden display in the upcoming growing season.
Conclusion
Congratulations on successfully learning how to separate Canna Lily bulbs and propagate these stunning plants in your garden! By following the step-by-step process, you have not only expanded your Canna Lily collection but also ensured healthier growth and more vibrant blooms in the future.
We began by digging up the bulbs, carefully cleaning and inspecting them to ensure their health and vitality. Dividing the bulbs allowed you to create new plants, each with its own eye, ready to grow and thrive. Preparing the bulbs for storage was crucial to ensure their dormant period was protected and well-maintained, allowing for a successful emergence in the following growing season.
Remember to choose an appropriate storage location, provide proper air circulation, and regularly check the bulbs for any signs of decay or moisture levels. By taking these precautions, you can guarantee the best possible outcome when it’s time to replant or pot up the bulbs in the spring.
Ornamental gardening is a delightful journey that allows you to bring beauty and enchantment into your outdoor space. The Canna Lily, with its vibrant flowers, towering stalks, and lush foliage, is a fantastic addition to any garden. By mastering the art of separating the bulbs, you have the power to create endless displays of these stunning plants, both for yourself and to share with others.
So, let your creativity flourish, experiment with different color combinations, and watch as your garden transforms into a captivating sanctuary. With your newfound knowledge of separating Canna Lily bulbs, the possibilities are endless, and the beauty in your garden will continue to bloom year after year.


