Home>Types of Gardening>Ornamental Gardening>How Do You Plant Canna Bulbs

Ornamental Gardening
How Do You Plant Canna Bulbs
Published: January 23, 2024
Learn how to plant canna bulbs in your garden and enhance your ornamental gardening with these easy steps and tips.
(Many of the links in this article redirect to a specific reviewed product. Your purchase of these products through affiliate links helps to generate commission for Chicagolandgardening.com, at no extra cost. Learn more)
Table of Contents
Introduction
Welcome to the world of ornamental gardening! If you’re looking to add a touch of beauty and elegance to your outdoor space, planting canna bulbs is an excellent choice. Canna bulbs, also known as canna lilies, are stunning flowering plants that are popular for their vibrant colors and tropical appearance.
In this article, we will explore everything you need to know about planting canna bulbs to help you achieve a thriving and picturesque garden. From choosing the right location to caring for the plants and preventing pests, we’ll cover it all. So, let’s dive in and discover the secrets to successful canna bulb planting!
Whether you’re a seasoned gardener or just starting your gardening journey, canna bulbs are a fantastic addition to any landscape. Their striking blooms and tall, broad leaves make them stand out in any garden bed or container.
Canna bulbs come in a variety of colors, including shades of red, orange, yellow, pink, and even striped varieties. This versatility allows you to create stunning combinations and palettes to suit your personal taste and the overall aesthetic of your garden.
Not only are canna bulbs visually appealing, but they are also relatively easy to grow. With the right care and attention, you can enjoy their beauty year after year. So, let’s begin our journey with a closer look at what exactly canna bulbs are.
What are Canna Bulbs
Canna bulbs, scientifically known as Canna indica, are actually rhizomes rather than true bulbs. Rhizomes are underground stems that store nutrients and energy for the plant. These rhizomes produce large, showy flowers and lush foliage, making them a favorite among gardeners.
Originating from tropical regions of South America, canna bulbs are well-suited to warm climates. However, they can also be grown in cooler regions with proper care and protection from frost. These plants are known for their impressive height, reaching up to 6 feet (1.8 meters) tall, which adds a vertical element to your garden design.
One of the most attractive features of canna bulbs is their stunning blooms. The flowers are trumpet-shaped, resembling lilies or orchids, and come in various shades such as red, orange, yellow, pink, and even combinations of different colors. The vibrant blooms, often accompanied by attractive foliage, make canna bulbs a focal point in any garden.
In addition to their visual appeal, canna bulbs also attract pollinators like bees and hummingbirds to your garden. These insects play a crucial role in the ecosystem and help with the pollination of other plants as well.
Another benefit of canna bulbs is their versatility in landscaping. They can be planted as standalone specimens, grouped together for a dramatic display, or even grown in containers for patios or balconies. Their ability to thrive in both full sun and partial shade makes them adaptable to various garden settings and allows for creative planting arrangements.
Additionally, canna bulbs are not only prized for their flowers but also for their striking foliage. The leaves of canna plants are large and often in shades of green, maroon, or bronze. The foliage provides an attractive backdrop even when the plants are not in bloom.
Now that you have an understanding of what canna bulbs are, let’s move on to the next section, where we’ll discuss how to choose the right location for planting these beautiful ornamental plants.
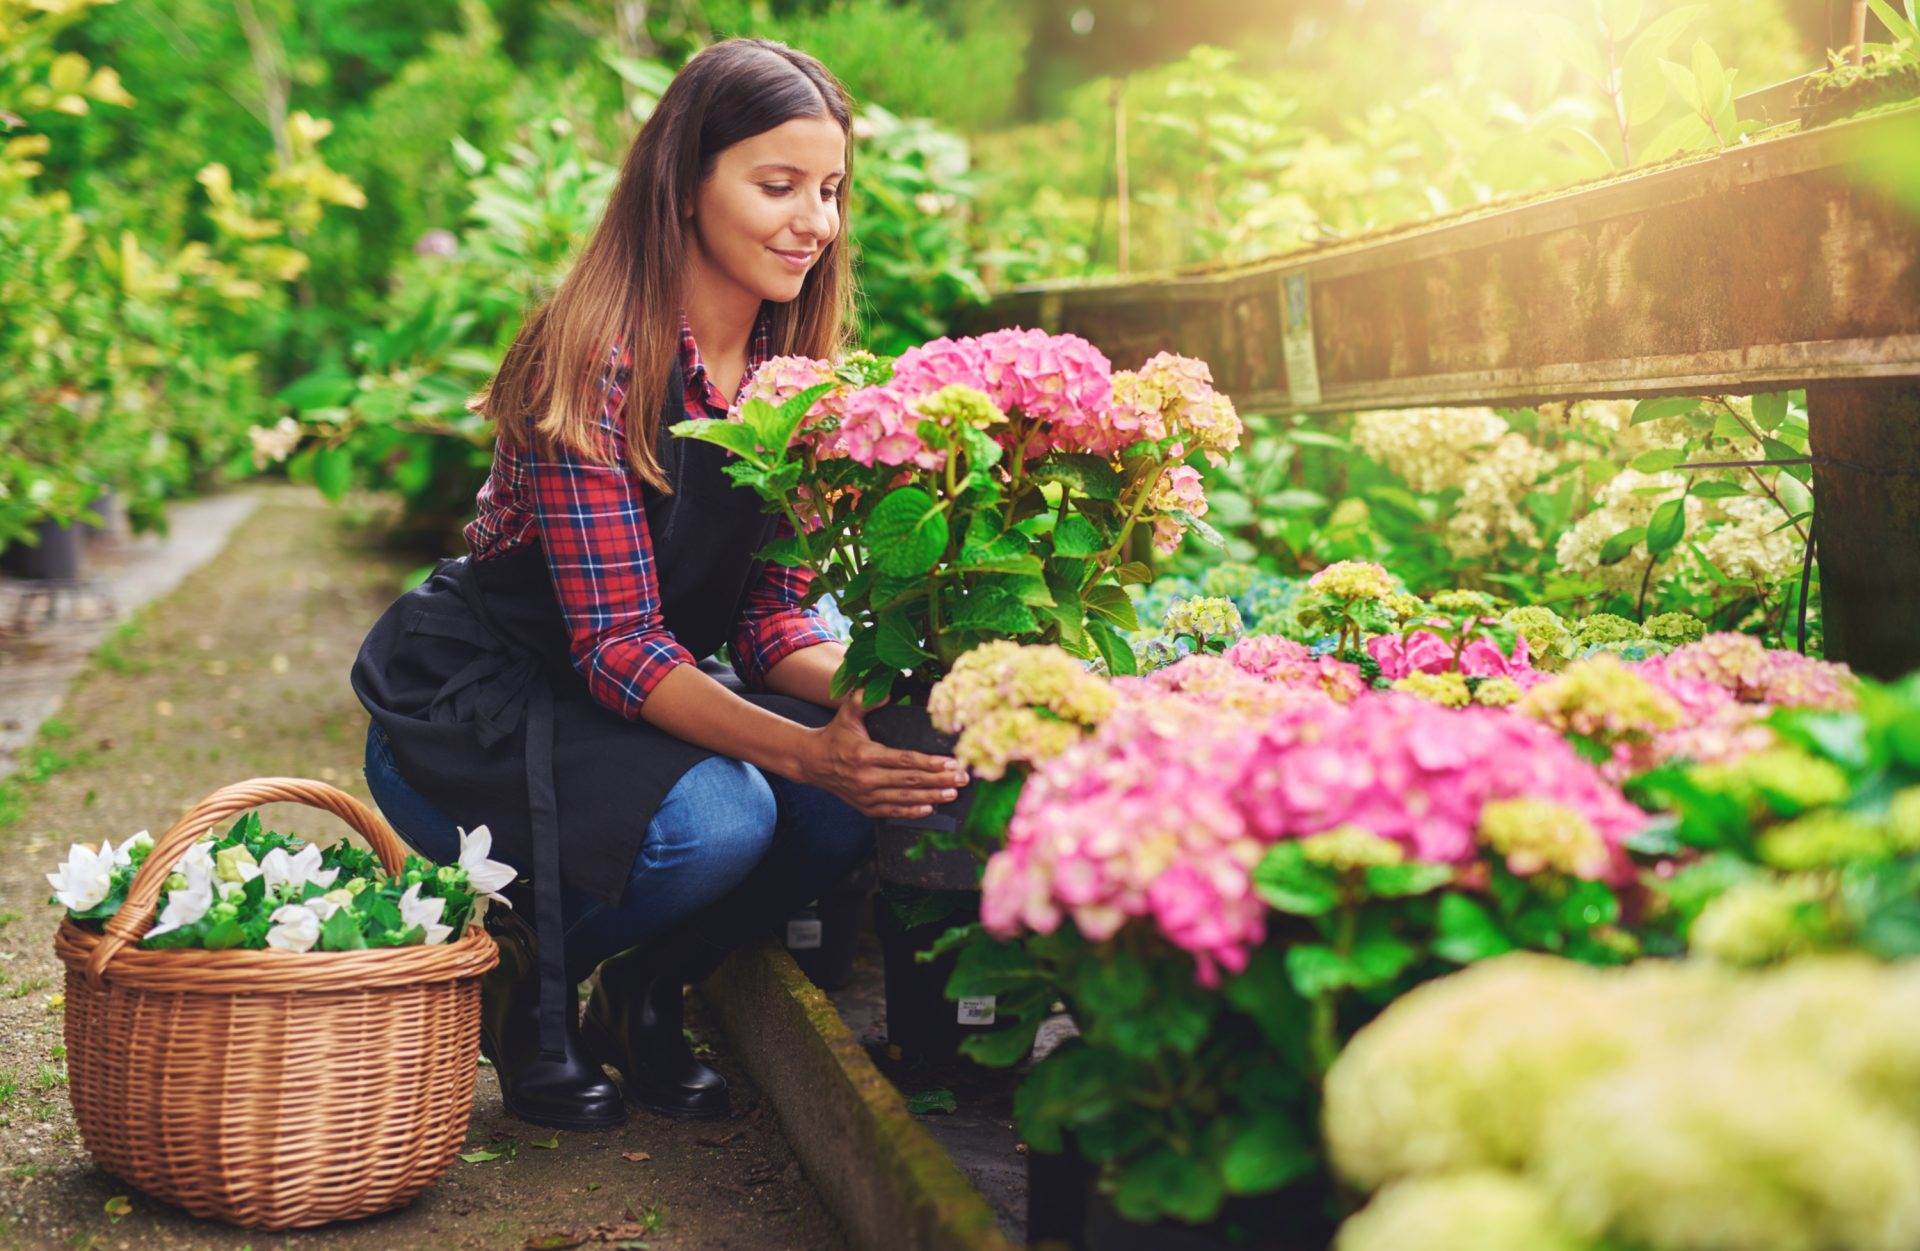
Choosing the Right Location
When it comes to planting canna bulbs, selecting the right location is crucial for their growth and overall health. Here are a few factors to consider when choosing the perfect spot:
- Sunlight: Canna bulbs thrive in full sun to partial shade. Ideally, they should receive at least 6-8 hours of direct sunlight each day. However, in hotter climates, providing them with some afternoon shade can prevent scorching and maintain vibrant flower colors.
- Soil Drainage: Canna bulbs prefer well-draining soil to prevent waterlogging, which can lead to root rot. Ensure that the soil is loose, loamy, and enriched with organic matter. If your soil is heavy clay or tends to retain water, you can improve drainage by adding compost or sand.
- Temperature and Hardiness: Canna bulbs are native to warm, tropical regions and are typically hardy in USDA zones 7-11. If you live in a cooler climate, you can still grow canna bulbs, but they may need extra protection in winter. Consider planting them in containers or lifting and storing the bulbs during the colder months.
- Space and Height: Canna bulbs are known for their tall stature, so make sure to choose a location that allows enough space for the plants to grow without crowding or overshadowing other nearby plants. Planting in groups or at the back of garden beds can create an impressive visual impact.
- Proximity to Water: Canna bulbs have high water requirements and benefit from regular watering. Therefore, it’s recommended to choose a location that is easily accessible to a water source or irrigation system. This will make it more convenient for you to keep the plants adequately hydrated.
By considering these factors, you can create an ideal environment for your canna bulbs to thrive. Next, let’s explore the importance of preparing the soil before planting the bulbs to ensure optimal growth and development.
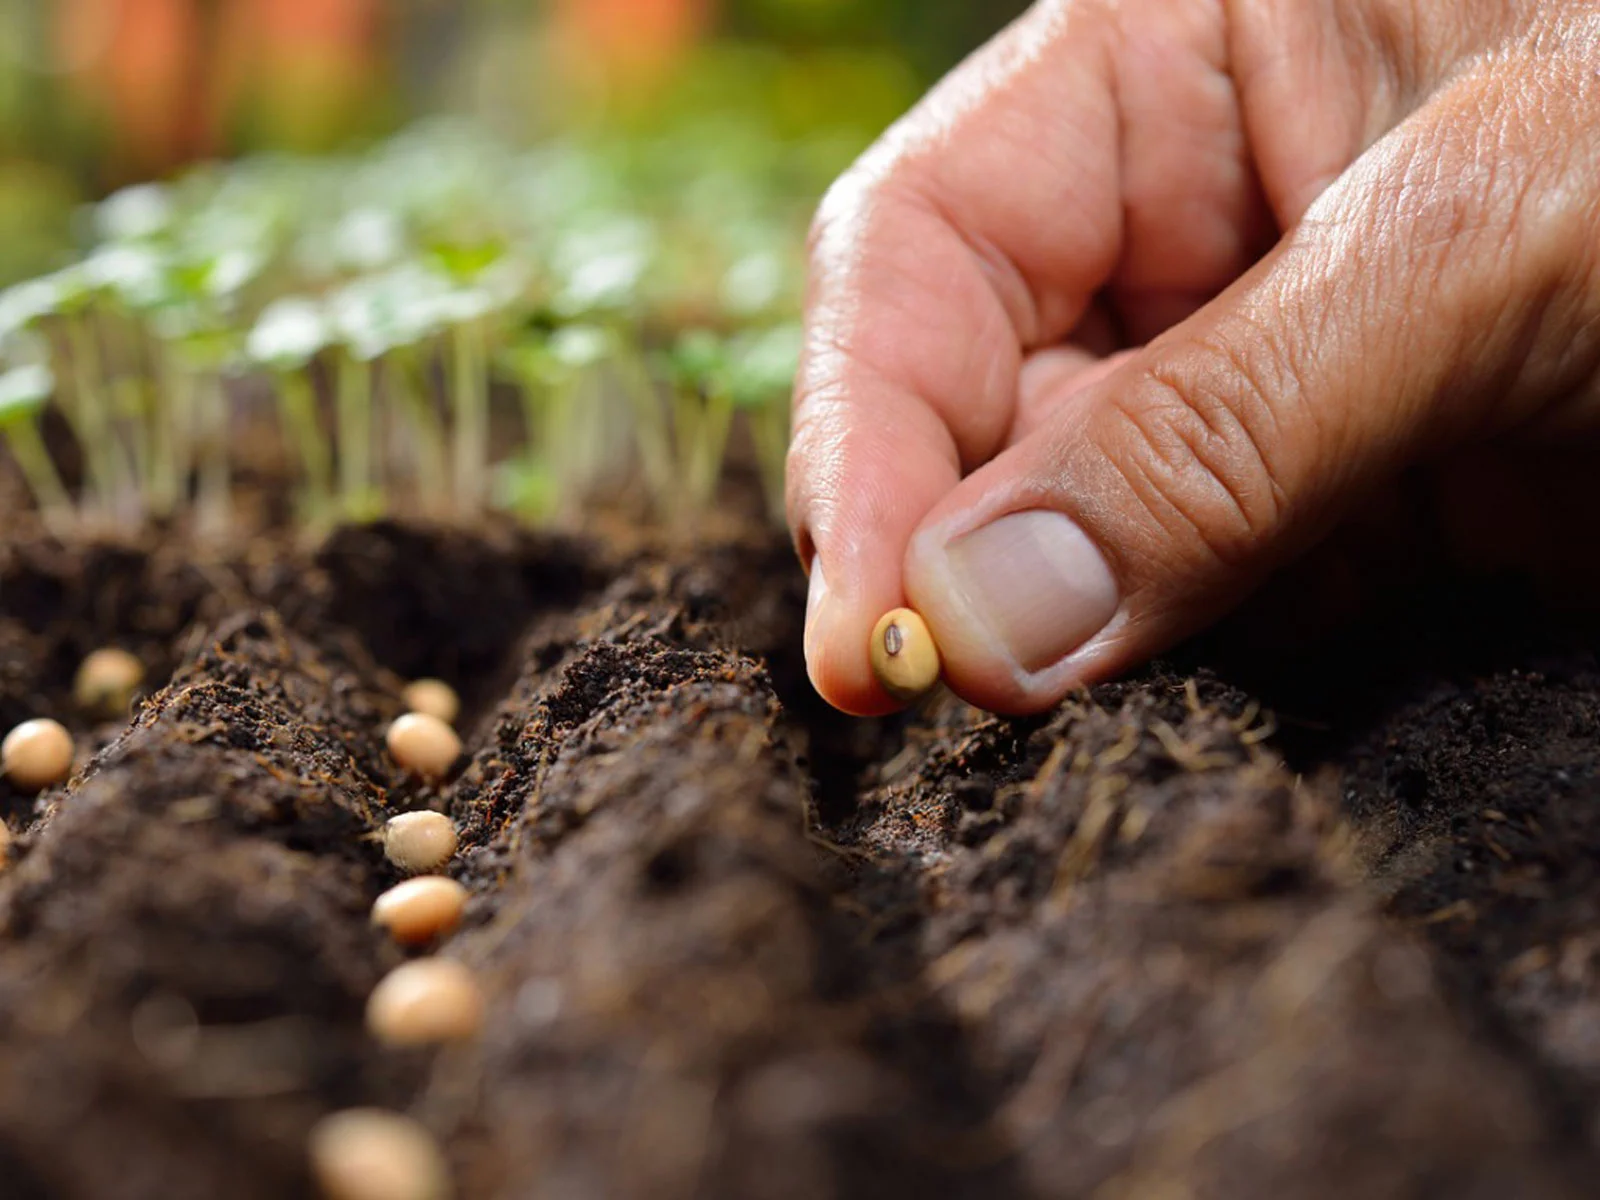
Preparing the Soil
Preparing the soil is an essential step before planting canna bulbs. Proper soil preparation ensures that the plants have an optimal environment to grow and establish their roots. Here are a few steps to follow:
- Clear the area: Start by removing any existing weeds, grass, or debris from the planting area. This will help prevent competition for nutrients and ensure that the canna bulbs have room to spread their roots.
- Loosen the soil: Use a garden fork or a tiller to loosen the soil to a depth of at least 8-10 inches (20-25 cm). This improves the soil’s texture and allows for better drainage and root penetration.
- Amend the soil: Mix in organic matter such as compost, well-rotted manure, or leaf mold to enrich the soil. This helps improve its fertility, structure, and water-holding capacity. Aim to incorporate the organic matter evenly throughout the planting area.
- Test the soil pH: Canna bulbs prefer slightly acidic to neutral soil, with a pH range of 6.0-7.0. You can use a pH testing kit to determine the soil’s acidity level. If needed, you can adjust the pH by adding amendments like lime to raise it or sulfur to lower it.
- Provide drainage: If your soil tends to retain water or becomes compacted easily, you can further improve drainage by adding sand, perlite, or vermiculite to the soil mixture. This helps prevent waterlogging and ensures that the canna bulbs’ roots do not sit in overly saturated soil.
By following these steps, you will create an ideal growing environment for your canna bulbs. The enriched soil will provide the necessary nutrients for healthy growth, while good drainage will prevent the bulbs from rotting. Once the soil is prepared, it’s time to move on to the exciting part – planting the canna bulbs!
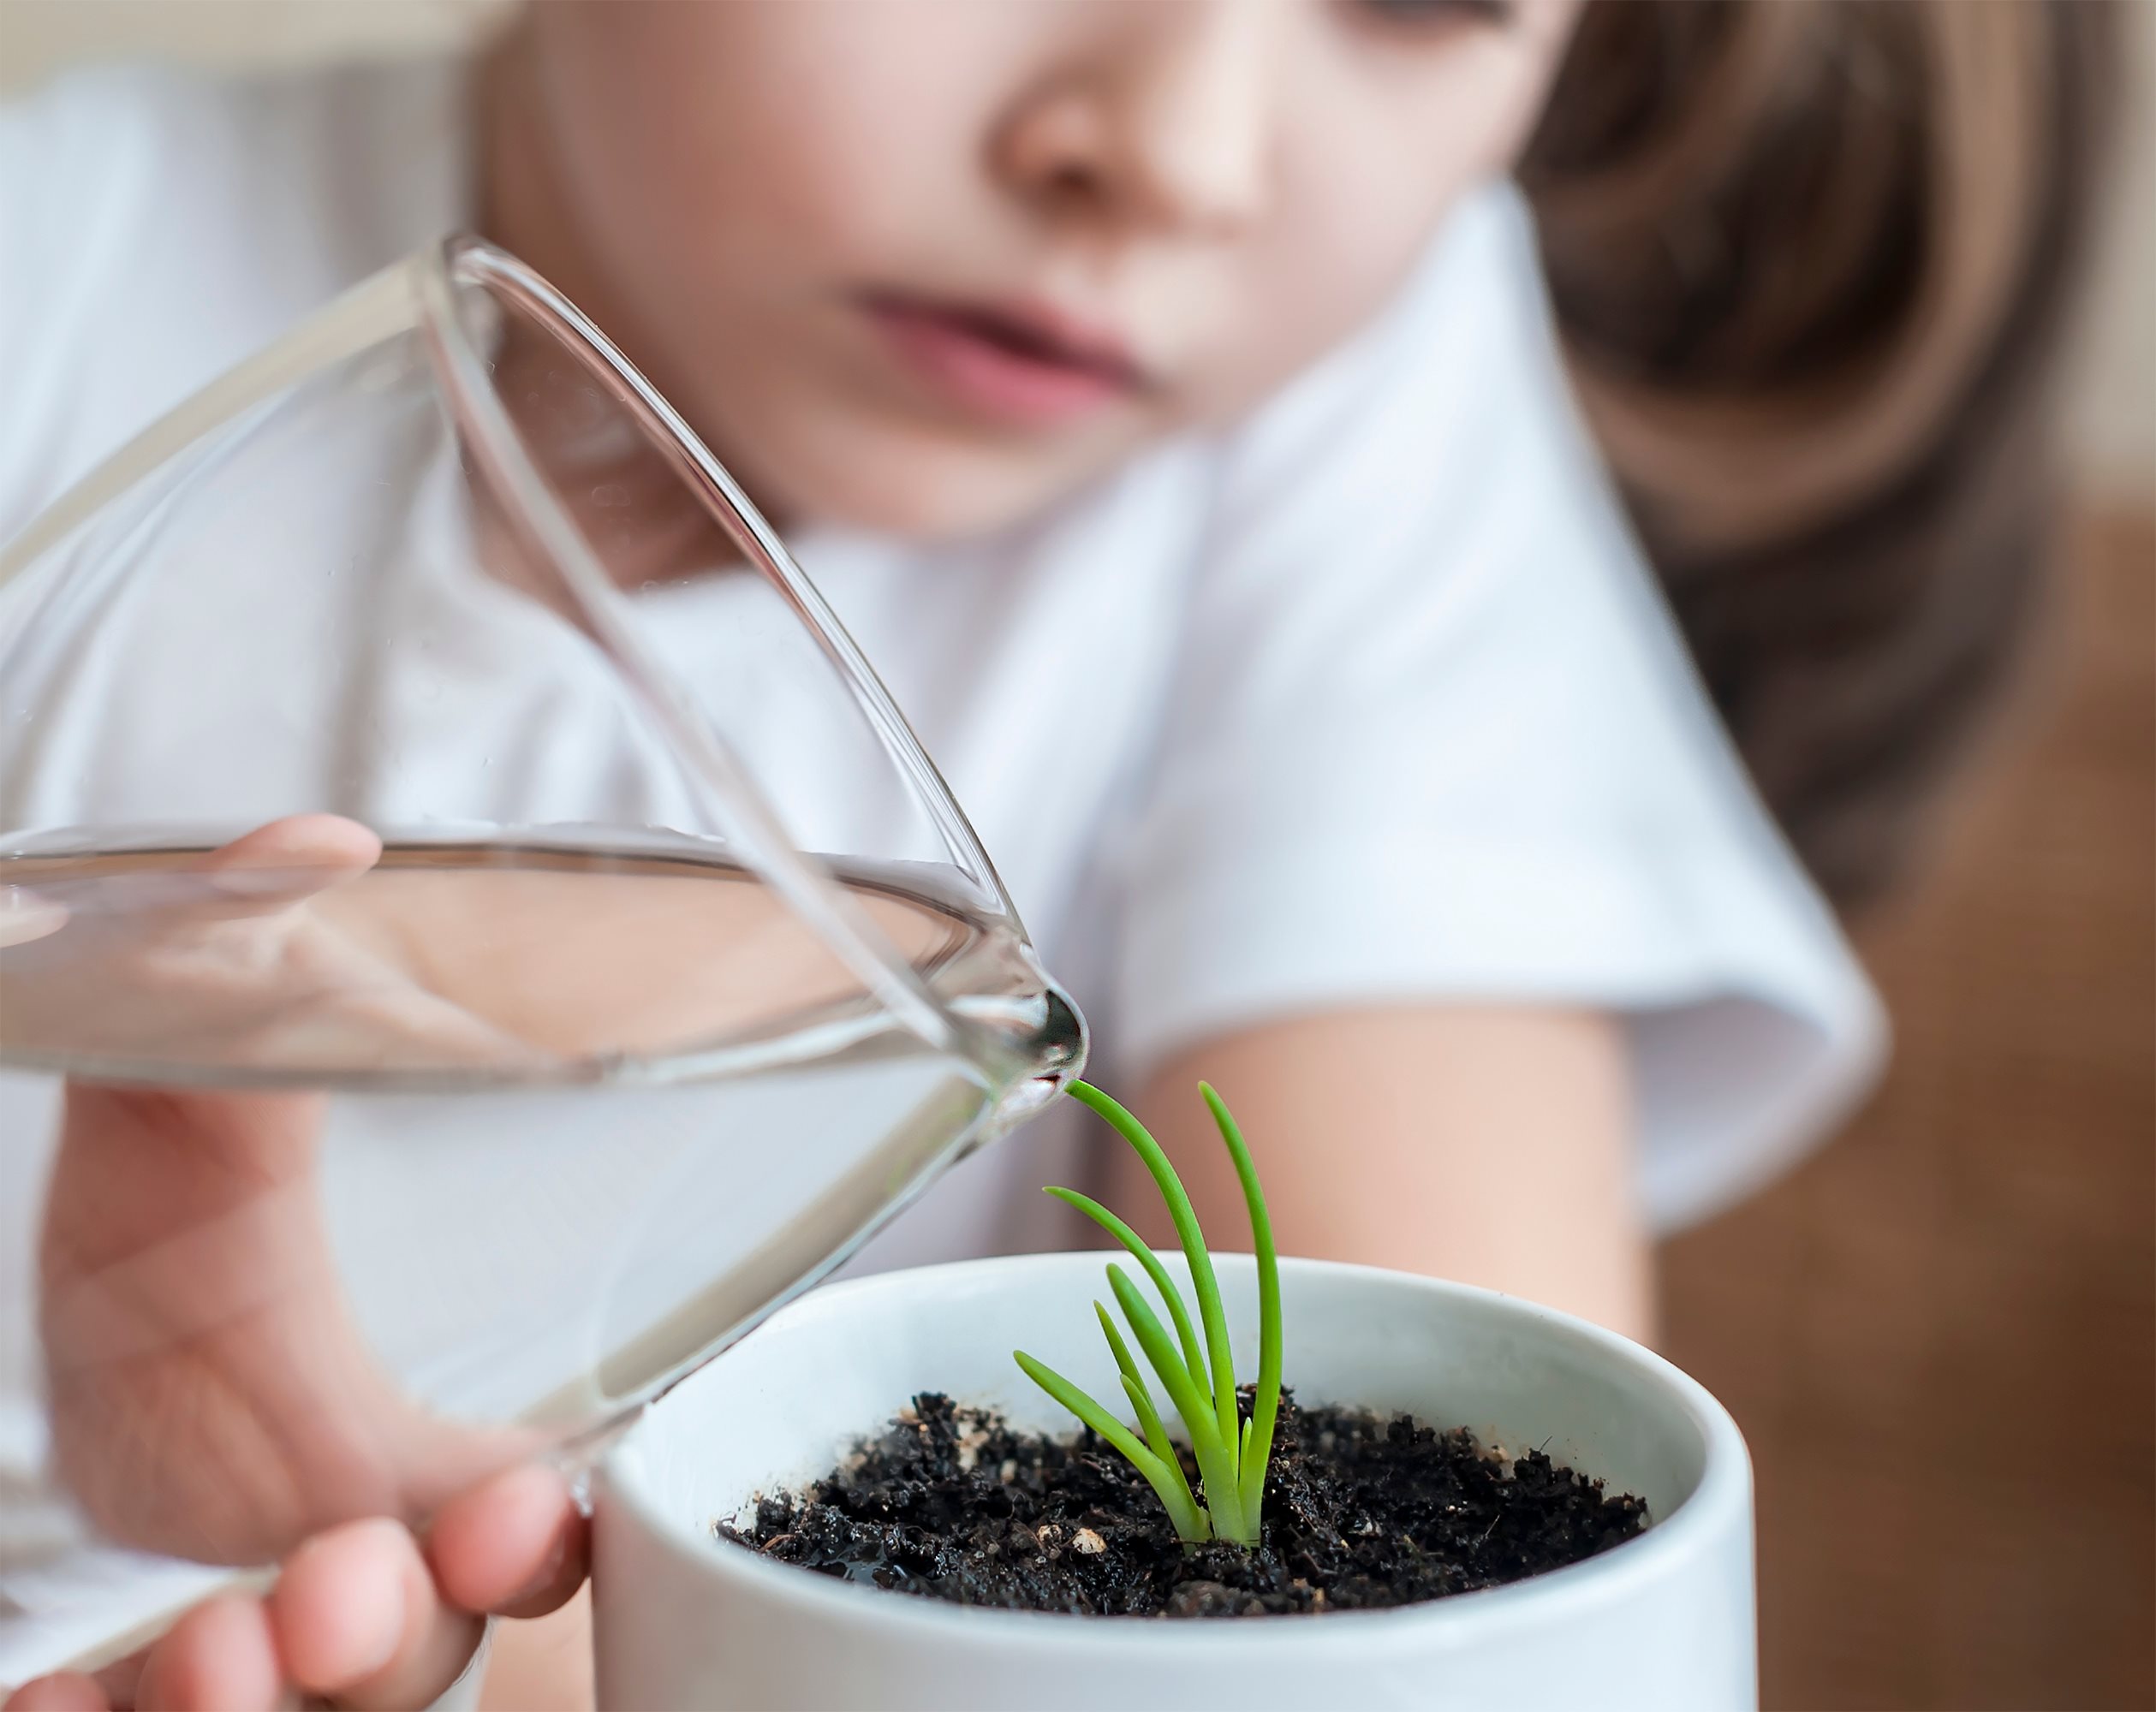
Planting Canna Bulbs
Planting canna bulbs is a straightforward process that can be done in just a few simple steps. Here’s how to get started:
- Dig a hole: Dig a hole that is approximately 4-6 inches (10-15 cm) deep and wide enough to accommodate the size of the bulb. If planting multiple bulbs, space them about 12-18 inches (30-45 cm) apart to allow for adequate growth and air circulation.
- Orient the bulb correctly: Place the canna bulb in the hole with the pointed end facing up. This is the end from which the shoots will emerge. If you’re unsure, you can look for any visible buds or sprouts on the bulb, as these should face upward.
- Backfill the hole: Gently cover the bulb with soil, ensuring that it is completely covered, but not buried too deep. Leave about an inch (2.5 cm) of soil above the bulb to protect it from drying out or being exposed to extreme temperatures.
- Water thoroughly: After planting, give the newly planted canna bulbs a good watering to settle the soil and provide moisture for root development. Be sure to water deeply, allowing the water to penetrate the soil and reach the root zone.
- Mulch the area: Apply a layer of organic mulch, such as shredded bark or straw, around the base of the plants. This helps conserve moisture, suppress weeds, and maintain a more consistent soil temperature.
- Label the planting area: It’s a good idea to label the planting area with the canna bulb variety or color. This will help you keep track of different varieties and make it easier to plan future garden arrangements.
Remember, canna bulbs need warmth to sprout, so if you planted them early in the season and the weather is still cool, you may need to provide additional protection like a plant cover or plastic tunnel until temperatures rise.
With these simple steps, you can successfully plant your canna bulbs and watch them flourish in your garden. Now, let’s move on to the next section, where we’ll discuss watering and fertilizing requirements for canna plants.
Watering and Fertilizing
Proper watering and fertilizing are key to the health and vigor of your canna plants. Here’s what you need to know:
Watering: Canna bulbs have high water requirements, especially during periods of active growth and flowering. Water the plants regularly, keeping the soil evenly moist but not waterlogged. Aim for about 1 inch (2.5 cm) of water per week, either from rainfall or manual watering. However, avoid overwatering, as it can lead to root rot and other issues. Reduce watering during periods of dormancy or when the weather is cool to prevent waterlogged soil.
Fertilizing: Canna plants are heavy feeders and benefit from regular fertilization. Start by incorporating a balanced slow-release fertilizer into the soil at planting time. This will provide a steady supply of nutrients over time. Additionally, you can supplement with a water-soluble fertilizer during the growing season, following the manufacturer’s recommended dosage. Apply the fertilizer every 4-6 weeks to promote healthy growth and vibrant blooms. Be sure to water the plants after fertilizing to help the nutrients reach the root zone.
It’s important to note that canna plants can be sensitive to high levels of nitrogen, which can result in lush foliage at the expense of flowering. Therefore, look for a fertilizer with a balanced ratio of nitrogen, phosphorus, and potassium (N-P-K), such as a 10-10-10 or 15-15-15 formula.
In addition to regular watering and fertilizing, it’s beneficial to monitor the soil moisture levels and adjust your irrigation schedule accordingly. Mulching around the plants helps retain moisture, reduce weed competition, and maintain a more consistent soil temperature.
Now that you have a good understanding of how to provide adequate water and nutrients to your canna plants, let’s move on to the next section, where we’ll discuss essential care tips for ensuring the long-term health and beauty of your canna bulbs.
Caring for Canna Plants
Caring for canna plants involves several important aspects to ensure their long-term health and beauty. Let’s explore the essential care tips:
- Regular maintenance: Remove any dead or yellowing leaves to maintain the plant’s overall appearance. This also helps prevent the spread of diseases and pests.
- Deadheading: As the flowers fade, it’s beneficial to deadhead them by removing the spent blooms. This not only keeps the plants looking tidy but also encourages the production of more flowers throughout the season.
- Staking: As canna plants can grow tall and may become top-heavy, it’s often necessary to stake them for support. This prevents them from falling over or getting damaged during strong winds or heavy rains.
- Protect from extreme weather: In regions with harsh winters, it’s important to protect canna bulbs from freezing temperatures by applying a thick layer of mulch or lifting the bulbs and storing them in a cool, dry place. Covering the plants with a frost cloth or burlap can also help protect them from frost and cold winds.
- Keep an eye out for pests and diseases: While canna plants are relatively resistant to pests and diseases, they can occasionally encounter problems like aphids, caterpillars, or fungal diseases. Regularly inspect the plants for any signs of infestation or disease, and take appropriate measures such as using organic pest control methods or applying fungicides when necessary.
- Dividing and propagating: Over time, canna plants can become crowded, leading to reduced flowering and vigor. To maintain healthy plants, consider dividing them every 3-4 years. Dig up the clump, separate the rhizomes, and replant them in well-prepared soil with adequate spacing. This not only rejuvenates the plants but also allows you to propagate new canna plants for other areas of your garden.
By following these care tips, you will ensure that your canna plants stay healthy, vibrant, and continue to provide stunning blooms year after year. Next, let’s explore how to prevent pests and diseases from affecting your canna plants.
Preventing Pests and Diseases
While canna plants are generally resistant to pests and diseases, they can still be susceptible to certain issues. Here are some preventive measures you can take to keep your canna plants healthy:
- Inspect regularly: Regularly inspect your canna plants for any signs of pests or diseases. Look for chewed leaves, discolored spots, or abnormal growth. Early detection allows for prompt action against potential issues.
- Maintain good plant hygiene: Clear away any fallen leaves, debris, or garden waste around your canna plants. These can provide hiding places for pests and harbor disease-causing organisms. Keeping the area clean helps minimize the risk of infestation or infection spreading.
- Provide proper air circulation: Canna plants benefit from good air circulation, which helps prevent the buildup of excess moisture and reduces the risk of fungal diseases. Avoid overcrowding plants and ensure that they have enough space between them for adequate airflow.
- Practice crop rotation: If you have multiple areas where you grow canna plants, practice crop rotation. Avoid planting canna bulbs in the same spot year after year, as this can lead to a buildup of pests and diseases. Rotate the planting location to reduce the risk of reinfestation.
- Use organic pest control methods: If you encounter pests on your canna plants, try using organic pest control methods such as hand-picking and removing the insects, using insecticidal soaps or oils, or introducing beneficial insects that prey on pests.
- Ensure proper watering: Overwatering can lead to root rot and create favorable conditions for fungal diseases. Water your canna plants at their base, avoiding overhead watering that can wet the foliage excessively. Water in the morning so that the plants have time to dry during the day.
- Monitor for fungal diseases: Fungal diseases such as leaf spot and rust can occasionally affect canna plants. If you notice early signs of fungal infections, remove and destroy the affected leaves to prevent the spread of spores. Applying a fungicide may be necessary in severe cases.
By following these preventive measures, you can minimize the risk of pests and diseases impacting your canna plants. However, even with the best precautions, occasional issues may still arise. Monitoring your plants regularly allows you to address any problems swiftly and effectively.
Now that you’re equipped with the knowledge to prevent pests and diseases in your canna plants, let’s move on to the next section, where we’ll discuss how to dig up and store canna bulbs for winter or propagation.
Digging Up and Storing Canna Bulbs
As colder temperatures approach or if you want to propagate your canna bulbs, it’s important to dig them up and store them properly. Here’s how to do it:
- Timing: In regions with mild winters, you can leave the canna bulbs in the ground if the soil doesn’t freeze. However, if you live in an area with freezing temperatures, it’s best to dig up the bulbs before the first frost.
- Prepare the plants: Cut back the foliage of the canna plants to about 4-6 inches (10-15 cm) from the ground. This reduces the amount of plant material you need to handle and makes it easier to identify and handle the bulbs.
- Loosen the soil: Gently loosen the soil around the bulbs using a garden fork or a shovel, taking care not to damage the bulbs. Start digging at a distance from the center of the plant to avoid accidental puncturing or cutting of the bulbs.
- Lift the bulbs: Lift the clump of bulbs from the soil, shaking off excess soil gently. You may notice small bulblets attached to the main bulbs, which can be saved for propagation or as backups in case the main bulbs don’t survive.
- Cleaning: Remove any loose soil and gently brush away any remaining soil from the bulbs. Be careful not to remove any of the protective dry outer layers of the bulbs.
- Drying: Allow the bulbs to dry for a couple of days in a well-ventilated area. This helps prevent mold or rot during storage.
- Storage: Once the bulbs are dry, store them in a cool, dry place. You can place them in trays or containers filled with peat moss, vermiculite, or dry sand. Make sure the bulbs are not touching each other to avoid potential spread of diseases or rot. Check the bulbs periodically during storage and discard any that show signs of decay.
- Winter care: If you live in an area with mild winters, you can replant the canna bulbs in well-protected containers or in a protected area in the ground. Keep the soil slightly moist and protect the plants from frost or freezing temperatures.
By following these steps, you can successfully dig up and store your canna bulbs for winter or propagation. When properly stored, canna bulbs can remain dormant through the winter and be ready for planting again in the following growing season.
Now that you know how to dig up and store canna bulbs, you’re well-equipped to care for your plants all year round. In the next section, we’ll wrap up with a summary of the article and some final thoughts on ornamental gardening with canna bulbs.
Conclusion
Ornamental gardening with canna bulbs can bring a burst of vibrant colors and tropical beauty to your outdoor space. By following the steps outlined in this article, you can successfully plant, care for, and enjoy the stunning blooms of canna lilies in your garden.
From choosing the right location and preparing the soil to watering, fertilizing, and preventing pests and diseases, each aspect of canna bulb gardening contributes to the overall success of your plants. Remember to provide them with adequate sunlight, well-draining soil, and regular waterings to keep them flourishing.
Caring for your canna plants involves regular maintenance, deadheading spent blooms, staking tall stems, and protecting them from extreme weather. By practicing good plant hygiene and monitoring for pests and diseases, you can ensure the health and longevity of your canna bulbs.
If you live in an area with freezing winters, taking the time to dig up and store your canna bulbs properly will allow you to enjoy their beauty year after year. By following the steps of drying, cleaning, and storing the bulbs in a cool, dry place, you can preserve them until spring arrives.
Ornamental gardening with canna bulbs offers a wonderful opportunity to infuse your landscape with color and the tropical allure of these stunning plants. With their tall stature, vibrant blooms, and lush foliage, canna bulbs create a striking visual impact whether planted in garden beds or containers.
So go ahead and start your journey of ornamental gardening with canna bulbs. Experiment with different colors, plant combinations, and garden designs to create a picturesque outdoor space that is sure to dazzle and impress. Happy gardening!