Home>Types of Gardening>Edible Gardening>How Do You Plant Garlic Bulbs

Edible Gardening
How Do You Plant Garlic Bulbs
Modified: February 10, 2024
Learn how to plant garlic bulbs in your garden with our expert edible gardening tips. Discover the best practices for growing garlic and enjoy a bountiful harvest!
(Many of the links in this article redirect to a specific reviewed product. Your purchase of these products through affiliate links helps to generate commission for Chicagolandgardening.com, at no extra cost. Learn more)
Table of Contents
Introduction
Selecting Garlic Bulbs
Garlic is a versatile and flavorful addition to any garden. Known for its culinary uses and numerous health benefits, garlic is a rewarding plant to grow. Whether you are a seasoned gardener or a novice with a green thumb, planting garlic bulbs can be a fulfilling and straightforward endeavor. This article will guide you through the process of planting garlic, from selecting the right bulbs to harvesting and storing the flavorful cloves.
When it comes to growing garlic, selecting the right bulbs is the first crucial step. Not all garlic bulbs are created equal, and choosing high-quality seed stock is essential for a successful harvest. Garlic bulbs are typically categorized into two main types: hardneck and softneck. Hardneck garlic varieties are known for their robust flavor and are well-suited to colder climates, while softneck varieties are often preferred for their longer shelf life and adaptability to a wider range of growing conditions.
When selecting garlic bulbs for planting, opt for large, firm bulbs with unbroken skin. Avoid bulbs that show signs of sprouting or mold. It is also advisable to source garlic bulbs from reputable suppliers or local farmers to ensure the best quality and variety selection. By carefully handpicking your garlic bulbs, you can set the stage for a thriving garlic crop that will yield an abundant harvest of flavorful cloves.
In the following sections, we will delve into the intricacies of preparing the soil, choosing the right location, and planting and caring for garlic bulbs to ensure a successful and bountiful harvest. Whether you are an avid gardener or a newcomer to the world of edible gardening, growing your own garlic can be a gratifying and flavorful experience. So, let's roll up our sleeves and embark on a journey to cultivate this beloved culinary staple in our very own backyard.
Selecting Garlic Bulbs
When it comes to growing garlic, selecting the right bulbs is the first crucial step. Not all garlic bulbs are created equal, and choosing high-quality seed stock is essential for a successful harvest. Garlic bulbs are typically categorized into two main types: hardneck and softneck. Hardneck garlic varieties are known for their robust flavor and are well-suited to colder climates, while softneck varieties are often preferred for their longer shelf life and adaptability to a wider range of growing conditions.
When selecting garlic bulbs for planting, opt for large, firm bulbs with unbroken skin. Avoid bulbs that show signs of sprouting or mold. It is also advisable to source garlic bulbs from reputable suppliers or local farmers to ensure the best quality and variety selection. By carefully handpicking your garlic bulbs, you can set the stage for a thriving garlic crop that will yield an abundant harvest of flavorful cloves.
Inspect the bulbs for any signs of damage, disease, or soft spots, as these may indicate poor quality or compromised bulbs. Look for bulbs with plump, firm cloves, as they are more likely to produce robust and healthy plants. Additionally, consider the specific garlic variety you intend to grow and select bulbs that are well-suited to your local climate and growing conditions.
Furthermore, it’s essential to consider the size of the cloves when selecting garlic bulbs. Larger cloves are generally preferred for planting, as they are more likely to yield larger bulbs at harvest. However, smaller cloves can also be planted, especially if you are looking to grow garlic for its greens rather than the bulbs themselves.
By paying attention to these key factors when selecting garlic bulbs, you can lay a solid foundation for a successful garlic crop. The careful curation of high-quality bulbs will contribute to the overall health and productivity of your garlic plants, ultimately leading to a satisfying harvest of flavorful and aromatic garlic cloves.
Choosing the Right Location
Garlic thrives in well-drained soil and requires ample sunlight to reach its full potential. When selecting a location for planting garlic, it is important to consider these key factors to ensure the optimal growth and development of your garlic crop.
First and foremost, garlic prefers a location with full sun exposure. Choose a spot in your garden that receives at least six to eight hours of direct sunlight each day. Adequate sunlight is essential for the photosynthesis process, which contributes to the formation of healthy and robust garlic bulbs. Additionally, a sunny location promotes good air circulation, which can help prevent fungal diseases and promote overall plant vigor.
Furthermore, garlic plants thrive in well-drained soil with good fertility. Avoid waterlogged or compacted soil, as these conditions can lead to poor bulb development and increase the risk of disease. If your soil tends to retain water, consider amending it with organic matter, such as compost or well-rotted manure, to improve drainage and enhance soil structure. A loose, friable soil texture is ideal for garlic cultivation, allowing the roots to penetrate easily and facilitating the formation of well-formed bulbs.
Consider the overall microclimate of your chosen planting site. While garlic is a resilient plant, it is sensitive to extreme temperature fluctuations. Choose a location that offers some protection from strong winds and extreme temperature swings, especially during the winter months. Additionally, if you live in a region with particularly harsh winters, consider applying a layer of mulch to insulate the soil and protect the garlic bulbs from frost heaving.
Lastly, when planning the layout of your garlic bed, consider crop rotation and avoid planting garlic in the same spot year after year. Crop rotation helps prevent the buildup of soil-borne diseases and pests, promoting the long-term health of your garden. Rotate your garlic crop with other plant families, such as legumes or leafy greens, to maintain soil fertility and minimize the risk of disease.
By carefully selecting a suitable location for your garlic crop, you can provide the optimal growing conditions for your plants, setting the stage for a successful and abundant harvest of flavorful garlic bulbs.
Preparing the Soil
Preparing the soil is a critical step in ensuring the success of your garlic crop. Garlic plants thrive in well-drained, fertile soil with a loose texture that allows for easy root penetration and bulb development. By taking the time to prepare the soil properly, you can provide an ideal growing environment for your garlic plants and set the stage for a bountiful harvest of flavorful cloves.
Before planting garlic, it is essential to assess the condition of your soil and make any necessary amendments to optimize its fertility and structure. Start by testing the soil pH to ensure it falls within the optimal range for garlic cultivation, which is typically between 6.0 and 7.0. If the pH is too low, consider adding lime to raise the pH, or if it is too high, incorporate elemental sulfur to lower it. A balanced pH level is crucial for nutrient uptake and overall plant health.
Next, enrich the soil with organic matter to improve its fertility and texture. Incorporate well-rotted compost, aged manure, or other organic amendments to boost the soil’s nutrient content and microbial activity. Organic matter also helps improve soil structure, promoting good drainage and aeration, which are essential for healthy garlic root development.
Consider adding a balanced fertilizer with a higher phosphorus content to the soil before planting garlic. Phosphorus is important for root development and overall plant vigor, making it an essential nutrient for garlic cultivation. A fertilizer with a higher phosphorus level, such as a 10-20-10 blend, can provide the necessary nutrients to support robust garlic growth.
Once the soil has been amended and enriched, it’s time to prepare the planting beds. Garlic prefers a loose, friable soil texture, so take the time to loosen the soil to a depth of at least 8 inches, removing any rocks, debris, or compacted clumps along the way. This preparation allows the garlic cloves to be planted in soil that is well-aerated and provides ample space for root expansion and bulb formation.
By diligently preparing the soil and providing the necessary nutrients and structure for your garlic plants, you can create an optimal growing environment that promotes healthy growth and development. The investment in soil preparation will be reflected in the quality and abundance of the garlic harvest, yielding flavorful and aromatic cloves for culinary enjoyment.
Planting Garlic Bulbs
Planting garlic bulbs is an exciting step that sets the stage for the growth and development of flavorful garlic plants. By following a few essential guidelines, you can ensure that your garlic bulbs are planted at the optimal depth and spacing, providing them with the best conditions for successful growth and bulb formation.
Garlic cloves should be planted in the fall, several weeks before the ground freezes, to allow the plants to establish roots before winter dormancy. The ideal time for planting garlic varies depending on your specific climate and location, but it generally falls between late September and early November. This timing allows the garlic cloves to develop a strong root system and prepare for vigorous spring growth.
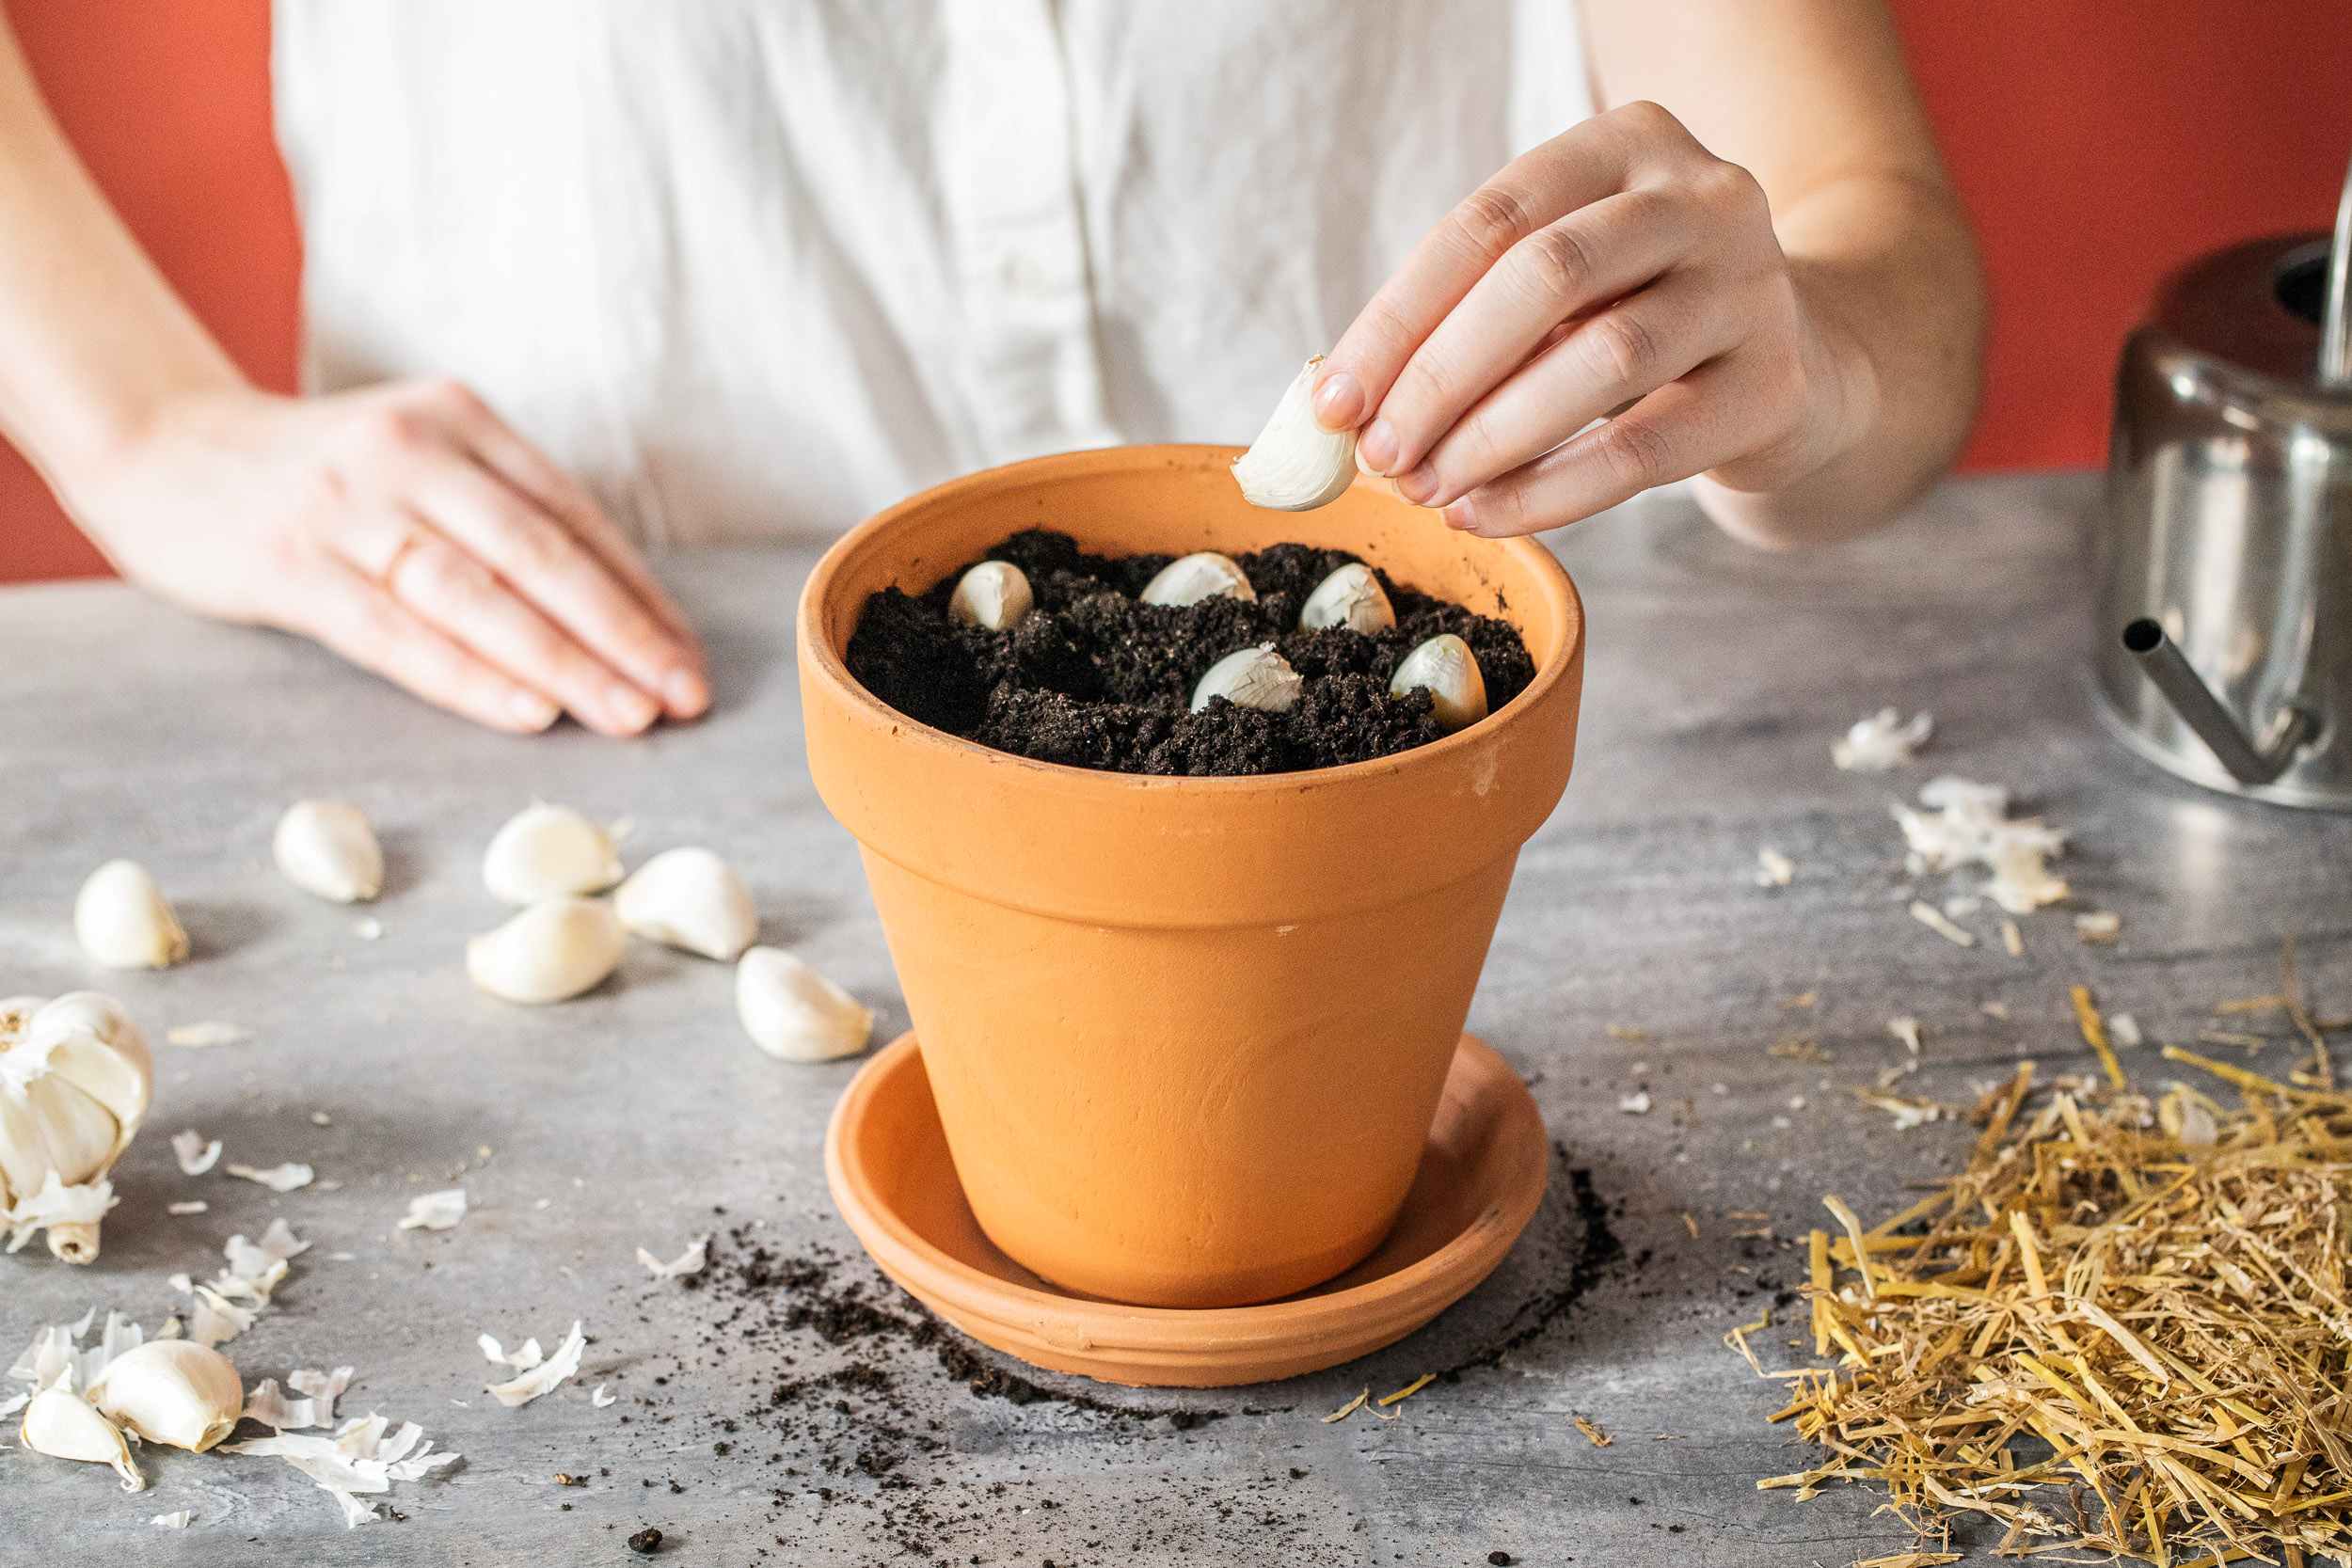
Begin by carefully separating the garlic bulbs into individual cloves shortly before planting. Choose the largest and healthiest cloves for planting, as they are more likely to produce robust and well-formed bulbs. Leave the papery skin intact and handle the cloves gently to avoid damaging them before planting.
When it comes to planting depth, garlic cloves should be placed approximately 2 inches deep, with the pointed end facing upward and the flat basal plate positioned downward. Ensure that the cloves are spaced 4 to 6 inches apart within the row to allow ample room for bulb development. Rows should be spaced 12 to 18 inches apart to provide adequate airflow and facilitate easy cultivation and harvesting.
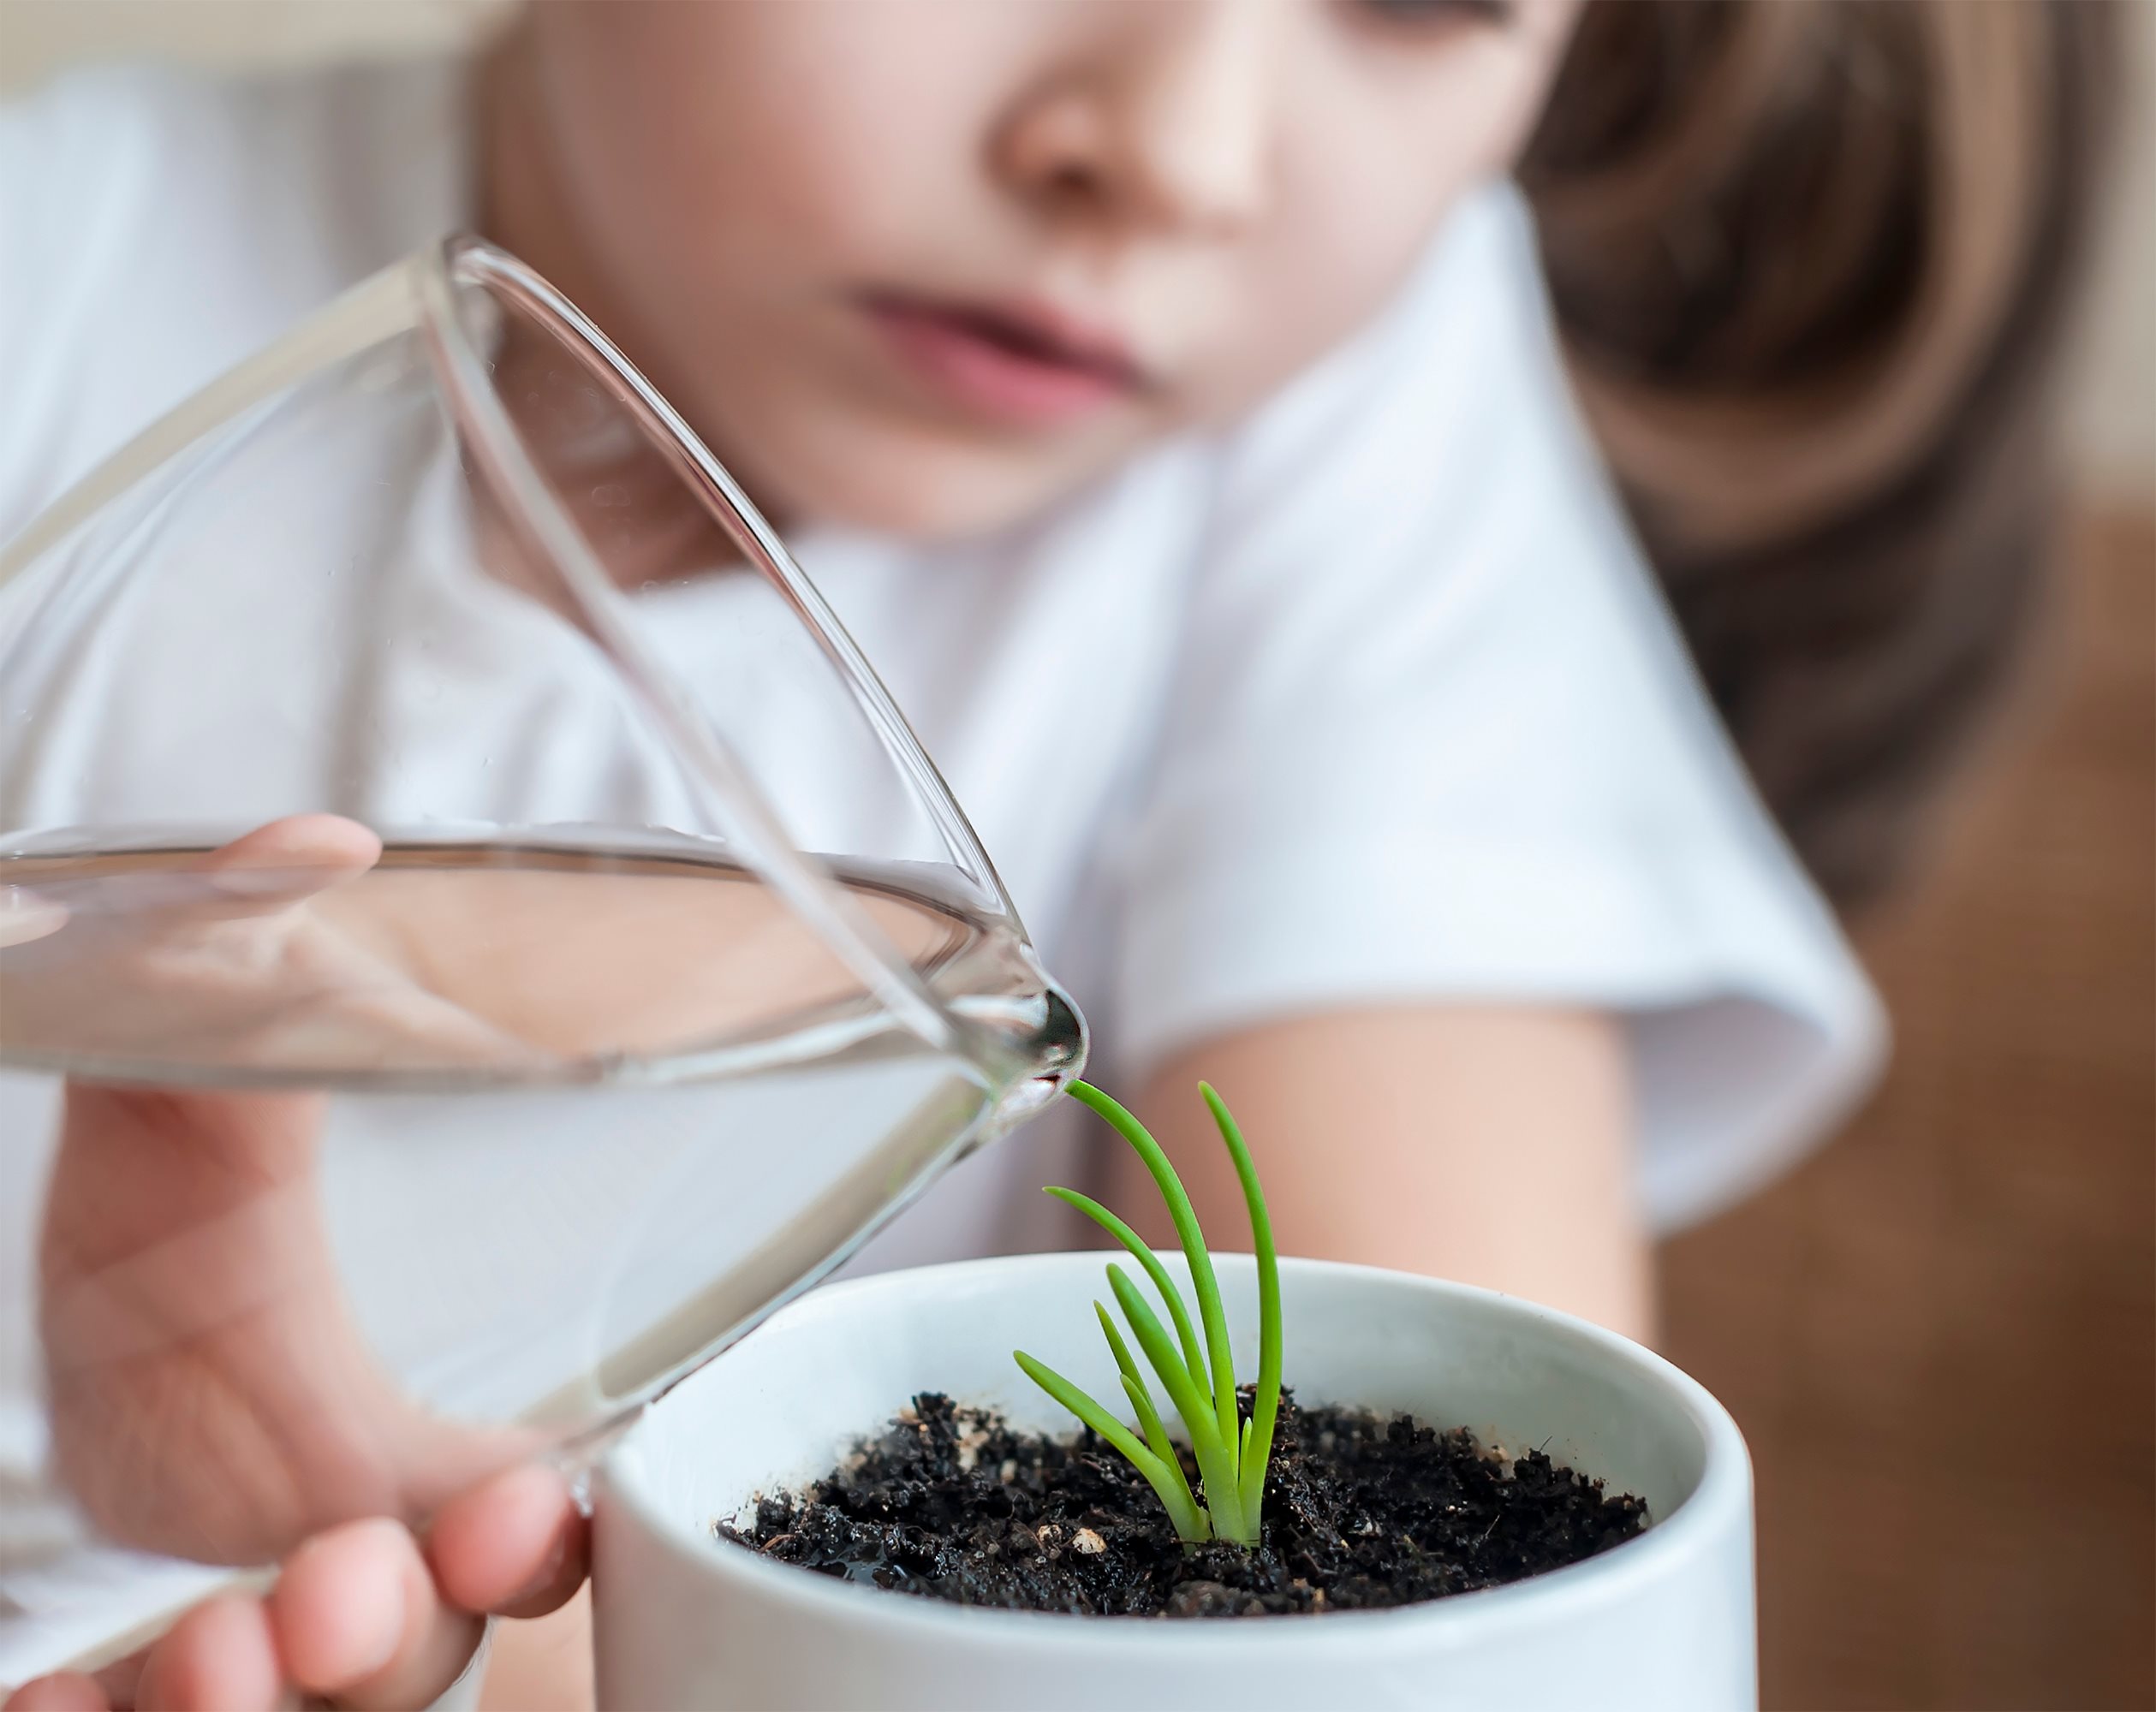
After placing the cloves in the soil at the appropriate depth and spacing, gently cover them with soil and press down to ensure good soil-to-clove contact. Water the planted cloves thoroughly to settle the soil and initiate the early stages of root development. Apply a layer of mulch, such as straw or chopped leaves, to insulate the soil and help regulate temperature fluctuations during the winter months.
As the garlic cloves begin to establish roots and prepare for winter dormancy, monitor the soil moisture levels and provide supplemental watering if necessary. Adequate moisture is essential for the cloves to develop strong root systems before the onset of winter. Be mindful of excessive moisture, as waterlogged soil can lead to rot and disease, especially during the dormant period.
By following these guidelines for planting garlic bulbs, you can establish a strong foundation for healthy and productive garlic plants. The careful attention to planting depth, spacing, and soil preparation will contribute to the successful growth and development of your garlic crop, ultimately leading to a rewarding harvest of flavorful and aromatic garlic bulbs.
Caring for Garlic Plants
Once your garlic bulbs are planted, caring for the growing plants is essential to ensure their health and productivity. From providing adequate water and nutrients to managing pests and diseases, attentive care throughout the growing season can lead to a successful harvest of flavorful garlic bulbs.
Garlic plants benefit from consistent moisture, especially during the early stages of growth. While garlic is relatively drought-tolerant, it is essential to provide sufficient water, particularly during dry spells, to support healthy bulb development. Monitor the soil moisture levels and water the plants deeply when the soil begins to dry out, aiming to maintain consistently moist but not waterlogged conditions.
Applying a balanced fertilizer can provide the necessary nutrients to support robust garlic growth. Consider using a fertilizer with a higher nitrogen content early in the growing season to promote vigorous foliage development. As the plants transition to bulb formation, switch to a fertilizer with a higher potassium content to support bulb expansion and enhance flavor and storage quality.
Garlic plants can benefit from a layer of mulch to conserve soil moisture, suppress weed growth, and moderate soil temperature. Apply a 2- to 4-inch layer of organic mulch, such as straw or chopped leaves, around the base of the plants, being mindful to keep the mulch away from direct contact with the stems to prevent moisture-related issues and pest harborage.
As the garlic plants continue to grow, it is important to monitor them for signs of pests and diseases. Common pests that may affect garlic include aphids, thrips, and nematodes, while diseases such as white rot and rust can pose significant challenges. Inspect the plants regularly and take appropriate measures, such as applying organic pest control methods or removing affected foliage, to manage potential issues and maintain plant health.
Additionally, consider removing any scapes that emerge from hardneck garlic varieties to redirect the plant’s energy from flower production to bulb development. Scapes are the curly, flower-bearing stalks that emerge from the center of hardneck garlic plants and, while edible and flavorful, their removal encourages the plants to focus on bulb formation, ultimately leading to larger and more robust garlic bulbs at harvest.
By providing attentive care, including adequate water, balanced nutrition, pest and disease management, and strategic scape removal, you can support the healthy growth and development of your garlic plants. The investment in caring for your garlic crop will be reflected in the quality and abundance of the harvest, yielding flavorful and aromatic garlic bulbs for culinary enjoyment.
Harvesting Garlic
Harvesting garlic is a gratifying culmination of the efforts invested in cultivating this beloved culinary staple. As the garlic plants progress through their growth stages, it is essential to monitor their development and recognize the optimal timing for harvesting flavorful and aromatic garlic bulbs.
Garlic is typically ready for harvest when the lower leaves begin to turn yellow and dry out, signaling the final stages of bulb maturation. Depending on the variety and growing conditions, garlic is usually ready for harvest in mid-summer, approximately 8 to 10 months after planting. It is crucial to time the harvest correctly to ensure that the bulbs reach their full potential in terms of flavor, size, and storage quality.
To begin the harvesting process, carefully loosen the soil around the base of the garlic plants using a garden fork or trowel. Take care to avoid damaging the bulbs as you gently lift the plants from the soil. If the soil is dry, consider watering the area the day before harvesting to facilitate soil removal and reduce the risk of bulb damage during the extraction process.
After lifting the garlic plants from the soil, it is essential to handle them with care to prevent bruising or damage to the bulbs. Avoid pulling or twisting the plants, as this can cause the bulbs to separate from the stems prematurely. Instead, gently shake off any excess soil and lay the plants in a well-ventilated, shaded area to dry and cure.
Curing garlic is a crucial post-harvest step that enhances its flavor and storage potential. Allow the garlic plants to cure for 2 to 3 weeks in a warm, dry, and well-ventilated location, such as a covered porch or airy garage. During the curing process, the outer layers of the garlic bulbs will dry and tighten, forming a protective papery skin that helps preserve the cloves and intensify their flavor.
After the curing period, trim the roots and remove any remaining soil and dried foliage from the garlic bulbs. Take care not to remove the papery outer layers, as these provide essential protection during storage. Inspect the bulbs for any signs of damage or disease, and set aside any bulbs that do not meet the quality standards for immediate use or processing.
Once the garlic bulbs have been cured and cleaned, they are ready for storage in a cool, dry, and well-ventilated environment. Store the garlic bulbs in mesh bags, hanging them in a well-ventilated area, or arrange them in single layers in wooden crates or baskets. Properly cured and stored garlic can keep for several months, providing a flavorful and aromatic addition to your culinary endeavors.
Harvesting garlic represents the culmination of your efforts in cultivating this versatile and beloved plant. By recognizing the signs of maturity, carefully lifting and curing the bulbs, and providing proper storage, you can enjoy the rewards of a bountiful harvest of flavorful garlic for culinary enjoyment.
Storing Garlic Bulbs
Proper storage is essential to preserve the flavor, quality, and shelf life of freshly harvested garlic bulbs. By implementing suitable storage methods, you can ensure that your homegrown garlic remains flavorful and aromatic for an extended period, allowing you to savor its culinary delights long after the harvest.
After the garlic bulbs have been cured and cleaned, it is important to store them in a cool, dry, and well-ventilated environment. Excessive moisture and humidity can lead to mold and premature sprouting, while fluctuating temperatures can compromise the bulbs’ storage quality. Choose a storage location with consistent conditions, such as a pantry, cellar, or ventilated cabinet, to maintain the garlic’s flavor and texture.
One effective method for storing garlic bulbs is to hang them in mesh bags. This allows for good air circulation around the bulbs, helping to prevent moisture buildup and prolonging their shelf life. Hang the mesh bags in a cool, dry area away from direct sunlight, ensuring that the garlic bulbs are not overcrowded and have ample space for air circulation.
Alternatively, you can arrange the garlic bulbs in single layers in wooden crates or baskets. This method provides good airflow around the bulbs and allows for easy visual inspection to remove any bulbs that show signs of spoilage or sprouting. Position the crates or baskets in a cool, dry location and monitor the bulbs periodically to ensure their continued quality.
When storing garlic, it is important to avoid refrigeration, as the cold and humid conditions can cause the bulbs to sprout prematurely and develop a bitter taste. Additionally, exposure to direct sunlight can lead to greening and off-flavors in the garlic cloves. Choose a storage location that is shielded from light and maintains a consistent, moderate temperature to preserve the garlic’s flavor and quality.
Regularly inspect the stored garlic bulbs for any signs of sprouting, mold, or deterioration. Remove any bulbs that show these indications to prevent the spread of spoilage to the remaining stored garlic. By promptly addressing any compromised bulbs, you can maintain the overall quality and flavor of your stored garlic crop.
Properly cured and stored garlic can keep for several months, providing a flavorful and aromatic addition to your culinary endeavors. By implementing suitable storage methods and monitoring the garlic bulbs regularly, you can enjoy the rewards of your homegrown garlic well beyond the harvest season, infusing your dishes with the rich and distinctive flavors of freshly harvested garlic.