Home>Types of Gardening>Edible Gardening>How To Store Garlic Bulbs

Edible Gardening
How To Store Garlic Bulbs
Published: January 22, 2024
Learn the best methods for storing garlic bulbs in your edible garden to ensure their freshness and flavor for months to come with this comprehensive guide.
(Many of the links in this article redirect to a specific reviewed product. Your purchase of these products through affiliate links helps to generate commission for Chicagolandgardening.com, at no extra cost. Learn more)
Table of Contents
Introduction
Welcome to the world of edible gardening! If you have a green thumb and a passion for growing your own food, then you’re in the right place. One of the popular choices for home gardeners is garlic, a versatile and flavorful herb that adds a delicious kick to various dishes. But growing garlic is just the first step; storing it properly is equally important to ensure its quality and freshness.
Proper storage of garlic bulbs is essential to preserve their flavor, texture, and nutritional value. When stored correctly, garlic bulbs can last for several months, allowing you to enjoy the taste of your hard-earned harvest even during the off-season. Moreover, well-stored garlic bulbs are less likely to sprout prematurely or rot, saving you from disappointment and wasted effort.
In this comprehensive guide, we will walk you through the essential steps of storing garlic bulbs. From choosing the right bulbs for storage to harvesting, curing, and preparing them for long-term storage, we’ve got you covered. We’ll also discuss common mistakes to avoid and share some expert tips to help you maintain the quality of your garlic bulbs.
Whether you’re a novice gardener or an experienced one, our aim is to equip you with the knowledge and strategies to store garlic bulbs successfully. So, let’s dive in and learn the art of preserving the flavors of this aromatic herb.
Why Proper Storage is Important
Properly storing garlic bulbs after harvest is crucial for several reasons. Let’s take a look at why it’s essential to invest time and effort into storing your garlic correctly:
- Preserves Flavor: When stored properly, garlic bulbs retain their distinct flavor and aroma. This means that months after harvest, you can still enjoy the same robust taste in your culinary creations.
- Extends Shelf Life: Well-stored garlic bulbs can last for several months, allowing you to have a steady supply of homegrown garlic throughout the year. This is especially beneficial for those living in regions with long winters or limited access to fresh produce.
- Reduces Waste: By storing garlic bulbs correctly, you can minimize waste as they are less likely to spoil or sprout prematurely. This means you can make the most of your harvest and avoid throwing away garlic that has gone bad.
- Preserves Nutritional Value: Garlic is not only valued for its flavor but also for its numerous health benefits. Proper storage helps retain the nutritional content of garlic, ensuring that you can still reap its medicinal properties even months after harvest.
By understanding the importance of proper storage, you can take the necessary steps to maintain the quality of your garlic bulbs and enjoy their full flavor and health benefits. So, let’s move on to the next section and learn how to choose the right garlic bulbs for storage.
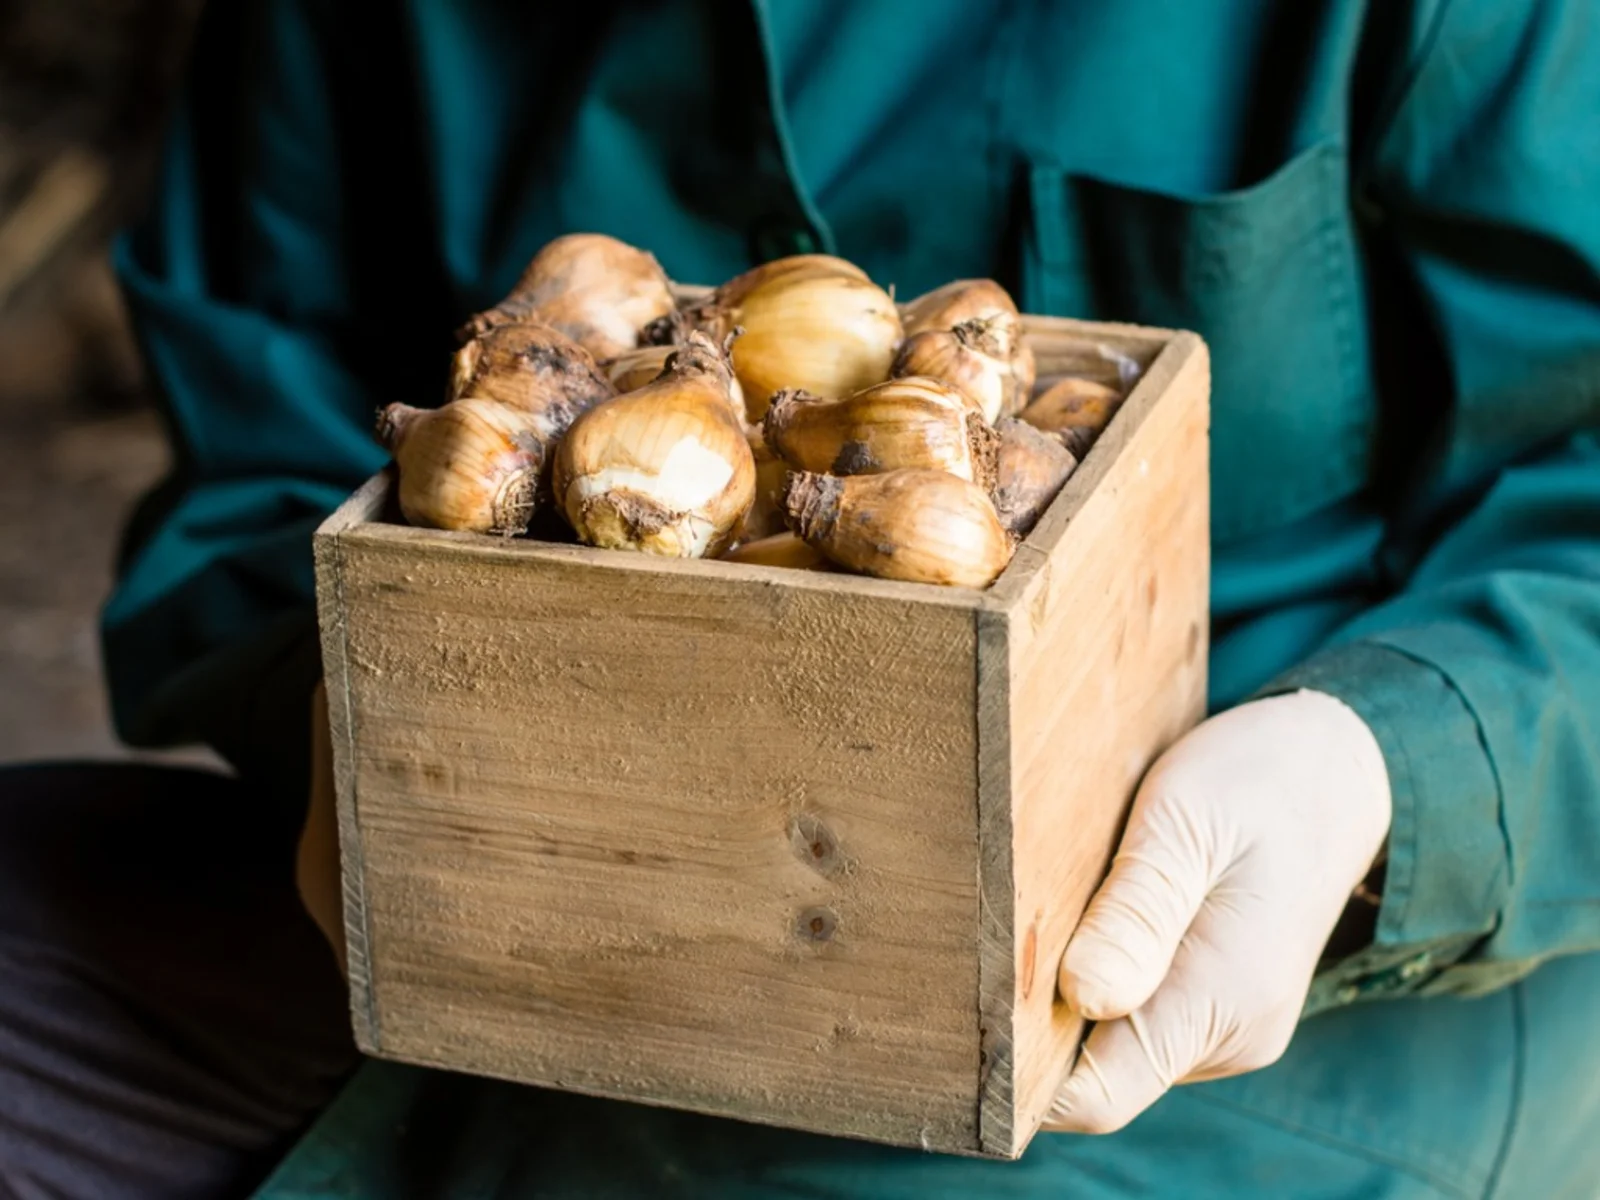
Choosing the Right Garlic Bulbs for Storage
Choosing the right garlic bulbs for storage is a crucial step in ensuring successful long-term storage. Here are some factors to consider when selecting garlic bulbs:
- Variety: Different garlic varieties have varying storage capacities. Some varieties are known for their long shelf life, while others are more suitable for immediate consumption. Research the garlic varieties available and choose ones that are known for their good storage qualities.
- Size and Condition: Select garlic bulbs that are firm, plump, and free from blemishes, soft spots, or signs of decay. Avoid bulbs with visible mold or sprouting, as these indicate poor storage potential.
- Harvest Time: Harvest garlic bulbs at the right time to ensure optimal storage. Garlic bulbs are typically ready for harvest when the lower leaves turn yellow or brown but still have a few green leaves remaining. Harvesting too early or too late can affect the storage life of the bulbs.
- Local Climate: Consider the climate in your area when choosing garlic bulbs for storage. Some varieties are more suited to cold climates, while others thrive in warmer regions. Select garlic bulbs that are well-adapted to your local climate to maximize their storage potential.
Remember, the quality of garlic bulbs you choose for storage will greatly impact their storage life and overall flavor. Taking the time to select the right bulbs will pay off when it’s time to enjoy the fruits of your labor. Now that you’ve chosen the garlic bulbs for storage, let’s move on to the next section and learn how to properly harvest them.
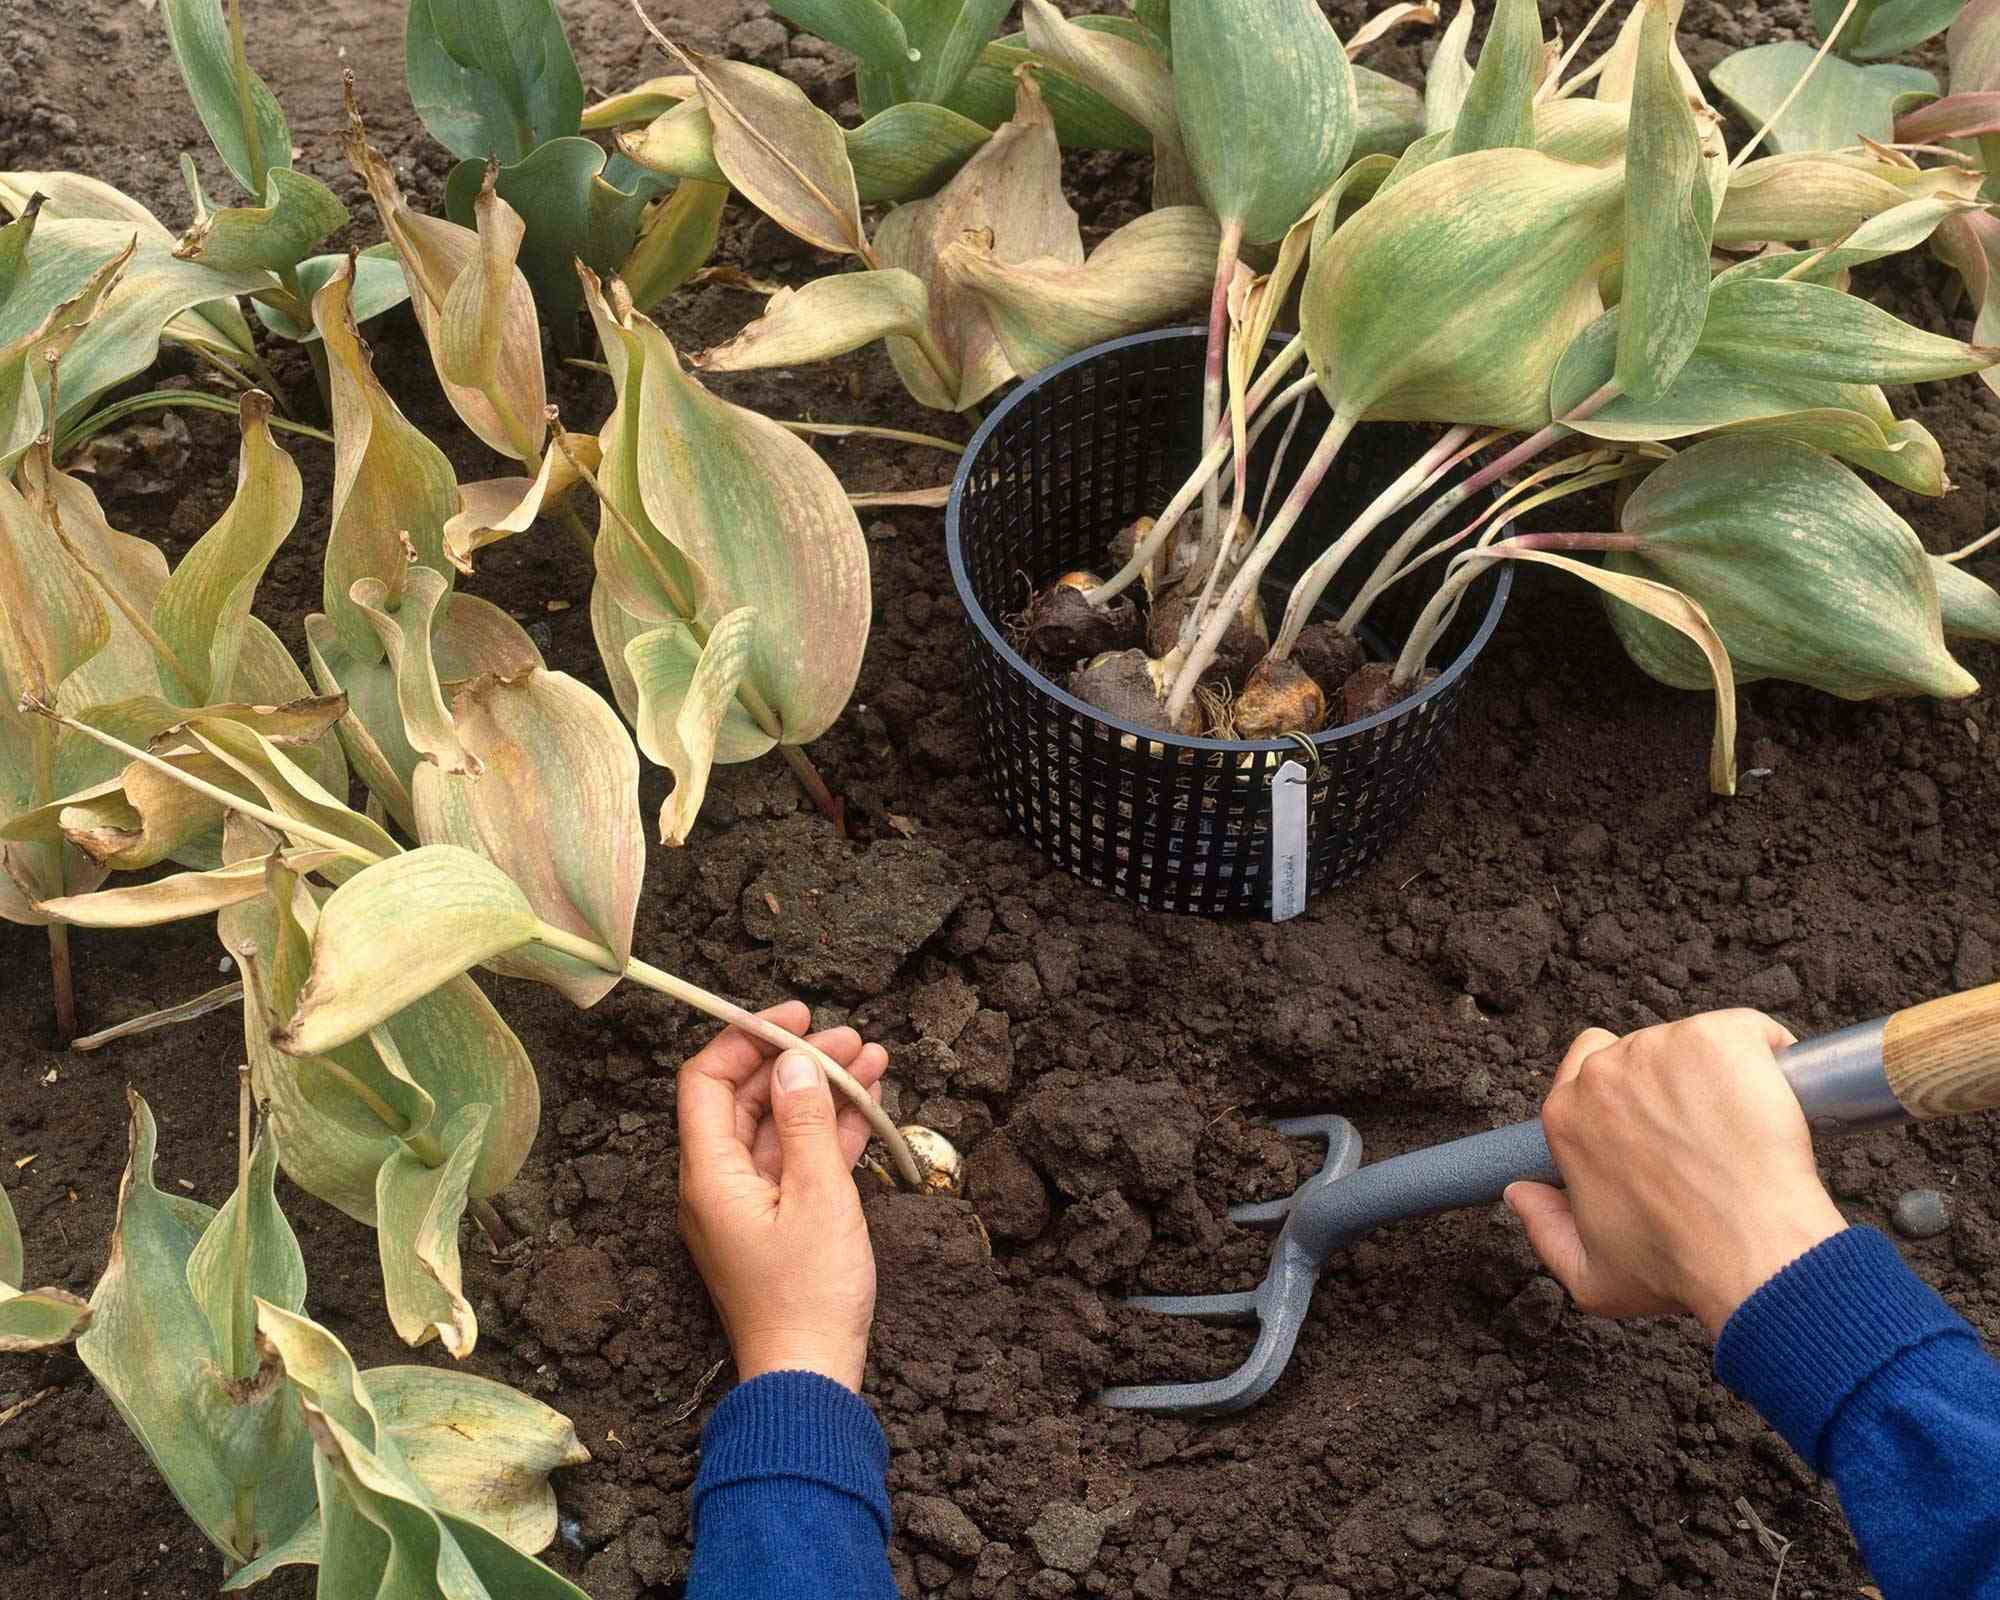
Harvesting Garlic Bulbs
Harvesting garlic bulbs at the right time is crucial for optimal storage and flavor. Here are the steps to follow when harvesting your garlic:
- Monitor the Leaves: Observe the garlic plant’s leaves as the growing season progresses. When most of the lower leaves have turned yellow or brown and there are still a few green leaves left, it’s an indication that the bulbs are ready for harvest. Avoid waiting too long, as overmature bulbs may have reduced storage life.
- Prepare the Soil: Before harvesting, gently loosen the soil around the garlic bulbs using a garden fork or shovel. Take care not to damage the bulbs in the process. This step will make it easier to remove the bulbs from the ground.
- Dig Carefully: Use a garden fork or shovel to carefully dig around the base of the garlic plant, creating a wide circle around the bulb. Gently lift the entire plant out of the soil, making sure to keep the stem intact.
- Clean the Bulbs: Remove any excess soil clinging to the bulbs to prevent moisture buildup and the potential for rotting during storage. Do not wash the bulbs, as this can introduce unwanted moisture.
- Leave the Stems Attached: It’s essential to keep the garlic bulbs intact with their stems attached during the curing process. This allows the bulbs to continue receiving nutrients and energy as they dry.
- Bundle and Hang for Curing: Tie your garlic bulbs together in small bundles, usually around 5 to 10 bulbs per bundle, using twine or string. Hang the bundles in a well-ventilated, cool, and dry place, away from direct sunlight. Allow the bulbs to cure for about two to three weeks.
Harvesting garlic bulbs at the right time and following the proper techniques will ensure a bountiful and well-preserved harvest. Now that your garlic bulbs have undergone the curing process, let’s move on to preparing them for storage.
Curing Garlic Bulbs
Curing garlic bulbs is a crucial step in the storage process as it helps develop the flavors, improve shelf life, and reduce the risk of rotting. Here’s how to properly cure your garlic bulbs:
- Select an Ideal Location: Choose a well-ventilated, dry, and shaded area for the curing process. A cool and dark garage, a covered porch, or a well-ventilated shed are all suitable options.
- Create Proper Airflow: Hang or lay the garlic bulbs in a single layer on a mesh or wire rack to promote adequate airflow around each bulb. Avoid overcrowding, as it can hinder proper drying and increase the risk of fungal growth.
- Maintain Ideal Temperature and Humidity: Aim for a temperature range of around 60 to 70°F (15 to 21°C) with a humidity level of around 60 to 70%. Avoid areas with high humidity, as it can lead to mold development.
- Allow Sufficient Drying Time: Let the garlic bulbs cure for about two to three weeks. During this time, the outer layers of the bulbs will dry and shrivel, forming a protective skin around the cloves.
- Monitor Regularly: Check the garlic bulbs regularly during the curing process and remove any bulbs that show signs of mold or decay. This will prevent the spread of any issues to the rest of the batch.
- Test for Proper Curing: To check if the garlic bulbs are properly cured, gently squeeze a bulb. It should feel firm and the outer skin should be dry and papery.
Properly curing the garlic bulbs is crucial for their long-term storage. This process allows the bulbs to develop their characteristic flavor and ensures that they will keep well during storage. Once your garlic bulbs have finished curing, it’s time to prepare them for storage, which we will cover in the next section.
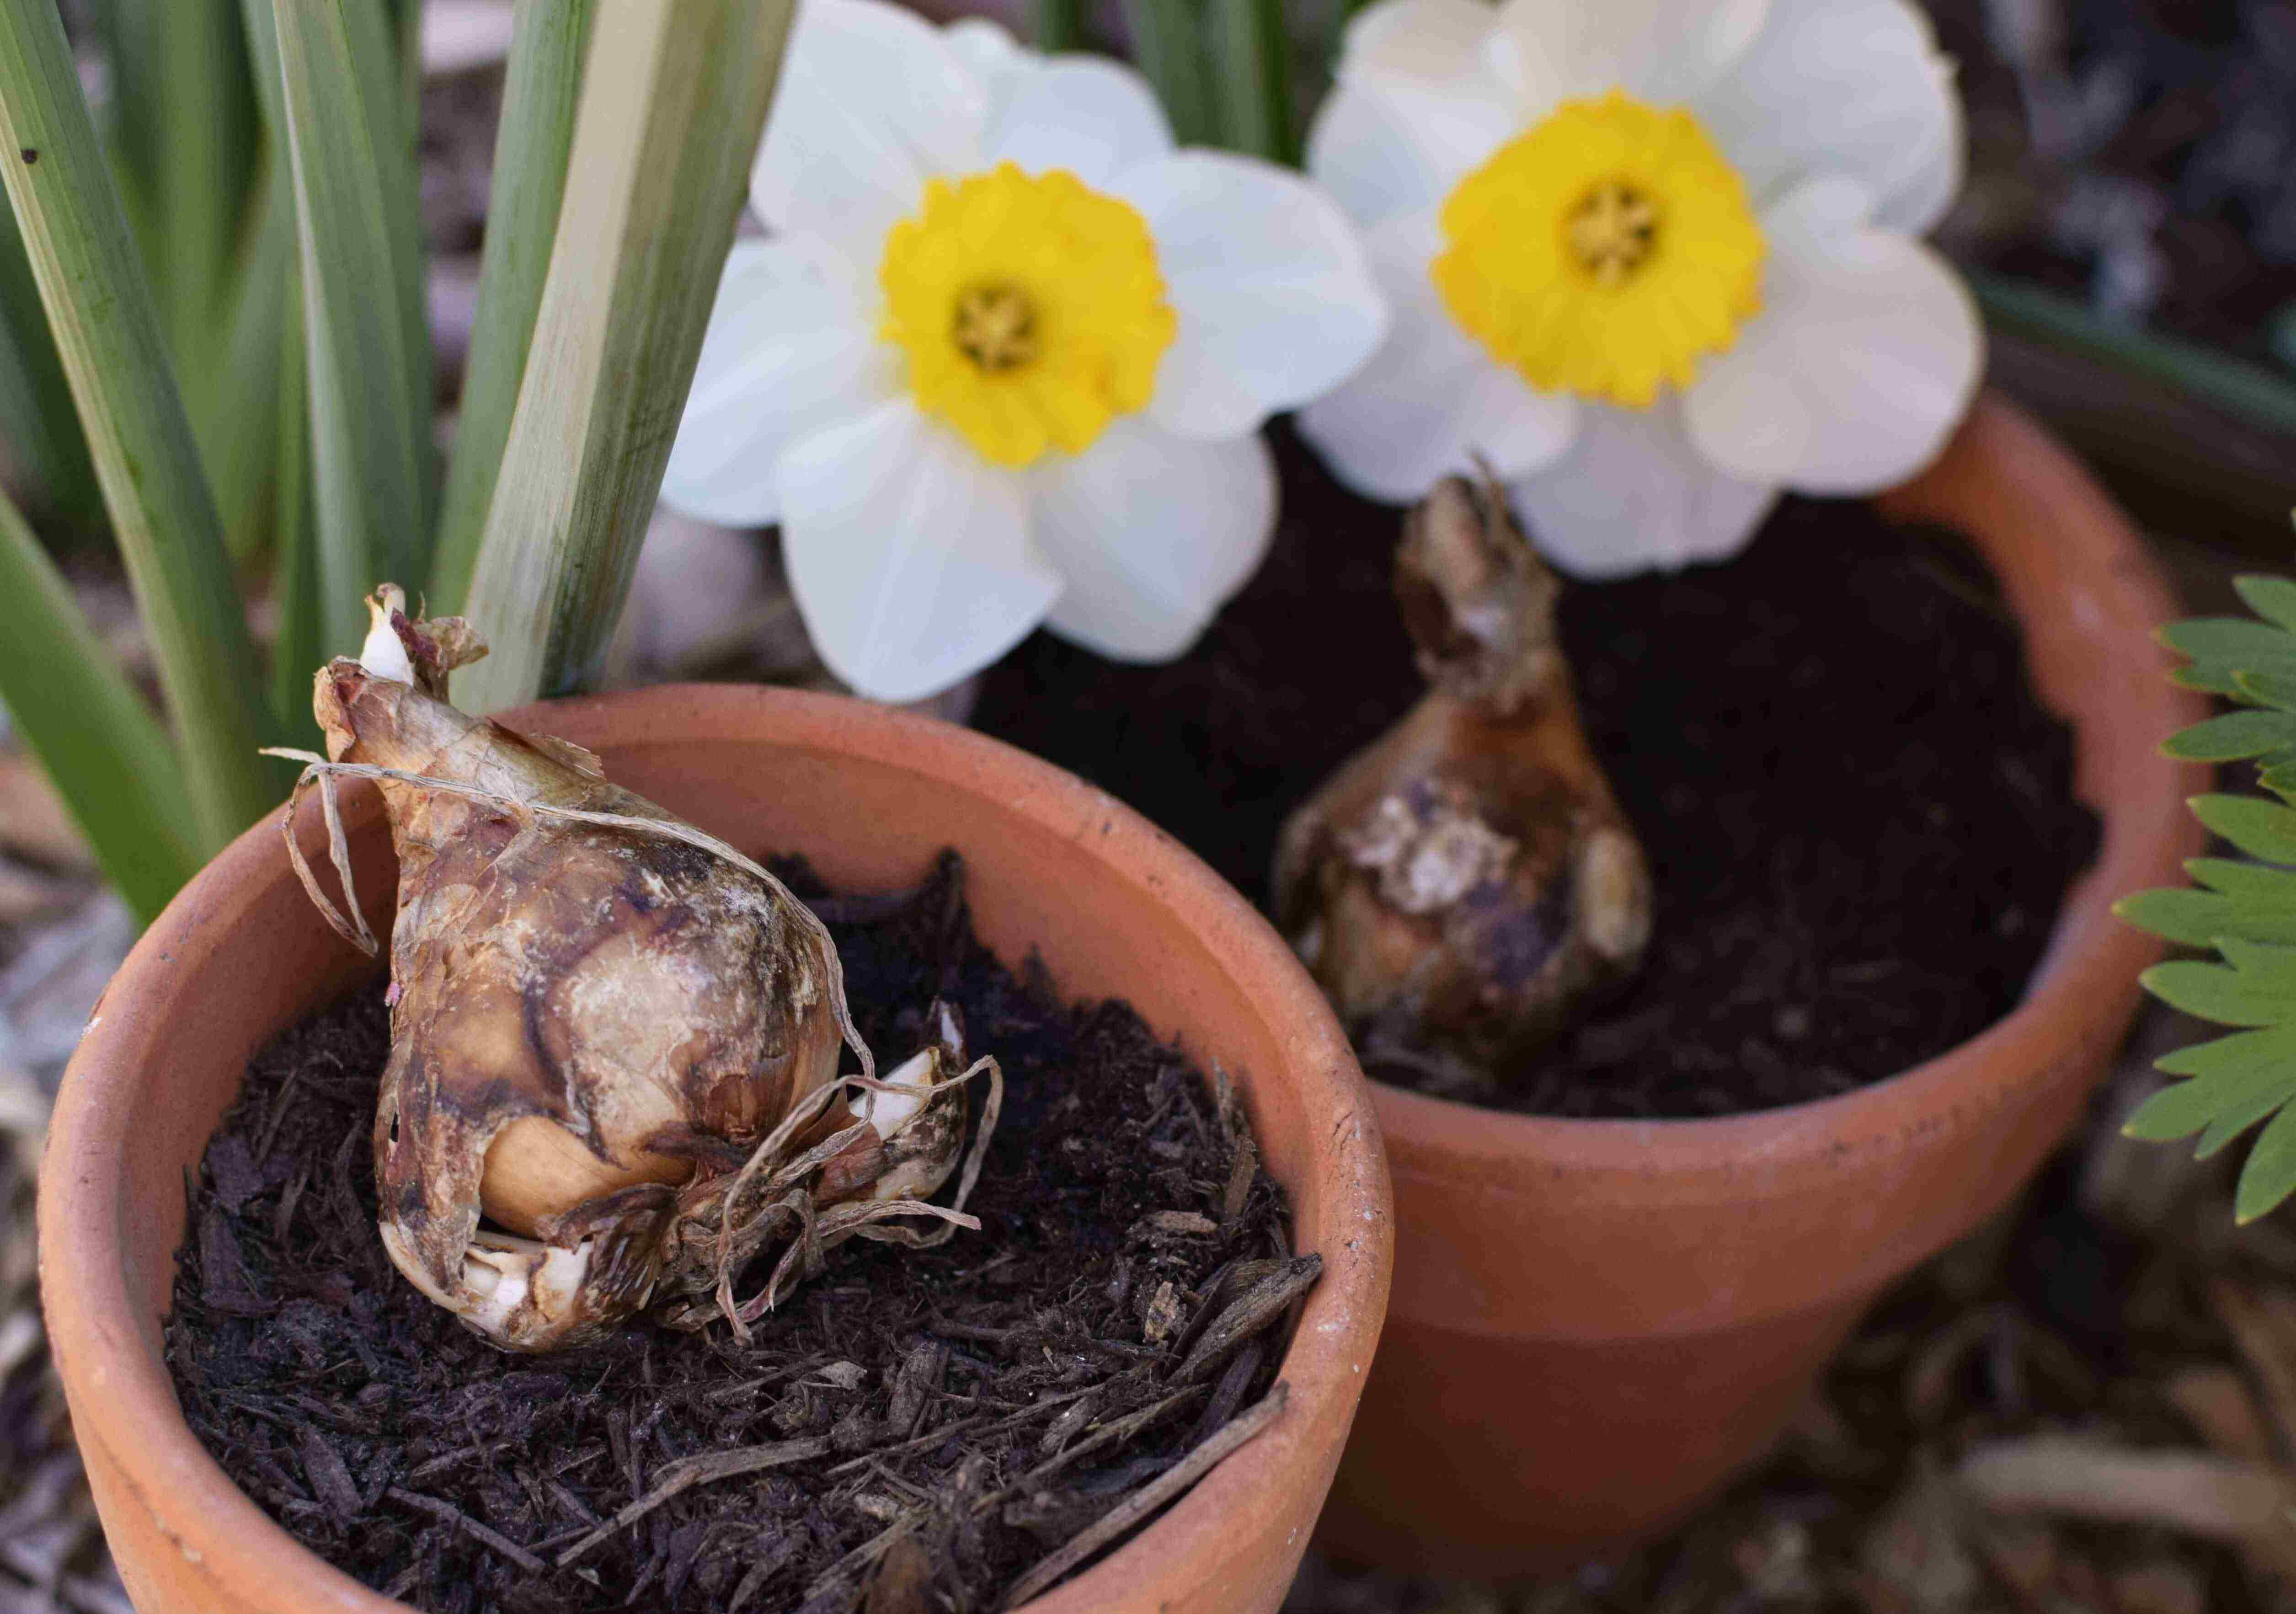
Preparing Garlic Bulbs for Storage
After the curing process, it’s important to prepare your garlic bulbs for long-term storage. Here are the steps to properly prepare garlic bulbs for storage:
- Clean the Bulbs: Remove any remaining dirt or loose skin from the garlic bulbs. Use a soft brush or cloth to gently brush away any debris. Avoid washing the bulbs, as moisture can lead to rot during storage.
- Trim the Stems: Trim the dried stems of the garlic bulbs to about one inch (2.5 cm) above the bulb. This helps to reduce the risk of mold or decay and prevents the stems from tangling during storage.
- Inspect for Damage: Carefully examine each garlic bulb for any signs of damage, such as bruises, cuts, or soft spots. Discard any bulbs that show signs of decay or disease, as they can affect the quality of nearby bulbs during storage.
- Sort by Size: If you have garlic bulbs of different sizes, consider sorting them into separate groups. Larger bulbs tend to have longer storage potential, while smaller bulbs may be used first.
- Optional: Trim Bulb “Whiskers”: Garlic bulbs often have thin “whiskers” or root fibers attached to the base. If desired, you can trim these off close to the bulb. However, leaving them intact won’t affect the storage life or flavor of the garlic.
- Choose Appropriate Storage Containers: Select containers suitable for storing garlic bulbs. Good options include mesh bags, paper bags, or well-ventilated baskets. Avoid using airtight containers, as garlic needs proper airflow to prevent moisture buildup.
- Arrange for Proper Storage Conditions: Place the prepared garlic bulbs in a cool, dry, and well-ventilated area. The ideal temperature for garlic storage is around 32 to 50°F (0 to 10°C). Avoid storing garlic bulbs in the refrigerator, as the humidity levels are typically too high.
By properly preparing your garlic bulbs for storage, you can extend their shelf life and maintain their quality for an extended period. Now that your garlic bulbs are ready, let’s move on to the important aspect of storing them to ensure long-lasting freshness.
Storing Garlic Bulbs
Proper storage is key to preserving the freshness and flavor of garlic bulbs. Follow these guidelines to ensure your garlic bulbs stay in optimal condition during storage:
- Choose the Right Location: Find a cool, dark, and well-ventilated area for storing your garlic bulbs. A pantry, basement, or a cool cupboard in the kitchen are all suitable options.
- Avoid Direct Sunlight: Exposure to sunlight can cause garlic bulbs to sprout or become bitter. Keep them away from windows or any other areas with direct sunlight.
- Provide Proper Airflow: Garlic bulbs need good airflow to prevent moisture buildup and rot. Avoid storing them in airtight containers or plastic bags. Instead, opt for mesh bags, paper bags, or baskets that allow for ventilation.
- Ensure Consistent Temperature: Maintain a consistent temperature for storing your garlic bulbs. The ideal range is around 32 to 50°F (0 to 10°C). Fluctuations in temperature can lead to sprouting or premature spoilage.
- Monitor Humidity Levels: Garlic bulbs prefer low humidity levels during storage. Aim for a humidity range of about 60 to 70% to minimize the risk of mold or fungus growth. If necessary, use a dehumidifier or moisture-absorbing packets to control humidity.
- Avoid Storing with Certain Foods: Garlic can absorb odors and flavors from neighboring foods. Keep it away from pungent items like onions or strong-smelling spices to preserve its distinct flavor.
- Rotate and Check Regularly: Periodically check your stored garlic bulbs and remove any that show signs of spoilage or deterioration. Use the “first in, first out” principle to ensure you use the oldest bulbs first and prevent any from going to waste.
By following these storage guidelines, you can prolong the shelf life of your garlic bulbs and enjoy their fresh flavors for months to come. Now that you know how to store your garlic properly, let’s move on to learn how to check and maintain the quality of stored garlic bulbs.
Checking and Maintaining Garlic Bulbs
Regularly checking and maintaining your stored garlic bulbs is essential to ensure their quality and freshness over time. Here are some tips to help you monitor and care for your stored garlic bulbs:
- Inspect for Mold or Decay: Periodically check your stored garlic bulbs for any signs of mold, soft spots, or decay. Remove any affected bulbs immediately to prevent the spread of spoilage.
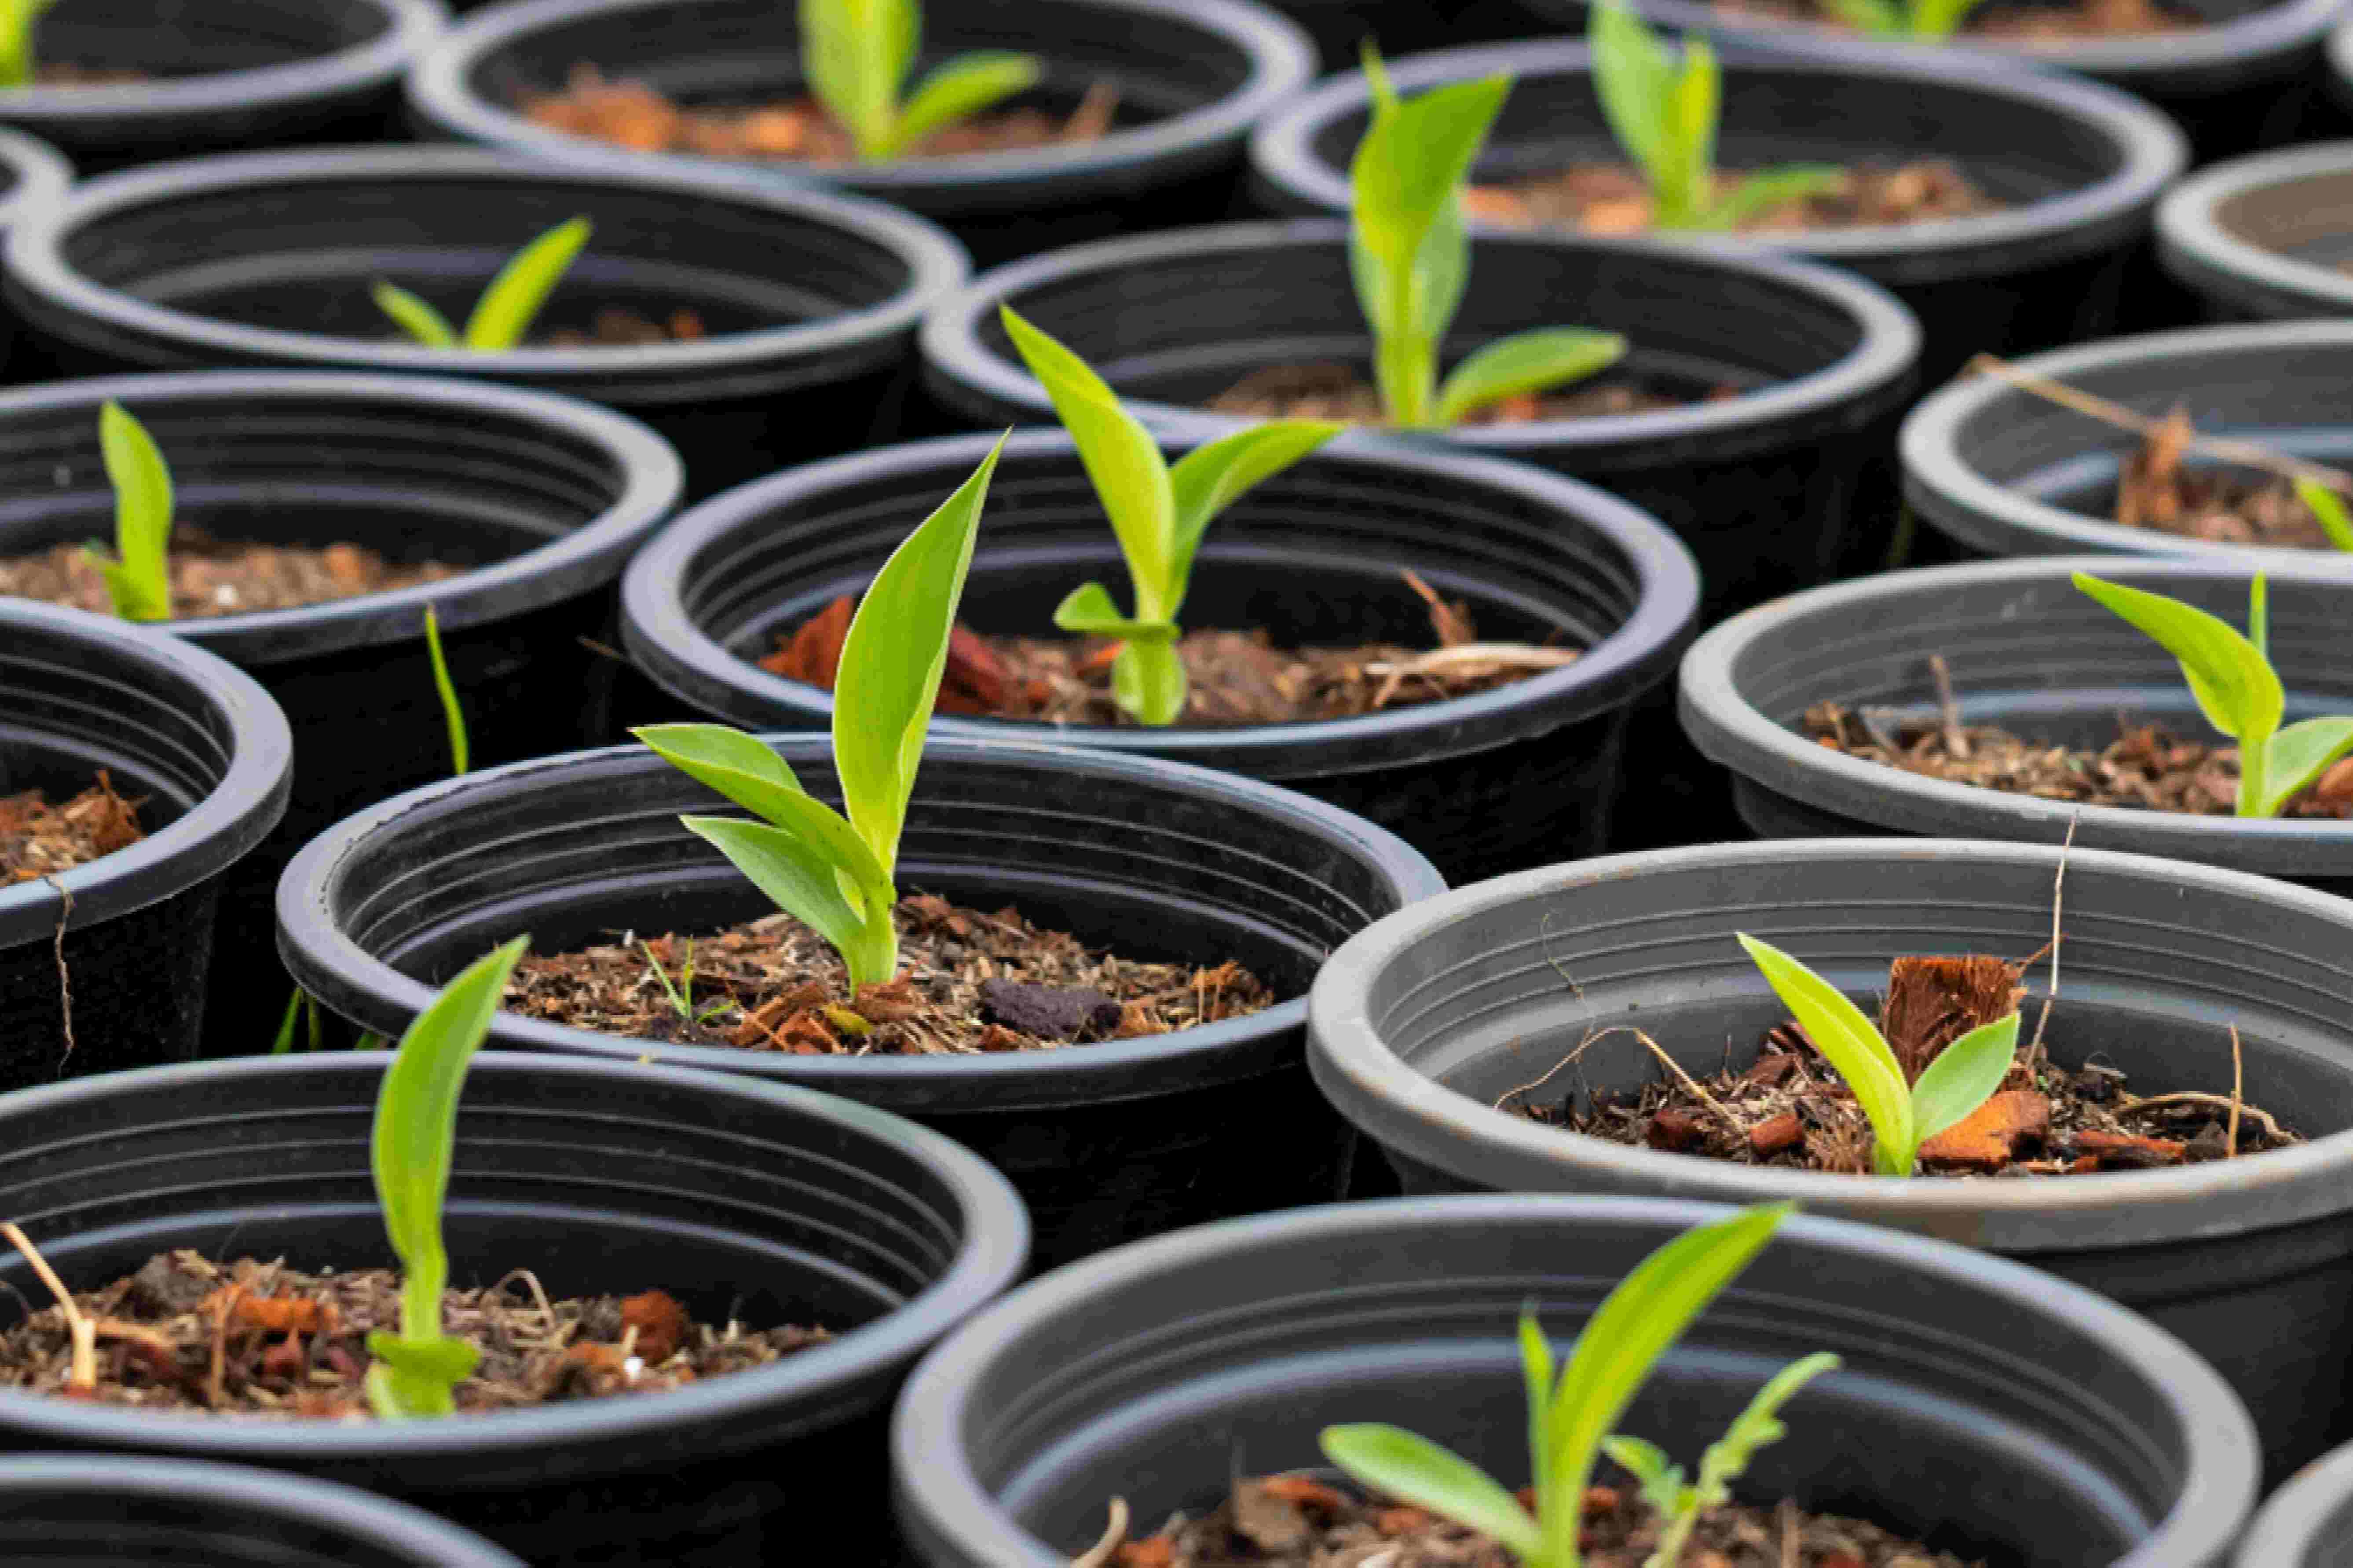
- Remove Sprouting Bulbs: If you notice any garlic bulbs starting to sprout, it’s best to remove them from storage. Sprouted garlic bulbs can have a diminished flavor and texture, so it’s better to use them as soon as possible or discard them.
- Adjust Storage Conditions if Necessary: If you notice excess moisture or signs of mold developing, it’s important to adjust the storage conditions. Increase ventilation, reduce humidity levels, or relocate the garlic bulbs to a drier area to prevent further spoilage.
- Check for Softening Bulbs: Garlic bulbs that have started to soften may indicate the onset of rot. Inspect your stored garlic bulbs regularly and promptly remove any that are soft or mushy to prevent the spread of decay.
- Rotate Stored Garlic: To ensure even usage and prevent any bulbs from sitting in storage for too long, rotate the garlic bulbs periodically. Use the oldest garlic bulbs first and bring the newer ones to the front of your storage area.
- Label and Date: Consider labeling your storage containers or bags with the harvest date. This can help you keep track of the age of the garlic bulbs and ensure that you use the older ones first.
- Proper Organization: Keep your stored garlic bulbs organized and in a well-arranged manner. This makes it easier to access individual bulbs without disturbing the rest of the batch, reducing the risk of damage or bruising.
By regularly checking and maintaining your stored garlic bulbs, you can identify any issues early on and take the necessary steps to preserve their quality. These simple practices will help you enjoy flavorful and fresh garlic for an extended period. In the next section, we’ll discuss some common mistakes to avoid when storing garlic bulbs.
Common Mistakes to Avoid
While storing garlic bulbs may seem simple, there are a few common mistakes that can compromise their quality and shelf life. Here are some common mistakes to avoid when storing garlic bulbs:
- Storing in a Warm or Humid Environment: High temperatures and humidity can accelerate sprouting and spoilage. Avoid storing garlic bulbs in areas such as the kitchen countertop near the stove, which can become warm and humid.
- Using Airtight Containers: Garlic bulbs need proper air circulation to prevent moisture buildup. Storing garlic bulbs in airtight containers or plastic bags can trap moisture, leading to rot or mold formation. Opt for breathable containers like mesh bags or paper bags instead.
- Not Removing Excess Soil: Failing to clean the garlic bulbs properly before storage can introduce moisture and increase the risk of decay. Always remove excess soil from the bulbs but avoid washing them as it can add moisture.
- Storing Damaged or Diseased Bulbs: It’s crucial to inspect your garlic bulbs and remove any that show signs of damage or disease. Damaged or diseased bulbs can infect nearby bulbs, causing spoilage throughout the batch.
- Storing with Foods That Emit Strong Odors: Garlic easily absorbs other strong odors. Storing it near foods like onions, shallots, or strong-smelling spices can cause the garlic bulbs to take on those flavors, altering their taste. Keep garlic separate from pungent ingredients.
- Ignoring Regular Inspections: Neglecting to regularly check the stored garlic bulbs for sprouting, mold, or decay can lead to spoilage affecting the entire batch. Set a reminder to inspect your garlic bulbs periodically to catch any issues early on.
- Not Rotating Stored Garlic: Failing to rotate the garlic bulbs means that some bulbs may sit in storage longer than necessary, leading to potential deterioration. Rotate your stored garlic regularly, using the oldest bulbs first and bringing newer ones to the front.
By avoiding these common mistakes, you can ensure that your harvested garlic bulbs stay fresh, flavorful, and in optimal condition throughout their storage period. Now that you are aware of these mistakes, you can have a successful garlic storage experience.
Conclusion
Congratulations! You are now equipped with the knowledge and techniques to properly store your garlic bulbs for long-term freshness. By following the steps outlined in this guide, you can ensure that your hard-earned harvest remains flavorful and usable for months to come.
Remember, proper storage begins with choosing the right garlic bulbs for storage and harvesting them at the right time. Curing the bulbs and preparing them correctly sets the stage for successful storage. Pay attention to the storage conditions, ensuring proper airflow, consistent temperature, and appropriate humidity levels.
Regularly checking and maintaining your stored garlic bulbs helps to identify any signs of spoilage or decay early on. By taking prompt action, you can prevent the spread of issues and safeguard the quality of the remaining bulbs.
Avoid common mistakes such as storing in warm or humid environments, using airtight containers, or neglecting regular inspections. By steering clear of these pitfalls, you can significantly extend the shelf life and flavor of your garlic bulbs.
We hope that this guide has been helpful in guiding you through the process of storing garlic bulbs. With proper storage techniques, you can enjoy the delicious flavors and health benefits of your homegrown garlic all year round. Happy gardening and happy cooking!