Home>Types of Gardening>Edible Gardening>How To Separate Tomato Seedlings
Edible Gardening
How To Separate Tomato Seedlings
Published: January 4, 2024
Learn how to separate tomato seedlings in your edible gardening journey. Get expert tips and step-by-step instructions for a successful transplant.
(Many of the links in this article redirect to a specific reviewed product. Your purchase of these products through affiliate links helps to generate commission for Chicagolandgardening.com, at no extra cost. Learn more)
Table of Contents
Introduction
Welcome to the world of edible gardening! Growing your own food is not only a fulfilling and rewarding experience but also a practical and sustainable way to ensure a steady supply of fresh, organic produce right from your backyard. One particular aspect of edible gardening that many gardeners find interesting and important is the process of separating tomato seedlings.
Tomatoes are one of the most popular vegetables to grow in a home garden. They are versatile, delicious, and packed with vital nutrients. When you start tomato seeds indoors, whether for a more controlled environment or to get a head start on the growing season, you will eventually need to separate the seedlings to provide each plant with enough space to thrive.
In this article, we will guide you through the step-by-step process of separating tomato seedlings. You will learn how to prepare the soil, identify healthy seedlings, gently uproot them, and transplant them into individual containers or garden beds. Additionally, we will provide tips on how to care for the separated seedlings, troubleshoot common issues, and ensure their growth and productivity.
Whether you are a seasoned gardener or a beginner, this article will equip you with the necessary knowledge and skills to successfully separate tomato seedlings and continue their journey towards becoming strong, fruitful plants. Let’s get started!
Step 1: Preparing the Soil
The first step in separating tomato seedlings is to ensure that the soil is properly prepared to provide optimal growing conditions for the young plants. Here’s what you need to do:
- Select the Right Spot: Choose a location in your garden that receives at least 6 to 8 hours of direct sunlight every day. Tomatoes thrive in warm and sunny conditions, so find a spot that offers ample exposure to sunlight.
- Clear the Area: Clear the area of any weeds, rocks, and debris. These unwanted elements can hinder the growth of your tomato plants and compete for nutrients. Remove them carefully to create a clean and fertile space for your seedlings.
- Improve the Soil Quality: Tomatoes prefer well-draining soil that is rich in organic matter. Before planting, amend the soil with compost or well-rotted manure to enrich its nutrient content and improve its texture. This will ensure that your tomato seedlings have access to the essential nutrients they need to thrive.
- Check the Soil pH: Tomatoes prefer a slightly acidic soil with a pH level between 6.0 and 6.8. Use a pH testing kit to measure the acidity of your soil. If the pH is too high or too low, you can adjust it by adding either lime to raise the pH or sulfur to lower it.
- Loosen the Soil: Use a garden fork or a tiller to loosen the soil in the planting area. This will allow the young tomato plants to establish their roots easily and penetrate the soil for proper nutrient uptake.
- Avoid Over-Saturating the Soil: Ensure that the soil is moist but not overly wet before planting your seedlings. Overly wet soil can lead to root rot and other diseases. If the soil feels too damp, allow it to dry out slightly before proceeding with the next steps.
By taking the time to properly prepare the soil, you are setting the foundation for healthy and robust tomato plants. The enriched soil will provide the necessary nutrients and aeration for the young seedlings to thrive in their new environment.
Step 2: Identifying Healthy Seedlings
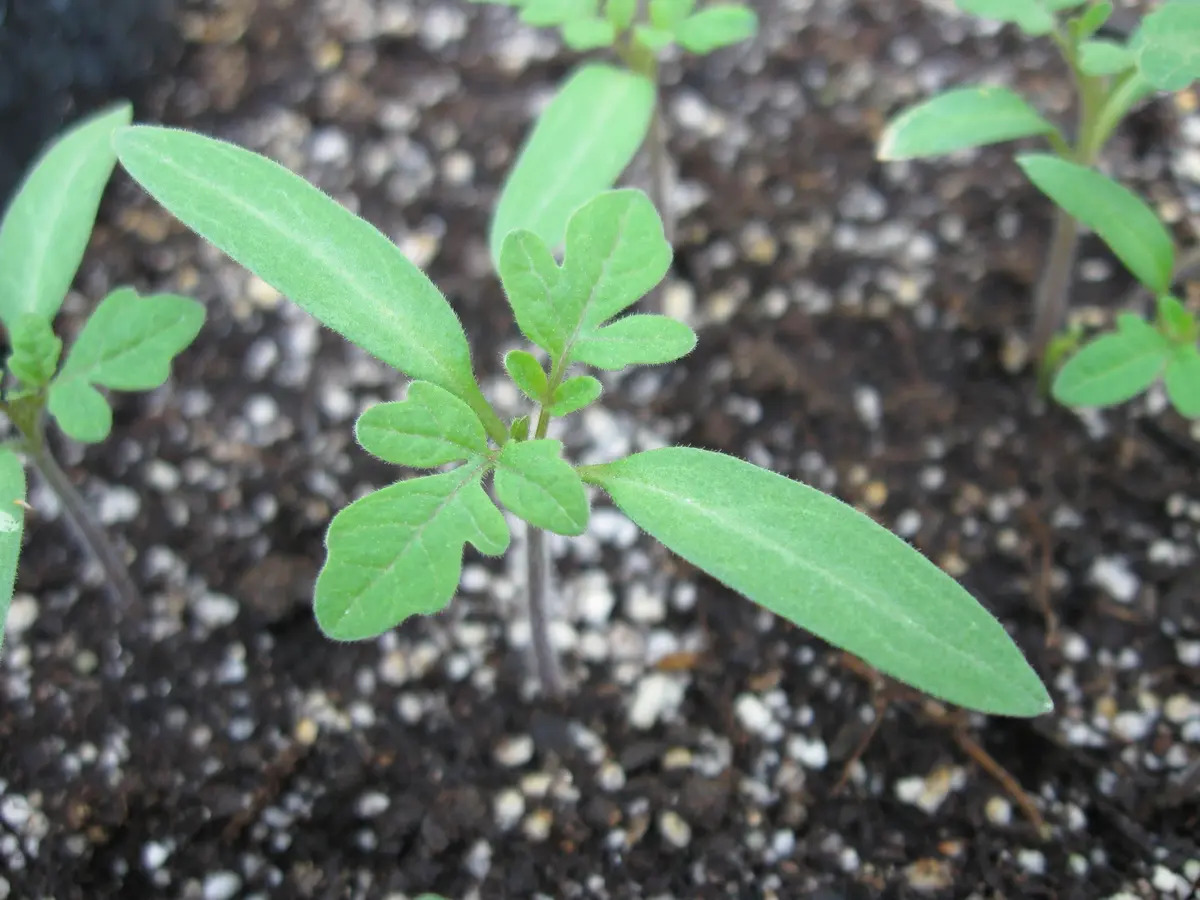
Once you have prepared the soil, the next step in separating tomato seedlings is to identify the healthy and robust plants that are ready for transplanting. Here are the key factors to consider when selecting which seedlings to separate:
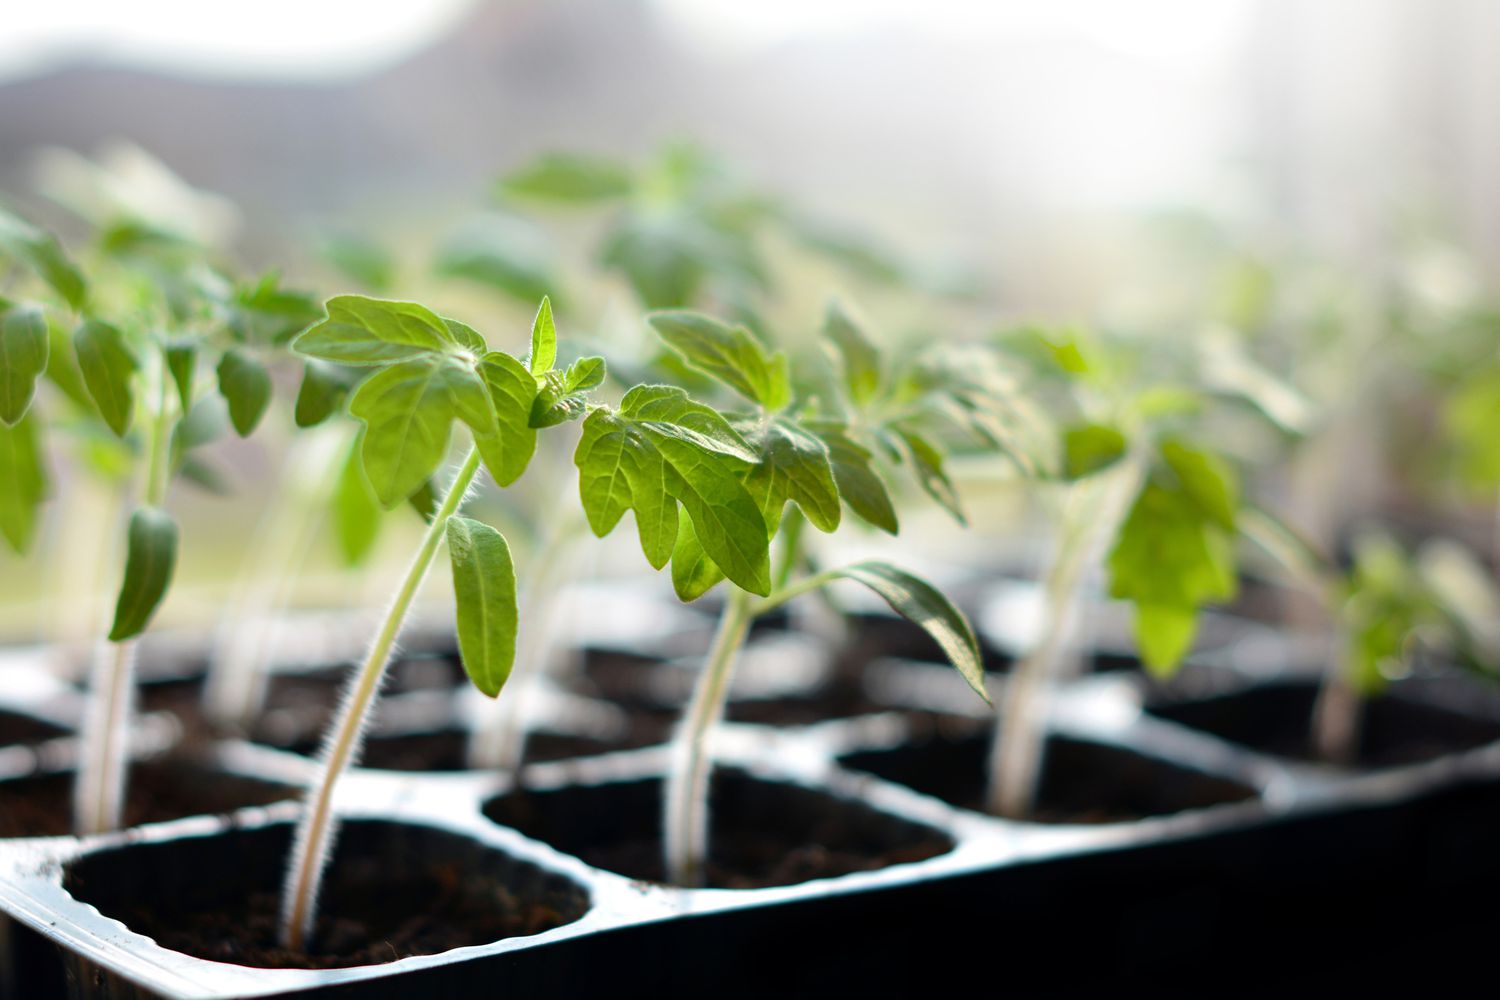
- Size and Growth: Look for seedlings that have reached a height of around 3 to 4 inches and have developed multiple sets of true leaves. Avoid seedlings that are excessively tall or spindly, as they may indicate weak growth.
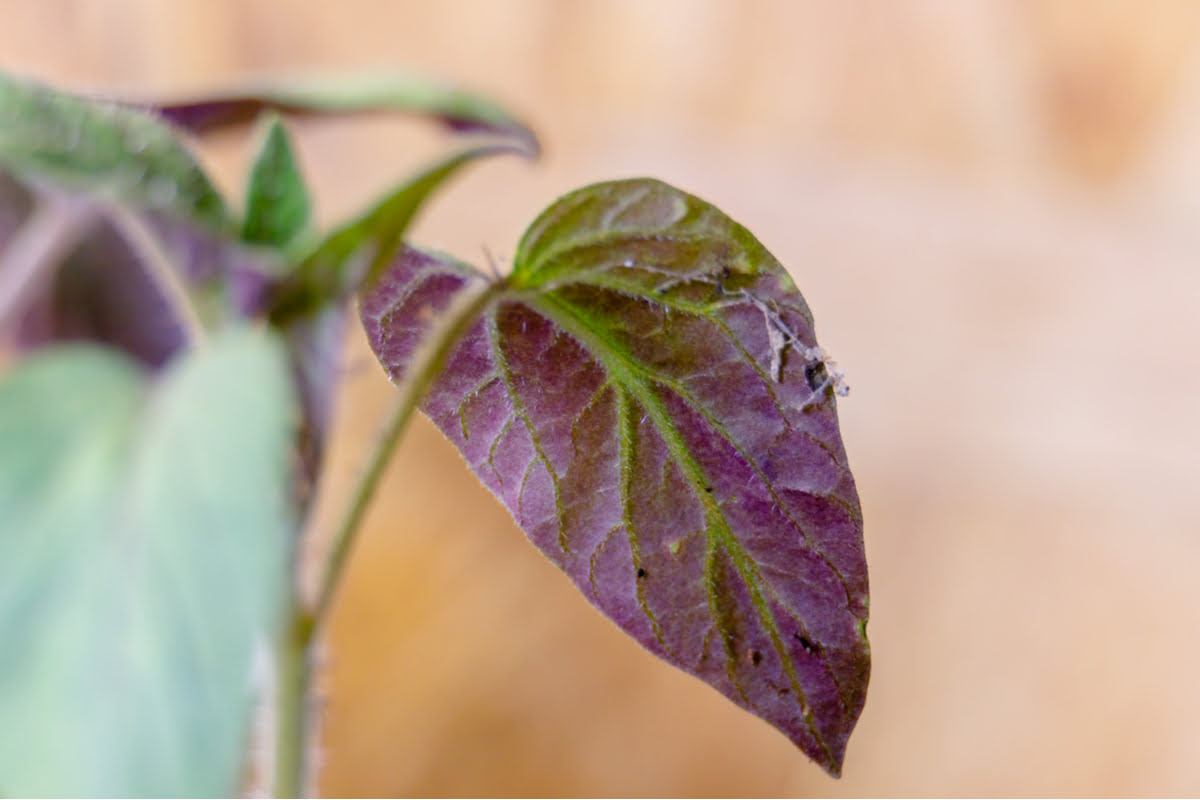
- Color and Vibrancy: Healthy tomato seedlings should have vibrant green leaves without any signs of discoloration, yellowing, or wilting. Avoid seedlings with pale or discolored leaves, as they may be nutrient deficient or diseased.
- Sturdy Stems: Gently touch and assess the strength of the stem. Healthy seedlings will have sturdy and firm stems that can support their weight. Avoid seedlings with weak, floppy stems, as they may struggle to grow upright.
- No Pests or Diseases: Inspect the seedlings for any signs of pests or diseases such as spots, holes, or insect infestation. It’s crucial to choose seedlings that are free from any visible signs of damage or infection.
- Root System: Carefully lift the seedlings from the soil to examine their root systems. Look for seedlings with well-developed, white roots that are spreading outwards. Avoid seedlings with tangled, brown, or rotting roots.
- Uniformity: Select seedlings that are relatively similar in size and overall appearance. This will ensure a more consistent growth and maturity rate among the separated plants.
Remember, healthy seedlings are more likely to establish themselves successfully when transplanted, leading to stronger and more productive tomato plants. Taking the time to identify and choose the best seedlings will contribute to the overall success of your edible gardening endeavors.
Step 3: Watering the Seedlings
Proper watering is essential for the health and growth of your separated tomato seedlings. Follow these guidelines to ensure that your seedlings receive the right amount of water:
- Watering Frequency: Water the seedlings regularly, aiming for consistency rather than heavy saturation. Tomato seedlings prefer slightly moist soil, so water them when the top inch of the soil feels dry to the touch. Avoid overwatering, as it can lead to root rot and other water-related issues.
- Watering Method: Use a gentle spray nozzle or a watering can with a small spout to provide a soft and even distribution of water. This will prevent the seedlings from being dislodged or damaged by a forceful stream of water.
- Watering Time: Water the seedlings in the early morning or late afternoon to minimize water evaporation and allow the foliage to dry out before evening. Wet foliage during the night can increase the risk of fungal diseases.
- Root Watering: Direct the water towards the base of the seedlings, aiming for the soil around the roots. This will ensure that the water reaches the root system efficiently and supports healthy root development.
- Drainage: Ensure that the containers or garden beds have proper drainage to prevent waterlogged soil. Excess water should be able to drain out, allowing the roots to breathe and preventing water-related issues such as root rot.
- Monitor Moisture Levels: Regularly check the moisture levels of the soil by inserting your finger into the soil up to your first knuckle. If it feels dry, it’s time to water the seedlings. If it feels damp, hold off on watering until the soil has dried out slightly.
By providing your separated tomato seedlings with adequate and consistent moisture, you are ensuring their well-being and setting the stage for strong and healthy growth. Proper watering practices will contribute to the overall success of your edible gardening journey.
Step 4: Gently Uprooting the Seedlings
Now that you have prepared the soil and watered the seedlings, it’s time to gently uproot them from their original growing container or tray. Follow these steps to ensure a seamless and careful process:
- Prepare the Workspace: Set up a clean and spacious workspace where you can work comfortably. Place a tray or a large piece of cardboard on the surface to collect any soil or debris that may spill during the process.
- Moisten the Soil: Before uprooting the seedlings, moisten the soil around them by lightly watering the growing container or tray. This will help the soil hold together and make it easier to remove the seedlings without damaging their delicate roots.
- Remove the Seedlings: Gently hold the seedling near the base of the stem, taking care not to squeeze or crush it. Use your other hand to support the soil around the roots as you carefully lift the seedling out of the container, applying gentle pressure to loosen any clinging roots.
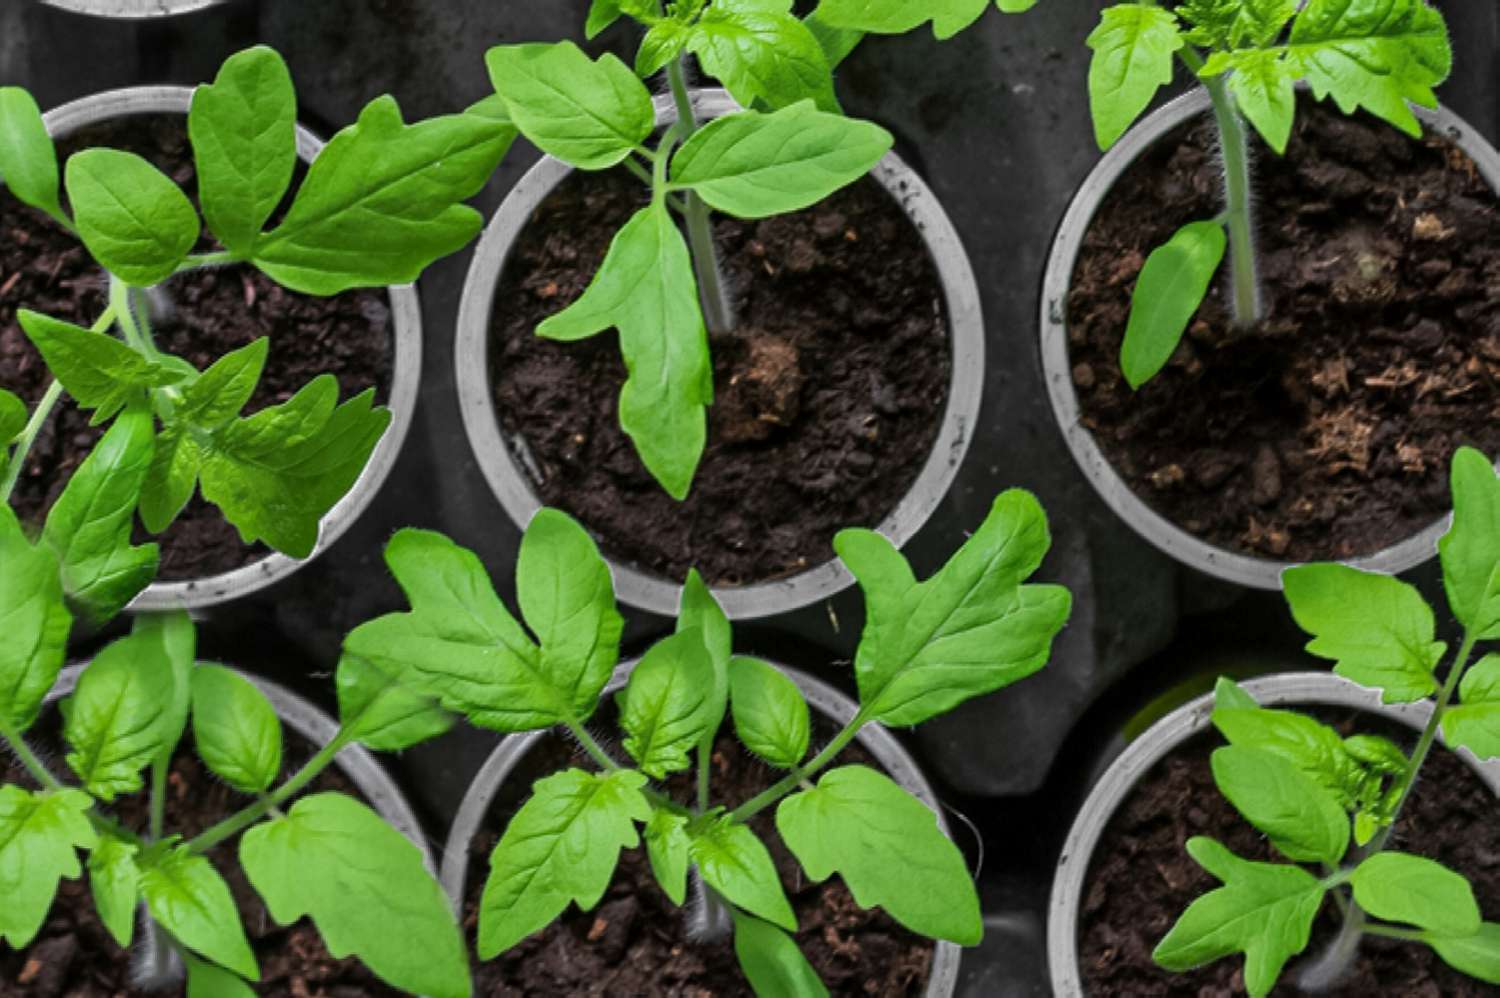
- Separate the Seedlings: If multiple seedlings have sprouted closely together, you may need to separate them. Gently tease the roots apart, being careful not to damage or break them. If the roots are tightly entangled, you can use a clean pair of scissors or a sharp knife to carefully cut the roots apart.
- Handle With Care: Take extra caution while handling the seedlings, as their roots and stems are fragile. Avoid bending, twisting, or breaking the stems, as this can significantly impact the survival and growth of the plants.
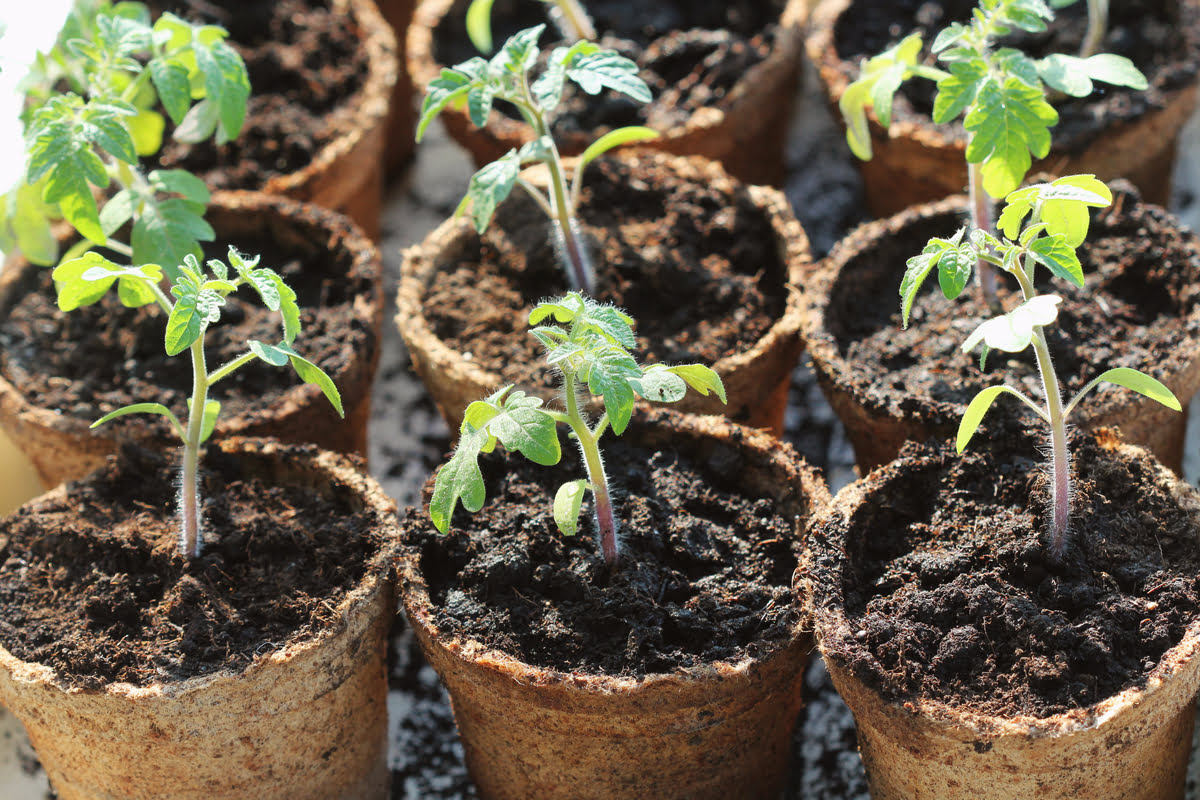
- Prepare the Transplanting Containers: Have individual containers or pots filled with moistened potting mix ready for transplanting. Make a small hole in the center of each container to accommodate the seedling’s root system.
- Transfer the Seedlings: Carefully place each uprooted seedling into its designated container, gently spreading out the roots. Ensure that the seedling is planted at the same depth it was previously growing, with the soil level just below the first set of leaves.
- Firm the Soil: Gently press down the soil around the base of the seedlings to secure them in place. Avoid compacting the soil too tightly, as it can hinder water infiltration and root growth.
- Water the Transplanted Seedlings: After transplanting, water the seedlings thoroughly, ensuring that the soil is evenly moistened. This will help settle the soil around the roots and provide immediate hydration to the newly transplanted seedlings.
By uprooting the seedlings with care and precision, you minimize stress on their delicate roots and increase their chances of successful transplantation. Taking the time to perform this step gently will contribute to the overall health and vitality of your tomato plants.
Step 5: Transplanting the Seedlings
With the seedlings uprooted and ready for their new homes, it’s time to transplant them into their designated growing spaces. Follow these steps to ensure a smooth and successful transplantation process:
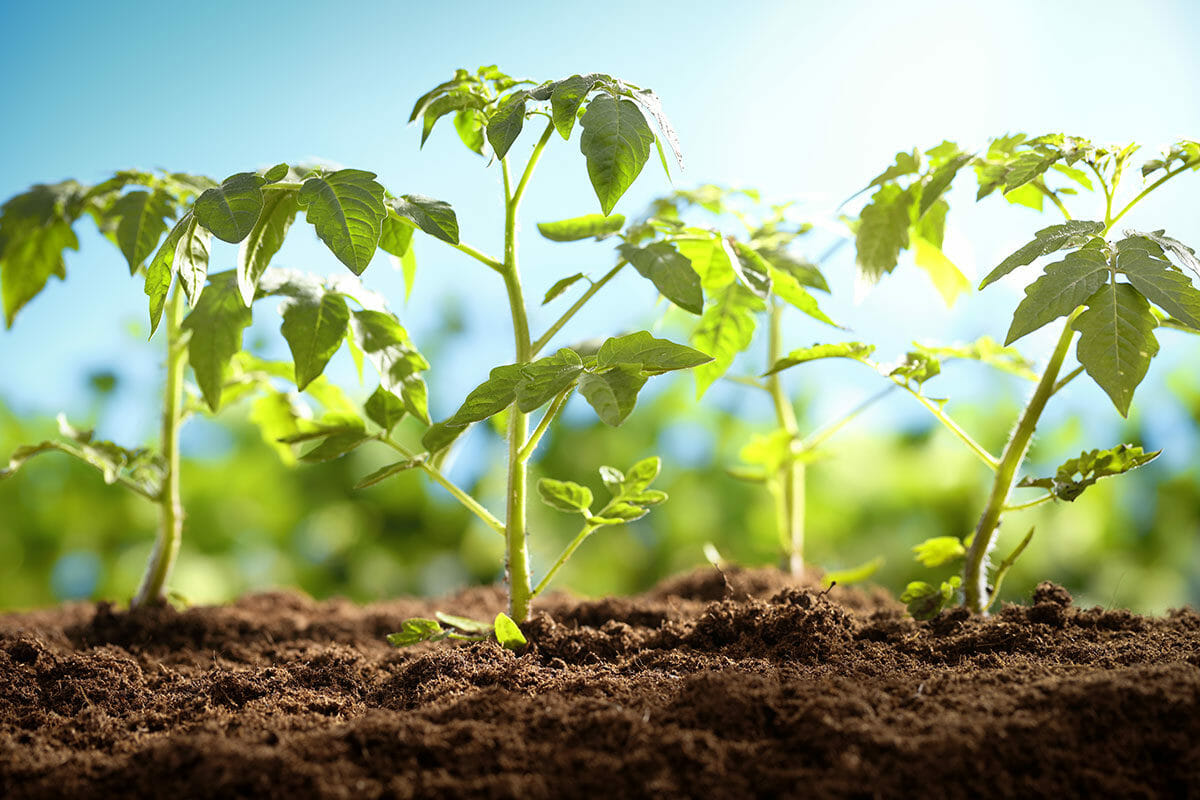
- Select a Suitable Location: Choose a suitable location in your garden or prepare large containers for transplanting the seedlings. Ensure that the spot receives ample sunlight, as tomatoes thrive in full sun.
- Prepare the Planting Holes: Dig holes in the soil or containers that are slightly larger than the root ball of each seedling. Space the holes at least 2 feet apart if planting in the ground to allow sufficient room for growth.
- Remove Excess Foliage: Trim the lower set of leaves from each seedling, leaving only a few sets of leaves at the top. This will encourage the plants to focus on establishing their root systems instead of supporting excessive foliage.
- Place the Seedlings: Carefully place each seedling into its designated hole, ensuring that the top of the root ball is level with the soil surface. Gently spread out the roots to encourage healthy growth and nutrient uptake.
- Backfill and Firm the Soil: Fill the holes with soil, gently pressing it around the base of each seedling to secure them in place. Avoid compacting the soil too tightly as it can hinder root growth. Ensure that the seedlings are stable and upright.
- Water the Transplanted Seedlings: Water the seedlings immediately after transplanting, providing enough moisture to settle the soil around the roots. This will help the seedlings establish themselves and minimize transplant shock.
- Support the Seedlings (if necessary): If you’re growing indeterminate tomato varieties that tend to grow tall and vine-like, consider providing support such as stakes, cages, or trellises. This will help keep the plants upright, promote air circulation, and make harvesting easier.
- Mulch the Soil: Apply a layer of organic mulch, such as straw or wood chips, around the base of each tomato seedling. The mulch will help conserve soil moisture, regulate soil temperature, and suppress weed growth.
Transplanting the seedlings is a critical step in their journey toward becoming productive tomato plants. By following these steps, you provide the seedlings with the best possible start in their new growing environment, setting them up for success in the upcoming growing season.
Step 6: Providing Adequate Care and Maintenance
Once you have successfully transplanted your tomato seedlings, it’s time to provide them with the care and maintenance they need to thrive. Follow these steps to ensure the health and productivity of your plants:
- Watering: Water your tomato plants regularly, aiming to keep the soil consistently moist. Provide deep, thorough watering rather than frequent light sprays. Avoid overhead watering as it can lead to leaf diseases. Water in the morning to allow the leaves to dry before evening.
- Fertilizing: Feed your tomato plants with a balanced fertilizer with a higher level of phosphorus to promote fruiting. Follow the package instructions for application rates and frequency. Alternatively, you can amend the soil with organic matter like compost or aged manure, providing a slow-release source of nutrients.
- Pruning: As the plants grow, remove the suckers that emerge from the leaf axils. These are the small shoots that develop between the main stem and the side branches. Pruning helps improve air circulation, reduces the risk of diseases, and directs energy toward fruit production.
- Support: Provide support for your tomato plants using stakes, cages, or trellises. This will help keep the plants upright and prevent the heavy fruit-laden branches from bending or breaking. Regularly tie the branches to the support structure as the plants grow.
- Weed Control: Keep the area around your tomato plants free from weeds. Weeds compete with the plants for nutrients, water, and sunlight. Regular weeding helps prevent weed growth and ensures that your tomato plants have access to the resources they need.
- Pest and Disease Management: Monitor your tomato plants regularly for signs of pests, such as aphids, tomato hornworms, or whiteflies. If you notice any pests, take appropriate action, such as handpicking or using organic pest control methods. Additionally, be vigilant for any signs of diseases, like early blight or fungal infections, and take prompt action to prevent further spread.
- Mulching: Apply a layer of organic mulch around the base of your tomato plants. Mulching helps retain soil moisture, regulate soil temperature, and suppress weed growth. It also acts as a natural barrier, preventing soil-borne diseases from splashing onto the foliage.
- Monitor and Adjust: Regularly monitor the growth and condition of your tomato plants. Make adjustments as needed, such as providing additional support, adjusting watering frequency, or addressing any nutrient deficiencies. Pay attention to any changes in plant appearance or behavior, and take appropriate action promptly.
By providing your tomato plants with the proper care and maintenance, you ensure their overall health, vigor, and productivity. Regular attention and timely interventions will help you enjoy a bountiful harvest of delicious homegrown tomatoes.
Step 7: Troubleshooting Common Issues
Even with proper care and maintenance, tomato plants can sometimes face certain challenges. Here are some common issues you may encounter and how to troubleshoot them:
- Yellowing Leaves: Yellowing leaves can indicate several issues, including nutrient deficiencies, overwatering, or diseases. Adjust your watering practices, ensure proper nutrition through fertilization, and monitor for signs of pests or diseases. Test the soil pH to rule out nutrient deficiencies.
- Fruit Cracking: Cracking in tomato fruits occurs due to fluctuations in water supply. Maintain consistent watering, avoiding excessive dryness followed by heavy watering. Providing mulch can help regulate soil moisture levels and reduce cracking.
- Blossom End Rot: Blossom end rot is characterized by black, leathery spots at the bottom of the fruit. It is caused by calcium deficiency or irregular watering. Ensure consistent moisture levels, provide adequate calcium through soil amendments or foliar sprays, and address any nutrient imbalances.
- Pests: Common pests that affect tomato plants include aphids, tomato hornworms, and whiteflies. Monitor your plants regularly and take a proactive approach to controlling pests through handpicking, using natural predators, or using organic pest control methods.
- Diseases: Tomato plants can be susceptible to diseases such as early blight, late blight, or fungal infections. Monitor for signs of diseases, such as yellowing leaves, spotting, or wilting. Provide proper spacing between plants for air circulation, practice good sanitation, and use disease-resistant varieties when possible.
- Stunted Growth: Stunted growth in tomato plants can be caused by nutrient deficiencies, compacted soil, inadequate sunlight, or overcrowding. Address any nutrient deficiencies through proper fertilization, ensure loose and well-drained soil, provide sufficient sunlight, and thin out any overcrowded areas.
- Poor Fruit Set: Insufficient pollination, extreme temperatures, or excessive nitrogen can result in poor fruit set. Provide a conducive environment for pollinators, hand-pollinate if necessary, ensure optimal temperature conditions, and avoid excessive nitrogen fertilization.
- Wilting: Wilting can be caused by underwatering, overwatering, or diseases. Monitor soil moisture levels and adjust watering accordingly. If diseases are suspected, identify and treat them promptly to prevent further damage.
By being observant and proactive, you can troubleshoot and address common issues that arise while growing tomato plants. Paying attention to the plants’ needs and taking appropriate measures will help maximize their growth potential and minimize any negative impacts on their health and productivity.
Conclusion
Congratulations! You’ve now learned the step-by-step process of separating tomato seedlings and providing them with proper care to ensure their healthy growth. By following these guidelines, you are well-equipped to cultivate thriving tomato plants in your edible garden.
Remember the importance of preparing the soil, identifying healthy seedlings, watering them appropriately, and gently uprooting and transplanting them. Once the seedlings are in their new homes, ongoing care and maintenance, such as watering, fertilizing, pruning, and pest management, play crucial roles in their overall health and productivity.
Should any issues arise, it’s important to troubleshoot them promptly and take the necessary steps to address them. Regular monitoring and adjustments will help keep your tomato plants on the path to success.
Now, take this knowledge and put it into action. Enjoy the journey of nurturing your tomato plants, from their early stages as seedlings to the bountiful harvest of delicious, homegrown tomatoes. Whether you’re a seasoned gardener or a beginner, edible gardening is a fulfilling and rewarding experience.
Remember, each tomato plant is unique, and with proper care, it will reward you with an abundance of fresh, flavorful fruits. So, roll up your sleeves, get your hands in the soil, and embark on the exciting adventure of growing your own tomatoes.