Home>Types of Gardening>Ornamental Gardening>What To Do With Bulbs In Pots After Flowering

Ornamental Gardening
What To Do With Bulbs In Pots After Flowering
Modified: February 9, 2024
Discover how to care for bulbs in pots after they have finished flowering in your ornamental gardening. Learn the best practices to ensure they bloom again next year.
(Many of the links in this article redirect to a specific reviewed product. Your purchase of these products through affiliate links helps to generate commission for Chicagolandgardening.com, at no extra cost. Learn more)
Table of Contents
Introduction
Welcome to the world of ornamental gardening, where the beauty and vibrancy of flowering bulbs in pots can transform any space into a stunning oasis. Whether you’re an experienced gardener or just starting out, growing bulbs in pots is a rewarding and enjoyable way to add color and life to your outdoor or indoor areas.
Bulbs are fascinating plants that store energy in an underground structure, allowing them to survive dormant periods and bloom when the conditions are right. Planting bulbs in pots is a popular choice for many gardeners as it offers flexibility, portability, and the opportunity to create eye-catching displays. From tulips and daffodils to hyacinths and crocuses, the variety of bulbs available for pot cultivation is extensive, ensuring a range of colors, shapes, and fragrances to suit any taste.
In this article, we will explore the essential aspects of caring for bulbs in pots after they have finished flowering. We will discuss how to prolong their lifespan, store them for future use, and explore alternative options for repurposing these beloved plants. So, let’s delve into the world of post-flowering bulb care and unleash the potential of your potted garden wonders!
Understanding Bulbs in Pots
Before we delve into the care and maintenance of bulbs in pots after flowering, it’s important to have a basic understanding of how these plants function. Bulbs are energy-storing organs that contain an embryonic plant, surrounded by fleshy scales or layers. These scales store the nutrients needed to support the plant’s growth and development.
When planting bulbs in pots, it’s crucial to choose the appropriate size and depth of the container. The pot should provide enough space for the bulb to grow and develop roots. Additionally, ensure that the pot has adequate drainage holes to prevent waterlogged soil, which can lead to root rot.
When it comes to selecting bulbs for pot cultivation, consider their timing and complementary growth patterns. Some bulbs bloom early in the spring, while others flower later in the season. By choosing a combination of bulbs with staggered blooming times, you can create long-lasting displays that provide continuous color and interest throughout the growing season.
It’s worth noting that bulbs in pots rely heavily on the nutrients stored within the bulb itself. While the initial potting soil provides some nutrients, it’s important to fertilize bulbs during their growth and flowering stages. Use a balanced, slow-release organic fertilizer or a liquid fertilizer specifically formulated for bulbs, following the manufacturer’s instructions for proper application.
Furthermore, bulbs in pots require proper watering to thrive. As a general rule of thumb, water bulbs thoroughly after planting, ensuring the soil is evenly moist. During the growth and flowering stages, monitor the moisture levels and water whenever the top inch of soil feels dry. Avoid overwatering, as this can lead to bulb rot and other fungal diseases.
Understanding the basic needs and characteristics of bulbs in pots is vital for their successful cultivation. By providing the right container, appropriate planting depth, proper nutrition, and adequate watering, you can ensure that your bulbs will thrive and produce spectacular blooms.
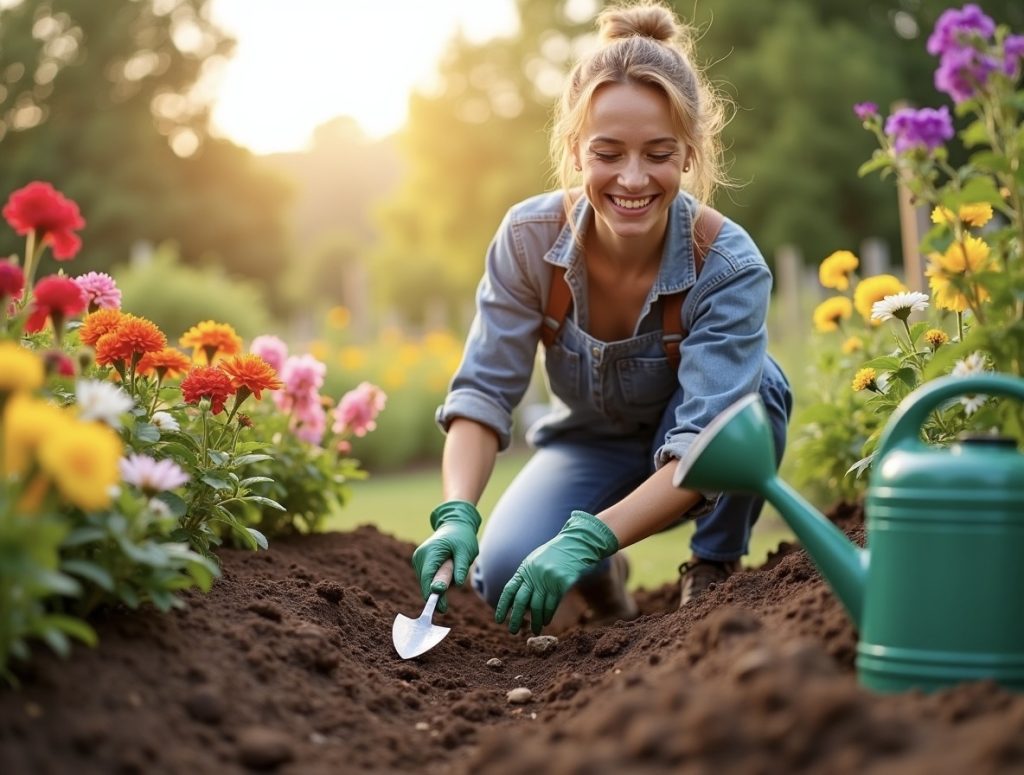
Caring for Bulbs During Flowering
When your bulbs are in full bloom, it’s time to sit back and enjoy the beautiful display they offer. However, it’s essential to provide them with proper care during this stage to maximize their vitality and extend the blooming period.
First and foremost, ensure that your potted bulbs receive adequate sunlight. Most flowering bulbs thrive in full sun or partial shade, so place your pots in a location where they can receive at least six hours of direct sunlight each day. Proper sunlight exposure will not only encourage healthy growth but also intensify the color and fragrance of the flowers.
Along with sunlight, it’s crucial to maintain optimal soil moisture. Water your bulbs regularly, aiming to keep the soil evenly moist but not waterlogged. As the weather warms up, you may need to increase the frequency of watering to prevent the soil from drying out.
Deadheading is another vital aspect of caring for bulbs during flowering. Removing spent flowers helps redirect the plant’s energy towards bulb development rather than seed production. By snipping off the faded blooms, you promote a neater appearance and encourage the growth of additional flower buds.
In some cases, you may also need to support your taller-flowering bulbs to prevent them from toppling over. Inserting stakes or using decorative plant supports can help keep the stems upright and prevent breakage.
Lastly, be on the lookout for common pests and diseases that can affect your potted bulbs. Aphids, slugs, and snails are a few pests that may target your plants, while fungal diseases like gray mold or powdery mildew can also pose a threat. Regularly inspect your bulbs for signs of damage or disease, and take necessary steps to control and eliminate any issues that may arise.
By providing proper care and attention to your bulbs during the flowering stage, you can ensure that they reach their full potential and produce a breathtaking display that will be the envy of all who see it.
Post-Flowering Care for Bulbs in Pots
After the glorious display of blooms has faded, it’s time to shift your focus to the post-flowering care of your bulbs in pots. This crucial period determines the future health and performance of your bulbs, ensuring their ability to bloom again in the following seasons.
One of the first steps in post-flowering care is to stop deadheading the spent flowers. Allow the foliage to remain on the plant until it turns yellow or brown naturally. This process may take several weeks, but it allows the bulbs to absorb nutrients and replenish their energy reserves for future growth.
It’s essential to continue watering your bulbs during this time, especially if rainfall is scarce. The goal is to keep the soil moist but not waterlogged. Be mindful of overwatering, as it can lead to bulb rot.
As the foliage begins to wither and turn brown, you can start reducing watering gradually. This helps simulate the natural dormancy period that bulbs experience in their native habitats. However, ensure that the soil doesn’t completely dry out, as this can stress the bulbs.
When it comes to fertilizing bulbs after flowering, avoid using a nitrogen-rich fertilizer. While nitrogen promotes leafy growth, it doesn’t contribute significantly to bulb development. Instead, use a phosphorus-rich fertilizer to enhance root development and encourage bulb growth for the following season. Apply the fertilizer according to the package instructions, and gently work it into the soil around the bulbs without disturbing their roots.
During the post-flowering period, pests and diseases can still pose a threat to your bulbs. Keep an eye out for any signs of infestation or disease, and take appropriate measures to control and treat them. Removing any affected foliage or bulbs can help prevent the spread of pests and diseases.
Remember that patience is key when it comes to post-flowering care for bulbs in pots. Allow the plants to go through their natural growth cycle, and provide the necessary care to support their recovery and rejuvenation. With proper post-flowering care, your bulbs will be ready to dazzle you with another stunning display in the seasons to come!
Removing and Storing Bulbs
As the foliage of your bulbs in pots continues to wither and turn brown, it’s time to remove and store the bulbs for their dormant period. Properly removing and storing bulbs ensures their protection and prepares them for successful growth in the next season.
Start by gently lifting the bulbs from the pot, taking care not to damage their delicate roots. Shake off any excess soil, and inspect the bulbs for any signs of damage, rot, or disease. Discard any bulbs that appear unhealthy to prevent the spread of potential issues.
Once the bulbs are clean and inspected, it’s important to allow them to dry completely. Place the bulbs in a well-ventilated area, away from direct sunlight, and with good air circulation. This drying period helps prevent fungal diseases and allows the outer layers of the bulbs to firm up, providing protection during storage.
After the bulbs have dried, it’s time to store them properly. Choose a storage container that allows for good airflow, such as a mesh bag or a shallow wooden box lined with newspaper. Avoid using airtight plastic bags, as they can trap moisture and encourage bulb rot.
Fill the storage container with a dry, well-draining medium, such as vermiculite or dry sand. Place the bulbs in a single layer on top of the medium and cover them with more of the same material. Ensure that the bulbs are not touching each other to prevent them from rotting or transmitting diseases.
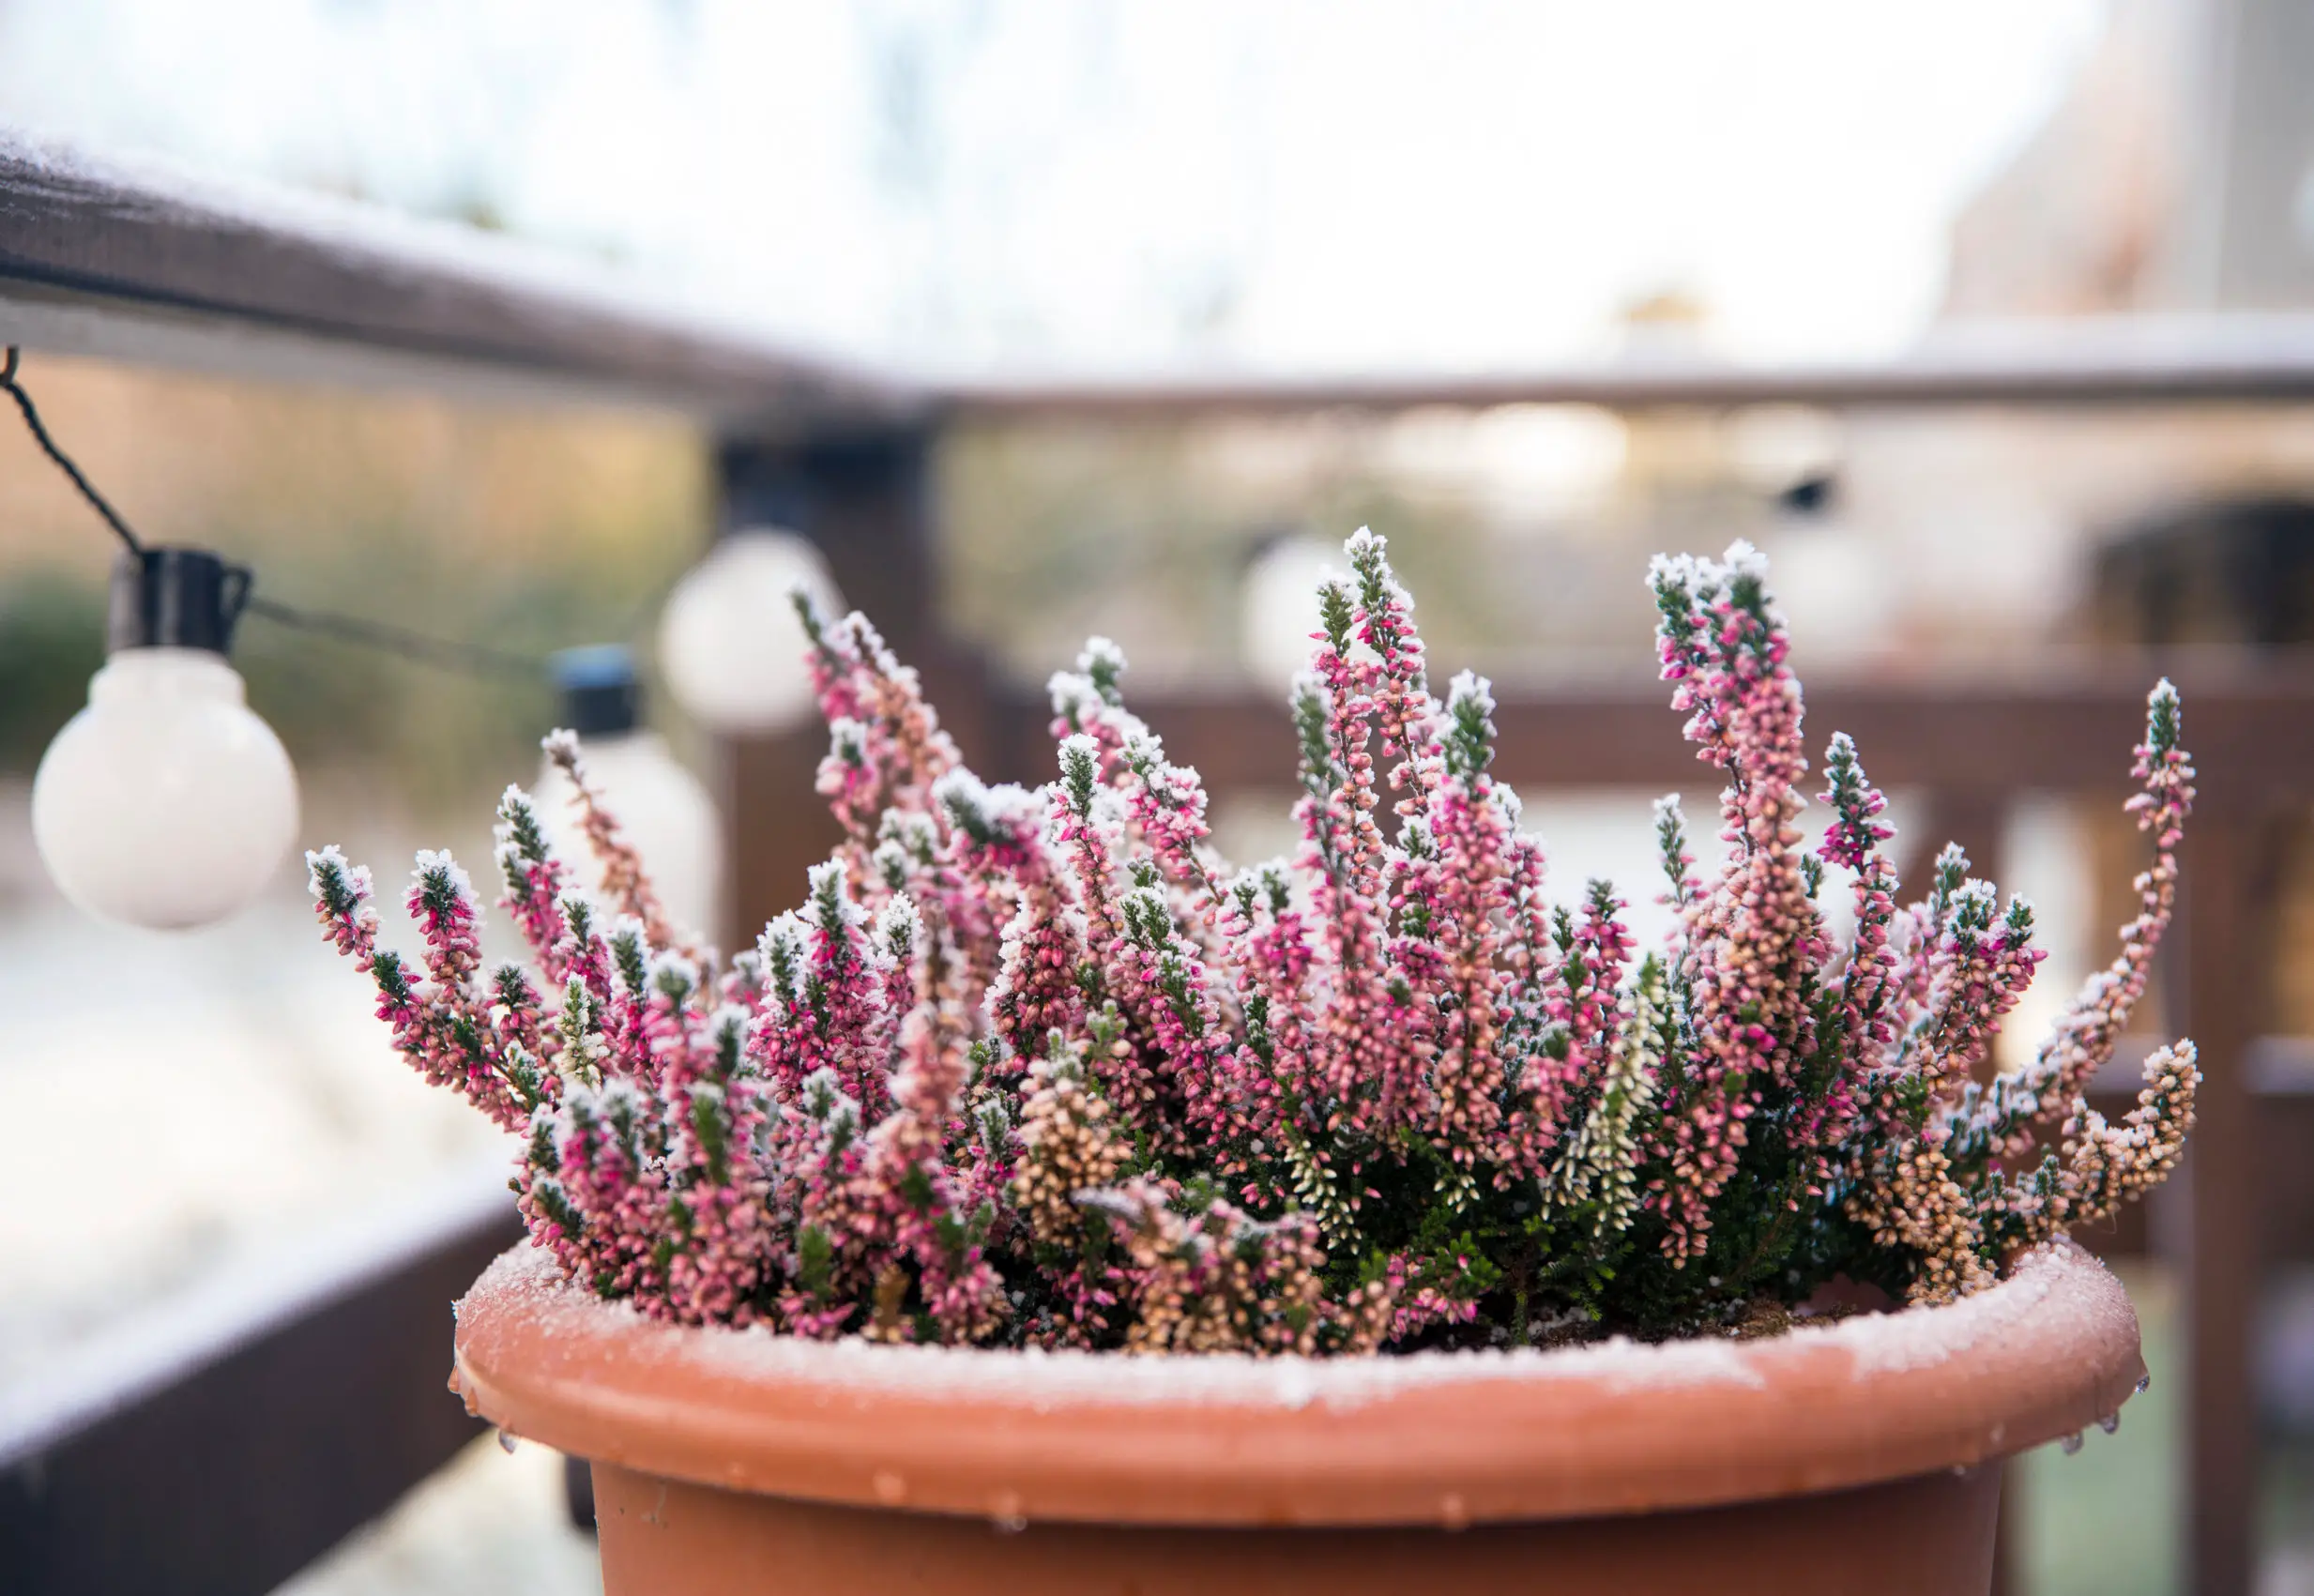
Store the bulbs in a cool, dry location with a consistent temperature between 45°F and 55°F (7°C and 13°C), such as a basement or a garage. Avoid storing the bulbs near fruits or vegetables, as ethylene gas emitted by ripening produce can negatively affect the bulbs.
Periodically check on the stored bulbs throughout the dormant period. Remove any bulbs that show signs of rot or disease to prevent further damage to the healthy ones. If the storage medium feels excessively dry, you can lightly mist it with water to maintain a slightly moist environment.
By removing and storing your bulbs properly, you give them the best chance of survival during their dormant stage. With the right care and conditions, the bulbs will be primed and ready to flourish when it’s time to plant them again in the future.
Reusing Bulbs in Pots
One of the joys of growing bulbs in pots is the ability to reuse them for future displays. Replanting bulbs in pots not only saves money but also allows you to experiment with new color combinations and arrangements. Here are some steps to follow when reusing bulbs in pots:
1. Assess the condition of the bulbs: Before replanting, check the bulbs for any signs of damage, disease, or rot. Discard any bulbs that are unhealthy to prevent the spread of issues to the new planting.
2. Prepare the pots: Choose pots that are clean and have adequate drainage holes. Ensure that the size of the pot is appropriate for the number of bulbs you will be replanting. A good rule of thumb is to allow at least 2-3 inches of space between each bulb.
3. Refresh the soil: Remove the old soil from the pots and replace it with fresh, well-draining potting mix. This provides the bulbs with a nutrient-rich environment for their growth and development.
4. Plant the bulbs: Dig holes in the soil to the appropriate depth for each type of bulb, following the planting guidelines specific to that bulb variety. Place the bulbs with the pointed side facing up and cover them with soil, gently firming it around the bulbs.
5. Water and care for the bulbs: Water the bulbs thoroughly after planting to settle the soil and promote root development. Place the pots in a location that provides the appropriate amount of sunlight for the specific bulbs you are growing. Maintain consistent moisture and regularly monitor the plants for any signs of pests or diseases.
6. Consider companion planting: To enhance the visual appeal of your potted bulbs, consider companion planting with other flowers or plants that complement the colors and shapes of the bulbs. This can create stunning and harmonious displays.
Remember to label your pots to keep track of the bulb varieties you have planted. This will help you plan your future displays and make it easier to care for the bulbs as they go through their blooming and dormancy cycles.
Reusing bulbs in pots not only allows you to enjoy their beauty year after year but also provides an opportunity for experimentation and creativity in your ornamental gardening endeavors.
Alternative Options for Bulbs After Flowering
If you’re looking to expand your options and get creative with what to do with bulbs after flowering, there are several alternative routes you can take. Here are a few ideas to consider:
1. Naturalize bulbs in your garden: Instead of storing bulbs, you can choose to naturalize them in your garden. Naturalizing refers to planting bulbs directly into your flower beds or lawn, allowing them to establish and multiply over time. This creates a natural and effortless display that returns year after year.
2. Gift or trade bulbs: If you have surplus bulbs or varieties that you no longer wish to keep, consider sharing them with fellow gardeners. Bulbs make great gifts, and trading with other enthusiasts can help diversify your collections and expand your gardening network.
3. Plant bulbs in outdoor containers: If you have larger containers or empty spots in your garden, transplant the bulbs from your pots into these larger containers or directly into the ground. This gives the bulbs more space to expand and grow, resulting in even more spectacular displays in the future.
4. Explore forcing techniques: Forcing bulbs refers to manipulating their growth cycle to bloom out of their normal season. This can be done by chilling the bulbs in a refrigerator or using specialized methods. Forcing allows you to enjoy the beauty of blooming bulbs during months when they wouldn’t typically flower.
5. Create bulb lasagna plantings: Layering different types of bulbs in one pot or planting area creates a stunning effect known as bulb lasagna. Start by planting bulbs that bloom early in the season, followed by those that bloom later. This technique ensures continuous color and interest throughout the growing season.
6. Donate bulbs to community gardens or public spaces: Consider donating your bulbs to local community gardens, public parks, or other organizations that maintain green spaces. This not only beautifies the community but also introduces others to the joy of gardening and bulbs in particular.
Remember to do your research and understand the specific requirements and planting instructions for each alternative option you choose. With a bit of creativity, you can find unique and exciting ways to make the most of your bulbs after flowering.
Conclusion
Ornamental gardening enthusiasts find great joy in cultivating bulbs in pots, as they add splashes of color, fragrance, and beauty to any space. By understanding the needs of bulbs in pots, from their care during flowering to post-flowering care and beyond, you can ensure their longevity and showcase their full potential.
During the flowering phase, provide your bulbs with proper sunlight, regular watering, and deadheading to promote healthy growth and extended blooming periods. Post-flowering care involves allowing the foliage to wither naturally while continuing to provide adequate moisture and nutrition. Storing bulbs correctly during their dormant period ensures their protection and readiness for replanting in future seasons.
For those looking for alternative options, consider naturalizing bulbs in your garden, gifting or trading bulbs with fellow gardeners, or exploring forcing techniques to enjoy out-of-season blooms. Reusing bulbs in pots or creating bulb lasagna plantings are other creative ways to maximize their impact. Donating bulbs to community gardens or public spaces is also a generous way to spread the beauty of these plants.
Through careful attention and creativity, you can make the most of your bulbs in pots, whether it’s experiencing their beauty year after year, experimenting with different varieties and arrangements, or giving them a new purpose in alternative planting methods.
So, dive into the world of ornamental gardening, unleash your creativity, and let the magic of bulbs in pots enchant you as you create stunning displays and transform your living spaces into breathtaking floral havens.