Home>Types of Gardening>Ornamental Gardening>How To Start Cannibis Seeds


Ornamental Gardening
How To Start Cannibis Seeds
Modified: February 9, 2024
Learn the art of starting cannabis seeds with our comprehensive guide. Perfect for those interested in ornamental gardening.
(Many of the links in this article redirect to a specific reviewed product. Your purchase of these products through affiliate links helps to generate commission for Chicagolandgardening.com, at no extra cost. Learn more)
Table of Contents
- Introduction
- Step 1: Gather Supplies
- Step 2: Choose the Right Seeds
- Step 3: Germination
- Step 4: Planting the Seeds
- Step 5: Provide Proper Lighting
- Step 6: Watering and Feeding
- Step 7: Transplanting the Seedlings
- Step 8: Maintaining Proper Temperature and Humidity
- Step 9: Prevention and Management of Pests
- Step 10: Monitoring and Adjusting Nutrient Levels
- Step 11: Identifying and Addressing Common Issues
- Step 12: Harvesting the Plants
- Conclusion
Introduction
Welcome to the fascinating world of cannabis cultivation! Growing cannabis from seeds can be an enjoyable and rewarding endeavor, allowing you to nurture plants from their earliest stages to a bountiful harvest. Whether you’re a seasoned gardener or a complete beginner, this comprehensive guide will provide you with the knowledge and tools to successfully start cannabis seeds and watch them flourish.
Cannabis, also known as marijuana or weed, has gained significant popularity for its medicinal and recreational uses. Growing your own cannabis plants not only gives you control over the quality and potency of the product but also allows you to cultivate unique strains tailored to your preferences. Plus, the process itself can be incredibly fulfilling and therapeutic.
Before we dive into the step-by-step process of starting cannabis seeds, it’s essential to understand some basic concepts. Cannabis plants can be either male or female, with the female plants producing the flower buds that contain the desired cannabinoids, such as THC and CBD. When growing cannabis, it’s important to identify and remove any male plants, as they can pollinate the females and reduce the quality and quantity of the buds.
Furthermore, there are different types of cannabis strains, each with its own unique characteristics. These include indica, sativa, and hybrid strains, which offer varying effects and growth patterns. Indica strains tend to be more relaxing and physically sedating, whereas sativa strains are known for their energizing and uplifting effects. Hybrids combine the qualities of both indica and sativa strains.
Now that you have a basic understanding of cannabis cultivation, let’s dive into the step-by-step process of starting cannabis seeds. Remember, patience and attention to detail are key, so take your time and enjoy the journey of nurturing your plants from seeds to harvest.
Step 1: Gather Supplies
Before you begin the process of starting cannabis seeds, it’s important to gather all the necessary supplies. Having everything prepared beforehand will make the process smoother and more efficient. Here’s a list of essential supplies you’ll need:
- Seeds: Start by obtaining high-quality cannabis seeds from reputable sources. There are countless strains to choose from, so do some research to find the ones that best suit your preferences and growing conditions.
- Growing Medium: You’ll need a suitable growing medium to provide your cannabis seeds with the necessary nutrients and support. The most popular options include soil, coco coir, or hydroponic systems. Each has its own advantages, so choose one that aligns with your growing goals.
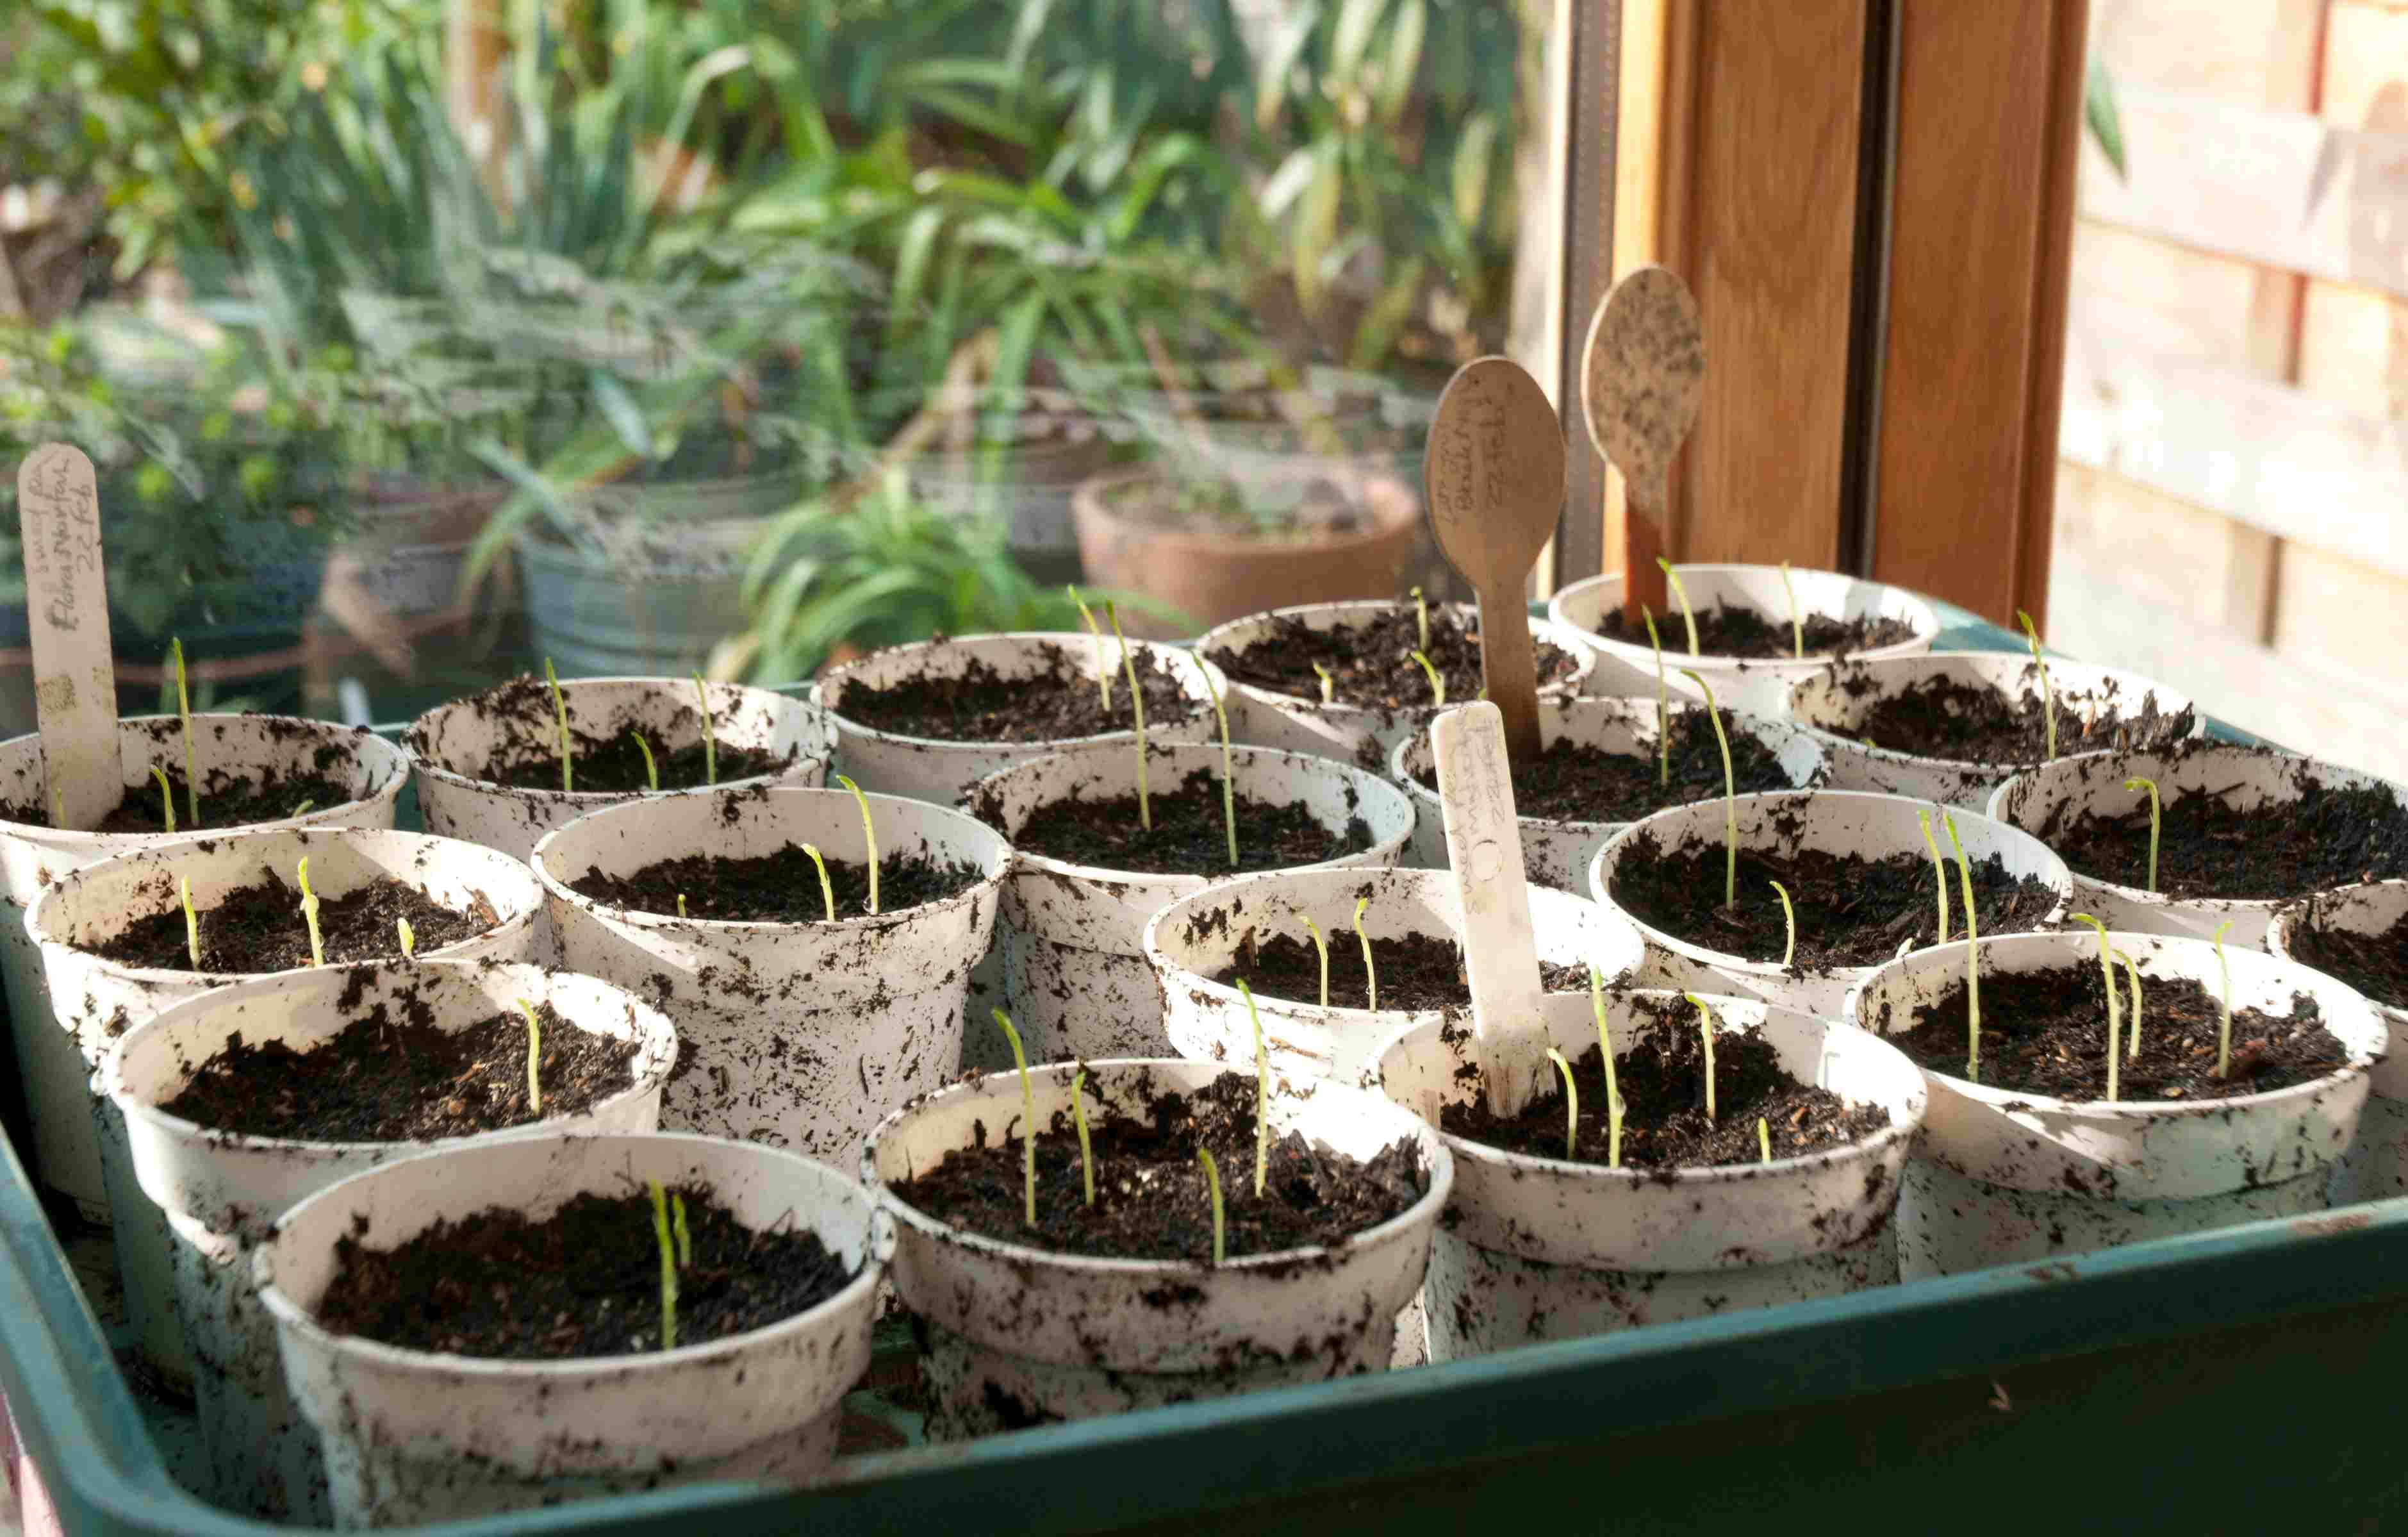
- Containers: Select containers that can accommodate the size of your plants as they grow. Use seedling trays or small pots for germination and early stages, and larger pots or grow bags for transplanting seedlings.
- Grow Lights: Since cannabis plants require proper lighting for optimal growth, invest in quality grow lights. LEDs or high-intensity discharge (HID) lights are popular choices, providing the required spectrum of light for healthy plant development.
- Environmental Controls: Maintain the ideal temperature and humidity levels for your cannabis plants using a thermometer and hygrometer. Additionally, consider investing in a ventilation and air circulation system to promote proper airflow and prevent the buildup of humidity.
- Watering Tools: To ensure proper hydration, have watering tools on hand, such as a spray bottle for misting delicate seedlings and a watering can or hose with a gentle nozzle for watering mature plants.
- Nutrients: Cannabis plants require essential nutrients as they grow. Choose organic or synthetic fertilizers specifically formulated for cannabis cultivation, and follow the recommended dosage instructions.
- Garden Supplies: Have basic gardening tools available, such as a trowel, pruning shears, and trellises for support as your plants grow. These tools will come in handy during various stages of cultivation.
By gathering these supplies in advance, you’ll be well-prepared and equipped to start your cannabis seeds and provide them with the care they need. Remember, investing in quality supplies and equipment will contribute to the overall success of your cannabis cultivation journey.
Step 2: Choose the Right Seeds
Choosing the right cannabis seeds is a crucial step in the cultivation process. The quality and characteristics of the seeds you select will significantly impact the growth and final results of your plants. Here are some factors to consider when choosing cannabis seeds:
- Genetics: Determine whether you want to grow an indica, sativa, or hybrid strain. Each type has its own unique effects and growth patterns. Indicas are known for their relaxing properties, while sativas provide uplifting and energizing effects. Hybrids offer a combination of both. Research different strains to find the ones that suit your preferences and needs.
- Seed Banks: Purchase seeds from reputable seed banks to ensure high-quality genetics and reliable germination rates. Look for well-established and trusted seed banks with positive reviews and a wide selection of strains.
- Growth Characteristics: Consider the size and growth requirements of the strain you choose. Some strains are compact and better suited for indoor cultivation, while others may grow taller and require more space. Additionally, pay attention to the flowering time, as it can vary between strains.
- THC and CBD Levels: Determine your desired THC and CBD levels. THC is the psychoactive compound responsible for the “high” associated with cannabis, while CBD offers potential therapeutic benefits without psychoactive effects. Strains with higher THC levels may be more suitable for recreational use, while CBD-rich strains are often sought after for medicinal purposes.
- Seed Type: Choose between regular, feminized, or auto-flowering seeds. Regular seeds can produce male or female plants, while feminized seeds ensure female plants, which are preferred for their bud production. Auto-flowering seeds have a specific genetic trait that allows them to flower automatically, regardless of light cycles, making them suitable for growers seeking a quicker harvest.
By considering these factors and researching different strains, you’ll be able to choose seeds that align with your preferences and growing conditions. Remember that each strain has its own unique characteristics, including flavor, aroma, and potency. Take your time in selecting the right seeds, as they are the foundation of a successful cannabis cultivation journey.
Step 3: Germination
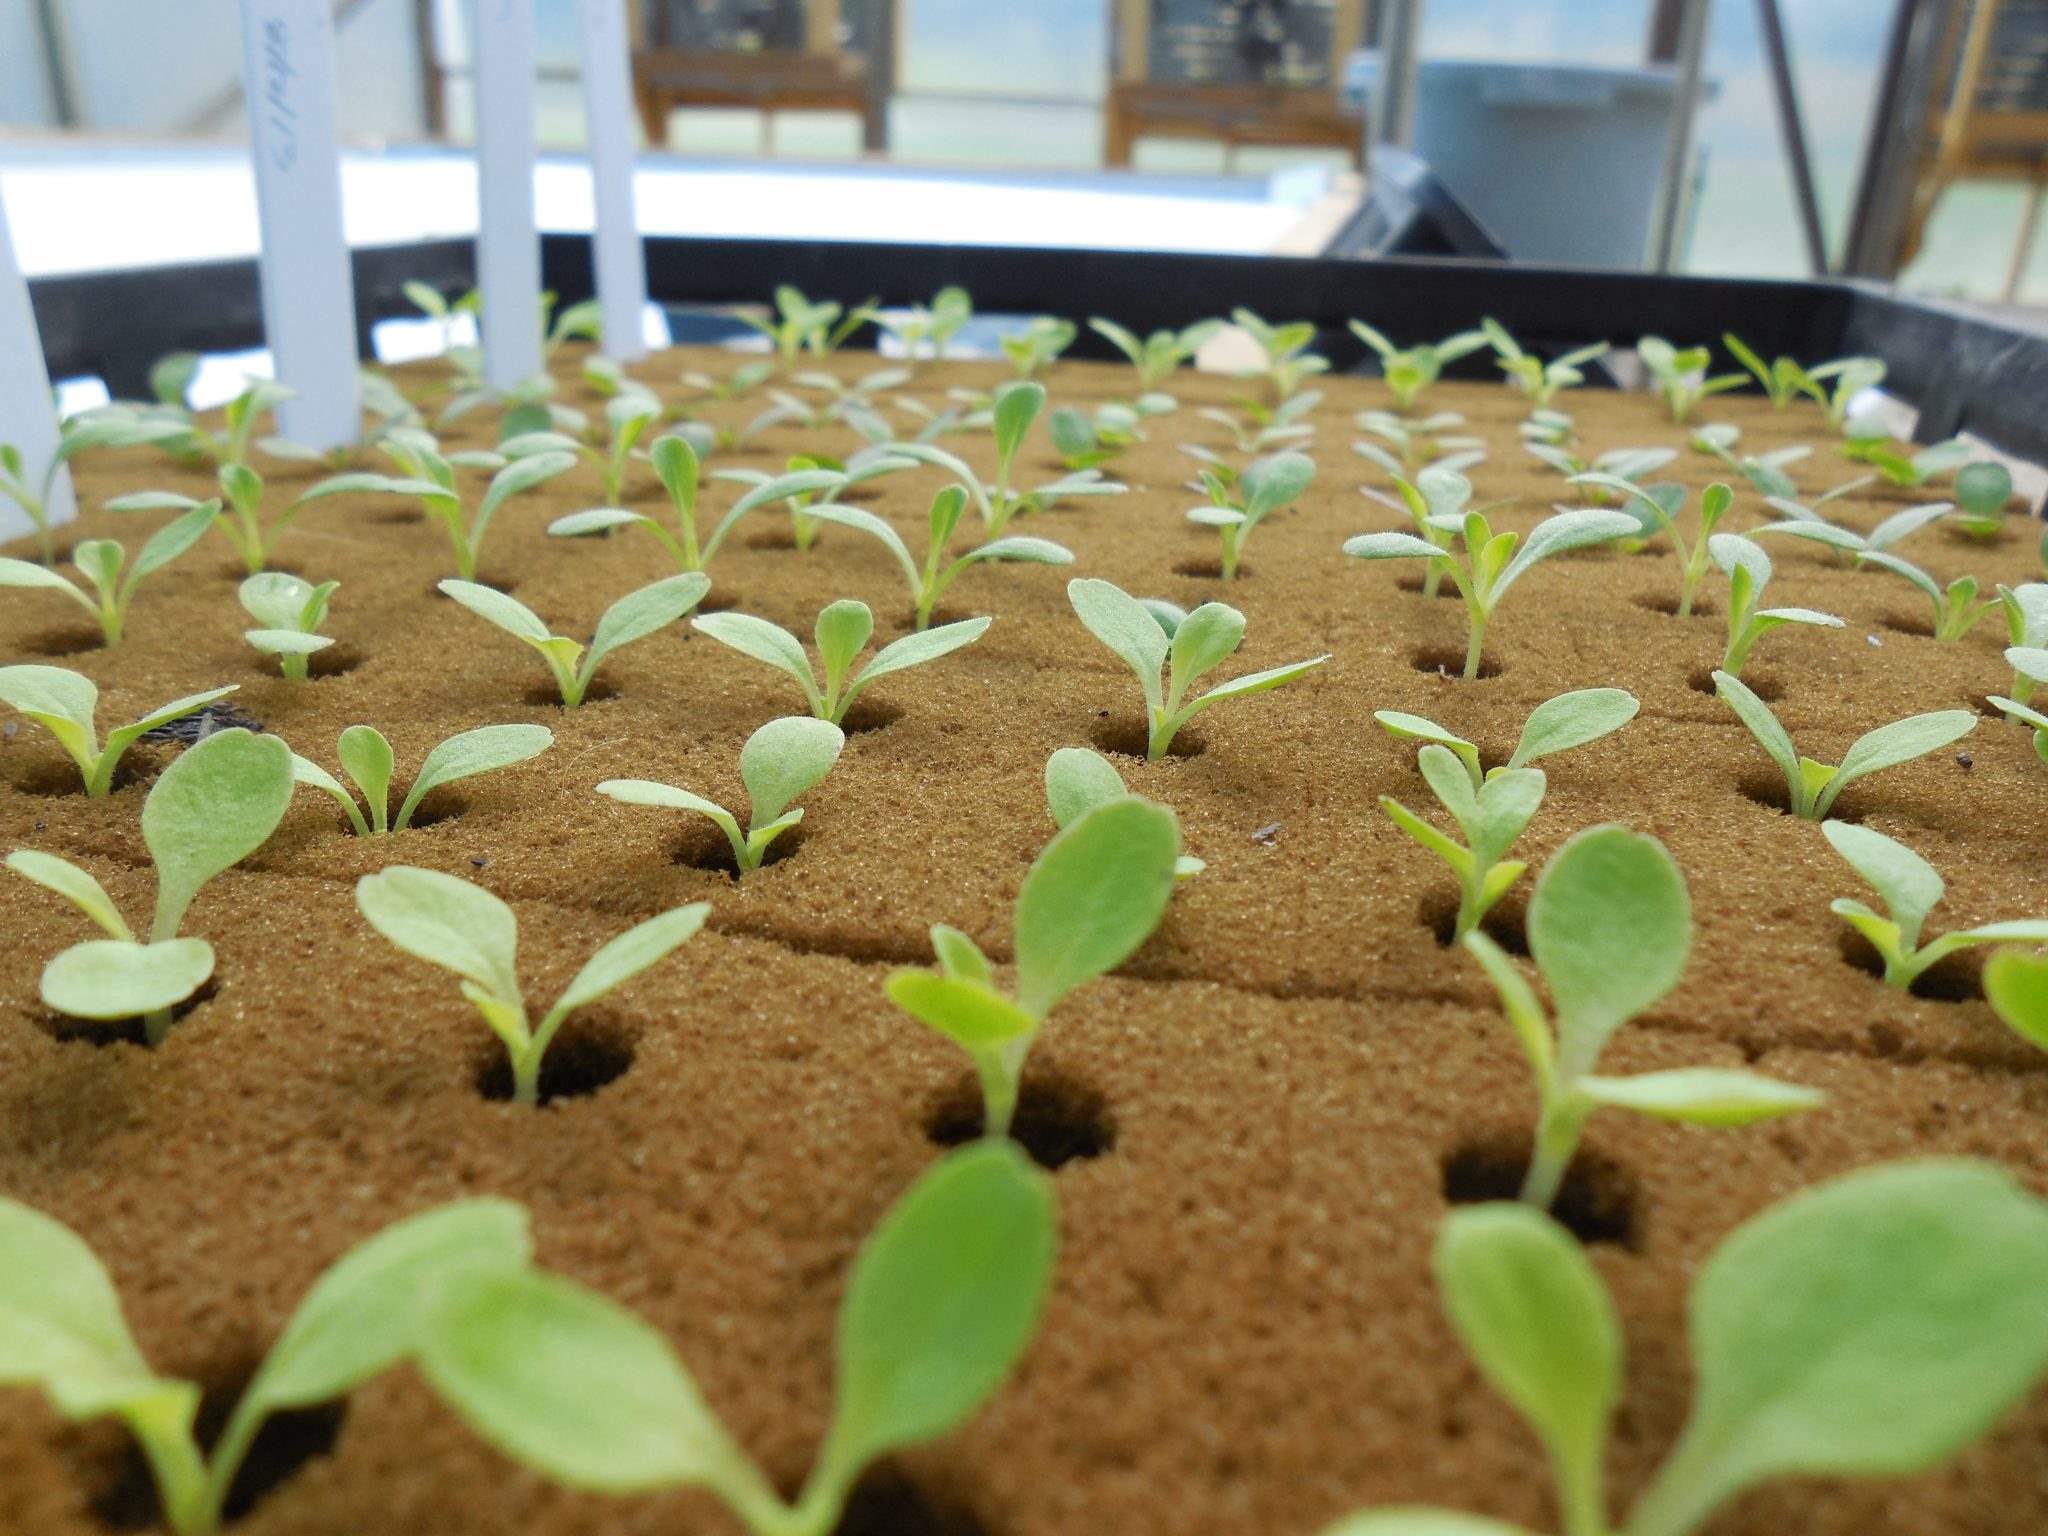
Germination is the process of getting your cannabis seeds to sprout and develop into seedlings. This crucial step sets the foundation for healthy plant growth. Here’s a step-by-step guide to germinating cannabis seeds:
- Water Soaking: Start by filling a glass or container with lukewarm water. Place your seeds in the water and let them soak for about 12-24 hours. This step helps to soften the seed coat and activate the germination process.
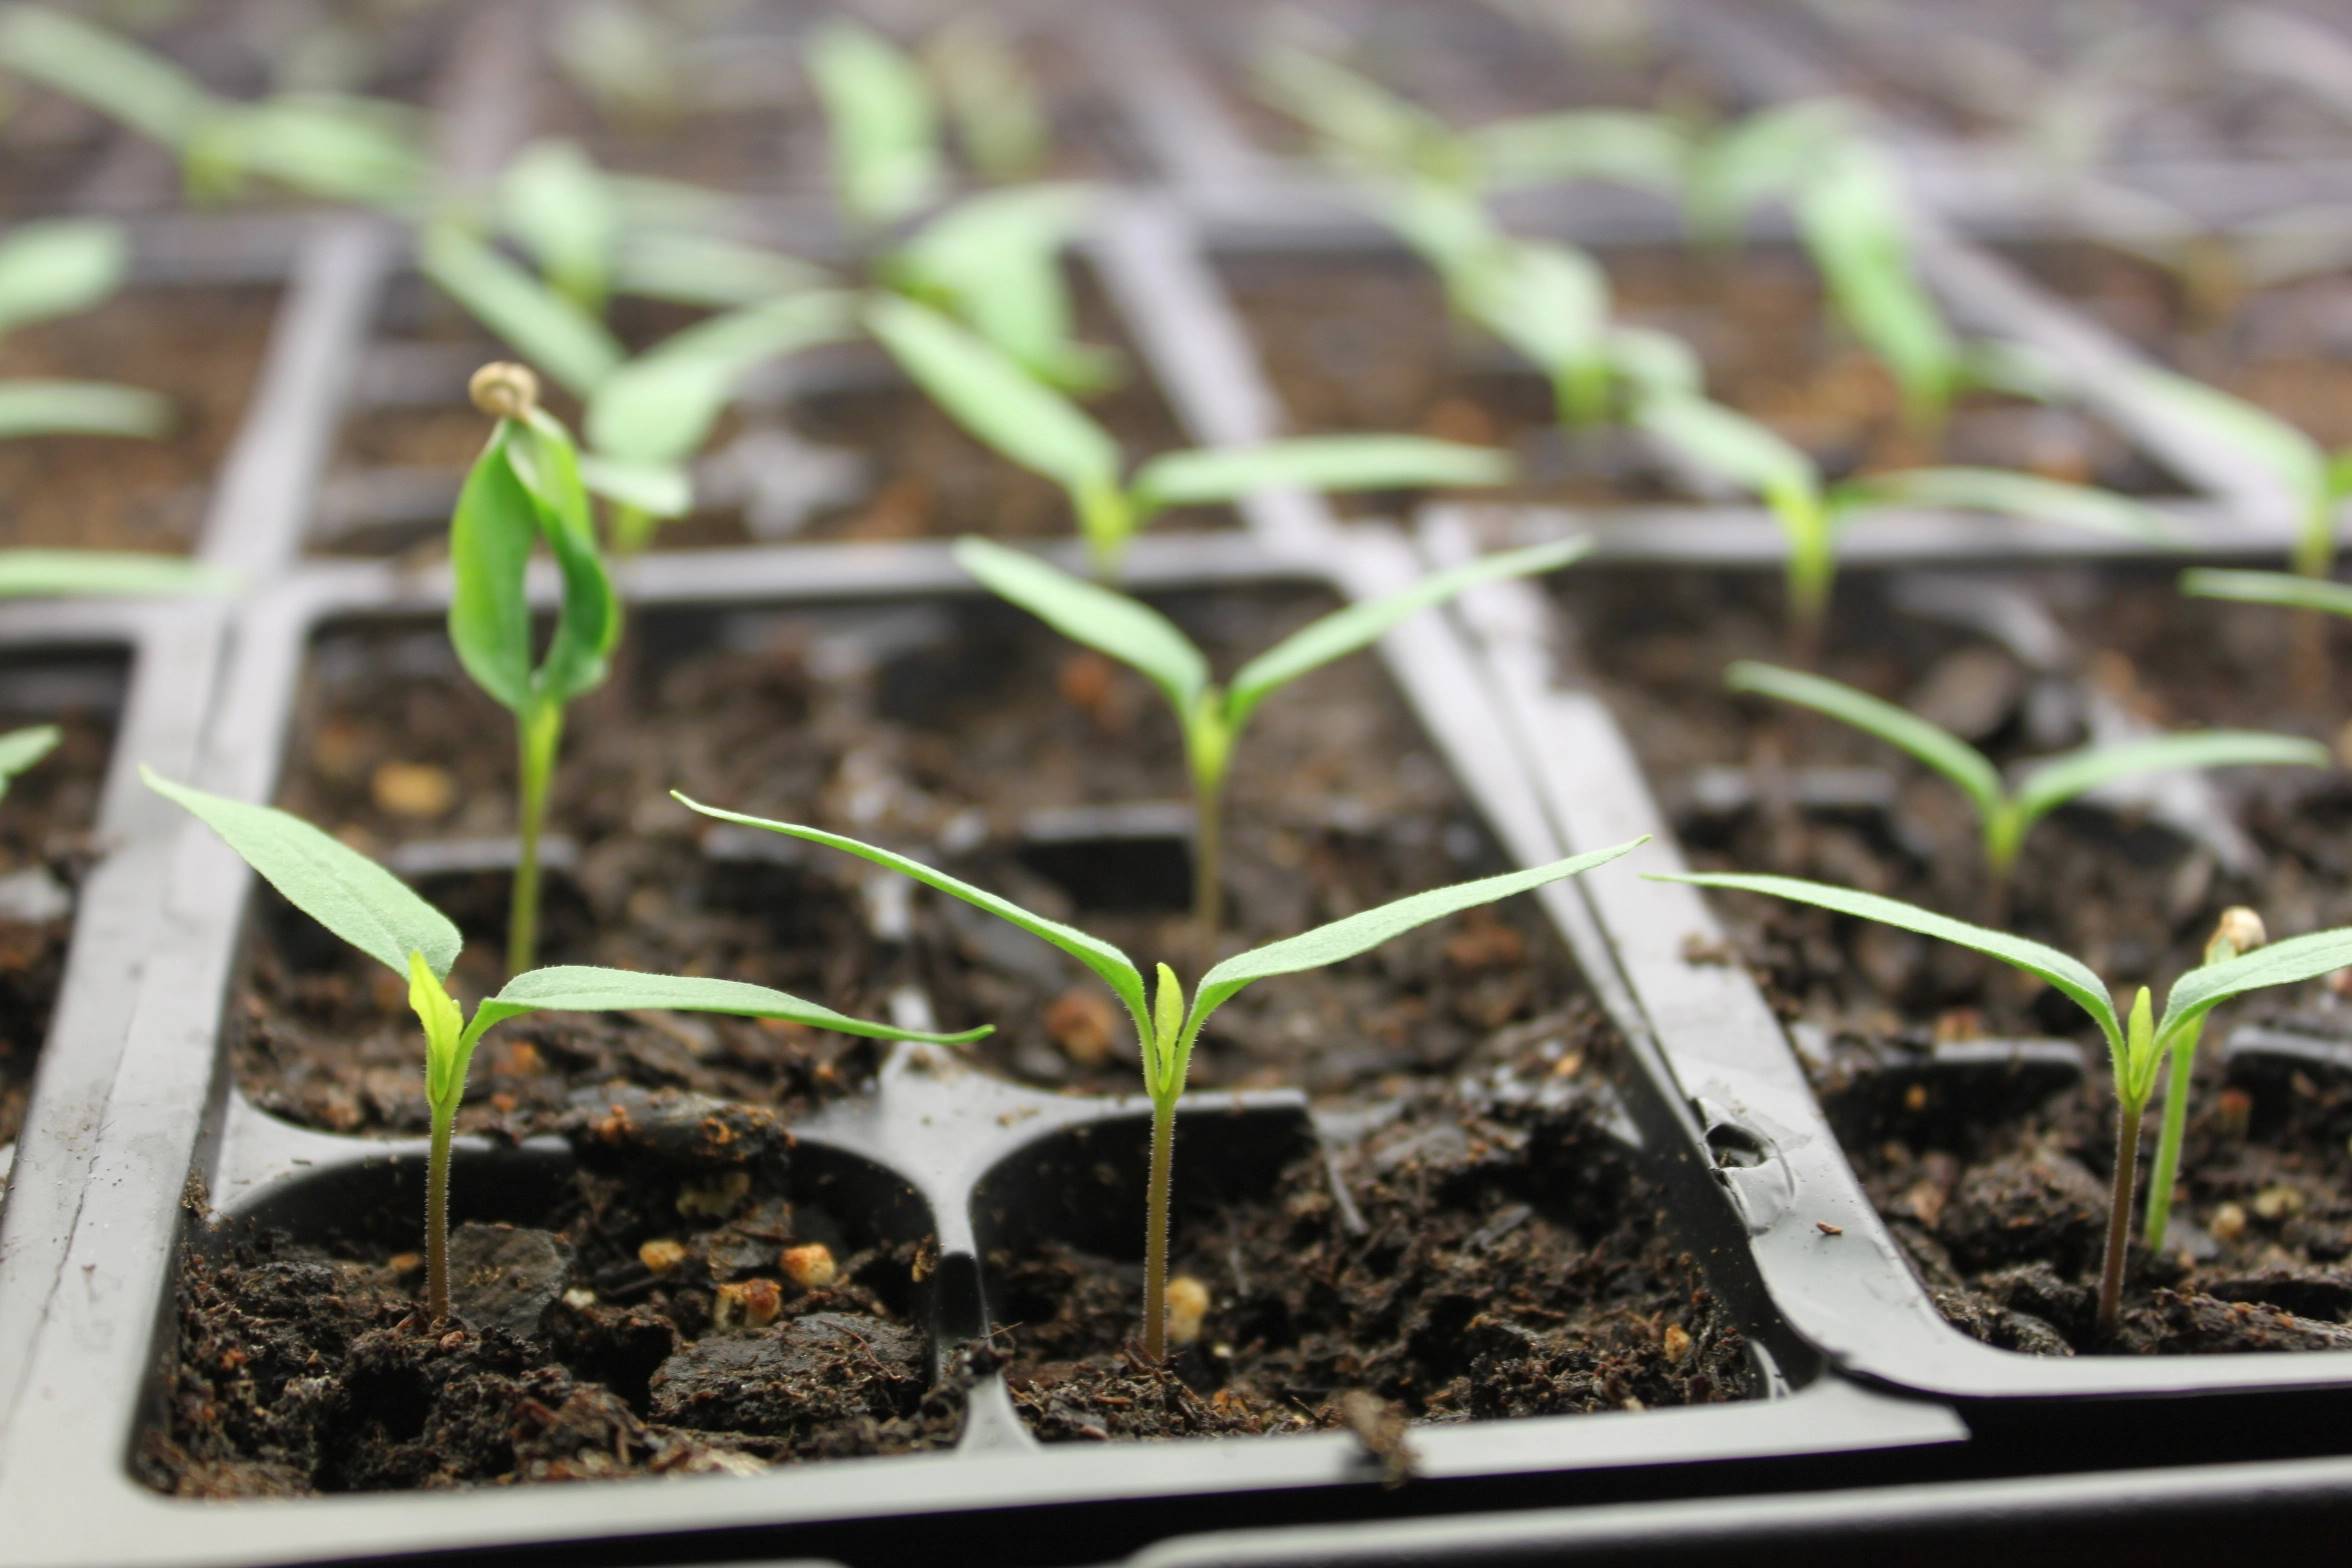
- Seedling Medium: While the seeds are soaking, prepare your seedling medium. You can use a seedling tray with a quality seed-starting mix, or moisten a paper towel and place the seeds on it. Ensure that the medium is damp but not overly wet, as excessive moisture can lead to rotting.
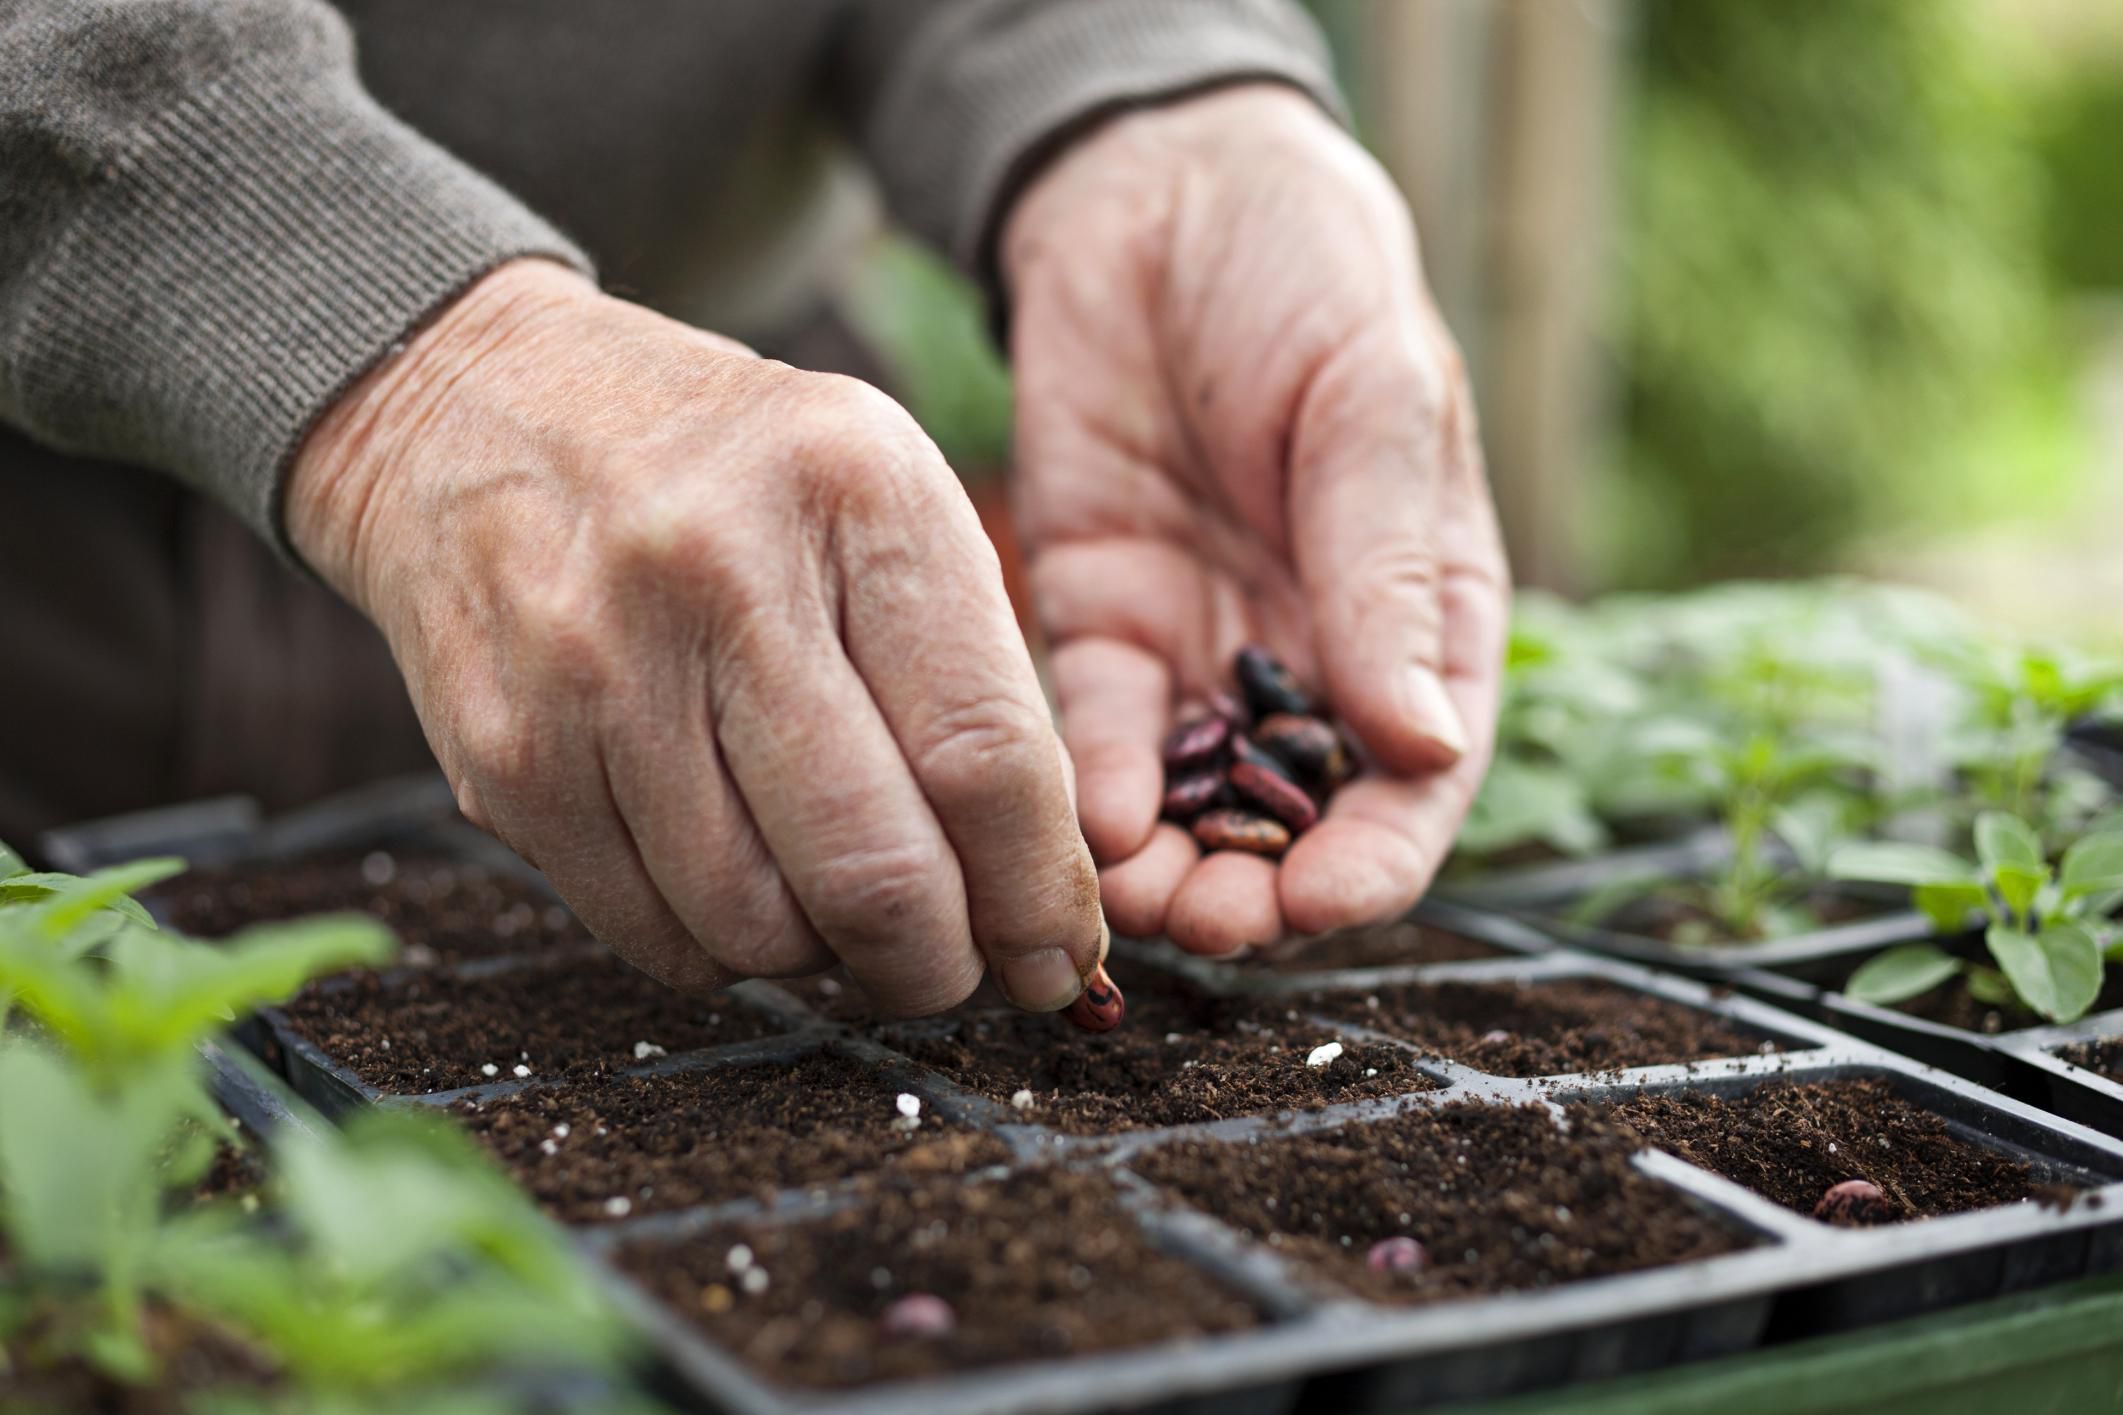
- Planting: Gently transfer the soaked seeds to the prepared seedling medium. If using a seedling tray, make a small hole about half an inch deep and place the seed in it, then cover it lightly with the medium. If using a paper towel, fold it over the seeds and place it in a sealed plastic bag or container.
- Warmth and Darkness: Place the seedling tray or seed-filled paper towel in a warm, dark location. Ideally, the temperature should be between 70-85°F (21-29°C). You can use a heating mat or place the tray on top of a warm appliance to provide gentle bottom heat.
- Moisture: Ensure that the seedling medium remains consistently moist during the germination process. Mist the tray lightly with water or moisten the paper towel when needed, taking care not to oversaturate.
- Patience: Allow the seeds to germinate for around 24-72 hours. During this time, keep an eye on the seeds for signs of sprouting, such as the emergence of a small taproot. Some seeds may take longer to germinate, so be patient and resist the urge to disturb them.
- Transplanting: Once the seeds have sprouted and the taproot is about half an inch long, it’s time to transplant them into their growing containers. Gently transfer the seedlings, taking care not to damage the delicate roots. Plant them at a depth of about an inch, covering the root completely.
Germination is a critical stage, so it’s essential to provide the optimum conditions for success. By following these steps, you can ensure a high germination rate and a healthy start for your cannabis plants. Remember to handle the seeds with care and maintain proper moisture and warmth throughout the process.
Step 4: Planting the Seeds
After successfully germinating your cannabis seeds and seeing the emergence of healthy seedlings, it’s time to plant them in their designated growing containers. Proper planting ensures that the seedlings establish strong roots and continue to thrive. Follow these steps to effectively plant your cannabis seeds:
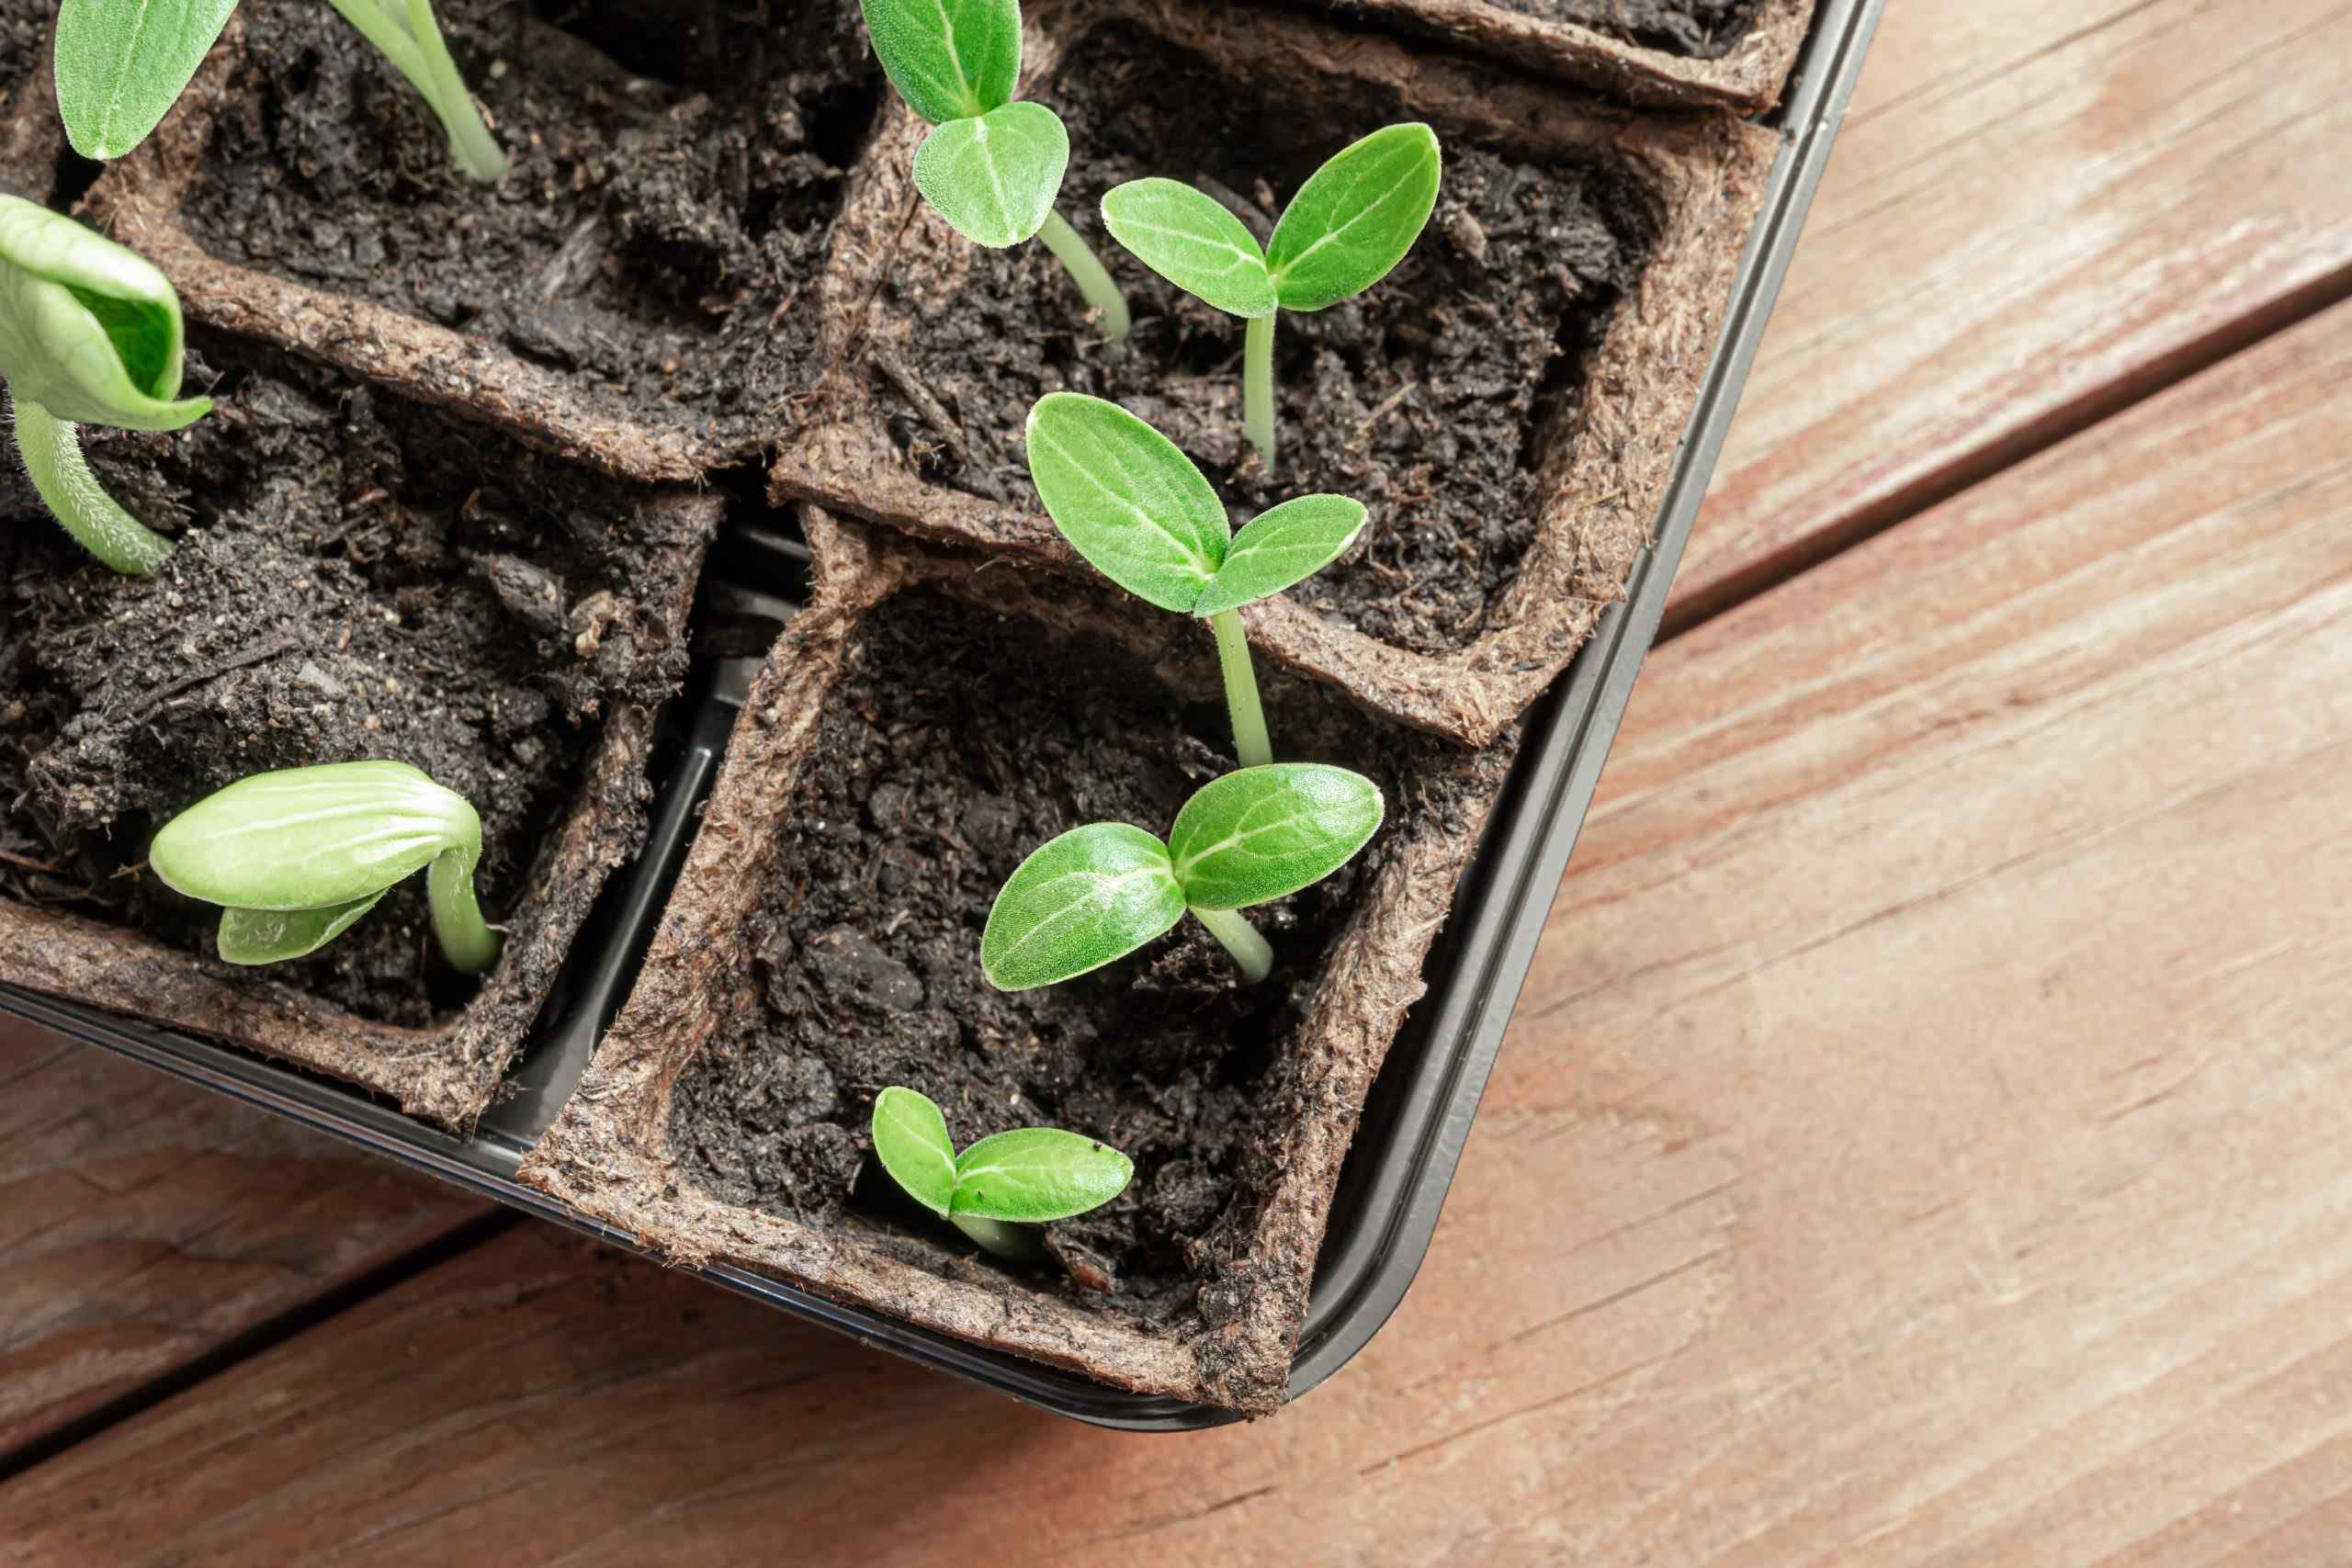
- Prepare Containers: Choose appropriate containers for your seedlings, such as small pots or nursery trays. Make sure they have drainage holes to prevent waterlogging. Fill the containers with a well-draining growing medium, such as a seed-starting mix or a blend of coco coir and perlite.
- Make Planting Holes: Create small holes in the planting medium using your finger, a pencil, or a dibber. The depth should be similar to the length of the seedling’s root, typically around an inch or so.
- Transplant Seedlings: Gently lift each seedling from its original germination container, holding it by the leaves to avoid damaging the delicate stem. Place the seedling into the prepared hole, ensuring that the roots are fully covered with the growing medium. Carefully press the medium around the stem to secure the seedling in place.
- Watering: After transplanting, give the seedlings a thorough watering. Use a gentle stream of water to avoid disturbing the newly planted seedlings. Make sure the medium is moist but not waterlogged.
- Light and Heat: Place the newly planted seedlings under appropriate lighting. Depending on the stage of growth, provide 18-24 hours of daily light using grow lights or natural sunlight. Maintain the temperature between 70-85°F (21-29°C) to encourage healthy growth.
- Humidity Control: Cover the seedlings with clear plastic domes or use a humidity dome to maintain higher levels of humidity for the first few days. This helps to prevent moisture loss and promotes faster growth. Gradually remove the dome as the seedlings adapt to the ambient humidity.
- Air Circulation: Ensure that there is adequate air circulation around the seedlings. This helps prevent the buildup of stagnant air, which can lead to mold or fungus growth. Use gentle fans or open windows to provide a gentle breeze.
- Monitor and Adjust: Regularly monitor the moisture level of the growing medium. Water the seedlings whenever the top inch of soil becomes dry. Keep a close eye on the seedlings’ growth and adjust the lighting height accordingly to prevent stretching or light burn.
Proper planting techniques provide the seedlings with the necessary support and environment to establish a strong root system and continue their growth. By following these steps, you’ll help ensure the successful transition of your cannabis seedlings into their new homes and set the stage for healthy plant development.
Step 5: Provide Proper Lighting
Proper lighting is essential for the healthy growth and development of cannabis plants. Whether you’re growing indoors or outdoors, providing the right amount and type of light is crucial for maximizing photosynthesis and promoting robust plant growth. Here are some key considerations for providing proper lighting:
- Indoor Lighting: If you’re growing cannabis indoors, invest in high-quality grow lights to simulate natural sunlight. LED (light-emitting diode), HPS (high-pressure sodium), and CFL (compact fluorescent) lights are commonly used options. Each type has its own pros and cons in terms of energy efficiency, light spectrum, and heat output. Research the specific lighting requirements for your cannabis strain and adjust the distance between the plants and the light source accordingly.
- Light Spectrum: Different stages of cannabis growth require different light spectrums. During the vegetative stage, provide a balanced spectrum with a higher proportion of blue light (cool white or daylight), which encourages leafy growth. In the flowering stage, switch to a spectrum with more red light (warm white) to promote bud development.
- Light Cycle: Control the light cycle to mimic the natural sunlight cycle and promote flowering. During the vegetative stage, provide 18-24 hours of light per day. As the plants enter the flowering stage, reduce the light cycle to 12 hours of uninterrupted darkness and 12 hours of light. This change in light cycle signals the plants to transition from vegetative growth to the production of flowers.
- Outdoor Lighting: If you’re growing cannabis outdoors, take advantage of natural sunlight. Ensure that your plants receive at least six to eight hours of direct sunlight each day. Avoid placing them in shaded areas or under trees that may obstruct sunlight. Rotate the pots or adjust the positioning of the plants to ensure even exposure to sunlight.
- Light Intensity: Monitor the intensity of the light source to prevent light burn or light stress. Too much light intensity can cause damage to the leaves or hinder growth. Adjust the height or dim the lights if necessary to maintain the optimal distance and intensity for your specific cannabis strain.
- Lighting Schedule: Be consistent with your lighting schedule. Cannabis plants thrive when they receive a consistent light-dark cycle. Avoid sudden changes or disruptions in the lighting schedule, as this can impact the growth and flowering process.
Proper lighting is a key factor in ensuring successful cannabis cultivation. Whether you’re using artificial lights indoors or harnessing the power of natural sunlight outdoors, providing the right type, intensity, and duration of light will promote healthy growth and maximize yields. Regularly monitor your plants’ response to the lighting conditions and make adjustments as needed to optimize their growth.
Step 6: Watering and Feeding
Proper watering and feeding are vital aspects of cannabis cultivation. Providing your plants with the right amount of water and nutrients ensures optimal growth and helps prevent nutrient deficiencies or excesses. Here are some guidelines for watering and feeding your cannabis plants:
- Watering: Cannabis plants require consistent moisture, but overwatering can lead to root rot and other issues. Water your plants when the top inch of the soil feels dry. Use a watering can or a hose with a gentle spray nozzle to water evenly. Ensure that the water reaches the roots without completely soaking the growing medium.
- Drainage: Proper drainage is essential to prevent waterlogged soil. Make sure your containers have sufficient drainage holes and use well-draining soil or growing medium. Excess water should be able to freely drain out of the container to avoid water buildup around the roots.
- Feeding: Cannabis plants require a balance of macro and micronutrients for healthy growth. Use a high-quality cannabis-specific fertilizer or nutrient solution formulated for each stage of the plant’s life cycle. Follow the manufacturer’s instructions, and start with a lower dosage, gradually increasing it as the plants mature. Monitor your plants for any signs of nutrient deficiencies or excesses.
- pH Level: Maintain the pH level of the growing medium between 6.0 and 7.0, as cannabis plants absorb nutrients most efficiently within this range. Use a pH meter or pH testing kit to regularly monitor and adjust the pH level as needed. Adjustments can be made by adding pH-up or pH-down solutions to the water or nutrient solution.
- Flushes: Occasionally flushing your plants with plain, pH-balanced water can help remove excess salts and nutrients that may have built up in the soil. Flushing is typically done before harvest to improve the taste and quality of the buds. Ensure that the water thoroughly saturates the growing medium and drains out of the container.
- Observation: Pay close attention to your plants’ foliage, as it can provide valuable information about their watering and feeding needs. Yellowing or drooping leaves may indicate overwatering, while wilted or dry leaves could signal underwatering. Adjust your watering and feeding practices based on the specific needs and responses of your plants.
Proper watering and feeding practices are crucial for the health and productivity of your cannabis plants. By providing them with the right amount of water and nutrients, monitoring their response, and making necessary adjustments, you’ll support robust growth and maximize the potential of your plants.
Step 7: Transplanting the Seedlings
As your cannabis seedlings continue to grow and develop, they will eventually outgrow their initial containers and require transplantation into larger pots or a designated outdoor growing area. Transplanting helps provide more room for root expansion and allows the plants to access a greater supply of nutrients. Follow these steps for successful and stress-free transplantation:
- Timing: Transplant your seedlings when they have developed a strong root system and have multiple sets of true leaves. Typically, this occurs when the seedlings are around 2-4 weeks old, but this can vary depending on the strain and growth rate.
- Preparation: Prepare the new planting containers or growing area in advance, ensuring they are clean and have sufficient drainage holes. Fill the containers with a well-draining growing medium such as a blend of potting soil, perlite, and compost.
- Watering: Water the seedlings thoroughly a few hours before transplantation. This helps the plants maintain hydration and minimizes stress during the process.
- Gentle Removal: Carefully remove the seedlings from their current containers, holding them by the leaves to avoid damaging the stems. Gently tease apart any tangled roots and remove any excess soil clinging to them.
- Planting Depth: Dig a hole in the new container or growing area that is slightly larger than the seedling’s root system. Place the seedling into the hole, making sure it is positioned at the same depth as it was in the previous container. Fill the hole with the growing medium, gently firming it around the roots.
- Watering and Support: After transplanting, water the seedlings thoroughly to settle the soil and encourage root establishment. Use trellises or stakes to provide support to taller or more fragile plants. Avoid overwatering immediately after transplantation, as it may lead to waterlogged soil and hinder root growth.
- Monitoring: Keep a close eye on the transplanted seedlings for the first few days to ensure they are adjusting well. Monitor their moisture levels, light exposure, and overall health. Make any necessary adjustments to the watering, lighting, and environmental conditions to support their growth.
Transplanting seedlings allows them to continue their growth and development in a larger space, providing the necessary resources for healthy and vigorous plants. Remember to give your transplanted seedlings time to adjust to their new environment and maintain proper care to ensure their successful transition.
Step 8: Maintaining Proper Temperature and Humidity
Maintaining the right temperature and humidity levels is crucial for the successful growth and development of cannabis plants. The ideal conditions provide a comfortable environment for the plants to thrive and minimize the risk of stress or disease. Follow these guidelines to maintain proper temperature and humidity:
- Temperature: Cannabis plants thrive in temperatures between 70-85°F (21-29°C) during the daytime and slightly cooler temperatures of around 60-70°F (15-21°C) during the nighttime. Avoid exposing the plants to extreme temperature fluctuations, as it can negatively impact their growth and overall health.
- Lighting Heat: Pay attention to the heat generated by your lighting system. High-intensity lights can emit significant heat, which may raise the temperature in the growing area. Ensure proper ventilation and air circulation to dissipate excess heat and maintain a comfortable temperature range for the plants.
- Humidity: Cannabis plants require different humidity levels during various stages of growth. During the vegetative stage, aim for a humidity range of 40-70%. This range helps prevent excessive transpiration without creating a breeding ground for pests or fungus. When flowering, lower the humidity to around 40-50% to reduce the risk of bud rot and mold formation.
- Humidity Control: Use humidifiers or dehumidifiers to adjust the humidity levels in the growing area. This is especially important for indoor growers who have more control over the environment. Monitor the humidity levels with a hygrometer and adjust the equipment accordingly to maintain the desired range.
- Air Circulation: Proper air circulation is essential for controlling both temperature and humidity. Use fans or an adequate ventilation system to ensure fresh air exchange and prevent stagnant air pockets. This helps prevent the buildup of excess humidity and reduces the risk of pests or diseases.
- Monitoring: Regularly monitor the temperature and humidity levels in your growing area using a thermometer and hygrometer. Make adjustments as needed to maintain the optimal conditions for healthy plant growth. Remember that different strains may have slightly different temperature and humidity preferences, so consider their specific requirements.
Maintaining proper temperature and humidity levels creates an optimal environment for cannabis plants to thrive. By providing a comfortable temperature range and managing humidity at different growth stages, you support healthy growth and reduce the risk of potential issues. Regular monitoring and adjustments ensure that your plants stay within the desired temperature and humidity parameters throughout their growth cycle.
Step 9: Prevention and Management of Pests
Preventing and managing pests is an important aspect of cannabis cultivation to protect your plants from potential damage and ensure a successful harvest. Here are some measures you can take to prevent and manage pests in your cannabis garden:
- Cleanliness and Sanitation: Start by maintaining a clean garden area and practicing good sanitation habits. Remove any dead plant material or debris that can harbor pests or diseases. Regularly clean your tools, containers, and growing area to prevent the buildup of pests or pathogens.
- Quarantine: If introducing new plants or clones into your garden, quarantine them in a separate area for a period of time. This allows you to monitor them for any signs of pests or diseases before introducing them to the rest of your healthy plants.
- Strategic Plant Placement: Pay attention to the layout of your garden and the positioning of your plants. Avoid overcrowding, as it creates a favorable environment for pests to spread. Allow for adequate spacing between plants to promote airflow and reduce humidity levels.
- Companion Planting: Utilize companion plants known to repel pests or attract beneficial insects. Plants such as marigolds, basil, and lavender can help deter pests naturally. Research companion planting strategies to provide additional protection for your cannabis plants.
- Protective Barriers: Physical barriers like netting or mesh can help prevent pests, such as birds or insects, from reaching your plants. Covering them with row covers or using insect screens can also be effective in keeping pests away.
- Organic Pest Control: Employ organic pest control methods to minimize the use of chemical pesticides. Neem oil, insecticidal soaps, and diatomaceous earth are examples of natural substances that can be used to combat pests. Always follow the instructions on the product labels and apply them in a safe manner.
- Regular Inspections: Take the time to regularly inspect your cannabis plants for any signs of pest infestation. Look for visible damage, holes on leaves, sticky residue, or the presence of insects. Early detection allows for prompt and effective pest management.
- Integrated Pest Management (IPM): Adopt an Integrated Pest Management approach, which combines various strategies to effectively manage pests. This includes cultural practices, biological controls, and minimal use of pesticides. By integrating multiple tactics, you can significantly reduce the risk of pest outbreaks.
- Education and Research: Stay informed about common pests and diseases that affect cannabis plants. Research their life cycles, signs of infestation, and appropriate control measures. Being knowledgeable about potential threats will help you identify and address any issues promptly.
Prevention and management of pests are crucial to maintain the health and vitality of your cannabis plants. By implementing these measures, you can create a resilient garden environment that minimizes the risk of infestation and ensures the successful growth of your cannabis crop.
Step 10: Monitoring and Adjusting Nutrient Levels
Monitoring and adjusting nutrient levels is a key aspect of cannabis cultivation to ensure that your plants receive the necessary nutrients for healthy growth and development. Proper nutrient management is vital for maximizing yields and producing high-quality buds. Here’s how you can effectively monitor and adjust nutrient levels:
- Nutrient Requirements: Understand the specific nutrient requirements of cannabis plants during different stages of growth. Cannabis requires a balanced combination of macronutrients (nitrogen, phosphorus, and potassium) and micronutrients (such as iron, zinc, and manganese) for optimal development.
- Soil Testing: Conduct soil tests before planting to determine the nutrient composition and pH level of your growing medium. This provides valuable information about the existing nutrient levels and helps you develop a targeted nutrient management plan.
- Fertilizer Selection: Choose fertilizers or nutrient solutions that are specifically formulated for cannabis cultivation. These products ensure that the nutrient ratios are appropriate for each stage of the plant’s life cycle and simplify the process of providing the correct nutrients.
- Feeding Schedule: Establish a feeding schedule based on the specific nutrient needs of your cannabis strain and the stage of growth. Start with a lower dosage and gradually increase as the plants mature. Follow the manufacturer’s instructions or consult with experienced growers for guidance.
- Observation: Regularly observe your plants for any signs of nutrient deficiencies or excesses. Common signs include yellowing or browning of leaves, stunted growth, or burnt leaf tips. These symptoms can indicate a nutrient imbalance, and adjustments may be necessary.
- pH Monitoring: Continuously monitor the pH level of the growing medium as nutrient uptake can be affected by pH imbalances. Maintain a pH range between 6.0 and 7.0 for optimal nutrient availability. Adjust the pH using pH-up or pH-down solutions as needed.
- Flushes: Occasionally flush your plants with plain, pH-balanced water. Flushing helps remove excess salts and nutrients that may have accumulated in the soil or growing medium, preventing nutrient imbalances and maximizing the plant’s ability to absorb nutrients.
- Records and Tracking: Keep records of your feeding schedule, nutrient levels, and any adjustments made. This allows you to track the progress of your plants and identify patterns or trends. Documentation helps ensure consistency and enables you to make more informed decisions in the future.
- Adaptation: Adjust your nutrient management approach based on the specific needs of your plants. Environmental conditions, strain variations, and growth stage can all impact nutrient requirements. Regularly assess and adapt your feeding regimen to provide customized supplementation.
Monitoring and adjusting nutrient levels is a critical part of cannabis cultivation. By understanding your plants’ nutrient requirements, conducting regular observations, and making appropriate adjustments, you can optimize nutrient uptake and support healthy growth and abundant yields.
Step 11: Identifying and Addressing Common Issues
Even with proper care and attention, cannabis plants can encounter various issues that may affect their growth and overall health. Being able to identify and address these common issues promptly is essential for successfully navigating through potential setbacks. Here’s how to identify and address some common issues that cannabis plants may face:
- Nutrient Deficiencies: Look out for signs of nutrient deficiencies, such as yellowing or discolored leaves, stunted growth, or abnormal leaf patterns. Nutrient deficiencies can often be resolved by adjusting your feeding regimen and ensuring proper nutrient uptake.
- Pests and Diseases: Keep a watchful eye for signs of pests, such as aphids, spider mites, or fungus gnats, as well as diseases like powdery mildew or bud rot. Promptly identify and treat pests or diseases using organic or chemical methods to prevent them from causing further damage to your plants.
- Environmental Stress: Monitor environmental factors such as temperature, humidity, and lighting intensity. Extreme temperatures, high humidity, light burn, or inadequate airflow can all cause stress to cannabis plants. Adjusting these variables to more suitable levels can help alleviate stress and promote healthier growth.
- Overwatering or Underwatering: Improper watering practices can lead to overwatering or underwatering, both of which can harm cannabis plants. Watch for signs of drooping, wilting, or yellowing leaves. Adjust your watering schedule and amounts accordingly, ensuring proper drainage to prevent waterlogged soil.
- Root Bound Plants: If you notice that your cannabis plants are becoming root bound, with roots growing densely in the container, it’s time to transplant them into larger pots. Root bound plants can experience stunted growth and nutrient uptake issues and should be given more space for root expansion.
- Light Burn: Excessive light intensity or proximity can cause light burn, resulting in discolored or burnt leaf tips. Adjust the distance between your grow lights and plants to a suitable height and consider using proper light reflectors to ensure even light distribution.
- Training and Pruning: Improper training and pruning techniques can hinder plant development. Learn about different training methods, such as topping or low-stress training (LST), to promote a more even canopy and optimize light penetration. Prune away any dead or damaged plant material to prevent the spread of disease.
- Genetic Issues: Sometimes, cannabis plants may exhibit genetic issues that affect their growth or bud development. For example, hermaphroditism can cause plants to produce both male and female flowers. If genetic issues arise, it may be necessary to remove or replace affected plants to maintain a healthy garden.
By promptly identifying and addressing common issues, you can mitigate potential negative impacts on your cannabis plants and increase the likelihood of a successful cultivation journey. Regular observation, research, and proactive measures are key to maintaining plant health and vitality.
Step 12: Harvesting the Plants
Harvesting is the exciting final step in the cannabis cultivation journey. It’s the culmination of weeks or months of hard work and dedication. Harvesting at the right time ensures that you obtain the highest quality buds with the desired potency and flavors. Here’s what you need to know about harvesting cannabis plants:
- Trichome Observation: Monitor the trichomes on the buds using a magnifying tool or jeweler’s loupe. Trichomes are tiny, crystal-like structures that contain the cannabinoids and determine the plant’s readiness for harvest. Wait until the majority of trichomes have turned cloudy or milky, or until they develop a slight amber color for a more relaxing effect.
- Timing: Harvesting timing can vary depending on the strain and the desired effect. Some growers may prefer an earlier harvest with more uplifting effects, while others may prefer a later harvest for a more sedative or couch-lock effect. Experimentation over multiple harvests can help you find the sweet spot.
- Flushing: To enhance the flavor and quality of your buds, initiate a flushing process a week or two before harvest. Flushing involves irrigating your plants with plain, pH-balanced water to remove any residual nutrients or mineral buildup. This helps the buds burn smoother and eliminates any chemical aftertaste.
- Trimming: After harvesting, carefully trim away any excess fan leaves from the buds. Trim off any leaves surrounding the buds, as they have a lower concentration of cannabinoids and can detract from the final appearance and taste. Some growers prefer a manicured look, while others prefer a more rustic approach using the sugar leaves for added potency.
- Drying: Drying the buds is a critical step to remove excess moisture and prevent mold or mildew. Hang the trimmed buds upside down in a cool, dark, and well-ventilated area with moderate humidity. Maintain a temperature around 60-70°F (15-21°C) and humidity between 45-55%. Depending on the humidity level, drying typically takes around 7-10 days.
- Curing: After the initial drying phase, transfer the dried buds into airtight jars. Curing allows the flavors and aromas to develop further while reducing harshness. Open the jars once a day for a few minutes to release any trapped moisture. Gradually increase the intervals between opening the jars as the buds cure, ultimately aiming for a two-week to one-month curing period for optimal results.
- Storage: Properly store your cured buds in a cool, dark, and dry place to maintain their potency and flavors. Use airtight containers, such as glass jars with rubber seals, to protect the buds from air, light, and excessive moisture. Mason jars are a popular choice for long-term storage.
- Enjoying the Fruits of Your Labor: After the curing process is complete, your cannabis buds are ready for consumption. Grind them up, roll them into joints, pack them in a pipe, or use them to make edibles or extracts. Enjoy the fruits of your labor, appreciating the flavors, effects, and therapeutic benefits that your carefully cultivated cannabis plants provide.
Harvesting is a moment of celebration and fulfillment for every grower. By observing the trichomes, timing the harvest, properly drying, and curing the buds, you can savor the full potential of your cannabis crop. Take pride in the culmination of your efforts and enjoy the fruits of your labor.
Conclusion
Congratulations on completing the comprehensive journey of cannabis cultivation from starting seedlings to harvesting beautiful buds. Cultivating cannabis is a fulfilling and rewarding experience that allows you to have full control over the quality and characteristics of your plants. By following the step-by-step process outlined in this guide, you have gained the knowledge and skills needed to successfully grow your own cannabis at home.
Throughout this journey, you learned the importance of gathering the necessary supplies, choosing the right seeds, and providing proper lighting, watering, and feeding. You also discovered how to maintain ideal temperature and humidity levels, prevent and manage pests, monitor and adjust nutrient levels, and identify and address common issues that may arise during the cultivation process.
By paying attention to the cues from your plants, understanding their needs, and adapting your approach accordingly, you have created an environment in which your cannabis plants can thrive. From seedlings to mature plants, you nurtured them with care and dedication, leading to the rewarding harvest of high-quality buds.
Remember, cannabis cultivation is a continuous learning experience. Each grow will present its own unique challenges and opportunities for improvement. Stay curious, stay informed, and stay connected with fellow growers to share knowledge and insights. Embrace the journey and continue to refine your skills as you embark on future cultivation projects.
Now that you have the comprehensive knowledge and skills needed to successfully grow your own cannabis, it’s time to put them into practice. Enjoy the process, take pride in your achievements, and savor the satisfaction of consuming your own homegrown cannabis. Happy growing!
