Home>Gardening Tips and Tricks>Eco-Friendly Gardening>How To Start Seeds In Egg Cartons

Eco-Friendly Gardening
How To Start Seeds In Egg Cartons
Modified: February 9, 2024
Learn how to start seeds in eco-friendly egg cartons for your garden. Take a step towards sustainable gardening with this simple and affordable method.
(Many of the links in this article redirect to a specific reviewed product. Your purchase of these products through affiliate links helps to generate commission for Chicagolandgardening.com, at no extra cost. Learn more)
Table of Contents
Introduction
Welcome to the exciting world of eco-friendly gardening! If you’re looking for a sustainable and cost-effective way to start your garden, then starting seeds in egg cartons is the perfect solution. Not only does this method reduce waste by repurposing materials, but it also provides a nurturing environment for your seeds to germinate and grow into healthy seedlings.
Starting seeds in egg cartons is a simple and rewarding process that can be done by both beginners and experienced gardeners. It allows you to have full control over the growing conditions and gives your plants a head start before transplanting them into the garden. Plus, it’s a fun project that you can involve the whole family in!
In this article, we will guide you through the step-by-step process of starting seeds in egg cartons. We’ll cover everything from preparing the egg cartons and filling them with potting mix to planting the seeds and caring for the seedlings. By the end of this guide, you’ll have all the knowledge and confidence you need to successfully start your seeds in egg cartons and watch them flourish.
So, roll up your sleeves, grab your egg cartons, and let’s dive into the world of eco-friendly gardening!
Materials Needed
Before you get started, gather the following materials:
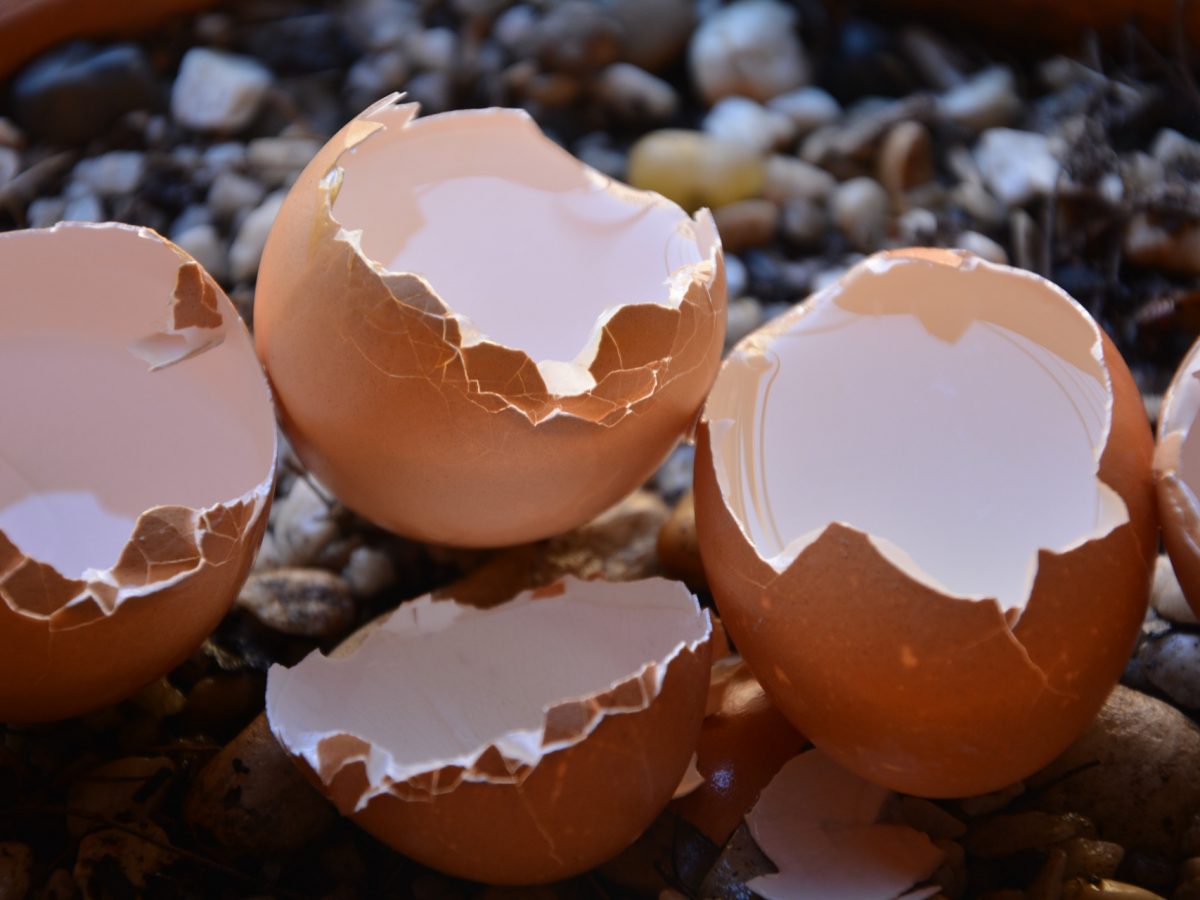
- Egg cartons: Collect empty egg cartons from your kitchen or ask friends and neighbors who might have some to spare. Make sure the cartons are clean and free from any leftover egg residue.
- Potting mix: Choose a high-quality potting mix that is rich in nutrients and well-draining. Avoid using garden soil, as it can be too heavy and may contain pests or diseases.
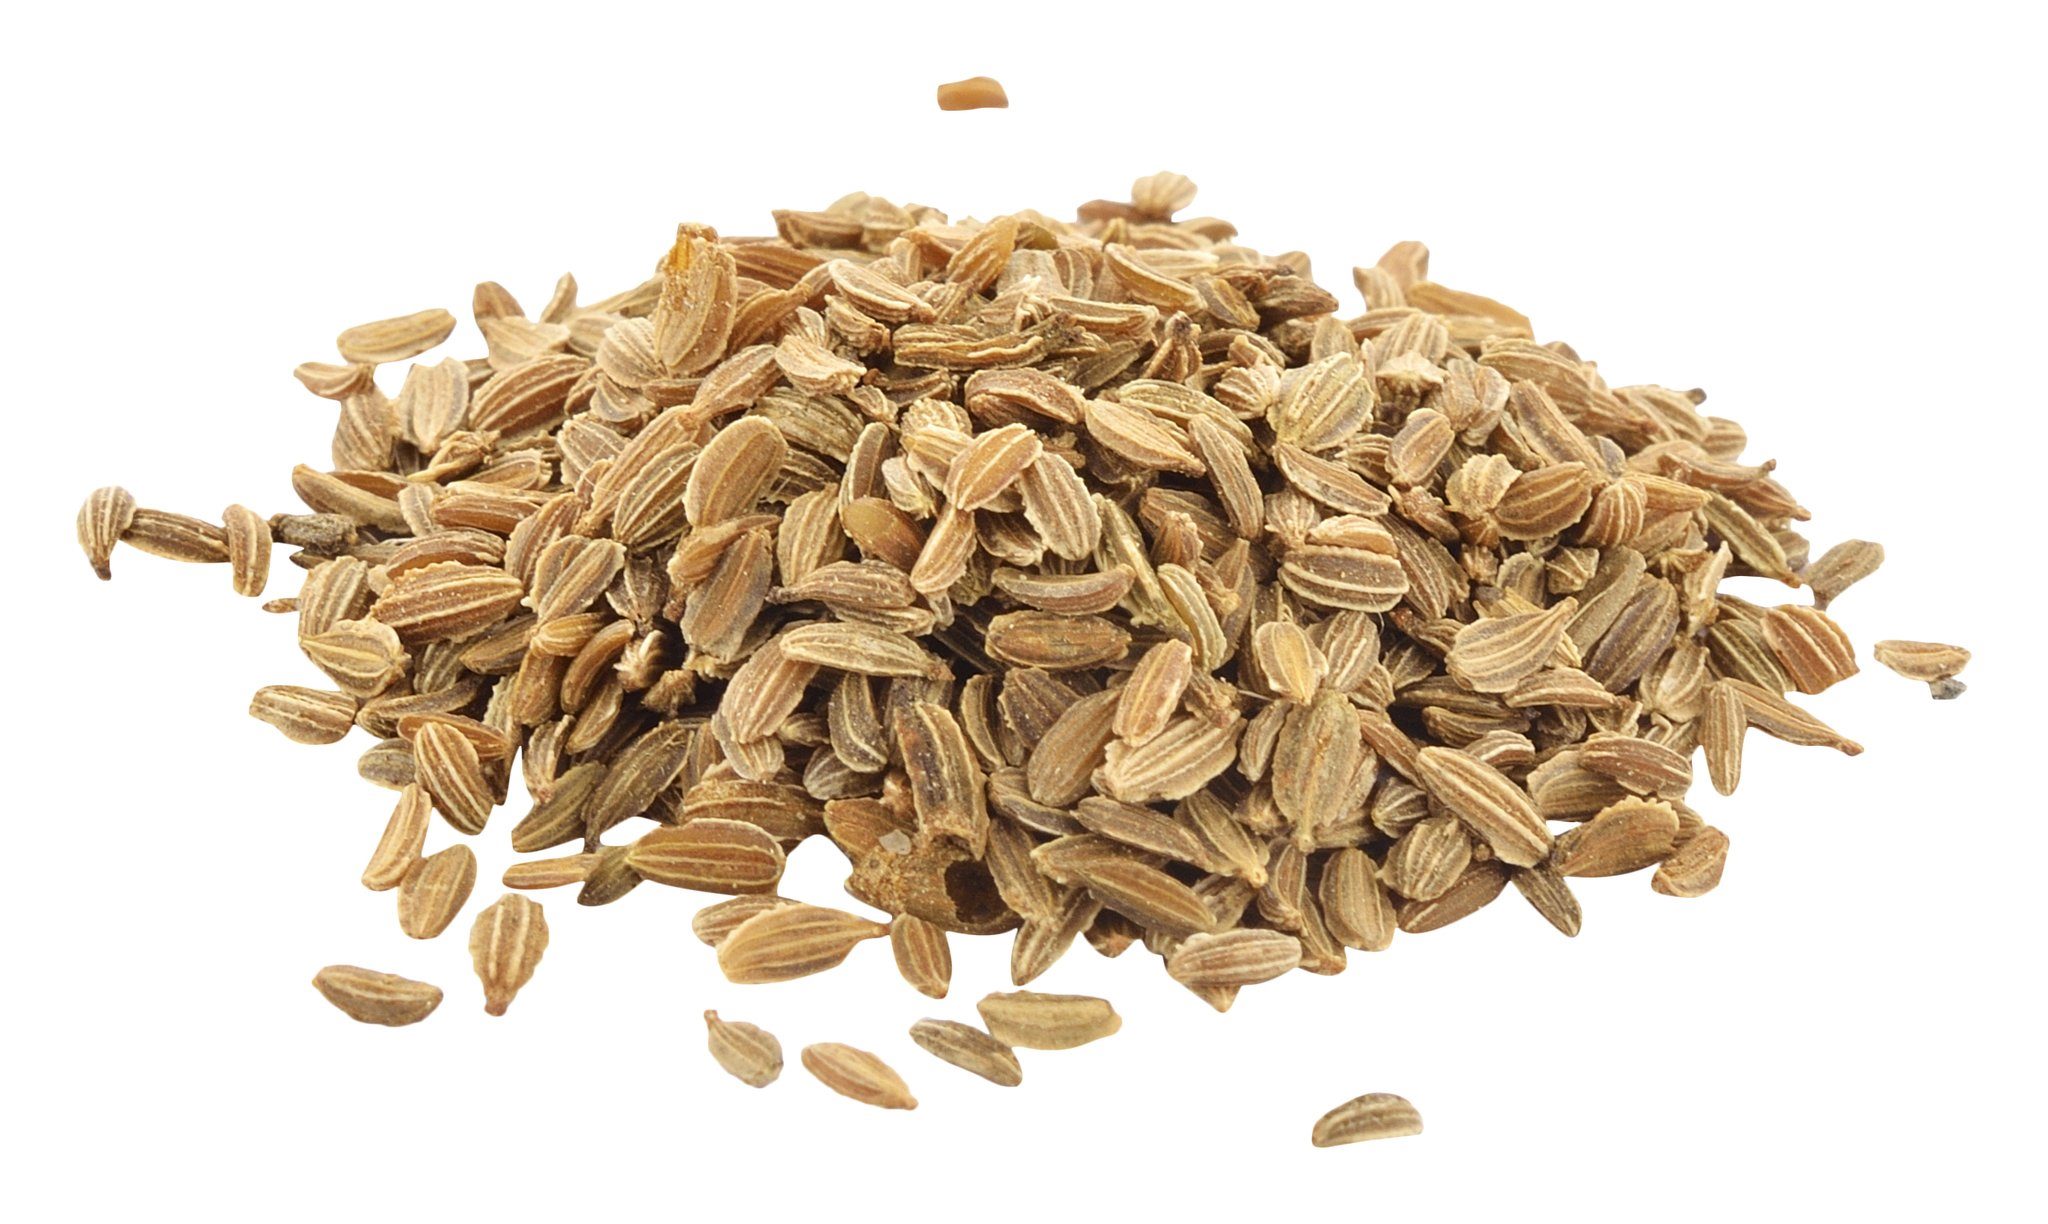
- Seeds: Select the seeds of the plants you want to grow. Choose varieties that are suitable for your region and the growing conditions you can provide.
- Watering can or spray bottle: You’ll need a watering can or spray bottle to water the seeds and seedlings gently.
- Plastic wrap or a clear plastic bag: This will be used to create a mini greenhouse effect to retain moisture and heat.
- Labels: Use labels or plant markers to identify the types of seeds you’re planting. This will help you keep track of your seedlings as they grow.
- Optional: Additional grow lights or heat mats can be used if you’re starting seeds indoors and need to provide supplemental light and warmth.
Having these materials ready will ensure a smooth and efficient seed starting process. Once you’ve gathered everything, you’ll be fully prepared to embark on your eco-friendly gardening journey.
Step 1: Prepare the Egg Cartons
The first step in starting seeds in egg cartons is to prepare the egg cartons themselves. Follow these simple steps:
- Inspect the egg cartons: Check each egg compartment to make sure there are no cracks or holes. Also, remove any stickers or labels that may be on the cartons.
- Clean the egg cartons: If the egg cartons are dirty or have any leftover egg residue, rinse them with water and mild soap. This will ensure a clean and sanitary environment for your seeds.
- Punch holes in the bottom: Using a sharp tool like a nail or a small knife, poke several drainage holes in the bottom of each egg compartment. These holes will allow excess water to drain out and prevent waterlogging.
- Place the egg cartons on a tray: Set the prepared egg cartons on a waterproof tray or a shallow dish. This will catch any water that drains from the cartons and prevent a mess.
By taking the time to properly prepare the egg cartons, you are setting a solid foundation for successful seed germination and growth. Now that your cartons are ready, you’re one step closer to having flourishing seedlings!
Step 2: Fill the Egg Cartons with Potting Mix
Once the egg cartons are prepared, it’s time to fill them with a suitable potting mix. Follow these steps:
- Moisten the potting mix: Before filling the egg cartons, moisten the potting mix slightly. This will help the seeds absorb moisture and promote germination.
- Fill each egg compartment: Take a handful of the moistened potting mix and gently fill each egg compartment with it. Leave a small gap at the top to prevent overflow when watering.
- Level the potting mix: Use your fingers or a small flat object, such as a popsicle stick, to level the potting mix in each compartment. This will provide an even surface for planting the seeds.
Remember, using a high-quality potting mix is essential for the success of your seeds. It should be well-draining, lightweight, and nutrient-rich, providing an ideal environment for seed germination. Avoid using soil from your garden, as it can be too dense and may contain weed seeds or pathogens.
Now that the egg cartons are filled with potting mix, you’re ready to move on to the next step: planting the seeds!
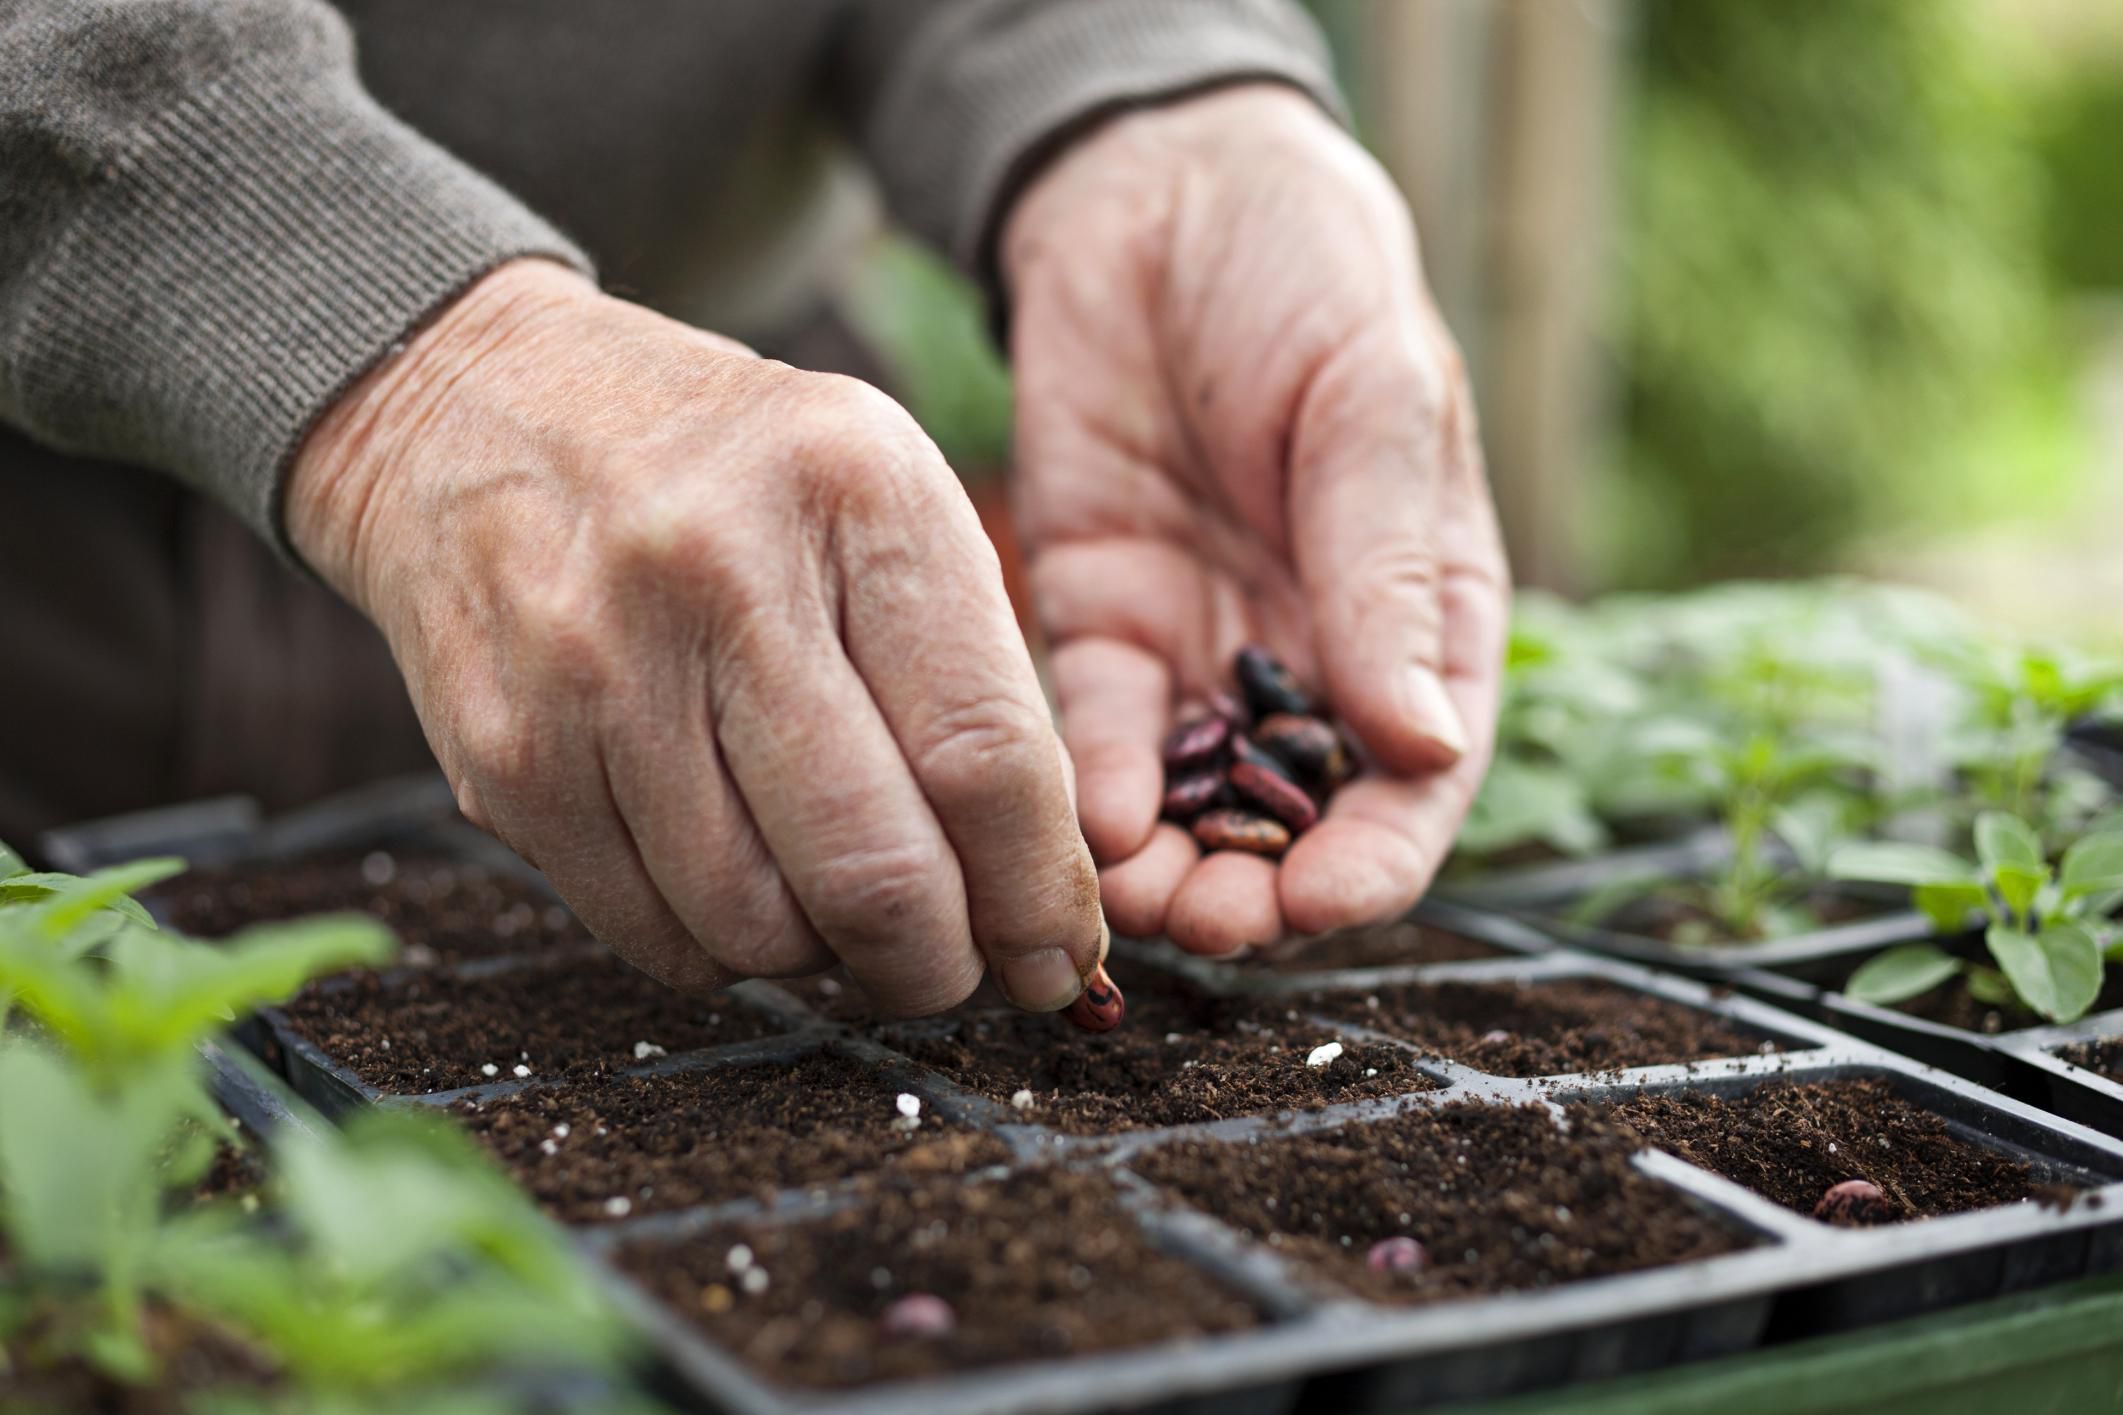
Step 3: Plant the Seeds
Now that your egg cartons are filled with potting mix, it’s time to plant the seeds. Follow these steps:
- Refer to the seed packet: Read the instructions on the seed packet to determine the appropriate planting depth and spacing for the specific plant you’re growing. Each seed may have different requirements.
- Create planting holes: Use your finger or a small dibber (a pointed tool) to create small holes in the potting mix. The depth of the holes should match the recommended planting depth on the seed packet.
- Place the seeds: Carefully place one or two seeds in each planting hole. If the seeds are small, you can use tweezers or toothpicks to handle them and position them correctly.
- Cover and label: Gently cover the seeds with a thin layer of potting mix, making sure they are adequately covered but not buried too deep. Then, label each egg compartment with the name of the plant or the seed variety.
It’s essential to follow the planting instructions provided on the seed packet. Some seeds may require light to germinate, while others need darkness. In some cases, you may need to soak the seeds or pre-treat them before planting. Pay close attention to any special requirements and provide the optimal conditions for germination.
Once the seeds are planted and labeled, you’re ready to move on to the next step: watering the seeds.
Step 4: Water the Seeds
Watering is a crucial step in seed starting, as it provides the necessary moisture for germination and supports the growth of healthy seedlings. Follow these steps to water your seeds:
- Use a gentle watering method: Avoid using a strong stream of water, as it can dislodge or bury the seeds. Instead, opt for a watering can with a fine rose or a spray bottle. This will help distribute the water evenly and reduce the risk of overwatering.
- Water the potting mix: Start by moistening the potting mix without saturating it. Gradually add water until you see moisture seeping out of the drainage holes at the bottom of each egg compartment.
- Avoid water pooling: Be cautious not to flood the egg cartons with excess water. If you notice water pooling on the surface, empty the tray or dish underneath to prevent waterlogged conditions.
- Maintain moisture levels: Check the moisture level of the potting mix regularly. Aim to keep it consistently moist, but not soaking wet. If the top layer of the potting mix starts to dry out, gently water it again.
It’s crucial to strike the right balance with watering. Overwatering can lead to seed rot and fungal diseases, while underwatering can hinder germination. Always monitor the moisture level and make adjustments as needed to ensure a healthy growing environment for your seeds.
Now that your seeds are well-watered, it’s time to move on to step 5: placing the egg cartons in a warm location.
Step 5: Place the Egg Cartons in a Warm Location
Creating the right temperature conditions is vital for seed germination and successful growth. Follow these steps to provide a warm environment for your seedlings:
- Find a warm spot: Choose a location in your home that receives ample warmth and sunlight. Ideally, the temperature should be around 70-75°F (21-24°C) for most seeds to germinate.
- Utilize heat mats or grow lights (optional): If your chosen spot doesn’t provide enough warmth, you can use heat mats or grow lights to supplement the light and heat. Place the heat mats under the tray or elevate the egg cartons to ensure proper heat distribution.
- Create a mini greenhouse effect: Cover the egg cartons with plastic wrap or a clear plastic bag. This will help retain moisture and heat, creating a mini greenhouse effect that will promote germination.
- Monitor the temperature: Regularly check the temperature in the chosen location, as it can fluctuate. Adjust the positioning of the egg cartons or use a thermometer to ensure that the temperature remains within the desired range.
Providing a warm environment ensures that your seeds have the optimal conditions for germination. It helps speed up the process and encourages strong and healthy growth. Remember to remove the plastic cover once the seeds have sprouted, as they will need proper air circulation.
Now that your egg cartons are in a warm location, let’s move on to the next step: monitoring and caring for the seedlings!
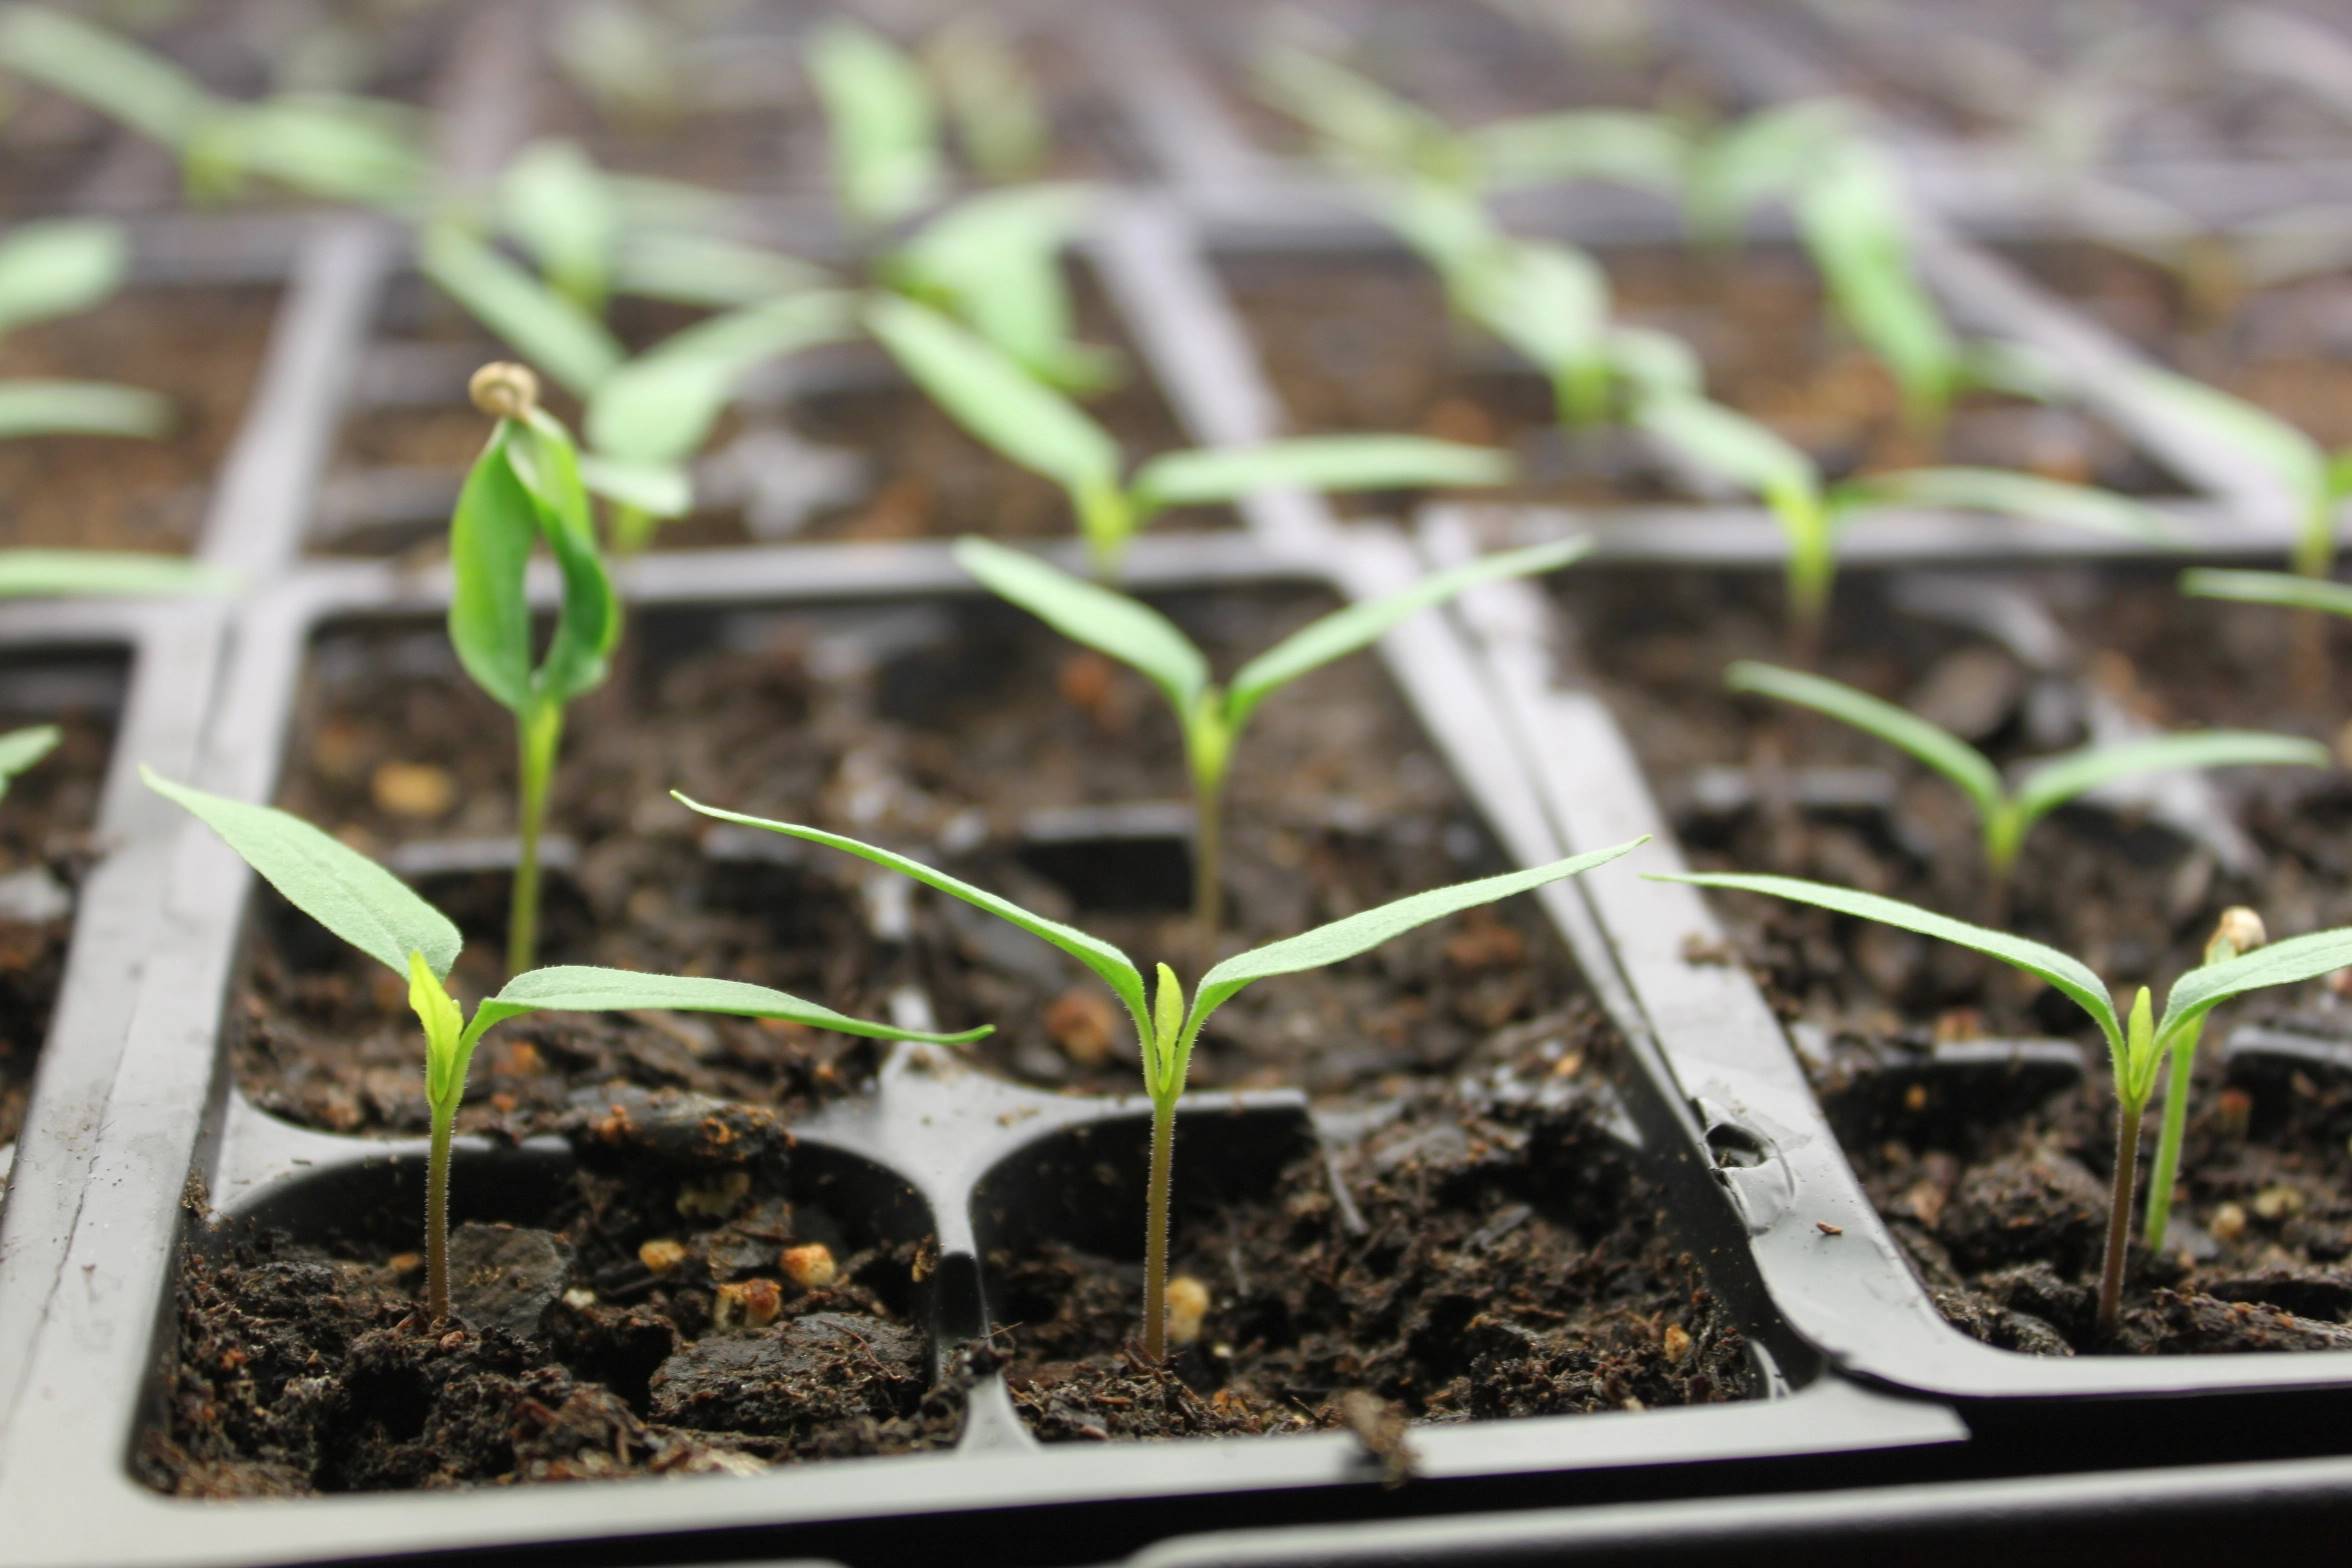
Step 6: Monitor and Care for the Seedlings
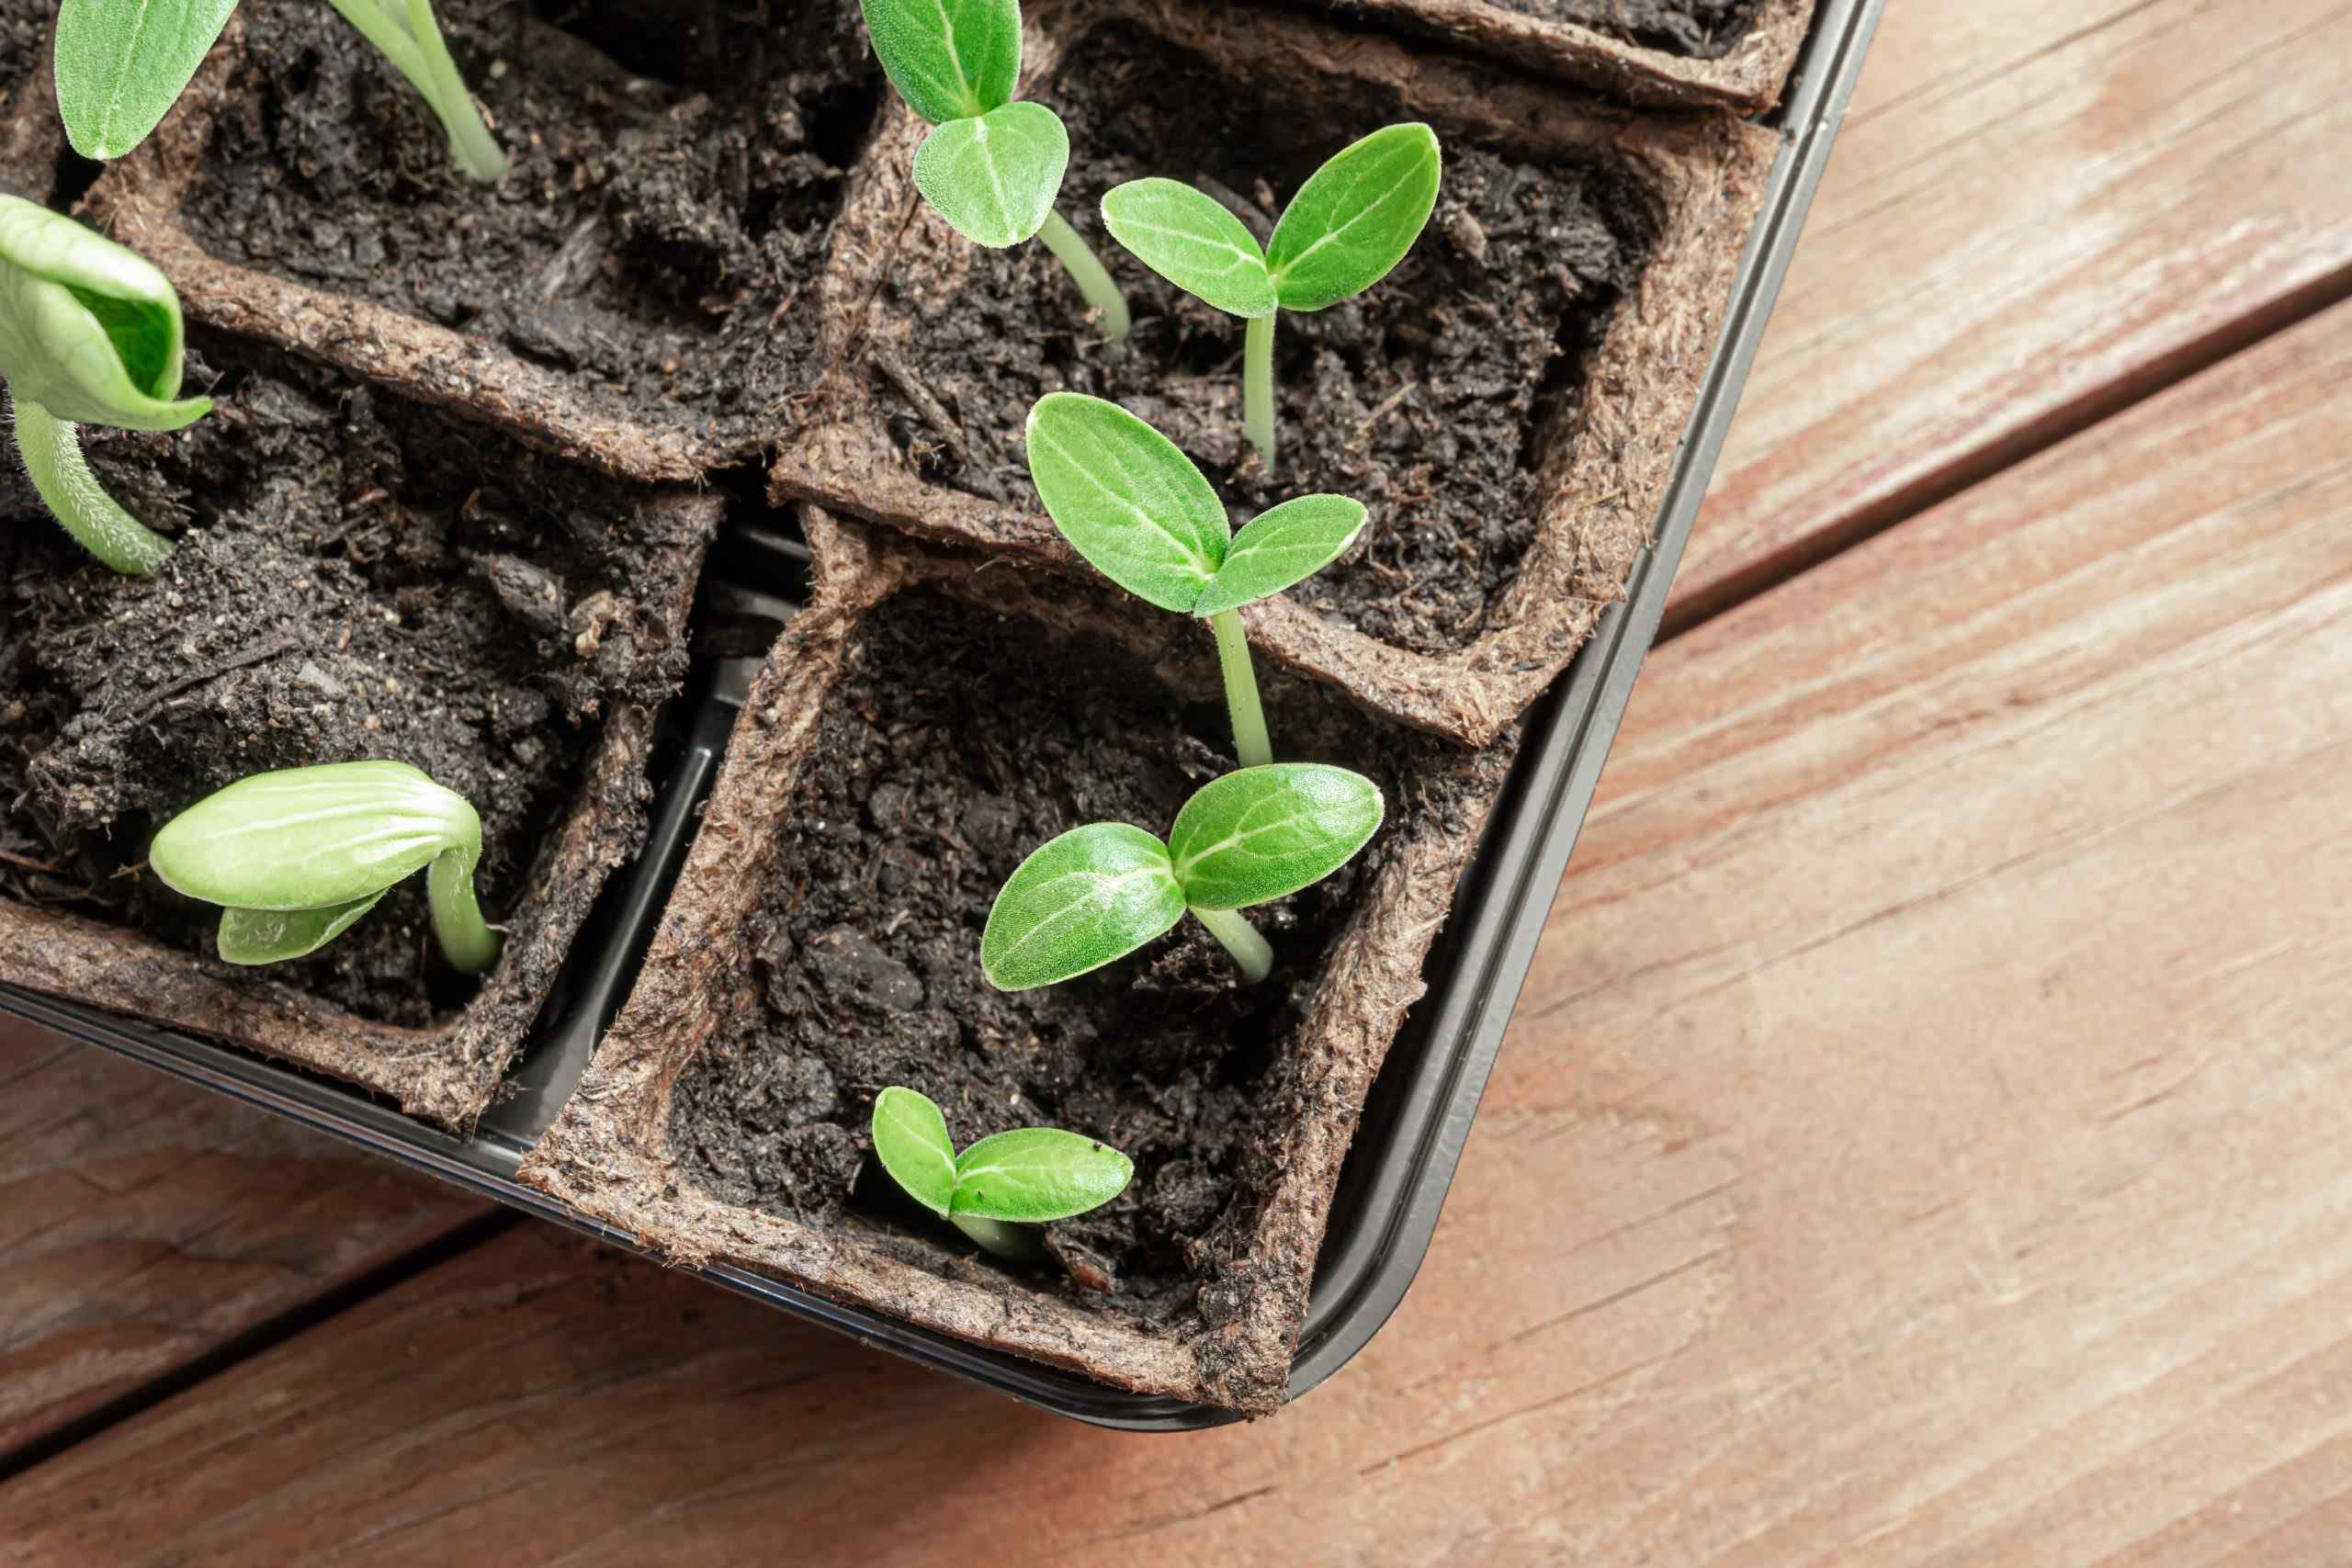
Once your seeds have germinated and sprouted into seedlings, it’s crucial to monitor their progress and provide proper care to ensure their healthy growth. Follow these steps:
- Remove the plastic cover: As the seedlings emerge, remove the plastic cover to allow for proper air circulation. This will prevent the seedlings from becoming too damp and minimize the risk of fungal diseases.
- Provide adequate sunlight: Place the seedlings in a location that receives at least 6-8 hours of direct sunlight each day. If natural light is limited, supplement it with grow lights. Position the lights a few inches above the seedlings and adjust the height as they grow.
- Water appropriately: Keep the potting mix evenly moist, but avoid overwatering. Water the seedlings whenever the top inch of the potting mix feels dry. Use a gentle watering method to avoid damaging the delicate seedlings.
- Fertilize as needed: When the seedlings develop their first true leaves, you can start fertilizing them. Use a diluted, balanced liquid fertilizer according to the package instructions. Apply the fertilizer once every two weeks or as recommended for the specific plant.
- Thin out the seedlings: If multiple seedlings have sprouted in the same compartment, choose the healthiest and tallest one and gently snip off the others at soil level. This will prevent overcrowding and allow the remaining seedling to thrive.
- Support the seedlings: As the seedlings grow taller, provide support by gently staking them or using plant ties. This will help prevent them from flopping over or breaking due to their own weight.
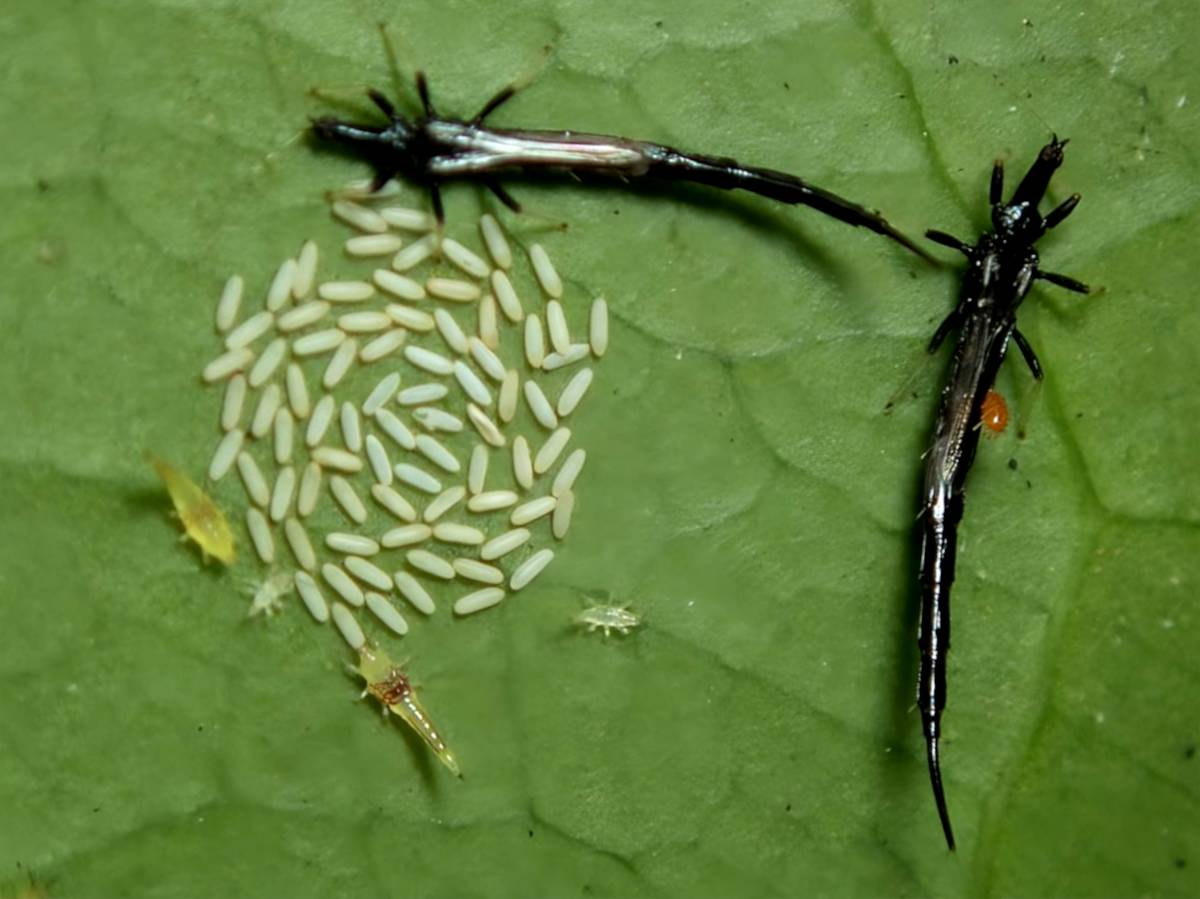
Monitoring your seedlings regularly is essential to catch any potential issues early on. Keep an eye out for pests, diseases, or nutrient deficiencies, and take appropriate action if necessary. By providing the right care, your seedlings will continue to grow strong and healthy.
Next, it will be time to transplant the seedlings into their permanent garden location. But before we do that, let’s move on to the final step: Step 7!
Step 7: Transplant the Seedlings
Once your seedlings have grown stronger and developed a few sets of true leaves, it’s time to transplant them into their final garden location. Follow these steps for a successful transplant:
- Choose the right timing: Transplant your seedlings when the risk of frost has passed and the soil temperature has warmed up. This will vary depending on your location and the specific plants you’re growing.
- Prepare the garden beds: Clear the area where you plan to transplant the seedlings. Remove any weeds or debris and prepare the soil by loosening it with a garden fork or spade. Add organic matter such as compost to enrich the soil.
- Harden off the seedlings: Before transplanting, gradually expose the seedlings to outdoor conditions for a week or two. Start by placing them in a sheltered spot for a few hours a day, gradually increasing their exposure to sunlight and wind.
- Transplant with care: Dig a hole in the garden bed that is slightly larger than the rootball of the seedling. Gently remove the seedling from its container, taking care not to damage the delicate roots. Place the seedling in the hole, backfill with soil, and firm it gently around the base to eliminate air pockets.
- Water thoroughly: After transplanting, give the seedlings a good watering to settle them into their new home. Continue to water as needed, ensuring that the soil stays consistently moist as the seedlings establish themselves.
- Provide support if necessary: Depending on the type of plants you’re growing, you may need to provide support such as stakes, trellises, or cages. This will help the seedlings grow upright and provide support as they develop into mature plants.
- Maintain post-transplant care: Keep an eye on your transplanted seedlings and provide regular care, including watering, weeding, and protecting them from pests or extreme weather conditions. Gradually acclimate them to full sunlight if they were initially started indoors.
Transplanting seedlings can be a critical step in their journey to becoming mature plants. By following these steps and providing proper care, you give your seedlings the best chance of thriving and producing a bountiful harvest. Enjoy watching them grow and flourish in their new garden home!
Conclusion
Congratulations on successfully starting your seeds in egg cartons and taking a leap into the world of eco-friendly gardening! By repurposing materials and following the steps outlined in this guide, you have not only reduced waste but also created a nurturing environment for your seeds to thrive.
Starting seeds in egg cartons is a cost-effective and sustainable approach that allows you to have full control over the growth of your plants. From preparing the egg cartons and filling them with potting mix to planting the seeds and caring for the seedlings, each step plays a vital role in the success of your garden.
Remember to monitor the moisture levels, provide adequate warmth and sunlight, and keep a watchful eye for any signs of pests or diseases as your seedlings grow. With proper care and attention, your seedlings will become strong and healthy, ready to be transplanted into the garden.
Whether you are a beginner or experienced gardener, starting seeds in egg cartons is a great way to kickstart your garden and grow a wide variety of plants. Enjoy the process, learn from each experience, and celebrate the joy of watching your seeds transform into thriving plants that will bring beauty and abundance to your eco-friendly garden.
So, put on your gardening gloves, grab your seed packets, and let the journey of sustainable and rewarding gardening begin!